Articles
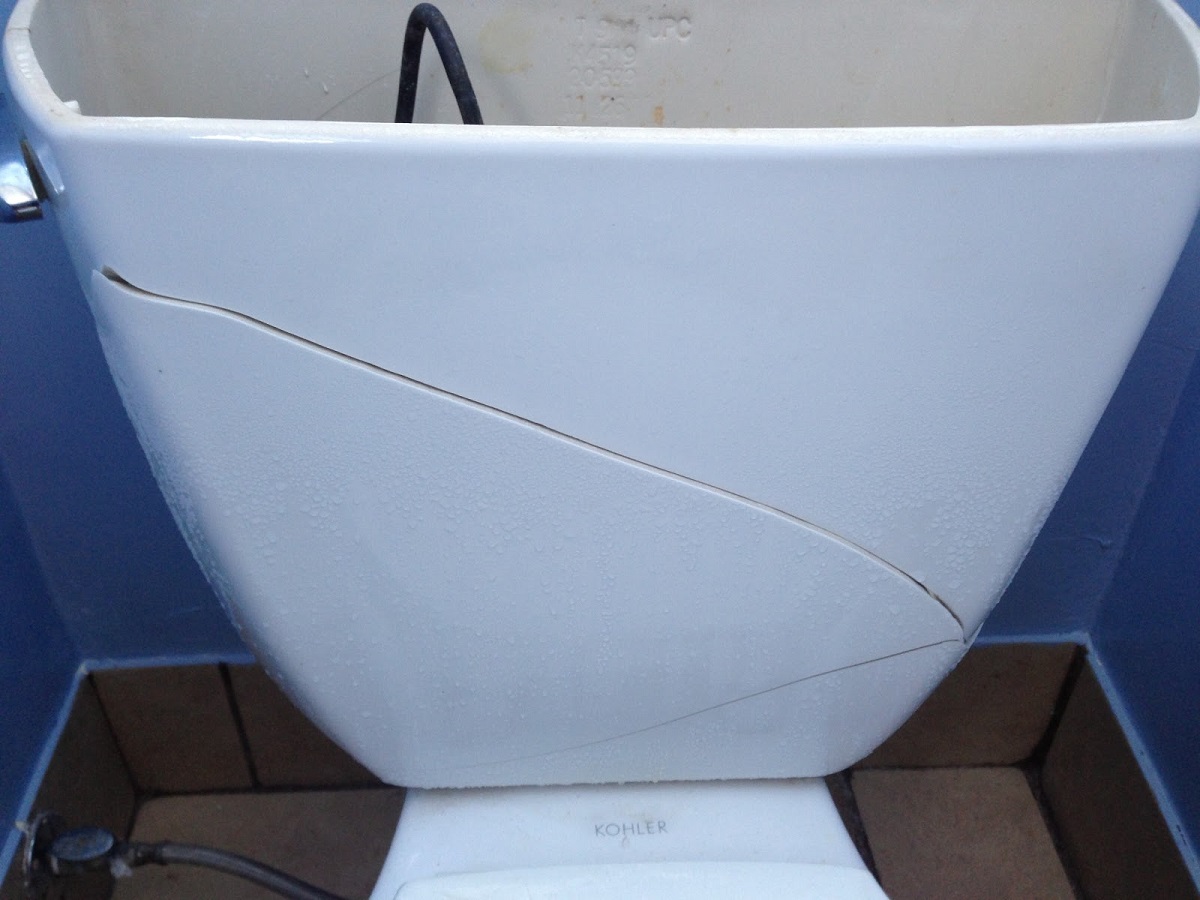
How To Fix A Cracked Shower Floor
Modified: October 18, 2024
Learn effective articles for fixing cracked shower floors and restoring their functionality. Simple step-by-step guides and expert advice to resolve this common issue quickly and efficiently.
(Many of the links in this article redirect to a specific reviewed product. Your purchase of these products through affiliate links helps to generate commission for Storables.com, at no extra cost. Learn more)
Introduction
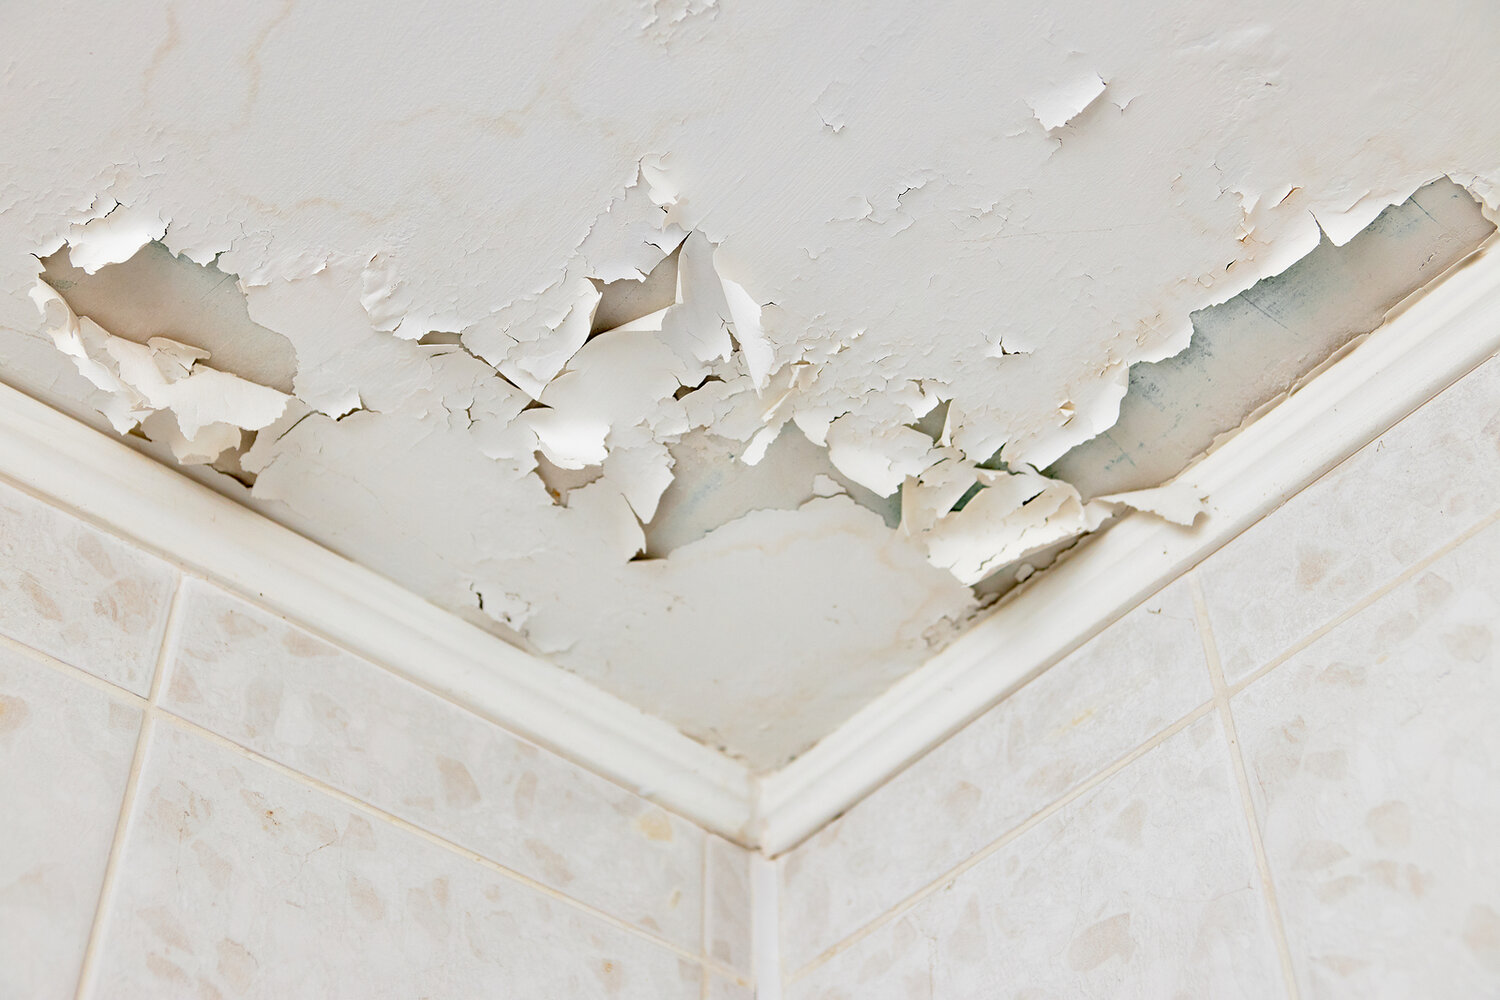
Welcome to our comprehensive guide on how to fix a cracked shower floor. A cracked shower floor not only looks unsightly, but it can also lead to water damage and structural issues if left unaddressed. Fortunately, with the right tools, materials, and a little bit of know-how, you can repair a cracked shower floor and restore it to its former glory.
In this article, we will walk you through the step-by-step process of assessing the damage, gathering the required tools and materials, cleaning and preparing the cracked shower floor, applying the patching compound, smoothing and leveling the patched area, allowing the patch to cure, applying a waterproof sealant, and adding the finishing touches. We will also provide some additional tips to ensure a successful repair.
Before we begin, it is important to note that if the crack in your shower floor is severe or extensive, it may be necessary to consult with a professional plumber or contractor. However, for minor cracks and damages, this guide will equip you with the knowledge and skills to tackle the repair on your own.
So, let’s get started and learn how to fix that cracked shower floor!
Key Takeaways:
- Don’t let a cracked shower floor dampen your day! Assess, gather tools, clean, apply patching compound, level, and seal to restore your shower’s glory. Remember, patience and attention to detail are key for a successful repair.
- Maintain your shower’s newfound beauty by replacing damaged tiles, regrouting, regular cleaning, and vigilant inspection. With proper care, your shower floor will remain a source of pride and functionality for years to come.
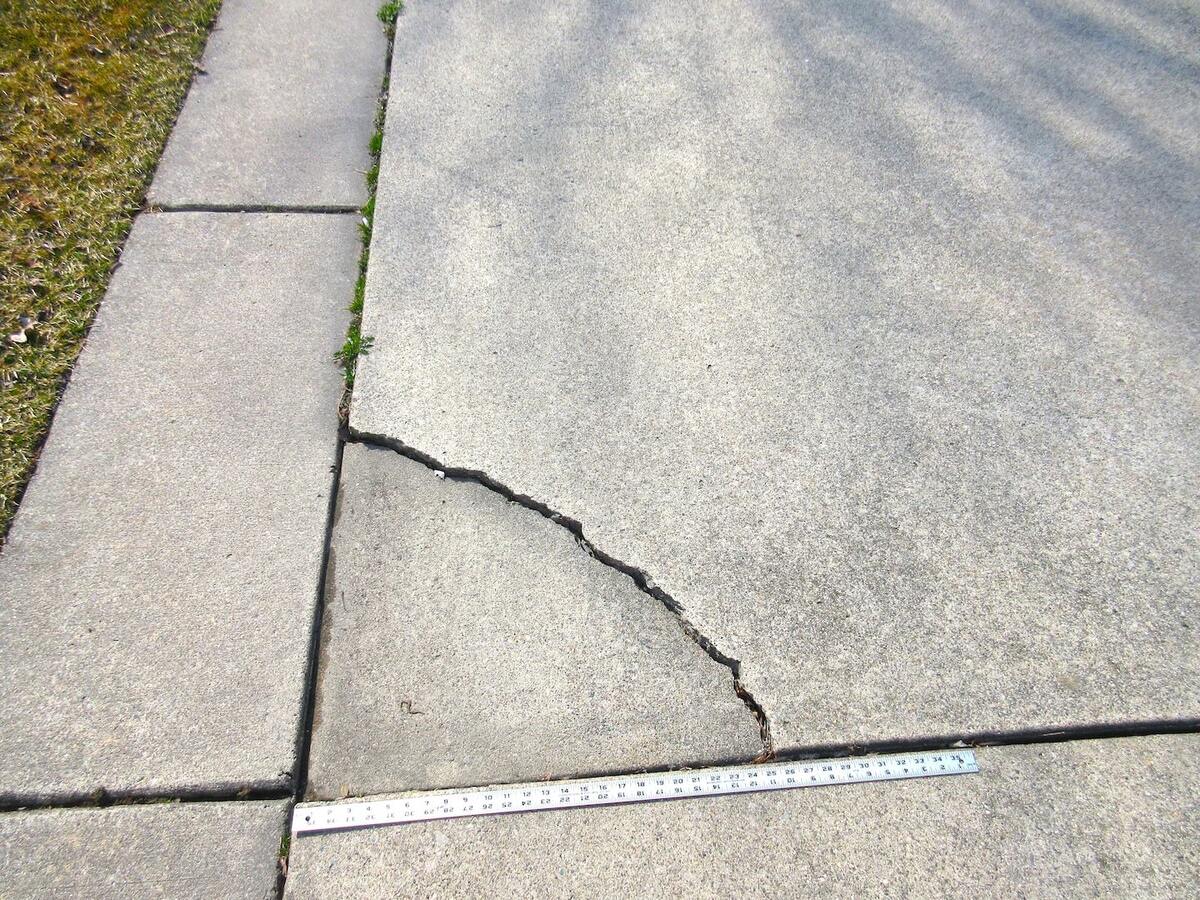
Read more: How To Fix A Crack In Concrete Floor
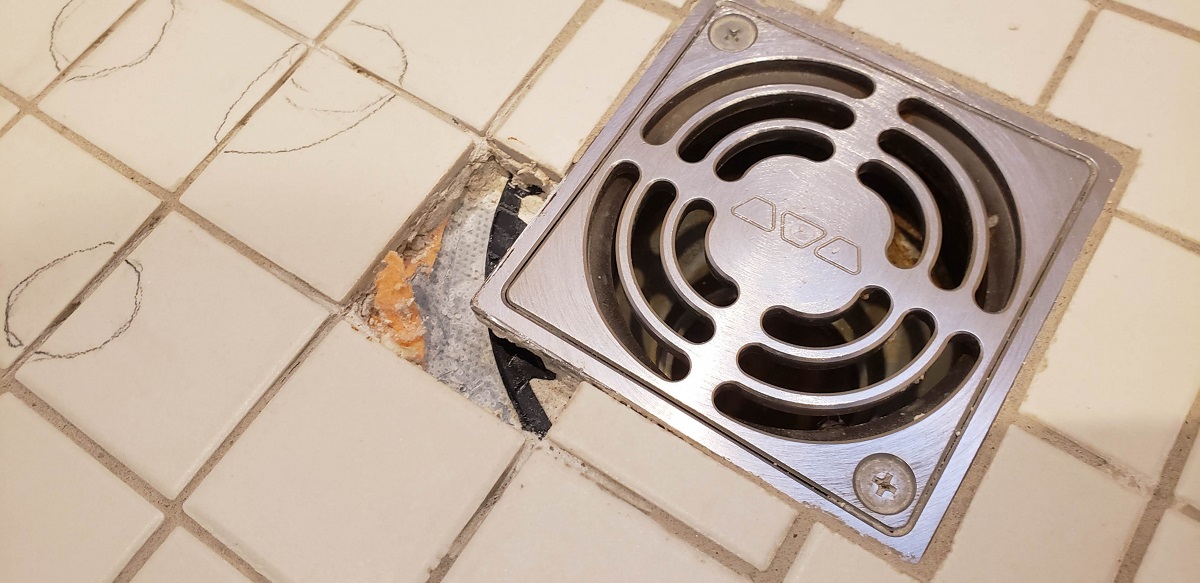
Assessing the Damage
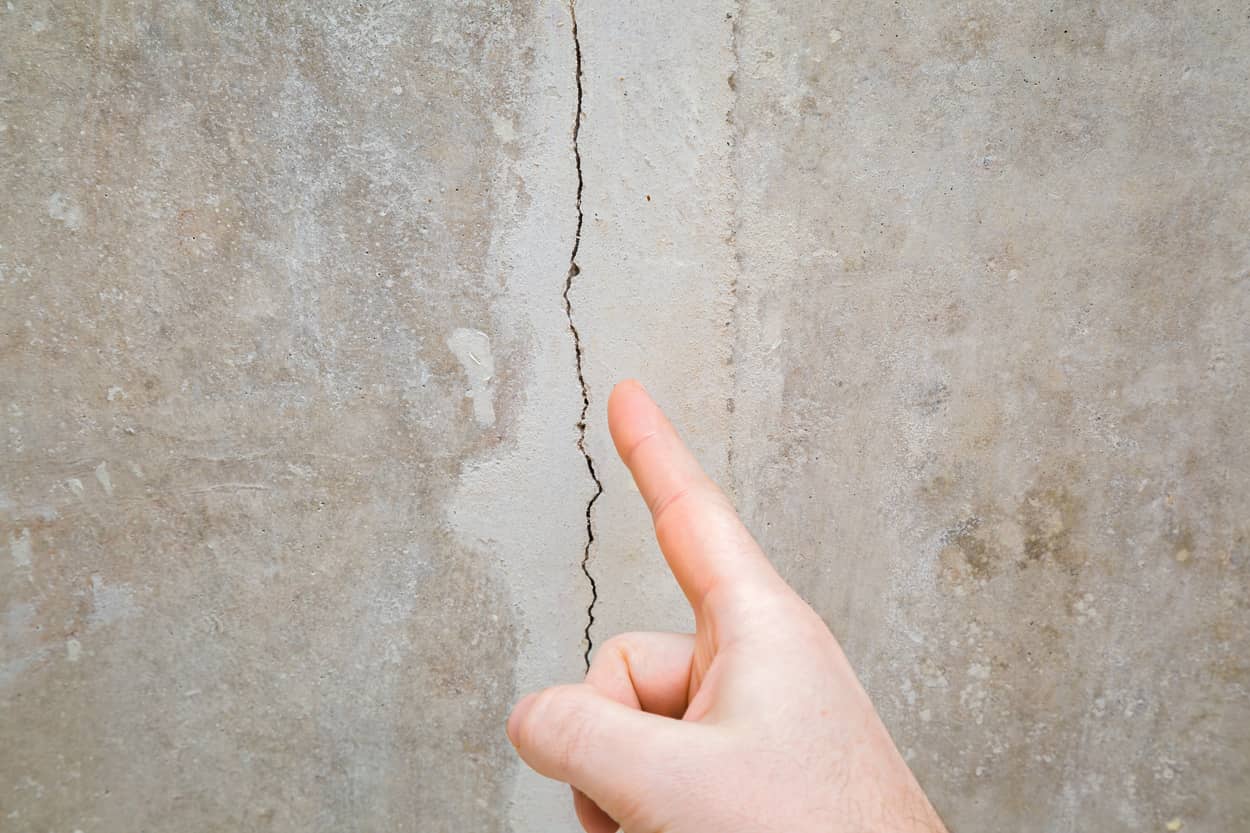
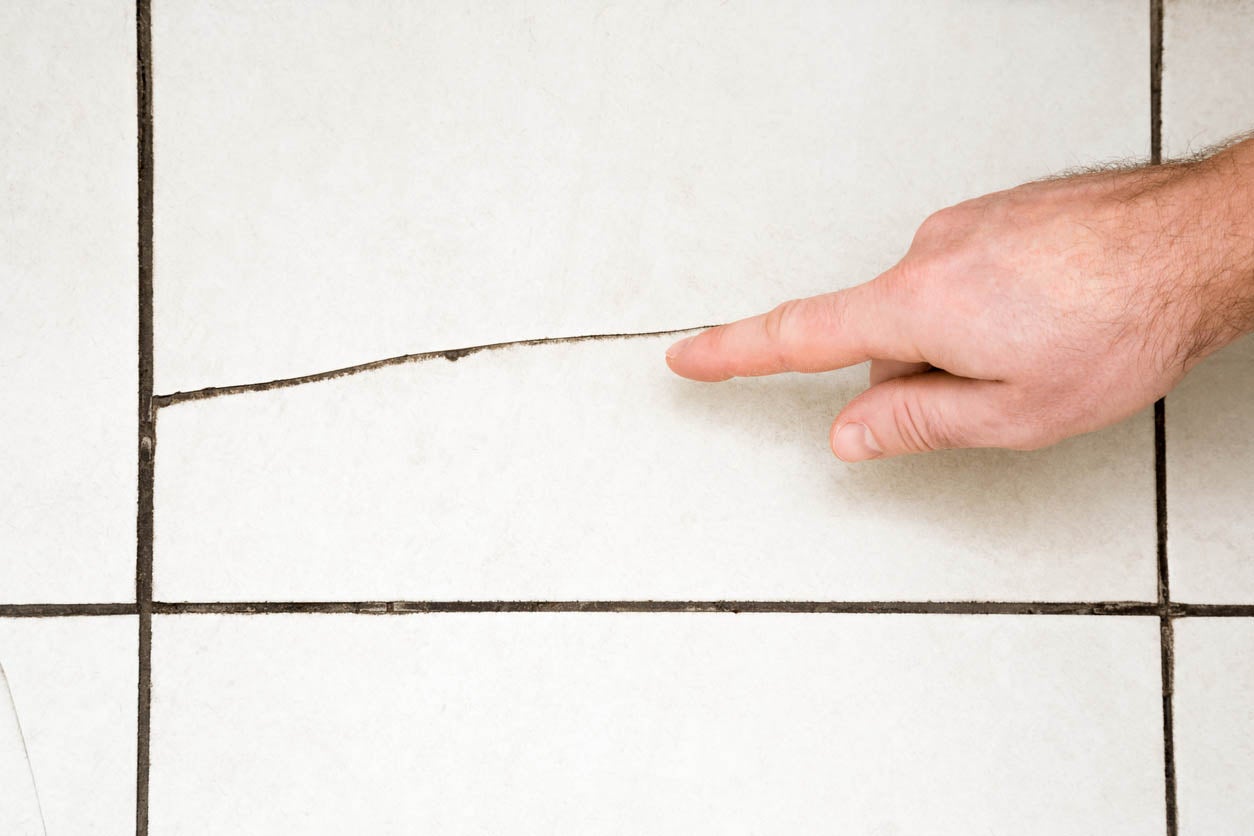
The first step in fixing a cracked shower floor is to assess the extent of the damage. Take a close look at the crack and determine its size, depth, and location. This will help you decide on the best approach for repairing it.
If the crack is small and shallow, measuring less than 1/8 inch in width and depth, it is considered a hairline crack and can be repaired easily. On the other hand, if the crack is larger, deeper, or extends beyond the shower floor into the walls or surrounding areas, it may require professional intervention.
Another important factor to consider is whether the crack is stable or expanding. If the crack is stable and there are no signs of movement or water leakage, you can proceed with the repair. However, if the crack is expanding or there is evidence of water damage, it is crucial to address the underlying issue before attempting any repairs.
Additionally, make sure to inspect the surrounding tiles and grout lines. If there are any loose or damaged tiles, they should be replaced or repaired to ensure the longevity of the repair.
Assessing the damage properly will provide you with valuable information on the scope of the repair and help you determine whether it is a project you can handle on your own or if professional assistance is required.
Gathering the Required Tools and Materials
Once you have assessed the damage and determined that you can proceed with the repair, the next step is to gather all the necessary tools and materials. Having everything on hand before you start will make the process much smoother.
Here is a list of the tools and materials you will typically need to fix a cracked shower floor:
- Protective gear: Safety should always be a priority, so make sure to wear gloves, safety glasses, and a dust mask during the repair process.
- Hammer and chisel or a grinder: You will need these tools to remove any loose or damaged tiles around the cracked area.
- Putty knife or scraper: This will come in handy for removing any debris or old adhesive from the cracked area.
- Crack-specific repair kit: These kits typically include a crack repair compound, epoxy or caulk, and a syringe for precise application.
- Grout: It may be necessary to replace or repair the grout lines around the cracked area. Make sure to match the color of the existing grout.
- Tile adhesive or thinset mortar: If you need to replace any tiles, you will need an appropriate adhesive to secure them in place.
- Grout float and sponge: These tools are essential for applying and smoothing the grout.
- Waterproof sealant: Once the repair is complete, you will need a waterproof sealant to protect the shower floor from future water damage.
- Caulk gun: If you opt for a caulk-based repair, a caulk gun will be necessary for precise and controlled application.
- Measuring tape and pencil: These tools will help you accurately measure and mark the cracked area.
- Clean cloth or towel: You’ll need this for wiping away excess materials and cleaning up any spills.
It is essential to gather all the required tools and materials before starting the repair to avoid unnecessary delays. Additionally, make sure to read the instructions on the specific products you are using to ensure proper application and usage.
Cleaning and Preparing the Cracked Shower Floor
Before you can begin the actual repair process, it is crucial to clean and prepare the cracked shower floor. This ensures that the patching compound adheres properly and guarantees a long-lasting repair.
Follow these steps to clean and prepare the cracked shower floor:
Step 1: Clear the area: Start by removing any items from the shower floor, such as toiletries, rugs, or bath mats. This will give you a clear and unobstructed workspace.
Step 2: Protect the surrounding area: Use masking tape or plastic sheets to cover the edges of the crack and protect the surrounding tiles or walls from any accidental damage during the cleaning and repair process.
Step 3: Remove loose debris and dirt: Use a broom or vacuum cleaner to remove any loose debris, dirt, or dust from the cracked area. This will ensure that the patching compound adheres securely to the surface.
Step 4: Clean the cracked area: Use a mild cleaner or a mixture of water and vinegar to thoroughly clean the cracked area. Scrub gently with a sponge or a soft brush to remove any soap scum, mildew, or stains. Rinse the area with clean water and allow it to dry completely.
Step 5: Remove old adhesive or grout: If there is any old adhesive or grout residue around the crack, use a putty knife or scraper to scrape it away. This will help create a smooth and even surface for the patching compound.
Step 6: Sand the cracked area: Use sandpaper or a sanding block to lightly sand the cracked area. This will help roughen the surface slightly, promoting better adhesion of the patching compound.
Step 7: Remove any excess dust: Wipe down the cleaned area with a damp cloth or sponge to remove any leftover dust or debris from the sanding process. Allow the area to dry completely before proceeding to the next step.
By thoroughly cleaning and preparing the cracked shower floor, you create an optimal surface for the repair. This will ensure that the patching compound adheres effectively and results in a seamless and durable fix.
Applying the Patching Compound
Once you have cleaned and prepared the cracked shower floor, it’s time to apply the patching compound. This compound fills in the crack, strengthens the area, and provides a smooth surface for the final repair.
Follow these steps to apply the patching compound:
Step 1: Mix the compound: Follow the manufacturer’s instructions to mix the patching compound. Use a clean bucket or container and a mixing paddle to ensure a consistent and smooth mixture.
Step 2: Apply the compound: Using a putty knife or a trowel, carefully apply the patching compound to the crack. Make sure to press the compound firmly into the crack to ensure it fills any gaps or voids completely.
Step 3: Smooth the surface: After applying the compound, use the edge of the putty knife or a flat surface to smooth the surface of the patch. This will help level the compound with the rest of the shower floor.
Step 4: Remove excess compound: Use a damp cloth or sponge to wipe away any excess compound from the surrounding tiles or the surface of the shower floor. This will ensure a clean and professional-looking repair.
Step 5: Allow the compound to dry: Follow the recommended drying time specified by the manufacturer. Avoid stepping on or using the repaired area until the patching compound has completely cured.
Remember to work efficiently while applying the patching compound to ensure a uniform finish. If needed, you can apply multiple layers of the compound, allowing each layer to dry before applying the next, until the crack is fully filled and level with the rest of the shower floor.
The patching compound serves as the foundation for the repair, so it is crucial to apply it properly and give it enough time to fully dry and cure before proceeding to the next steps.
Use a two-part epoxy or acrylic repair kit to fill in the crack on your shower floor. Clean the area thoroughly before applying the repair material and allow it to dry completely before using the shower again.
Read more: How To Fix Cracks In Basement Floor
Smoothing and Leveling the Patched Area
Now that you have applied the patching compound to the cracked shower floor, the next step is to smooth and level the patched area. This process ensures that the repaired section blends seamlessly with the surrounding tiles and creates a visually appealing finish.
Follow these steps to smooth and level the patched area:
Step 1: Sand the patch: Once the patching compound has fully dried and cured, use fine-grit sandpaper or a sanding block to gently sand the patched area. This will help smooth out any rough edges and create a level surface.
Step 2: Check for smoothness: Run your hand over the patched area to check for any remaining imperfections. If you feel any unevenness or rough spots, continue sanding until the surface feels smooth and consistent.
Step 3: Remove dust: Use a clean, damp cloth or sponge to wipe away any dust or debris from the sanding process. It is important to have a clean and debris-free surface before proceeding to the next step.
Step 4: Check for color match: Compare the color of the patched area with the surrounding tiles. If there is a noticeable difference, you may need to touch up the patch with paint or a colored sealant to achieve a more seamless color match.
Step 5: Apply a thin layer of sealant: Once you are satisfied with the smoothness and color match of the patched area, apply a thin layer of sealant over the entire repaired section. This will provide extra protection and enhance the longevity of the repair.
Take your time during the smoothing and leveling process to ensure a professional-looking finish. It is important to create a surface that matches the texture and appearance of the surrounding tiles to achieve a seamless and visually appealing result.
Allowing the Patch to Cure
After smoothing and leveling the patched area of your cracked shower floor, it is essential to allow the patching compound to fully cure. Curing time is crucial in ensuring the durability and effectiveness of the repair.
Here are some important guidelines to follow when allowing the patch to cure:
Follow manufacturer’s instructions: Refer to the instructions provided by the manufacturer of the patching compound to determine the specific curing time. Different compounds may have varying curing times, so make sure to follow the recommended guidelines.
Avoid using the repaired area: During the curing process, it is essential to avoid stepping on or using the repaired area. Putting weight or pressure on the patch too soon can disrupt the curing process and compromise the integrity of the repair.
Provide sufficient time for curing: The curing time may range from a few hours to several days, depending on the type of patching compound used. Ensure that you provide enough time for the compound to fully harden and set before using the shower again.
Maintain proper ventilation: Adequate airflow and ventilation in the bathroom can help speed up the curing process by allowing the moisture in the compound to evaporate. Consider opening windows or using a fan to promote air circulation.
Avoid excessive moisture exposure: While curing, it is important to prevent excessive moisture from coming into contact with the patch. Avoid taking showers or exposing the repaired area to water until the patch has fully cured.
Properly allowing the patching compound to cure is crucial for a successful repair. Rushing the process or using the shower prematurely can lead to a weakened repair and potential damage in the future. Take the time to ensure that the patch has cured completely before moving on to the next steps.
Applying a Waterproof Sealant
Once the patched area on your cracked shower floor has fully cured, the next step is to apply a waterproof sealant. This sealant provides an additional layer of protection against water damage and helps to maintain the integrity of the repair.
Follow these steps to apply a waterproof sealant:
Step 1: Choose the right sealant: Select a waterproof sealant that is specifically designed for use in wet environments such as showers. Look for a sealant that is mold and mildew resistant to prevent future issues.
Step 2: Prepare the area: Ensure that the patched area is clean and free of any debris. Use a mild cleaner or a mixture of water and vinegar to thoroughly clean the surface. Allow it to dry completely before applying the sealant.
Step 3: Apply the sealant: Follow the manufacturer’s instructions to apply the sealant. Use a caulking gun for precise and controlled application. Start at one end of the patched area and apply a thin, even layer of sealant along the crack. Continue until the entire patched area is coated.
Step 4: Smooth the sealant: Use a caulk smoothing tool or a damp finger to smooth the applied sealant. This will help create a neat and professional finish. Wipe away any excess sealant with a clean cloth or sponge.
Step 5: Allow the sealant to dry: Follow the recommended drying time specified by the manufacturer. Keep in mind that drying times may vary depending on the type of sealant used. Avoid using the shower or exposing the patched area to water until the sealant has fully dried.
Applying a waterproof sealant adds an extra layer of protection to the repaired area, preventing water from seeping into the crack and causing further damage. It also helps to maintain the appearance of your shower floor by protecting the surrounding tiles and grout from water damage.
Remember to regularly inspect the sealant for any signs of wear or damage. If necessary, reapply the sealant to ensure ongoing protection and longevity of the repair.
Finishing Touches and Additional Tips
Now that you have completed the main steps to fix a cracked shower floor, it’s time to add some finishing touches and consider additional tips to ensure a successful repair. These final steps will help enhance the overall appearance and longevity of your shower floor.
Replace any damaged tiles: If any tiles were removed or damaged during the repair process, now is the time to replace them. Use the appropriate adhesive or thinset mortar to secure the tiles in place, ensuring they are level with the surrounding tiles.
Regrout the repaired area: If the grout around the repaired area is damaged or has been removed, it is essential to regrout it. Choose a grout color that matches the existing grout and carefully apply it using a grout float. Remove any excess grout with a damp sponge and allow it to dry.
Clean and maintain the shower: Regularly clean your shower floor to prevent the buildup of soap scum, mildew, or other contaminants. Use mild cleaners or natural solutions and avoid abrasive cleaning tools that can damage the repaired area.
Use bath mats or rugs: Placing bath mats or rugs in your shower can provide an extra layer of protection for the repaired area and help prevent slips and falls.
Inspect and address any signs of damage: Regularly inspect your shower floor for any signs of new cracks or damage. If you notice any issues, address them promptly to avoid further damage and the need for more extensive repairs.
Consult a professional if needed: If you are uncertain about the extent of the damage or don’t feel confident in your repair skills, it is always advisable to consult with a professional plumber or contractor. They can assess the situation and provide expert guidance and assistance.
By following these finishing touches and additional tips, you can maintain the repaired shower floor and ensure its longevity. Regular maintenance and timely repairs will help prevent future issues and keep your shower in excellent condition.
Now that you have learned how to fix a cracked shower floor, you can enjoy a restored and beautiful shower space. Remember to take the necessary precautions during the repair process and don’t hesitate to seek professional help if needed. With a little effort and careful attention, your shower floor will be as good as new.
Read more: How To Fix A Cracked Garage Floor
Conclusion
Congratulations! You have successfully learned how to fix a cracked shower floor. By following the step-by-step process outlined in this guide, you can repair minor cracks and damages on your own, saving time and money.
Remember, it is crucial to assess the damage, gather the required tools and materials, clean and prepare the cracked surface, apply the patching compound, smooth and level the patched area, and allow it to fully cure before applying a waterproof sealant.
Additionally, be sure to follow the recommended drying and curing times and take the necessary precautions to protect the repaired area during the process. Regular maintenance and careful observation will help prevent further damage and ensure the longevity of your shower floor.
If you encounter extensive damage or feel uncertain about the repair process, it is always advisable to consult with a professional plumber or contractor. They can provide expert guidance and assistance to ensure a successful outcome.
With proper care and maintenance, your newly repaired shower floor will remain beautiful and functional for years to come. Enjoy a revitalized showering experience in a space that looks and feels like new!
Thank you for reading and best of luck with your shower floor repair!
Frequently Asked Questions about How To Fix A Cracked Shower Floor
Was this page helpful?
At Storables.com, we guarantee accurate and reliable information. Our content, validated by Expert Board Contributors, is crafted following stringent Editorial Policies. We're committed to providing you with well-researched, expert-backed insights for all your informational needs.


0 thoughts on “How To Fix A Cracked Shower Floor”