Articles
How To Build Shower Floor
Modified: October 20, 2024
Learn how to build a strong and waterproof shower floor with our informative articles. Get expert tips and step-by-step instructions for a successful shower floor installation.
(Many of the links in this article redirect to a specific reviewed product. Your purchase of these products through affiliate links helps to generate commission for Storables.com, at no extra cost. Learn more)
Introduction
Building a shower floor is an essential step in creating a functional and visually appealing bathroom. Whether you’re renovating your existing bathroom or starting from scratch, the shower floor plays a crucial role in providing a stable and water-resistant foundation for your shower.
In this article, we will guide you through the process of building a shower floor from start to finish. We’ll cover everything from planning and preparation to installation and finishing touches. By following these steps, you’ll be able to create a durable and beautiful shower floor that will stand the test of time.
Before we dive into the details, it’s important to note that building a shower floor requires some basic knowledge of construction and the use of specific materials and tools. If you’re not comfortable with these tasks, it’s highly recommended to hire a professional to ensure the job is done correctly and safely.
Now that we have that covered, let’s get started with the planning and preparation phase.
Key Takeaways:
- Proper planning, preparation, and attention to detail are crucial for building a durable and visually appealing shower floor. From subfloor preparation to tile sealing, each step contributes to a professional result.
- Building a shower floor requires specific materials, tools, and construction knowledge. It’s essential to follow manufacturer’s instructions, prioritize safety, and consider professional help if needed for a successful project.
Read more: How To Waterproof Shower Floor
Planning and Preparation
Proper planning and preparation are essential for a successful shower floor construction project. Before you begin, take some time to evaluate the space and consider your specific needs and preferences. Here are some key factors to consider:
- Layout: Determine the layout of your shower floor, taking into account the available space and any existing plumbing or structural constraints. Consider the size and shape of the shower floor that will best suit your needs.
- Drainage: Pay close attention to the drainage system. Ensure that it is properly designed to allow water to flow efficiently and prevent any potential water damage or pooling issues.
- Waterproofing: Assess the level of waterproofing required for your shower floor. This will depend on factors such as the type of tile you plan to use and whether you’ll be applying a shower pan liner or a waterproofing membrane.
- Materials: Make a list of all the materials and tools you’ll need for the project. This typically includes items such as cement board, tiles, mortar, waterproofing materials, a shower pan liner, drain components, and tile adhesive.
- Budget and Timeline: Determine your budget for the project and set a realistic timeline for completion. This will help you stay on track and avoid any unnecessary delays or overspending.
Once you have a clear plan in place, it’s time to gather the necessary materials and tools. Having everything readily available will make the construction process smoother and more efficient.
In the next section, we’ll go over the materials and tools you’ll need for building a shower floor.
Gather Materials and Tools
Before you can begin building your shower floor, you’ll need to gather all the necessary materials and tools. Here’s a list of what you’ll typically need:
Materials:
- Cement board
- Tiles (preferably non-porous and water-resistant)
- Mortar
- Waterproofing material (shower pan liner or waterproofing membrane)
- Drain components (such as a drain base, clamping ring, and grate)
- Tile adhesive
- Grout
- Sealer
- Masking tape (for securing the shower pan liner)
- Spacers
- Trowel
- Tile cutter
- Grout float
- Sponge
- Bucket
- Measuring tape
- Level
- Utility knife
- Notched trowel
Tools:
- Hammer
- Screwdriver
- Electric drill
- Mixing paddle
- Notched trowel
- Grout float
- Tile cutter
- Sponge
- Bucket
- Measuring tape
- Level
- Utility knife
- Notched trowel
Make sure to gather all the necessary materials and ensure they are of good quality. It’s better to invest in high-quality materials that will provide durability and longevity to your shower floor. Additionally, double-check that you have all the required tools before you begin the construction process.
Once you have everything ready, you can move on to prepping the subfloor, which we’ll cover in the next section.
Read more: How To Grout Shower Floor
Prepare the Subfloor
Preparing the subfloor is an important step in building a shower floor that is stable and can withstand daily use. Here’s how to prep the subfloor:
- Remove old flooring: If there is existing flooring in the area where you’ll be building the shower floor, remove it completely. This includes any tiles, linoleum, or carpet.
- Inspect the subfloor: Check the subfloor for any damage, rot, or unevenness. Repair or replace any damaged areas to create a solid, level surface to work with.
- Clean the subfloor: Remove any debris or dust from the subfloor. Use a broom or vacuum to ensure it is free from any loose particles.
- Apply a waterproof barrier: To prevent water damage, it’s important to apply a waterproof barrier to the subfloor. This can be done by using a waterproofing membrane or a liquid waterproofing product. Follow the manufacturer’s instructions for proper application.
- Install cement board: Cement board is a durable and water-resistant material that will create a solid base for your shower floor. Cut the cement board to fit the area and secure it to the subfloor using screws or nails. Make sure to leave a small gap between the boards to allow for expansion.
- Seal the cement board: Apply a waterproof sealer to the cement board to add an extra layer of protection. This will help further prevent water damage and ensure the longevity of your shower floor.
Once the subfloor is prepped and ready, you can move on to installing the drain, which we’ll cover in the next section.
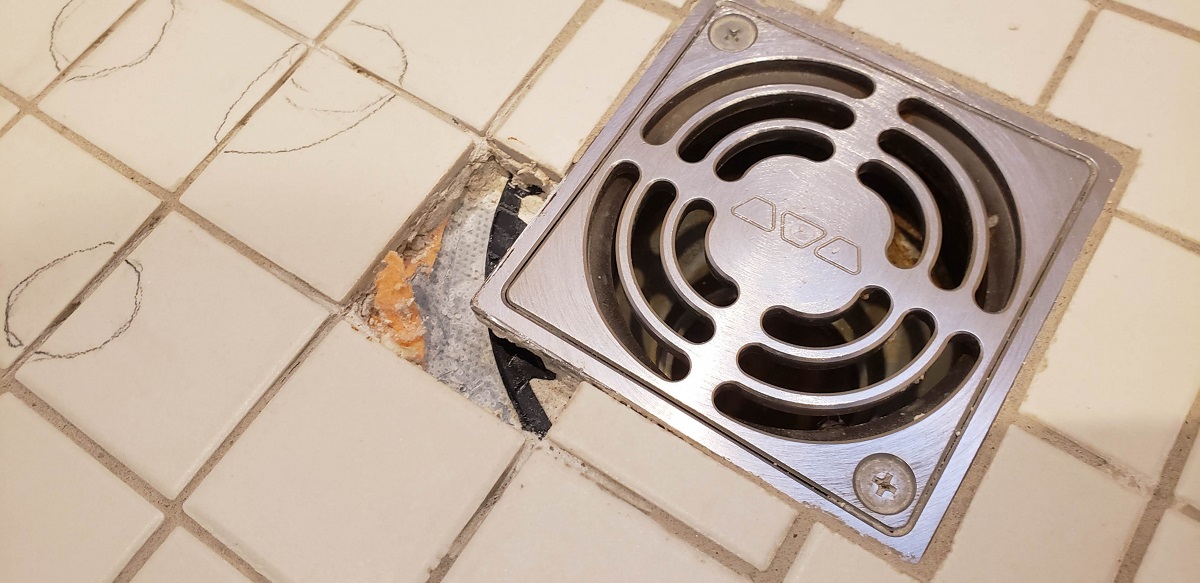
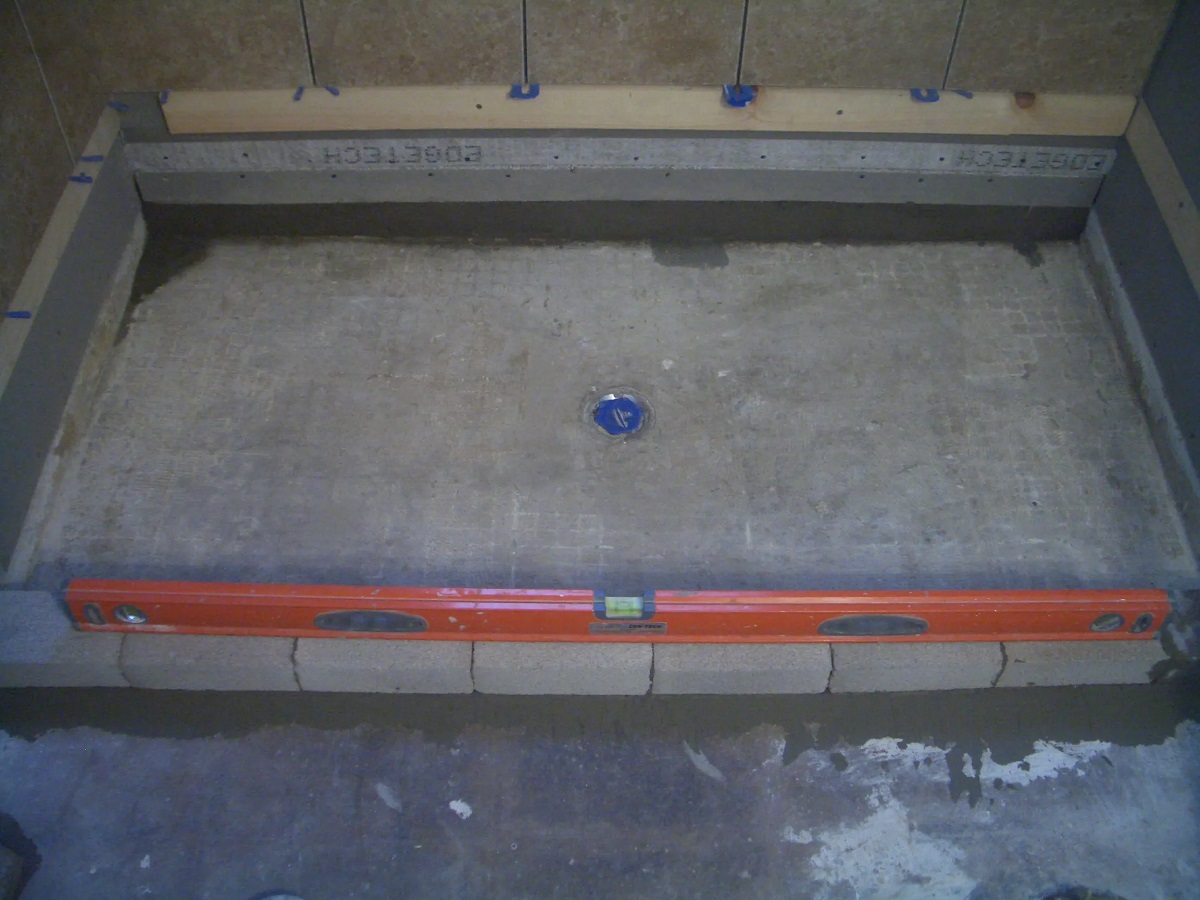
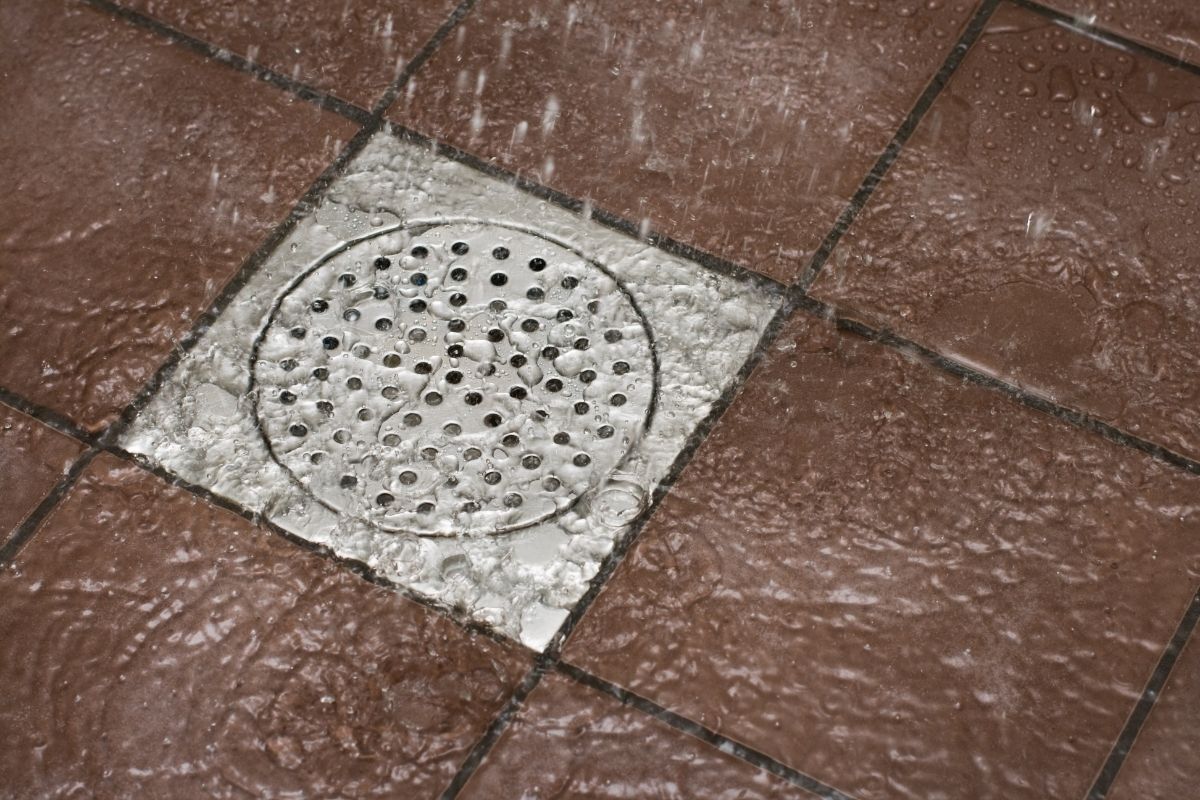
Install the Drain
Installing the drain is a crucial step in building a functional and properly draining shower floor. Here’s how to install the drain:
- Locate the drain: Determine the exact location where the drain will be installed. This is usually in the center of the shower floor or according to your specific design plan.
- Prepare the drain base: Place the drain base over the drain opening on the subfloor. Ensure that it fits securely and is level with the surrounding surface.
- Attach the clamping ring: Slide the clamping ring over the drain base and position it in place. Use screws or clamps to secure it tightly, ensuring a watertight seal.
- Connect the drain pipe: Connect the drain pipe to the drain base, ensuring a snug fit. Use plumber’s tape or adhesive to secure the connection and prevent any leaks.
- Test the drain: Fill the shower floor with water and observe if it drains properly. This will help you identify any potential issues or leaks that need to be addressed before proceeding with the construction.
Once the drain is installed and properly functioning, you can move on to the next step, which is installing the shower pan liner.
Install the Shower Pan Liner
The shower pan liner is a vital component of a waterproof shower floor. It provides an additional layer of protection against water leakage and helps direct water towards the drain. Here’s how to properly install the shower pan liner:
- Measure and cut the liner: Start by measuring the dimensions of your shower floor. Add extra length to the liner to ensure it covers the entire area, goes up the walls, and extends to the height specified by local building codes. Cut the liner to size, ensuring it fits snugly into the shower floor area.
- Prep the subfloor: Before installing the liner, make sure the subfloor is clean and free of debris. Smooth out any rough areas or imperfections that could cause the liner to tear or puncture.
- Place the liner: Lay the liner over the shower floor, ensuring it covers the entire area and extends up the walls. Smooth out any wrinkles or folds, as these can create weak spots in the liner that could lead to water leaks.
- Secure the liner: Attach the liner to the walls using nails or staples. Be careful not to puncture the liner excessively, as this can compromise its waterproofing abilities. Trim any excess liner, leaving a few inches of overhang to fold and secure later.
- Seal the liner: Use waterproof sealant or adhesive to secure the folds and seams of the liner. This will ensure a watertight seal and prevent any water from seeping through the edges.
- Test the liner: Fill the shower floor with water and let it sit for at least 24 hours. Check for any signs of leakage or pooling. If any issues arise, make the necessary adjustments or repairs before proceeding to the next step.
Once the shower pan liner is properly installed and waterproofed, you can move on to building the mortar bed, which will provide the base for the tile installation.
Build the Mortar Bed
The mortar bed serves as a sturdy and level base for the tile installation in your shower floor. It helps to support the tiles and ensure a long-lasting and durable finish. Here’s how to build the mortar bed:
- Mix the mortar: Follow the manufacturer’s instructions to mix the mortar. Ensure the consistency is thick but still workable.
- Prep the shower pan liner: Before applying the mortar, dampen the shower pan liner with water. This will prevent it from absorbing moisture from the mortar too quickly.
- Apply the mortar: Start by spreading a layer of mortar on the shower pan liner using a trowel. Begin at the drain and work your way outwards, maintaining a consistent thickness of the mortar bed.
- Create a slope: Use a screed or trowel to create a gentle slope towards the drain. This will ensure proper water drainage and prevent pooling on the shower floor.
- Smooth the surface: Once the mortar is applied, use a trowel or a screed board to smooth out the surface of the mortar bed. Make sure it is even and level, paying attention to any low or high spots.
- Cure the mortar: Allow the mortar bed to cure for the recommended period of time specified by the manufacturer. This usually takes around 24 to 48 hours.
Building a proper mortar bed is crucial for the stability and longevity of your shower floor. Take your time during this step to ensure the mortar bed is level, sloped correctly, and properly cured before moving on to the next stage, which is the tile installation.
When building a shower floor, make sure to use a waterproof membrane to prevent water damage. This will help ensure that your shower floor remains durable and long-lasting.
Read more: How To Build A Floor
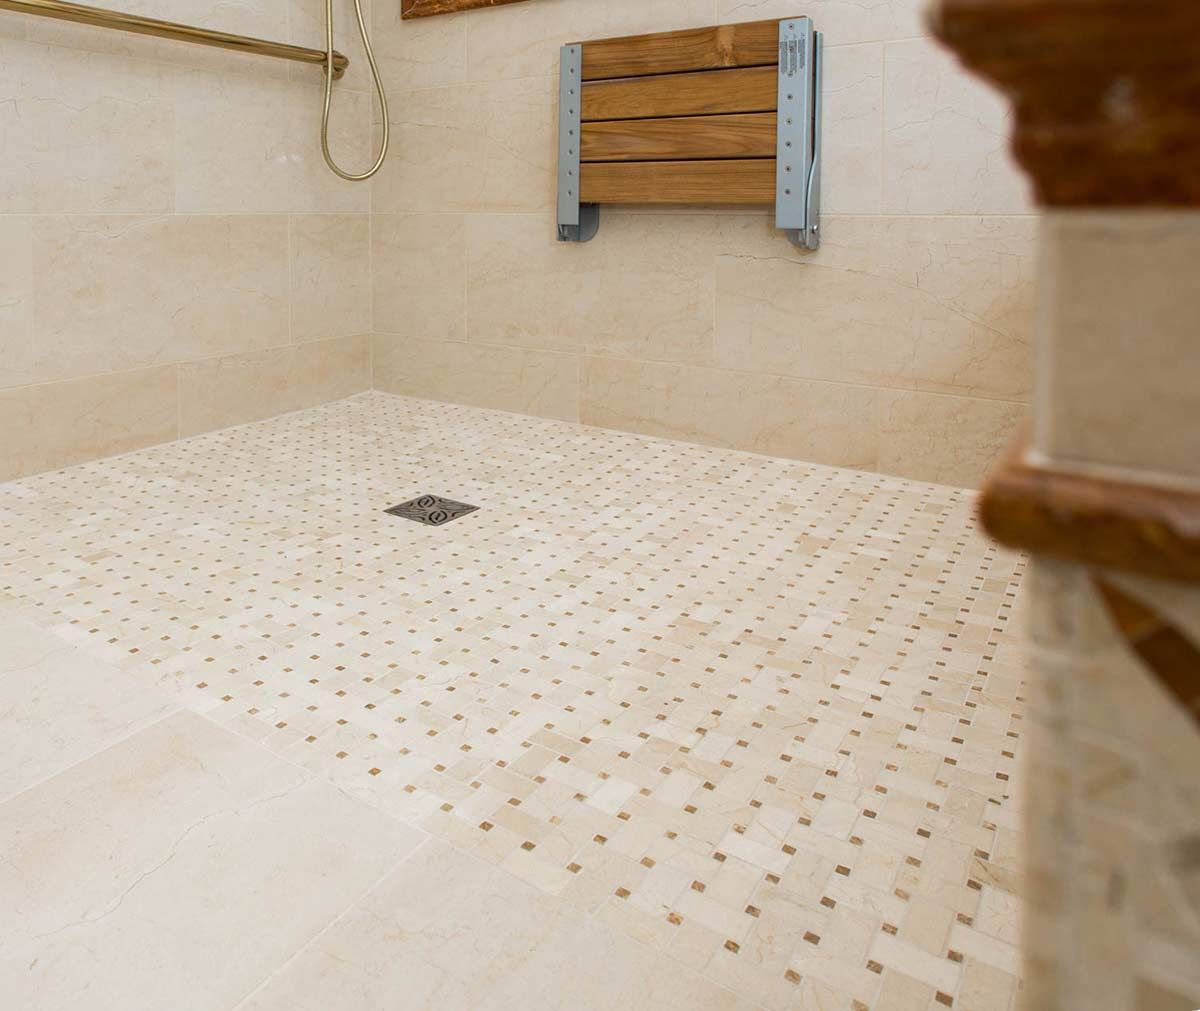
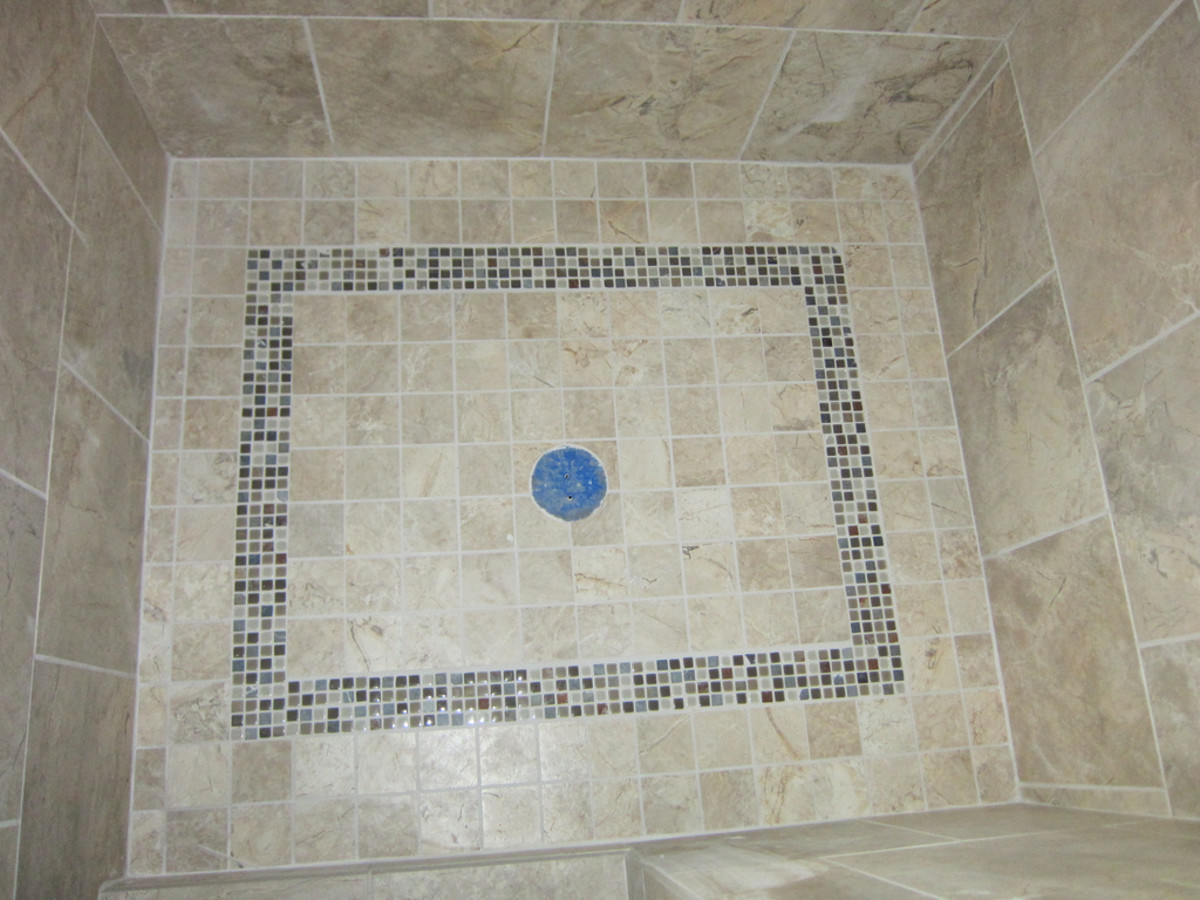
Install the Tile
Installing the tile is the exciting part of building your shower floor. It adds the final touch and transforms the space into a beautiful and functional shower. Here’s how to install the tile:
- Plan the tile layout: Before you start laying the tile, plan the layout to ensure a balanced and aesthetically pleasing look. Consider the size and shape of the tiles, as well as any patterns or accents you want to incorporate.
- Prepare the adhesive: Mix the tile adhesive according to the manufacturer’s instructions. Ensure it has the right consistency for proper tile adhesion.
- Apply the adhesive: Use a notched trowel to spread the tile adhesive evenly on a small section of the mortar bed. Start at one corner and work your way across, applying the adhesive in thin, even layers.
- Place the tiles: Carefully place each tile onto the adhesive, pressing down firmly to ensure proper adhesion. Use spacers to maintain consistent spacing between tiles.
- Continue tiling: Repeat the process of applying adhesive and placing tiles, working in small sections at a time. Make sure each tile is level and aligned with the surrounding tiles.
- Cut tiles: Use a tile cutter to cut tiles to fit around edges, corners, or any obstacles in the shower floor. Measure carefully and make precise cuts to achieve a seamless and professional finish.
- Let the adhesive dry: Allow the adhesive to dry completely as per the manufacturer’s instructions. This usually takes 24 to 48 hours, depending on the type of adhesive used.
Once the adhesive is dry, you can proceed to the next step – grouting the tile.
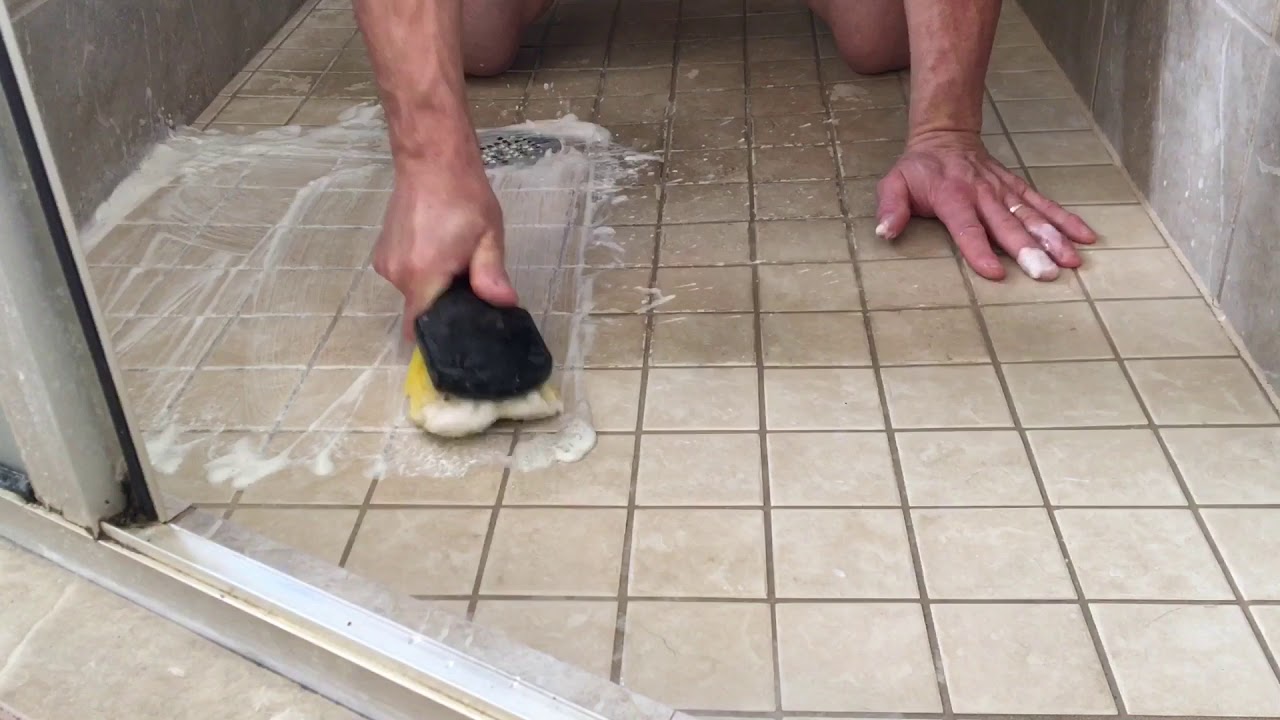
Grout the Tile
Grouting the tile is an important step in completing your shower floor. It not only fills in the gaps between the tiles but also provides strength and stability to the overall installation. Here’s how to properly grout the tile:
- Choose the right grout: Select a grout color that complements your tile and desired aesthetic. Ensure you choose a grout specifically formulated for wet areas, such as a sanded or epoxy grout.
- Mix the grout: Follow the manufacturer’s instructions to mix the grout to the correct consistency. Use a grout float or a mixing paddle attached to an electric drill to achieve a smooth and lump-free mixture.
- Apply the grout: Scoop a generous amount of grout onto the grout float and begin spreading it across the tiles at a 45-degree angle. Press the grout into the gaps, ensuring full coverage.
- Remove excess grout: Once you have filled all the gaps, hold the grout float at a 90-degree angle and scrape off the excess grout from the surface of the tiles. Wipe diagonally across the tiles to avoid pulling the grout out from the gaps.
- Clean the tiles: After a short period of drying, use a damp sponge to wipe off any residue and haze from the tiles. Rinse the sponge frequently and change the water as needed.
- Final touch-ups: As the grout starts to set, use a clean, dry cloth to buff away any remaining haze from the tile surface. This will give your shower floor a clean and polished finish.
- Cure the grout: Allow the grout to cure for the recommended time provided by the manufacturer. This typically takes about 24 to 48 hours.
Make sure to follow the manufacturer’s recommendations for sealing the grout to protect it from stains and moisture. This final step will help prolong the life and appearance of your shower floor.
With the tile grouted and cured, it’s time to move on to sealing the tile, which we’ll cover in the next section.
Seal the Tile
Sealing the tile is the last crucial step in building and maintaining a beautiful and long-lasting shower floor. It helps protect the tile and grout from moisture, stains, and damage. Here’s how to properly seal the tile:
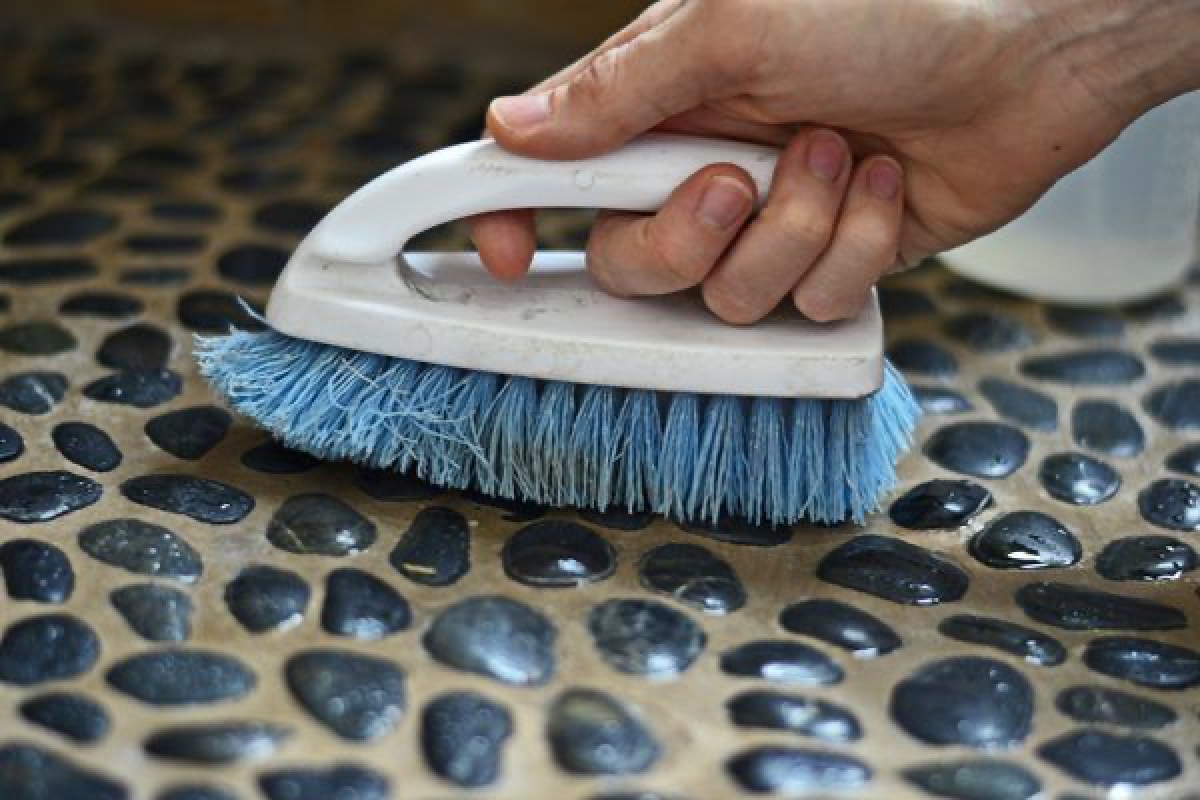
- Clean the tile: Before applying the sealer, ensure that the tile and grout are clean and free from any residues or debris. Use a mild cleaner and a scrub brush or sponge to gently clean the surface. Allow it to dry completely.
- Choose the right sealer: Select a sealer that is specifically designed for your type of tile and grout. There are various options available, including penetrating sealers, topical sealers, and enhancer sealers. Read the manufacturer’s instructions to determine the suitable type of sealer for your shower floor.
- Apply the sealer: Following the instructions on the sealer product, apply a thin and even coat of sealer over the entire tile surface, including the grout lines. Use a brush or roller to ensure thorough coverage. Be careful not to oversaturate the grout lines.
- Allow the sealer to soak in: Let the sealer sit for the recommended time, allowing it to penetrate the tile and grout. This duration may vary depending on the sealer type and manufacturer’s instructions.
- Wipe off excess sealer: After the recommended soak-in time, use a clean lint-free cloth or sponge to wipe off any excess sealer from the tile surface. Take extra care when wiping near and around the grout lines.
- Cure the sealer: Allow the sealer to cure as per the manufacturer’s instructions. This usually takes a few hours to a couple of days. Avoid exposing the newly sealed shower floor to water or heavy foot traffic during this curing period.
Regularly check and maintain the seal on your shower floor by reapplying the sealer as recommended by the manufacturer. This will help keep your shower floor looking pristine and protected.
Now that your tile is sealed, you can move on to the final touches and clean up to complete your shower floor installation.
Final Touches and Clean Up
With the completion of the main steps in building your shower floor, it’s time to add the final touches and tidy up the area. Paying attention to these details will ensure a polished and well-finished shower. Here’s what you need to do:
- Remove spacers: Carefully remove the tile spacers that were used during the tile installation. Pull them out from between the tiles, making sure not to disturb the position of the tiles.
- Check for loose or uneven tiles: Inspect the entire shower floor for any loose or uneven tiles. If you find any, use a rubber mallet or a hammer and a wooden block to tap them gently into place.
- Clean the tile: Wipe down the tiles and grout lines with a damp sponge to remove any remaining grout haze or residue. Pay special attention to corners and edges where grime may accumulate.
- Apply tile sealer (optional): If desired, you can apply a second coat of tile sealer to further protect the surface. Follow the manufacturer’s instructions for application and drying times.
- Reattach fixtures: If you had to remove any fixtures during the shower floor installation, such as showerheads or handles, now is the time to reattach them. Ensure they are properly secured and functioning correctly.
- Clean up excess materials: Dispose of any leftover mortar, grout, or packaging materials properly. Sweep or vacuum the area to remove any dust or debris that may have accumulated during the installation process.
- Test the shower: Before using the shower, test the water flow and drainage to ensure everything is functioning properly. Look for any signs of leaks or water pooling and address them immediately if necessary.
With these final touches and clean-up completed, your shower floor is now ready to be enjoyed. Take a moment to admire your hard work and enjoy the satisfaction of a job well done!
Remember to regularly clean and maintain your shower floor to keep it in optimal condition and prolong its lifespan. Following proper cleaning techniques and using suitable products will help maintain its beauty and functionality for years to come.
With thorough planning, proper preparation, and attention to detail, you can create a stunning and functional shower floor that adds value and style to your bathroom.
Good luck with your shower floor construction project!
Read more: How To Build An Outdoor Shower
Conclusion
Building a shower floor is a rewarding and essential part of creating a functional and visually appealing bathroom. By following the steps outlined in this article, you can successfully build a shower floor that is durable, water-resistant, and aesthetically pleasing.
From the initial planning and preparation phase to the final touches and clean-up, each step is crucial in ensuring the quality and longevity of your shower floor. Taking the time to gather the necessary materials and tools, properly prepare the subfloor, install the drain, and apply the shower pan liner are key factors in building a solid foundation.
Building a mortar bed, installing the tile, grouting, and sealing are the subsequent steps that contribute to the overall beauty and functionality of the shower floor. By paying attention to detail during these processes, you can achieve a professional-looking result.
Remember, it is important to consider safety and consult with professionals if you are not confident in your abilities or lack the necessary experience. Proper planning, following manufacturer’s instructions, and using quality materials are essential for the success of your shower floor construction project.
Once your shower floor is complete, regularly clean and maintain it to preserve its beauty and ensure it remains in optimal condition. This includes properly sealing the tile and grout, as well as practicing regular cleaning routines.
Now that you have the knowledge and steps required to build a shower floor, it’s time to put your skills to work and create a shower that you’ll enjoy for years to come. So, roll up your sleeves, gather your materials, and embark on this exciting bathroom improvement project.
Good luck, and may your shower floor become a beautiful and functional centerpiece in your bathroom!
Frequently Asked Questions about How To Build Shower Floor
Was this page helpful?
At Storables.com, we guarantee accurate and reliable information. Our content, validated by Expert Board Contributors, is crafted following stringent Editorial Policies. We're committed to providing you with well-researched, expert-backed insights for all your informational needs.


0 thoughts on “How To Build Shower Floor”