Articles
How To Install Shower Drain In Concrete Floor
Modified: October 20, 2024
Learn how to install a shower drain in a concrete floor with step-by-step instructions and expert tips. Read our informative articles to ensure a successful installation.
(Many of the links in this article redirect to a specific reviewed product. Your purchase of these products through affiliate links helps to generate commission for Storables.com, at no extra cost. Learn more)
Introduction
Installing a shower drain in a concrete floor may seem like a daunting task, but with the right tools and a step-by-step approach, it can be easily accomplished. Whether you’re building a new bathroom or renovating an existing one, knowing how to install a shower drain in a concrete floor is essential to ensure proper drainage and prevent water damage.
A shower drain not only collects and removes water from the shower area but also plays a significant role in preventing leaks and potential structural damage caused by standing water. By following a few simple steps, you can install a shower drain in a concrete floor effectively and efficiently.
In this article, we will guide you through the process of installing a shower drain in a concrete floor. We will provide a list of tools and materials you’ll need, along with a step-by-step tutorial to ensure a successful installation. So, let’s dive in and get started.
Key Takeaways:
- Mastering the installation of a shower drain in a concrete floor is achievable with the right tools, meticulous preparation, and attention to detail. Following the step-by-step process ensures efficient drainage and prevents water damage.
- From marking the drain location to testing its functionality, each step in the installation process is crucial. Taking the time to complete the finishing touches ensures a professionally installed shower drain that will last for years.
Tools and Materials Needed
Before you begin the installation process, make sure you have the following tools and materials on hand:
- Measuring tape
- Pencil or marker
- Hammer
- Masonry chisel
- Power drill
- Concrete drill bit
- Circular saw
- Trowel
- Level
- Adjustable wrench
- Plumber’s putty
- PVC primer and cement
- Shower drain assembly
- Concrete mix
- Water
Having these tools and materials ready will ensure a smooth installation process. It’s always a good idea to gather everything before you begin to avoid any interruptions or delays.
Step 1: Preparation
Before you start the installation process, it’s crucial to prepare the area where the shower drain will be installed. Follow these steps to ensure a proper foundation for the drain:
- Clear the area: Remove any existing flooring or debris to expose the concrete subfloor. Ensure the area is clean and free from any obstructions.
- Locate the plumbing: Identify the location of the plumbing pipes beneath the concrete floor. This will help you determine the position of the shower drain and plan accordingly.
- Measure and mark: Use a measuring tape to mark the center of the shower drain location. This will serve as a guide for cutting the opening in the concrete floor.
- Protect the surrounding area: Cover nearby surfaces, such as walls or fixtures, with plastic sheets or drop cloths to prevent any damage during the installation process.
Taking these steps before moving forward will ensure a clean and organized workspace, making it easier to proceed with the installation process.
Step 2: Marking the Drain Location
Once you have completed the preparations, it’s time to mark the exact location of the shower drain on the concrete floor. Follow these steps to ensure accurate placement:
- Position the drain assembly: Place the shower drain assembly over the marked center point and align it with the existing plumbing pipes. Make sure it sits flush with the surface of the concrete floor.
- Trace the outline: Use a pencil or marker to trace the outline of the drain assembly onto the concrete floor. This will serve as a guide for cutting the opening.
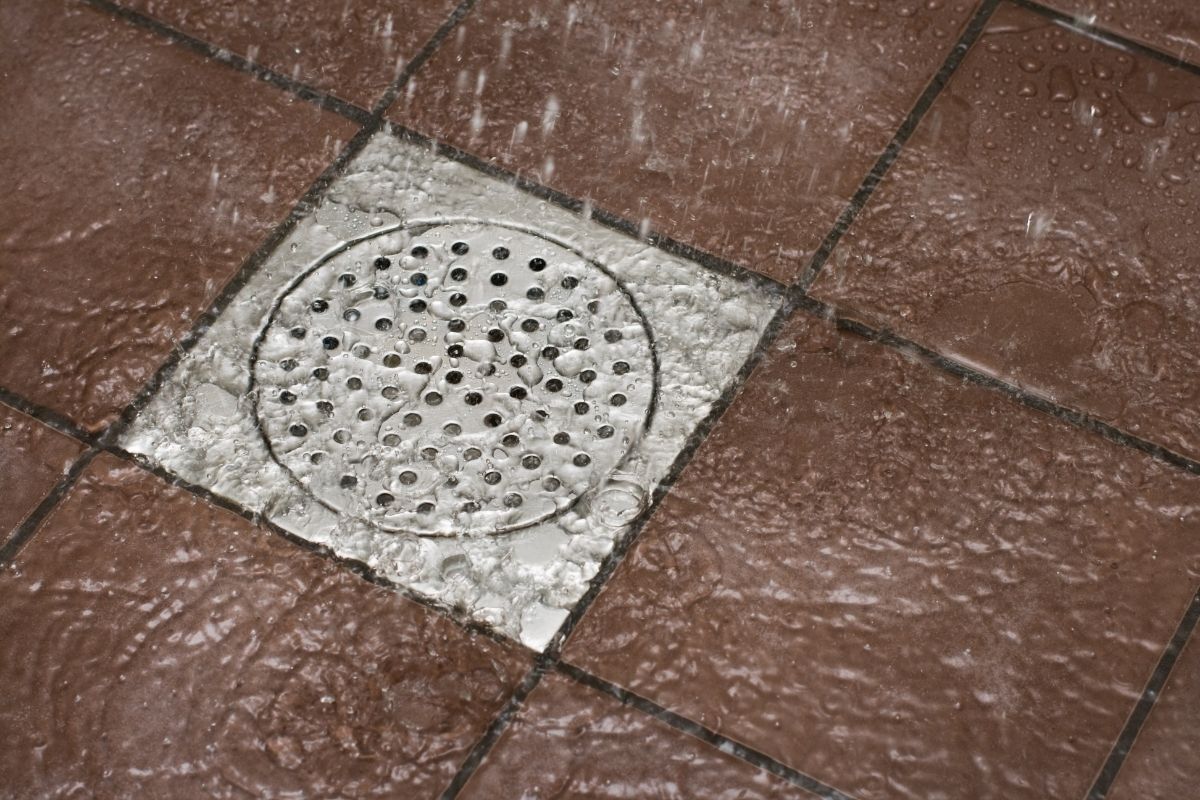
- Include the weep holes: Pay attention to the weep holes on the drain assembly. These small openings allow water to drain properly. Ensure they are included in your tracing so that they align with the drainage system.
- Double-check the alignment: Take a moment to double-check the alignment of the drain assembly with the plumbing pipes. Verify that everything lines up correctly before proceeding to the next step.
Accurately marking the drain location is essential for a seamless installation. Take your time to ensure precise measurements and alignment to avoid any issues during cutting and installation.
Step 3: Cutting the Concrete Floor
With the drain location marked on the concrete floor, it’s time to cut the opening for the shower drain. Follow these steps to safely and accurately cut through the concrete:
- Put on safety gear: Before you begin cutting, put on safety goggles and a dust mask to protect yourself from flying debris and dust.
- Prepare the tools: Attach a concrete drill bit to your power drill. This specialized drill bit is designed to cut through concrete effectively.
- Drill pilot holes: Use the drill to create pilot holes along the traced outline of the drain. These holes will act as starting points for the cutting process.
- Cut along the outline: Use a circular saw equipped with a masonry blade to carefully cut along the traced outline of the drain. Take your time and follow the markings precisely.
- Work in sections: Cutting through concrete can be challenging, so it’s best to work in small sections. Make several passes with the circular saw, gradually deepening the cut until you reach the desired depth.
- Remove the cut concrete: Once the cutting is complete, use a hammer and masonry chisel to break away the cut concrete, creating a clean and smooth opening for the drain.
Cutting through concrete requires precision and patience. Take breaks if necessary, and don’t rush the process. Remember to exercise caution and follow proper safety procedures to avoid any accidents or injuries.
Make sure to properly align the shower drain with the slope of the concrete floor to ensure proper drainage. Use a high-quality waterproofing membrane around the drain to prevent leaks.
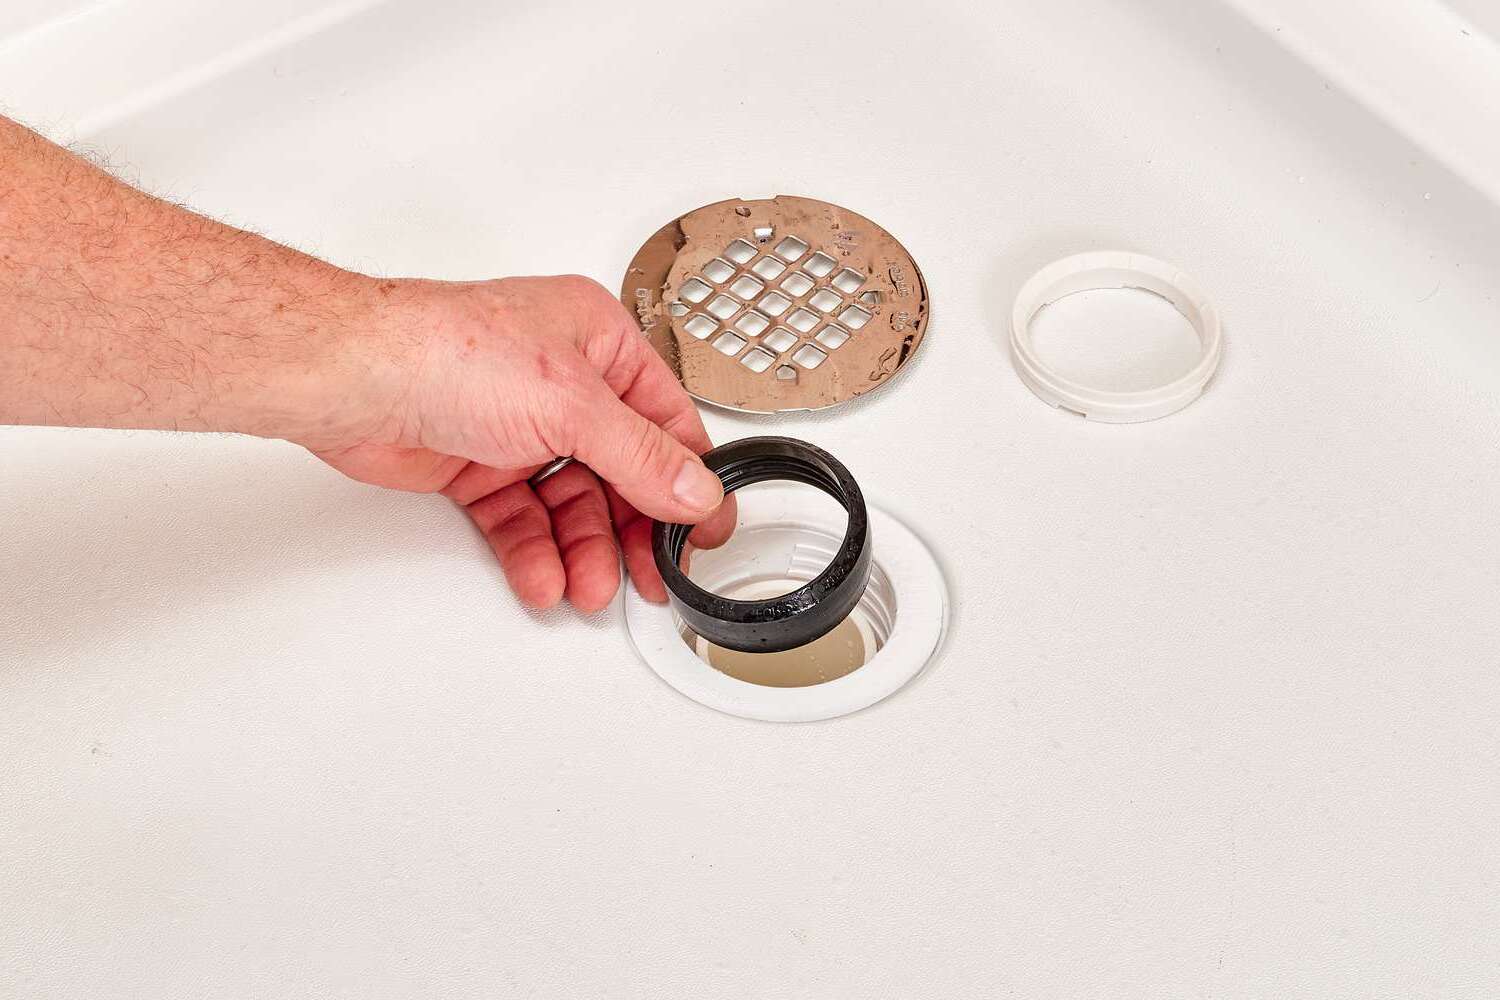
Step 4: Installing the Drain Assembly
Now that you have cut the opening in the concrete floor, it’s time to install the shower drain assembly. Follow these steps to ensure a secure and watertight installation:
- Apply plumber’s putty: Take a small amount of plumber’s putty and roll it into a rope-like shape. Apply it to the underside of the drain flange, creating a watertight seal.
- Insert the drain: Place the drain assembly into the cut opening, making sure it sits flush with the surface of the concrete floor. Press it down firmly to ensure a tight fit.
- Secure the drain: On the underside of the drain assembly, attach the provided clamping ring or screws to hold the drain securely in place. Use an adjustable wrench to tighten the clamping ring if necessary.
- Check for level: Use a level to ensure that the drain assembly is perfectly level. Adjust if needed by adding or removing shims underneath the assembly.
- Remove excess putty: Carefully wipe away any excess plumber’s putty that may have squeezed out during the installation process. This will give the installation a clean and professional finish.
Properly installing the drain assembly is crucial for preventing leaks and ensuring efficient drainage. Take your time during this step to ensure a tight and secure fit, and check for any potential issues before moving on to the next step.
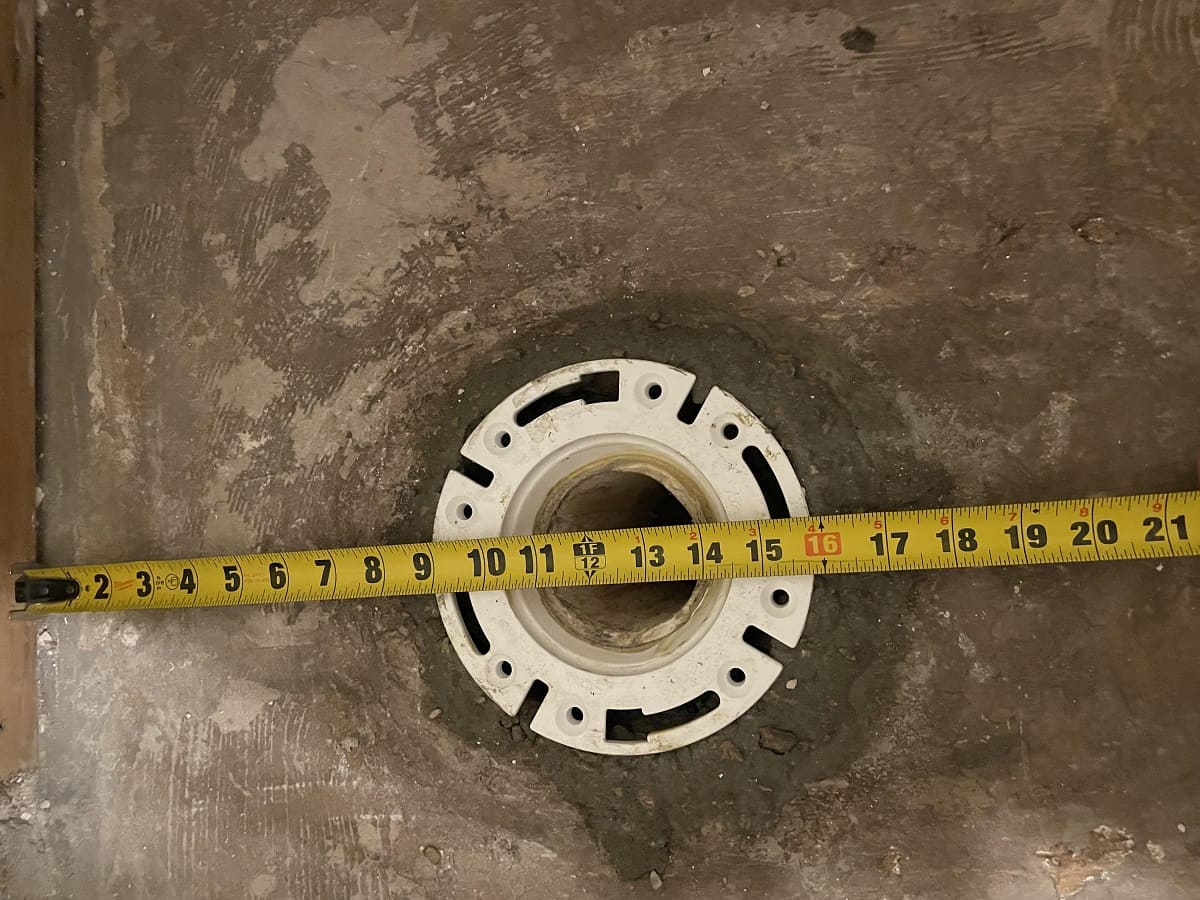
Step 5: Connecting the Drain to the Plumbing
With the drain assembly securely installed in the concrete floor, it’s time to connect it to the plumbing system. Follow these steps to complete the connection:
- Prepare the plumbing pipes: Make sure the plumbing pipes are clean and free from any debris. Use a pipe cleaner or a rag to wipe away any dirt or residue.
- Apply primer and cement: Apply PVC primer to the outside of the drain pipe and the inside of the pipe connector. Follow the manufacturer’s instructions for the specific primer and cement you are using. Allow the primer to dry for the recommended time.
- Connect the drain pipe: Insert the drain pipe into the pipe connector, making sure it fits securely. Press the two pieces together firmly and hold them in place for a few seconds to allow the cement to bond.
- Tighten the connectors: Use an adjustable wrench to tighten the connectors, ensuring a watertight seal. Be careful not to overtighten as it may cause damage to the pipes or fittings.
- Test for leaks: Once the drain pipe is connected, run a test by pouring water into the drain. Keep an eye out for any leaks around the connections. If you notice any leaks, tighten the connectors or apply more primer and cement as needed.
Connecting the drain to the plumbing is a crucial step in the installation process. Take your time to ensure a proper and secure connection to prevent any leaks or drainage issues in the future.
Step 6: Testing the Drain
After connecting the drain to the plumbing, it’s essential to test its functionality to ensure proper drainage. Follow these steps to test the drain and make necessary adjustments:
- Remove any obstructions: Ensure that the shower area is free from any objects or debris that may hinder the flow of water.
- Plug the drain: Use a drain plug or a cloth to plug the drain opening. This will allow you to fill the shower base with water for testing.
- Fill the shower base: Slowly pour water into the shower base, allowing it to reach a sufficient level. Keep an eye on the drain to ensure that it is not leaking and that water is properly accumulating.
- Observe the drainage: Once the shower base is filled, remove the drain plug or cloth. Observe how the water drains through the drain. It should flow smoothly without any backup or pooling.
- Check for leaks: During the draining process, inspect the drain connections, both above and below the surface, for any signs of leaks. If you notice any leaks, tighten the connections or apply additional sealing materials as necessary.
- Repeat the process: Repeat the testing process a few times to ensure consistent drainage and to confirm that there are no issues with the drain.
Testing the drain is an important step in the installation process. It allows you to identify and address any potential issues before completing the installation. Take your time to ensure that the drain is functioning properly and efficiently.
Step 7: Finishing Touches
With the drain successfully installed and tested, it’s time to add the finishing touches to complete the project. Follow these steps to ensure a polished and professional result:
- Seal the edges: Apply a bead of silicone caulk around the edges of the drain assembly where it meets the concrete floor. This will provide an additional layer of water resistance and prevent any potential leaks.
- Smooth out the caulk: Use a caulk smoothing tool or your finger to smooth out the bead of silicone caulk, creating a clean and neat finish. Wipe away any excess caulk with a damp cloth.
- Allow the caulk to dry: Follow the manufacturer’s instructions to determine the drying time for the caulk. It’s important to avoid using the shower until the caulk has fully cured.
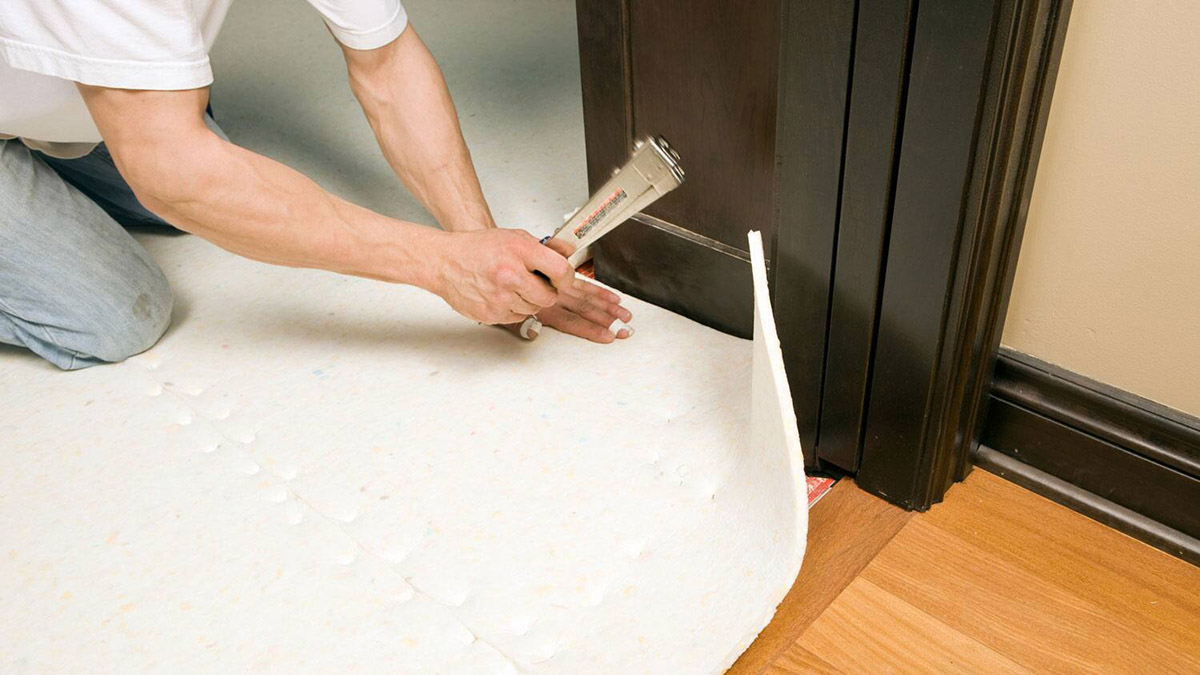
- Replace the flooring: If necessary, replace the flooring material around the shower drain to complete the overall look of the bathroom. Ensure that the new flooring is properly installed and sealed around the drain.
- Clean up: Remove any debris, tools, and materials from the workspace. Clean the area thoroughly and dispose of any waste responsibly.
- Enjoy your new shower drain: With the installation complete and the finishing touches in place, you can now enjoy your new shower drain. Take pride in your accomplishment and revel in the convenience of a properly functioning shower drain.
Adding the finishing touches not only enhances the aesthetics of the installation but also ensures its longevity and effectiveness. Taking the time to complete these steps will leave you with a professionally installed shower drain that will serve you well for years to come.
Read more: How To Install Wood Floor On Concrete
Conclusion
Installing a shower drain in a concrete floor may seem like a complex task, but with the right tools, materials, and step-by-step guidance, it can be accomplished successfully. By following the steps outlined in this article, you can ensure proper drainage, prevent water damage, and enjoy a fully functional shower in your bathroom.
From the preparation and marking of the drain location to cutting the concrete floor, installing the drain assembly, and connecting it to the plumbing, each step plays a crucial role in the overall installation process. Testing the drain and making necessary adjustments ensures that the drainage system is working efficiently and without any issues.
The finishing touches, such as sealing the edges with silicone caulk and replacing the flooring, add the final touches to the installation, providing a clean and polished look to the entire bathroom.
Remember to take your time throughout the installation process, ensuring precision and careful attention to detail. Proper planning, accurate measurements, and following safety guidelines will contribute to a successful and long-lasting shower drain installation.
Now that you have the knowledge and understanding of how to install a shower drain in a concrete floor, you can confidently tackle this project. Enjoy the benefits of a well-installed shower drain, ensuring efficient water drainage and a pleasant showering experience for years to come.
Now that you've got a handle on installing shower drains, why not tackle the next project? Whether you're updating your bathroom's fixtures or planning a major overhaul, mastering shower installation is your next step. Get all the details needed for a smooth transition to a more modern bathroom. For those considering a broader transformation, delve into our guide on choosing hardwood floors. We've lined up options that blend style, durability, and ease of maintenance, perfect for any home renovation endeavor.
Frequently Asked Questions about How To Install Shower Drain In Concrete Floor
Was this page helpful?
At Storables.com, we guarantee accurate and reliable information. Our content, validated by Expert Board Contributors, is crafted following stringent Editorial Policies. We're committed to providing you with well-researched, expert-backed insights for all your informational needs.


0 thoughts on “How To Install Shower Drain In Concrete Floor”