
Articles
How To Wire A Dimmer Switch With 4 Wires
Modified: October 19, 2024
Learn how to wire a dimmer switch with 4 wires in this informative article. Follow our step-by-step guide for a safe and successful installation.
(Many of the links in this article redirect to a specific reviewed product. Your purchase of these products through affiliate links helps to generate commission for Storables.com, at no extra cost. Learn more)
Introduction
When it comes to lighting control, dimmer switches are a popular choice for homeowners. They offer the convenience of adjusting the brightness of lights to create a desired ambiance and save energy. However, installing a dimmer switch may seem like a daunting task, especially if you have a dimmer switch with four wires. But fear not! In this article, we will walk you through the process of wiring a dimmer switch with four wires step by step. So, let’s get started!
Before we jump into the installation process, it’s essential to have a basic understanding of dimmer switches and their functionality. A dimmer switch is an electrical device that allows you to control the intensity of light from a light fixture. Instead of a simple on/off switch, a dimmer switch provides a range of light levels, giving you the flexibility to adjust the brightness according to your preference.
Dimmer switches are available in various types, such as rotary, slider, and touch-sensitive switches. Some dimmer switches come with four wires, including a ground wire, a hot wire, a load wire, and a neutral wire. Understanding the purpose of each wire is crucial for a successful installation.
Before you start the installation process, make sure you have the necessary tools and materials. These typically include a screwdriver, wire strippers, wire nuts, electrical tape, and of course, the dimmer switch itself. It’s also important to take safety precautions to avoid any mishaps during the installation process.
In the following sections, we will guide you through each step of the installation process, from turning off the power to restoring it and ensuring everything is working properly. We’ll also provide troubleshooting tips for common issues you might encounter.
With our easy-to-follow instructions, you’ll be able to wire a dimmer switch with four wires confidently and enjoy the benefits of adjustable lighting in no time. So, let’s dive in and get your dimmer switch installed!
Key Takeaways:
- Wiring a dimmer switch with four wires may seem daunting, but with the right tools, safety precautions, and step-by-step guidance, you can successfully install and enjoy the benefits of adjustable lighting in your home.
- Understanding the types of dimmer switches, verifying the wiring setup, and performing final checks are crucial for a smooth installation process. Troubleshooting common issues ensures a trouble-free experience with your dimmer switch.
Read more: How To Wire In A Dimmer Switch
Understanding Dimmer Switches
Dimmer switches are a type of electrical switch that allows you to control the intensity of the light from a light fixture. Instead of simply turning the lights on or off, a dimmer switch offers the ability to adjust the brightness to create the perfect ambiance for any space.
At their core, dimmer switches work by regulating the amount of electrical current flowing to the lightbulb. When you turn the dimmer switch up, it allows more electricity to flow, resulting in brighter light. Conversely, turning the dimmer switch down reduces the flow of electricity, dimming the light.
One of the key advantages of dimmer switches is their ability to save energy. By lowering the brightness of the lights, you can reduce energy consumption and extend the lifespan of the bulbs. This makes dimmer switches not only convenient but also environmentally friendly.
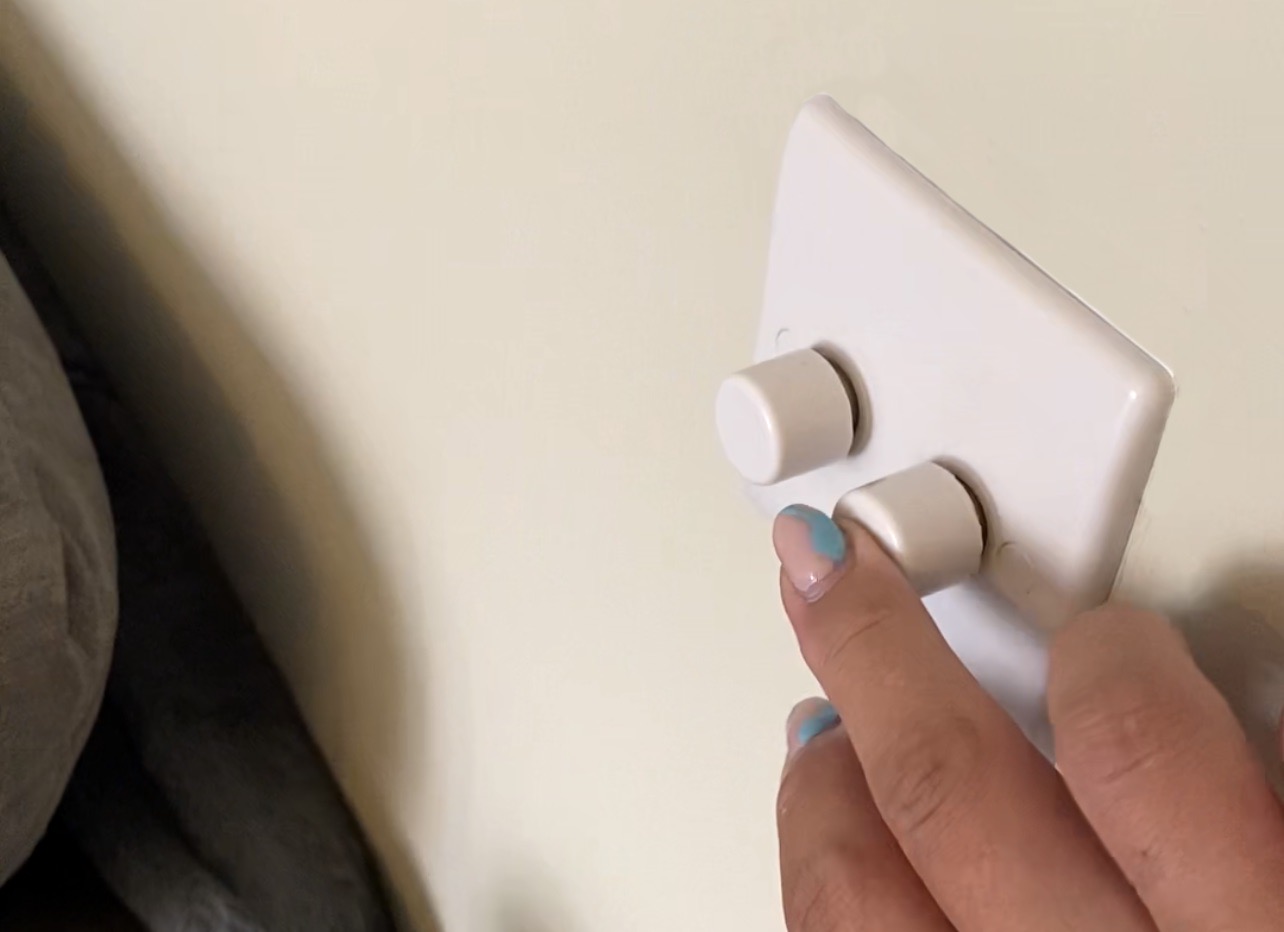
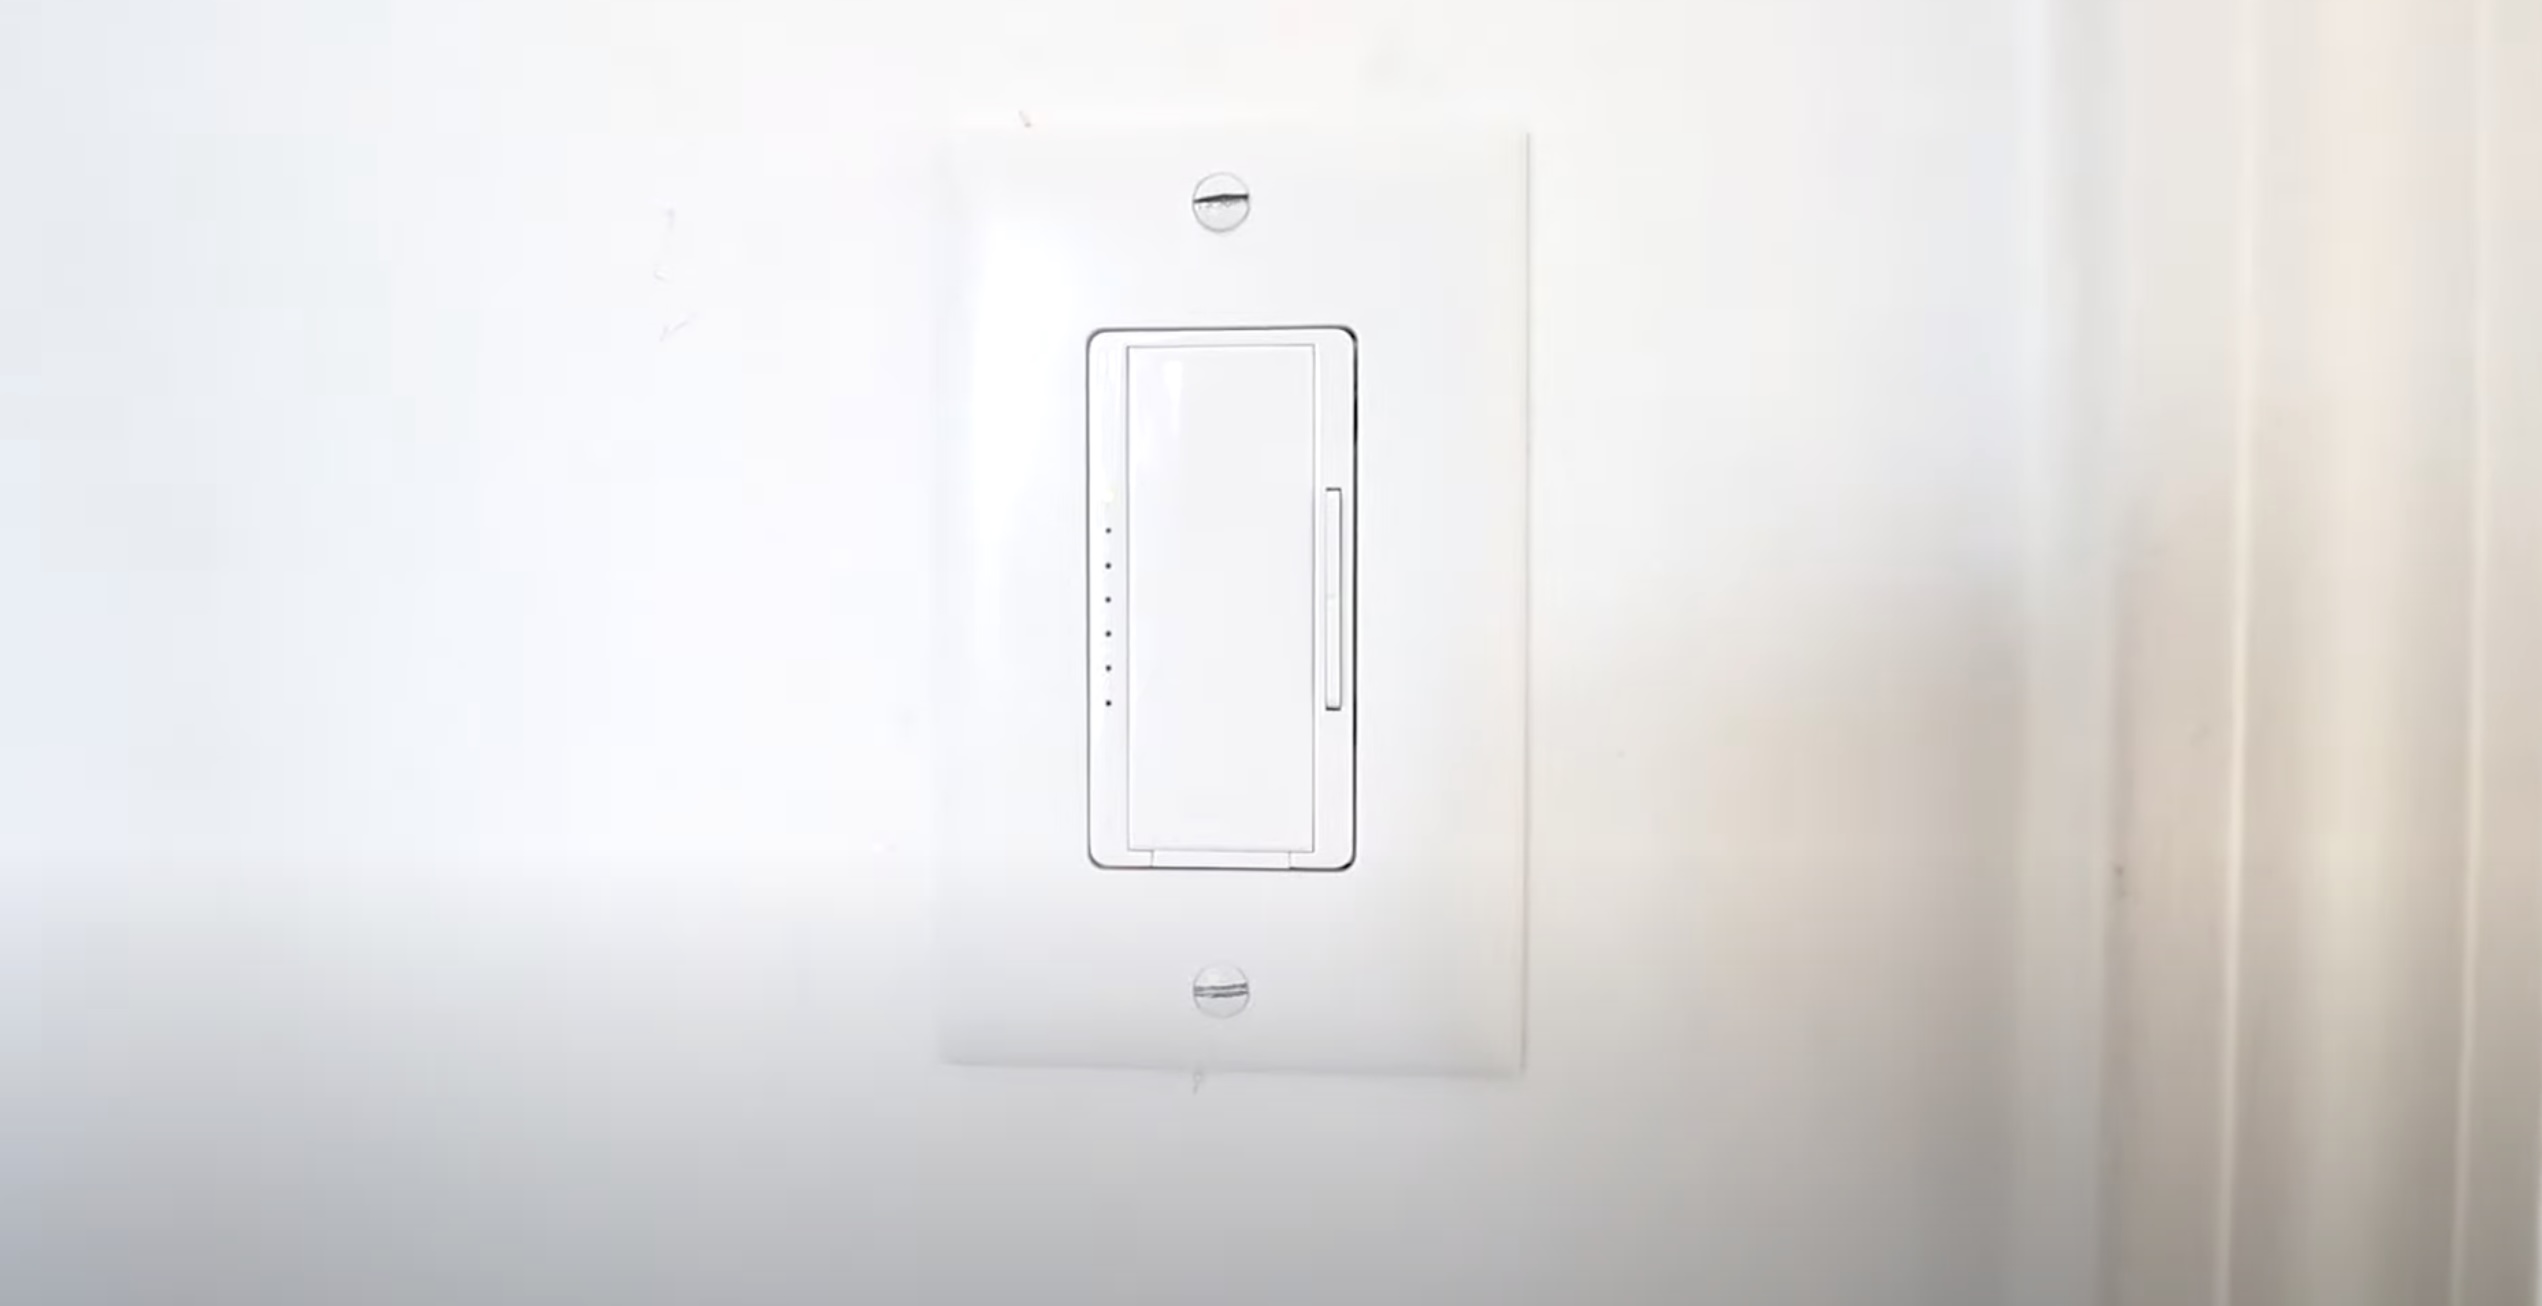
Dimmer switches are available in various styles to suit different design preferences and needs. Rotary dimmer switches feature a dial or knob that you twist to adjust the brightness. Slider dimmer switches have a horizontal or vertical slider that you move to control the light output. Touch-sensitive dimmer switches operate by a simple touch or tap on the switch surface.
Some dimmer switches also come with advanced features such as preset options, remote control capability, and even compatibility with smart home systems. These features provide added convenience and flexibility in controlling your lights.
It’s important to note that not all light fixtures are compatible with dimmer switches. Certain types of bulbs, such as incandescent and halogen bulbs, work well with dimmers. However, LED and CFL bulbs require specific dimmer switches designed to work with these energy-efficient bulbs.
Before purchasing a dimmer switch, it is crucial to check the compatibility with your light fixture and consult the manufacturer’s guidelines. Using the wrong dimmer switch with incompatible bulbs can result in flickering lights, buzzing noises, or even damage to the bulbs or switch.
Now that we have a better understanding of how dimmer switches work and their benefits let’s move on to the installation process for a dimmer switch with four wires.
Types of Dimmer Switches
Dimmer switches come in various types, each with its own features and advantages. Understanding the different types can help you choose the right dimmer switch for your specific lighting needs. Let’s explore some of the common types of dimmer switches:
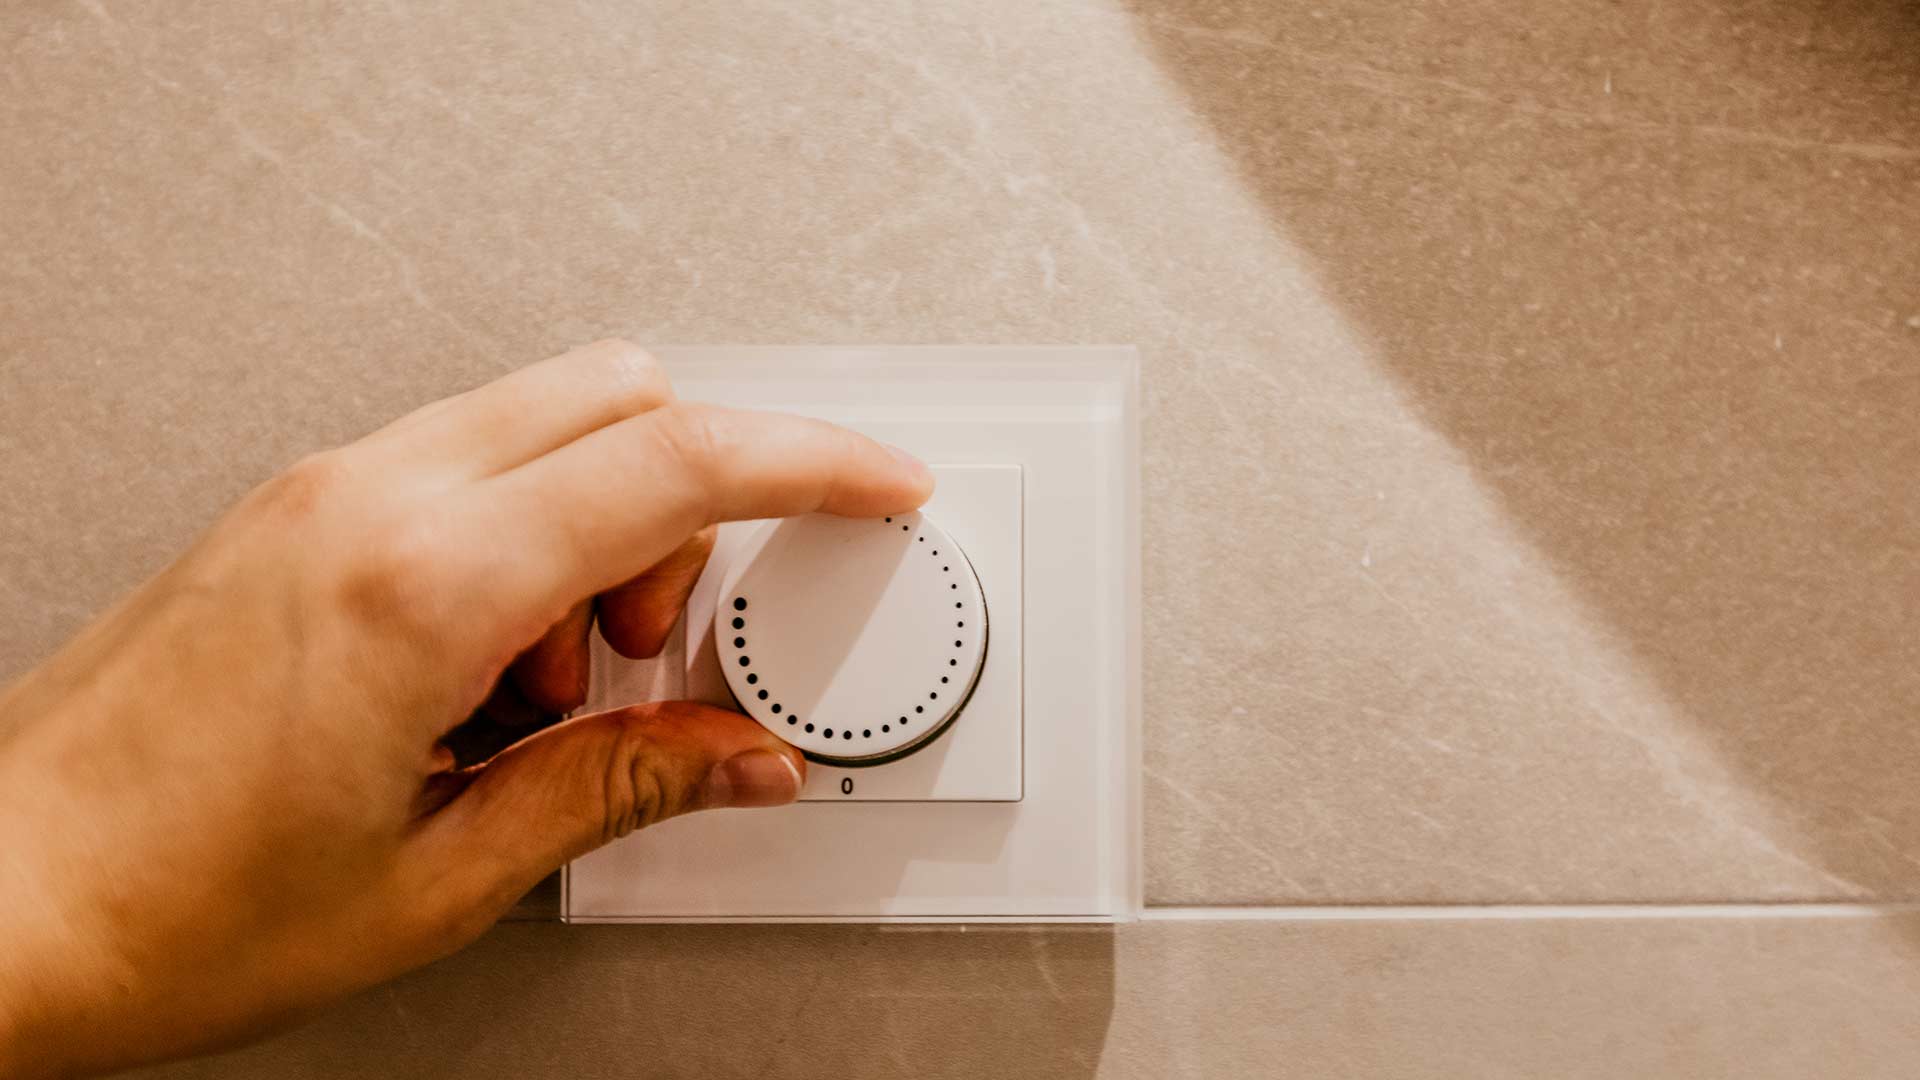
- Rotary Dimmer Switch: This type of dimmer switch features a dial or knob that you twist to adjust the brightness. They are relatively simple to use and are commonly found in residential settings. The rotary dimmer switch allows you to smoothly transition between different levels of brightness.
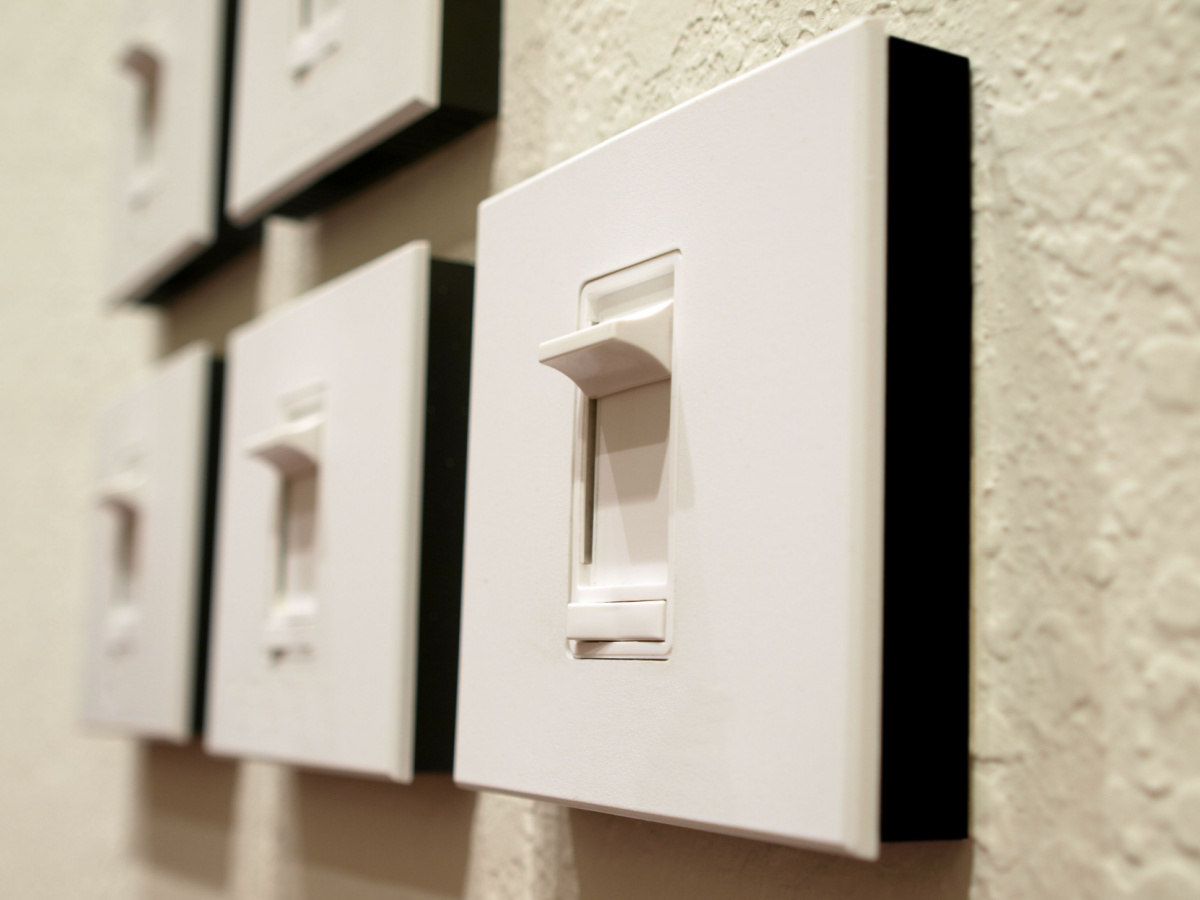
- Slider Dimmer Switch: Slider dimmer switches have a horizontal or vertical sliding mechanism that you move to control the light output. They offer a more precise adjustment of brightness levels and are popular for both residential and commercial applications. The sliding mechanism allows you to easily set the desired light intensity.
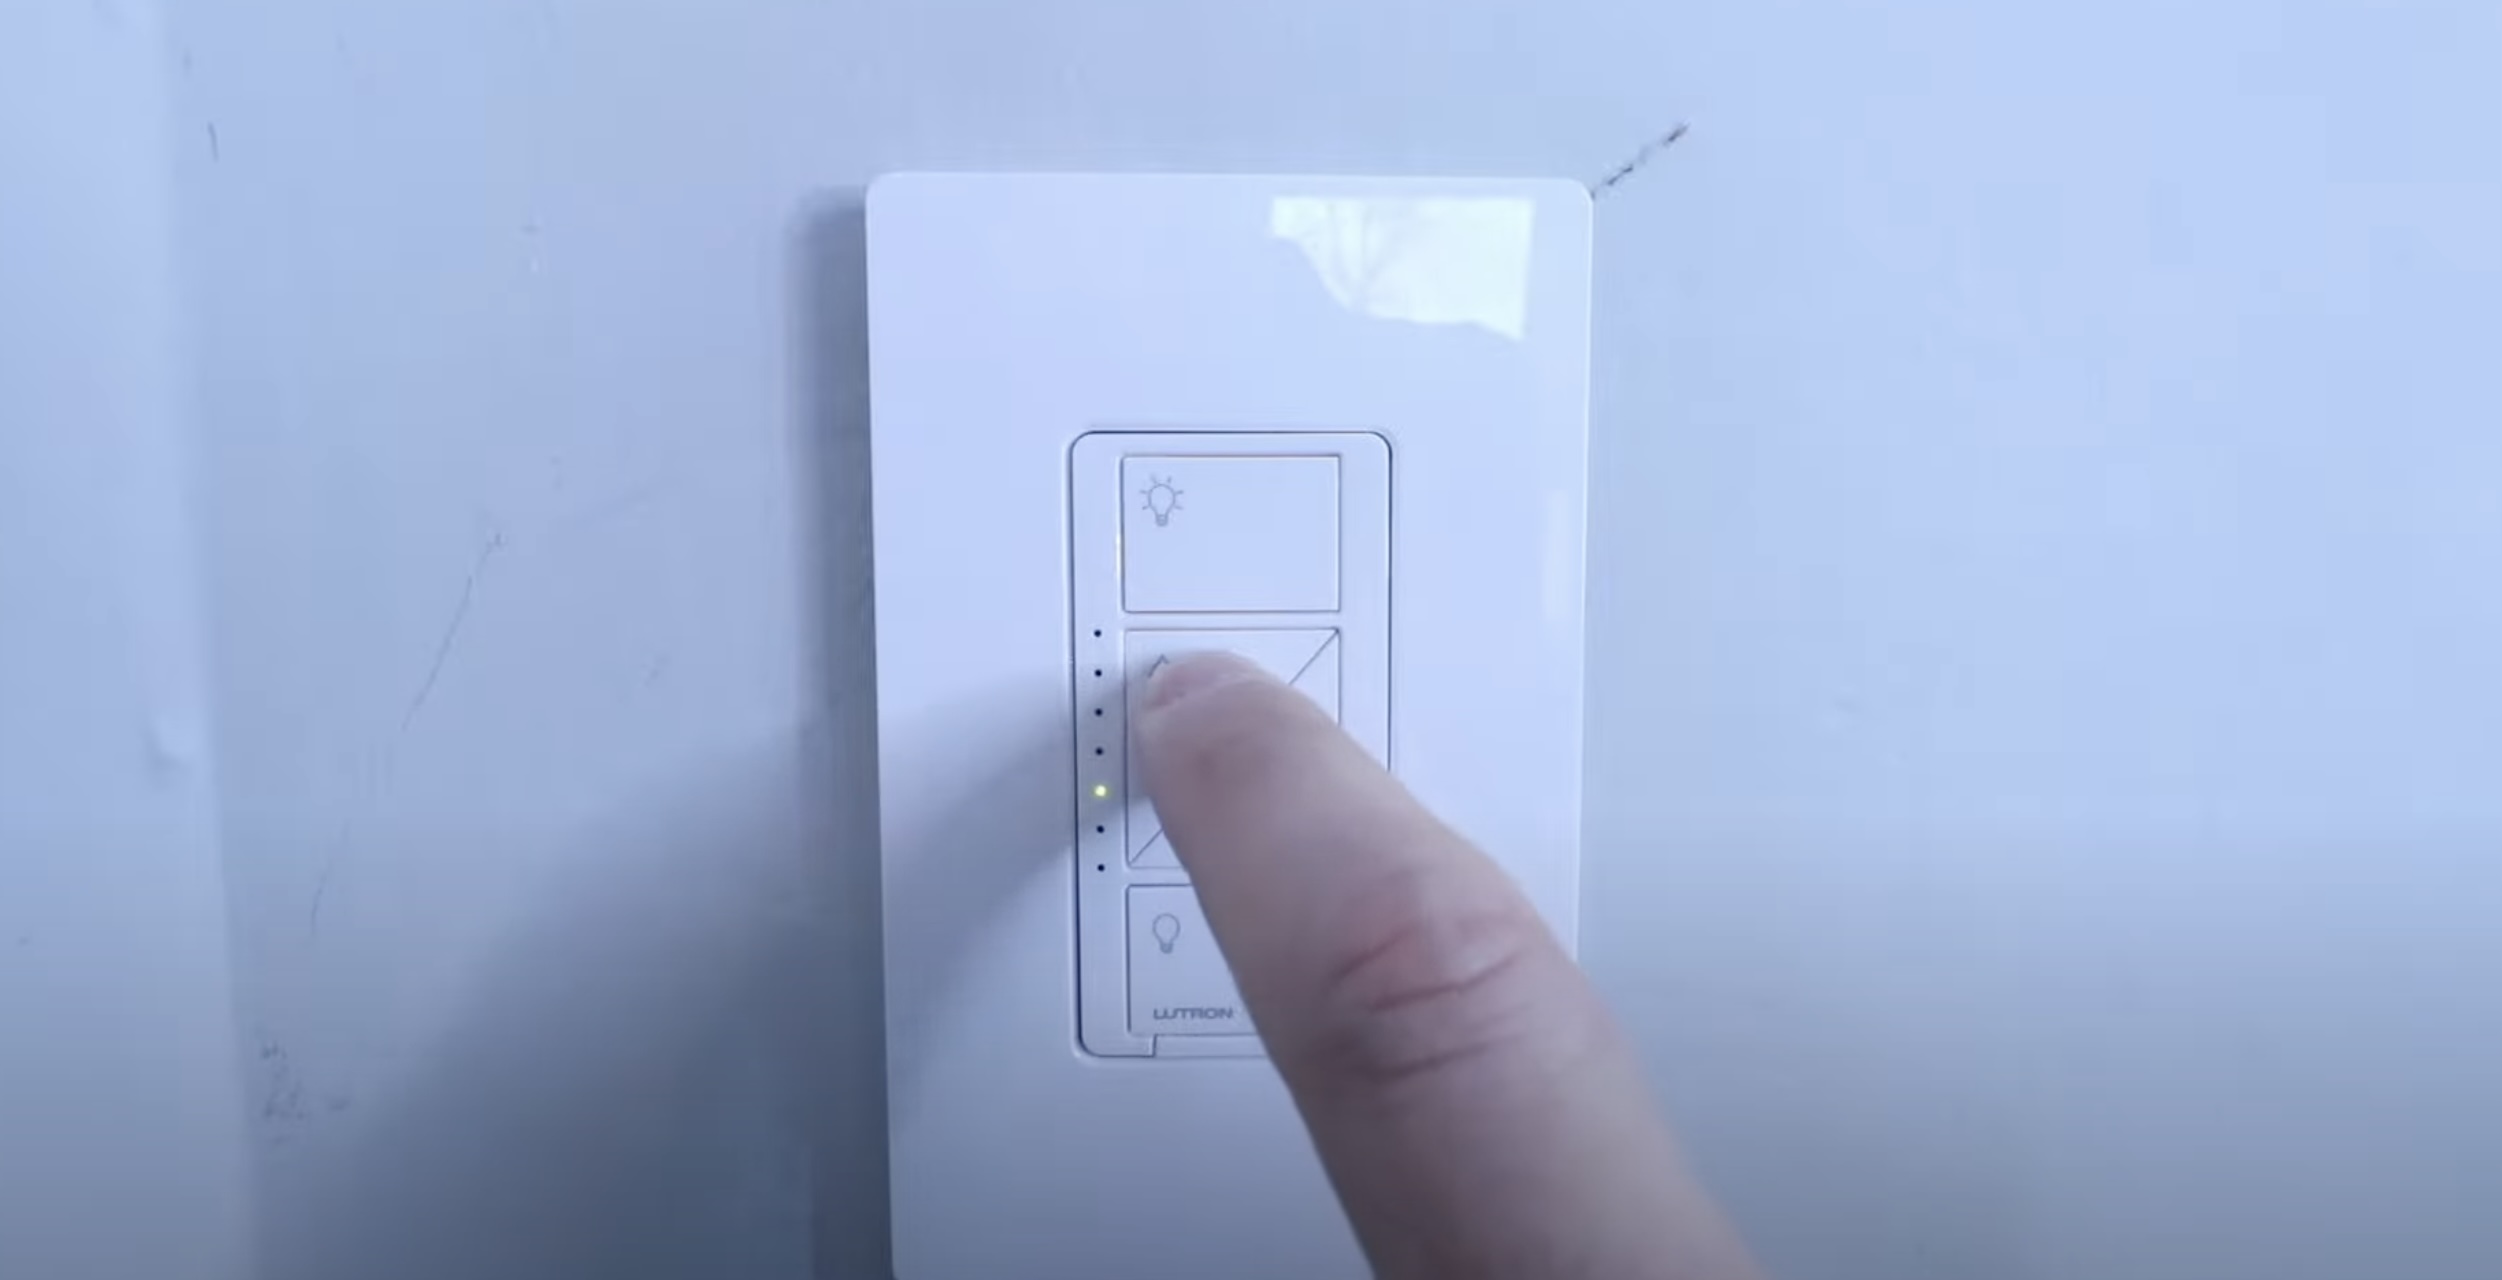
- Touch-Sensitive Dimmer Switch: These dimmer switches operate by a simple touch or tap on the switch surface. They are convenient to use, especially in situations where you don’t want to fumble for a knob or slider in the dark. Touch-sensitive dimmer switches often come with additional features such as dimmable LED indicators and memory settings.
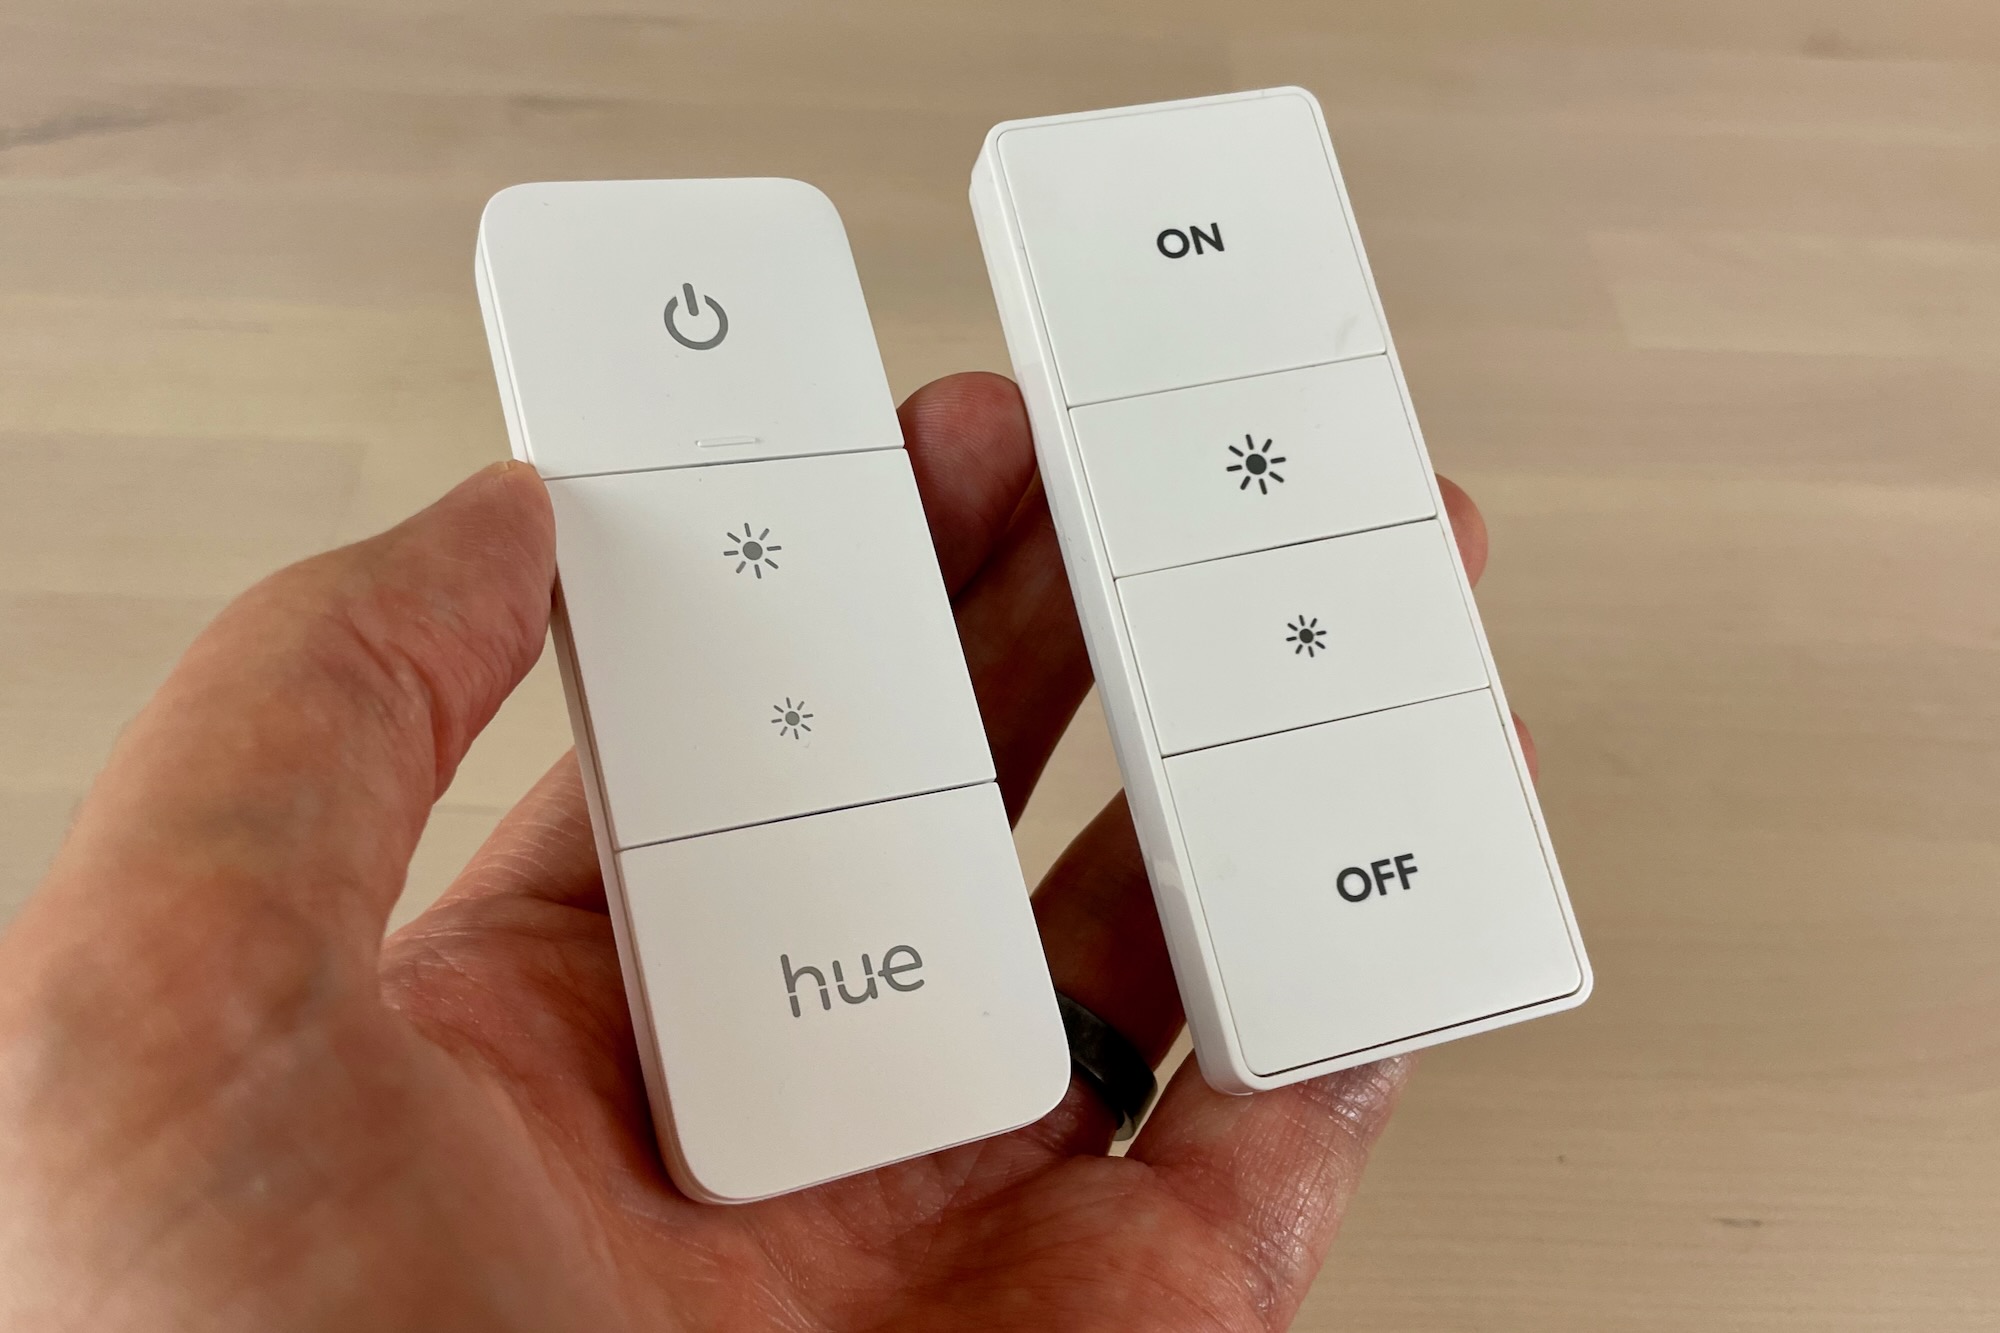
- Smart Dimmer Switch: With the rise of smart home technology, smart dimmer switches have gained popularity. These switches can be controlled remotely via a smartphone app, voice command, or integrated with smart home systems like Amazon Alexa or Google Home. The ability to create schedules, scenes, and automate lighting makes smart dimmer switches highly customizable and convenient.
- Preset Dimmer Switch: Preset dimmer switches allow you to set and save specific brightness levels for different lighting scenarios. They often have buttons or presets that you can program to recall your preferred light settings with just one touch. This type of dimmer switch is ideal if you have specific lighting needs for different occasions.
It’s important to consider your specific requirements and the compatibility of dimmer switches with the light fixtures and bulbs you have. Some dimmer switches are designed for certain bulb types and may not work properly with others. Checking the manufacturer’s guidelines is crucial to ensure compatibility and optimal performance.
Now that we’ve explored the different types of dimmer switches available, let’s move on to the tools and materials needed for wiring a dimmer switch with four wires.
Tools and Materials Needed
Before you begin wiring a dimmer switch with four wires, it’s important to gather all the necessary tools and materials. Having everything prepared beforehand will make the installation process smoother and more efficient. Here’s a list of the tools and materials you’ll need:
Tools:
- Screwdriver: You’ll need a screwdriver to remove the existing switch and secure the dimmer switch in place.
- Wire Strippers: Wire strippers are essential for removing the insulation from the wires, exposing the conductive metal.
- Wire Nuts: Wire nuts are used to connect the wires securely. Make sure you have a variety of sizes to accommodate different wire gauges.
- Electrical Tape: Electrical tape provides insulation and helps secure the wires and wire nuts in place.
- Wire Cutters: Wire cutters are necessary for trimming the wires to the appropriate length.
- Voltage Tester: A voltage tester will help ensure that the power is turned off before starting the installation.
Materials:
- Dimmer Switch: Choose a dimmer switch that is compatible with your light fixture and meets your aesthetic preferences.
- Wire Connectors: Wire connectors, also known as wire nuts, are used to connect the wires together securely.
- Electrical Wire: Depending on the wiring in your home, you may need additional electrical wire to extend or replace existing wires.
- Mounting Bracket and Screws: If your dimmer switch requires a mounting bracket, make sure you have the appropriate bracket and screws for installation.
- Grounding Wire: Some dimmer switches require a grounding wire. Check the manufacturer’s instructions to determine if this is necessary for your specific switch.
It’s important to note that the exact tools and materials required may vary depending on the specific dimmer switch and wiring setup you have. Always refer to the manufacturer’s instructions and guidelines for the recommended tools and materials.
With all your tools and materials ready, you’re now prepared to start the installation process. But before you do, it’s crucial to take necessary safety precautions to ensure a smooth and safe installation process. We’ll cover these safety precautions in the next section.
Safety Precautions
Before you begin wiring a dimmer switch with four wires, it’s important to prioritize safety to avoid any potential electrical hazards. Follow these safety precautions to ensure a safe installation:
Turn off the Power:
Before starting any electrical work, turn off the power to the circuit you’ll be working on. Locate the circuit breaker that controls the lighting circuit and switch it off. Use a voltage tester to double-check that there is no electricity flowing to the wires.
Use Proper Tools and Equipment:
Ensure that you have the correct tools and equipment for the job. Using improper tools or damaged equipment can lead to accidents. Inspect your tools before starting and replace any damaged or worn-out tools.
Wear Protective Gear:
When working with electrical components, it’s important to protect yourself. Wear safety gloves and safety glasses to protect yourself from potential electrical shocks, sparks, and flying debris. This will minimize the risk of injury.
Avoid Working in Wet Conditions:
Avoid installing a dimmer switch in wet or damp areas. Wet conditions increase the risk of electrical shock. If you need to work in a damp area, make sure to turn off the power at the circuit breaker and use appropriate caution and protective measures.
Read and Follow Manufacturer’s Instructions:
Every dimmer switch is unique, so it’s crucial to read and understand the manufacturer’s instructions before starting the installation. These instructions provide important information about wiring diagrams, compatibility, and specific installation steps for your dimmer switch model.
Double-Check Connections:
Before restoring power, double-check all connections to ensure they are secure and properly done. Loose connections can lead to electrical issues or even overheating, so it’s important to ensure everything is tightly connected and protected with wire nuts.
Read also: 10 Superior 4 Way Dimmer Switch for 2025
Seek Professional Help if Unsure:
If you are unsure about any step or lack experience with electrical work, it’s best to seek professional help. Hiring a licensed electrician ensures that the installation is done correctly and safely, giving you peace of mind.
By following these safety precautions, you can minimize the risk of accidents or electrical mishaps during the installation process. Take your time, work carefully, and always prioritize safety when working with electrical components.
Now that you are aware of the safety precautions, let’s move on to the step-by-step process of wiring a dimmer switch with four wires.
Step 1: Turning off the Power
Before you start wiring a dimmer switch with four wires, it’s crucial to ensure that the power to the circuit is turned off. This step is vital to protect yourself from electrical shocks and prevent any damage to the wiring or switch.
Follow these steps to turn off the power:
- Locate the Main Electrical Panel: The main electrical panel, also known as the circuit breaker box, is typically located in the basement, utility room, or garage. Open the panel door to access the circuit breakers.
- Identify the Correct Circuit: Look for the breaker that controls the circuit where you’ll be installing the dimmer switch. Usually, these breakers are labeled, but if they are not, you can identify the correct one by trial and error.
- Switch Off the Circuit Breaker: Once you’ve identified the correct breaker, switch it off by flipping the switch to the “off” position. Some breakers may have a push button, while others may have a toggle switch.
- Test the Power: After switching off the circuit breaker, double-check that there is no power flowing to the wires. You can use a voltage tester to verify that there is no electrical current present.
It’s important to note that turning off the circuit breaker cuts off power to the entire circuit, not just the area where you’ll be installing the dimmer switch. This ensures your safety and allows you to work on the wiring without the risk of electrical shocks.
Remember, never assume that a switch will turn off the power. Always turn off the circuit breaker to ensure the safety of yourself and the wiring.
Once you’ve confirmed that the power is turned off, you can proceed with the installation process. In the next step, we’ll guide you through removing the existing switch.
Step 2: Removing the Existing Switch
With the power turned off, you can now proceed to remove the existing switch. Removing the old switch is necessary to replace it with the dimmer switch and prepare the wiring for installation.
Follow these steps to remove the existing switch:
- Ensure the Power is Off: Double-check that the power to the circuit is still turned off. Use a voltage tester to verify that there is no electrical current present.
- Remove the Switch Plate Cover: Unscrew the switch plate cover from the existing switch using a screwdriver. Place the screws in a safe place so you don’t lose them.
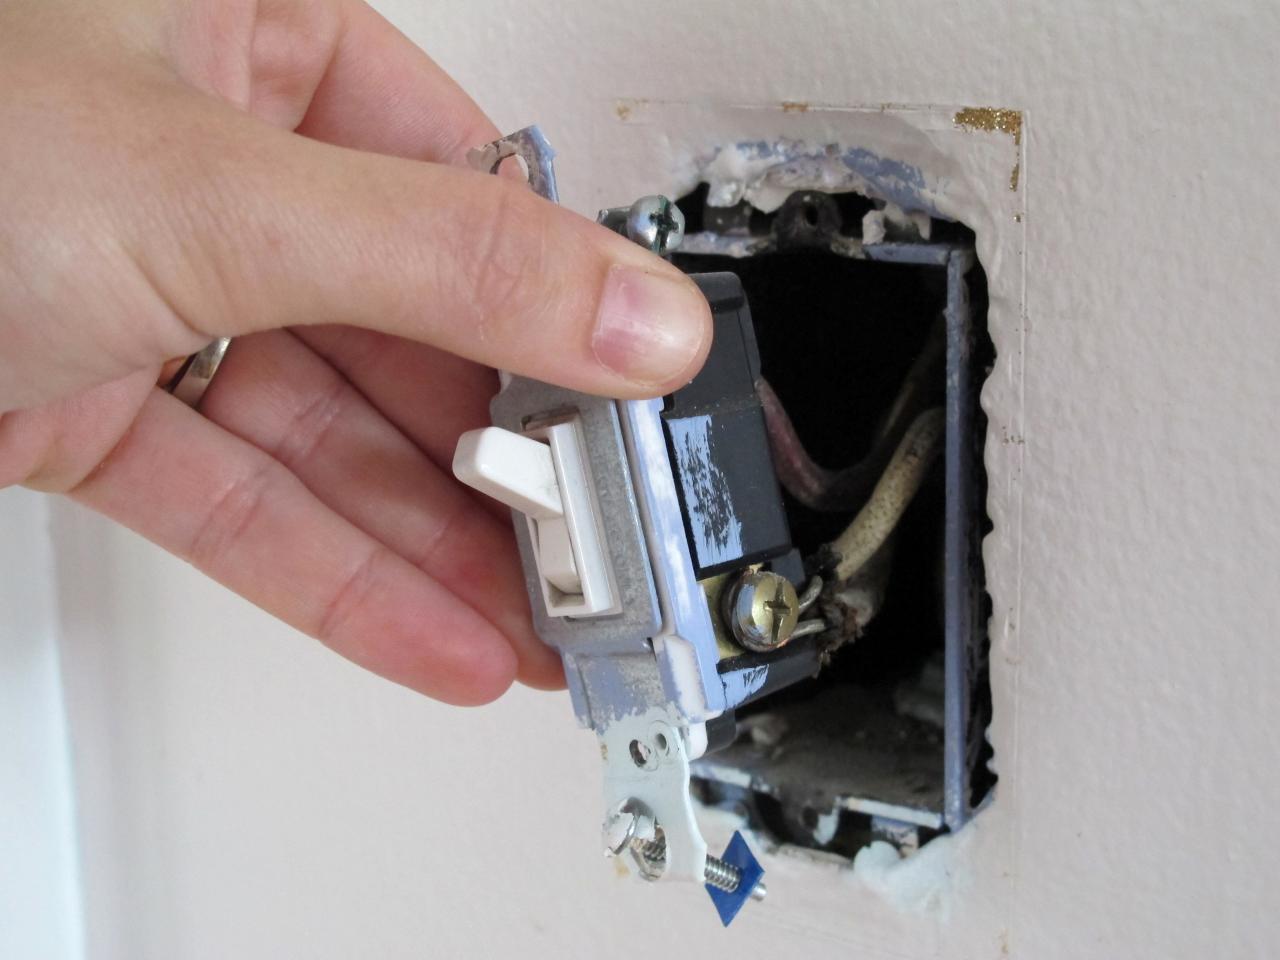
- Remove the Switch Mounting Screws: Once the switch plate cover is removed, you’ll see the switch mounting screws holding the switch in place. Use a screwdriver to unscrew these screws and detach the switch from the electrical box.
- Gently Pull Out the Switch: After removing the mounting screws, gently pull the switch away from the electrical box. Be careful not to damage or strain the wiring attached to the switch.
- Check the Existing Wiring: With the switch removed, inspect the existing wiring to ensure there are no signs of damage or loose connections. If you notice any issues, consult a professional electrician for assistance.
Remember to work carefully and avoid unnecessary force when removing the existing switch. Damaging the wiring or electrical box can cause further issues and complications.
Once the existing switch is removed, you’re ready to move on to the next step: verifying the wiring setup. This step is crucial in ensuring a proper and safe installation of the dimmer switch with four wires.
Step 3: Verifying the Wiring Setup
Before you proceed with installing the dimmer switch, it’s important to verify the wiring setup. This step ensures that you understand the existing wiring connections and the necessary steps to connect the dimmer switch correctly.
Follow these steps to verify the wiring setup:
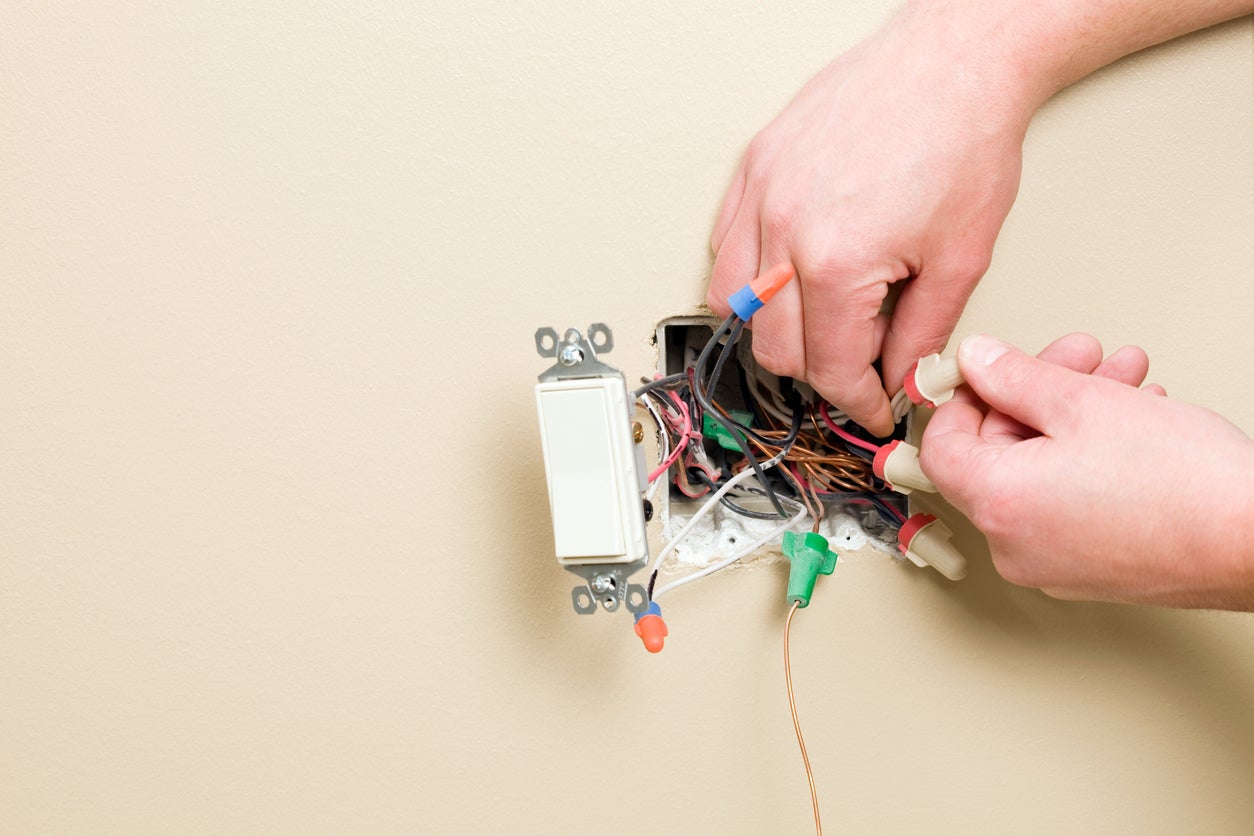
- Inspect the Existing Wires: Take a close look at the wires coming out of the electrical box. You should see four wires – a ground wire, a hot wire, a load wire, and a neutral wire. The ground wire is typically bare or green, the hot wire may be black or red, the load wire is often black or red, and the neutral wire is typically white or gray.
- Identify the Ground Wire: Locate the ground wire, which is responsible for transferring electrical faults to the ground and providing safety. It is usually connected to a grounding screw or green grounding wire within the electrical box.
- Differentiate the Hot, Load, and Neutral Wires: Identify the hot, load, and neutral wires. The hot wire carries the current, the load wire is connected to the light fixture, and the neutral wire completes the circuit. Confirm each wire’s color to ensure proper identification.
- Take Note of the Existing Connections: Notice how the existing wires are connected. The hot wire is typically connected to the existing switch, and the load wire is connected to the light fixture. The neutral wire is often grouped with other neutral wires within the electrical box.
- Label the Wires if Necessary: If the existing wires are not labeled or the colors are unclear, it’s a good practice to label each wire with tape or a marker. This will help you easily identify and connect the wires correctly during the installation process.
Verifying the wiring setup ensures that you are familiar with the existing connections and helps you make the right connections when installing the dimmer switch. It’s crucial to identify the correct wires to avoid any electrical mishaps and ensure the dimmer switch functions properly.
If you notice any issues or are unsure about the wiring setup, it’s best to consult a licensed electrician for further assistance. They can help clarify the wiring and ensure a safe and proper installation.
Now that you’ve verified the wiring setup, you’re ready for the next step: connecting the dimmer switch. This step involves connecting the wires correctly and ensuring a secure and reliable electrical connection. Let’s move on to step 4!
Read more: What Is A Dimmer Switch
Step 4: Connecting the Dimmer Switch
Now that you’ve verified the wiring setup, it’s time to connect the dimmer switch. This step involves correctly connecting the wires from the dimmer switch to the existing wiring in the electrical box. Follow these steps to connect the dimmer switch:
- Ensure the Power is Still Off: Before proceeding, double-check that the power to the circuit is still turned off. Use a voltage tester to verify that there is no electrical current present.
- Prepare the Wires: If necessary, trim the wires to an appropriate length and strip off about ¾ inch (1.9 cm) of insulation from each wire end using wire strippers.
- Connect the Ground Wire: Connect the ground wire from the dimmer switch to the grounding screw or green grounding wire in the electrical box. Twist the ends together and secure with a wire nut.
- Connect the Hot Wire: Connect the hot wire from the electrical box to the hot wire on the dimmer switch. Twist the exposed ends together and secure with a wire nut. If the hot wire is not already connected to the switch, make sure to connect it to the appropriate terminal on the dimmer switch.
- Connect the Load Wire: Connect the load wire from the electrical box to the load wire on the dimmer switch. Twist the exposed ends together and secure with a wire nut.
- Connect the Neutral Wire: If your dimmer switch requires a neutral wire, connect the neutral wire from the electrical box to the neutral wire on the dimmer switch. Twist the exposed ends together and secure with a wire nut. Note that not all dimmer switches require a neutral wire, so check the manufacturer’s instructions to determine if it’s necessary for your specific switch.
- Double-Check Connections: After connecting all the wires, double-check that each connection is secure and properly done. Gently tug on the wires to ensure they are tightly connected.
It’s important to follow the manufacturer’s instructions and wiring diagram specific to your dimmer switch model. This will help you identify the correct terminals and ensure proper wiring connections.
Once all the wires are connected securely, carefully push the wires into the electrical box, making sure not to crimp or damage them. The dimmer switch should now be properly connected, preparing it for testing in the next step.
Now that the dimmer switch is connected, it’s crucial to test its functionality and ensure that everything is working properly. In the next step, we’ll guide you through testing the dimmer switch to verify its functionality.
Step 5: Testing the Dimmer Switch
After connecting the dimmer switch, it’s essential to test its functionality to ensure that everything is working as intended. Testing the dimmer switch will help you verify that the wiring connections are correct and that the switch is successfully controlling the brightness of the lights. Follow these steps to test the dimmer switch:
- Restore the Power: Turn on the circuit breaker that controls the circuit where you installed the dimmer switch. This will restore power to the switch and the lights connected to it.
- Turn on the Lights: With the power restored, turn on the lights using the dimmer switch. The lights should turn on at their brightest setting.
- Adjust the Dimming: Slowly adjust the dimmer switch to lower the brightness of the lights. The lights should dim smoothly as you turn the dimmer switch down.
- Test Full Brightness: Turn the dimmer switch to its highest setting to test if the lights reach full brightness. Ensure that the lights are bright and not flickering or having any other issues.
- Double-Check Connections: While testing the dimmer switch, keep an eye on the wiring connections to ensure they remain secure. If any connections feel loose or if the lights are not responding correctly, turn off the power and double-check the wiring connections.
- Confirm Dimmer Switch Compatibility: If you experience any issues during the testing process, refer to the manufacturer’s instructions and guidelines to ensure that the dimmer switch is compatible with the light bulbs you are using. Certain dimmer switches may not work well with LED or CFL bulbs without proper compatibility.
During the testing phase, make sure to observe any flickering lights, buzzing noises, or other irregularities. These can be signs of compatibility issues or improper wiring connections. If you notice any issues, turn off the power and consult a qualified electrician for assistance.
If everything is working correctly during the testing phase, you can proceed to secure the dimmer switch in place to finalize the installation process.
In the next step, we’ll guide you through securing the dimmer switch in place to ensure it remains stable and properly installed.
Step 6: Securing the Dimmer Switch in Place
Now that you have tested the functionality of the dimmer switch and confirmed that everything is working correctly, it’s time to secure the switch in place. Securing the dimmer switch will ensure that it remains stable and properly installed. Follow these steps to secure the dimmer switch:
- Turn off the Power: Before proceeding, turn off the power to the circuit at the main electrical panel. This will prevent any accidental electrical shocks while securing the dimmer switch.
- Align the Dimmer Switch: Hold the dimmer switch against the electrical box, making sure it aligns properly with the screw holes or mounting bracket.
- Attach the Mounting Bracket (if needed): If your dimmer switch requires a mounting bracket, secure it to the electrical box using the appropriate screws provided. Make sure the mounting bracket is level and secure.
- Screw in the Switch: Place the dimmer switch into the electrical box and screw it in place using the screws provided. Tighten the screws firmly but not excessively to avoid damaging the switch or the electrical box.
- Double-Check Stability: Once the dimmer switch is secured in place, gently tug on it to ensure that it is stable and doesn’t move. A properly installed dimmer switch should be securely attached to the electrical box.
- Reattach the Switch Plate Cover: With the dimmer switch securely in place, reattach the switch plate cover using the screws removed earlier. Make sure the cover is aligned properly and sits flush against the wall.
By securing the dimmer switch in place, you ensure that it remains steady and won’t move or become loose over time. This step is crucial for long-term functionality and safety.
After securing the dimmer switch, it’s time to move on to the final step: restoring power and performing some final checks.
Step 7: Restoring Power and Final Checks
Congratulations! You’re at the final step of the dimmer switch installation process. In this step, you’ll restore power to the circuit and perform a few final checks to ensure everything is in order. Follow these steps to complete the installation:
- Double-Check the Connections: Before restoring power, double-check all the wiring connections to ensure they are secure and properly done. Ensure that no wires are loose or exposed.
- Turn on the Power: Go to the main electrical panel and switch on the circuit breaker that you previously turned off. This will restore power to the dimmer switch and the connected lights.
- Test the Dimmer Switch: With the power restored, test the dimmer switch again to ensure that it is functioning properly. Turn the switch on and adjust the brightness to your desired level.
- Check for any Issues: Observe the lights connected to the dimmer switch for any flickering, buzzing, or irregularities. If you notice any issues, turn off the power immediately and recheck the wiring connections.
- Inspect for Heat: While the lights are turned on, gently touch the dimmer switch to check for any excessive heat. A slight warmth is normal, but if the switch becomes too hot to touch, turn off the power and consult a professional electrician.
- Ensure Proper Dimming Range: Verify that the dimmer switch provides the desired range of dimming for your lights. The lights should smoothly transition from full brightness to the dimmest setting without any flickering.
- Finalize the Installation: If everything checks out and functions properly, you can consider the dimmer switch installation complete. Replace the switch plate cover and ensure it is securely fastened in place using the screws provided.
By performing these final checks, you ensure that the dimmer switch is functioning correctly, the wiring connections are secure, and there are no safety issues. Taking the time to verify everything now will save you from potential problems later on.
If you encounter any issues during the final checks or feel unsure about any aspect of the installation, it’s best to consult a professional electrician for assistance. They can help troubleshoot any problems and ensure a safe and properly functioning dimmer switch installation.
Congratulations once again on successfully installing the dimmer switch with four wires! Enjoy the benefits of adjustable lighting and the ambiance it brings to your space.
If you ever need to adjust or replace the dimmer switch in the future, simply follow these steps in reverse order after turning off the power to the circuit.
Thank you for choosing dimmer switches as a lighting control solution. We hope this installation guide has been helpful, and may you enjoy the convenience and energy-saving benefits it offers for years to come!
Troubleshooting Common Issues
While the installation of a dimmer switch with four wires is generally straightforward, there may be some common issues that can arise. Here are a few troubleshooting tips for resolving common problems:
Flickering Lights:
- Ensure compatibility: Check if the dimmer switch is compatible with the type of light bulbs you are using. Some LEDs or CFLs may require specific dimmer switches designed for those bulb types.
- Adjust minimum load: Some dimmer switches have a minimum load requirement. If the connected lights don’t meet this requirement, flickering can occur. Consult the manufacturer’s instructions for guidance on adjusting the minimum load.
- Check for loose connections: Loose connections between the wires and wire nuts can cause flickering. Double-check that all connections are securely tightened and properly twisted together.
Buzzing or Humming Noises:
- Check for proper grounding: Improper grounding can contribute to buzzing or humming noises. Ensure that the grounding wire is securely connected to the switch and grounded properly.
- Inspect the wiring: Loose or damaged wiring can also cause buzzing or humming sounds. Make sure all wires are properly connected and inspect them for any signs of damage.
- Consider a different type of dimmer switch: Some dimmer switches can produce more audible buzzing than others. If the noise is excessive, you may want to try a different type or brand of dimmer switch.
Inconsistent Dimming Range:
- Check for compatibility: Verify that the dimmer switch is compatible with the specific type of light bulbs you are using. Some bulbs may have limitations on their dimming range.
- Verify proper wiring: Double-check that the wiring connections are correct and secure. Incorrect wiring can affect the dimming range and cause issues.
- Consider load size: Ensure that the connected lights meet the minimum and maximum load requirements of the dimmer switch. Overloading or underloading the switch can affect its dimming capabilities.
Read more: How To Disable A Dimmer Switch
No Power or Lights Not Turning On:
- Check the circuit breaker: Verify that the circuit breaker controlling the circuit is turned on. If not, switch it on and retest the dimmer switch.
- Confirm wiring connections: Ensure that the wiring connections are properly made and securely tightened. Loose or improper connections can prevent power from reaching the dimmer switch.
- Examine the wire nuts: Inspect the wire nuts to ensure they are properly twisted and tightened. Loose or damaged wire nuts can disrupt the flow of electricity.
If these troubleshooting tips do not resolve the issue, or if you are unsure about any aspect of the installation or troubleshooting process, it’s best to consult a professional electrician. They have the expertise and knowledge to diagnose and resolve more complex problems.
Remember, always prioritize safety and turn off the power before inspecting or working on any electrical connections.
With these troubleshooting tips in mind, you should be able to address common issues and enjoy a smooth and trouble-free experience with your dimmer switch.
Now, go ahead and enjoy the benefits of adjustable lighting and the enhanced atmosphere it brings to your space!
Conclusion
Wiring a dimmer switch with four wires may seem like a daunting task, but with the right information and guidance, it can be a straightforward process. In this article, we have provided a step-by-step guide to help you install and wire a dimmer switch with four wires.
We began by introducing the concept of dimmer switches and their benefits, including energy savings and customizable lighting options. We discussed the different types of dimmer switches available, from rotary and slider switches to touch-sensitive and smart switches. Understanding the types of dimmer switches allows you to choose the one that suits your preferences and needs.
We then moved on to the tools and materials needed for the installation, emphasizing the importance of safety precautions. Having the right tools and taking necessary safety measures ensure a smooth and accident-free installation process.
The step-by-step instructions covered turning off the power, removing the existing switch, verifying the wiring setup, connecting the dimmer switch, testing its functionality, securing it in place, restoring power, and performing final checks. Each step was described in detail, providing clear guidance to help you successfully complete the installation.
We also included a section on troubleshooting common issues that may arise during or after the installation. By following our troubleshooting tips, you can address problems such as flickering lights, buzzing noises, inconsistent dimming range, or power issues.
Remember, if you encounter any difficulties or are unsure about any aspect of the installation, it’s always best to consult a professional electrician. They have the expertise to ensure a safe and proper installation.
By following this comprehensive guide, you can successfully wire a dimmer switch with four wires and enjoy the benefits of adjustable lighting in your home or workspace. Whether you’re looking to create a cozy atmosphere or save energy, a dimmer switch provides the flexibility and control you need.
Thank you for choosing dimmer switches and taking the time to learn about their installation process. We hope this article has empowered you to confidently install a dimmer switch and enhance your lighting experience. Enjoy the convenience and ambiance that adjustable lighting brings to your space!
Frequently Asked Questions about How To Wire A Dimmer Switch With 4 Wires
Was this page helpful?
At Storables.com, we guarantee accurate and reliable information. Our content, validated by Expert Board Contributors, is crafted following stringent Editorial Policies. We're committed to providing you with well-researched, expert-backed insights for all your informational needs.



0 thoughts on “How To Wire A Dimmer Switch With 4 Wires”