Articles
Why Is My Dimmer Switch Not Working
Modified: January 6, 2024
Discover common reasons why your dimmer switch is not working and learn how to troubleshoot the issue with our helpful articles.
(Many of the links in this article redirect to a specific reviewed product. Your purchase of these products through affiliate links helps to generate commission for Storables.com, at no extra cost. Learn more)
Introduction
Dimmer switches are a great addition to any home, providing the ability to control the brightness of the lighting in a room. They offer a convenient way to adjust the ambiance and mood, making them popular for both functional and aesthetic purposes. However, there may be times when your dimmer switch doesn’t work as expected, leaving you scratching your head in confusion.
In this article, we will explore the common causes of dimmer switch malfunctions and provide DIY troubleshooting steps to help you get your dimmer switch back to full functionality. Whether you’re dealing with a flickering light, a switch that won’t dim, or a complete power outage, we’ve got you covered.
Before diving into the troubleshooting steps, it’s important to understand that dimmer switches operate differently than regular light switches. Instead of simply turning the power on and off like a standard switch, dimmer switches use electronic components to regulate the amount of electricity flowing to the light fixture, allowing you to adjust the brightness level.
Now, let’s explore some of the common causes of dimmer switch malfunctions, so you can gain a better understanding of what might be causing the issue.
Key Takeaways:
- Troubleshooting your dimmer switch issues can be done with DIY steps, including checking wiring, verifying bulb compatibility, and reducing circuit load. Prioritize safety and consult a professional if needed.
- If your dimmer switch malfunctions, consider potential causes such as loose wiring, incompatible bulbs, overloaded circuits, or a faulty switch. Follow DIY troubleshooting steps and prioritize safety.
Read more: Why Is My Dimmer Switch Hot
Common Causes of Dimmer Switch Malfunctions
Dimmer switches can experience various malfunctions, and understanding the potential causes can help you troubleshoot the issue effectively. Here are some common reasons why dimmer switches may not be working properly:
- Loose or Damaged Wiring: One of the primary causes of dimmer switch malfunctions is loose or damaged wiring. Over time, the vibrations from the electrical current can cause wires to become loose, leading to a poor connection. Additionally, if the wires are frayed or damaged, it can disrupt the electrical flow and affect the performance of the switch.
- Compatibility Issues with Bulbs: Dimmer switches are designed to work with certain types of bulbs, such as incandescent, halogen, or LED bulbs. Using incompatible bulbs can result in flickering, buzzing, or a complete failure of the dimmer switch. Make sure to check the packaging or consult the manufacturer’s guidelines to ensure that the bulbs you are using are compatible with your dimmer switch.
- Overloaded Circuit: If you have multiple light fixtures connected to the same dimmer switch or if you are using high-wattage bulbs, it can overload the circuit and cause the dimmer switch to malfunction. Lowering the overall wattage load or installing a separate dimmer switch for each fixture can help alleviate this issue.
- Tripped Circuit Breaker: A tripped circuit breaker can also be the culprit behind a dimmer switch not working. If too much electrical current is being drawn from the circuit, it can trip the breaker and cut off power to the switch. Checking and resetting the circuit breaker can often resolve the issue.
- Faulty Dimmer Switch: Sometimes, the dimmer switch itself may be faulty. This can occur due to manufacturing defects or wear and tear over time. If none of the troubleshooting steps resolve the issue, it may be necessary to replace the dimmer switch entirely.
Now that we have identified some common causes of dimmer switch malfunctions, let’s move on to the DIY troubleshooting steps you can take to resolve these issues on your own.
Loose or Damaged Wiring
One of the most common causes of dimmer switch malfunctions is loose or damaged wiring. Over time, the vibrations from the electrical current can cause the wires connected to the dimmer switch to become loose, resulting in a poor connection. This can lead to flickering lights, a switch that won’t turn on or off, or inconsistent dimming performance.
To address this issue, you’ll need to inspect and potentially tighten the wiring connections associated with the dimmer switch.
- Turn off the power: Before working on any electrical component, it is crucial to ensure your safety. Begin by turning off the power source connected to the dimmer switch at the circuit breaker panel. Verify that the power is indeed off by attempting to turn on the lights controlled by the switch.
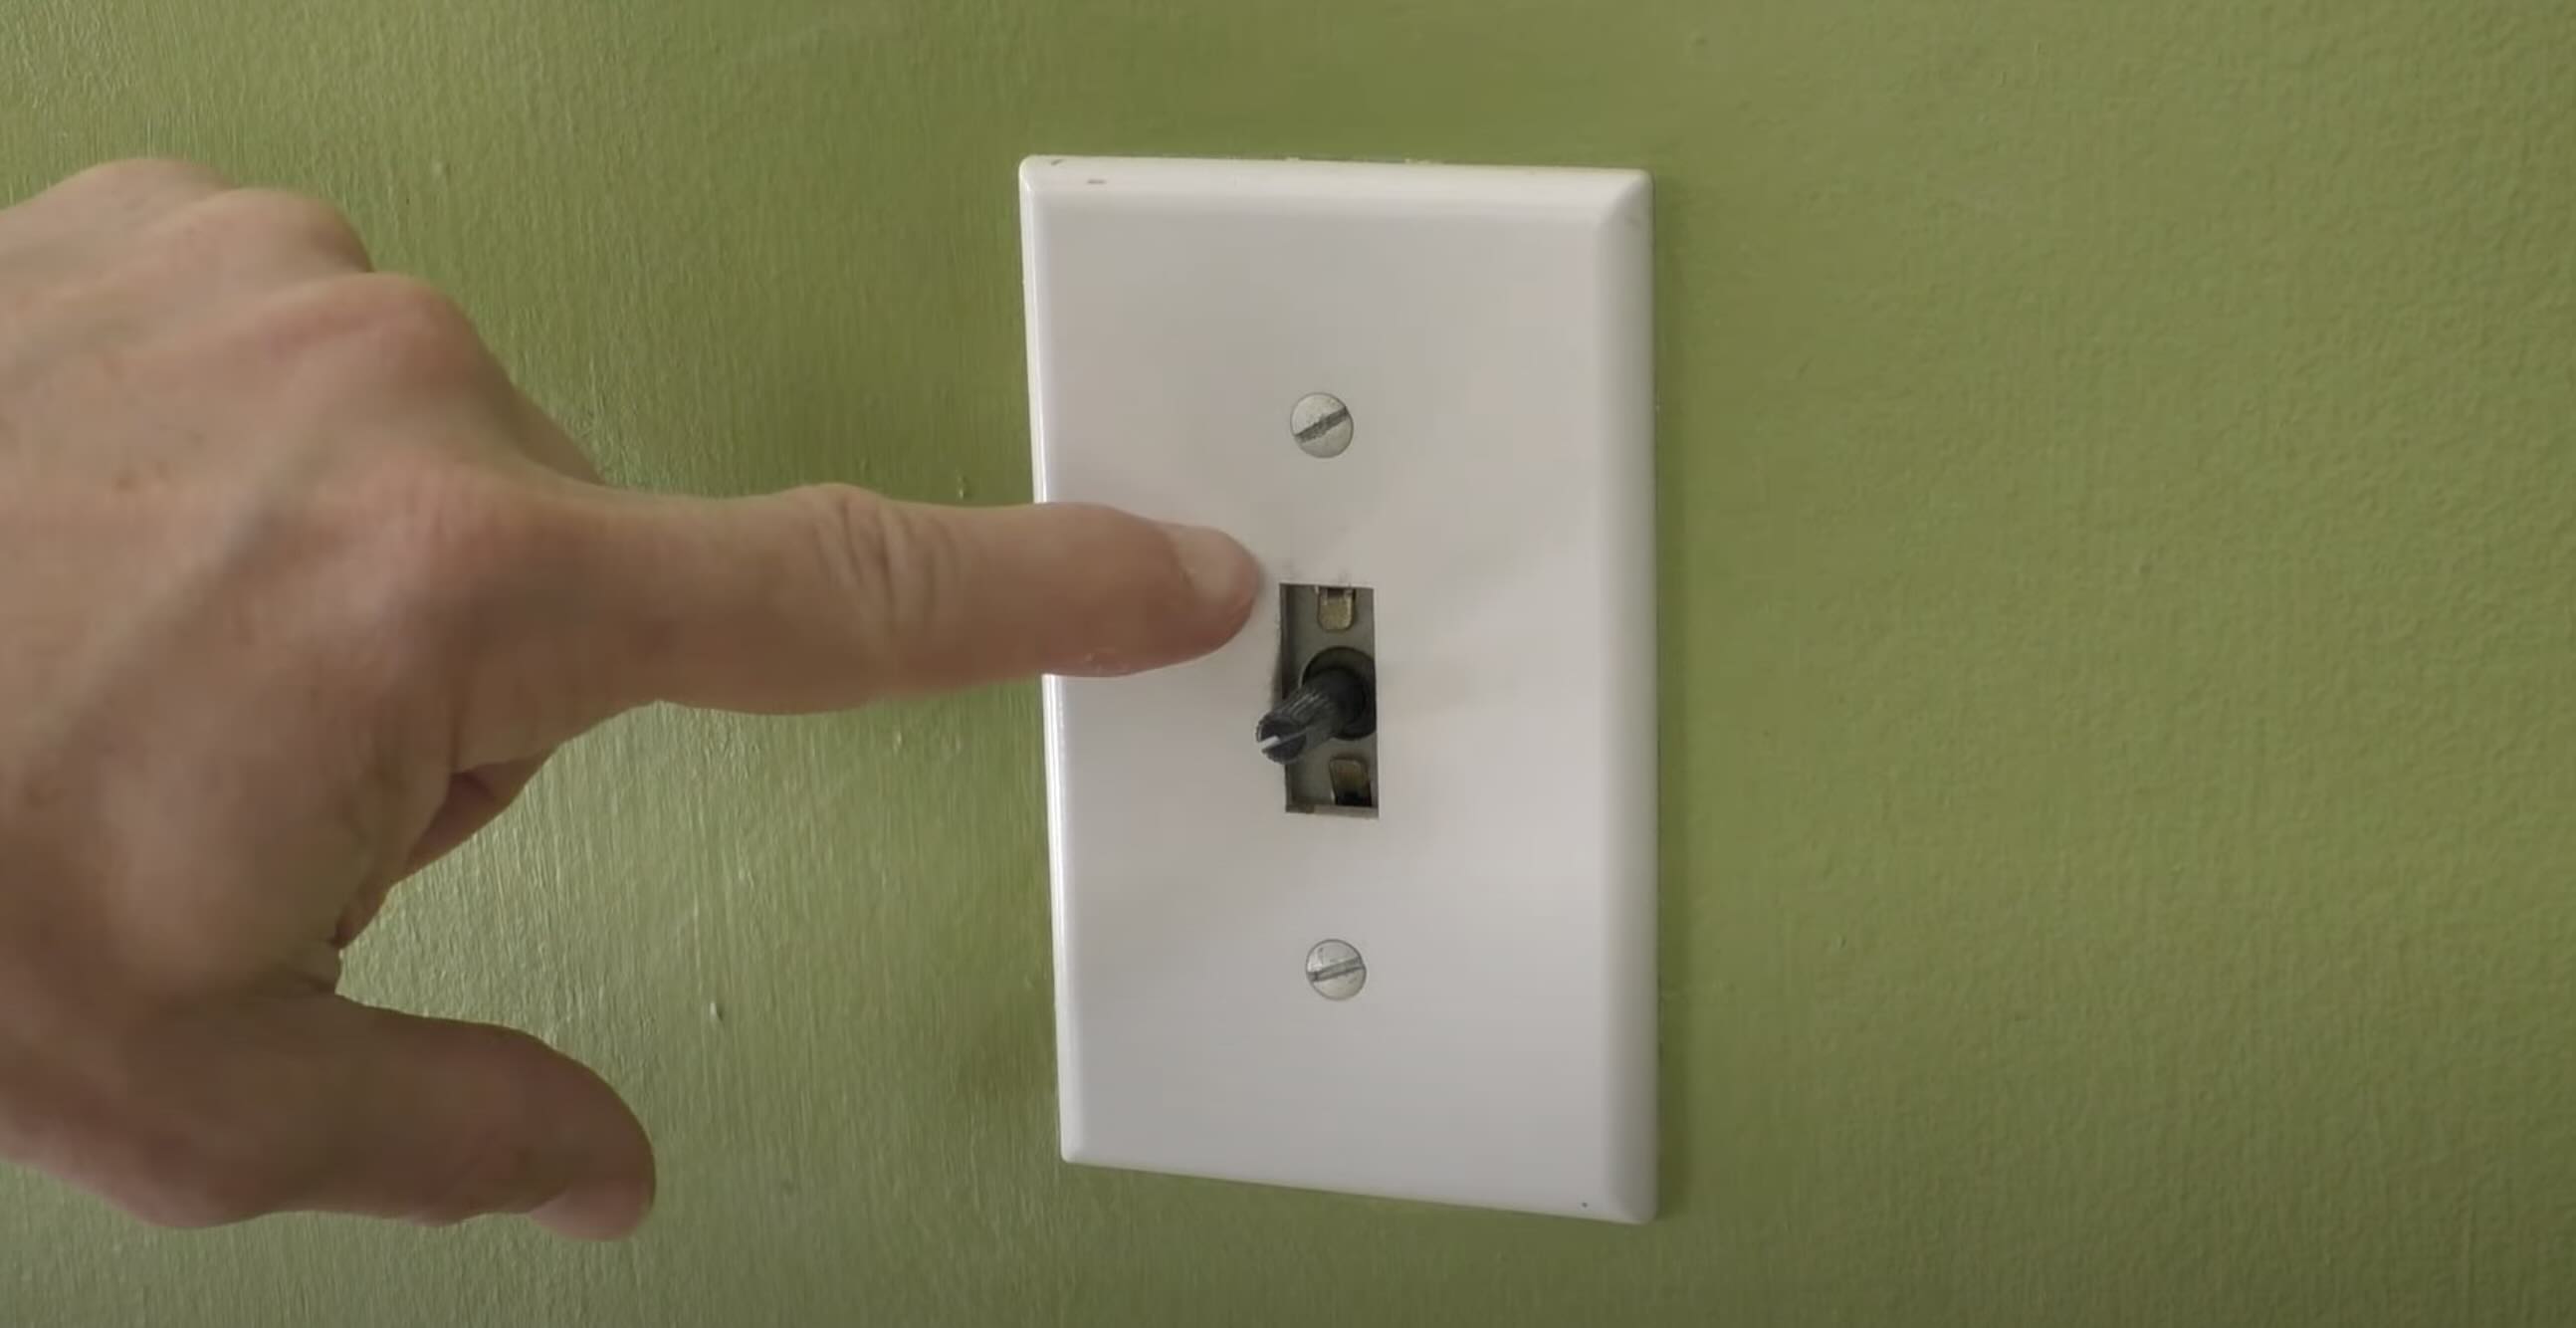
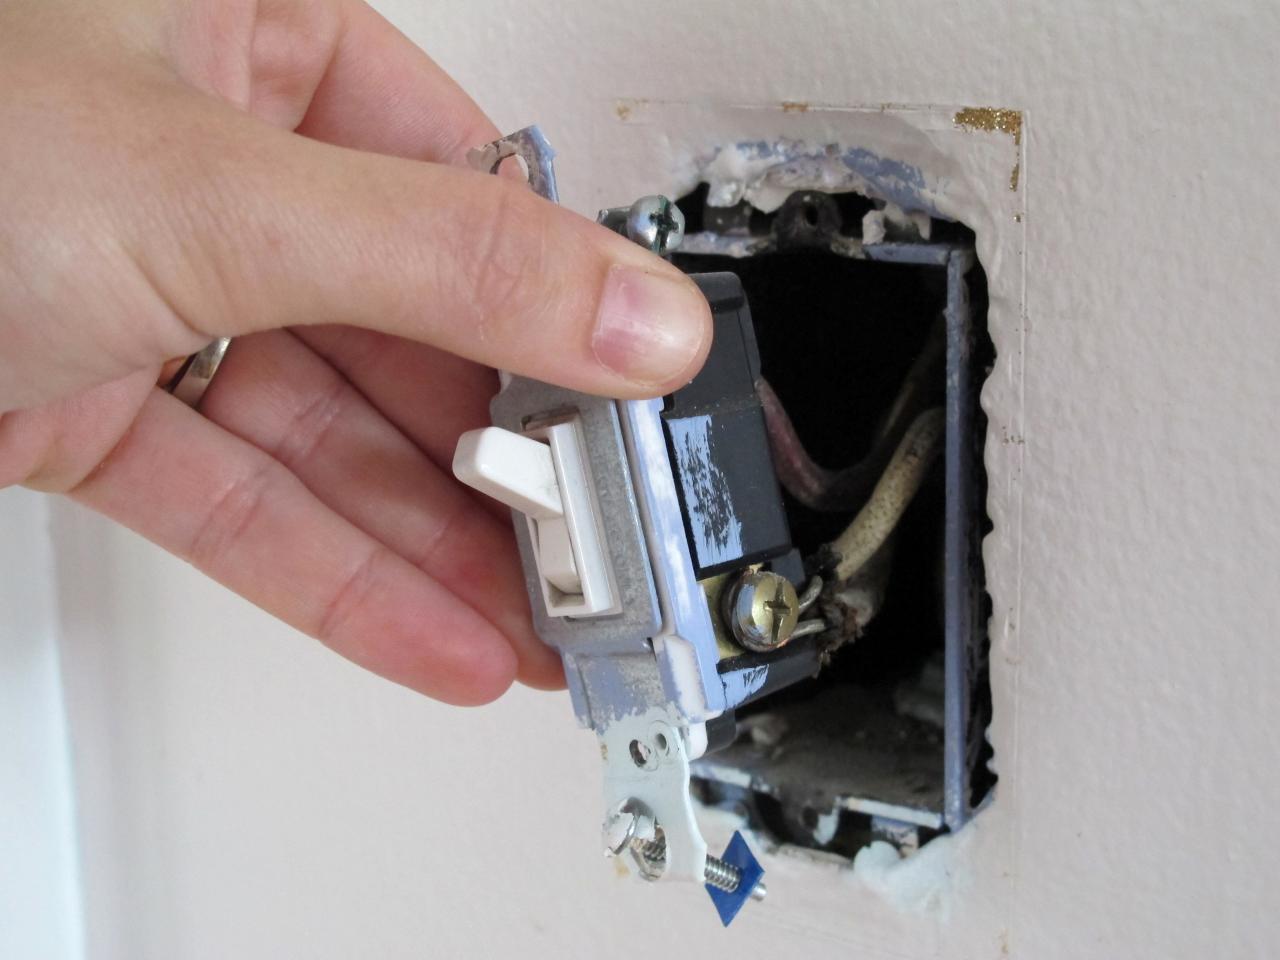
- Remove the switch cover: Once you have confirmed the power is off, remove the switch cover to access the wiring.
- Inspect the connections: Take a close look at the wiring connections attached to the dimmer switch. Look for any loose or disconnected wires. Additionally, check for any signs of frayed or damaged wires, as these can also cause issues.
- Tighten the wire connections: If you find any loose wiring connections, use a screwdriver to secure them. Carefully tighten the screws to ensure a snug fit without over-tightening, as this can damage the wires or the switch itself.
- Test the switch: After tightening the connections, replace the switch cover and restore power at the circuit breaker panel. Test the switch to see if the issue has been resolved. If the lights still flicker or do not respond, you may need to consider other troubleshooting steps or consult with a professional electrician to further investigate the wiring.
Remember, when working with electrical components, always prioritize safety. If you are unsure about any step or do not have experience with electrical systems, it is best to seek the assistance of a qualified electrician.
Now that we have covered loose or damaged wiring, let’s move on to the next potential cause of dimmer switch malfunctions – compatibility issues with bulbs.
Compatibility Issues with Bulbs
One common cause of dimmer switch malfunctions is compatibility issues with bulbs. Dimmer switches are designed to work with specific types of bulbs, such as incandescent, halogen, or LED bulbs. Using incompatible bulbs can result in various issues, including flickering lights, buzzing sounds, or a complete failure of the dimmer switch.
Here are some troubleshooting steps you can take to address compatibility issues with bulbs:
- Check bulb packaging: When purchasing bulbs for your dimmer switch, it’s important to check the packaging or product specifications to ensure that the bulbs are specifically labeled as dimmable. Using non-dimmable bulbs with a dimmer switch can cause flickering or erratic behavior.
- Verify bulb type: Different types of dimmer switches are designed to work with specific bulb types. For example, dimmer switches may be compatible with incandescent, halogen, CFL, or LED bulbs. Make sure to verify that the type of bulb you are using matches the specifications of your dimmer switch. Using the wrong type of bulb can lead to performance issues.
- Consider LED compatibility: If you are using LED bulbs with a dimmer switch, it’s essential to ensure that both the dimmer switch and the LED bulbs are labeled as compatible with each other. LED bulbs require specific types of dimmers designed for LED technology to work properly. Using an incompatible dimmer switch can result in flickering or even damage to the bulbs.
- Upgrade dimmer switch: If you find that your bulbs are not compatible with your current dimmer switch, you may need to consider upgrading to a dimmer switch that is specifically designed to work with the bulb type you are using. Consult the manufacturer’s guidelines or seek the assistance of a professional if you are unsure which dimmer switch would be best.
- Consult with a professional: If you have exhausted all troubleshooting steps and are still experiencing compatibility issues with your bulbs and dimmer switch, it may be necessary to consult with a professional electrician. They can provide expert advice and ensure that the appropriate wiring, connections, and components are in place to resolve the issue.
By taking these steps, you can identify and address any compatibility issues between your dimmer switch and bulbs. Now, let’s move on to another potential cause of dimmer switch malfunctions: an overloaded circuit.
Overloaded Circuit
An overloaded circuit is another common cause of dimmer switch malfunctions. When you have multiple light fixtures connected to the same dimmer switch or if you are using high-wattage bulbs, it can overload the circuit and lead to issues with the dimmer switch.
Here are some troubleshooting steps you can take to address an overloaded circuit:
- Calculate the total wattage: Start by determining the total wattage of all the light fixtures connected to the dimmer switch. You can usually find this information on the labels or packaging of the light bulbs. Add up the wattage of each bulb to get the total load on the circuit.
- Check the dimmer switch rating: Check the manufacturer’s guidelines or specifications for the dimmer switch to determine its maximum wattage capacity. Ensure that the total wattage of the connected bulbs is within the allowable limit of the dimmer switch.
- Reduce the load: If the total wattage exceeds the dimmer switch’s capacity, you will need to reduce the load on the circuit. One option is to replace high-wattage bulbs with lower-wattage ones. Another option is to install multiple dimmer switches for different groups of light fixtures, distributing the load across multiple circuits.
- Consider an upgrade: If you frequently encounter overloaded circuits due to multiple light fixtures or high-wattage bulbs, it may be time to consider upgrading the electrical system in that area. Consulting with a professional electrician can help you determine the best course of action and ensure that the wiring and circuits can handle the desired lighting setup.
- Monitor the circuit: After reducing the load or making any necessary changes, monitor the circuit to see if the dimmer switch is now functioning correctly. If the issue persists or if you notice any other electrical problems, it is advisable to seek the assistance of a qualified electrician.
By addressing and reducing the load on an overloaded circuit, you can prevent dimmer switch malfunctions and ensure smooth operation. Next, let’s move on to troubleshooting steps for another potential cause of dimmer switch issues: a tripped circuit breaker.
Read more: Why Is My Dimmer Switch Buzzing
Tripped Circuit Breaker
A tripped circuit breaker is a common cause of dimmer switch malfunctions. If too much electrical current is being drawn from the circuit, the circuit breaker can trip and cut off power to the switch, resulting in the dimmer switch not working.
Here are some troubleshooting steps you can take to address a tripped circuit breaker:
- Locate the circuit breaker panel: Start by locating the circuit breaker panel in your home. It is typically found in the basement, garage, or utility room.
- Identify the tripped breaker: Look for any breaker switches that have moved to the “off” position or are in a position between on and off. These are indicators that a circuit breaker has tripped.
- Reset the circuit breaker: To reset the tripped breaker, turn it off completely and then back on. This procedure involves pushing the breaker switch firmly to the off position and then flipping it back to the on position. This action should restore power to the circuit.
- Test the dimmer switch: After resetting the circuit breaker, test the dimmer switch to see if it is now functioning properly. If the lights still do not respond or if the dimmer switch continues to malfunction, you may need to explore other troubleshooting steps.
- Consider professional assistance: If the circuit breaker continues to trip after resetting or if you are unsure about handling electrical components, it is recommended to consult with a professional electrician. They can inspect the circuit, identify any underlying issues, and provide appropriate solutions.
Remember, circuit breakers are designed to protect electrical circuits from overloading and potential hazards. If you find that the circuit breaker trips frequently, it may indicate an underlying electrical problem that requires professional attention.
By resetting the tripped circuit breaker, you can restore power to the dimmer switch and resolve any issues caused by a power outage. Next, let’s move on to another potential cause of dimmer switch malfunctions: a faulty dimmer switch.
Faulty Dimmer Switch
A faulty dimmer switch is another possible cause of dimmer switch malfunctions. This can occur due to manufacturing defects, wear and tear over time, or damage caused by electrical surges. If none of the previous troubleshooting steps have resolved the issue, it may be necessary to replace the dimmer switch.
Here are some signs that might indicate a faulty dimmer switch:
- No response: The dimmer switch does not turn the lights on or off, and there is no change in brightness levels when the switch is operated.
- Flickering lights: The lights controlled by the dimmer switch flicker or flash intermittently, even when the switch is set to a specific brightness level.
- Inconsistent dimming: The dimmer switch does not smoothly adjust the brightness of the lights, or it becomes difficult to set the desired level of brightness.
- Audible buzzing or humming: The dimmer switch produces unusual buzzing or humming sounds when in use.
If you suspect a faulty dimmer switch, here are some steps you can take to replace it:
- Turn off the power: Before replacing a dimmer switch, ensure that the power to the circuit is turned off at the circuit breaker panel. This step is crucial for your safety during the replacement process.
- Remove the switch cover: Carefully remove the cover of the existing dimmer switch using a screwdriver.
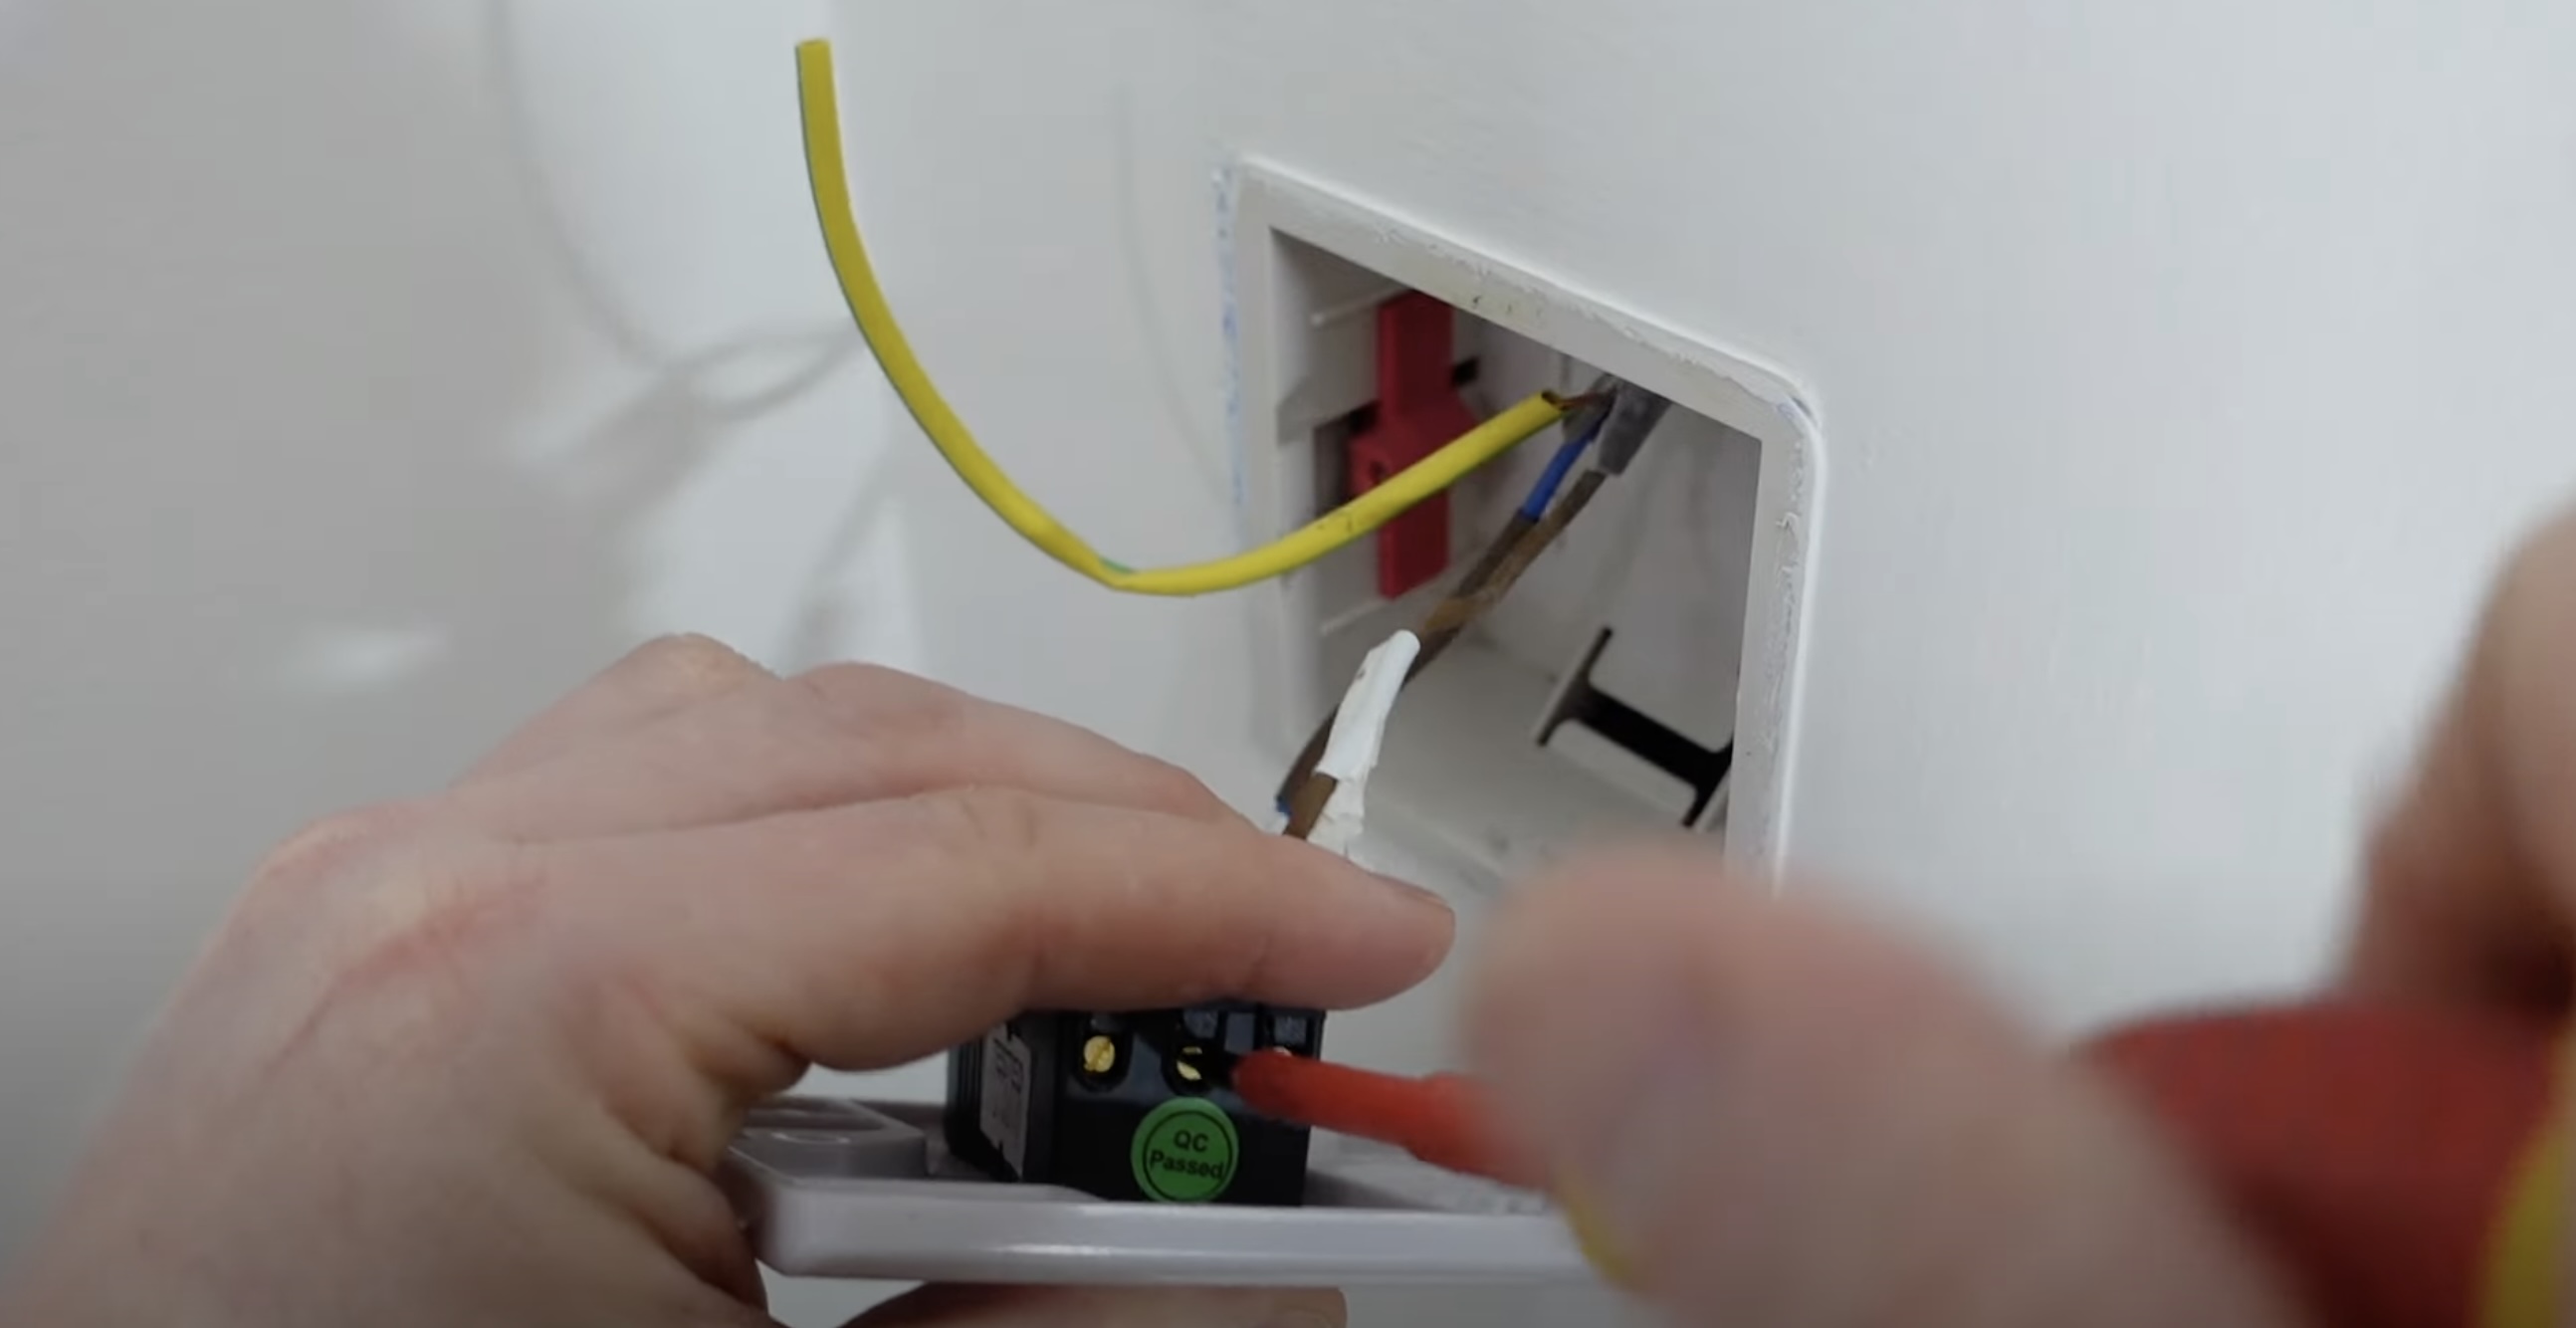
- Detach the wiring: Take note of the wiring connections on the existing dimmer switch. Disconnect the wires by loosening the screws or wire nuts that secure them.
- Install the new dimmer switch: Install the new dimmer switch by following the manufacturer’s instructions and connecting the wires in the same manner as the previous switch.
- Replace the switch cover: Once the new dimmer switch is securely connected, replace the switch cover.
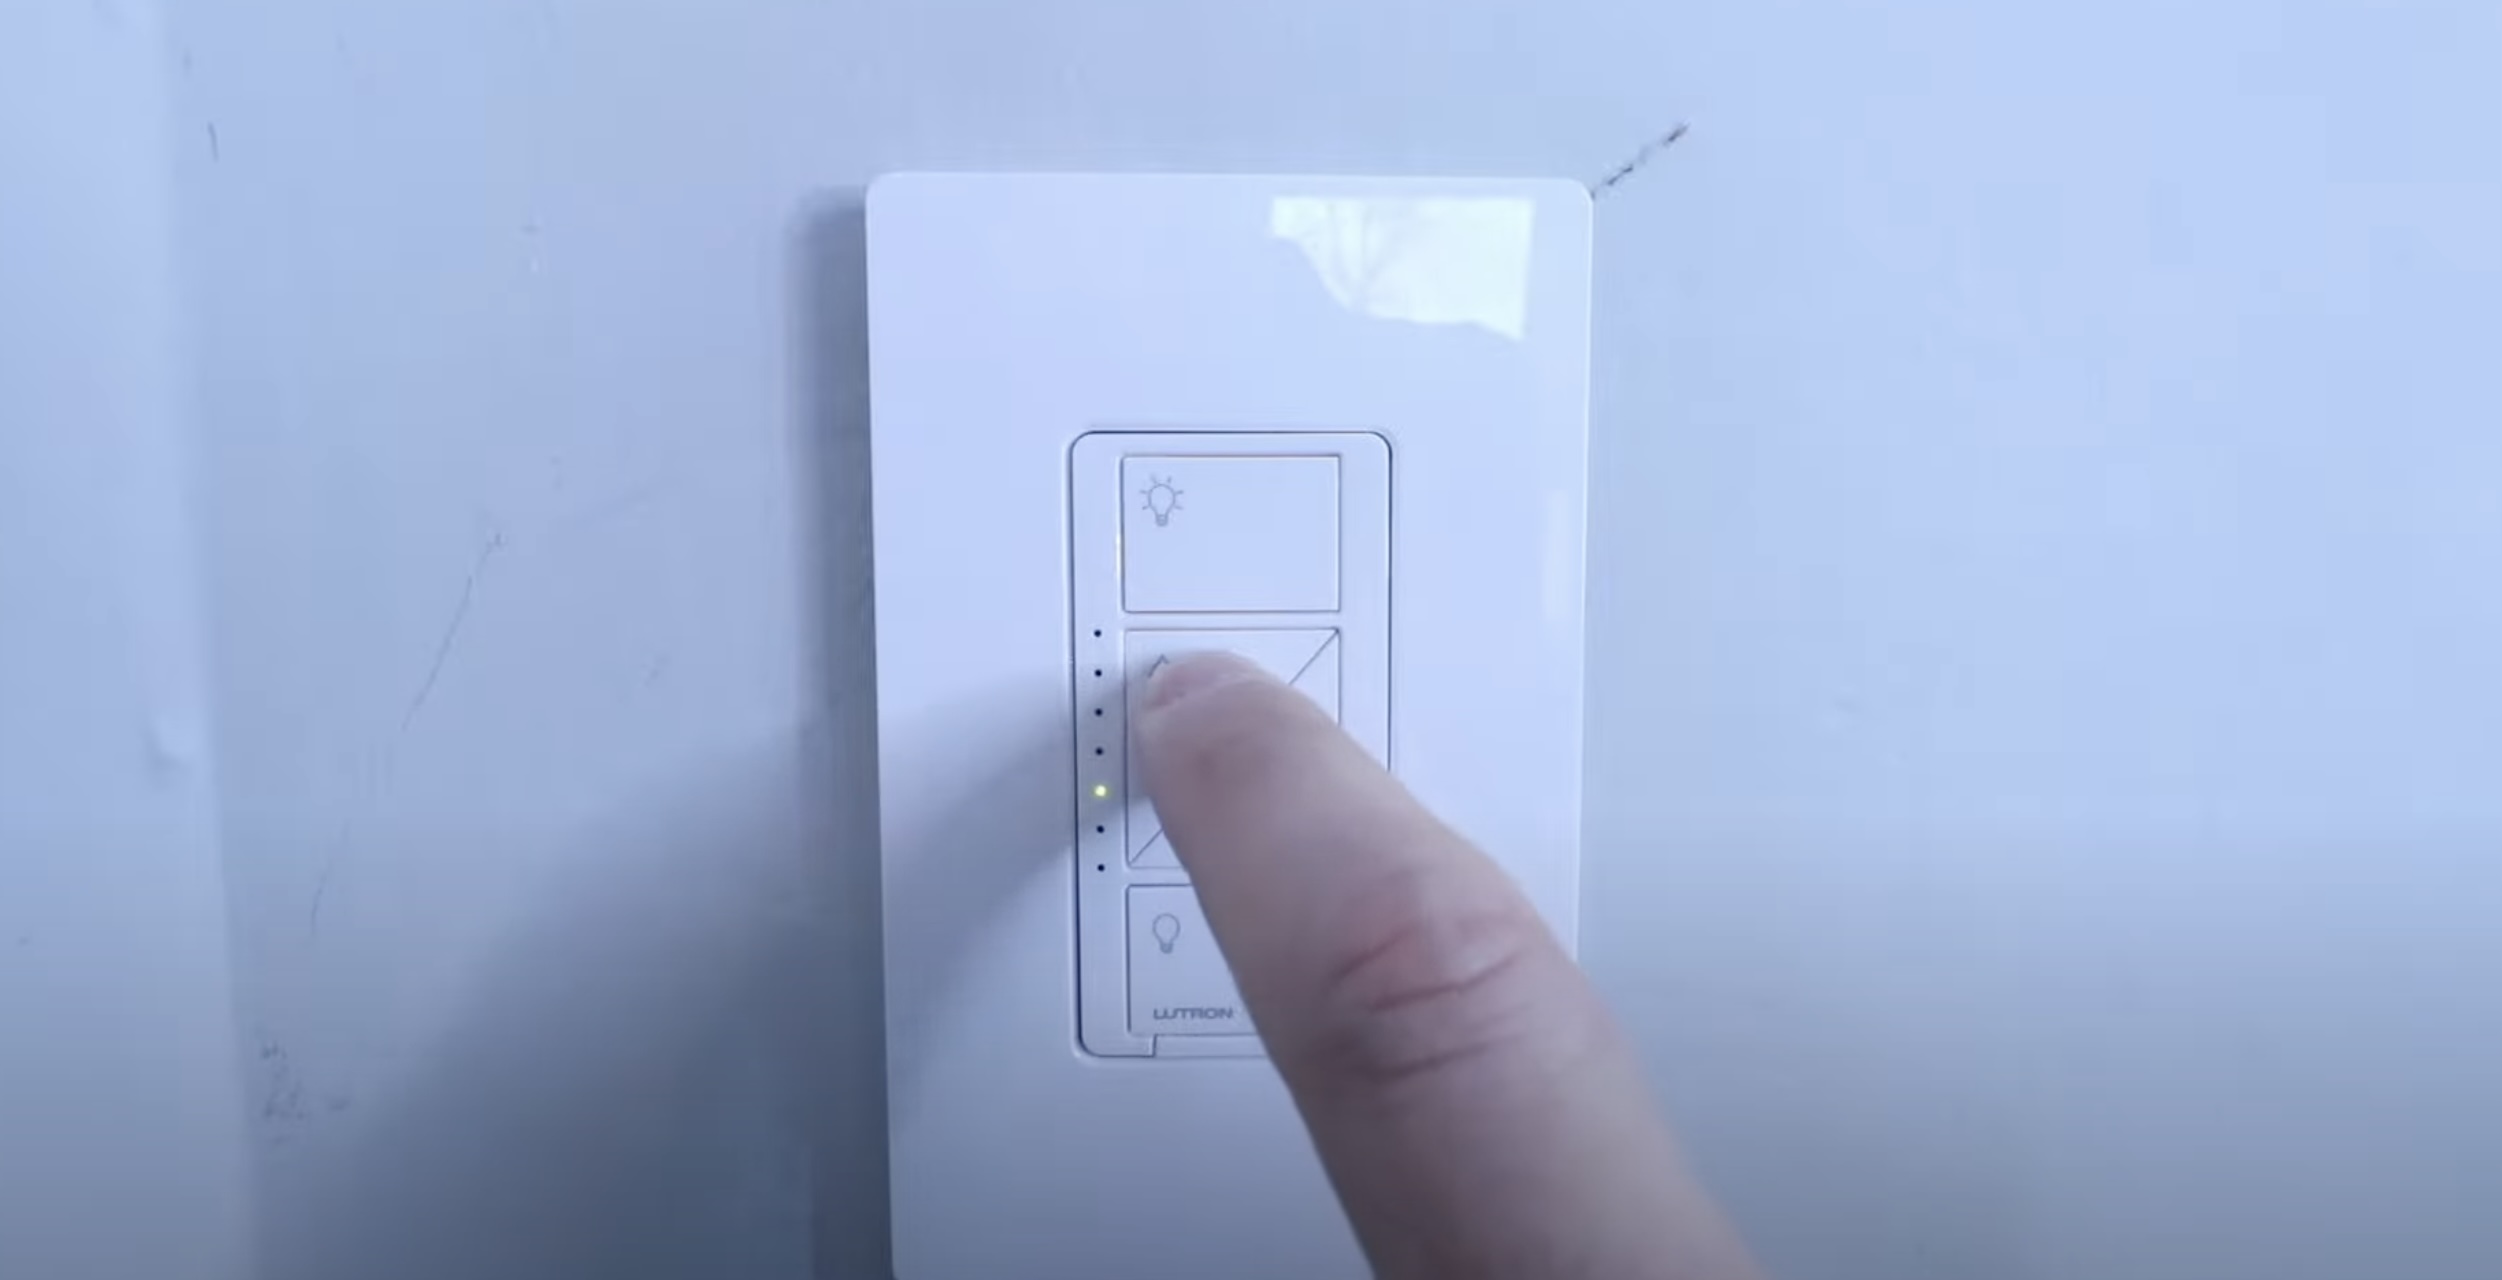
- Restore power and test: Restore power at the circuit breaker panel and test the new dimmer switch to ensure it is functioning correctly.
If the issue persists even after replacing the dimmer switch, it may be advisable to consult with a professional electrician. They can accurately diagnose the problem and recommend appropriate solutions.
Now that we have covered the potential cause of a faulty dimmer switch, let’s summarize the troubleshooting steps and conclude our discussion.
Check if the dimmer switch is compatible with the type of bulbs you are using. Some dimmer switches are not compatible with LED or CFL bulbs.
DIY Troubleshooting Steps
If you’re experiencing issues with your dimmer switch, there are several DIY troubleshooting steps you can take before consulting a professional electrician. These steps can help you identify and potentially resolve common problems. Here’s a recap of the troubleshooting steps mentioned in this article:
- Loose or Damaged Wiring: Turn off the power, remove the switch cover, inspect the wiring connections, tighten any loose connections, and test the switch.
- Compatibility Issues with Bulbs: Check the bulb packaging for dimmable labels, verify bulb type compatibility with the dimmer switch, consider LED compatibility, and upgrade the dimmer switch if necessary.
- Overloaded Circuit: Calculate the total wattage, check the dimmer switch rating, reduce the load by using lower-wattage bulbs or installing multiple dimmer switches, and consider an electrical system upgrade if needed.
- Tripped Circuit Breaker: Locate the circuit breaker panel, identify the tripped breaker, reset the circuit breaker, test the dimmer switch, and seek professional assistance if necessary.
- Faulty Dimmer Switch: Turn off the power, remove the switch cover, detach the wiring from the existing dimmer switch, install the new dimmer switch, replace the switch cover, restore power, and test the new dimmer switch.
Remember to prioritize your safety when working with electrical components. If you are unsure about any step or encounter complex electrical issues, it’s best to seek the assistance of a professional electrician.
By following these troubleshooting steps, you can potentially identify and address the underlying issues causing your dimmer switch malfunctions. In cases where the problems persist or are beyond your expertise, it is advisable to consult with a professional for a thorough evaluation and solution.
Now you’re equipped with the knowledge to troubleshoot and resolve dimmer switch issues. Good luck with your troubleshooting efforts, and may your lights shine brightly once again!
Do you have any other questions or topics you’d like to explore? I’m here to help!
Checking and Tightening Wiring Connections
If you’re experiencing issues with your dimmer switch, one of the potential causes could be loose or damaged wiring connections. Over time, vibrations from the electrical current can cause the wires connected to the dimmer switch to become loose, resulting in a poor connection. This can lead to problems such as flickering lights or a dimmer switch that doesn’t turn on or off properly.
To address this issue, follow these troubleshooting steps to check and tighten the wiring connections:
- Turn off the power: Before working on any electrical components, ensure your safety by turning off the power source connected to the dimmer switch at the circuit breaker panel. Verify that the power is indeed off by attempting to turn on the lights controlled by the switch.
- Remove the switch cover: Once you have confirmed that the power is off, carefully remove the switch cover to access the wiring connections. You may need to use a screwdriver to remove any screws holding the cover in place.
- Inspect the wiring connections: Take a close look at the wiring connections attached to the dimmer switch. Look for any loose or disconnected wires. Additionally, check for any signs of frayed or damaged wires, as these can also cause issues.
- Tighten the wire connections: If you find any loose wiring connections, use a screwdriver to secure them. Turn the screw in a clockwise direction to tighten the connection. Be careful not to overtighten, as it can damage the wires or the switch itself.
- Test the switch: Once you have tightened the wiring connections, replace the switch cover and restore power at the circuit breaker panel. Test the dimmer switch to see if the issue has been resolved. If the lights still flicker, do not respond, or the dimming performance is inconsistent, you may need to consider other troubleshooting steps or consult with a professional electrician.
It’s important to prioritize your safety when working with electrical components. If you are unsure about any step or do not have experience with electrical systems, it is best to seek the assistance of a qualified electrician. They have the expertise and knowledge to handle electrical issues safely and effectively.
By checking and tightening the wiring connections, you can ensure a secure and proper electrical connection, potentially resolving issues with your dimmer switch. Now, let’s move on to the next troubleshooting step: verifying bulb compatibility.
Read more: Why Does My Dimmer Switch Flicker
Verifying Bulb Compatibility
When it comes to dimmer switch malfunctions, another common cause can be compatibility issues with the bulbs you are using. Dimmer switches are designed to work with specific types of bulbs, such as incandescent, halogen, or LED bulbs. Using incompatible bulbs can result in problems like flickering lights, buzzing sounds, or even a complete failure of the dimmer switch.
To address this issue, follow these troubleshooting steps to verify bulb compatibility:
- Check bulb packaging: Start by reviewing the packaging or product specifications of the bulbs you are using. Look for any labels or indications that they are dimmable. Using non-dimmable bulbs with a dimmer switch can lead to flickering or erratic behavior.
- Verify bulb type compatibility: Different dimmer switches are designed to work with specific bulb types. For example, a dimmer switch may be compatible with incandescent, halogen, CFL, or LED bulbs. Make sure to check the compatibility information provided by the manufacturer to ensure that the type of bulb you are using matches the specifications of your dimmer switch.
- Consider LED compatibility: If you are using LED bulbs with a dimmer switch, it’s essential to ensure that both the dimmer switch and the LED bulbs are labeled as compatible with each other. LED bulbs require specific types of dimmers designed for LED technology to work properly. Using an incompatible dimmer switch can result in flickering or even damage to the bulbs.
- Upgrade dimmer switch: If you find that your bulbs are not compatible with your current dimmer switch, it may be necessary to consider upgrading to a dimmer switch that is specifically designed to work with the type of bulbs you are using. Consult the manufacturer’s guidelines or seek the assistance of a professional electrician to ensure you select the correct dimmer switch.
- Consult with a professional: If you have gone through the troubleshooting steps and are still experiencing compatibility issues with your bulbs and dimmer switch, it may be necessary to consult with a professional electrician. They can provide expert advice and determine if there are any additional wiring or compatibility issues that need to be addressed.
By following these troubleshooting steps, you can verify bulb compatibility with your dimmer switch and ensure that the bulbs you are using are suitable for dimming. This can help to mitigate issues and ensure proper functionality of your dimmer switch. Now, let’s move on to the next troubleshooting step: reducing the load on the circuit.
Reducing the Load on the Circuit
One common cause of dimmer switch malfunctions is an overloaded circuit. Having too many light fixtures connected to the same dimmer switch or using high-wattage bulbs can overload the circuit and lead to issues with the dimmer switch, such as flickering lights or a switch that won’t turn on or off properly.
To address this issue, follow these troubleshooting steps to reduce the load on the circuit:
- Calculate the total wattage: Start by determining the total wattage of all the light fixtures connected to the dimmer switch. You can usually find this information on the labels or packaging of the light bulbs. Add up the wattage of each bulb to get the total load on the circuit.
- Check the dimmer switch rating: Review the manufacturer’s guidelines or specifications for the dimmer switch to determine its maximum wattage capacity. Ensure that the total wattage of the connected bulbs is within the allowable limit of the dimmer switch.
- Reduce the load: If the total wattage exceeds the dimmer switch’s capacity, you will need to reduce the load on the circuit. One option is to replace high-wattage bulbs with lower-wattage ones. Using bulbs with lower wattage will decrease the overall load on the circuit. Another option is to install multiple dimmer switches, each controlling a group of light fixtures, to distribute the load across multiple circuits.
- Consider an electrical system upgrade: If you frequently encounter overloaded circuit issues due to multiple light fixtures or high-wattage bulbs, it may be time to consider upgrading the electrical system in that area. Consulting with a professional electrician can help you determine the best course of action and ensure that the wiring and circuits can handle the desired lighting setup.
- Monitor the circuit: After reducing the load or making any necessary changes, monitor the circuit to see if the dimmer switch is now functioning correctly. Pay attention to any signs of flickering lights or other electrical problems. If the issue persists or if you notice any other issues, it is advisable to seek the assistance of a qualified electrician to further investigate the situation.
By reducing the load on the circuit, you can prevent dimmer switch malfunctions and ensure smooth operation. Always prioritize safety when working with electrical components and consider consulting a professional electrician if you are unsure about any step or encounter complex electrical issues.
Now, let’s move on to the next troubleshooting step: resetting the circuit breaker.
Resetting the Circuit Breaker
If you’re experiencing issues with your dimmer switch, a tripped circuit breaker could be the culprit. When too much electrical current is being drawn from the circuit, the circuit breaker can trip and cut off power to the switch, resulting in the dimmer switch not working.
To address this issue, follow these troubleshooting steps to reset the circuit breaker:
- Locate the circuit breaker panel: Start by locating the circuit breaker panel in your home. It is typically found in the basement, garage, or utility room. The panel is usually a metal or plastic box with multiple breaker switches.
- Identify the tripped breaker: Look for any breaker switches that have moved to the “off” position or are in a position between on and off. These are indicators that a circuit breaker has tripped.
- Reset the circuit breaker: To reset the tripped breaker, push the breaker switch firmly to the off position. Then, flip it back to the on position. You should hear a clicking sound or feel resistance when the breaker switch snaps back into place.
- Test the dimmer switch: After resetting the circuit breaker, test the dimmer switch to see if it is now functioning properly. Turn the switch on and off, and adjust the brightness level to ensure everything is working as expected. If the lights still do not respond or if the dimmer switch continues to malfunction, you may need to explore other troubleshooting steps or consult with a professional electrician.
- Consult with a professional: If the circuit breaker continues to trip after resetting or if you are unsure about handling electrical components, it is recommended to consult with a professional electrician. They can inspect the circuit, identify any underlying issues, and provide appropriate solutions.
Remember, circuit breakers are designed to protect electrical circuits from overloading and potential hazards. If you find that the circuit breaker trips frequently, it may indicate an underlying electrical problem that requires professional attention.
By resetting the tripped circuit breaker, you can restore power to the dimmer switch and potentially resolve any issues caused by a power outage. Now, let’s move on to the final troubleshooting step: replacing a faulty dimmer switch.
Replacing a Faulty Dimmer Switch
If you have tried all the previous troubleshooting steps and your dimmer switch is still not functioning properly, it may be necessary to replace the faulty dimmer switch. A dimmer switch can become faulty due to manufacturing defects, wear and tear over time, or electrical surges.
Here are the steps to replace a faulty dimmer switch:
- Turn off the power: Before replacing a dimmer switch, ensure the power to the circuit is turned off at the circuit breaker panel. This step is crucial to your safety during the replacement process. Verify that the power is off by attempting to turn on the lights controlled by the switch.
- Remove the switch cover: Once you have confirmed that the power is off, carefully remove the switch cover using a screwdriver. Take note of the existing wiring connections before proceeding.
- Detach the wiring connections: Loosen the screws or wire nuts that secure the wiring connections to the existing dimmer switch. Disconnect the wires and remove the faulty dimmer switch from the electrical box.
- Install the new dimmer switch: Follow the manufacturer’s instructions for the specific model of the new dimmer switch you are installing. Connect the wires to the corresponding terminals, ensuring a secure and proper connection. Use wire nuts or screw terminals as directed by the instructions.
- Replace the switch cover: Once the new dimmer switch is securely connected, replace the switch cover and tighten any screws to hold it in place.
- Restore power and test: Turn the power back on at the circuit breaker panel. Test the new dimmer switch by turning it on and off, as well as adjusting the brightness level. Ensure that the lights respond accordingly and that the dimming function operates smoothly.
Always prioritize your safety when working with electrical components. If you are unsure about any step or do not have experience with electrical systems, it is best to seek the assistance of a qualified electrician.
By replacing a faulty dimmer switch, you can restore the functionality and proper operation of the dimmer switch in your home. If the issue persists even after replacing the switch, it may be necessary to consult with a professional electrician to diagnose any underlying electrical problems.
Congratulations! You have successfully completed the troubleshooting steps for your dimmer switch. If you have any further questions or need assistance with other topics, feel free to ask. Happy dimming!
Read more: How Does A Dimmer Switch Work
Conclusion
Dimmer switches can add convenience and ambiance to any home, allowing you to control the brightness and mood of your lighting. However, when your dimmer switch starts malfunctioning, it can be frustrating. In this article, we explored the common causes of dimmer switch malfunctions and provided DIY troubleshooting steps to help you address these issues.
We discussed the importance of checking for loose or damaged wiring connections, as well as verifying the compatibility of your bulbs with the dimmer switch. Overloaded circuits and tripped circuit breakers were identified as potential culprits, with steps provided to address these issues. Lastly, we discussed the possibility of a faulty dimmer switch and outlined the steps for replacing it.
Throughout the troubleshooting process, it is crucial to prioritize safety. Always turn off the power before working on any electrical component and consider consulting with a professional electrician if you are unsure or uncomfortable with any step.
By following the troubleshooting steps outlined in this article, you can likely identify and resolve the issues with your dimmer switch on your own. However, if the problems persist or you are unable to resolve them, do not hesitate to seek the assistance of a qualified electrician who can provide expert guidance and solutions.
We hope that this article has been helpful in troubleshooting your dimmer switch issues and restoring the smooth functionality of your lighting. Remember to enjoy the benefits of your dimmer switch responsibly and create the perfect ambiance for any occasion.
If you have any further questions or need assistance with any other topics, feel free to reach out. Happy dimming!
Frequently Asked Questions about Why Is My Dimmer Switch Not Working
Was this page helpful?
At Storables.com, we guarantee accurate and reliable information. Our content, validated by Expert Board Contributors, is crafted following stringent Editorial Policies. We're committed to providing you with well-researched, expert-backed insights for all your informational needs.


0 thoughts on “Why Is My Dimmer Switch Not Working”