Home>Construction & Tools>Building Materials>How To Build Brick Wall
Building Materials
How To Build Brick Wall
Published: January 22, 2024
Learn how to build a sturdy brick wall using high-quality building materials. Our step-by-step guide will help you create a durable and attractive structure.
(Many of the links in this article redirect to a specific reviewed product. Your purchase of these products through affiliate links helps to generate commission for Storables.com, at no extra cost. Learn more)
Introduction
Building a brick wall is a timeless and rewarding endeavor that adds both aesthetic appeal and structural integrity to any space. Whether you're looking to enhance your garden, create a boundary, or add a touch of classic charm to your home, mastering the art of bricklaying can be a fulfilling experience. The process of constructing a brick wall requires careful planning, attention to detail, and a solid understanding of the materials and techniques involved. In this comprehensive guide, we will walk you through each step of the bricklaying process, from gathering the necessary materials and tools to putting the finishing touches on your masterpiece.
As you embark on this journey, it's important to approach the task with patience and precision. While the prospect of building a brick wall may seem daunting at first, with the right guidance and a willingness to learn, you can transform a pile of bricks into a sturdy and visually striking structure. Whether you're a seasoned DIY enthusiast or a novice looking to expand your skill set, this guide will equip you with the knowledge and confidence to tackle your bricklaying project with enthusiasm.
Throughout this article, we will delve into the intricacies of preparing the foundation, laying the bricks, and ensuring that your wall stands the test of time. By the time you reach the end of this guide, you will have gained a comprehensive understanding of the bricklaying process, allowing you to approach your project with clarity and competence. So, roll up your sleeves, gather your tools, and let's embark on this fulfilling journey of building a brick wall that will stand as a testament to your craftsmanship and dedication.
Key Takeaways:
- Building a brick wall requires careful planning, attention to detail, and the right materials and tools. It’s a fulfilling journey that transforms bricks into a sturdy and visually striking structure.
- From preparing the foundation to laying the first course of bricks and adding finishing touches, building a brick wall is a fusion of craftsmanship, precision, and creativity, culminating in a timeless and enduring structure.
Read more: How To Build A Brick Wall In The Garden
Step 1: Gather Materials and Tools
Before diving into the bricklaying process, it's crucial to gather all the necessary materials and tools to ensure a smooth and efficient construction experience. Here's a comprehensive list of items you'll need to have on hand before you begin:
Materials
- Bricks: Select high-quality bricks that are suitable for the intended purpose and environment. Common options include clay bricks, concrete bricks, or reclaimed bricks, each offering unique aesthetic and functional characteristics.
- Mortar: Choose a suitable mortar mix based on the type of bricks and the wall's intended use. Mortar plays a critical role in providing structural stability and cohesion to the wall.
- Foundation Materials: Depending on the project's scale, you may need gravel, sand, and cement for laying the foundation and ensuring proper drainage.
- Damp-proof Course: This is essential for preventing moisture from seeping into the wall, especially in areas prone to dampness.
- Wall Ties: If you're constructing a cavity wall, wall ties are necessary to connect the inner and outer layers of the wall, ensuring stability and insulation.
Tools
- Brick Trowel: An essential tool for spreading and shaping mortar as you lay the bricks.
- Spirit Level: Used to ensure that the bricks are laid evenly and the wall remains plumb throughout the construction process.
- Masonry Line and Blocks: These are indispensable for maintaining straight and uniform courses of bricks.
- Hammer and Chisel: For cutting bricks to size and making precise adjustments as needed.
- Jointing Tool: Used to finish the mortar joints, creating a clean and professional appearance.
- Safety Gear: This includes gloves, safety glasses, and a dust mask to protect yourself during the construction process.
By gathering these materials and tools, you'll set the stage for a successful bricklaying endeavor. With everything in place, you'll be well-prepared to move on to the next step: preparing the foundation for your brick wall.
Step 2: Prepare the Foundation
The foundation serves as the backbone of your brick wall, providing essential support and stability. Proper preparation of the foundation is crucial to ensure the longevity and structural integrity of the entire structure. Here's a detailed overview of the steps involved in preparing the foundation for your brick wall:
-
Site Preparation: Begin by clearing the area where the wall will be constructed. Remove any debris, vegetation, or obstacles that may impede the foundation's stability. It's essential to ensure that the ground is level and free from any irregularities that could affect the wall's alignment.
-
Marking the Layout: Use string lines and stakes to outline the dimensions of the wall. This will provide a clear visual guide for excavating the foundation and laying the first course of bricks. Accurate measurements and straight lines are essential at this stage to ensure a precise and well-aligned foundation.
-
Excavation: With the layout in place, excavate the marked area to the required depth for the foundation. The depth of the excavation will depend on the wall's intended height and the type of soil present. Typically, a depth of at least 6 inches is recommended for a stable foundation.
-
Adding Base Material: Once the excavation is complete, add a layer of compacted gravel to the bottom of the trench. This base material provides drainage and helps to distribute the load evenly across the foundation, reducing the risk of settling over time.
-
Installing Damp-proof Course: In areas prone to moisture, it's essential to install a damp-proof course (DPC) to prevent water from seeping into the bricks and compromising the wall's integrity. The DPC is typically a waterproof membrane or layer of bitumen felt placed horizontally above the foundation.
-
Mixing and Pouring Concrete: Prepare a concrete mix by combining cement, sand, and aggregate in the appropriate proportions. Pour the concrete into the trench, ensuring that it fills the entire excavated area evenly. Use a screed board and a spirit level to achieve a smooth and level surface.
-
Curing the Foundation: Allow the concrete foundation to cure and set for the recommended period, typically around 7 days. During this time, it's crucial to protect the foundation from excessive moisture and temperature fluctuations to ensure optimal strength and stability.
By meticulously following these steps, you will establish a solid and reliable foundation for your brick wall. The careful attention to detail during the preparation phase will lay the groundwork for a successful and enduring construction project. With the foundation in place, you're ready to move on to the next exciting phase of the bricklaying process: laying the first course of bricks.
Read more: How To Build A Brick Retaining Wall
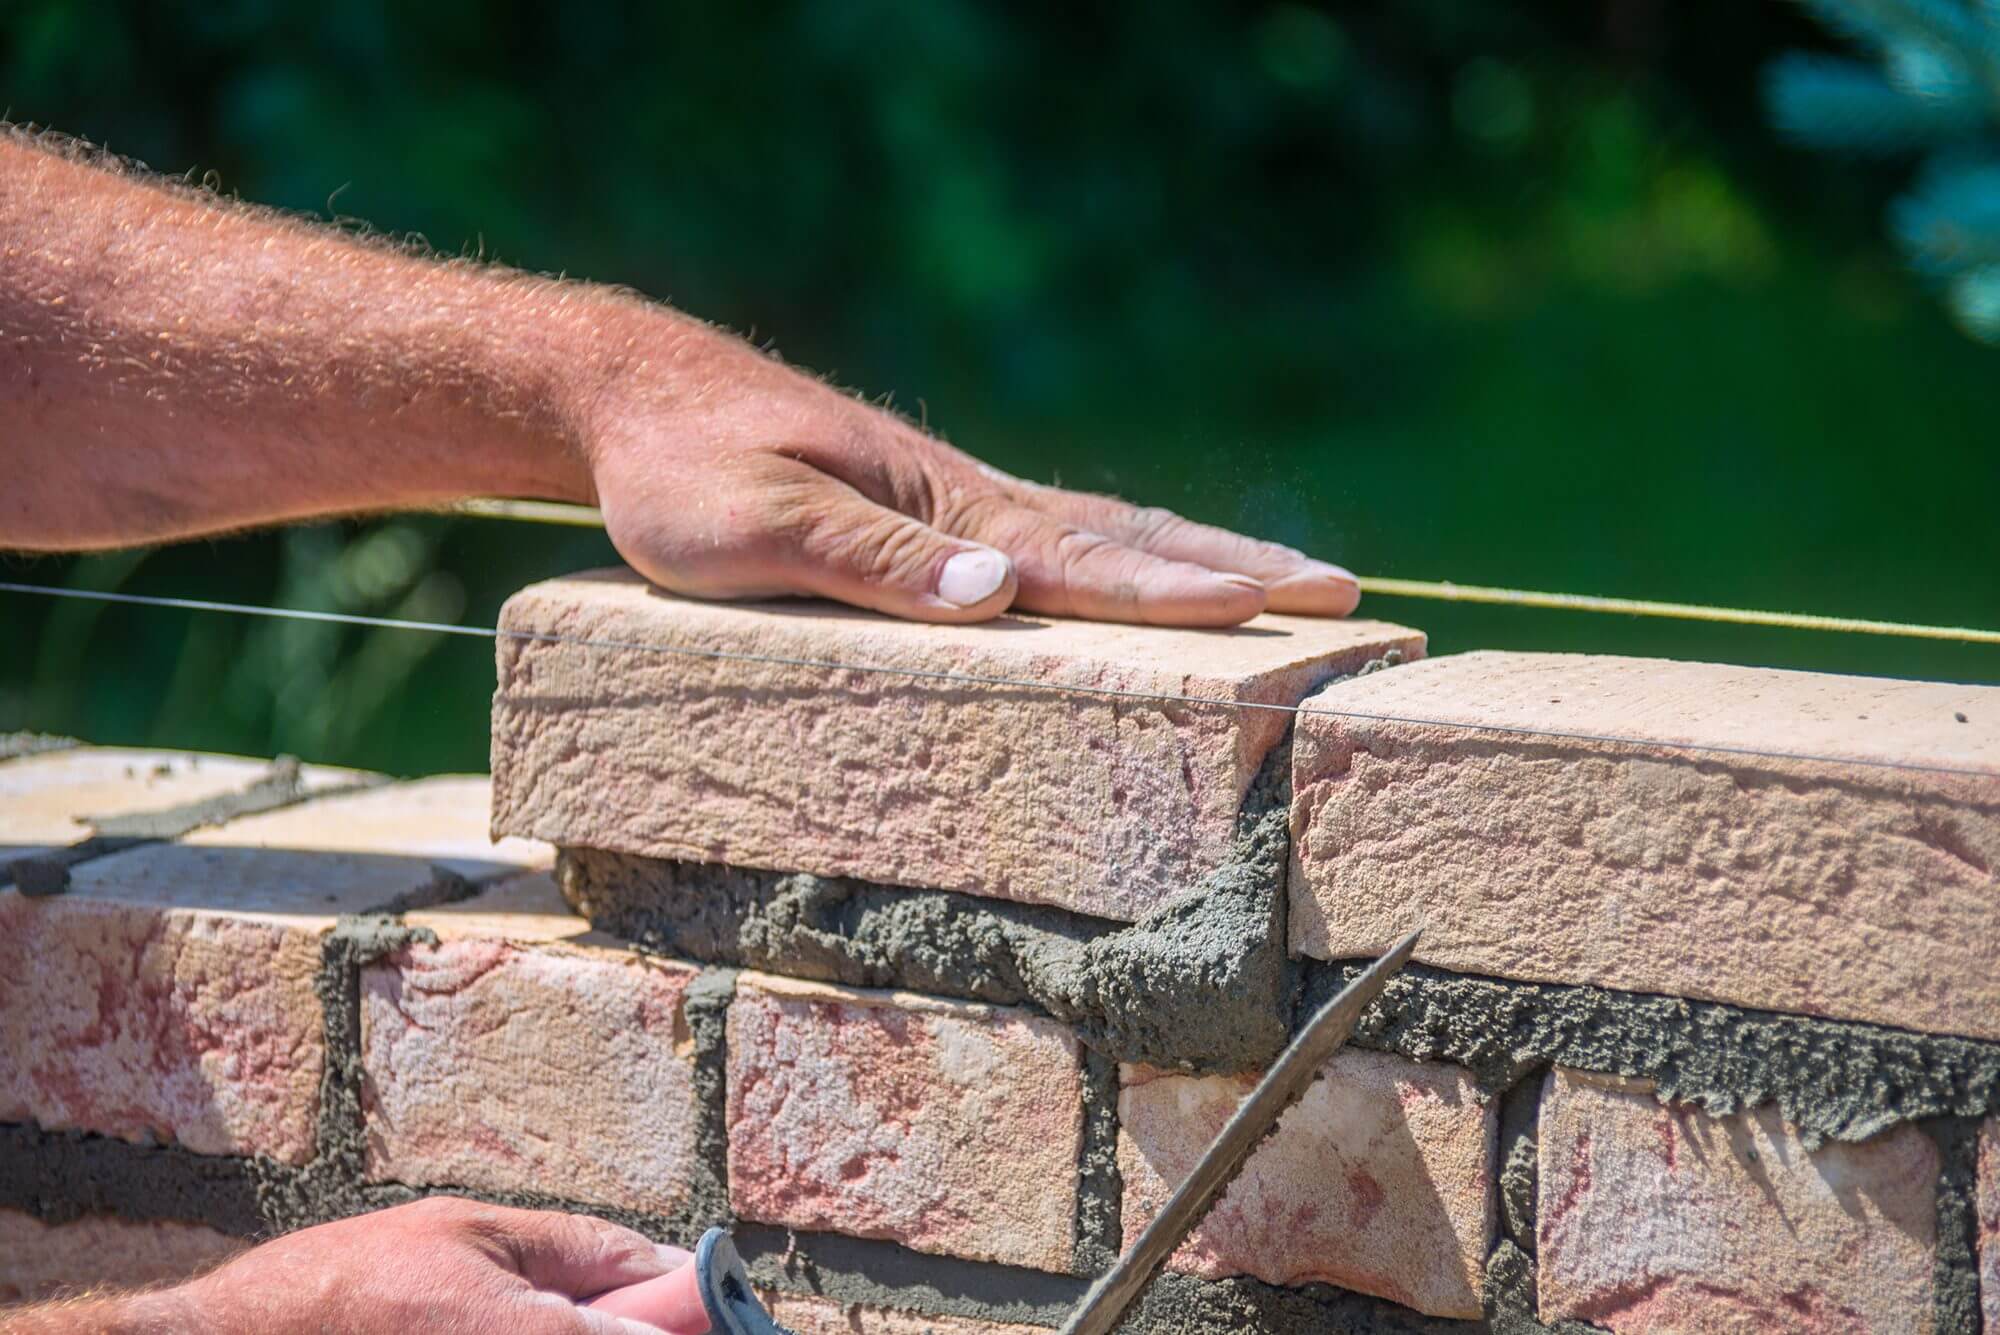
Step 3: Lay the First Course of Bricks
Laying the first course of bricks is a critical step that sets the stage for the entire wall construction. This initial layer serves as the foundation upon which the subsequent courses will be built, making it essential to approach this phase with precision and care. Here's a detailed breakdown of the process involved in laying the first course of bricks:
-
Prepare the Mortar: Begin by mixing the mortar to the appropriate consistency. The mortar should have a workable texture, allowing it to adhere to the bricks without being too runny or stiff. Consistency is key, as it ensures proper adhesion and structural integrity.
-
Lay the Mortar Bed: Using a trowel, spread a layer of mortar along the foundation where the first course of bricks will be placed. The thickness of the mortar bed should be uniform to provide a stable base for the bricks.
-
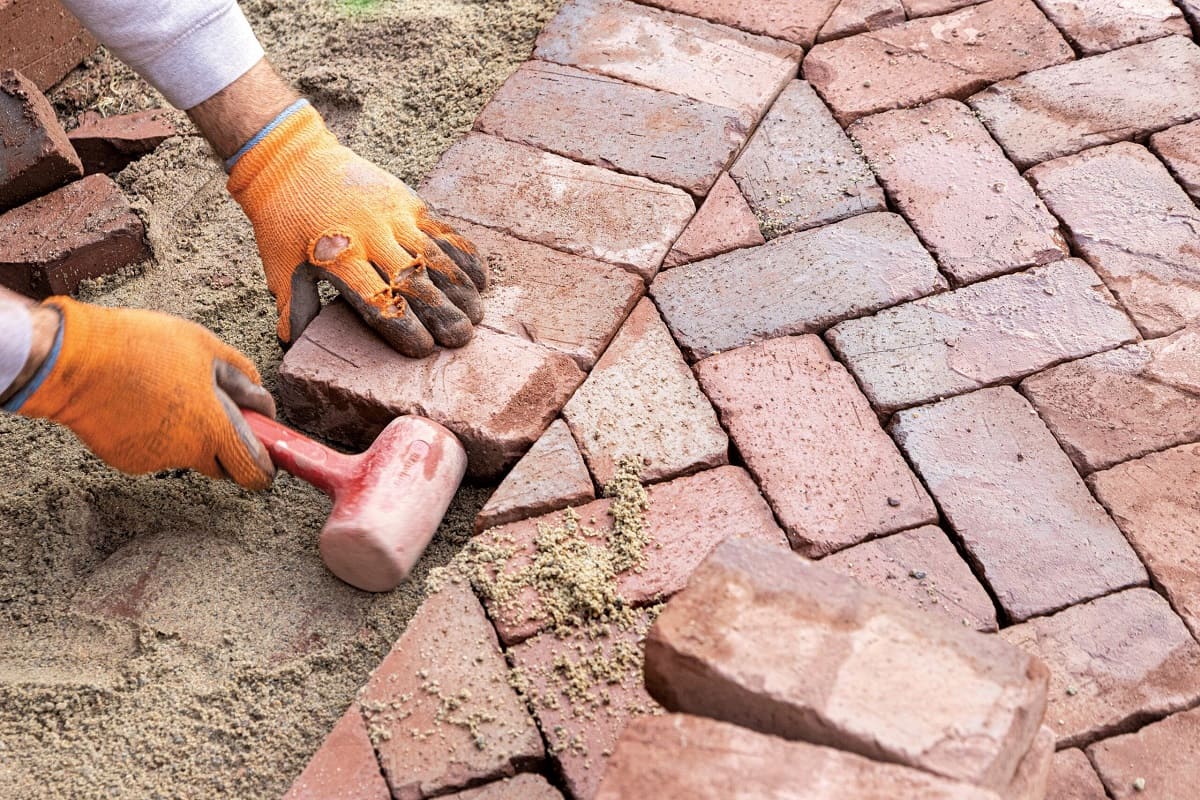
Set the Bricks: Carefully place the bricks onto the mortar bed, ensuring that they are aligned with the layout marks and each other. Use a spirit level to check for evenness and adjust the position of the bricks as needed. Proper alignment at this stage is crucial, as it forms the basis for the entire wall's vertical and horizontal alignment.
-
Check for Level and Plumb: As each brick is laid, use a spirit level to ensure that it is both level (horizontally aligned) and plumb (vertically aligned). Making adjustments as you progress will help maintain the wall's structural integrity and visual appeal.
-
Cutting Bricks: If necessary, cut bricks to fit the ends of the wall or around openings using a hammer and chisel. Precise cutting is essential to achieve a clean and professional finish.
-
Tooling Joints: Once the first course is laid, use a jointing tool to finish the mortar joints, creating a neat and uniform appearance. Properly tooled joints not only enhance the wall's aesthetics but also contribute to its overall strength and durability.
By meticulously following these steps, you will establish a solid and reliable first course of bricks, providing a strong foundation for the subsequent layers. Attention to detail during this phase is crucial, as it sets the tone for the rest of the bricklaying process. With the first course in place, you're ready to build up the wall and bring your vision to life.
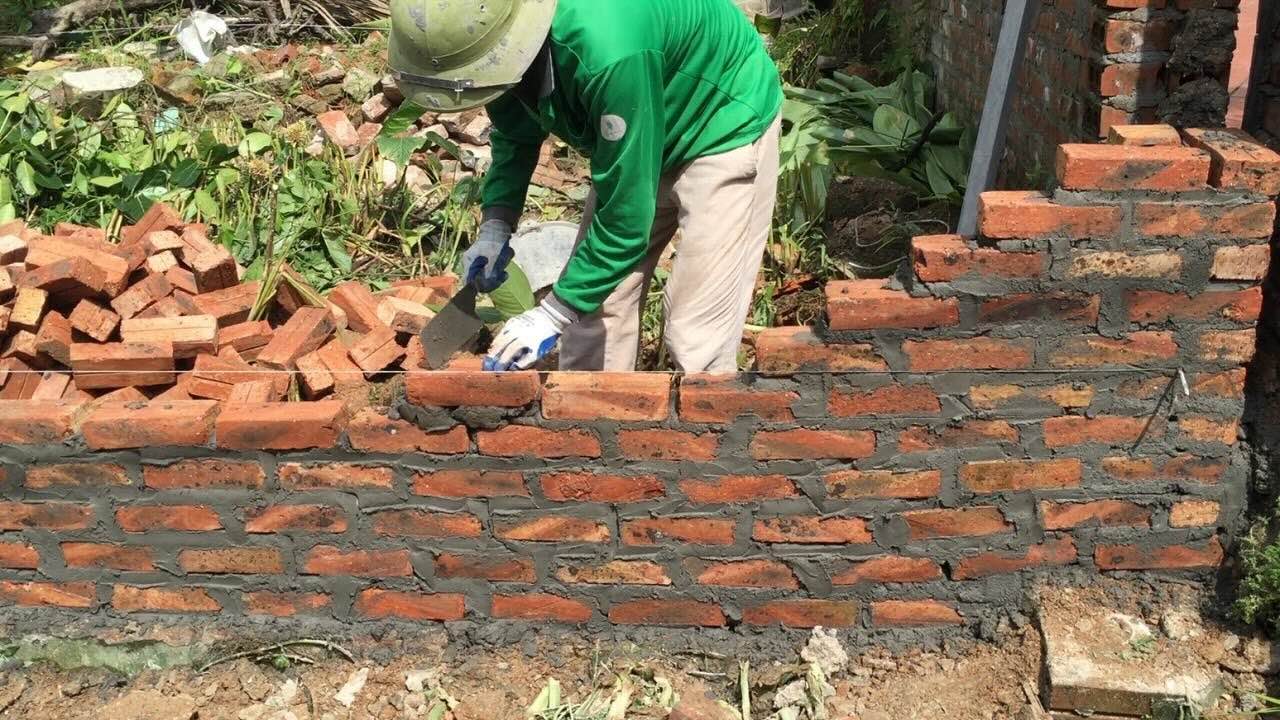
Step 4: Build Up the Wall
With the foundation laid and the first course of bricks set in place, it's time to build up the wall and witness your vision taking shape. This phase marks the progression from the groundwork to the vertical ascent, where each layer of bricks contributes to the structural strength and visual impact of the wall. Here's a detailed exploration of the process involved in building up the wall:
-
Applying Mortar: Begin by preparing a fresh batch of mortar to maintain a consistent and workable texture. The mortar acts as the adhesive that holds the bricks together, providing cohesion and stability to the wall.
-
Laying Additional Courses: Carefully apply a layer of mortar on top of the first course of bricks, ensuring an even and adequate coverage. As you lay each subsequent course of bricks, stagger the joints to enhance the wall's strength and create a visually appealing pattern.
-
Maintaining Alignment: Use a spirit level and a straightedge to verify the horizontal and vertical alignment of each course. Ensuring that the wall remains plumb and level at every stage is crucial for its structural integrity and aesthetic appeal.
-
Inserting Wall Ties (if applicable): If you're constructing a cavity wall, insert wall ties at regular intervals to connect the inner and outer layers. These ties enhance the wall's stability and insulation, contributing to its overall performance.
-
Creating Openings: If your wall includes openings for doors, windows, or other features, carefully plan and execute the placement of bricks around these areas. Precise cutting and fitting of bricks are essential to accommodate these architectural elements seamlessly.
-
Checking for Uniformity: Throughout the process of building up the wall, maintain a keen eye for uniformity and consistency. The evenness of mortar joints, the alignment of bricks, and the overall appearance of the wall contribute to its professional finish.
-
Continual Adjustment and Finishing: As the wall progresses, make any necessary adjustments to maintain its structural integrity and visual appeal. Tool the mortar joints of each course to create a clean and polished finish, enhancing the wall's overall presentation.
By methodically building up the wall, course by course, you will witness the transformation of individual bricks into a cohesive and robust structure. Each layer contributes to the wall's strength and character, culminating in a testament to your craftsmanship and dedication. With the wall steadily rising, you're on the brink of completing a remarkable construction journey, ready to add the finishing touches that will elevate your creation to its full potential.
When building a brick wall, make sure to start with a solid foundation and use mortar to hold the bricks together. Use a level to ensure the wall is straight and plumb. Leave space for expansion joints to prevent cracking.
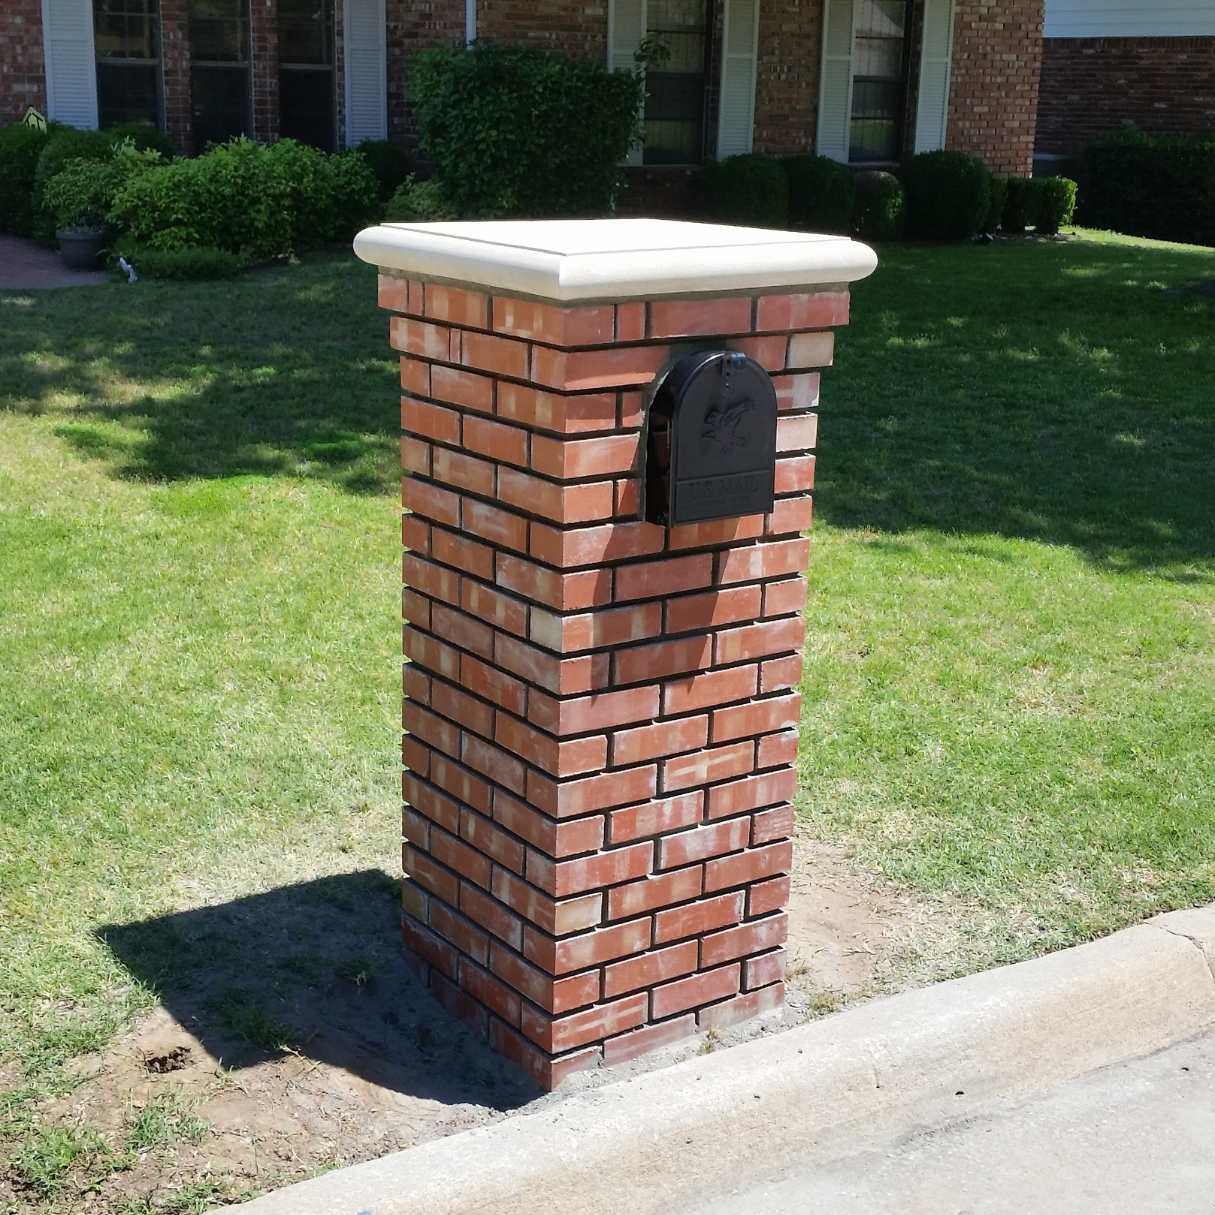
Step 5: Finish the Wall
As the brick wall nears its completion, the focus shifts to the crucial phase of finishing, where meticulous attention to detail and precision elevates the structure from a functional edifice to a visually captivating masterpiece. This stage encompasses the final touches that enhance the wall's appearance, durability, and overall aesthetic appeal. Here's a comprehensive exploration of the process involved in finishing the wall:
-
Cleaning and Inspecting: Before proceeding with the final steps, thoroughly clean the surface of the wall to remove any excess mortar, dirt, or debris. Inspect the entire structure for any irregularities, ensuring that the bricks are securely in place and the mortar joints exhibit uniformity.
-
Pointing and Repairs: Pointing, the process of filling and finishing the mortar joints, plays a pivotal role in enhancing the wall's appearance and longevity. Using a pointing trowel, carefully fill any gaps or recessed areas in the mortar joints, ensuring a smooth and consistent finish. Address any minor imperfections or damaged bricks, making necessary repairs to uphold the wall's integrity.
-
Applying Surface Treatments: Depending on the desired aesthetic and functional requirements, consider applying surface treatments to the brick wall. This may include sealing the bricks to enhance their resistance to moisture and weathering, or applying a protective coating to accentuate the natural color and texture of the bricks.
-
Adding Decorative Elements: For those seeking to infuse artistic flair into their brick wall, the finishing stage presents an opportunity to incorporate decorative elements. This may involve integrating ornamental features, such as brick patterns, insets, or contrasting brick colors, to create a visually striking and personalized design.
-
Final Inspection and Maintenance: Once the finishing touches are complete, conduct a final inspection of the entire wall, paying close attention to the quality of the mortar joints, the alignment of the bricks, and the overall presentation. Additionally, establish a maintenance plan to preserve the wall's condition over time, which may include periodic cleaning, inspection, and minor repairs as needed.
By meticulously executing the finishing phase, you will transform a collection of bricks and mortar into a resilient, visually appealing, and enduring structure. The culmination of this process marks the fulfillment of your vision, showcasing the craftsmanship and dedication invested in creating a brick wall that stands as a testament to both functionality and artistry.
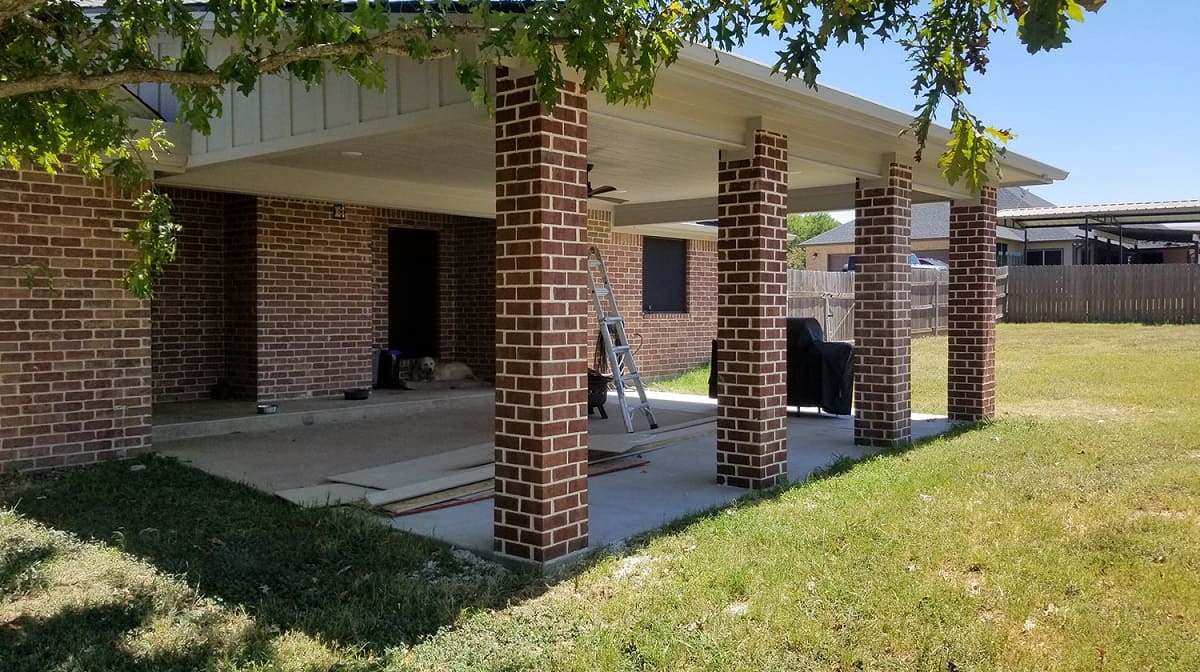
Conclusion
In conclusion, the journey of building a brick wall is a testament to the fusion of craftsmanship, precision, and creativity. From the initial gathering of materials and tools to the meticulous process of laying the first course of bricks, preparing the foundation, and building up the wall, each step contributes to the transformation of raw materials into a sturdy and visually captivating structure. The finishing touches applied in the concluding phase elevate the wall from a functional construction to a work of art, embodying both practicality and aesthetic appeal.
Throughout this comprehensive guide, we have delved into the intricacies of bricklaying, emphasizing the importance of meticulous planning, attention to detail, and a deep understanding of the materials and techniques involved. The process of building a brick wall is not merely a construction endeavor; it is an expression of dedication, skill, and vision. Whether you are embarking on a DIY project or collaborating with professionals, the journey of bricklaying offers a fulfilling experience that culminates in the creation of a timeless and enduring structure.
As the final mortar joints are tooled, the bricks are aligned with precision, and the wall stands tall as a testament to your dedication and expertise. The completion of a brick wall marks the fulfillment of a vision brought to life through the fusion of artistry and functionality. It stands as a testament to the enduring appeal of traditional craftsmanship and the timeless elegance of brick as a building material.
In the end, the construction of a brick wall transcends the mere assembly of materials; it embodies the fusion of art and engineering, creating a lasting legacy that enhances its surroundings. Whether it serves as a boundary, a decorative element, or a structural component, a well-constructed brick wall stands as a symbol of enduring strength and timeless beauty. As you embark on your bricklaying journey, may this guide serve as a source of inspiration and guidance, empowering you to create a brick wall that stands as a testament to your craftsmanship and dedication.
Frequently Asked Questions about How To Build Brick Wall
Was this page helpful?
At Storables.com, we guarantee accurate and reliable information. Our content, validated by Expert Board Contributors, is crafted following stringent Editorial Policies. We're committed to providing you with well-researched, expert-backed insights for all your informational needs.


0 thoughts on “How To Build Brick Wall”