
Articles
How To Build A Brick Veneer Wall
Modified: August 27, 2024
Learn how to build a brick veneer wall with our informative articles. Expert tips and step-by-step instructions for a successful project.
(Many of the links in this article redirect to a specific reviewed product. Your purchase of these products through affiliate links helps to generate commission for Storables.com, at no extra cost. Learn more)
Introduction
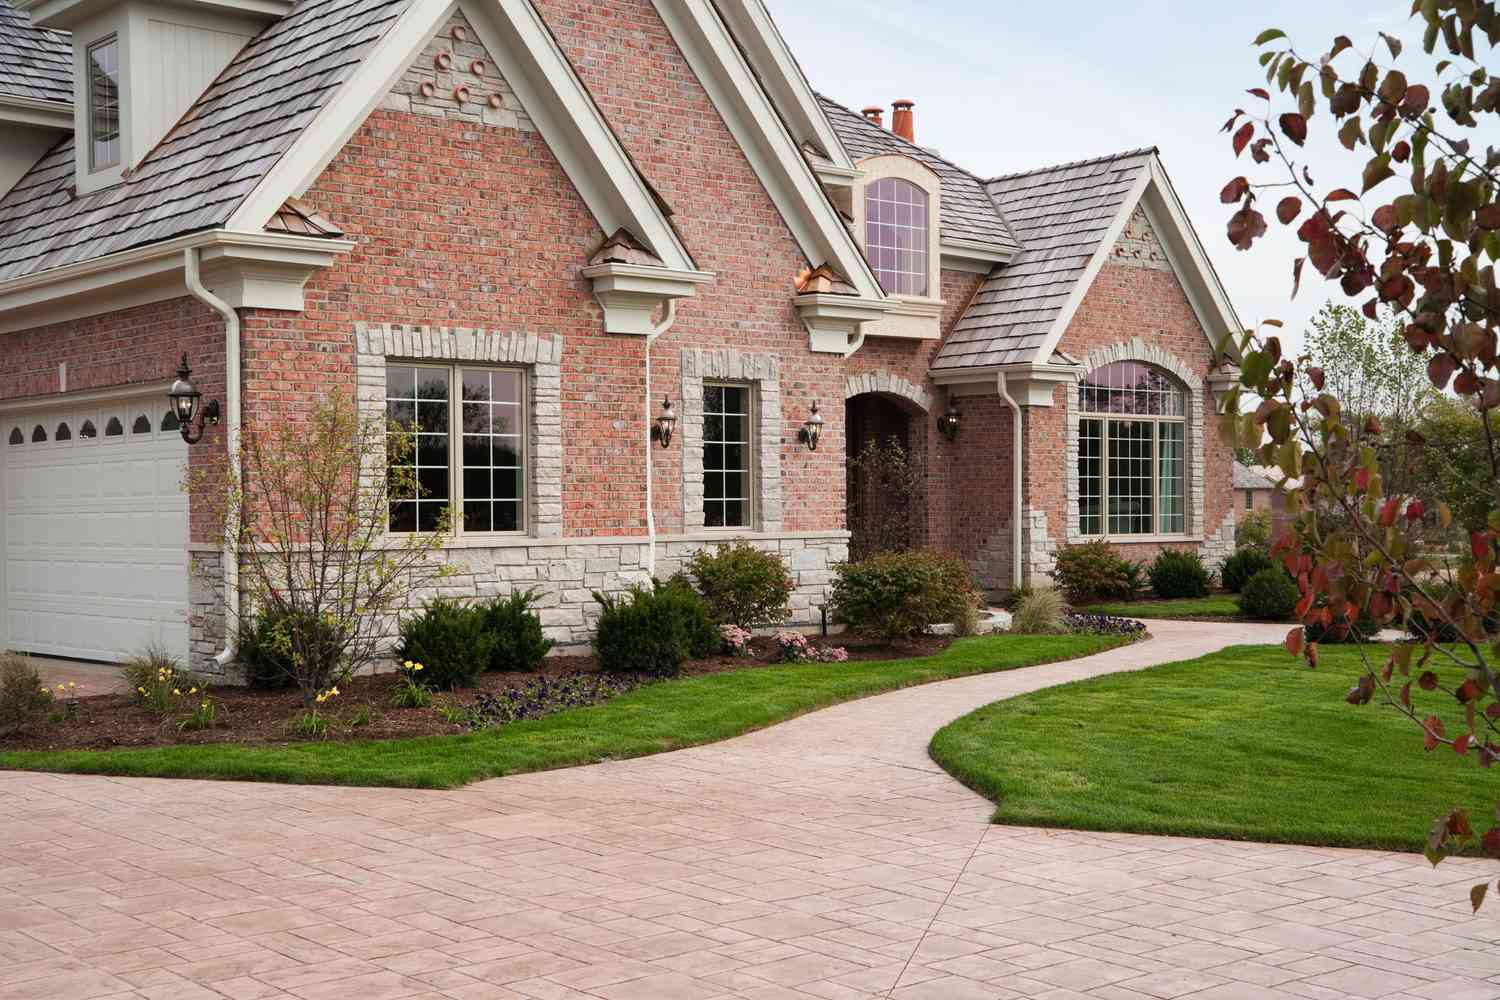
Welcome to the world of brick veneer walls! Whether you’re looking to enhance the exterior of your home or add a rustic touch to your interior, building a brick veneer wall can be a rewarding and satisfying project. Not only does it provide a timeless aesthetic appeal, but it also adds durability and insulation to your living space.
In this article, we’ll guide you through the step-by-step process of building a brick veneer wall. From gathering the necessary materials and tools to applying mortar and setting the bricks, we’ll cover everything you need to know to successfully complete this project.
Before we dive into the details, let’s understand what exactly a brick veneer wall is. Unlike solid brick walls that are load-bearing and made entirely of bricks, a brick veneer wall serves as a decorative layer or facade that is attached to an existing wall or structure. It provides the appearance of a full brick wall, but with less weight and increased flexibility.
Now, let’s get ready to roll up our sleeves and transform your space with the timeless charm of a brick veneer wall!
Key Takeaways:
- Building a brick veneer wall is a rewarding and achievable project that enhances the aesthetics, durability, and insulation of your space. Follow the step-by-step process to create a timeless and charming feature for your home.
- Regular cleaning and maintenance are essential for preserving the longevity and beauty of your brick veneer wall. Enjoy the satisfaction of transforming your space with the enduring appeal of bricks.
Read more: How To Build A Brick Retaining Wall
Step 1: Gather Materials and Tools
Before you start building your brick veneer wall, it’s important to gather all the necessary materials and tools. Here’s a list of what you’ll need:
- Bricks: Choose bricks that are suitable for veneer walls. They should be durable, weather-resistant, and have a consistent size and shape.
- Metal Lath: This is a metal mesh that provides a secure base for the mortar and bricks.
- Mortar: Select a high-quality mortar mix that is suitable for brick veneer walls.
- Trowel: A trowel is used for applying mortar and setting the bricks.
- Masonry Brush: This brush is used to clean the bricks and remove excess mortar.
- Mixing Container: Use a bucket or wheelbarrow for mixing the mortar.
- Measuring Tape and Level: These tools are essential for ensuring accuracy and consistency.
- Masonry Saw: A masonry saw is used for cutting bricks to the desired size.
- Gloves and Safety Glasses: Protect your hands and eyes while working with bricks and mortar.
Once you have gathered all the necessary materials and tools, you’re ready to move on to the next step.
Step 2: Prepare the Surface
Preparing the surface is a crucial step in building a brick veneer wall. It ensures that the surface is clean, level, and properly prepared to receive the bricks. Follow these steps to prepare the surface:
- Clean the Surface: Remove any dirt, debris, or loose materials from the existing wall. Use a wire brush or scraper to clean the surface thoroughly.
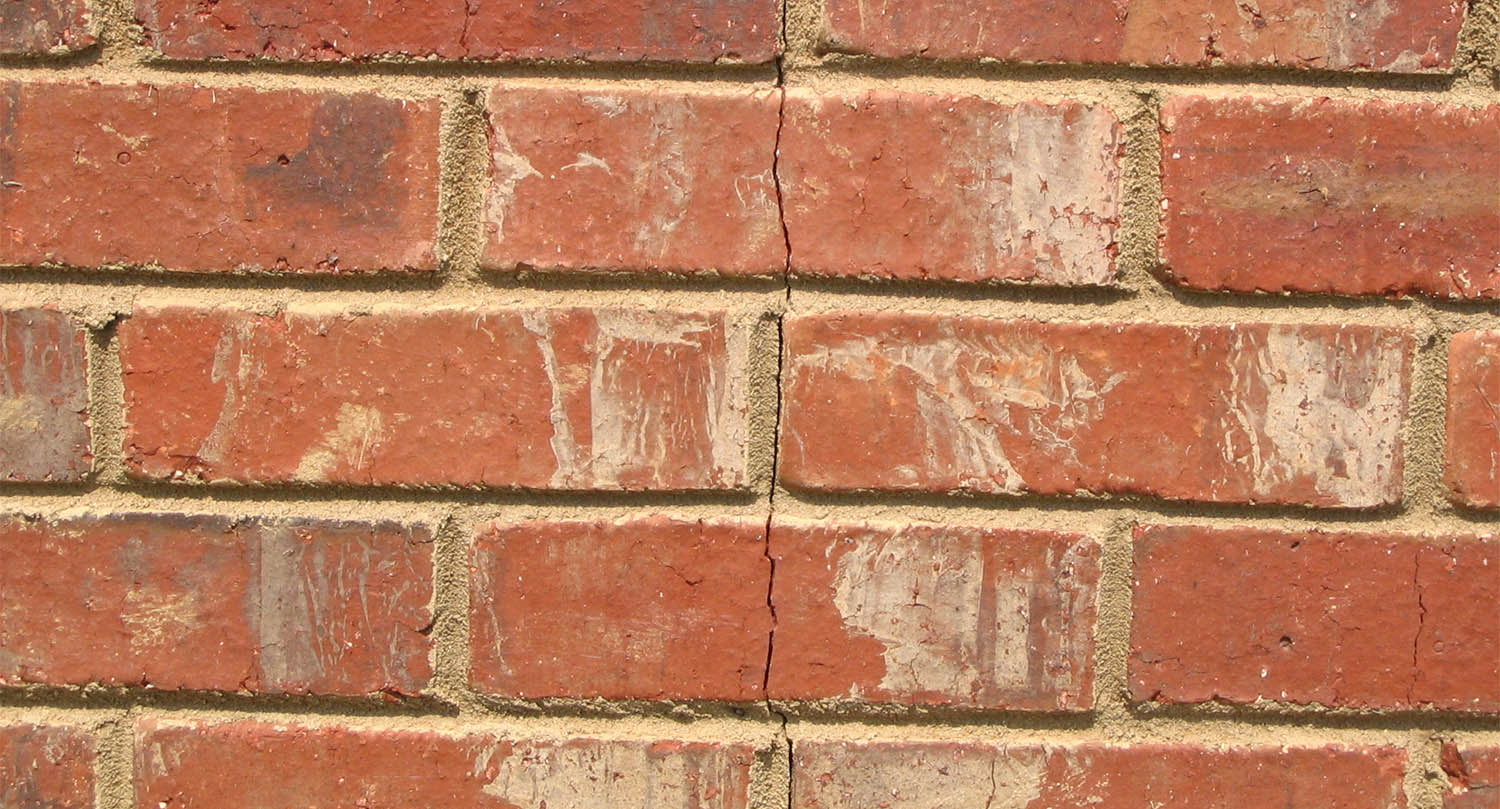
- Repair the Wall: Inspect the wall for any cracks or damage. Fill in any cracks or holes with a suitable patching compound and allow it to dry completely.
- Apply Waterproof Membrane: To protect the wall from moisture, apply a waterproof membrane over the surface. This will help prevent water damage and ensure the longevity of your brick veneer wall.
- Install Metal Lath: Cut the metal lath to the desired size and attach it to the wall using masonry nails or screws. Make sure the lath is securely fastened and covers the entire surface evenly.
- Check for Level and Plumb: Use a level and plumb line to ensure that the wall is perfectly vertical and horizontal. Make any necessary adjustments to achieve a level surface.
Once the surface is clean, repaired, and properly prepared, you’re ready to move on to the next step of building your brick veneer wall.
Step 3: Lay the First Row of Bricks
Now that the surface is prepared, it’s time to lay the first row of bricks for your brick veneer wall. This step is crucial as it sets the foundation for the rest of the wall. Follow these steps to lay the first row of bricks:
- Apply Mortar Bed: Using a trowel, apply a thick layer of mortar along the bottom edge of the wall. This will create a mortar bed for the bricks to sit on.
- Spread Mortar: Use the trowel to spread a layer of mortar on top of the metal lath where the first row of bricks will be placed.
- Place Bricks: Carefully place the bricks onto the mortar, pressing them firmly against the wall. Use a level to ensure that the bricks are level and align with the marked guidelines.
- Check Alignment: Use a mason’s line or string to check the alignment of the bricks. Adjust as necessary to maintain a straight and even row.
- Cut Bricks: If needed, use a masonry saw to cut bricks to fit the desired length or shape. Make sure the cut edges are smooth and clean.
- Leave Gaps: Leave a small gap between each brick to allow for mortar joints. Typically, a 3/8 inch gap is recommended.
Continue laying the first row of bricks until you reach the end of the wall. Take your time to ensure the bricks are properly aligned and level. Once the first row is complete, you can move on to the next step of building your brick veneer wall.
Step 4: Install Metal Lath
After laying the first row of bricks, the next step in building your brick veneer wall is to install the metal lath. Metal lath provides a secure base for the bricks and helps to distribute the mortar evenly. Follow these steps to install the metal lath:
- Measure and Cut: Measure the dimensions of the wall and cut the metal lath to fit the area you will be working on. Use tin snips or a metal cutting tool to make clean and precise cuts.
- Secure the Lath: Place the metal lath over the first row of bricks, ensuring that it covers the entire area. Use masonry nails or screws to secure the lath to the wall. Space the nails or screws approximately 6 to 8 inches apart along the edges and in the center of each sheet of lath.
- Overlap the Sheets: If necessary, overlap the sheets of metal lath by at least 1 inch. This creates a strong bond between the lath and ensures a continuous surface for the bricks to adhere to.
- Fasten the Lath: Using a hammer, gently tap the nails or screws to secure the metal lath firmly in place. Make sure the lath is secure and doesn’t move or shift when pressure is applied.
- Trim the Lath: Trim any excess metal lath using tin snips or metal cutting tools. Ensure that the edges of the lath align with the edges of the wall for a neat and clean appearance.
Installing the metal lath provides structural support and stability to your brick veneer wall. It ensures that the bricks adhere securely to the surface and helps to prevent any shifting or movement over time. Once the metal lath is installed, you’re ready to move on to the next step of building your brick veneer wall.
Read more: How To Build A Brick Wall For A House
Step 5: Mix Mortar
Before you can begin applying mortar and setting the bricks, you need to mix the mortar. Mortar is a mixture of cement, sand, and water that acts as the bonding agent between the bricks. It’s important to mix the mortar to the right consistency for optimal adhesion and workability. Here’s how to mix mortar for your brick veneer wall:
- Choose the right mortar mix: Select a mortar mix that is suitable for brick veneer walls. Follow the manufacturer’s instructions on the packaging for the correct ratio of cement to sand.
- Measure the ingredients: Use a shovel or bucket to measure the desired amount of mortar mix. The amount will depend on the size of your project, so refer to the instructions on the packaging for guidance.
- Add water gradually: Start by adding a small amount of water to the mix. Use a hoe or trowel to mix the water into the dry ingredients. Gradually add more water while mixing until you achieve a smooth and workable consistency. Avoid adding too much water, as it can weaken the mortar.
- Mix thoroughly: Continuously mix the mortar for several minutes to ensure all the ingredients are well combined. Use a folding motion to incorporate the water and dry mix, making sure there are no clumps or dry patches.
- Check the consistency: The mortar should have a thick, paste-like consistency that holds its shape when squeezed in your hand. It should not be too dry or too wet. Adjust the water or dry mix as needed to achieve the right consistency.
Once you have mixed the mortar to the correct consistency, you’re ready to move on to the next step of applying mortar and setting the bricks for your brick veneer wall.
When building a brick veneer wall, make sure to use a weather-resistant barrier behind the veneer to protect against moisture and ensure proper drainage.
Step 6: Apply Mortar
Now that you have your mortar mixed and ready, it’s time to apply it to the surface before setting the bricks. Applying mortar properly is crucial for ensuring a strong bond between the bricks and the surface. Follow these steps to apply mortar for your brick veneer wall:
- Load the trowel: Use a trowel to scoop a generous amount of mortar from the mixing container. Hold the trowel at a slight angle to create a smooth and even layer of mortar on the surface.
- Spread the mortar: Spread the mortar onto the metal lath using the trowel. Work in small sections, ensuring an even thickness of mortar is applied. The thickness will depend on the desired depth of the mortar joint between the bricks.
- Comb the mortar: Use the notched edge of the trowel to comb the mortar in a crisscross pattern. This helps to create grooves and texture, which helps the bricks adhere better to the mortar.
- Work in batches: Apply mortar to a small section of the wall, roughly the size of one or two rows of bricks, before moving on to the next section. This ensures that the mortar stays workable and doesn’t dry out before the bricks are set.
- Check for evenness: Use a straight edge or a level to check the evenness of the mortar layer. Adjust and smooth out any uneven spots as needed to ensure a consistent surface for the bricks.
Applying mortar properly is essential for creating a secure and stable foundation for the bricks. Take your time to ensure that the mortar is spread evenly and at the right thickness. Once the mortar is applied, you’re ready to move on to the next step of setting the bricks for your brick veneer wall.
Step 7: Set the Bricks
With the mortar applied, it’s now time to set the bricks on your brick veneer wall. Setting the bricks requires precision and attention to detail to ensure a strong and visually appealing result. Follow these steps to properly set the bricks:
- Apply mortar on the brick: Take a trowel and apply a layer of mortar on the back of the brick that will be placed on the wall. Cover the entire surface of the brick to ensure a strong bond with the mortar bed.
- Place the brick: Position the mortar-covered brick onto the wall, pressing it firmly into the mortar bed. Wiggle the brick slightly to ensure proper adhesion to the surface.
- Check for level and alignment: Use a level to check if the brick is level horizontally and vertically. Adjust the position of the brick if needed. Also, check for alignment with the neighboring bricks to maintain a straight and even row.
- Space the bricks: Place spacers between the bricks to create even mortar joints. The size of the spacer will determine the width of the joint, typically ranging from 3/8 inch to 1/2 inch. These spacers will be removed later before filling the joints.
- Continue setting bricks: Repeat steps 1 to 4, applying mortar to each brick and setting them in the desired pattern. Work in small sections, applying and setting bricks before the mortar starts to dry.
- Check for plumb and level: Periodically check the vertical alignment of the bricks using a plumb line. Adjust the position of the bricks as needed to maintain a straight and even wall.
Take your time when setting the bricks, ensuring they are securely placed in the mortar bed and aligned properly. This will result in a sturdy and visually pleasing brick veneer wall. Once all the bricks are set, you can move on to the next step of filling the joints.
Step 8: Fill the Joints
After setting the bricks, the next step in building your brick veneer wall is to fill the joints between the bricks with mortar. Filling the joints not only enhances the structural integrity of the wall but also adds a finished and cohesive look. Follow these steps to properly fill the joints:
- Prepare the mortar: Mix a batch of mortar following the manufacturer’s instructions. The consistency should be slightly thicker than the mortar used for setting the bricks.
- Load the mortar bag: Fill a mortar bag with the prepared mortar. A mortar bag is a large bag with a nozzle used for precise application of mortar.
- Squeeze the mortar: Gently squeeze the mortar bag to push the mortar into the joints between the bricks. Start from the top of the wall and work your way down in a systematic manner.
- Fill the joints: Use a tuckpointing or pointing trowel to push the mortar into the joints, ensuring they are completely filled. Press the mortar firmly to create a strong bond and remove any air pockets.
- Strike the joints: Use a striking tool, such as a pointing tool or a jointer, to create a smooth and even finish on the mortar joints. Run the tool along the joints in a consistent motion to achieve a professional look.
- Clean excess mortar: As you work, periodically clean off any excess mortar on the brick surface using a masonry brush or a damp sponge. This will prevent the mortar from drying and staining the bricks.
Take your time while filling the joints to ensure a neat and uniform appearance. Allow the mortar to dry partially before proceeding to the next step. Once the joints are filled, you’re ready for the final step of cleaning the wall.
Read more: How To Build A Brick Garden Wall
Step 9: Clean the Wall
Cleaning the brick veneer wall is the final step in completing your project. Properly cleaning the wall will remove any excess mortar, dirt, or debris, and reveal the full beauty of your brick veneer. Follow these steps to effectively clean your brick veneer wall:
- Allow the mortar to set: Before cleaning the wall, allow the mortar to set for about 24 to 48 hours. This will ensure that it has hardened sufficiently.
- Scrape off excess mortar: Use a wire brush or a scraper to gently remove any dried or excess mortar from the surface of the bricks. Take care not to scratch or damage the bricks.
- Prepare a cleaning solution: Mix a mild detergent or specialized brick cleaner with water in a bucket according to the manufacturer’s instructions. Avoid using harsh chemicals that may harm the bricks.
- Apply the cleaning solution: Dip a stiff bristle brush into the cleaning solution and scrub the brick veneer surface. Work in small sections, applying the solution evenly and thoroughly.
- Rinse with water: After scrubbing, rinse the wall with clean water using a hose or pressure washer to remove the cleaning solution and any loosened dirt or debris. Start from the top and work your way down, ensuring all the cleaning solution is rinsed off.
- Inspect and repeat if necessary: Once the wall is rinsed, inspect it for any remaining dirt or stains. If necessary, repeat the cleaning process in stubborn areas or on particularly dirty spots.
- Allow the wall to dry: After cleaning, allow the brick veneer wall to thoroughly dry. This may take a few days depending on the weather conditions.
Cleaning the wall not only improves its appearance but also helps protect and maintain the integrity of the brick veneer. Regular cleaning and maintenance will extend the lifespan and beauty of your brick veneer wall. With the wall now clean and dry, step back and admire your completed project!
Conclusion
Congratulations! You have successfully learned how to build a brick veneer wall. By following the step-by-step process outlined in this article, you have transformed your space with the timeless charm and durability of bricks.
Building a brick veneer wall may seem like a daunting task, but with the right materials, tools, and guidance, it becomes an achievable and rewarding project. Brick veneer walls not only add aesthetic appeal to your home but also offer structural support and insulation.
Throughout the process, you have learned how to gather the necessary materials and tools, prepare the surface, lay the first row of bricks, install metal lath, mix mortar, apply mortar and set the bricks, fill the joints, and clean the wall. Each step contributes to the overall strength, stability, and visual appeal of your brick veneer wall.
Remember to maintain regular cleaning and maintenance to ensure the longevity of your brick veneer wall. Periodically inspect for any cracks, loose bricks, or damaged mortar and address them promptly to avoid bigger issues.
Now, step back and appreciate the beauty and craftsmanship of your completed project. Whether it’s an exterior accent or an interior focal point, your brick veneer wall is sure to enhance the aesthetics and value of your space.
Thank you for joining us on this journey to build a brick veneer wall. We hope you found this guide helpful and inspiring. Enjoy the satisfaction of having created a beautiful and enduring feature for your home!
Frequently Asked Questions about How To Build A Brick Veneer Wall
Was this page helpful?
At Storables.com, we guarantee accurate and reliable information. Our content, validated by Expert Board Contributors, is crafted following stringent Editorial Policies. We're committed to providing you with well-researched, expert-backed insights for all your informational needs.


0 thoughts on “How To Build A Brick Veneer Wall”