Home>Construction & Tools>Building Materials>How To Build Brick Chimney
Building Materials
How To Build Brick Chimney
Modified: February 18, 2024
Learn how to build a brick chimney using high-quality building materials. Our step-by-step guide will help you create a durable and stylish chimney for your home.
(Many of the links in this article redirect to a specific reviewed product. Your purchase of these products through affiliate links helps to generate commission for Storables.com, at no extra cost. Learn more)
Introduction
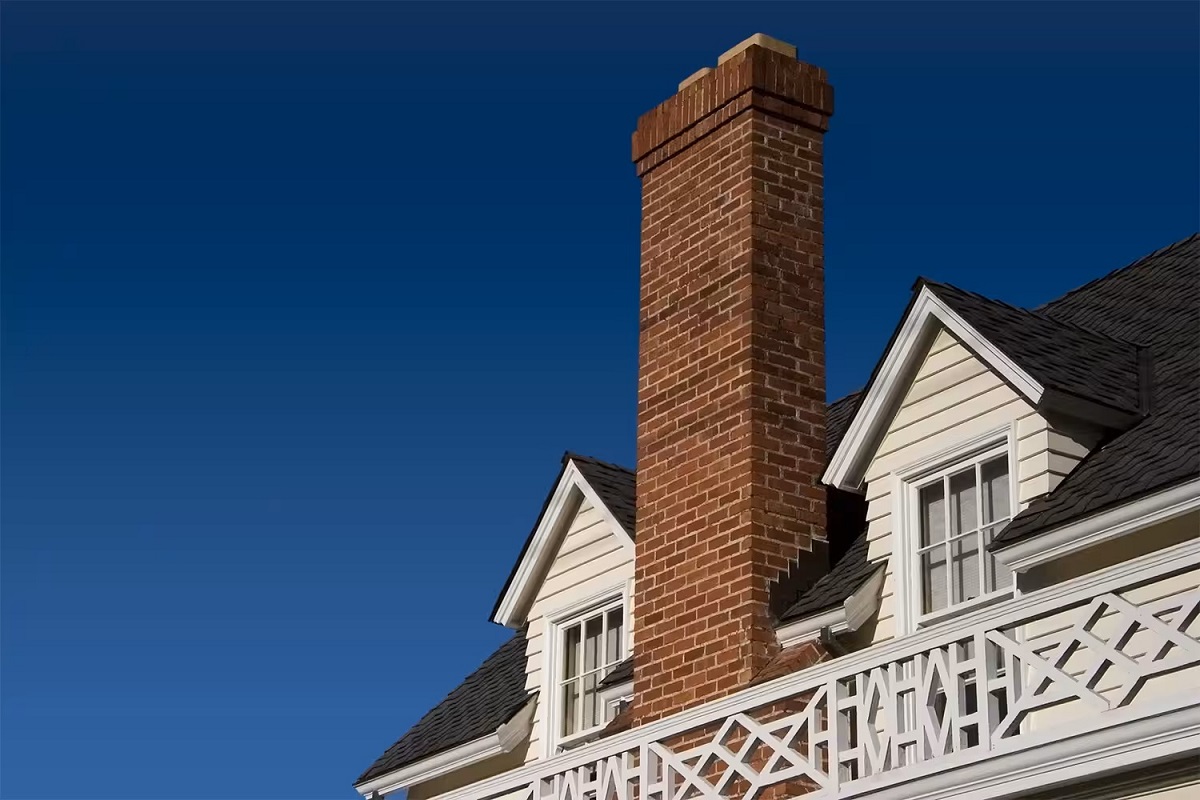
Building a brick chimney is a timeless and rewarding endeavor that adds both functionality and aesthetic appeal to a home. Whether you're constructing a new chimney or renovating an existing one, the process requires careful planning, precise execution, and a touch of craftsmanship. A well-built chimney not only enhances the architectural charm of a house but also ensures efficient venting of smoke and gases from the fireplace or heating appliance.
In this comprehensive guide, we will walk you through the step-by-step process of building a brick chimney. From gathering the necessary materials and tools to laying the first course of bricks, constructing the chimney structure, and adding the finishing touches, we'll cover everything you need to know to embark on this fulfilling project. By following these instructions and tips, you can create a durable and visually appealing brick chimney that will stand the test of time.
Whether you're a seasoned DIY enthusiast or a homeowner looking to understand the intricacies of chimney construction before hiring a professional, this guide will provide valuable insights and practical guidance. So, roll up your sleeves, put on your work boots, and let's dive into the art and science of building a brick chimney.
Key Takeaways:
- Building a brick chimney requires careful planning, precise execution, and the right materials and tools. It adds timeless charm and efficient venting to a home, making it a rewarding DIY project or a valuable investment.
- The construction of a brick chimney involves meticulous steps, from laying the first course of bricks to building the structure, installing the chimney cap, and finishing with mortar and flashing. Each phase contributes to creating a resilient, visually appealing, and enduring chimney.
Read more: How To Build A Brick Chimney
Step 1: Gather materials and tools
Before embarking on the construction of a brick chimney, it's essential to gather all the necessary materials and tools. This step sets the foundation for a smooth and efficient building process. Here's a comprehensive list of items you'll need:
Materials:
- Bricks: Choose high-quality, fire-rated bricks suitable for chimney construction. Ensure that the quantity is sufficient for the planned chimney size.
- Mortar: Select mortar specifically designed for masonry and chimney applications. It's crucial to use the right type of mortar to ensure structural integrity and longevity.
- Flue liners: These are essential for lining the interior of the chimney to facilitate proper venting and protect the surrounding structure from heat and gases.
- Chimney cap: Invest in a durable and well-designed chimney cap to prevent water infiltration, debris buildup, and animal intrusion.
- Flashing: Quality flashing materials, such as metal sheets and sealants, are crucial for weatherproofing the chimney and preventing leaks.
- Reinforcement materials: Depending on the chimney design, you may need steel bars, wire mesh, or other reinforcement components to enhance structural stability.
Tools:
- Masonry trowel: A sturdy masonry trowel is indispensable for spreading mortar and laying bricks with precision.
- Level: Ensure that you have a reliable level to maintain the vertical and horizontal alignment of the chimney structure.
- Measuring tape: Accurate measurements are vital in chimney construction, making a measuring tape an essential tool.
- Masonry saw: This tool is necessary for cutting bricks and flue liners to the required dimensions, ensuring a precise fit.
- Jointer: A jointer or pointing tool is used to finish the mortar joints, contributing to the chimney's overall appearance and weather resistance.
- Safety gear: Prioritize safety by equipping yourself with gloves, safety goggles, and a dust mask to protect against mortar dust and debris.
By ensuring that you have all the required materials and tools at the outset, you'll be well-prepared to proceed with the subsequent steps of chimney construction. This proactive approach minimizes interruptions and allows for a more organized and efficient building process.
Step 2: Prepare the foundation
The foundation of a brick chimney is a critical element that provides stability and support for the entire structure. Proper preparation of the foundation is essential to ensure the long-term durability and safety of the chimney. Here's a detailed guide on how to prepare the foundation for a brick chimney:
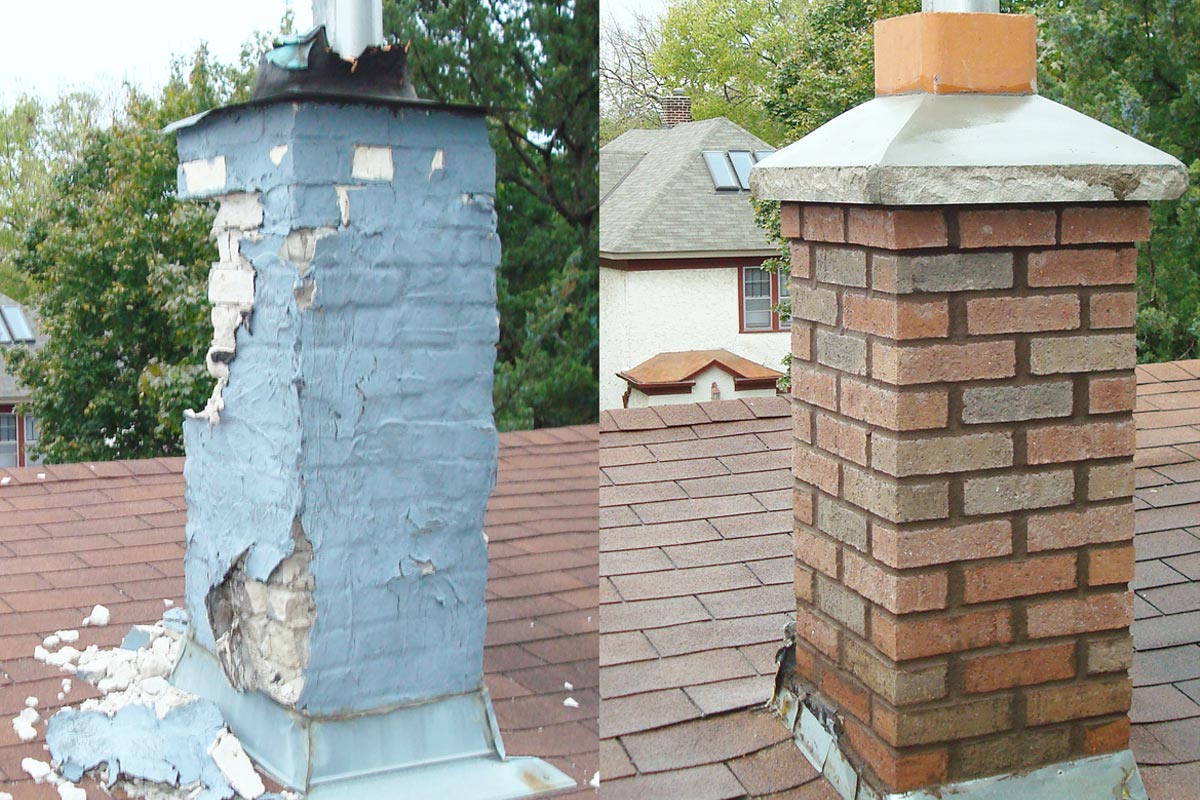
Read more: How To Repair Brick Chimney
Clear the Site:
Begin by clearing the designated area where the chimney will be constructed. Remove any debris, vegetation, or obstructions to create a clean and level surface. It's important to ensure that the foundation site is free from any potential sources of instability or unevenness.
Excavation and Footing:
Excavate the foundation area to the required depth, typically based on local building codes and the specific design of the chimney. The footing, or base of the foundation, should be wider than the chimney structure itself to distribute the load and prevent settling. Use a level and measuring tools to ensure the footing is uniformly level and at the correct depth.
Pouring Concrete:
Once the excavation and footing preparation are complete, it's time to pour the concrete for the foundation. Use high-quality concrete mix and reinforce it with steel rebar or wire mesh for added strength. Ensure that the concrete is thoroughly compacted and leveled to create a solid and stable base for the chimney.
Allow for Curing:
After pouring the concrete, allow sufficient time for curing as per the manufacturer's recommendations. Proper curing is essential for the concrete to achieve its full strength and stability. During this period, protect the foundation from excessive moisture and temperature fluctuations to ensure optimal curing conditions.
Read more: How To Paint Brick Chimney
Install Anchor Bolts:
As the foundation nears the end of the curing period, install anchor bolts or straps that will securely attach the chimney base to the foundation. These bolts provide additional anchoring and structural support, helping to prevent movement or shifting of the chimney over time.
Verify Compliance:
Before proceeding to the next phase of chimney construction, verify that the foundation meets all relevant building codes and regulations. It's crucial to ensure that the foundation is structurally sound and compliant with safety standards to support the weight and load of the brick chimney.
By meticulously preparing the foundation according to these steps, you establish a solid and reliable base for the brick chimney, setting the stage for the subsequent stages of construction with confidence and precision.
Step 3: Lay the first course of bricks
Laying the first course of bricks is a pivotal phase in the construction of a brick chimney. This initial layer sets the alignment and stability for the entire structure, making precision and attention to detail paramount. Here's a comprehensive guide on how to lay the first course of bricks for a sturdy and visually appealing chimney:
Prepare the Mortar:
Begin by preparing the mortar according to the manufacturer's instructions. It's crucial to achieve the right consistency, typically resembling thick peanut butter, to ensure proper adhesion and strength. Use a mortar mixing container and a trowel to blend the mortar components thoroughly.
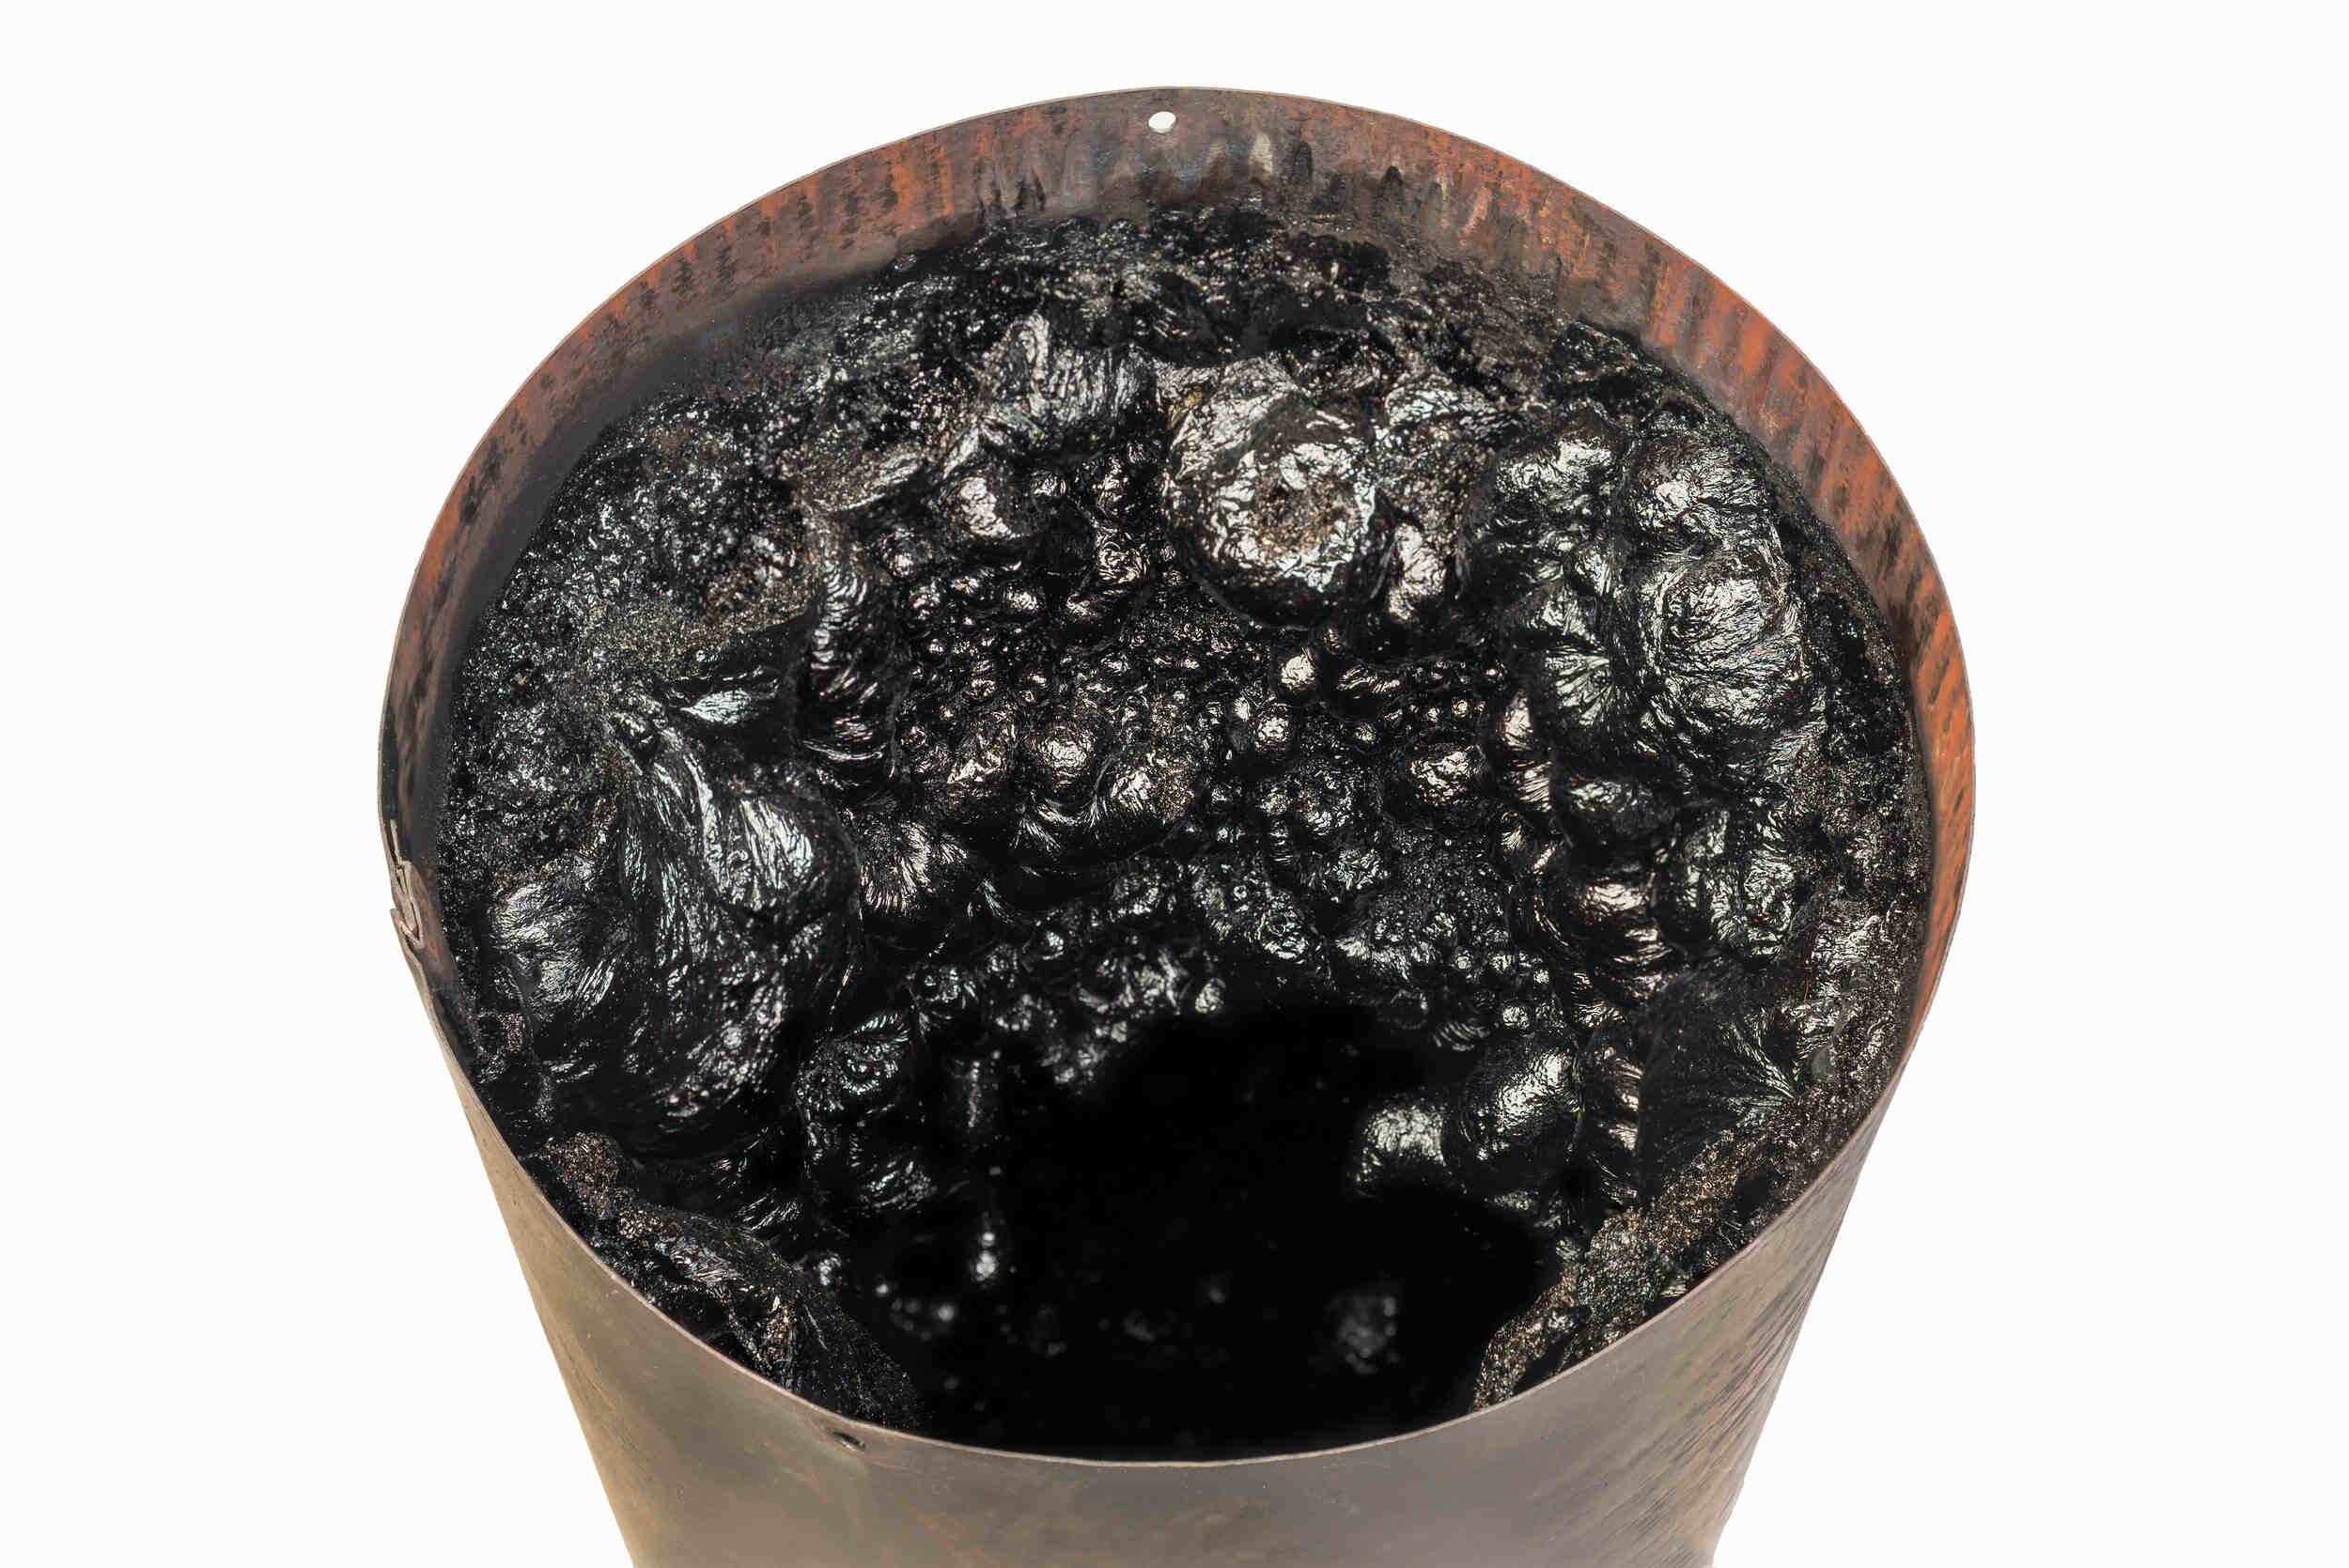
Read more: How To Clean A Brick Chimney
Apply Mortar Bed:
Using the masonry trowel, apply a generous bed of mortar along the outer edge of the concrete foundation. The mortar bed serves as the base for the first course of bricks, providing a secure and level starting point for the chimney construction.
Lay the Bricks:
Carefully place the first row of bricks onto the mortar bed, ensuring that they are aligned with precision and evenly spaced. Use a level to verify the horizontal alignment and adjust the position of each brick as needed. Pay close attention to maintaining consistent mortar joints between the bricks for structural integrity and aesthetic appeal.
Cut Bricks as Necessary:
In some cases, it may be necessary to cut bricks to fit the specific dimensions and design of the chimney. Utilize a masonry saw to make precise cuts, ensuring that the bricks seamlessly integrate into the first course and contribute to a uniform and solid foundation for the chimney.
Check for Level and Plumb:
As each brick is laid, continuously check for both levelness and plumbness to guarantee that the first course is impeccably aligned. Adjust the position of the bricks and the mortar as needed to maintain the desired vertical and horizontal orientation, which is essential for the overall stability and appearance of the chimney.
Read more: How To Build A Chimney
Finish the Joints:
Once the first course of bricks is in place, use a jointer or pointing tool to finish the mortar joints between the bricks. This step not only enhances the visual appeal of the chimney but also contributes to weather resistance and structural integrity.
By meticulously following these steps and paying close attention to detail, you can successfully lay the first course of bricks, laying a solid foundation for the rest of the chimney construction process. This crucial phase sets the stage for building a robust and enduring brick chimney that will stand as a testament to craftsmanship and functionality.
Step 4: Build the chimney structure
With the foundation laid and the first course of bricks in place, it's time to proceed to the construction of the chimney structure. This phase involves building upon the initial layer of bricks to create a robust and well-supported chimney that will efficiently vent smoke and gases while enhancing the architectural appeal of the home.
Stack the Bricks:
Begin by stacking additional courses of bricks on top of the first layer, ensuring that each successive row is properly aligned and securely bonded with mortar. As the chimney structure rises, maintain a consistent and uniform pattern of brick placement, paying close attention to the vertical and horizontal alignment to uphold the structural integrity of the chimney.
Install Flue Liners:
As the chimney height increases, it's essential to install flue liners within the structure to facilitate proper venting and insulation. These liners not only enhance the efficiency of the chimney but also provide a protective barrier between the bricks and the flue gases, contributing to the longevity of the structure.
Read more: How To Build A Fireplace Chimney
Incorporate Reinforcement:
Depending on the design and height of the chimney, it may be necessary to incorporate reinforcement elements such as steel bars or wire mesh within the structure. These reinforcements enhance the stability and resilience of the chimney, especially in areas prone to seismic activity or extreme weather conditions.
Maintain Consistent Mortar Application:
Throughout the process of building the chimney structure, it's crucial to maintain a consistent and appropriate application of mortar between the bricks. The mortar serves as the binding agent that holds the structure together, providing strength and cohesion. Careful attention to the quality and uniformity of mortar application is essential for the long-term durability of the chimney.
Verify Alignment and Stability:
As the chimney structure progresses, continuously verify the alignment, plumbness, and overall stability of the construction. Utilize a level and other measuring tools to ensure that the chimney maintains a straight and upright posture, free from any tilting or misalignment that could compromise its functionality and safety.
Plan for Openings and Terminations:
If the chimney is designed to accommodate multiple flues or openings for different heating appliances, plan and construct these openings with precision and foresight. Additionally, consider the termination point of the chimney, ensuring that the installation of the chimney cap and flashing is seamlessly integrated into the overall structure.
By meticulously following these steps and guidelines, you can effectively build the chimney structure, creating a resilient and visually striking element that enhances the functionality and aesthetic appeal of the home. The successful completion of this phase sets the stage for the final steps of chimney construction, bringing you closer to the fulfillment of a well-crafted and enduring brick chimney.
Read more: How To Build A Block Chimney
Step 5: Install the chimney cap
The installation of a chimney cap is a crucial step in completing the construction of a brick chimney. A chimney cap serves multiple essential functions, making it a vital component of the chimney system. From preventing water infiltration and animal intrusion to enhancing draft efficiency and protecting the flue, a well-installed chimney cap is a fundamental element for the long-term performance and durability of the chimney.
Selecting the Chimney Cap:
Before proceeding with the installation, it's important to select a chimney cap that suits the specific design and requirements of the chimney. Chimney caps come in various materials, including stainless steel, copper, and galvanized steel, each offering distinct advantages in terms of durability, weather resistance, and aesthetic appeal. Additionally, consider the style of the chimney cap, ensuring that it complements the overall architecture of the home while providing optimal functionality.
Preparing the Chimney:
Prior to installing the chimney cap, ensure that the top of the chimney structure is clean and free from any debris or obstructions. Clear away any accumulated leaves, twigs, or nesting materials to create a clean and unobstructed surface for the installation. Additionally, inspect the condition of the mortar joints and the chimney structure to address any necessary repairs or maintenance before proceeding with the installation.
Positioning and Securing the Chimney Cap:
Carefully position the selected chimney cap over the flue opening, ensuring that it fits securely and aligns with the dimensions of the chimney structure. Depending on the design of the chimney cap, it may feature integrated mounting brackets or straps for secure attachment. Utilize appropriate fasteners and hardware to secure the chimney cap in place, ensuring that it is firmly anchored to the chimney structure to withstand environmental elements and potential uplift forces.
Read more: How To Build A Stone Fireplace And Chimney
Ensuring Proper Ventilation:
A well-designed chimney cap facilitates efficient ventilation while preventing downdrafts and obstructions. Verify that the chimney cap allows for adequate airflow and draft within the flue, promoting optimal performance of the chimney system. Additionally, consider any specific ventilation requirements based on the type of heating appliance or fireplace connected to the chimney, ensuring that the chimney cap accommodates these needs.
Weatherproofing and Sealing:
To enhance the weather resistance of the chimney cap installation, apply appropriate sealants and flashing materials to create a watertight seal between the cap and the chimney structure. Proper flashing and sealing prevent water infiltration, protecting the interior of the chimney and the surrounding masonry from moisture-related damage. Additionally, inspect the integrity of the flashing and sealants regularly to address any signs of wear or deterioration.
Final Inspection and Maintenance:
Once the chimney cap is installed, conduct a thorough inspection to ensure that it is securely positioned and effectively serving its intended functions. Verify that the cap is free from any defects or damage that could compromise its performance. Establish a routine maintenance schedule for the chimney cap, including periodic cleaning and inspections to uphold its functionality and prolong its service life.
By meticulously following these steps and considerations, you can successfully install a chimney cap that enhances the performance, longevity, and visual appeal of the brick chimney. The installation of a well-crafted chimney cap represents the culmination of the chimney construction process, marking the achievement of a functional and enduring chimney system.
Step 6: Finish the chimney with mortar and flashing
As the construction of the brick chimney nears completion, the final step involves the meticulous application of mortar and the installation of flashing to ensure structural integrity, weather resistance, and visual appeal.
Read more: How To Build A Plywood Chimney Chase
Applying Mortar Joints:
With the chimney structure in place, the next crucial task is to carefully apply mortar to the joints between the bricks. Using a masonry trowel, the mortar is skillfully spread over the joints, ensuring a consistent and uniform appearance. The proper application of mortar not only enhances the overall aesthetics of the chimney but also contributes to its durability by providing essential weatherproofing and structural cohesion.
Finishing Techniques:
After the mortar is applied, skilled craftsmen employ various finishing techniques to achieve a polished and refined look. Using a jointer or pointing tool, the mortar joints are meticulously shaped and smoothed to create clean and uniform lines. This attention to detail not only enhances the visual appeal of the chimney but also reinforces the weather resistance of the structure, preventing moisture infiltration and ensuring long-term durability.
Installing Flashing:
In addition to the mortar work, the installation of flashing is a critical aspect of completing the chimney construction. Flashing, typically made of metal sheets, is strategically placed around the base of the chimney and integrated into the surrounding roofing materials. This essential component serves as a barrier against water penetration, effectively diverting rainwater away from the chimney and preventing moisture-related damage to the underlying structure.
Weatherproofing and Sealing:
To fortify the chimney against the elements, sealants are applied to the junctures where the flashing meets the chimney and the roof. This meticulous sealing process creates a watertight barrier, safeguarding the chimney and the surrounding roofing materials from potential leaks and water damage. Additionally, the flashing and sealants are inspected and maintained regularly to ensure their continued effectiveness in preserving the structural integrity of the chimney.
Read more: How To Build Outdoor Fireplace With Chimney
Final Inspection and Quality Assurance:
Upon the completion of the mortar work and flashing installation, a comprehensive inspection is conducted to verify the quality and functionality of these essential components. Every aspect of the chimney's exterior is scrutinized to ensure that the mortar joints are properly finished, the flashing is securely in place, and the weatherproofing measures are effectively implemented. This meticulous inspection guarantees that the chimney is not only visually appealing but also structurally sound and resilient against environmental factors.
By meticulously executing the final steps of finishing the chimney with mortar and flashing, the construction process culminates in the creation of a robust, weather-resistant, and visually striking chimney. This meticulous attention to detail ensures that the chimney stands as a testament to craftsmanship and durability, providing enduring functionality and aesthetic appeal for years to come.
Conclusion
In conclusion, the construction of a brick chimney is a multifaceted endeavor that combines craftsmanship, precision, and practicality. From the initial stages of gathering materials and preparing the foundation to the meticulous laying of bricks, building the chimney structure, and adding the finishing touches, every step contributes to the creation of a resilient and visually appealing chimney.
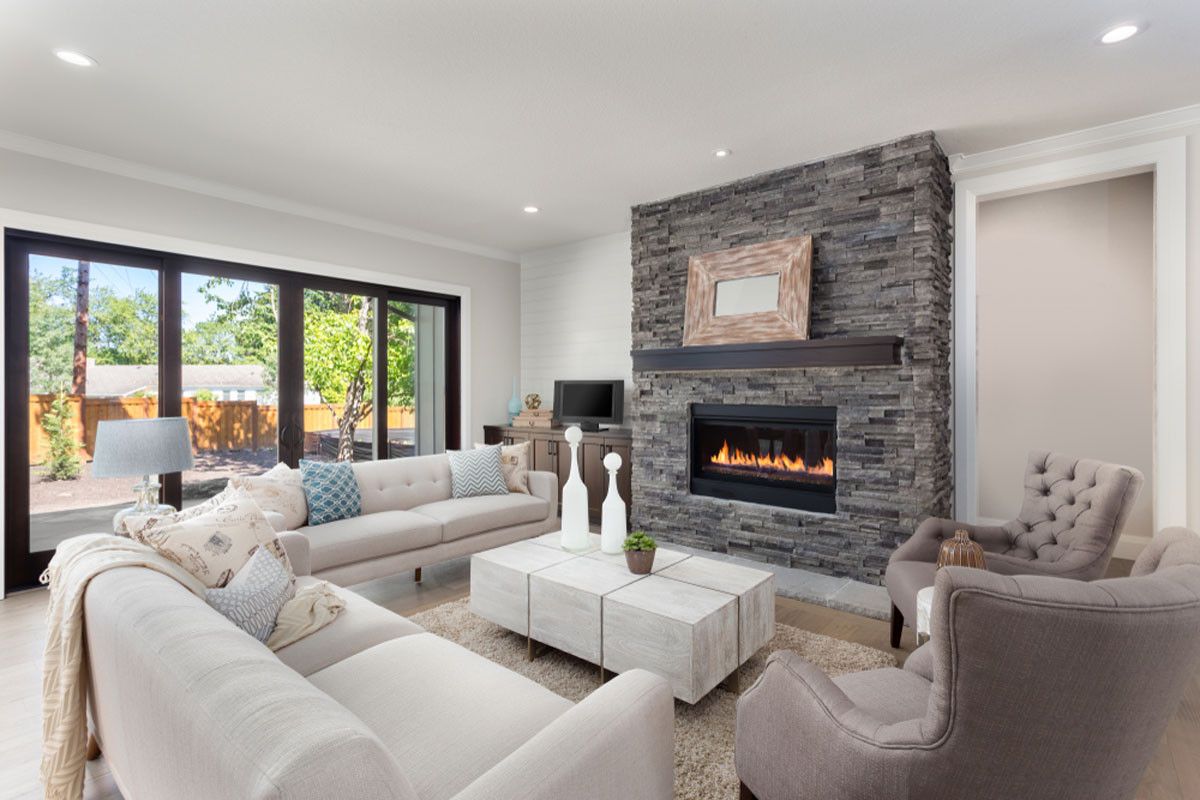
The process of building a brick chimney is not merely a construction project; it is an art form that harmonizes functionality with architectural charm. As the chimney rises, it becomes a focal point of the home, exuding a timeless elegance while serving a crucial purpose in venting smoke and gases from the fireplace or heating appliance.
The completion of a well-constructed brick chimney represents the culmination of dedication, attention to detail, and a deep understanding of masonry principles. It stands as a testament to the homeowner's commitment to quality and enduring craftsmanship, adding value to the property and enhancing its overall appeal.
Furthermore, the successful construction of a brick chimney requires a harmonious blend of traditional techniques and modern building practices. It embodies the time-honored art of masonry while incorporating contemporary materials and structural considerations to ensure longevity and resilience.
As the final mortar joints are meticulously finished, and the flashing is seamlessly integrated into the surrounding roofing materials, the chimney emerges as a symbol of enduring strength and protection. It stands tall, ready to withstand the elements and provide reliable venting for the home's heating systems.
Ultimately, the construction of a brick chimney is a labor of love, a testament to the homeowner's commitment to quality, and a timeless addition to the architectural landscape of the home. Whether it's the warmth of a crackling fire on a chilly evening or the comforting sight of smoke rising from the chimney, this enduring structure becomes an integral part of the home's identity, embodying the spirit of craftsmanship and resilience.
Frequently Asked Questions about How To Build Brick Chimney
Was this page helpful?
At Storables.com, we guarantee accurate and reliable information. Our content, validated by Expert Board Contributors, is crafted following stringent Editorial Policies. We're committed to providing you with well-researched, expert-backed insights for all your informational needs.

0 thoughts on “How To Build Brick Chimney”