Home>Construction & Tools>Building Materials>How To Build A Stone Veneer Column
Building Materials
How To Build A Stone Veneer Column
Modified: August 28, 2024
Learn how to build a stunning stone veneer column using high-quality building materials. Step-by-step guide for a durable and stylish addition to your home. Ideal for DIY enthusiasts.
(Many of the links in this article redirect to a specific reviewed product. Your purchase of these products through affiliate links helps to generate commission for Storables.com, at no extra cost. Learn more)
**
Introduction
**
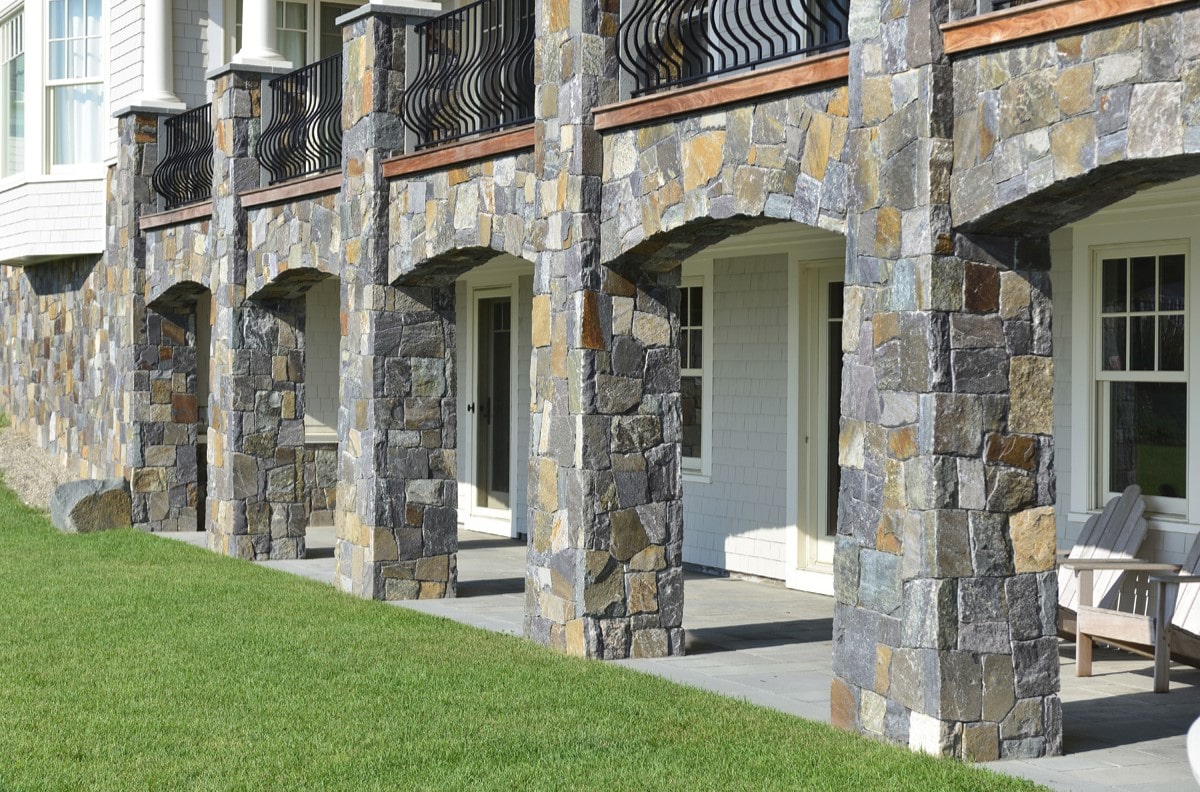
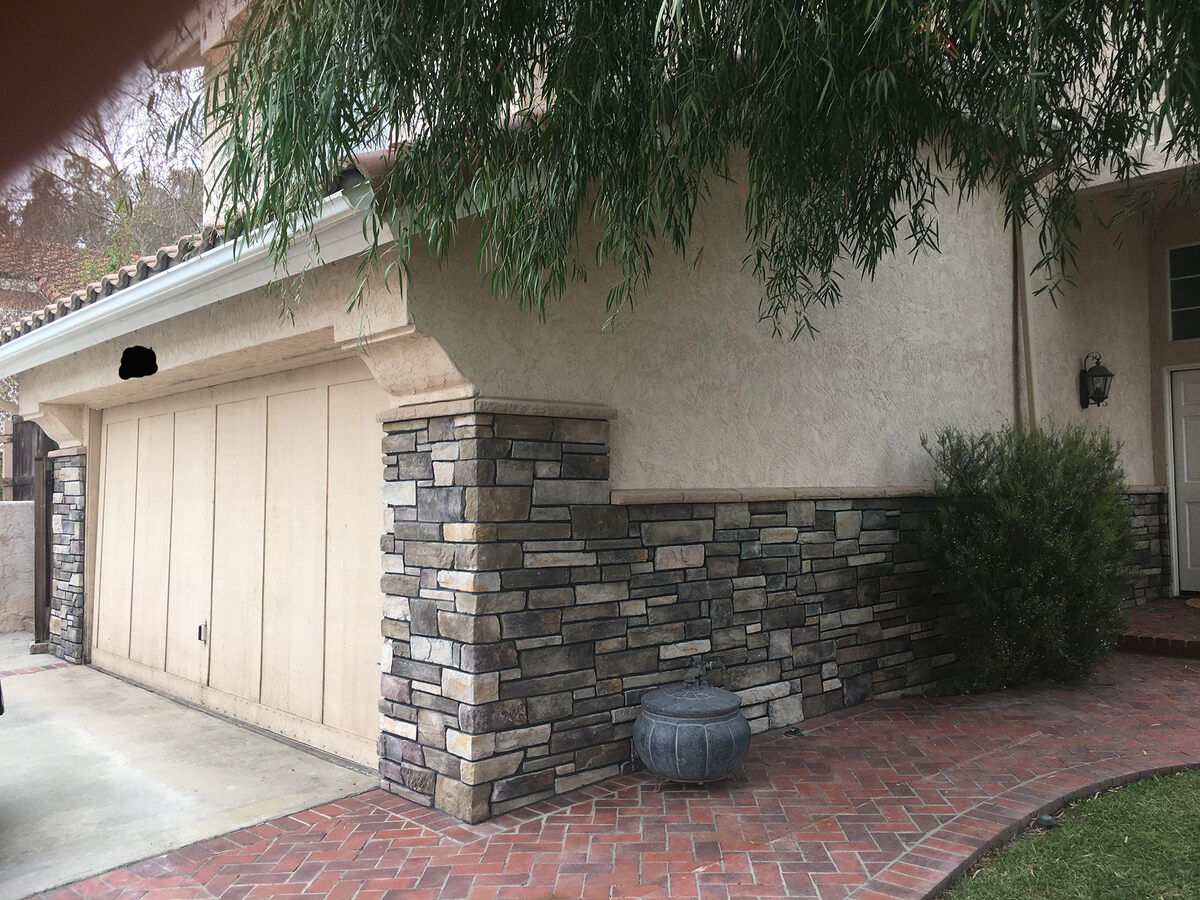
Welcome to the world of stone veneer columns! Whether you're looking to enhance the exterior of your home or add a touch of elegance to your landscape, building a stone veneer column is a fantastic way to achieve both beauty and functionality. Stone veneer columns offer a timeless appeal, adding a touch of sophistication and charm to any space. In this comprehensive guide, we'll walk you through the step-by-step process of building a stunning stone veneer column that will elevate the aesthetic appeal of your property.
Not only do stone veneer columns exude a sense of grandeur, but they also provide durability and structural support. By incorporating stone veneer into your column construction, you can achieve the classic look of solid stone without the added weight and expense. This versatile building material allows for endless design possibilities, enabling you to create a customized column that complements your personal style and architectural preferences.
Throughout this guide, we'll explore the essential steps and considerations involved in constructing a stone veneer column. From selecting the ideal location for your column to applying the finishing touches, we'll cover everything you need to know to embark on this rewarding DIY project. Whether you're a seasoned craftsman or a passionate DIY enthusiast, this guide will equip you with the knowledge and confidence to tackle the construction of a stunning stone veneer column.
So, roll up your sleeves and get ready to embark on a journey of creativity and craftsmanship as we delve into the art of building a captivating stone veneer column. With the right materials, tools, and guidance, you'll soon be on your way to creating a striking architectural feature that will enhance the visual appeal and value of your property for years to come.
Let's dive in and uncover the secrets to crafting a remarkable stone veneer column that will stand the test of time!
**
Key Takeaways:
- Building a stone veneer column adds timeless charm and durability to your property. Carefully choose the location, gather materials, and apply the stone veneer for a stunning and enduring architectural feature.
- After constructing your stone veneer column, focus on finishing touches and maintenance. Seal the stone, inspect for stability, consider lighting, and establish a maintenance schedule to preserve its beauty and allure.
Read more: How Thick Is Stone Veneer
Choosing the Right Location
**
Before diving into the construction of your stone veneer column, it’s crucial to carefully consider the location where it will be installed. The placement of your column will not only impact its visual impact but also its functionality and structural integrity. Here are essential factors to keep in mind when selecting the ideal location for your stone veneer column:
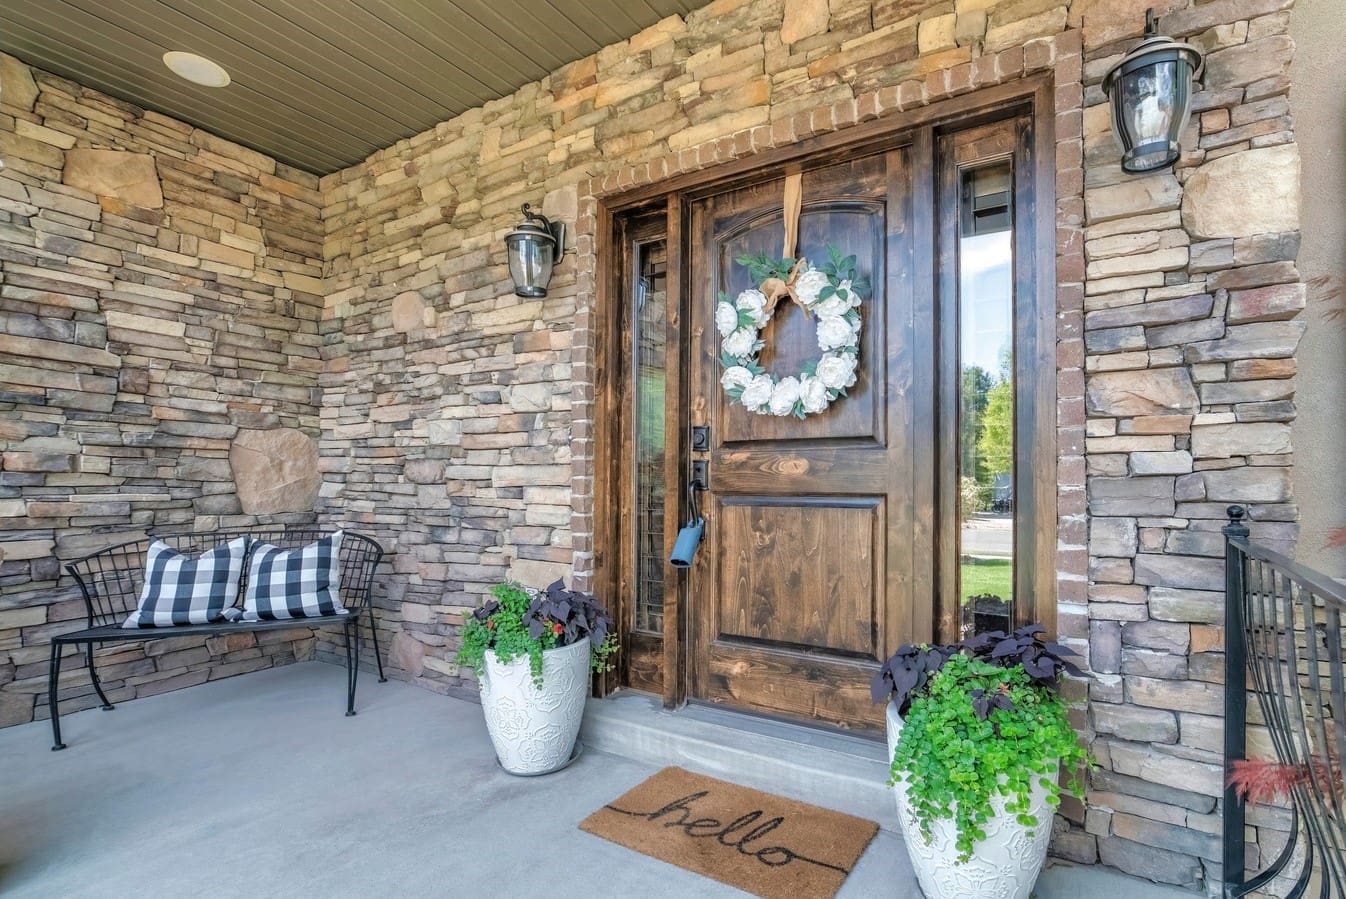
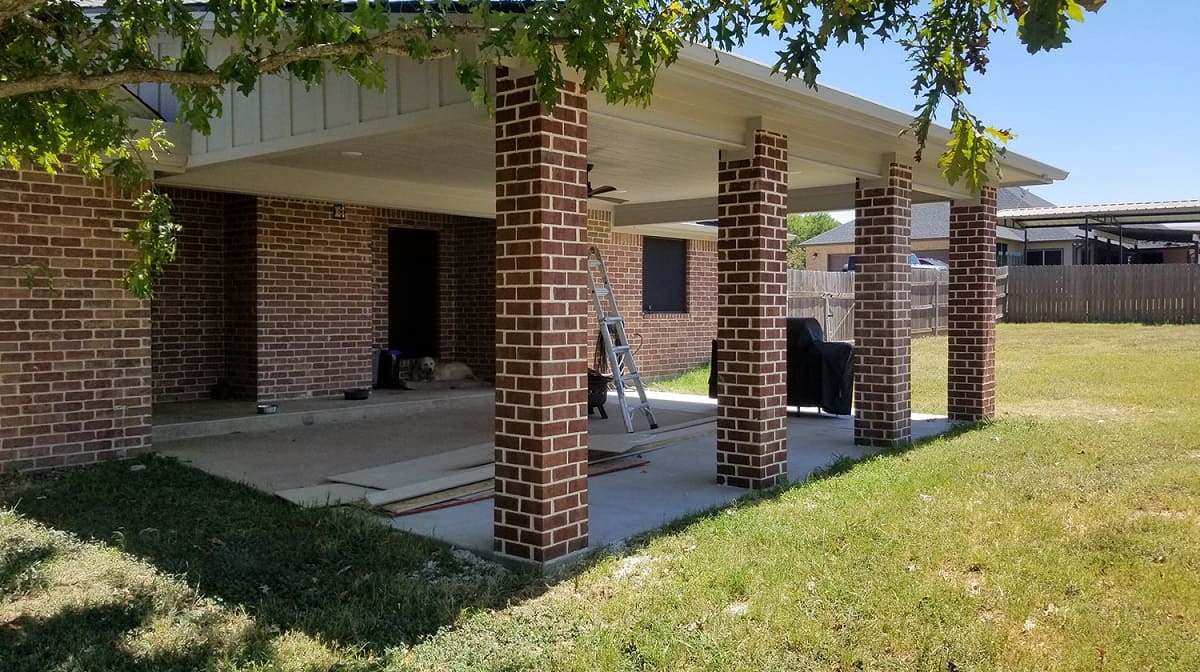
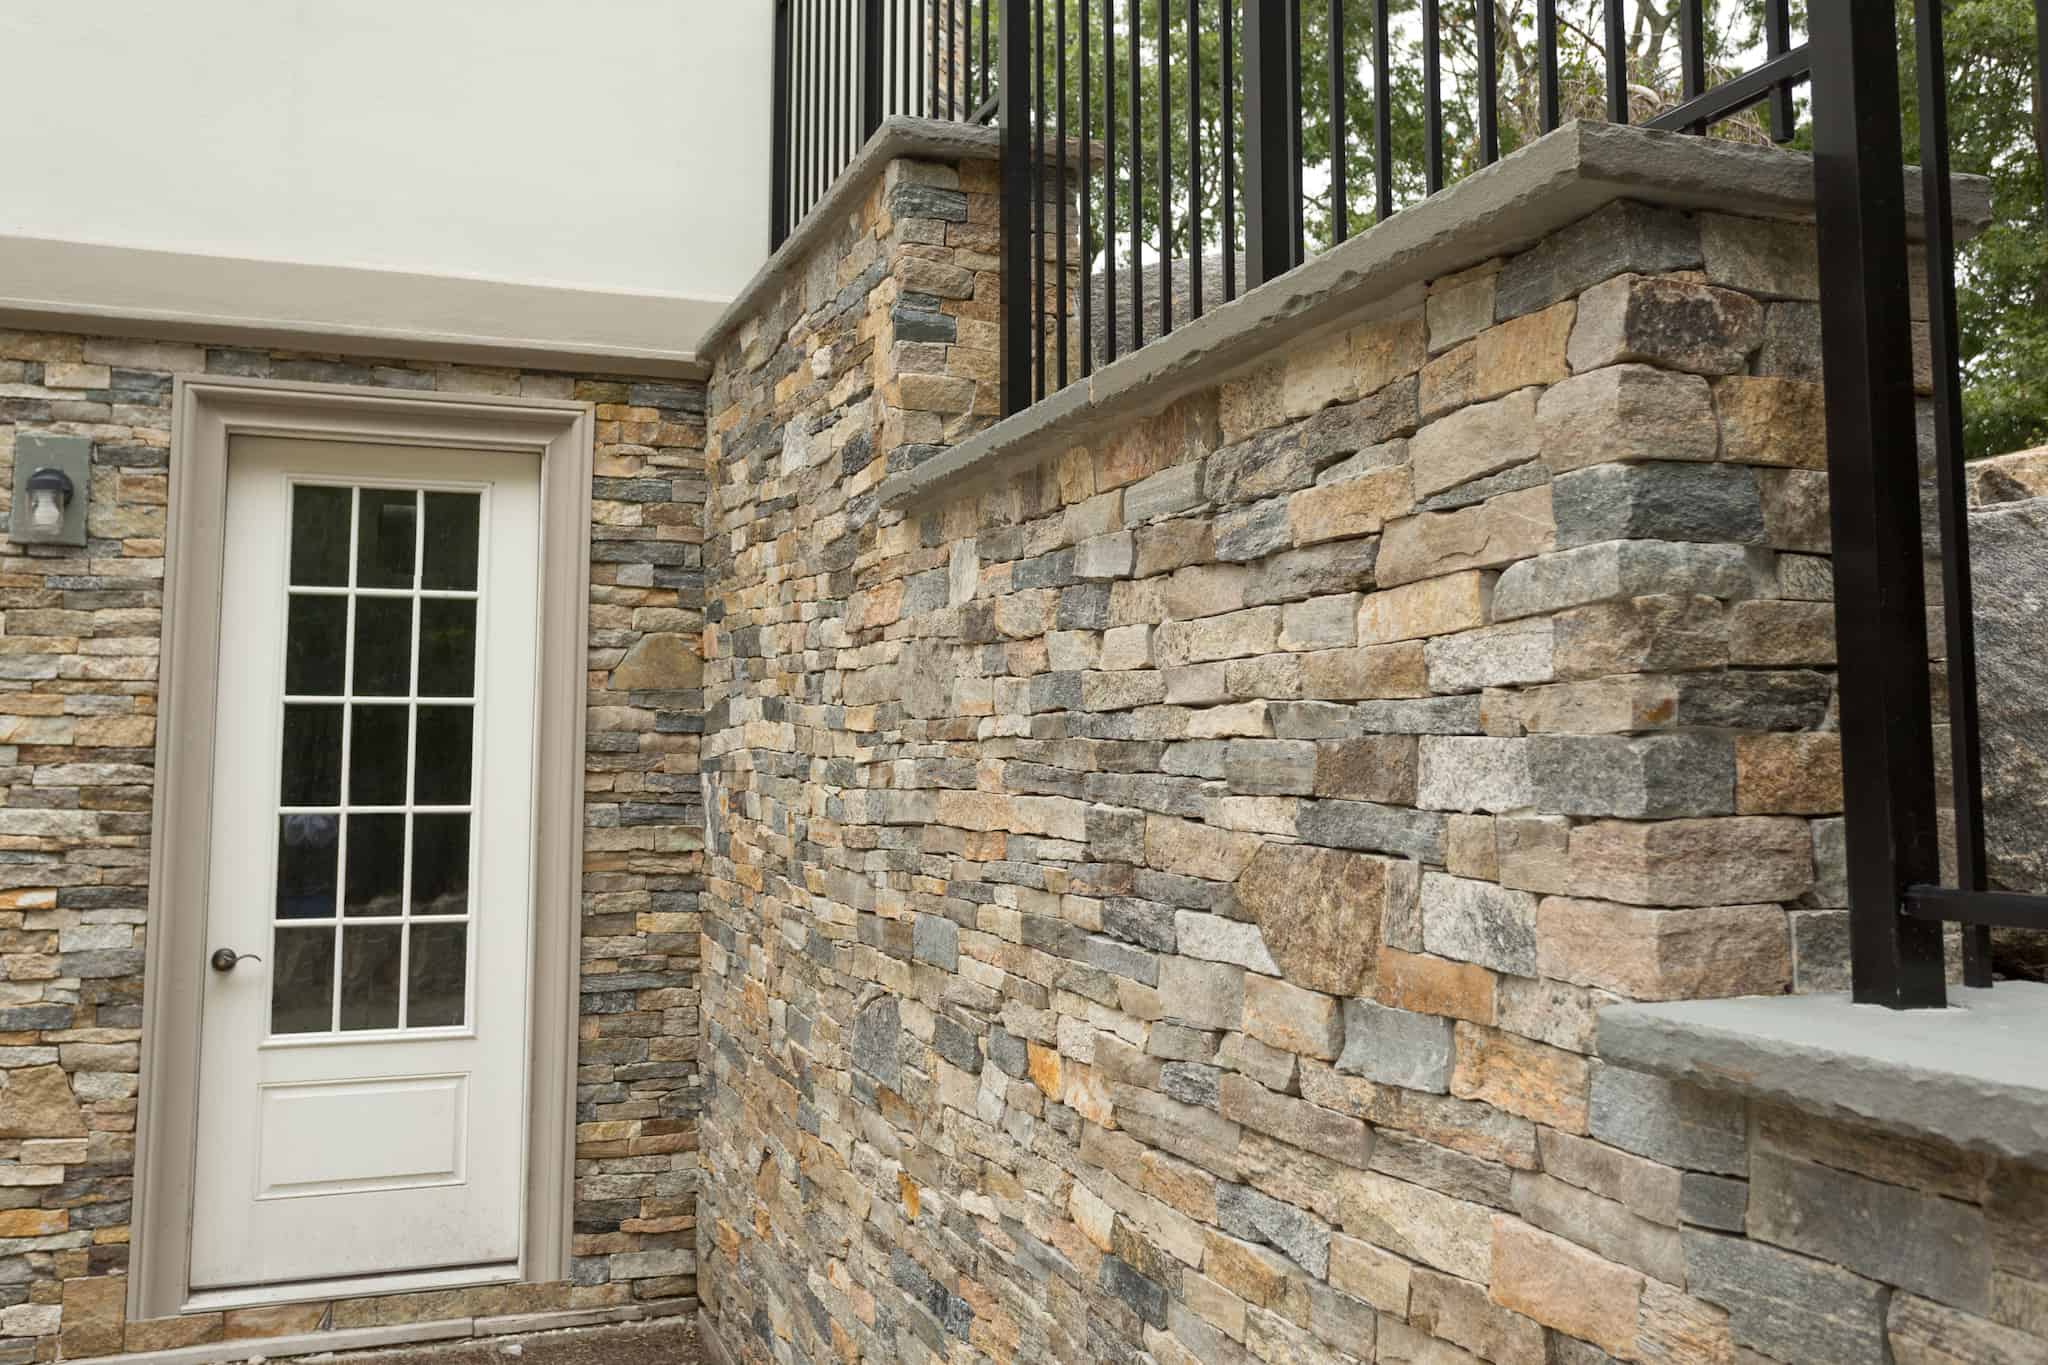
Aesthetic Harmony: The column should seamlessly integrate with the overall architectural style and landscaping of your property. Consider the visual flow and balance to ensure that the column complements its surroundings, whether it's positioned near the entrance, along a walkway, or as a standalone feature in the garden.
Structural Support: If your column is intended to provide support for a gate, pergola, or other structure, ensure that its placement aligns with the load-bearing requirements. Consulting with a structural engineer or experienced contractor can help determine the optimal location for a structurally sound installation.
Accessibility: Consider the practical aspects of the column's location, such as ensuring unobstructed access for installation and future maintenance. Accessibility is particularly important if the column will be integrated with lighting or other functional elements.
Ground Stability: Assess the ground conditions to ensure that the chosen location provides a stable and level surface for the column's base. Avoid areas prone to erosion, excessive moisture, or uneven terrain that could compromise the long-term stability of the column.
Visual Focal Points: Identify key focal points within your property, such as entryways, pathways, or outdoor living spaces, and evaluate how the addition of a stone veneer column can enhance these focal points and create a captivating visual impact.
Regulatory Considerations: Check local building codes, homeowner association guidelines, and property boundaries to ensure compliance with any regulations or restrictions related to the installation of structures on your property.
By carefully evaluating these factors, you can make an informed decision regarding the optimal location for your stone veneer column. Once you've identified the perfect spot, you'll be ready to move on to the next steps of gathering materials and preparing the site for construction.
**
Gathering Materials and Tools
**
With the ideal location for your stone veneer column selected, it’s time to gather the essential materials and tools necessary for the construction process. By ensuring that you have everything you need upfront, you can streamline the building process and minimize potential delays. Here’s a comprehensive list of materials and tools required for building a stone veneer column:
Materials:
- Concrete or precast column base
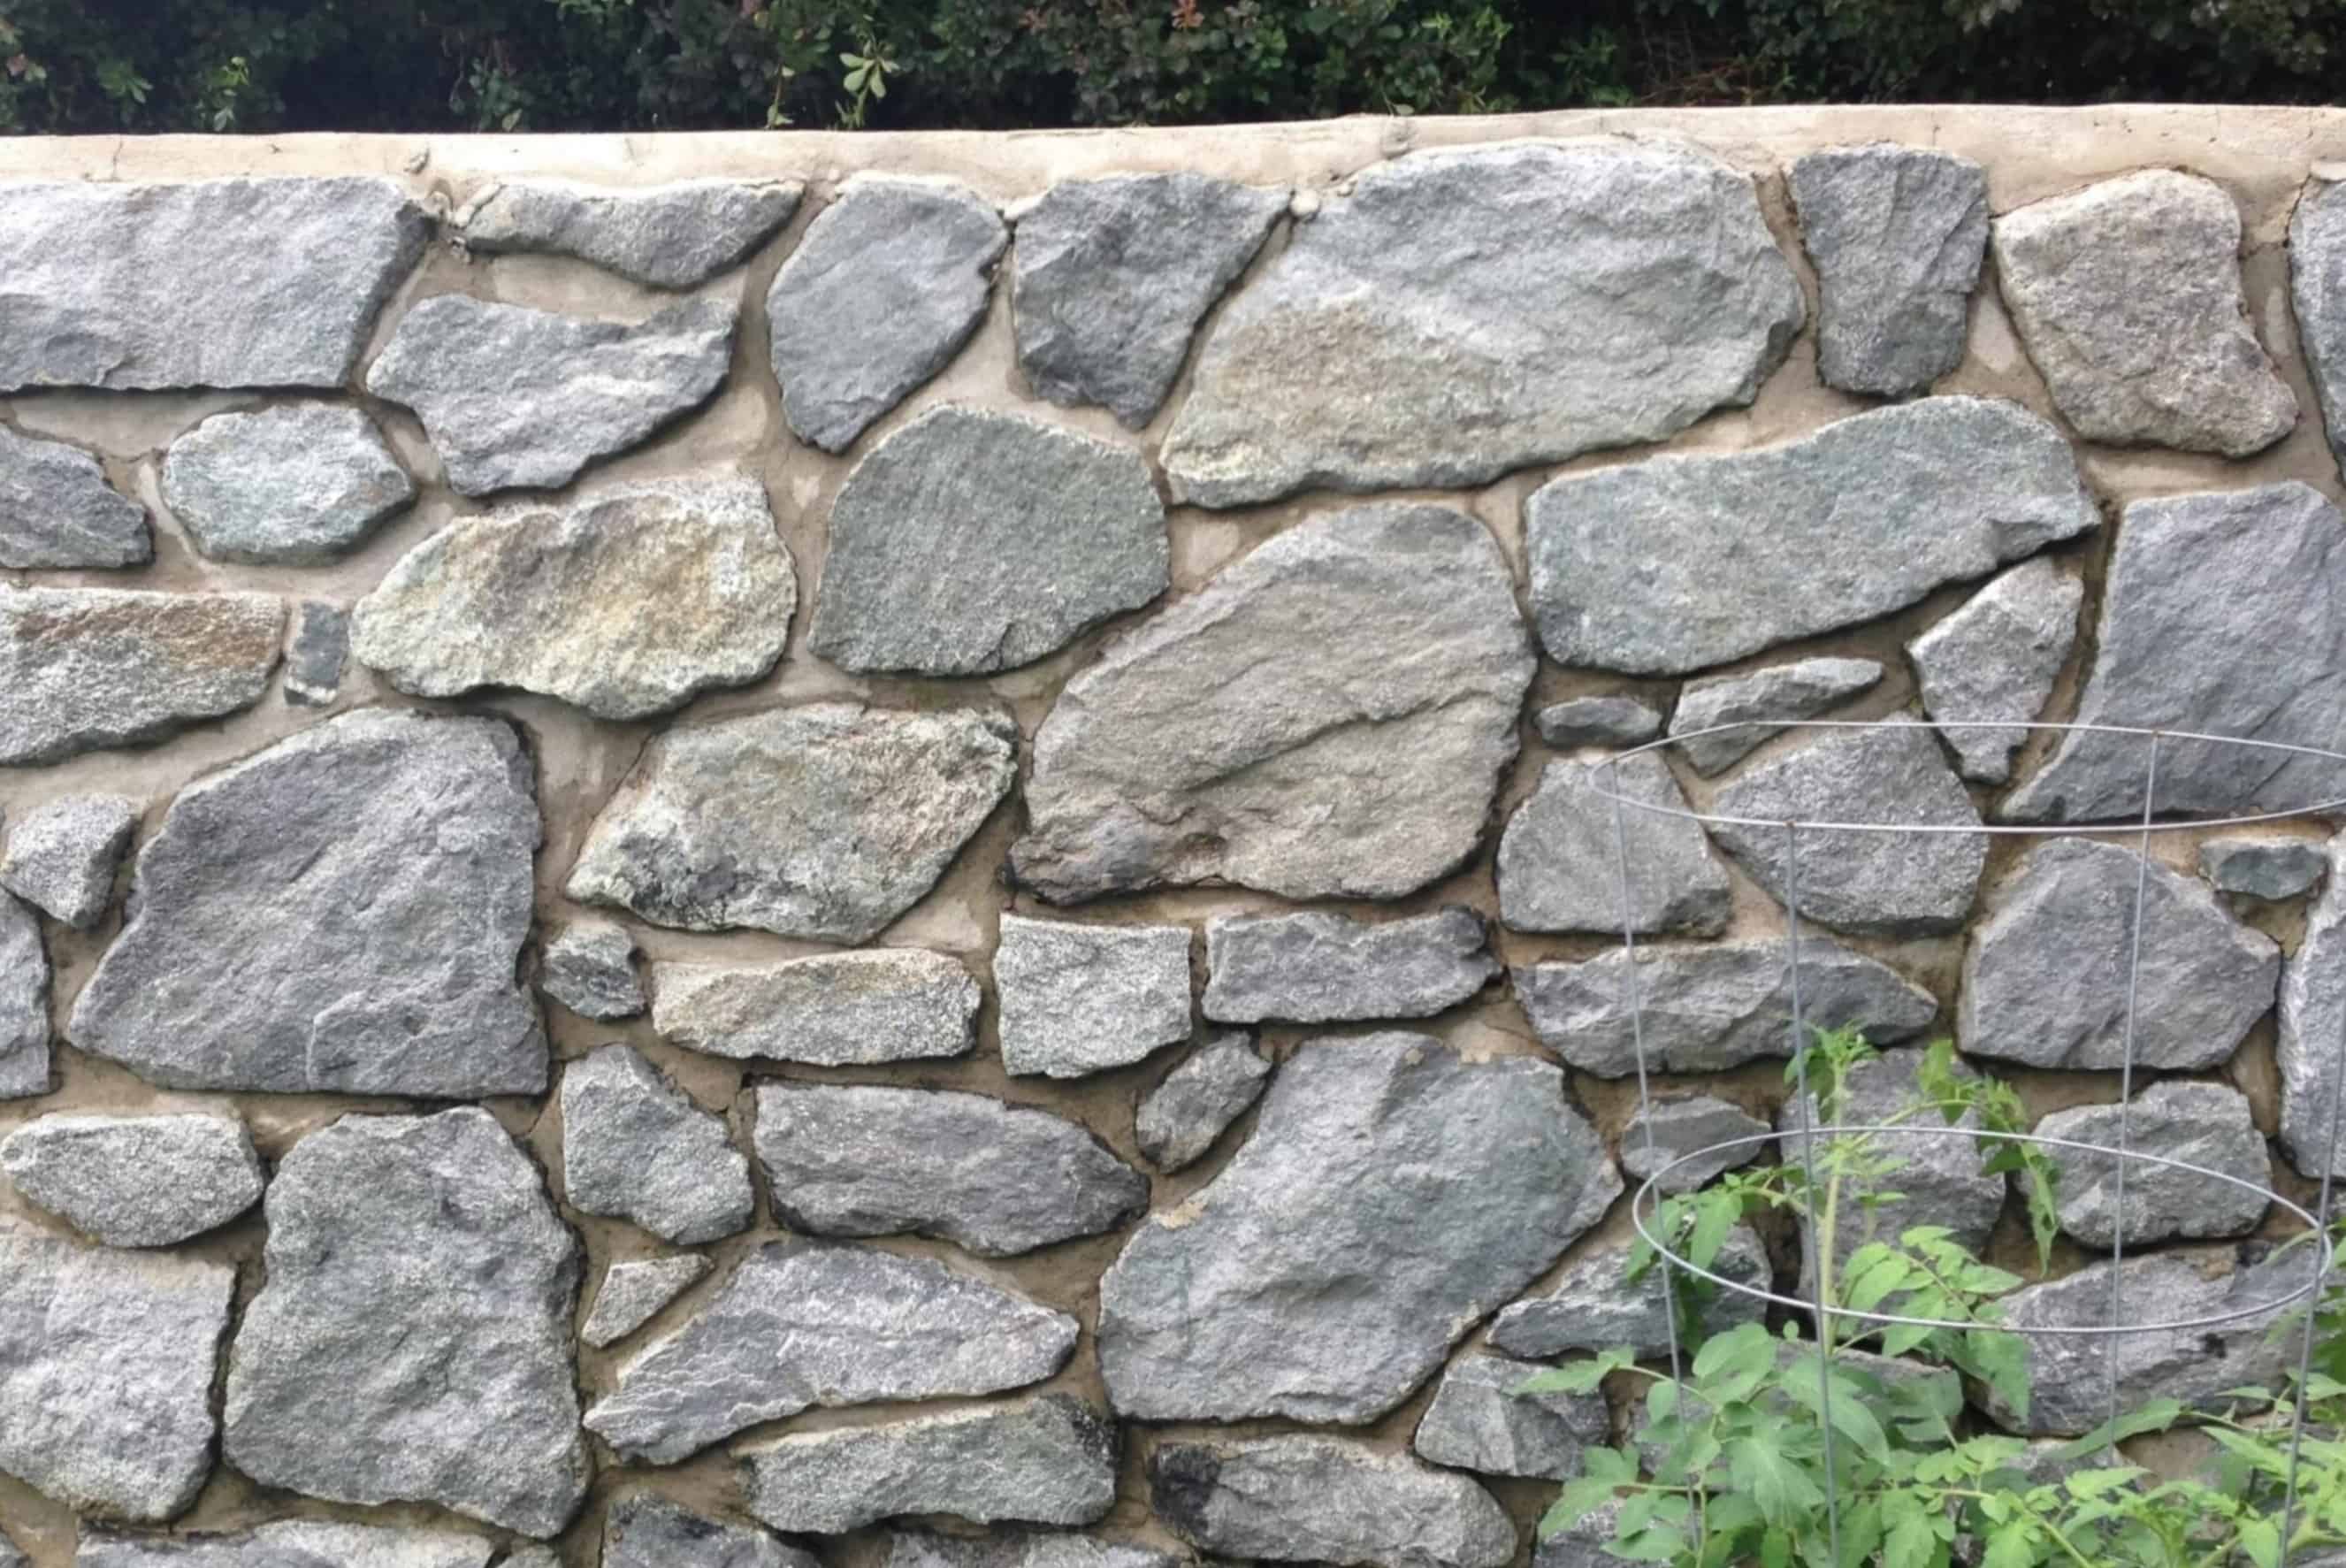
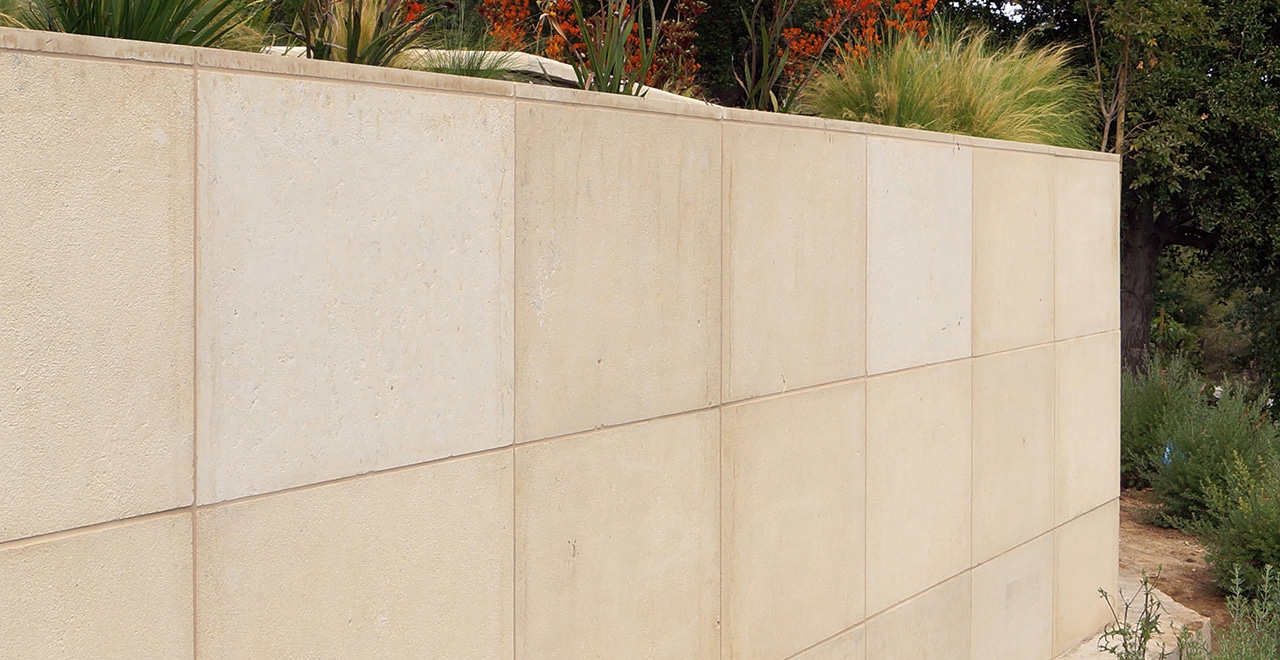
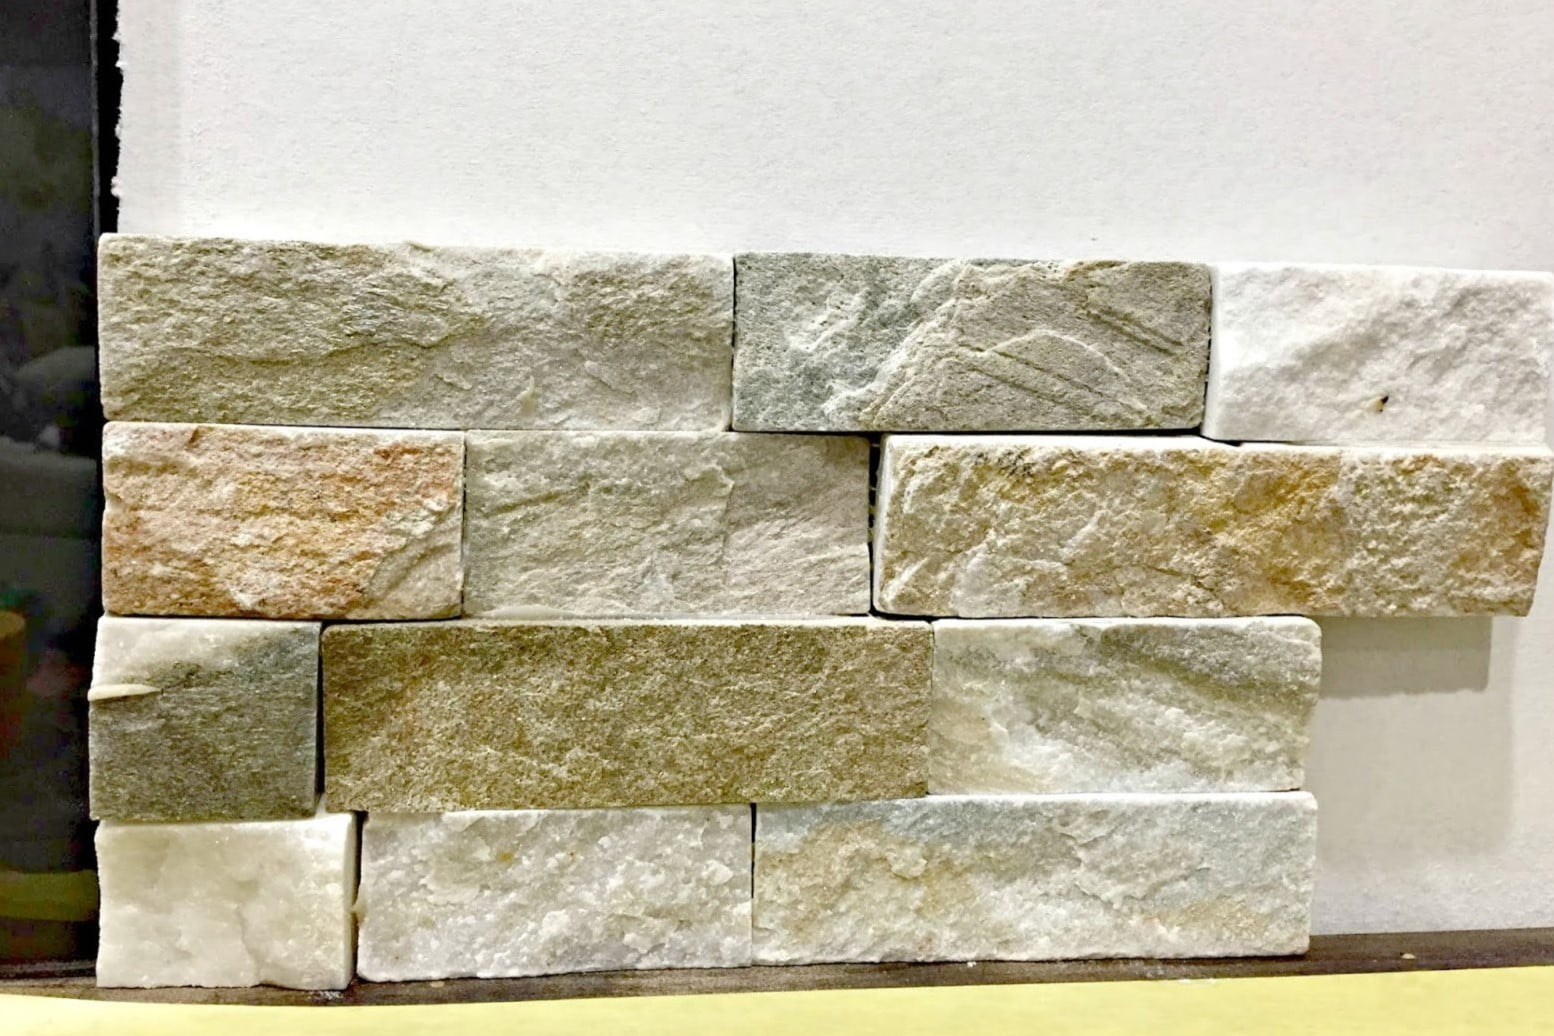
- Stone veneer panels or individual stones
- Mortar mix specifically designed for stone veneer installation
- Concrete bonding adhesive
- Waterproofing membrane or sealant
- Pressure-treated plywood or cement backer board
- Galvanized or stainless-steel screws
- Metal lath
- Scratch coat mortar
- Grout
- Protective gloves and eyewear
- Paintbrushes and trowels
- Waterproofing and sealing products
Tools:
- Masonry trowel
- Notched trowel
- Level
- Measuring tape
- Utility knife
- Wire cutters
- Hammer
- Drill/driver with masonry bits
- Paintbrushes
- Bucket for mixing mortar
- Wheelbarrow or mixing tub
- Protective gear (gloves, safety glasses, dust mask)
- Work gloves
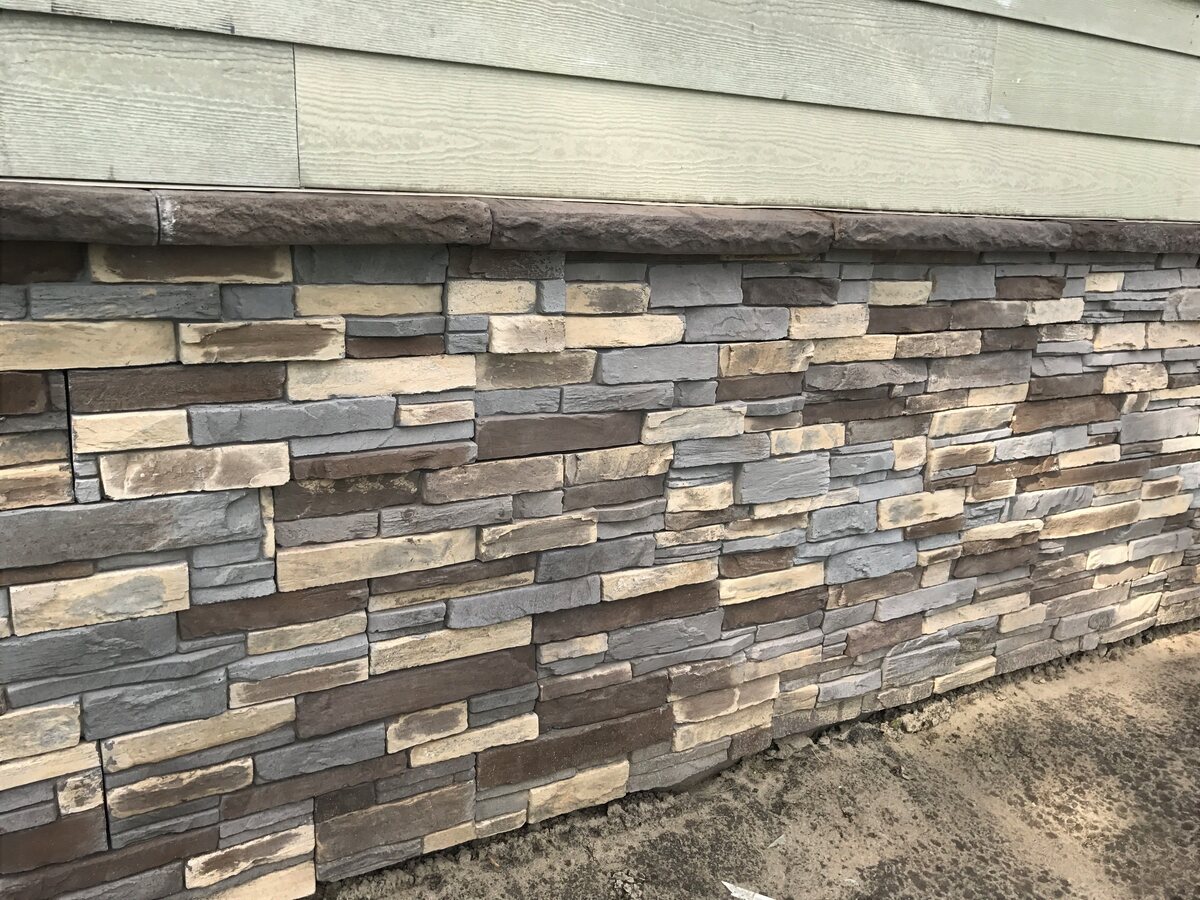
Before purchasing materials, carefully measure the dimensions of the column base and calculate the surface area to determine the quantity of stone veneer panels or individual stones needed. Additionally, consider the color and texture of the stone veneer to ensure it complements the aesthetic of your property.
By assembling these materials and tools, you’ll be well-prepared to commence the construction of your stone veneer column. The next steps will involve preparing the column base and initiating the stone veneer application process, bringing you one step closer to witnessing the transformation of your chosen location into a stunning architectural focal point.
**
When building a stone veneer column, make sure to use a waterproof membrane behind the veneer to prevent water damage and ensure the longevity of the structure.
Preparing the Column Base
**
Before applying the stone veneer, it’s essential to properly prepare the column base to ensure a stable and long-lasting foundation for the veneer installation. Follow these steps to prepare the column base:
Inspect the Surface: Thoroughly examine the column base to check for any irregularities, cracks, or surface damage. Repair any existing flaws and ensure that the surface is clean and free of debris.
Apply Waterproofing Membrane: To protect the column base from moisture and ensure longevity, apply a waterproofing membrane or sealant according to the manufacturer’s instructions. This step is crucial for safeguarding the structural integrity of the column and preventing water damage over time.
Install Backer Board or Plywood: If the column base is constructed of concrete, apply a layer of pressure-treated plywood or cement backer board using galvanized or stainless-steel screws. This backing will serve as a stable substrate for attaching the stone veneer.
Attach Metal Lath: Secure metal lath to the prepared surface using appropriate fasteners. The metal lath provides a textured and secure base for the application of the scratch coat mortar, promoting strong adhesion for the stone veneer.
Mix and Apply Scratch Coat Mortar: Prepare the scratch coat mortar according to the manufacturer’s instructions. Using a masonry trowel, apply a uniform layer of scratch coat mortar over the metal lath. The scratch coat serves as a bonding layer for the stone veneer, enhancing its adhesion to the column base.
Cure the Scratch Coat: Allow the scratch coat to cure for the recommended time, typically 24 to 48 hours, before proceeding with the stone veneer installation. Proper curing is essential for ensuring the structural integrity and stability of the column base.
By meticulously preparing the column base, you establish a solid foundation that is conducive to the successful application of the stone veneer. This meticulous approach sets the stage for the next phase of the construction process, where the transformative beauty of the stone veneer will begin to take shape, elevating your column from a functional element to a captivating architectural feature.
**
Applying the Stone Veneer
**
With the column base meticulously prepared, it’s time to embark on the transformative process of applying the stone veneer. This step-by-step guide will walk you through the intricacies of installing the stone veneer to achieve a stunning and durable finish:
Prepare the Stone Veneer: If using individual stone pieces, sort them according to size and shape to facilitate a seamless installation process. For stone veneer panels, ensure that they are measured and cut to fit the dimensions of the column base, allowing for any necessary adjustments.
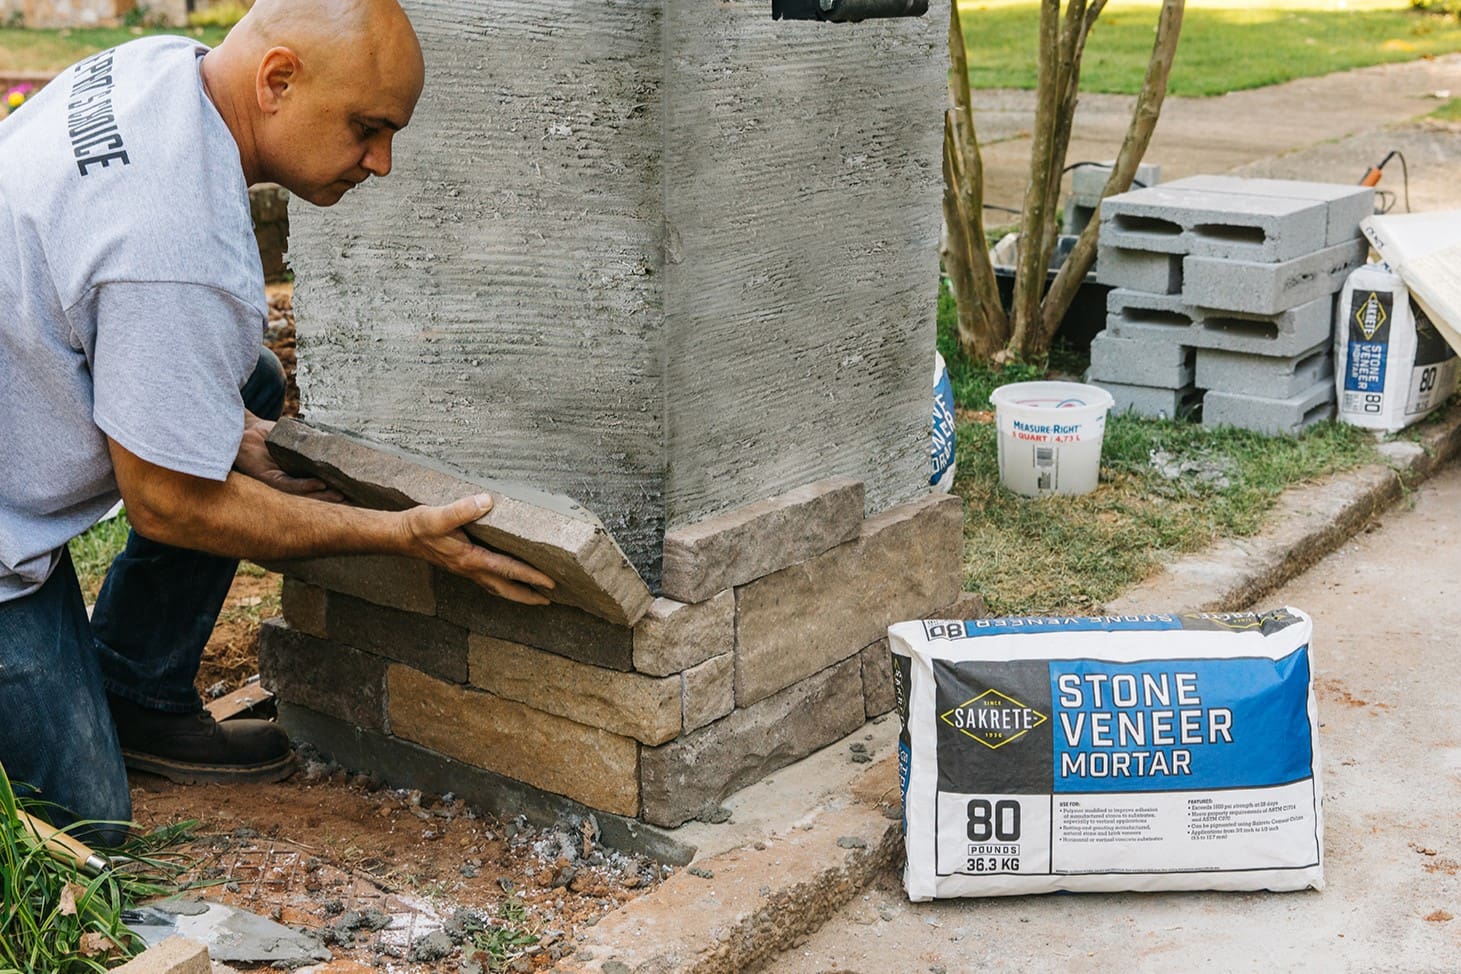
Apply Concrete Bonding Adhesive: Using a paintbrush or trowel, apply a layer of concrete bonding adhesive to the prepared column base. This adhesive promotes strong adhesion between the stone veneer and the substrate, enhancing the overall stability of the installation.
Begin Stone Veneer Installation: Starting from the bottom of the column, press the stone veneer pieces firmly into the adhesive, ensuring a tight fit and uniform spacing between stones. If using stone veneer panels, align them carefully and secure them according to the manufacturer’s recommendations.
Fill Joints with Grout: Once the stone veneer pieces are in place, fill the joints between the stones with grout using a grout bag or trowel. Ensure that the grout is evenly distributed and leveled to create a seamless and polished appearance.
Check for Consistency: Periodically step back to assess the overall consistency and alignment of the stone veneer installation. Make any necessary adjustments to maintain a balanced and visually appealing arrangement of stones.
Allow for Proper Curing: After completing the stone veneer installation, allow sufficient time for the adhesive and grout to cure as per the manufacturer’s recommendations. This crucial curing period ensures the long-term stability and resilience of the stone veneer column.
By following these meticulous steps, you can achieve a flawless and enduring installation of stone veneer, elevating your column to a striking focal point that exudes timeless elegance and charm. The application of stone veneer represents the culmination of your meticulous planning and craftsmanship, bringing your vision of a captivating stone veneer column to life.
**
Read more: How To Attach Stone Veneer
Finishing Touches and Maintenance
**
As the construction of your stone veneer column nears completion, it’s essential to focus on the finishing touches and establish a maintenance plan to preserve its beauty and structural integrity over time. Here are the crucial steps for adding the final touches and ensuring the long-term maintenance of your stone veneer column:
Seal the Stone Veneer: Apply a high-quality stone sealant to the completed stone veneer column to enhance its resistance to moisture, stains, and environmental elements. This protective sealant will safeguard the stone veneer, prolonging its lifespan and preserving its aesthetic appeal.
Inspect and Secure: Conduct a thorough inspection of the stone veneer installation, checking for any loose or uneven stones. Secure any unstable stones using additional mortar or adhesive to maintain the structural integrity of the column.
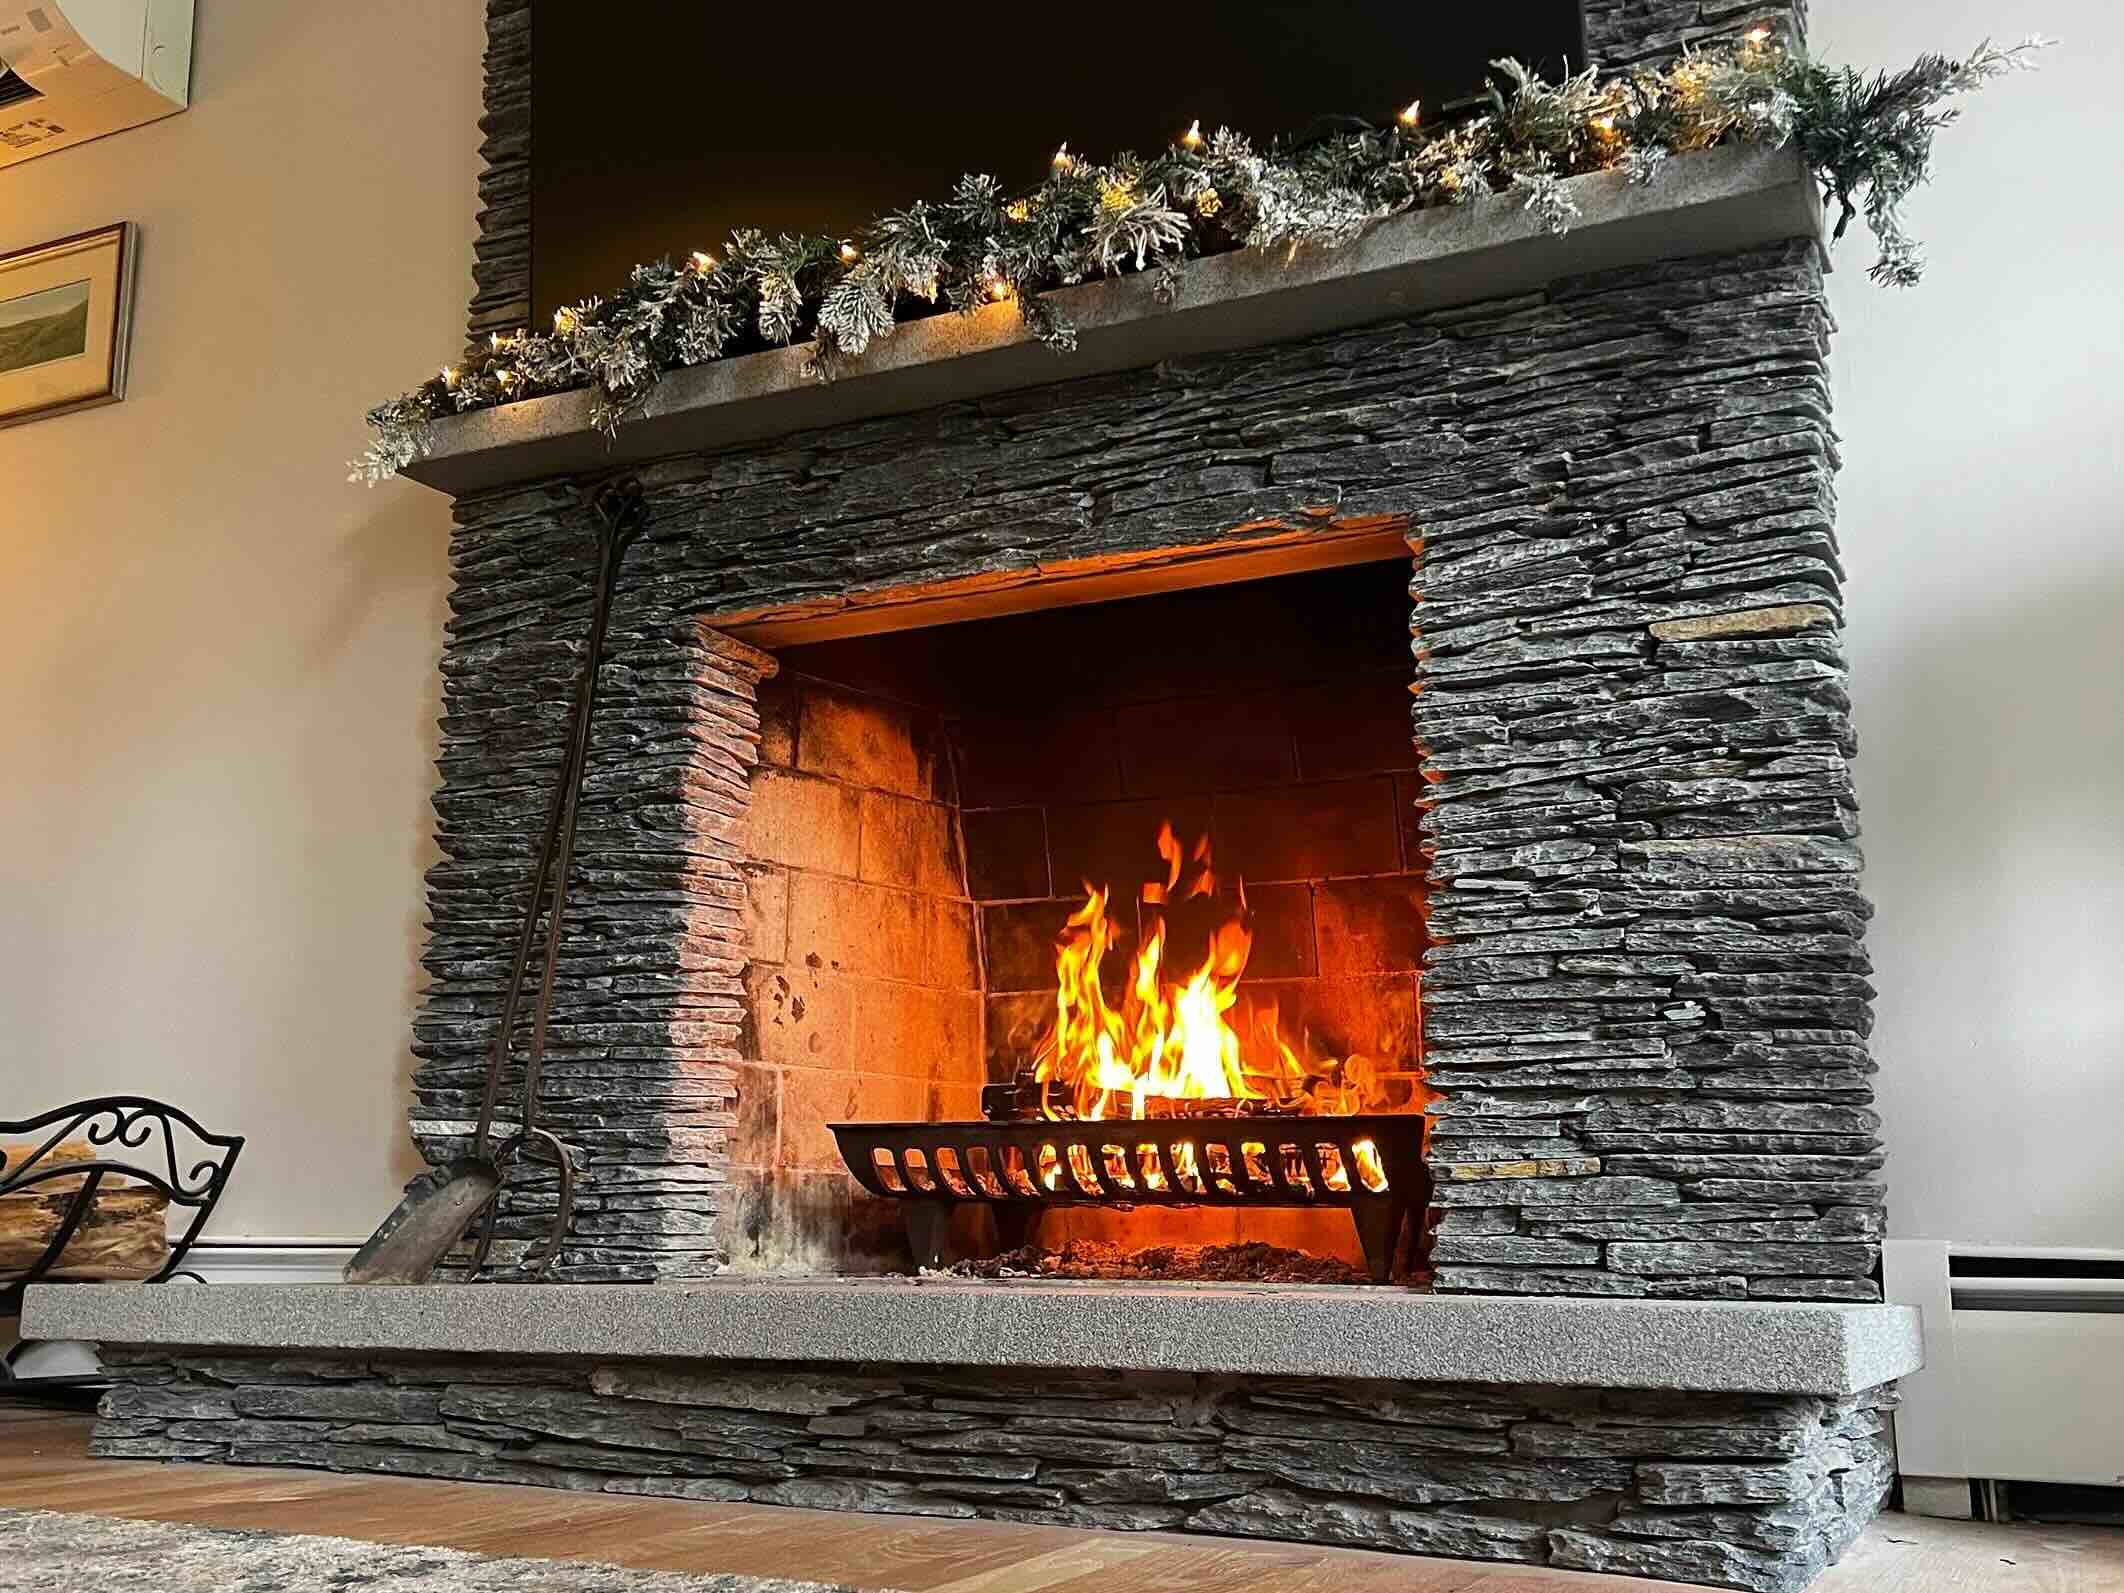
Integrate Lighting: Consider incorporating lighting elements into the design of your stone veneer column to enhance its visual impact during the evening hours. Whether through recessed lighting, sconces, or integrated LED fixtures, lighting can accentuate the texture and allure of the stone veneer.
Establish a Maintenance Schedule: Develop a regular maintenance schedule to preserve the beauty of your stone veneer column. This may include periodic cleaning, inspection for signs of wear or damage, and reapplication of sealant as needed to protect the stone veneer from the effects of weather and time.
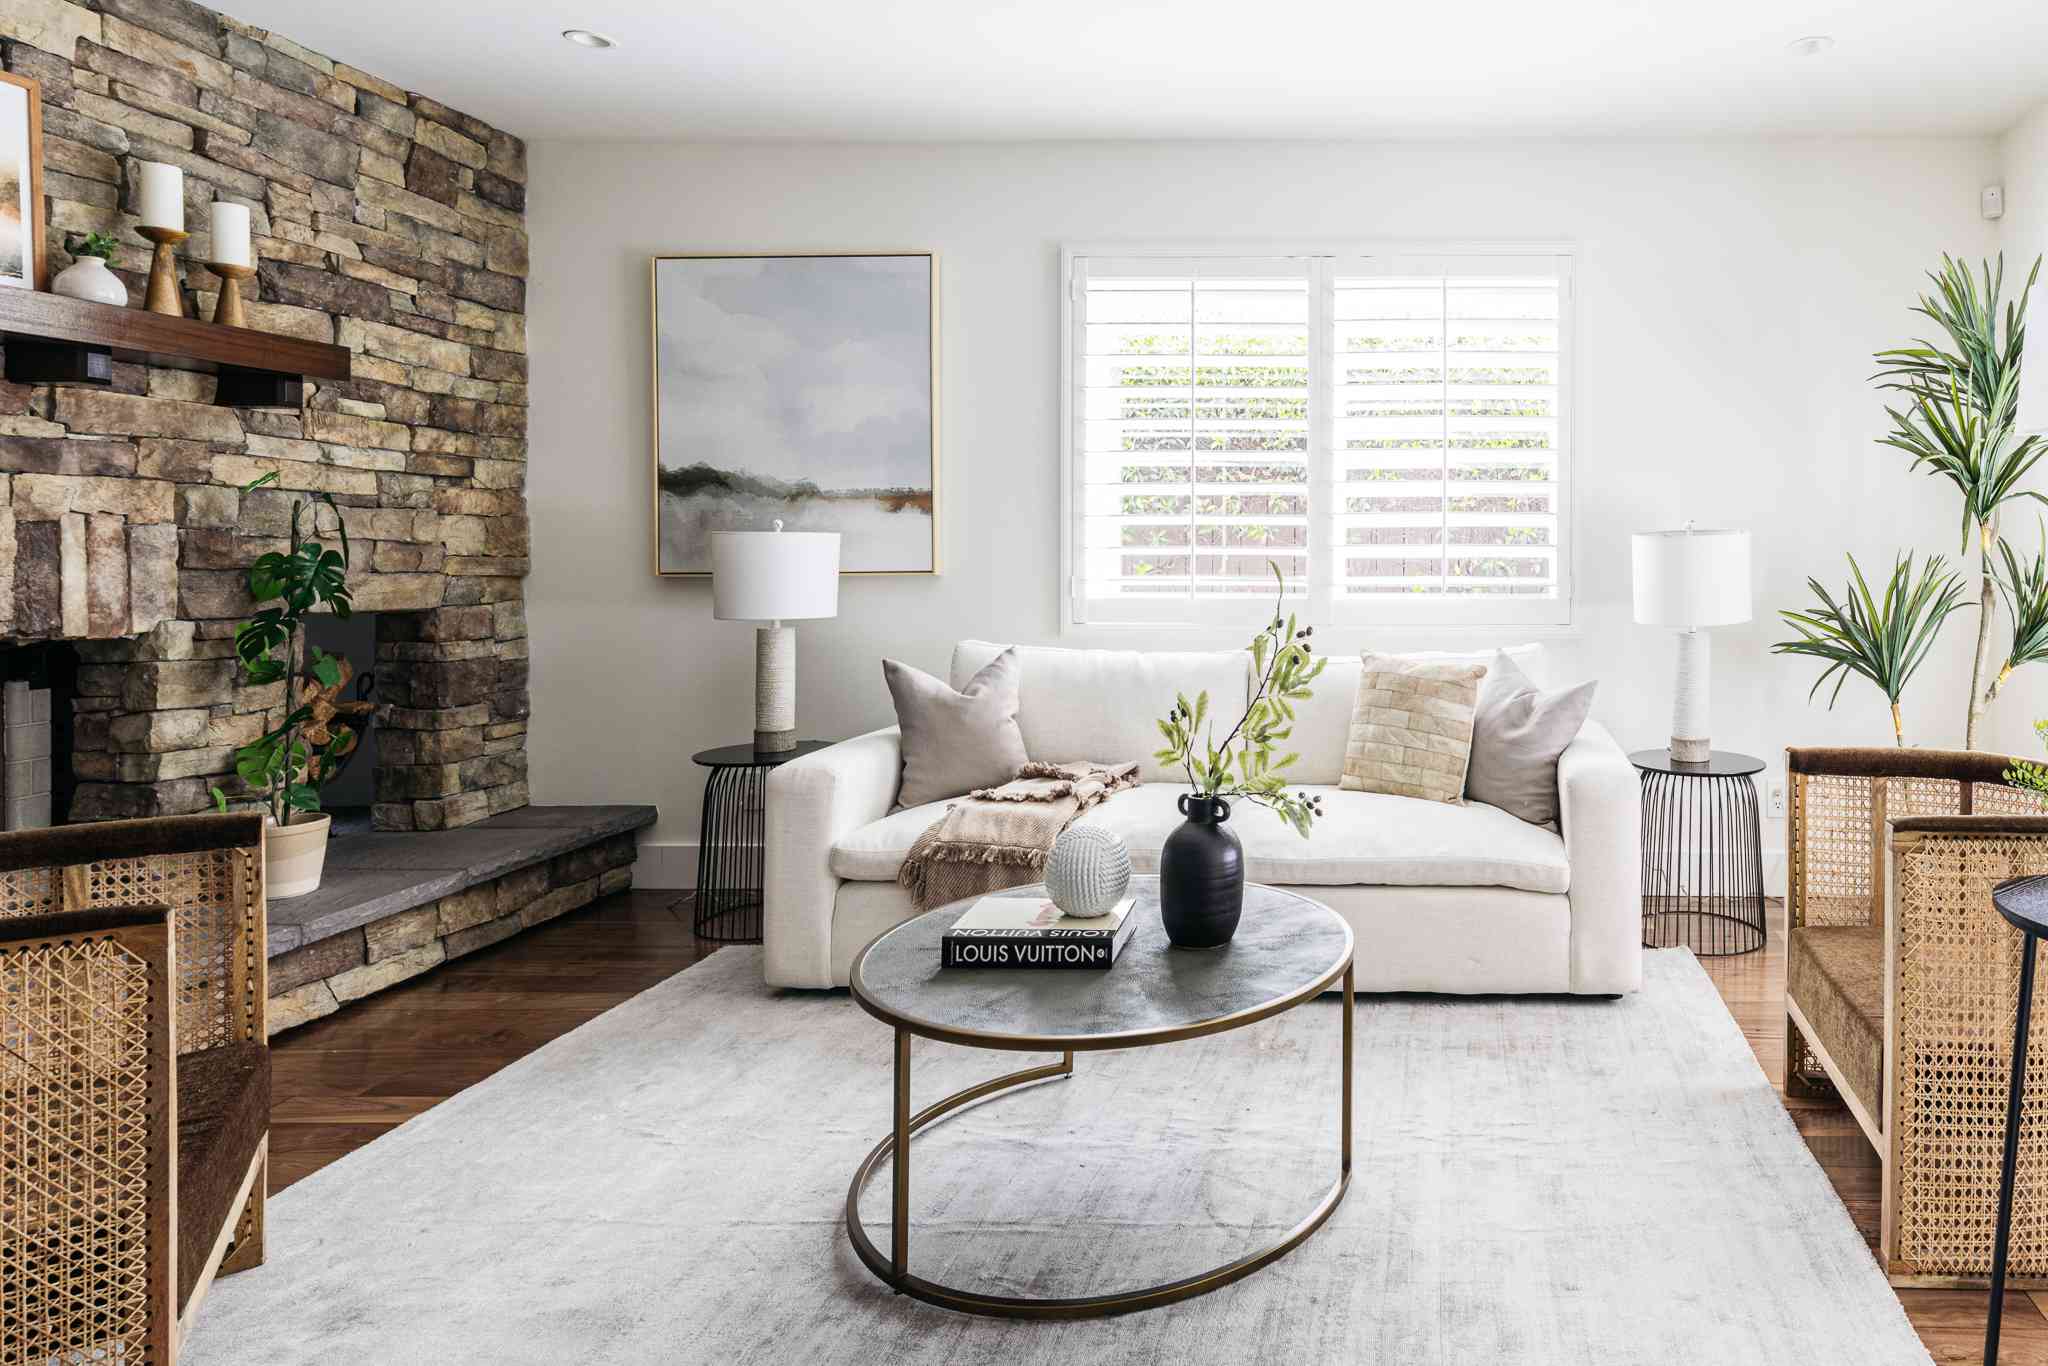
Enhance Surrounding Landscaping: Complement the visual appeal of the stone veneer column by enhancing the surrounding landscaping. Incorporate plantings, hardscaping elements, or decorative features that harmonize with the column, creating a cohesive and inviting outdoor environment.
Appreciate the Results: Take a moment to appreciate the transformative impact of your stone veneer column on the overall aesthetic of your property. Embrace the timeless elegance and enduring allure it brings to your outdoor space, serving as a testament to your craftsmanship and creativity.
By attending to these finishing touches and implementing a proactive maintenance plan, you can ensure that your stone veneer column remains a captivating and enduring architectural feature for years to come. With its visual appeal, structural resilience, and timeless charm, your stone veneer column will continue to enrich your property and evoke admiration from all who encounter it.
Frequently Asked Questions about How To Build A Stone Veneer Column
Was this page helpful?
At Storables.com, we guarantee accurate and reliable information. Our content, validated by Expert Board Contributors, is crafted following stringent Editorial Policies. We're committed to providing you with well-researched, expert-backed insights for all your informational needs.
0 thoughts on “How To Build A Stone Veneer Column”