Home>Construction & Tools>Building Materials>How To Repair Cracked Stone Veneer
Building Materials
How To Repair Cracked Stone Veneer
Modified: August 17, 2024
Learn how to effectively repair cracked stone veneer with our expert guide. Discover the best building materials and techniques for a seamless restoration. Gain valuable insights to tackle this project with confidence.
(Many of the links in this article redirect to a specific reviewed product. Your purchase of these products through affiliate links helps to generate commission for Storables.com, at no extra cost. Learn more)
Introduction
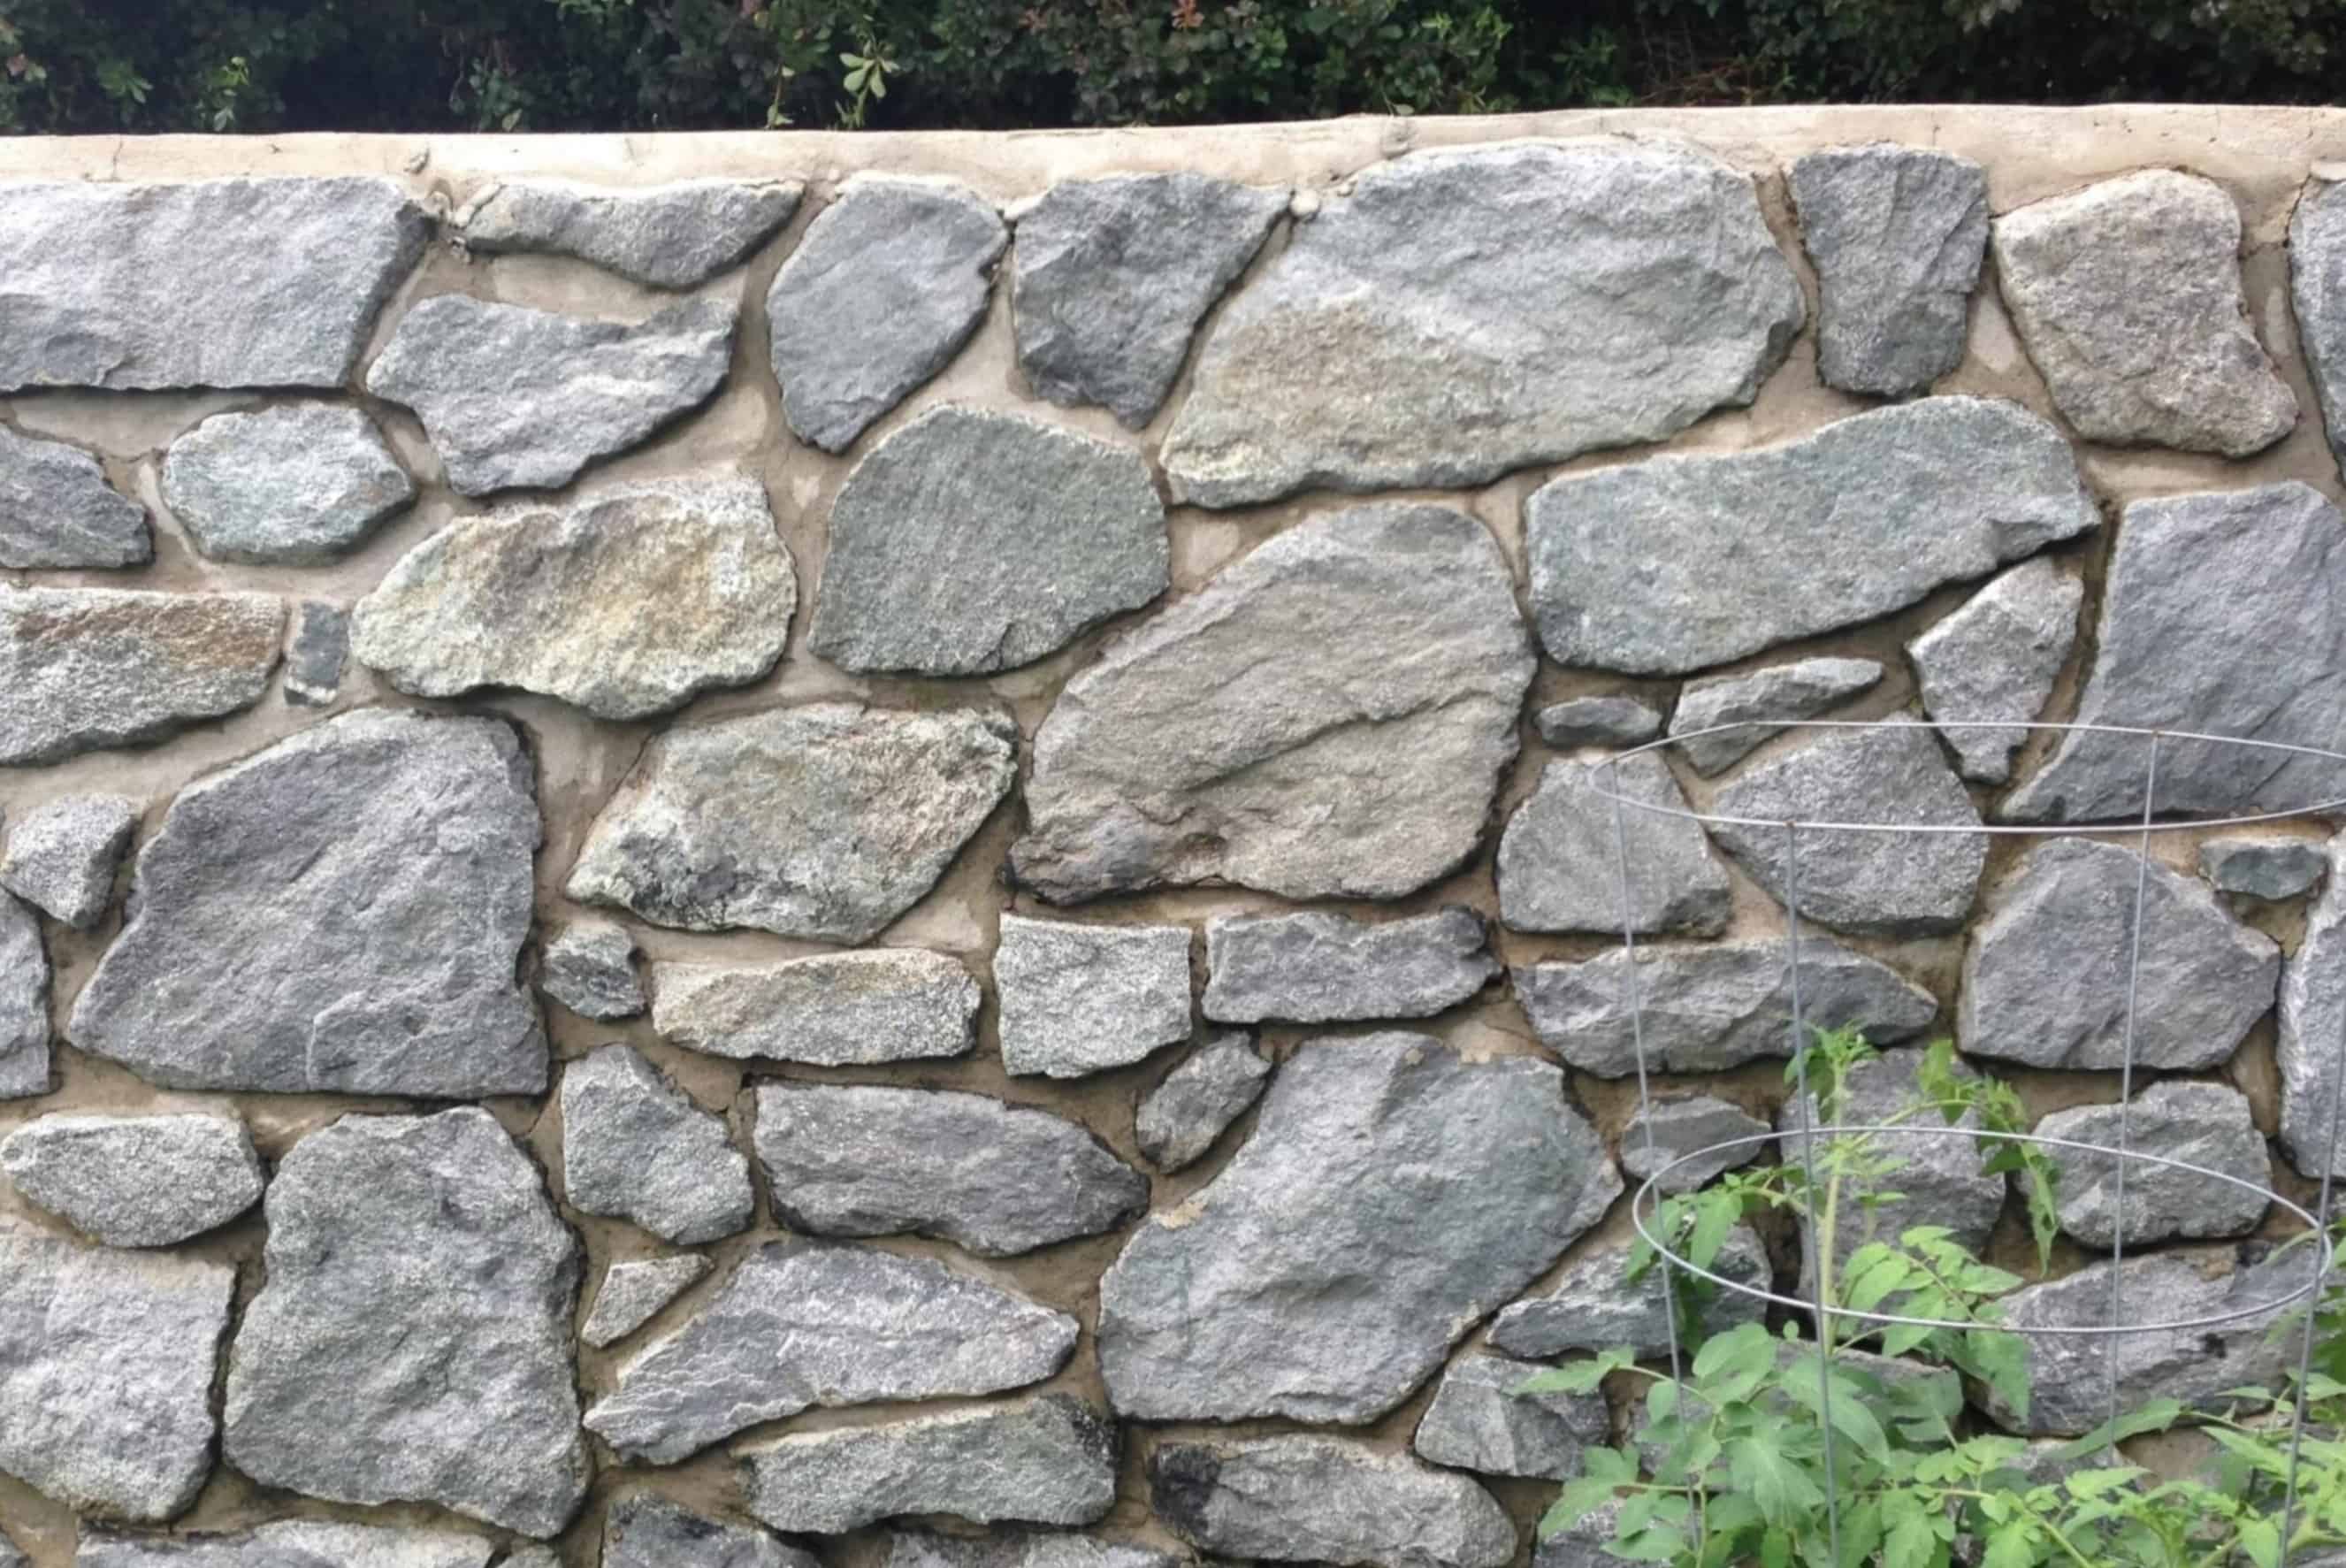
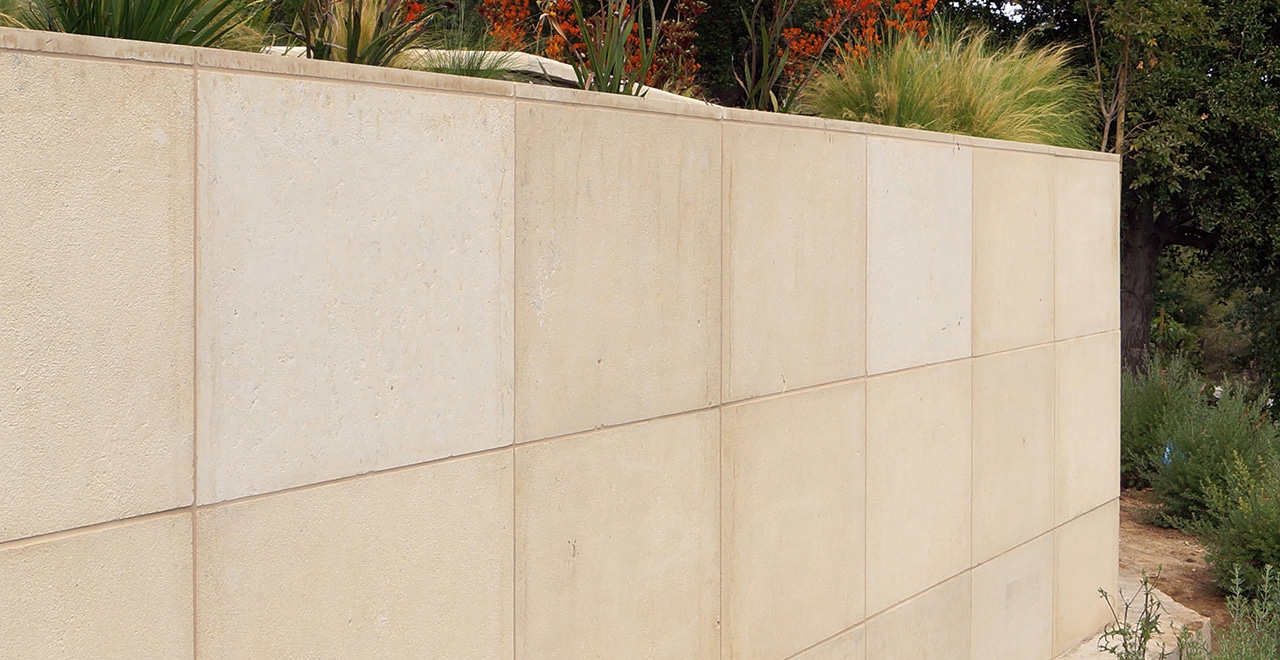
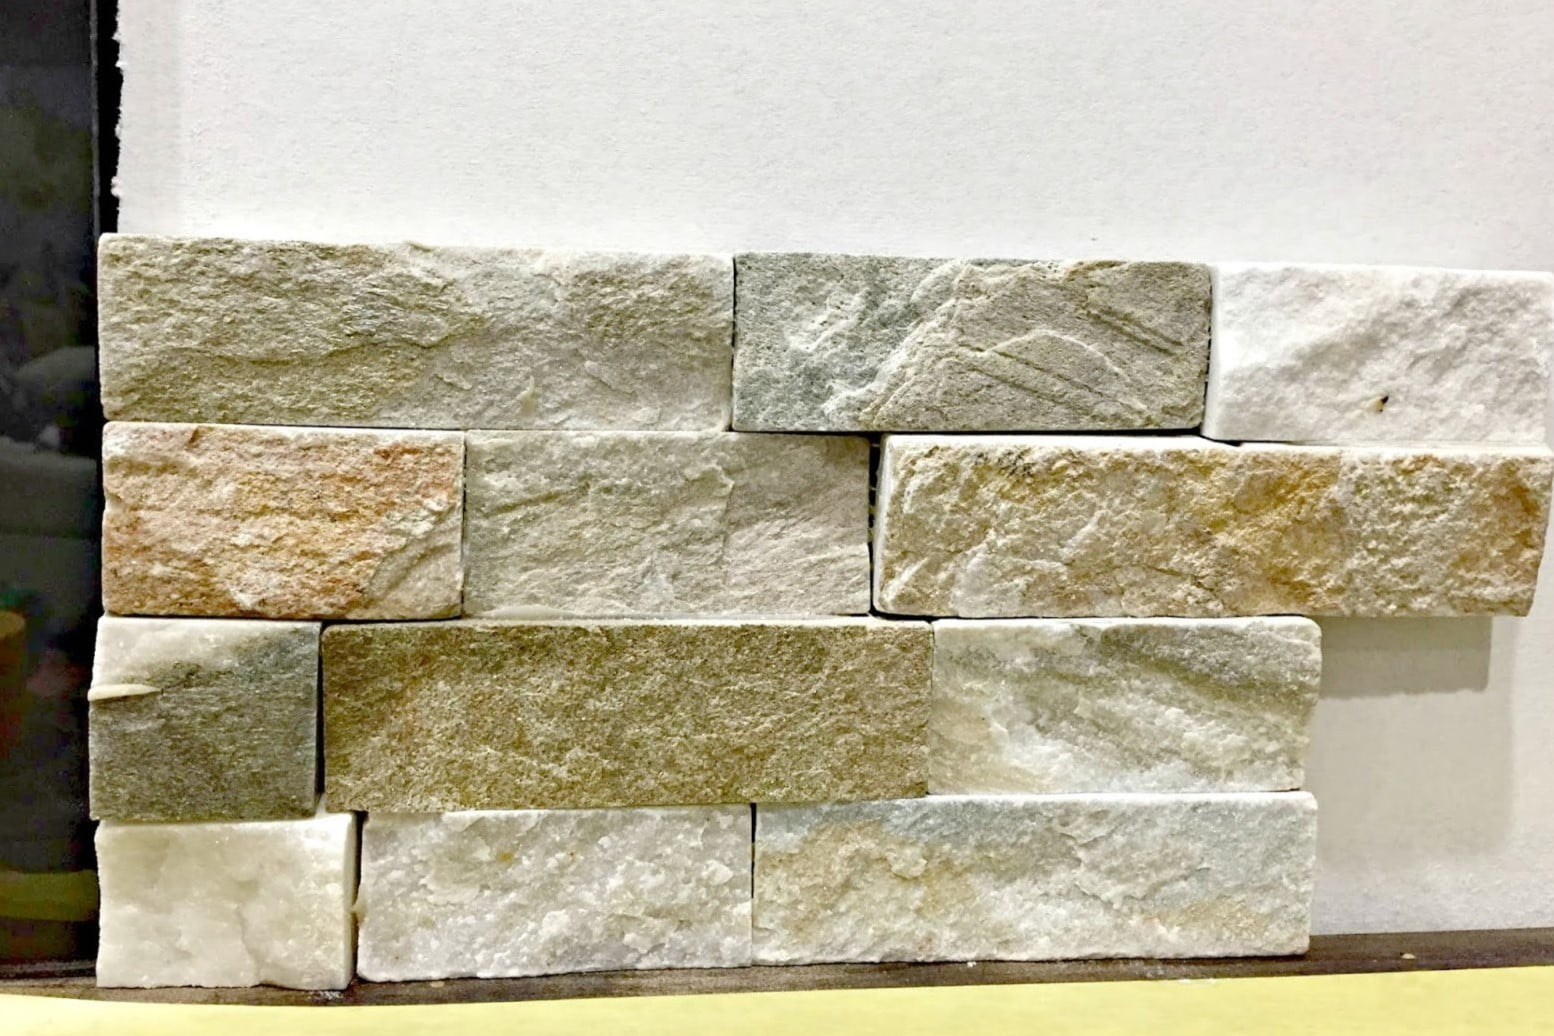
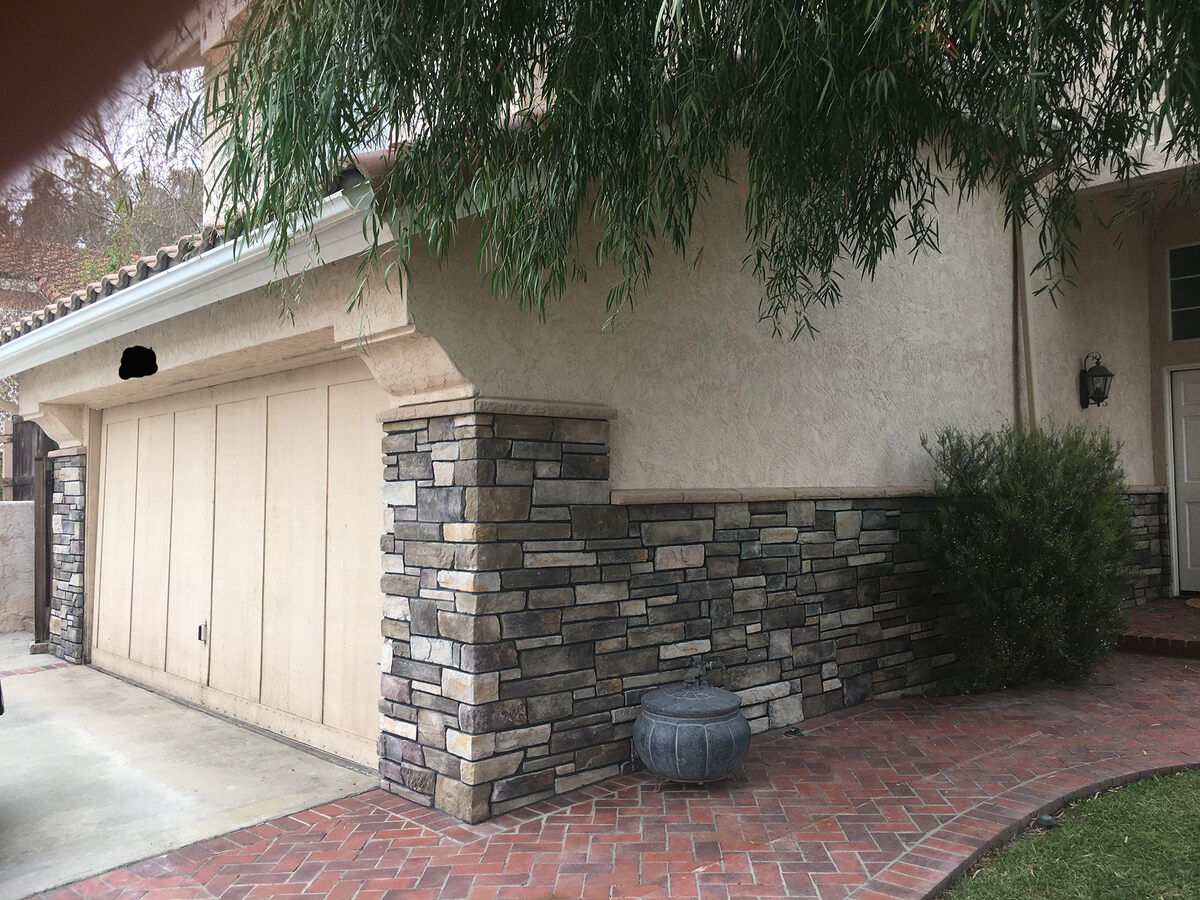
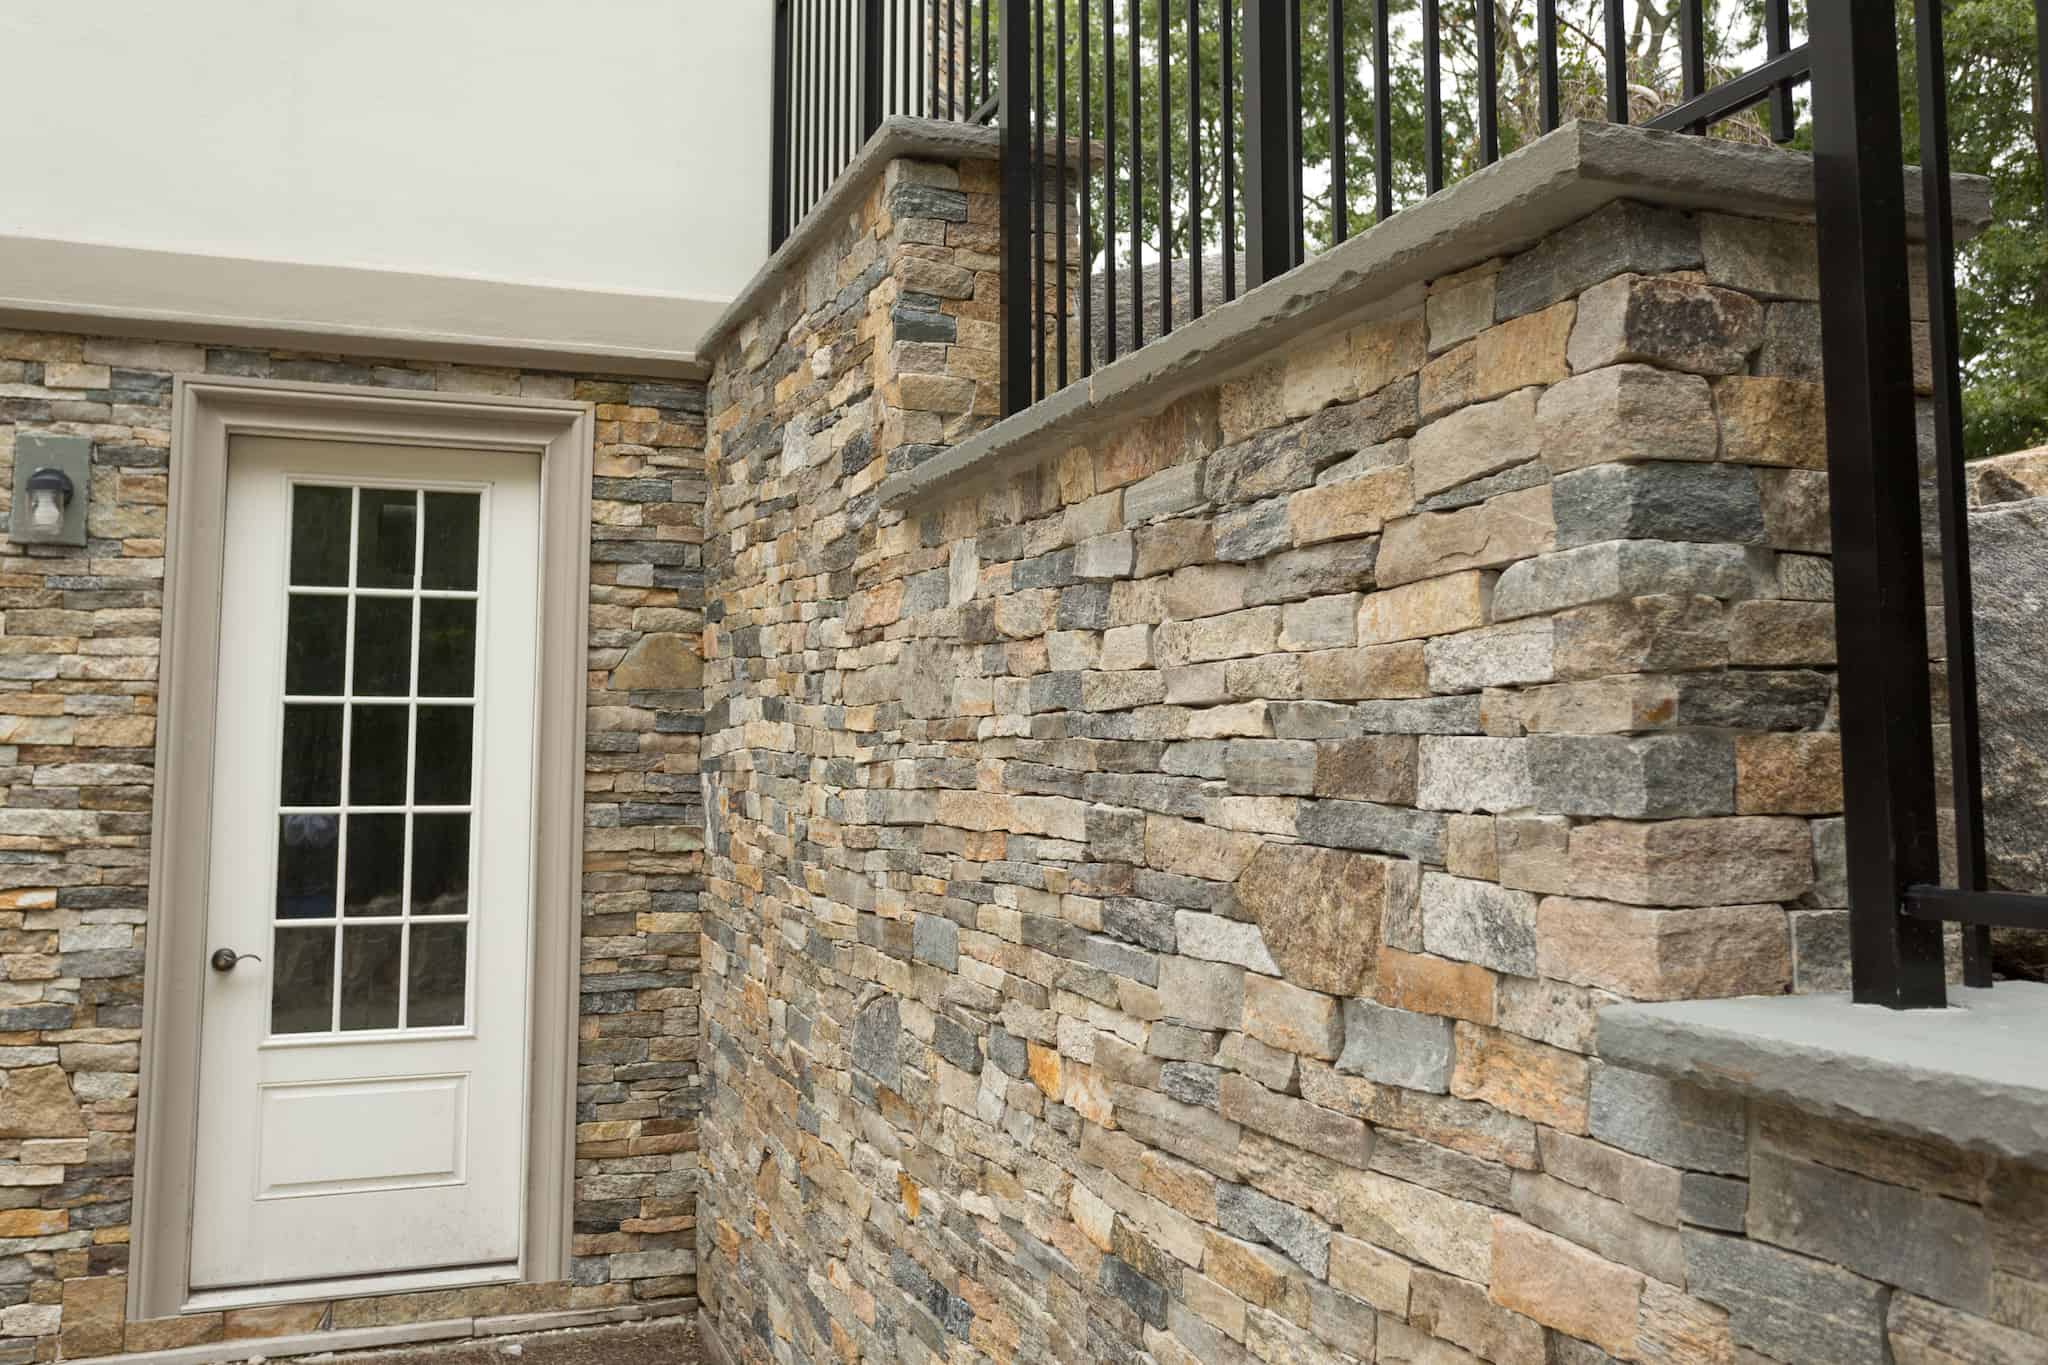
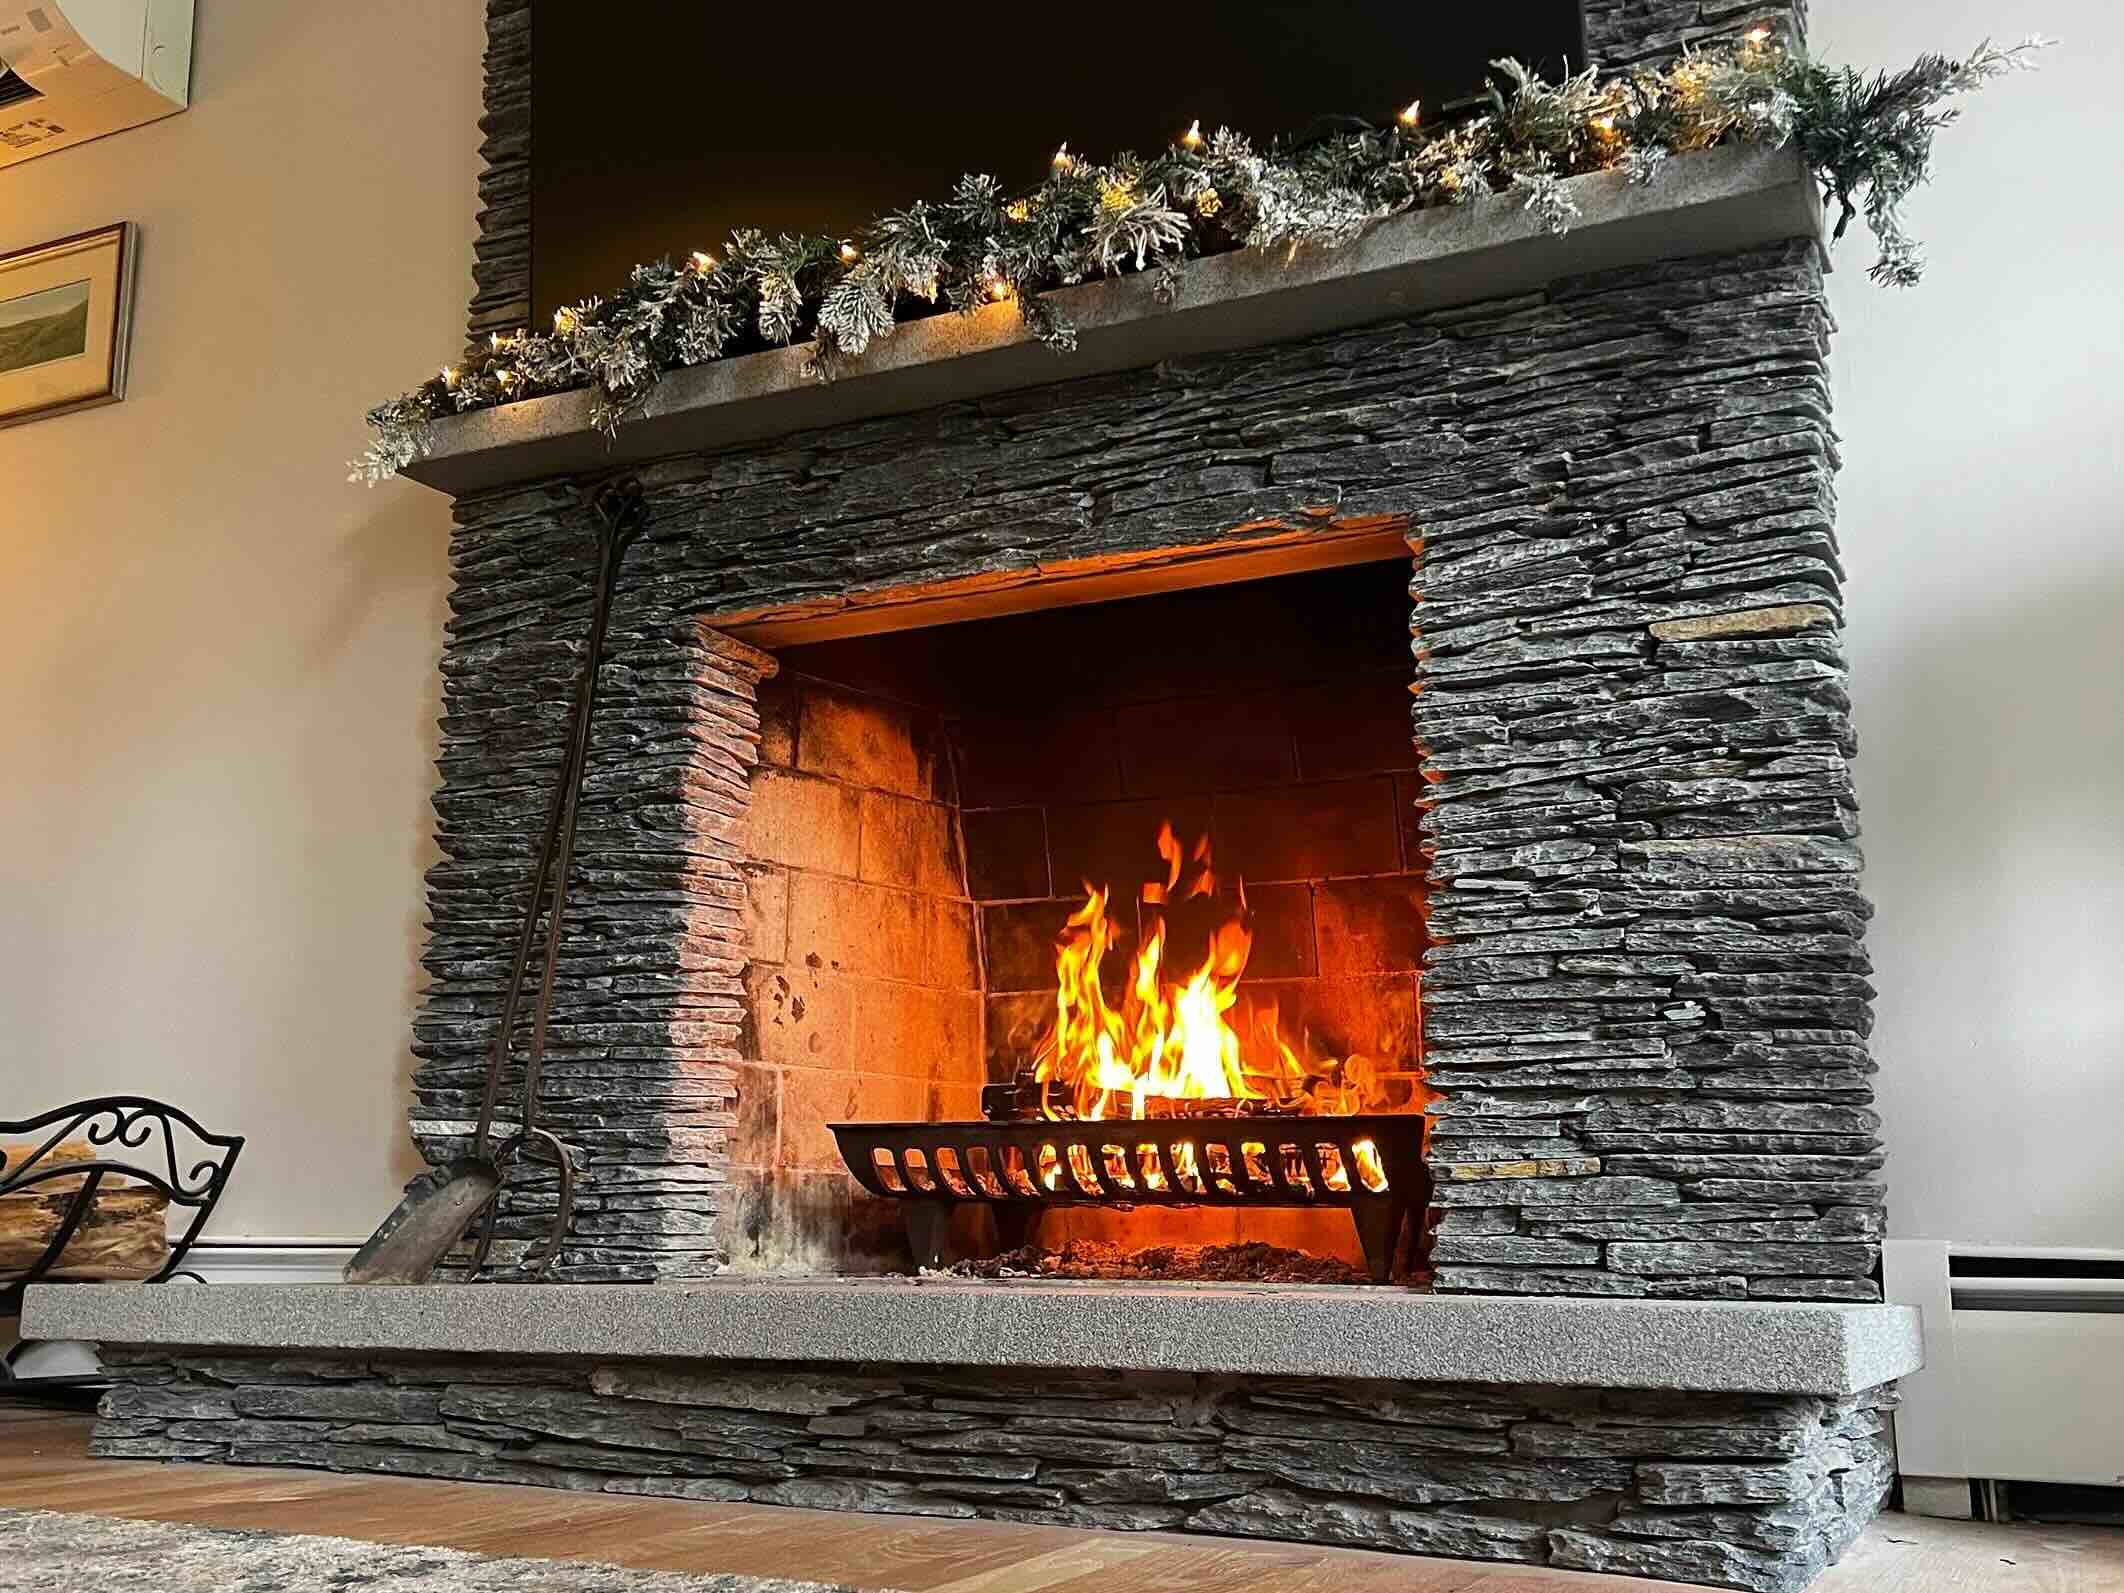
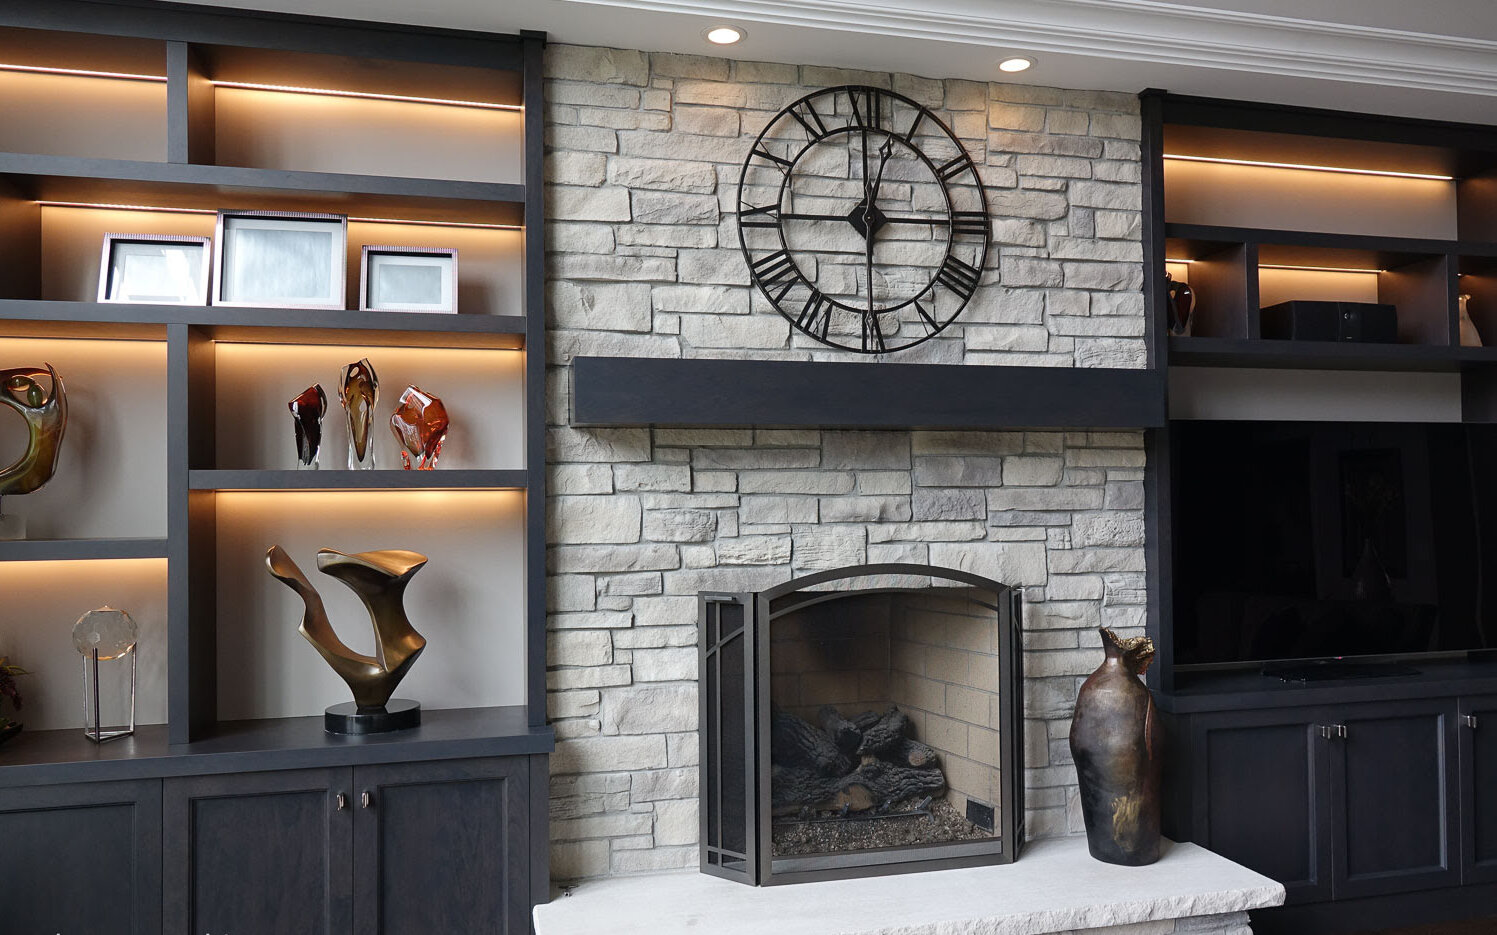
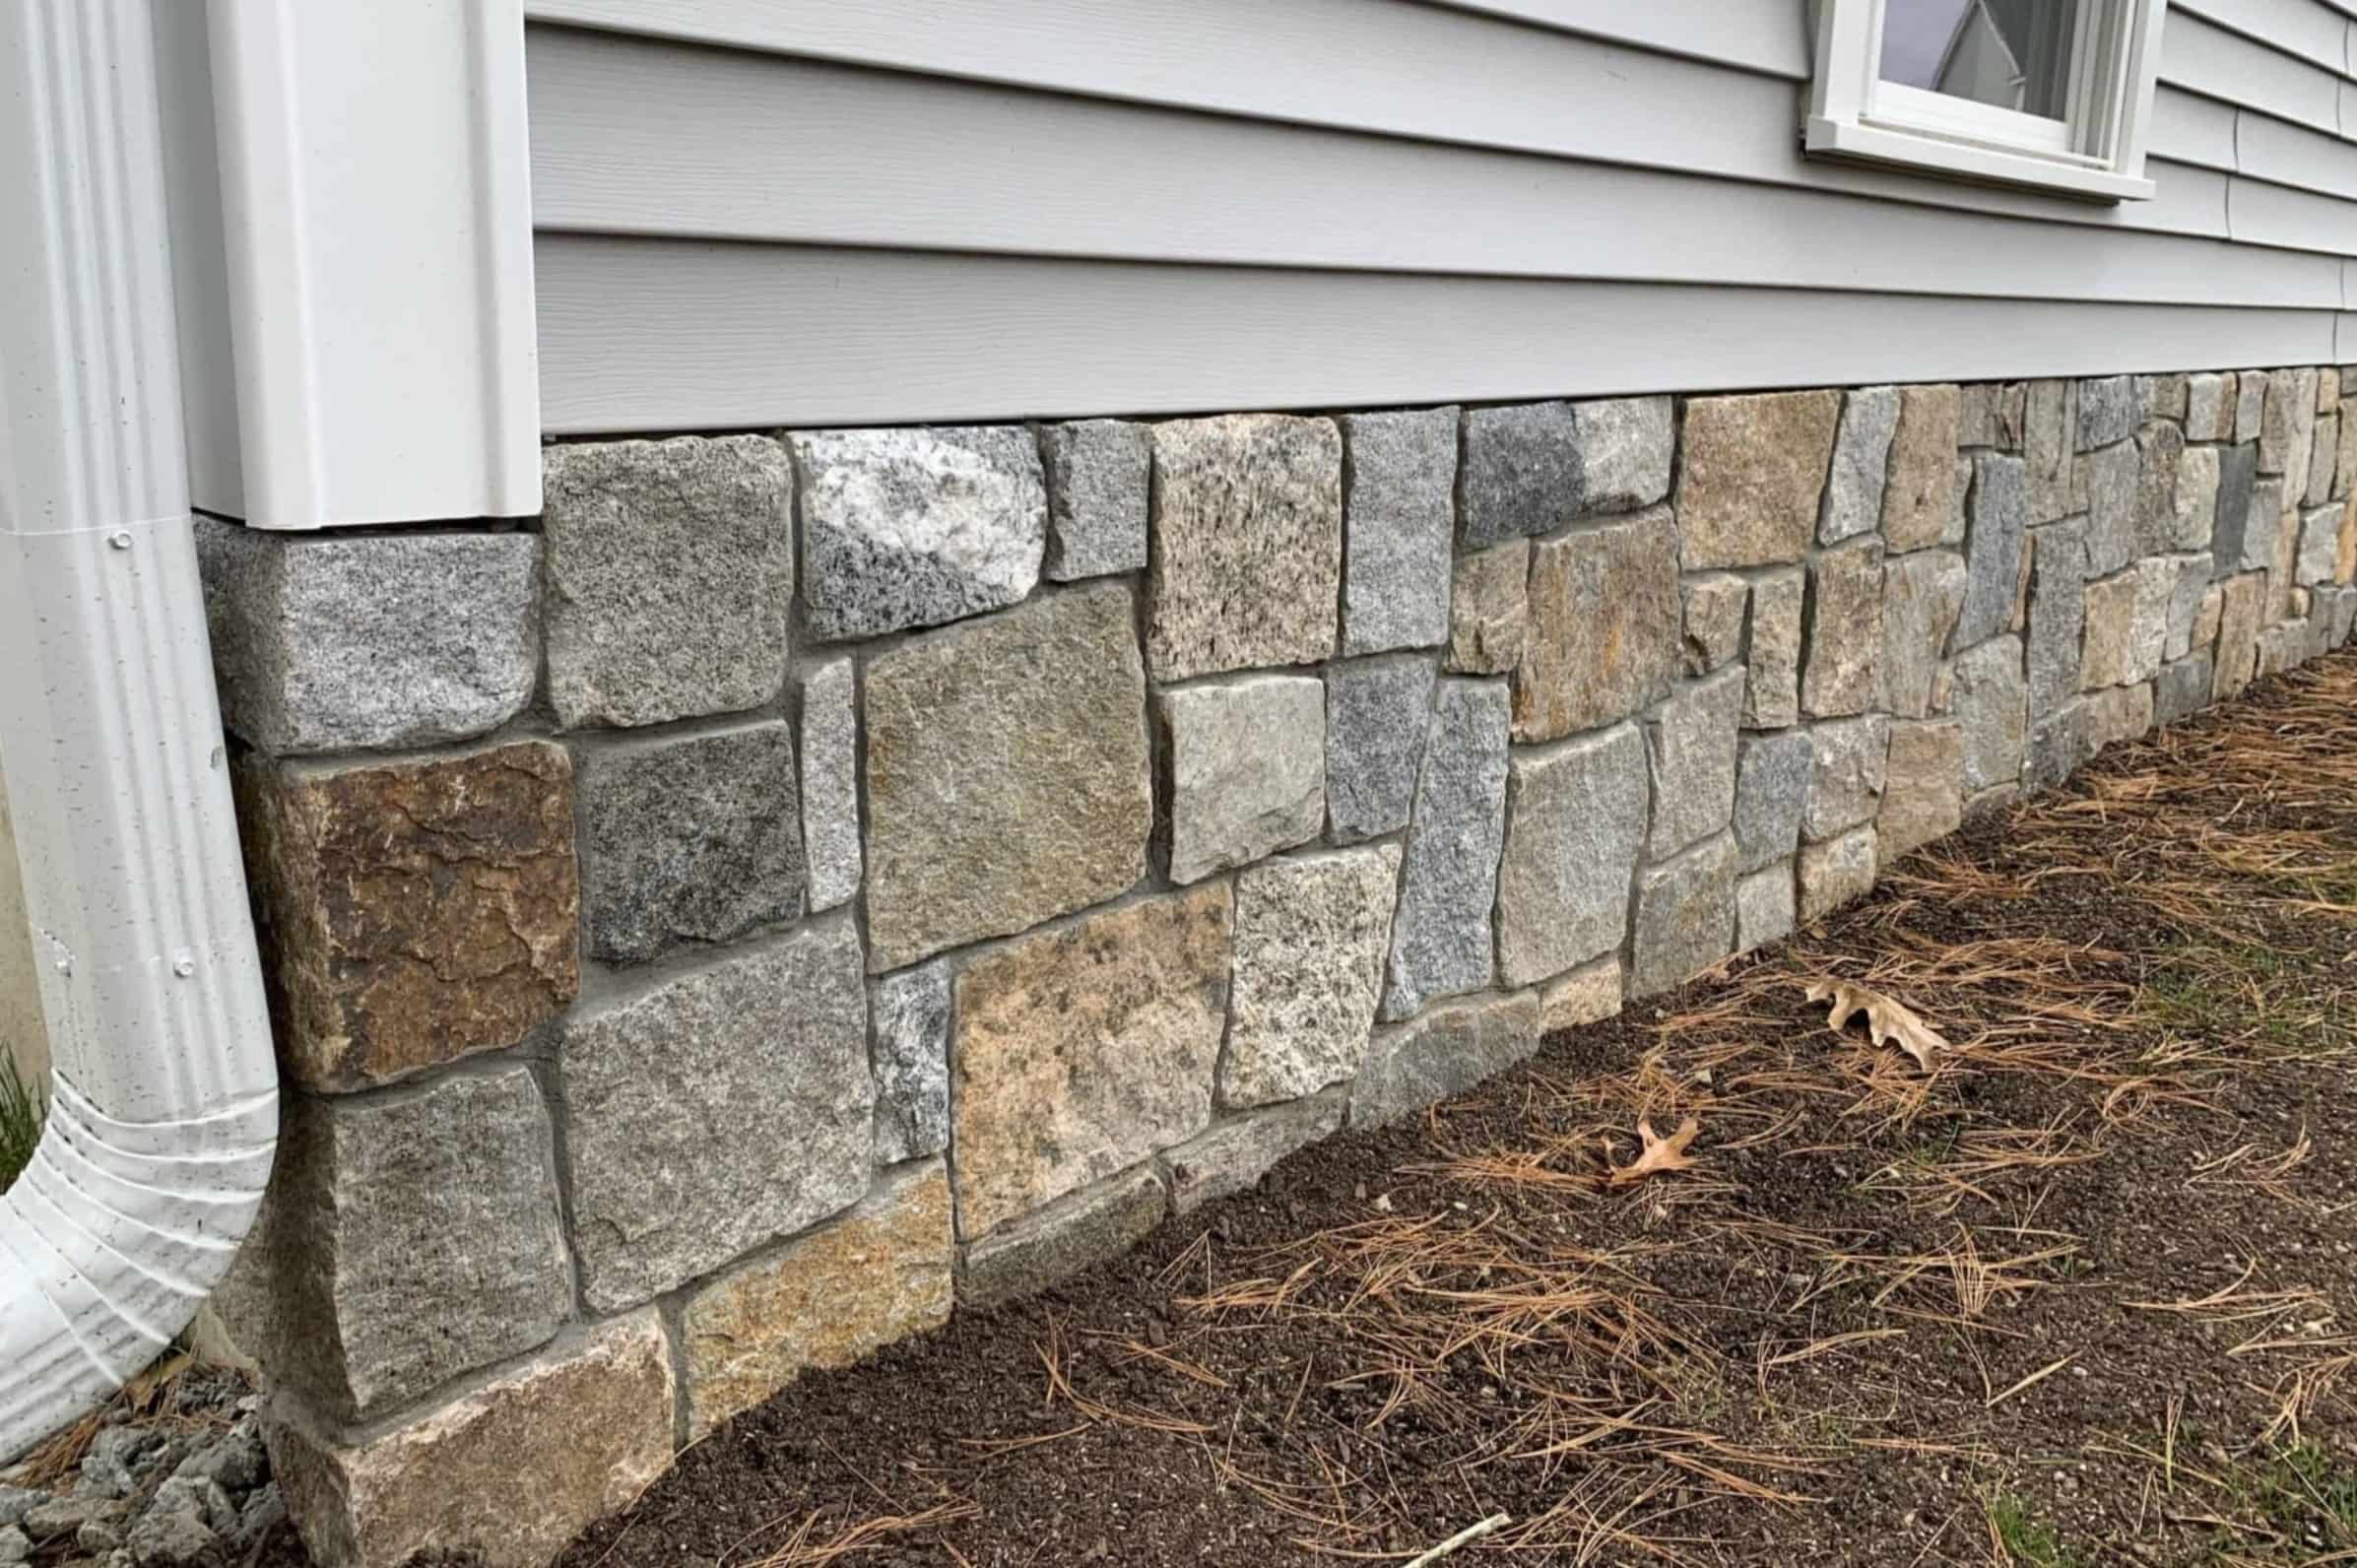
Repairing cracked stone veneer is a crucial task for maintaining the beauty and integrity of your home's exterior. Stone veneer adds a touch of elegance and sophistication to any property, but over time, it may develop cracks due to various factors such as weathering, settling, or impact damage. Fortunately, with the right materials, tools, and techniques, you can restore the pristine appearance of your stone veneer and prevent further deterioration.
In this comprehensive guide, we will walk you through the step-by-step process of repairing cracked stone veneer. Whether you are a seasoned DIY enthusiast or a homeowner looking to tackle this project for the first time, this article will provide you with valuable insights and practical tips to ensure a successful repair. By following these instructions and leveraging our expert advice, you can revitalize your stone veneer and enhance the curb appeal of your property.
Throughout this guide, we will delve into the essential steps of repairing cracked stone veneer, from assessing the damage and gathering the necessary materials and tools to cleaning the surface, applying the repair compound, and seamlessly blending the repair with the existing veneer. Additionally, we will explore the crucial final steps of sealing and finishing the repair to achieve a durable and aesthetically pleasing outcome.
By the end of this article, you will have the knowledge and confidence to embark on a stone veneer repair project with precision and skill. So, roll up your sleeves, gather your supplies, and let's embark on this rewarding journey to restore the timeless allure of your stone veneer.
Key Takeaways:
- Repairing cracked stone veneer involves assessing, cleaning, applying repair compound, blending with existing veneer, and sealing. It’s a rewarding process that enhances your home’s beauty and durability.
- Gathering materials and tools, preparing the surface, and applying the repair compound are crucial steps in restoring cracked stone veneer. Attention to detail and proper sealing ensure long-lasting results.
Read more: How Thick Is Stone Veneer
Assessing the Damage
Before diving into the repair process, it’s crucial to assess the extent and nature of the damage to your stone veneer. Cracks in stone veneer can result from a variety of causes, including structural settling, impact from debris, or natural weathering over time. By carefully evaluating the condition of the veneer, you can determine the most effective approach for restoration.
Start by conducting a thorough visual inspection of the entire stone veneer surface. Look for visible cracks, chips, or areas where the veneer may have shifted or loosened. It’s important to differentiate between surface-level cosmetic imperfections and deeper structural issues that may require professional intervention. Take note of the size, location, and quantity of the cracks, as this information will guide your repair strategy.
Next, gently tap the stone veneer with a rubber mallet or the handle of a screwdriver to identify any hollow or loose areas. This technique can reveal hidden damage that isn’t immediately visible and help you pinpoint the areas that require attention. Additionally, pay close attention to any signs of water infiltration or discoloration, as these may indicate underlying issues that need to be addressed during the repair process.
Consider the climate and environmental factors that may have contributed to the damage. Extreme temperature fluctuations, moisture exposure, and freeze-thaw cycles can all impact the integrity of stone veneer. By understanding the environmental conditions that your veneer is exposed to, you can implement preventive measures to mitigate future damage after completing the repair.
Finally, assess the overall condition of the mortar or adhesive that secures the stone veneer to the substrate. Cracks in the mortar or adhesive can compromise the stability of the veneer and should be addressed alongside the stone repairs. By taking a comprehensive approach to assessing the damage, you can develop a tailored repair plan that addresses both the visible cracks and any underlying issues affecting the structural integrity of the stone veneer.
By thoroughly evaluating the damage and understanding its underlying causes, you’ll be equipped to proceed with the subsequent steps of gathering materials and tools and preparing the surface for effective and lasting stone veneer repair.
Gathering Materials and Tools
Once you’ve assessed the damage to your stone veneer and are ready to embark on the repair process, it’s essential to gather the necessary materials and tools to ensure a successful outcome. By assembling the right supplies, you can streamline the repair process and achieve professional-quality results.
Here’s a comprehensive list of materials and tools you’ll need for repairing cracked stone veneer:
Materials:
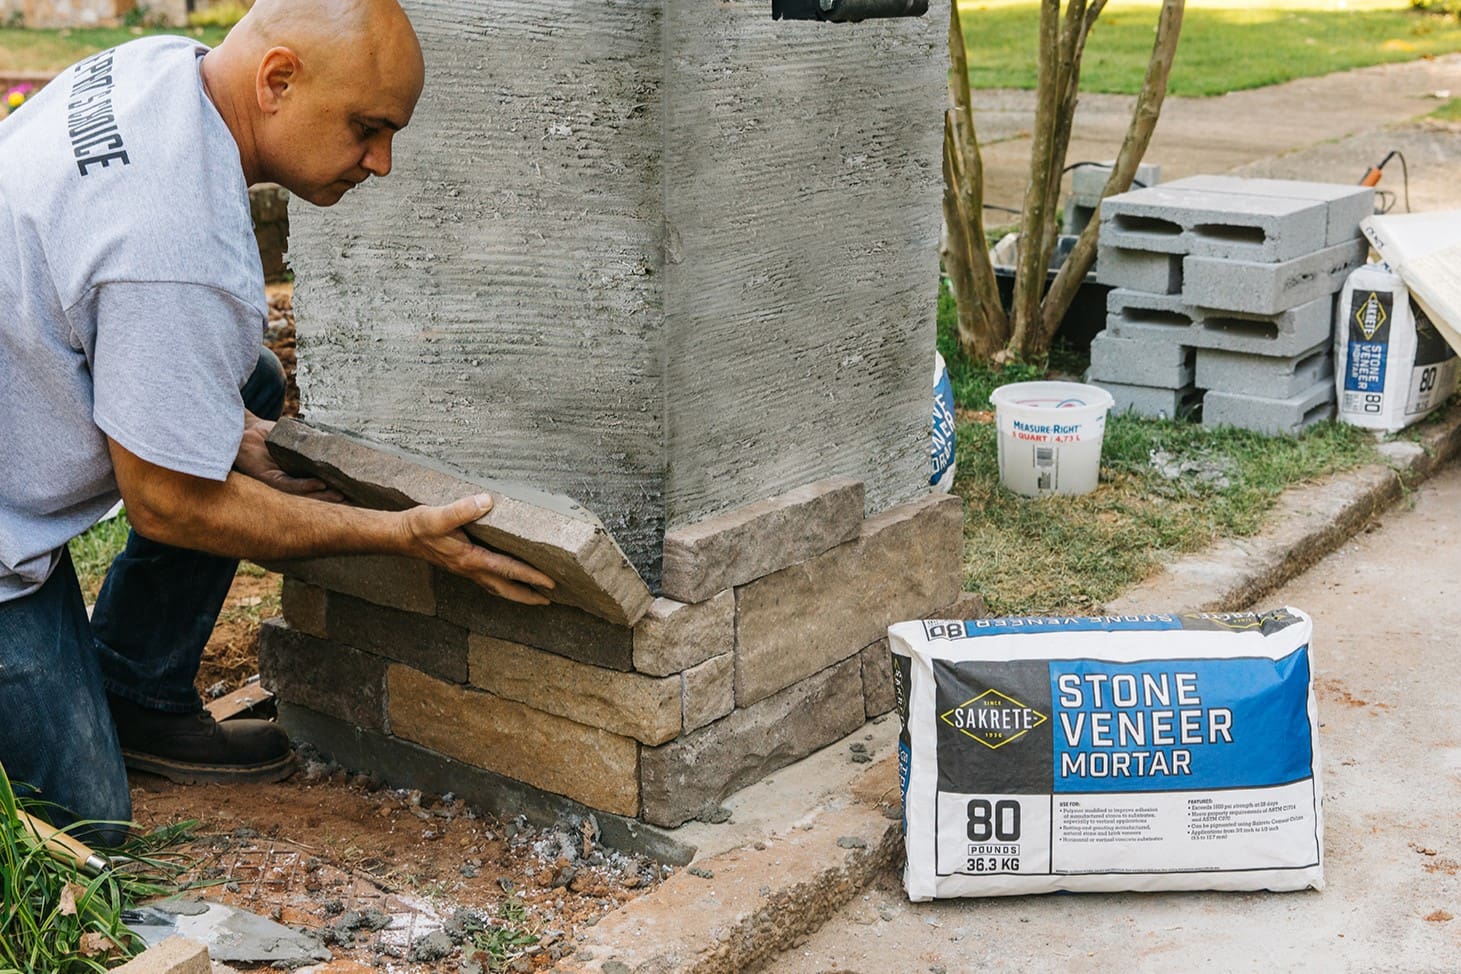
- Stone veneer repair compound: Choose a high-quality repair compound specifically designed for stone veneer. Opt for a color that closely matches the existing veneer to achieve a seamless finish.
- Primer: A bonding primer formulated for masonry surfaces will promote adhesion and enhance the durability of the repair.
- Sealer: Select a breathable, water-resistant sealer to protect the repaired areas from moisture and environmental elements.
- Cleaner: An appropriate stone cleaner will be essential for preparing the surface and ensuring optimal adhesion of the repair compound.
- Protective gloves: Durable gloves will shield your hands during the repair process and when handling chemicals.
- Protective eyewear: Safety goggles or glasses will safeguard your eyes from debris and splashes during the repair.
Tools:
- Chisel and hammer: These tools will be used for carefully removing loose or damaged sections of the stone veneer.
- Wire brush: A wire brush is essential for cleaning the damaged area and removing debris, loose mortar, and any contaminants that could hinder adhesion.
- Trowel: A trowel with a flat, smooth edge will facilitate the application and smoothing of the repair compound.
- Brushes: Stiff-bristled and soft-bristled brushes will be needed for cleaning and applying primer and sealer.
- Bucket and sponge: These basic items are necessary for mixing cleaning solutions and rinsing the surface.
- Masking tape and plastic sheeting: These supplies will help protect surrounding areas from accidental splatter during the repair process.
Before starting the repair, ensure that you have all the materials and tools readily available, and familiarize yourself with their proper usage. By being well-prepared, you can approach the repair process with confidence and efficiency, ultimately achieving a seamless restoration of your stone veneer.
Read more: How To Repair Cracked Brick Veneer
Cleaning and Preparing the Surface
Before applying the repair compound to the cracked stone veneer, it’s crucial to thoroughly clean and prepare the damaged area to ensure optimal adhesion and a durable, long-lasting repair. Cleaning the surface will remove debris, contaminants, and any substances that could impede the bonding of the repair materials, while preparing the area will create an ideal foundation for the application of the repair compound.
Follow these essential steps to clean and prepare the surface of the stone veneer:
Step 1: Clear the Area
Begin by removing any loose debris, dirt, or vegetation that may have accumulated in the cracked areas of the stone veneer. Use a brush or a vacuum to clear the surface and ensure that it is free from any obstructions that could interfere with the repair process.
Step 2: Clean the Surface
Prepare a cleaning solution by diluting a suitable stone cleaner in water according to the manufacturer’s instructions. Apply the solution to the damaged area and scrub gently with a brush to remove dirt, grime, and any lingering contaminants. Rinse the surface thoroughly with clean water and allow it to dry completely before proceeding to the next step.
Step 3: Protect Surrounding Areas
Use masking tape and plastic sheeting to cover and protect the surrounding areas of the stone veneer, as well as any adjacent surfaces or landscaping features that could be affected by the repair process. This precaution will prevent accidental splatter and ensure a neat and controlled application of the repair materials.
Read more: How To Attach Stone Veneer
Step 4: Apply Primer
Using a brush or a roller, apply a bonding primer specifically formulated for masonry surfaces to the cleaned and dried area of the stone veneer. The primer will promote adhesion and enhance the bond between the repair compound and the existing veneer, ensuring a strong and enduring repair.
By meticulously cleaning and preparing the surface of the stone veneer, you’ll create an optimal environment for the subsequent application of the repair compound. This meticulous approach will maximize the effectiveness and longevity of the repair, resulting in a seamlessly restored and visually appealing stone veneer.
Applying the Repair Compound
With the surface of the stone veneer meticulously cleaned and prepared, it’s time to apply the repair compound to address the cracks and restore the integrity of the veneer. The repair compound plays a pivotal role in seamlessly blending the damaged areas with the existing stone veneer, ensuring a cohesive and visually appealing finish. Follow these essential steps to effectively apply the repair compound:
Step 1: Mix the Repair Compound
Carefully follow the manufacturer’s instructions to mix the stone veneer repair compound to the desired consistency. Use a clean container and a mixing tool to achieve a smooth and homogeneous blend of the repair material. Ensure that the color of the mixed compound closely matches the hue of the existing stone veneer to achieve a natural and inconspicuous repair.
Step 2: Apply the Repair Compound
Using a trowel, apply the mixed repair compound to the cracked areas of the stone veneer, ensuring even coverage and a level finish. Work the compound into the cracks and damaged sections, filling them completely and smoothing the surface to align with the surrounding veneer. Take care to blend the repair compound seamlessly with the existing texture and contours of the stone for a cohesive appearance.
Read more: What Is Stone Veneer Siding
Step 3: Feather the Edges
To seamlessly integrate the repaired areas with the surrounding stone veneer, feather the edges of the applied repair compound using the edge of the trowel or a suitable tool. This technique will create a gradual transition between the repaired sections and the undamaged veneer, minimizing the visibility of the repair and achieving a natural-looking result.
Step 4: Allow for Curing
Once the repair compound has been applied and shaped to match the existing stone veneer, allow it to cure according to the manufacturer’s recommendations. Ensure that the repaired area is shielded from moisture, extreme temperatures, and physical disturbances during the curing process to facilitate optimal bonding and hardening of the repair compound.
Step 5: Inspect and Refine
After the repair compound has cured, inspect the repaired areas to ensure that the application is uniform, the texture matches the surrounding veneer, and the cracks have been effectively addressed. If necessary, refine the surface of the repair compound to achieve a seamless integration with the existing stone veneer, ensuring a flawless and durable restoration.
By following these meticulous steps, you can expertly apply the repair compound to the cracked stone veneer, effectively concealing the damage and revitalizing the aesthetic appeal of your property’s exterior.
Blending the Repair with the Existing Veneer
Seamlessly integrating the repaired areas with the existing stone veneer is essential for achieving a visually cohesive and natural-looking finish. By carefully blending the repair with the surrounding veneer, you can ensure that the repaired sections harmonize with the overall aesthetic of the facade. Follow these essential steps to expertly blend the repair with the existing veneer:
Read more: How To Clean Exterior Stone Veneer
Step 1: Texture Matching
Assess the texture of the existing stone veneer and replicate its patterns and surface characteristics in the repaired areas. Use specialized tools or techniques to create textures that closely resemble the natural variations and contours present in the surrounding veneer. This meticulous attention to detail will contribute to a seamless and inconspicuous repair.
Step 2: Color Blending
If the repair compound used exhibits a noticeable color differential from the existing stone veneer, consider employing artistic techniques to blend and mimic the hues and tones of the surrounding surfaces. Tinting the repair compound or applying specialized colorants can help achieve a harmonious color match, ensuring that the repaired areas seamlessly merge with the overall color palette of the facade.
Step 3: Weathering and Aging
Utilize techniques to simulate the weathering and aging effects that have naturally impacted the existing stone veneer. By strategically applying stains, patinas, or weathering agents, you can create a consistent appearance between the repaired sections and the aged patina of the surrounding veneer. This approach will contribute to a unified and authentic aesthetic across the entire facade.
Step 4: Artistic Finesse
Exercise artistic finesse and attention to detail when refining the repaired areas. Emulate the subtle irregularities, nuances, and imperfections present in the surrounding stone veneer, ensuring that the repaired sections possess the same organic charm and character. This artistic touch will elevate the visual cohesion of the repair, resulting in a flawlessly integrated outcome.
Read more: How To Install Stone Veneer Fireplace
Step 5: Quality Assurance
Thoroughly inspect the blended repair to ensure that the texture, color, and overall appearance align seamlessly with the existing stone veneer. View the repair from various angles and lighting conditions to confirm that it harmonizes with the surrounding facade. Make any necessary refinements to achieve a refined and indistinguishable integration of the repair with the existing veneer.
By meticulously blending the repair with the existing stone veneer, you can achieve a masterful restoration that seamlessly conceals the previous damage, preserving the timeless allure of your property’s exterior.
Sealing and Finishing the Repair
Completing the repair of cracked stone veneer involves the crucial steps of sealing and finishing to safeguard the restored areas and enhance the overall durability and aesthetic appeal of the facade. By applying a suitable sealer and implementing finishing touches, you can ensure that the repaired sections seamlessly integrate with the existing stone veneer while receiving essential protection against environmental elements. Follow these essential steps to seal and finish the repair with precision:
Step 1: Select a Quality Sealer
Choose a premium-quality sealer specifically formulated for stone veneer. Opt for a breathable and water-resistant sealer that will shield the repaired areas from moisture intrusion, UV exposure, and environmental contaminants. The sealer should enhance the natural beauty of the stone while providing long-term protection against deterioration.
Step 2: Apply the Sealer
Using a brush or roller, carefully apply the sealer to the repaired sections and the surrounding stone veneer, ensuring comprehensive coverage and uniform absorption. Follow the manufacturer’s guidelines regarding the application method, number of coats, and drying times to achieve optimal sealing and protection. Pay particular attention to any areas of the repair compound that may be more porous and prone to moisture ingress.
Read more: How To Build A Stone Veneer Column
Step 3: Finishing Touches
After the sealer has been applied and allowed to cure, assess the overall appearance of the repaired areas and make any necessary finishing touches to refine the aesthetic integration with the existing stone veneer. Address any minor imperfections or inconsistencies to achieve a seamless and polished finish that seamlessly blends with the facade’s overall aesthetic.
Step 4: Quality Assurance
Thoroughly inspect the sealed and finished repair to ensure that the appearance, texture, and color alignment with the surrounding stone veneer meet your expectations. Verify that the repaired sections exhibit a consistent and harmonious integration with the facade, and that the protective sealer has been uniformly applied to provide comprehensive defense against environmental factors.
Step 5: Ongoing Maintenance
Implement a regular maintenance plan to preserve the integrity and appearance of the repaired stone veneer. Periodically inspect the sealed areas for signs of wear or damage, and reapply the sealer as needed to maintain optimal protection and visual cohesion. By proactively maintaining the repaired sections, you can ensure the longevity and enduring beauty of your stone veneer.
By diligently sealing and finishing the repair, you can fortify the restored areas against the elements and achieve a visually seamless integration with the existing stone veneer, ultimately preserving the timeless charm and durability of your property’s exterior.
Conclusion
Repairing cracked stone veneer is a gratifying endeavor that not only restores the beauty of your property’s exterior but also prolongs the lifespan of this elegant architectural feature. By following the comprehensive steps outlined in this guide, you have embarked on a journey to revitalize your stone veneer with precision and skill. From assessing the damage and gathering materials to meticulously cleaning, applying the repair compound, and seamlessly blending the repair with the existing veneer, you have demonstrated a commitment to preserving the timeless allure of your facade.
As you complete the sealing and finishing touches, take pride in the meticulous restoration you have achieved. The seamless integration of the repaired areas with the surrounding stone veneer is a testament to your dedication to craftsmanship and attention to detail. By ensuring that the repaired sections are comprehensively sealed and protected, you have fortified them against the elements, safeguarding the enduring beauty of your property for years to come.
Remember that ongoing maintenance is key to preserving the integrity and visual cohesion of the repaired stone veneer. Regular inspections and proactive care will uphold the durability and aesthetic appeal of the restoration, ensuring that your property continues to exude elegance and sophistication.
As you admire the flawlessly restored stone veneer, take a moment to appreciate the timeless charm it adds to your home. Your dedication to repairing and preserving this architectural gem has not only enhanced the curb appeal of your property but also contributed to its enduring legacy. The revitalized stone veneer stands as a testament to your commitment to maintaining the beauty and integrity of your home’s exterior.
Embrace the satisfaction of a job well done and the knowledge that your property’s facade has been rejuvenated through your skill and expertise. The restored stone veneer will continue to captivate onlookers and serve as a lasting symbol of your dedication to preserving the timeless elegance of your home.
Congratulations on successfully repairing your cracked stone veneer and embracing the art of restoration with passion and proficiency. Your commitment to excellence has not only revitalized a key feature of your property but has also left an indelible mark on its enduring allure.
Frequently Asked Questions about How To Repair Cracked Stone Veneer
Was this page helpful?
At Storables.com, we guarantee accurate and reliable information. Our content, validated by Expert Board Contributors, is crafted following stringent Editorial Policies. We're committed to providing you with well-researched, expert-backed insights for all your informational needs.
0 thoughts on “How To Repair Cracked Stone Veneer”