Articles
What Is Stone Veneer Siding
Modified: October 20, 2024
Looking for articles on stone veneer siding? Learn what stone veneer siding is and how it can enhance the appearance of your home. Find expert tips and advice.
(Many of the links in this article redirect to a specific reviewed product. Your purchase of these products through affiliate links helps to generate commission for Storables.com, at no extra cost. Learn more)
Introduction
When it comes to enhancing the look and durability of your home’s exterior, choosing the right siding material is crucial. One option that has gained immense popularity in recent years is stone veneer siding. This remarkable material not only adds a touch of elegance and sophistication to any property but also offers a host of practical benefits.
Stone veneer siding is a type of cladding that replicates the appearance of natural stone but at a fraction of the cost. It is made by adhering a thin layer of stone to a backing material, such as concrete or fiberglass. This innovative construction technique allows homeowners to enjoy the aesthetic appeal of real stone without the need for extensive masonry work.
In this article, we will explore the world of stone veneer siding and delve into its many advantages, types, installation process, maintenance requirements, cost considerations, and how it compares to other siding options. By the end, you will have a comprehensive understanding of stone veneer siding and be better equipped to make an informed decision for your home.
Key Takeaways:
- Stone veneer siding offers a cost-effective, low-maintenance alternative to traditional stone masonry, enhancing curb appeal and durability while providing a wide range of design options to suit any architectural style.
- With its ability to mimic the natural beauty of stone at a fraction of the cost, stone veneer siding stands out for its durability, weather resistance, and timeless appeal, making it a popular choice for homeowners looking to elevate the look and functionality of their homes.
Read more: What Type Mortar For Stone Veneer
Definition of Stone Veneer Siding
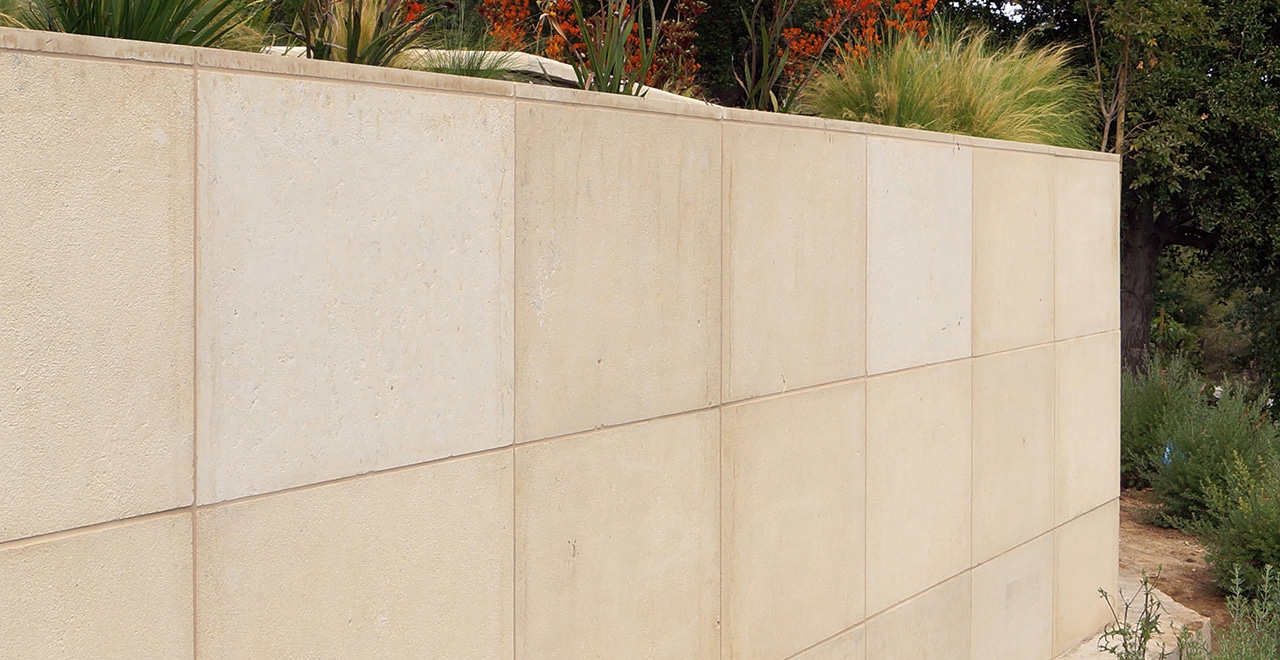
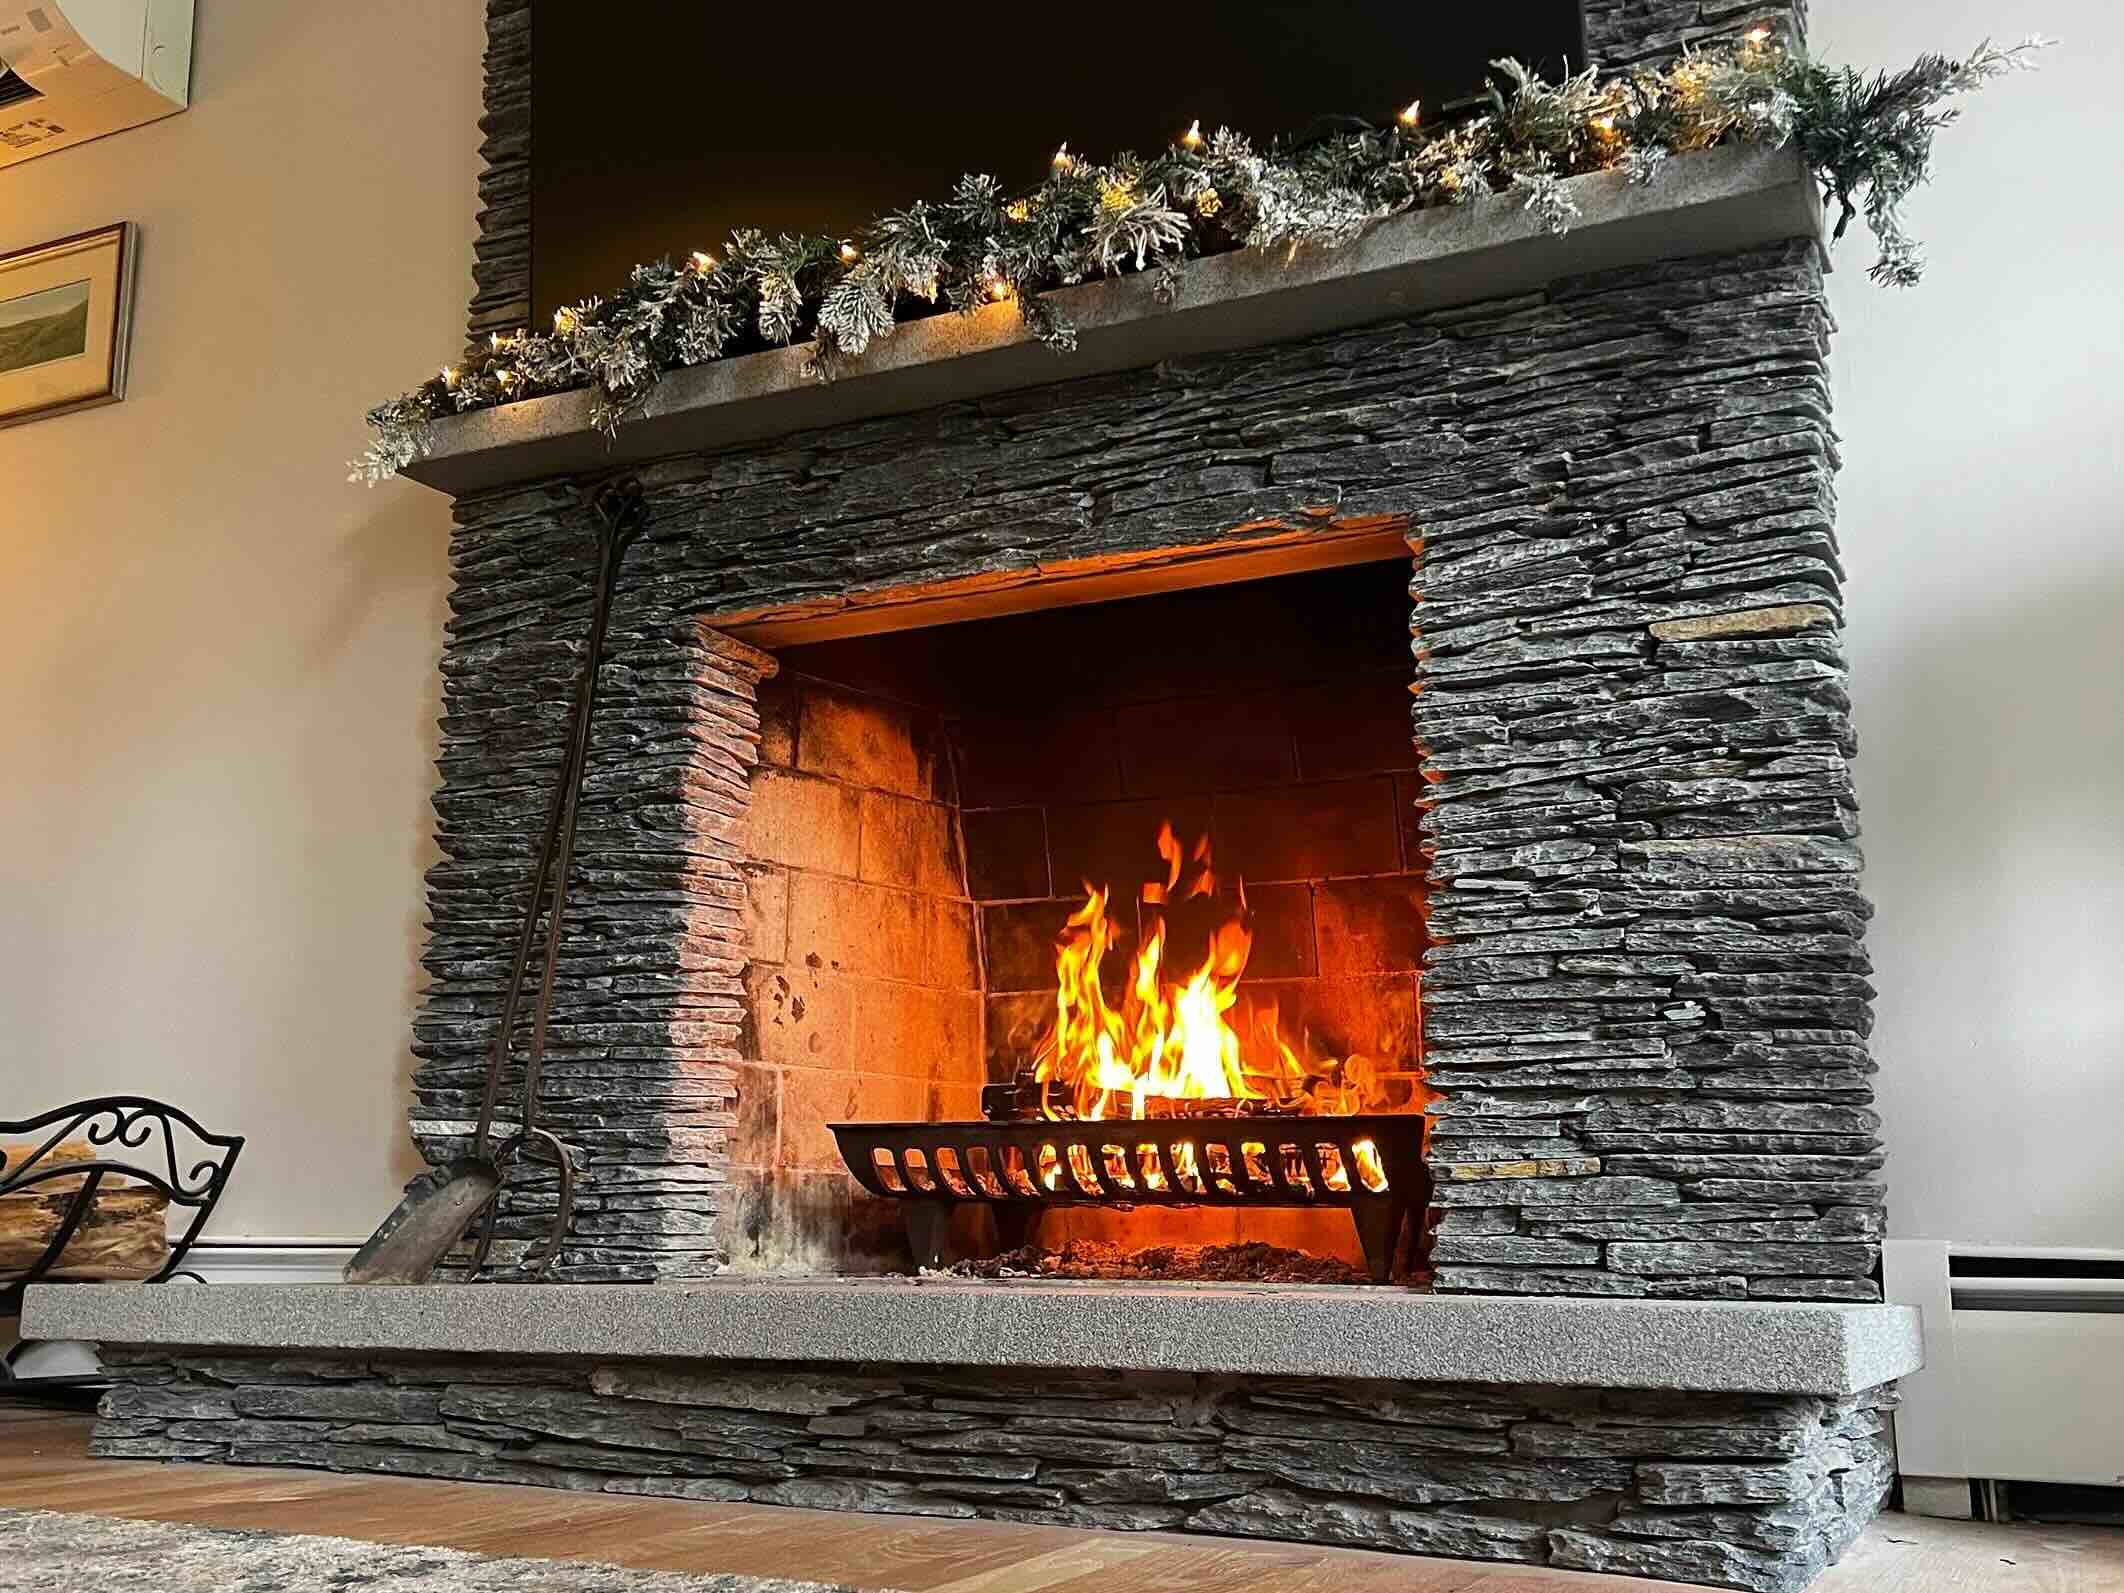
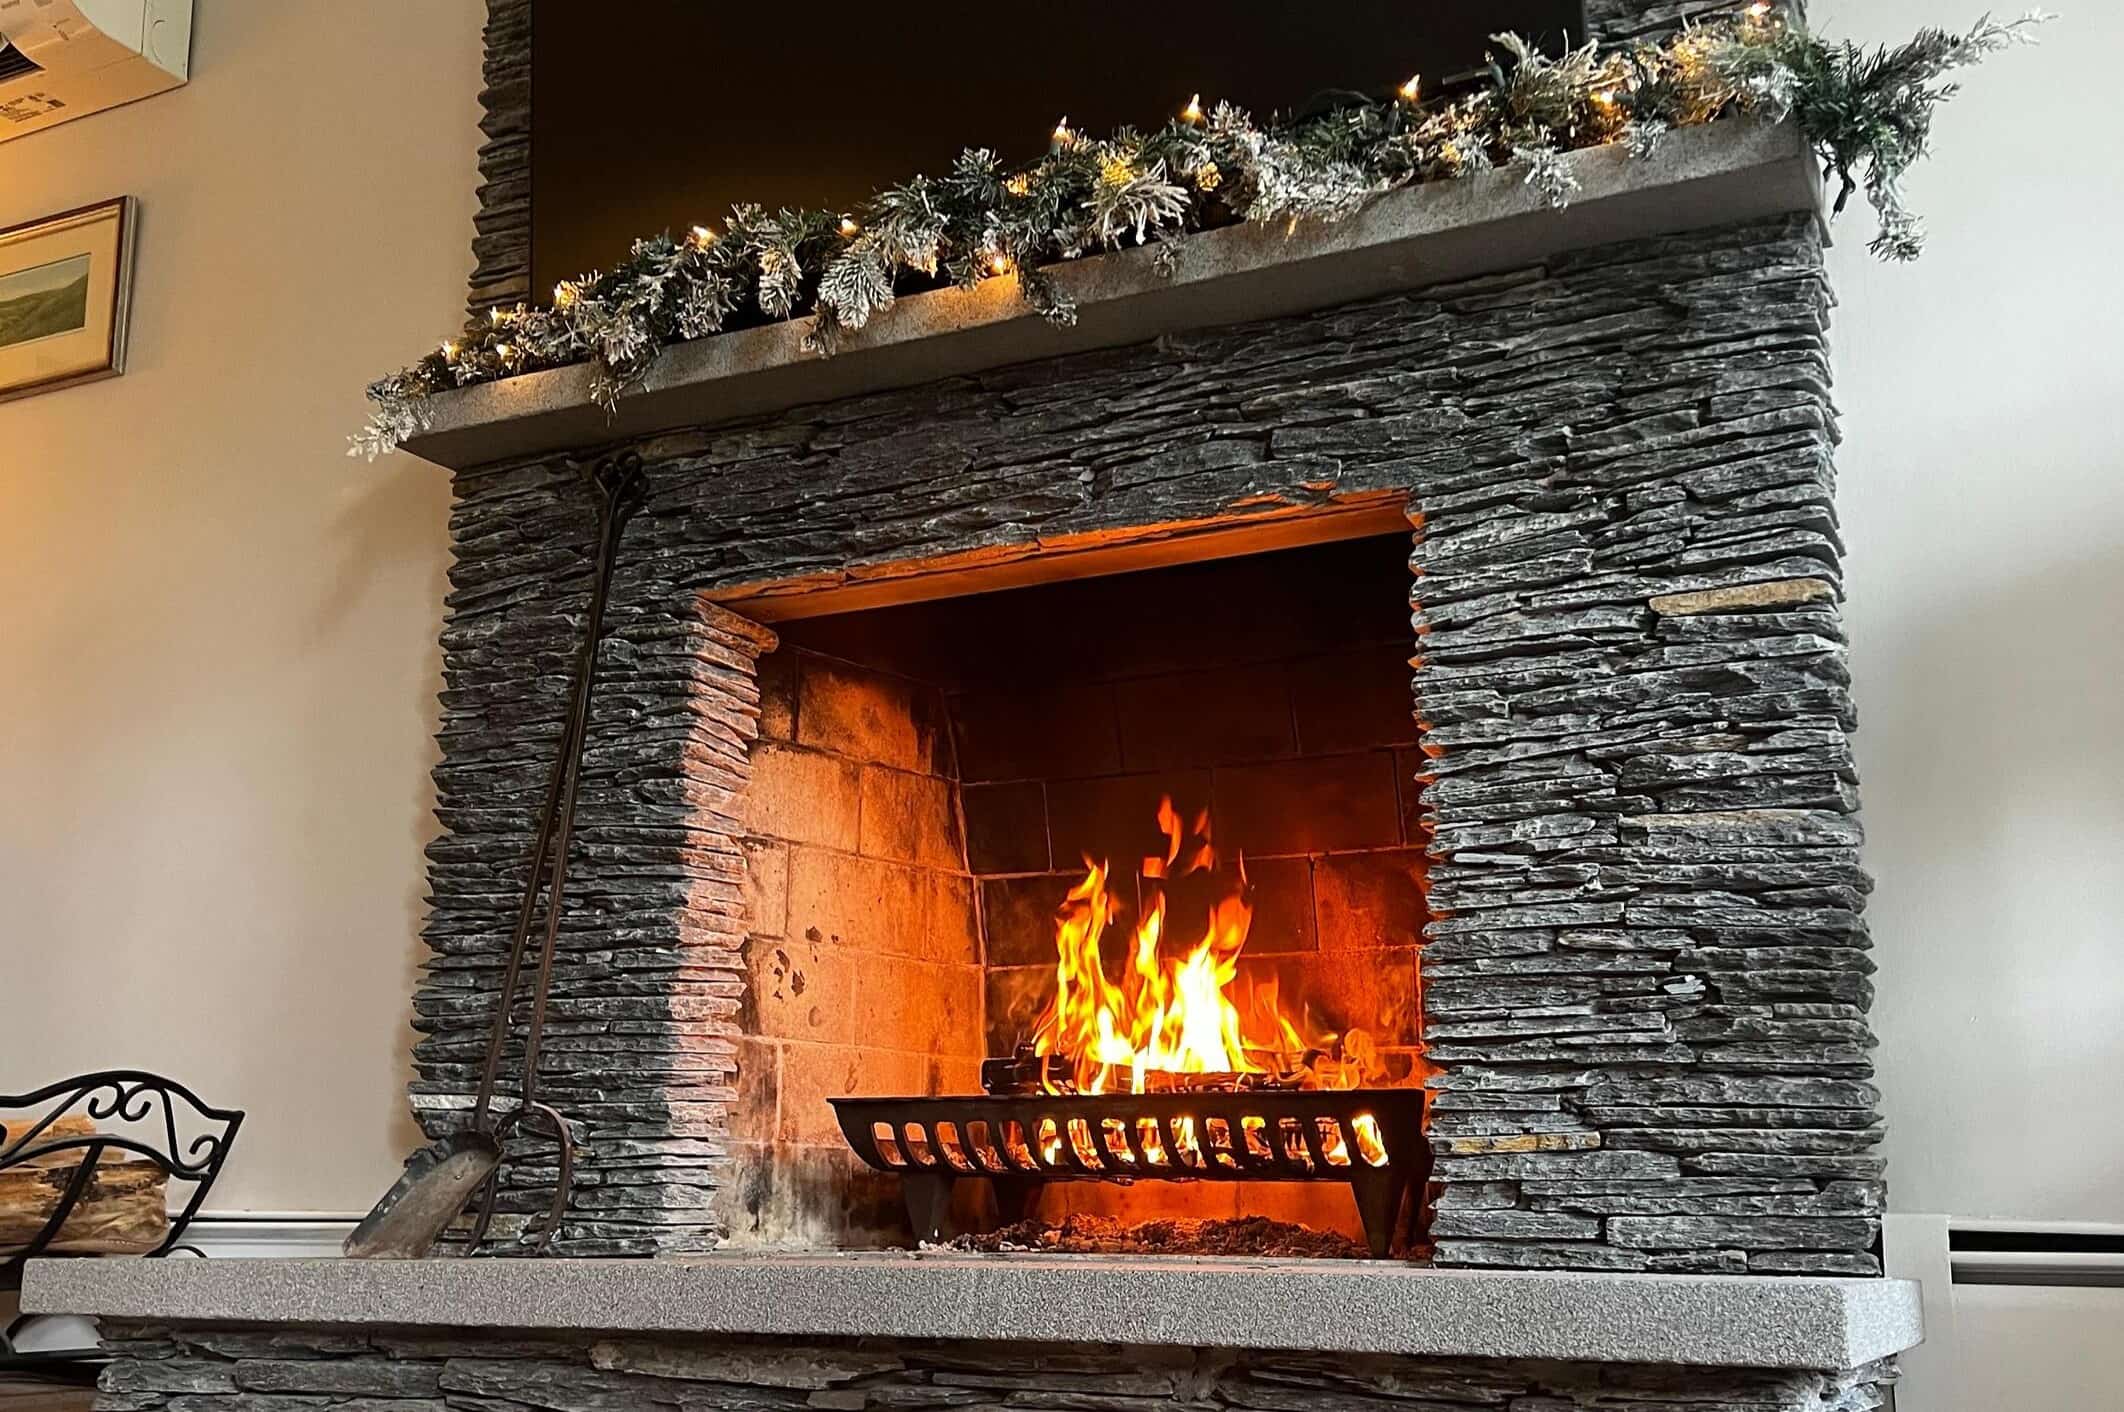
Stone veneer siding is a unique exterior cladding material that mimics the look of natural stone but is lighter and more affordable. It is designed to be installed over existing walls or as part of new construction, transforming the appearance of a building without the need for costly and time-consuming masonry work.
The term “veneer” refers to a thin layer or covering, and in the case of stone veneer siding, it typically ranges from half an inch to two inches in thickness. The veneer is made by cutting natural stone into thin slices and then adhering them to a backing material, such as concrete, plywood, or fiberglass. This process creates a lightweight and flexible material that can be easily installed on various surfaces, including wood, brick, or concrete.
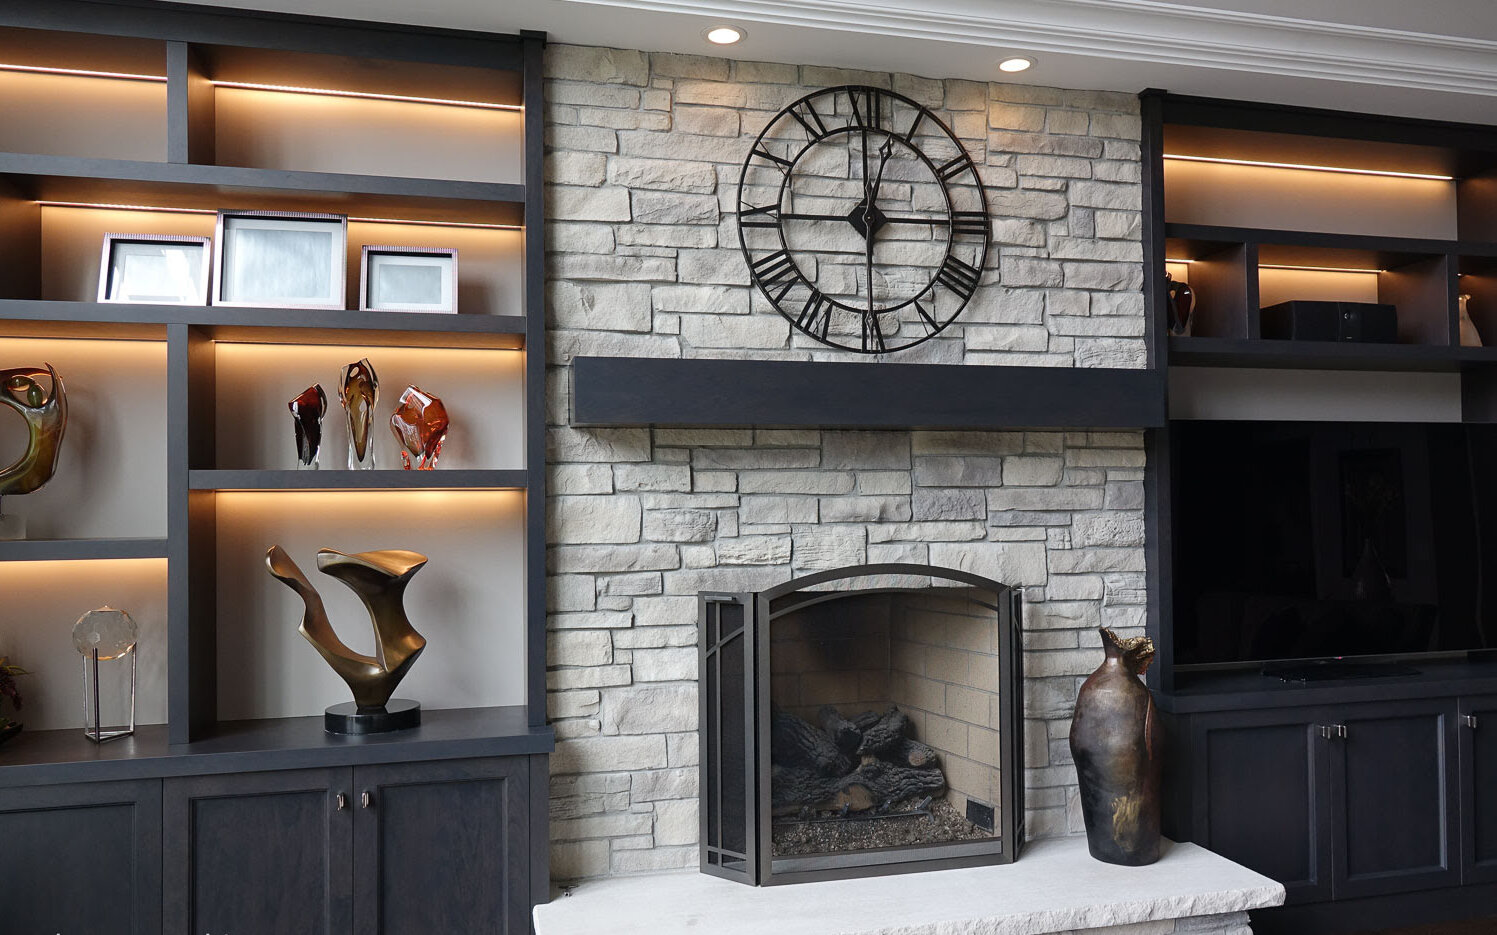
Stone veneer siding is available in a wide range of designs, colors, and textures, allowing homeowners to choose the one that best complements their architectural style and personal taste. It can recreate the appearance of popular stone varieties like limestone, granite, or slate, giving your home a luxurious and timeless appeal.
One of the key features of stone veneer siding is that it is manufactured to be durable and weather-resistant. It can withstand extreme temperatures, moisture, and UV rays without fading, cracking, or warping. This makes it an ideal choice for climates with harsh weather conditions, as it will maintain its beauty and integrity over time.
Overall, stone veneer siding offers the perfect balance between aesthetics and practicality. It brings the natural beauty of stone to your home while providing a cost-effective and low-maintenance alternative to traditional stone masonry.
Benefits of Stone Veneer Siding
Stone veneer siding offers a multitude of benefits that make it a popular choice among homeowners. From its aesthetic appeal to its durability and ease of installation, here are some of the top advantages of using stone veneer siding for your home:
- Enhanced Curb Appeal: One of the main reasons homeowners choose stone veneer siding is its ability to dramatically enhance the exterior appearance of a property. Its natural texture and rich color variations create a visually striking facade that enhances the overall curb appeal and increases the value of the home.
- Cost-Effective: Real stone installation can be expensive due to the labor-intensive nature of traditional masonry work. Stone veneer siding offers a cost-effective alternative that provides the same luxurious look without the high price tag.
- Lightweight: Unlike solid stone, stone veneer siding is lighter and easier to handle. This makes it simpler to transport and install, reducing labor costs and allowing for quicker installation times.
- Versatility: Stone veneer siding comes in various styles, colors, and textures, offering homeowners endless design options to suit their preferences and match the architectural style of their home. Whether you prefer a rustic, modern, or traditional look, there is a stone veneer siding option to meet your aesthetic needs.
- Durability: Stone veneer siding is designed to withstand the harshest weather conditions. It is highly resistant to moisture, UV rays, and extreme temperatures, ensuring it maintains its beauty and strength for years to come.
- Low Maintenance: Unlike real stone, which requires periodic sealing and maintenance, stone veneer siding is virtually maintenance-free. It does not require painting or staining and can be easily cleaned with a hose and mild detergent to remove dirt and debris.
- Energy Efficiency: Stone veneer siding can contribute to improved energy efficiency in your home. Its insulating properties help to regulate indoor temperatures, reducing heat loss in the winter and heat gain in the summer, thereby lowering your energy bills.
- Environmentally Friendly: Stone veneer siding is an environmentally friendly choice as it is made from natural materials and requires minimal energy in its production. Additionally, the manufacturing process produces less waste compared to traditional stone masonry.
With all these benefits, it’s no wonder that stone veneer siding has become a popular choice among homeowners looking to enhance the look and functionality of their homes. Whether you are looking to upgrade your home’s exterior or undertake a new construction project, stone veneer siding offers an array of advantages that will not disappoint.
Types of Stone Veneer Siding
Stone veneer siding comes in various types, each with its own unique characteristics and style. The type of stone veneer siding you choose will depend on your personal preference, the architectural style of your home, and the desired aesthetic. Here are the most common types of stone veneer siding:
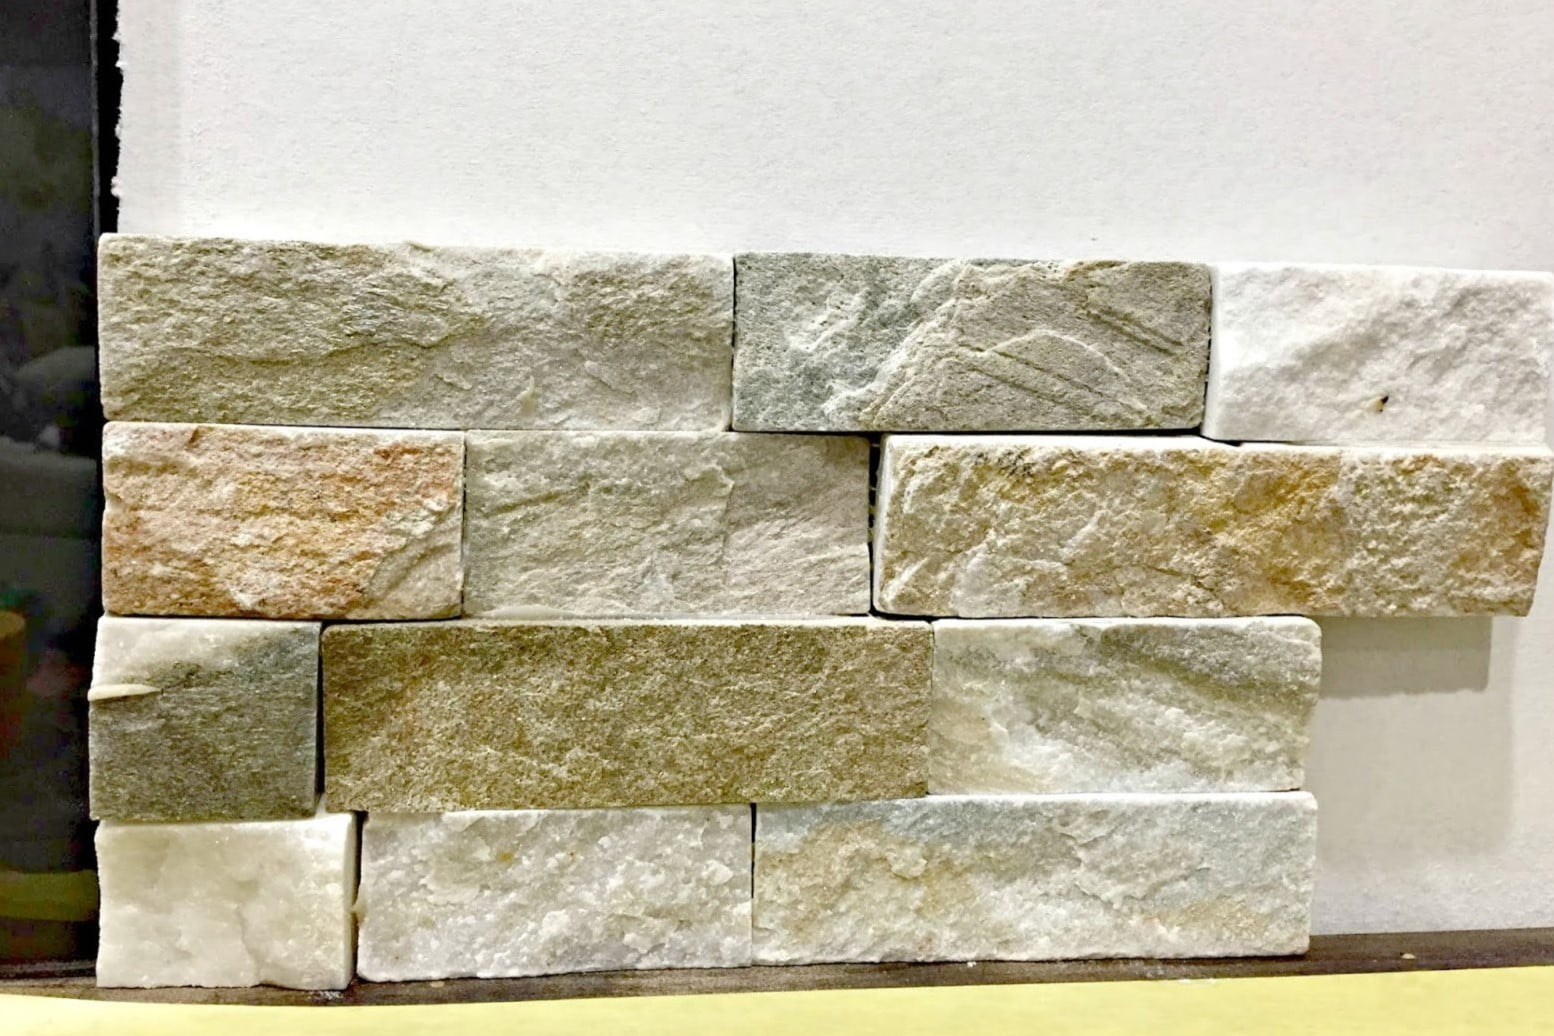
- Cultured Stone: Cultured stone, also known as manufactured stone, is a popular choice for stone veneer siding. It is made from a mixture of Portland cement, aggregates, and iron oxide pigments, which are molded and colored to mimic the appearance of natural stone. Cultured stone offers a wide range of colors, shapes, and textures, allowing homeowners to achieve the look of real stone at a more affordable price.
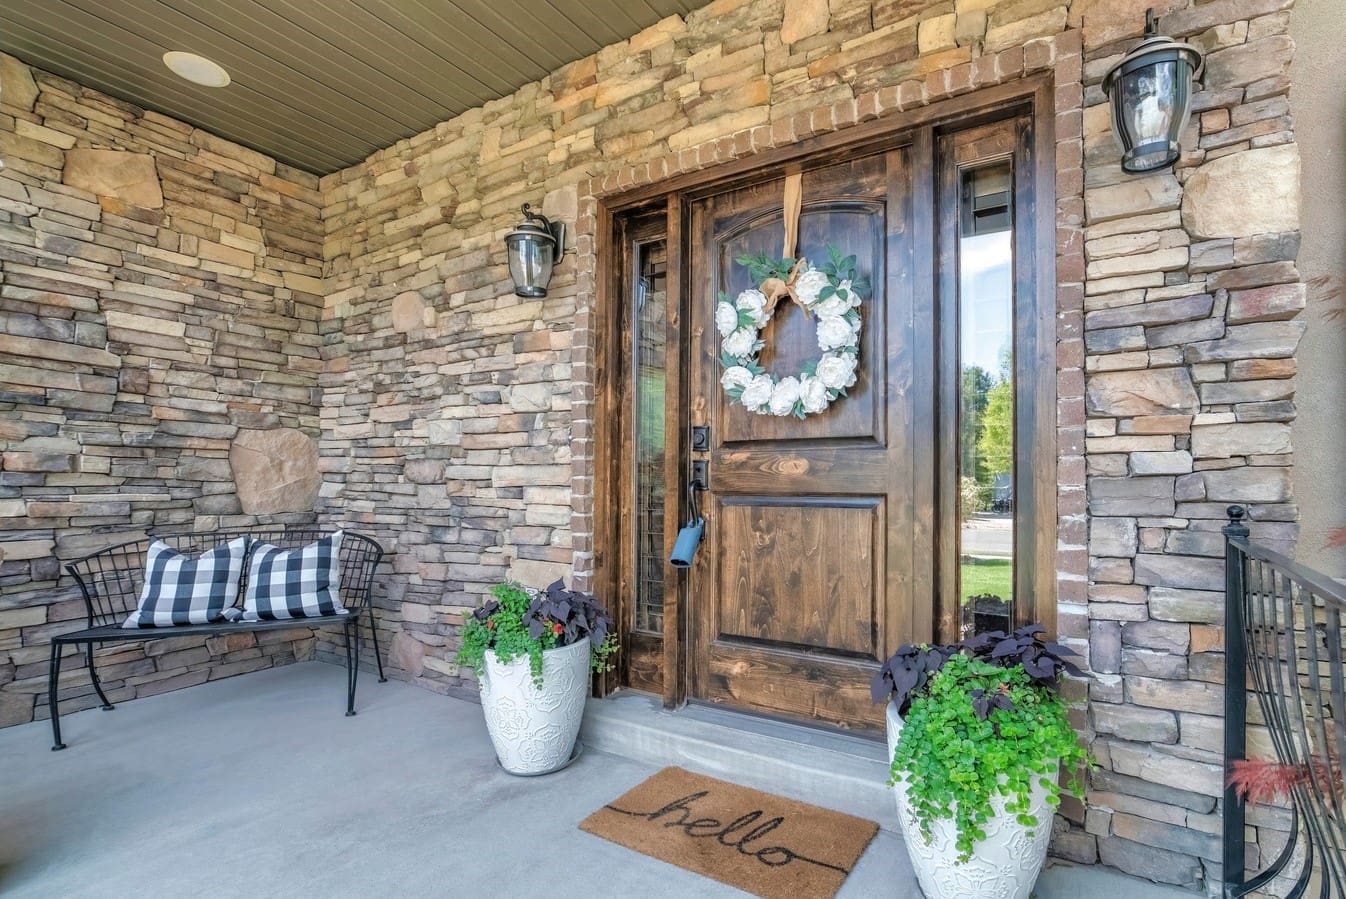
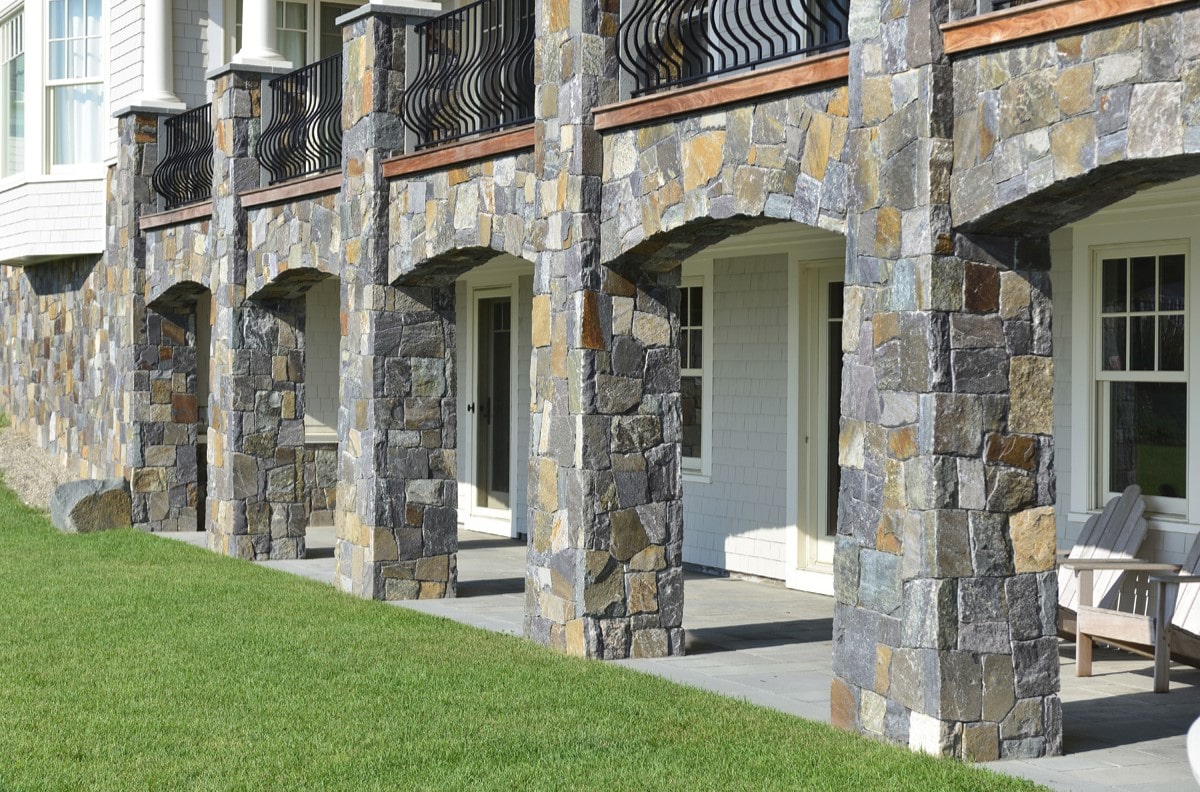
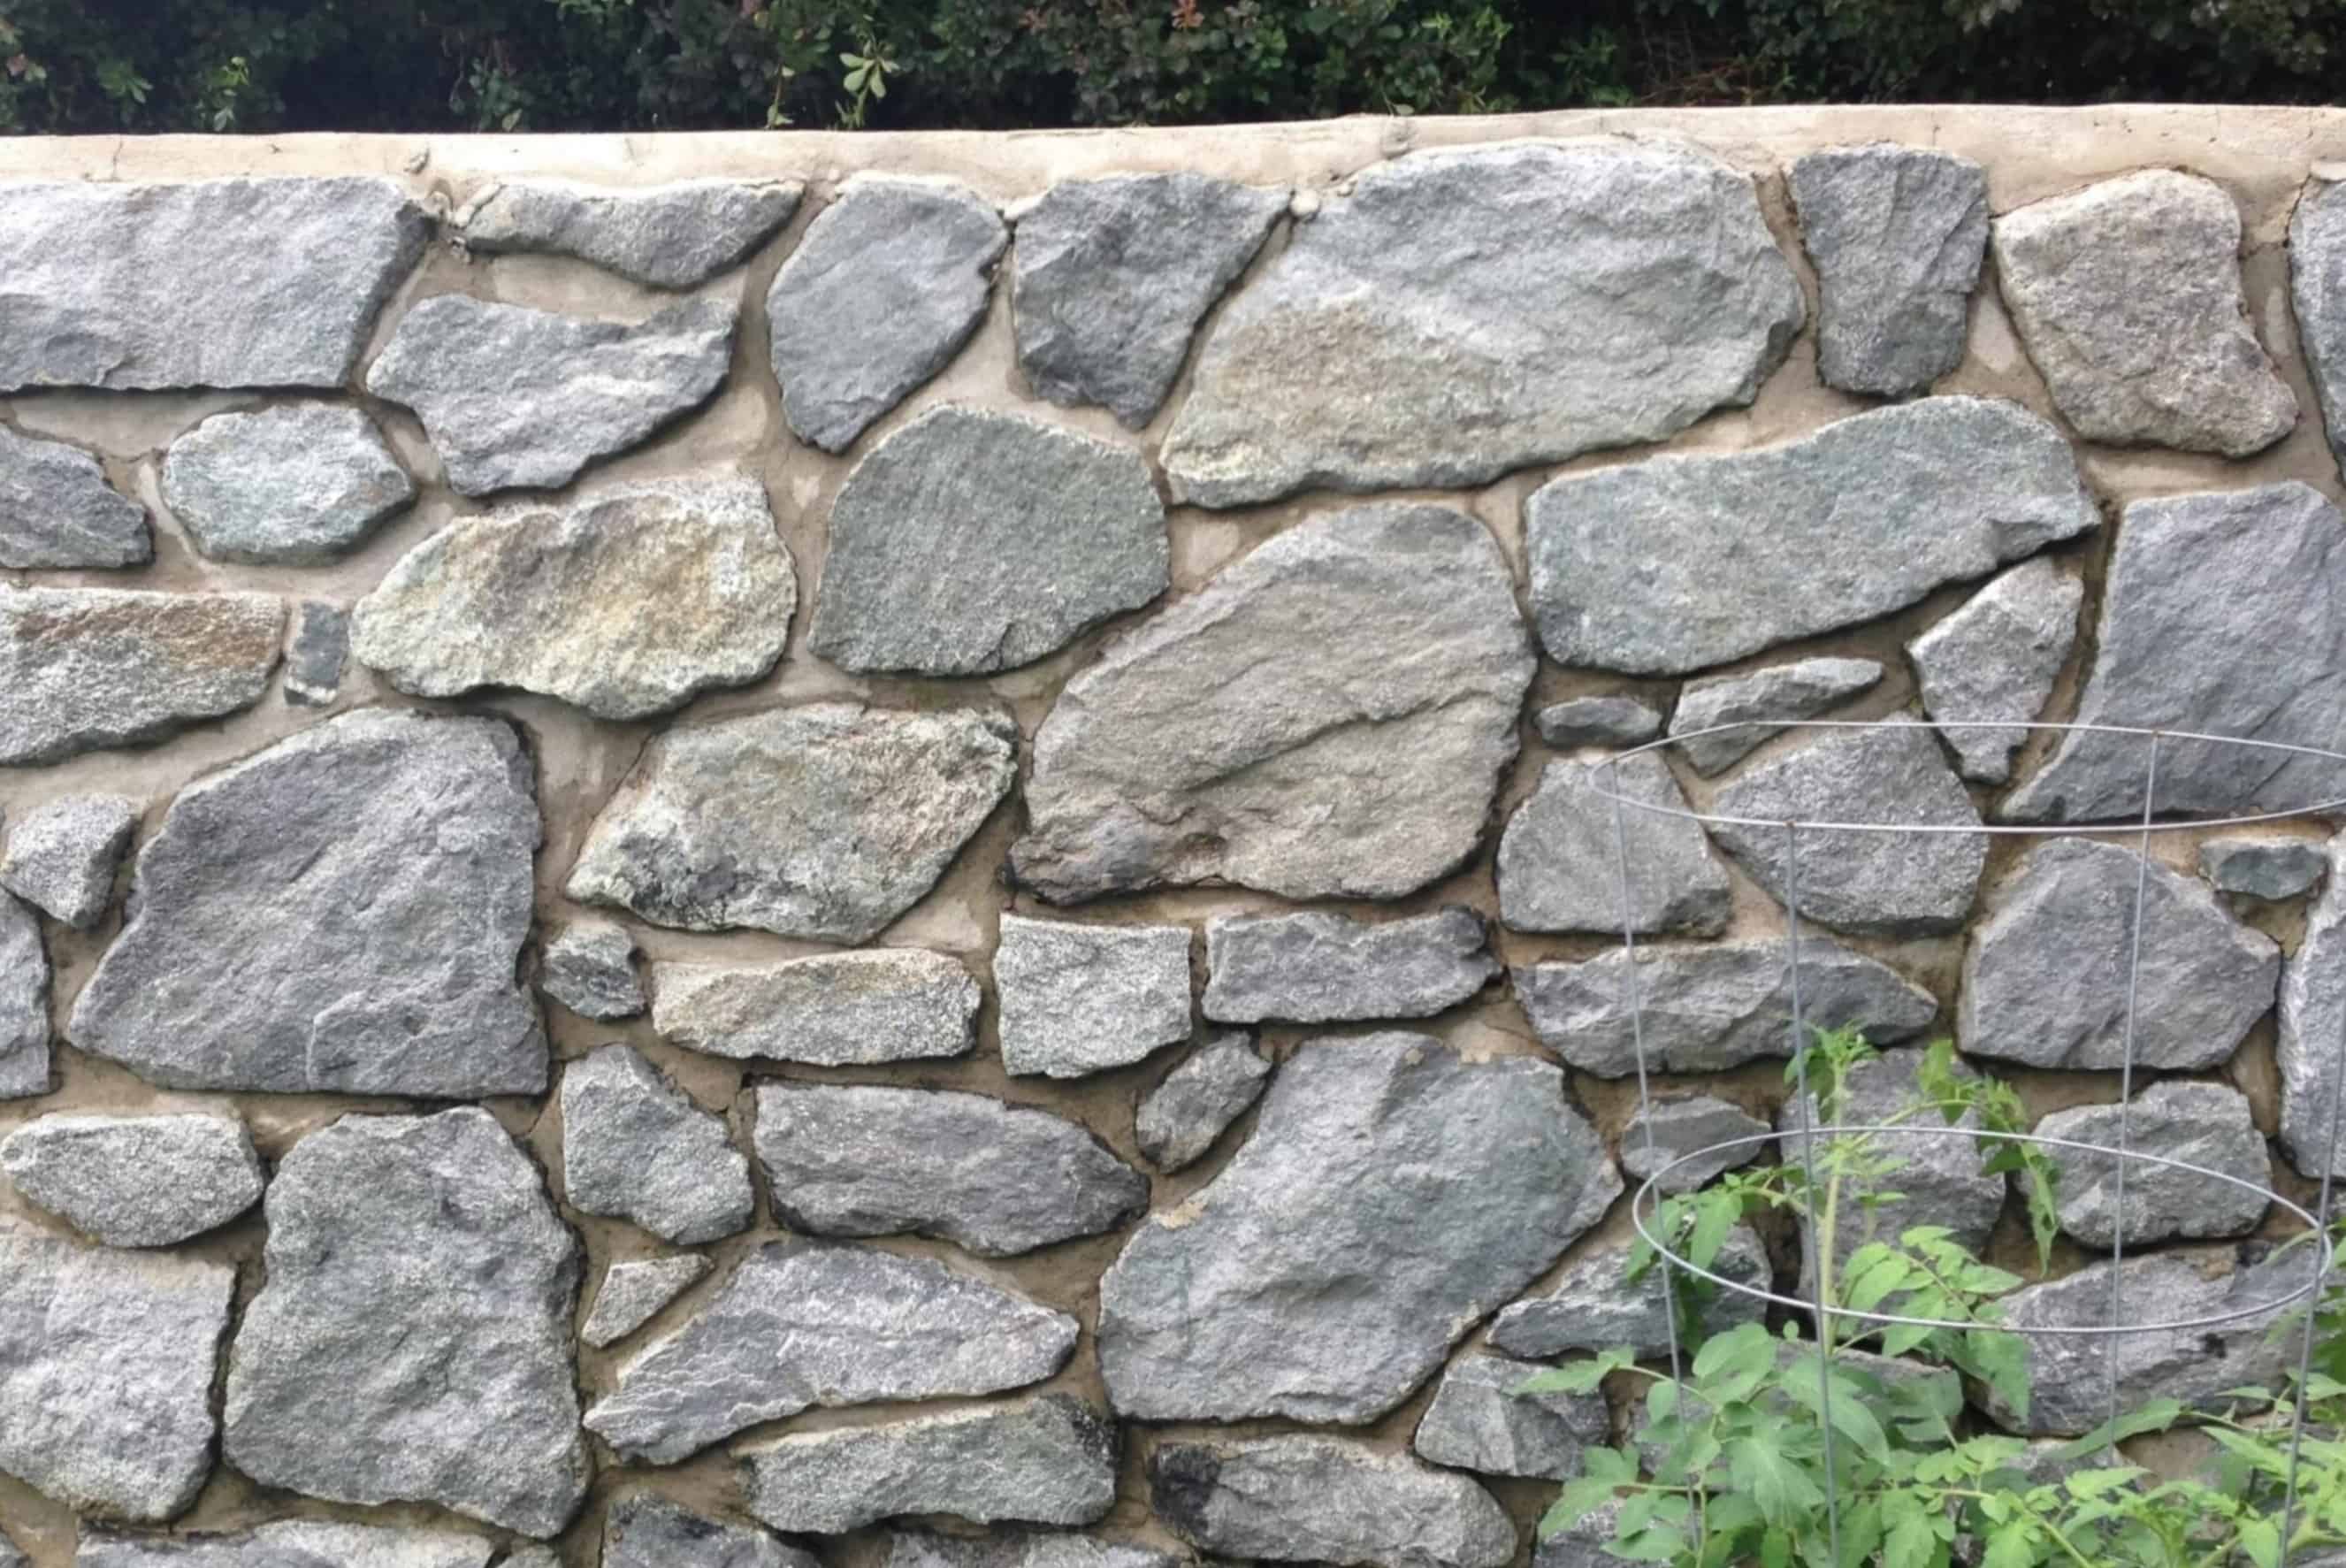
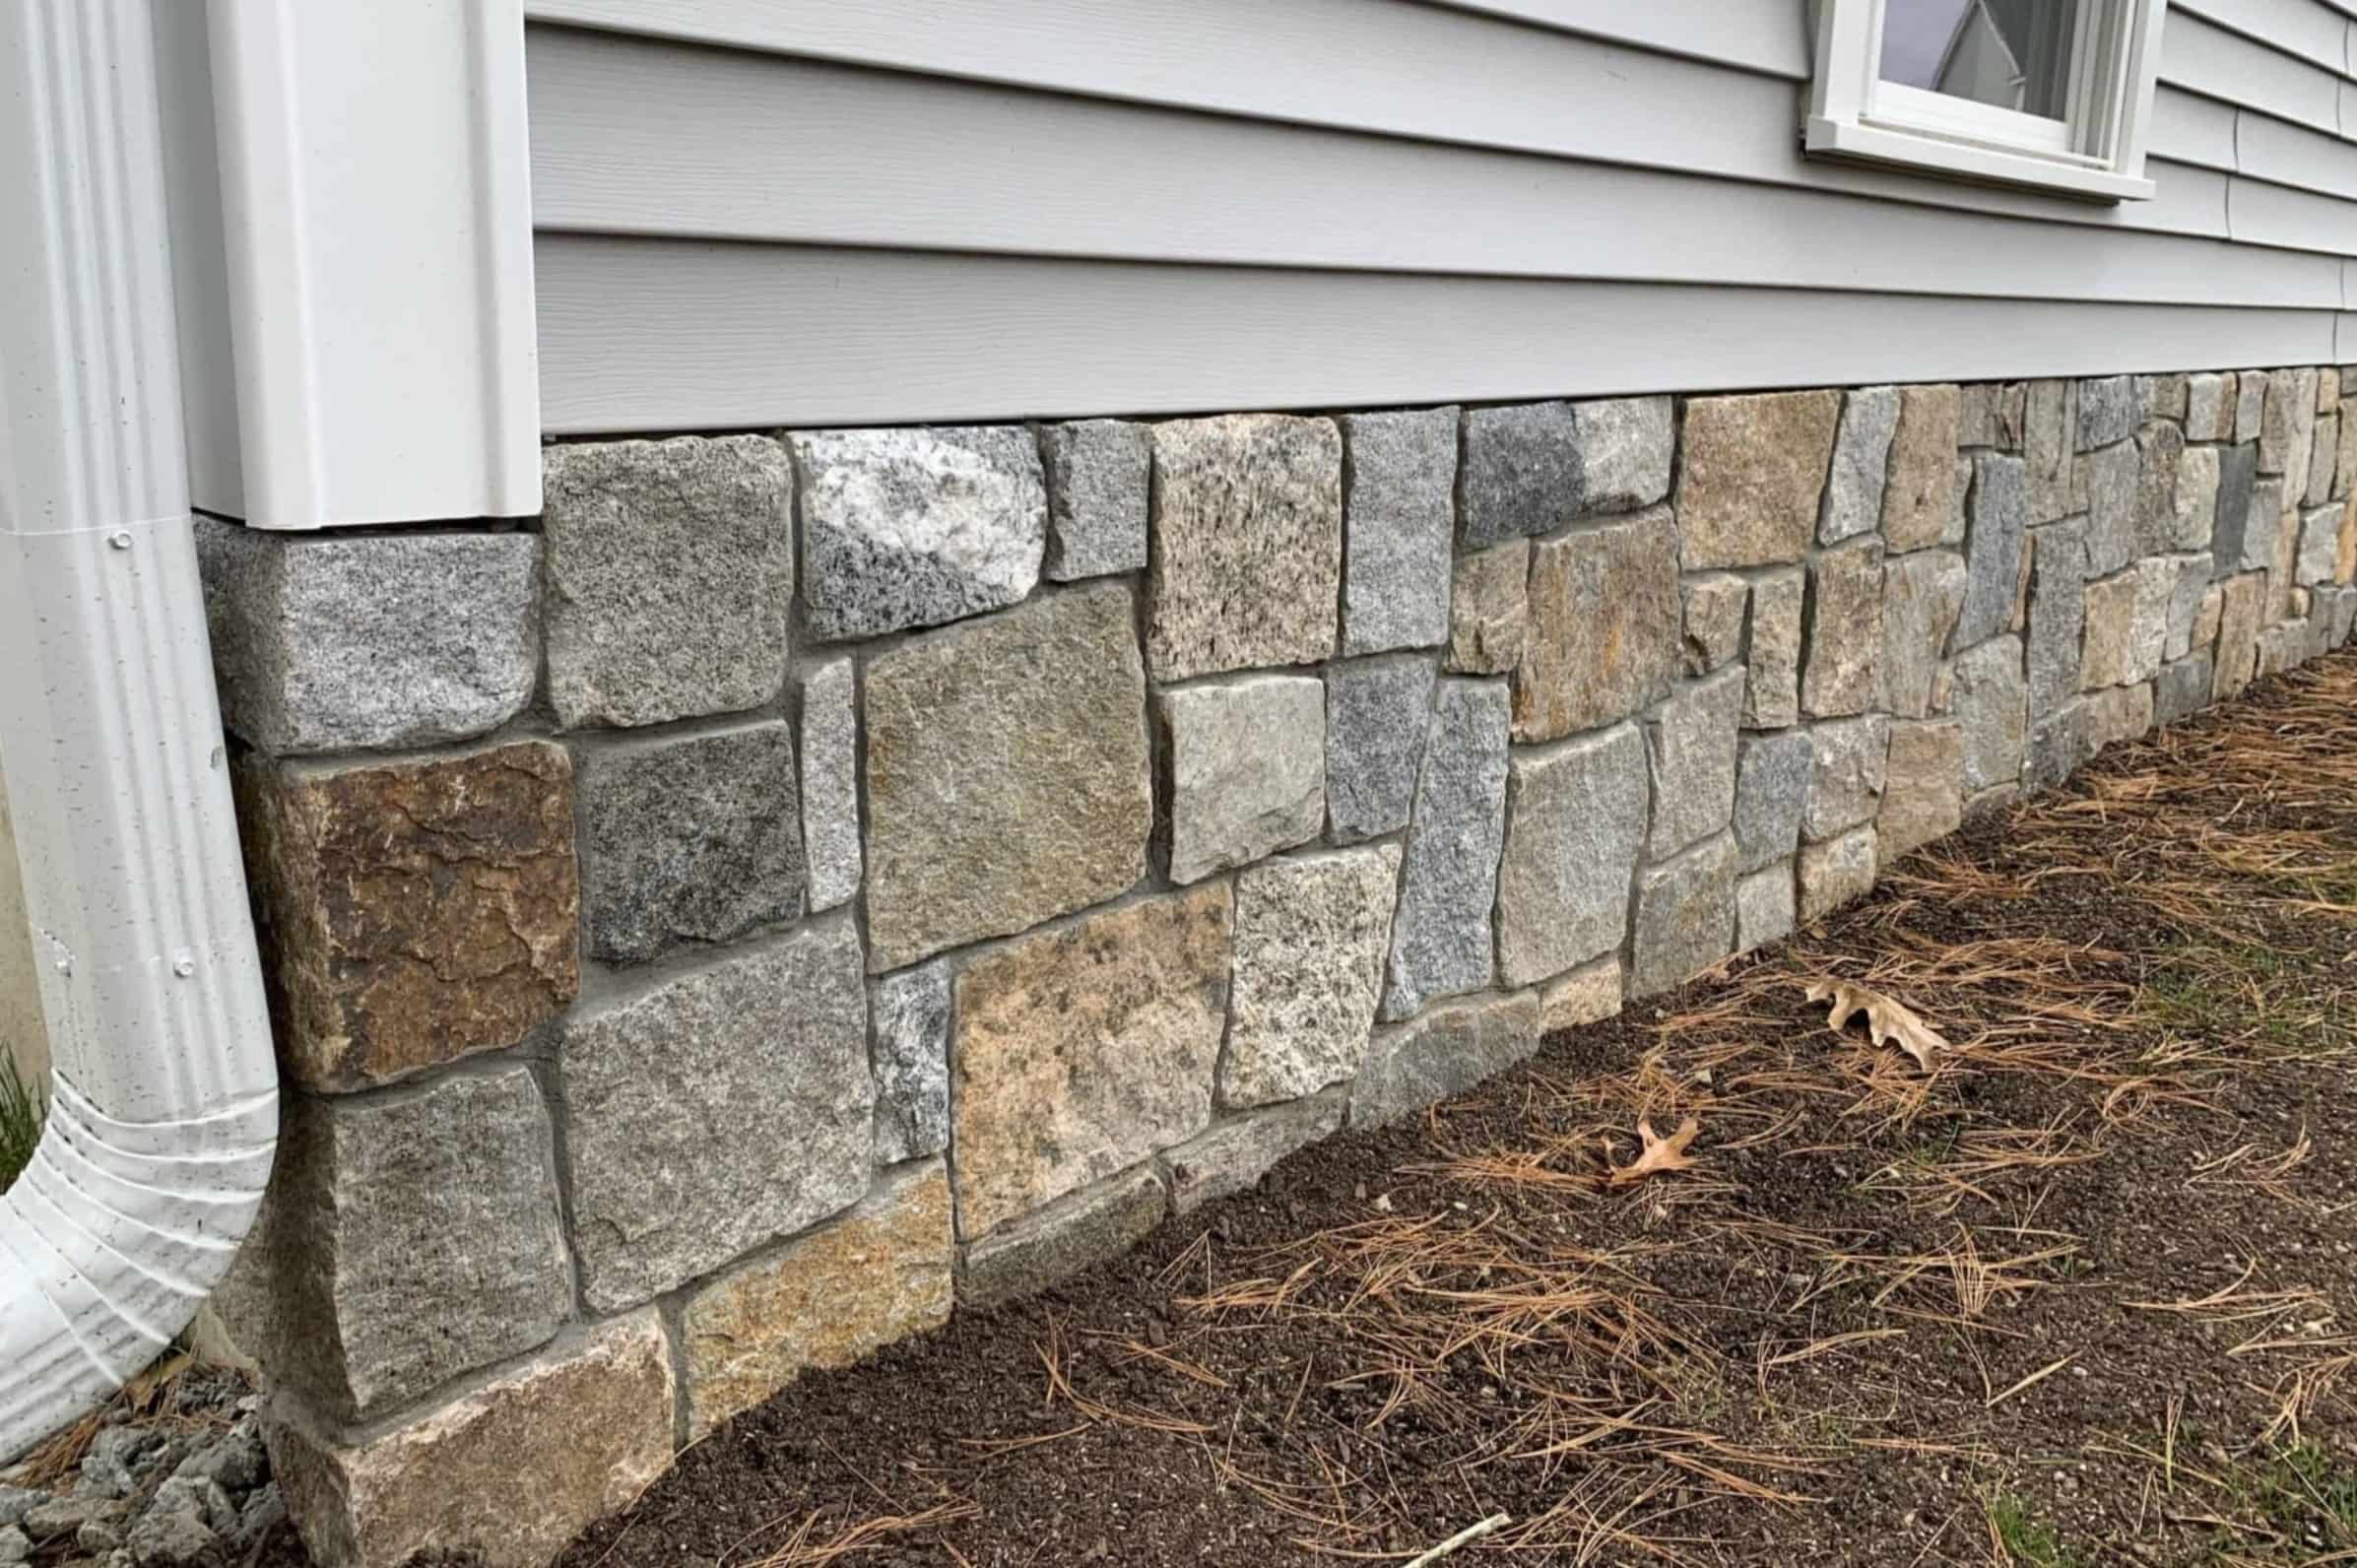
- Natural Stone Veneer: Natural stone veneer is made from thin slices of real stone, such as granite, limestone, or slate. This type of stone veneer siding offers an authentic and natural appearance, as each piece of veneer is unique. Natural stone veneer is available in various thicknesses and sizes, providing a versatile and luxurious option for homeowners who want to add a touch of elegance to their homes.
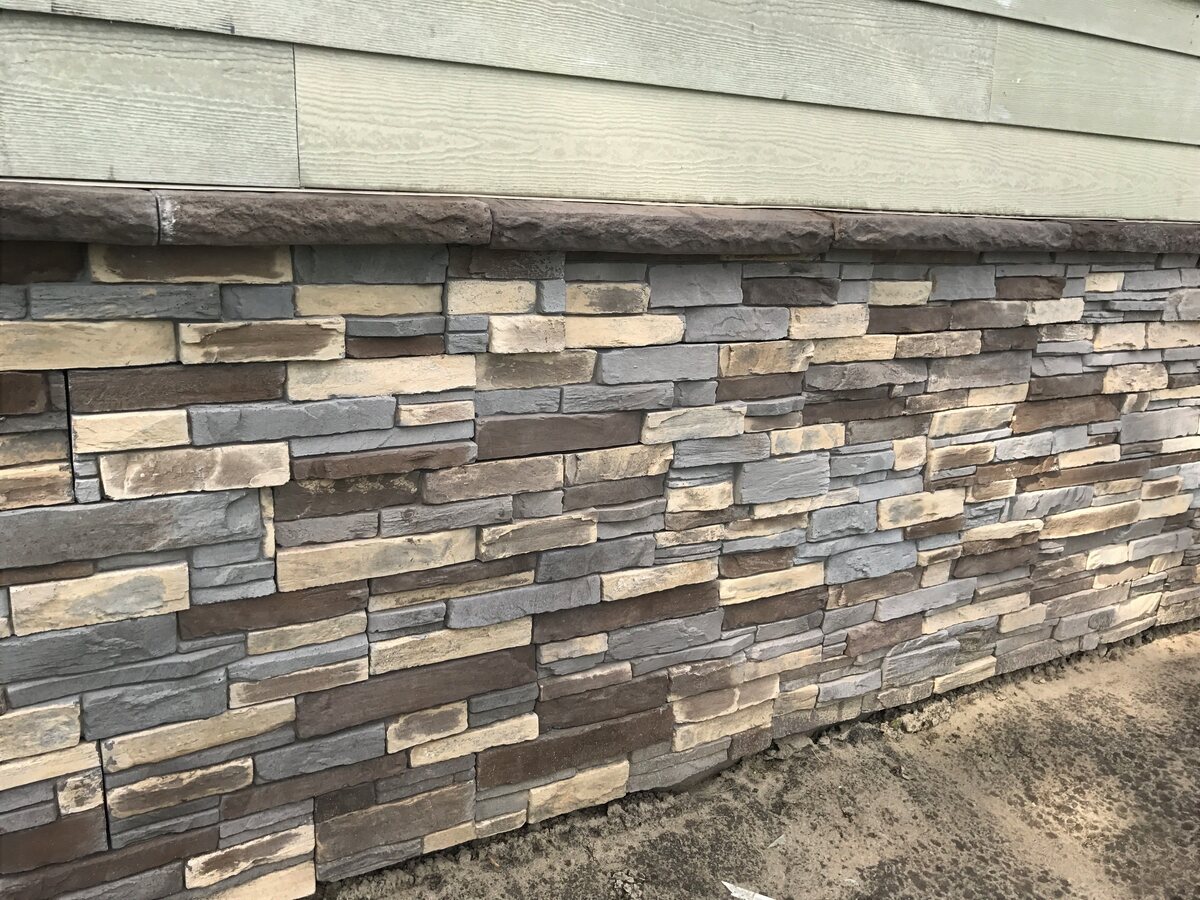
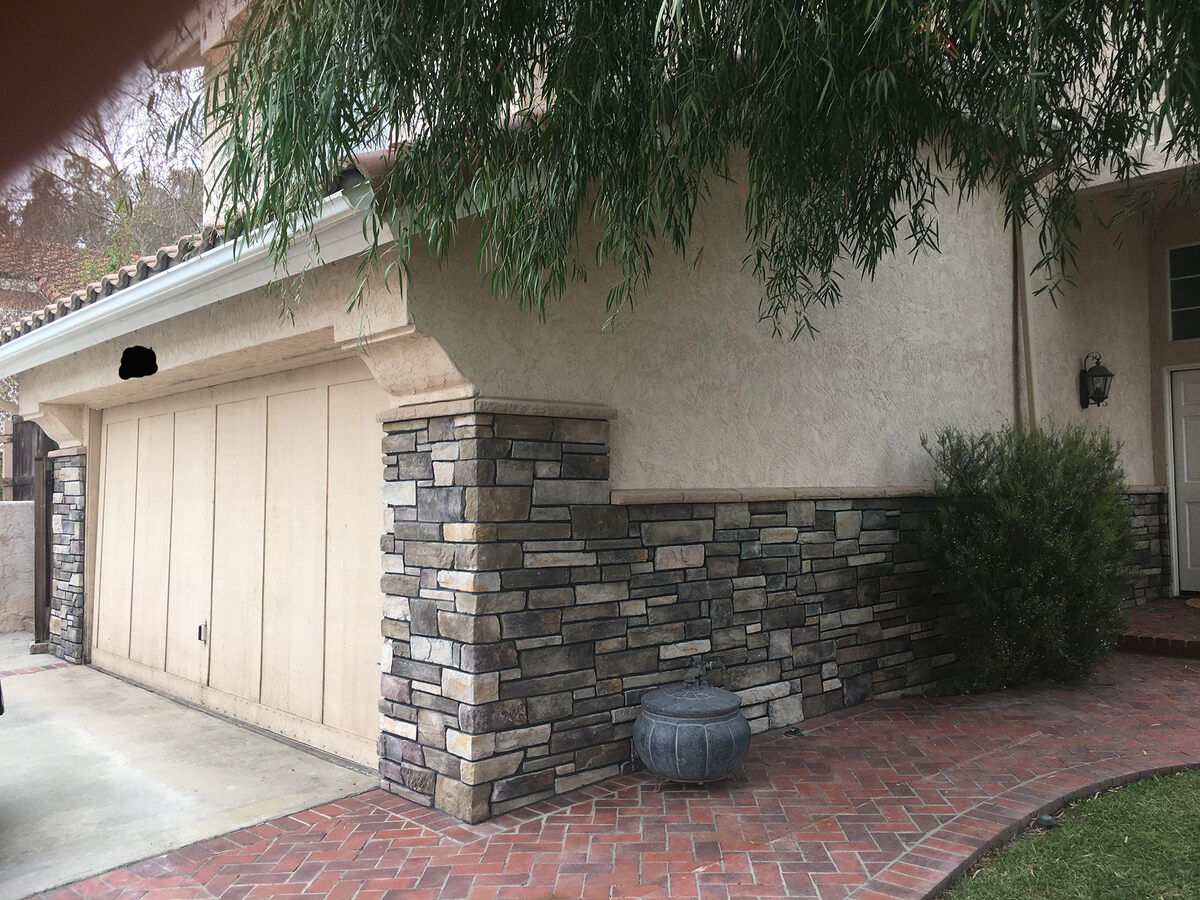
- Stacked Stone: Stacked stone veneer siding is characterized by its irregular shapes and sizes, mimicking the look of stacked stones. It creates a rustic and textured appearance, perfect for adding a natural and earthy element to your home’s exterior. Stacked stone veneer can be installed with mortar for a more traditional look, or a dry-stack technique can be used for a modern and contemporary aesthetic.
- Brick Veneer: While not strictly stone, brick veneer is a popular choice for those seeking a timeless and classic look. Brick veneer is made from thin slices of real clay bricks, providing the aesthetic appeal of brickwork without the need for a full brick wall. It is durable, low maintenance, and offers a variety of color options, making it a versatile choice for stone veneer siding.
- River Rock Veneer: River rock veneer siding recreates the look of smooth, rounded stones, typically found along riverbanks. This type of stone veneer adds a touch of natural tranquility and creates a unique and eye-catching appearance. River rock veneer is available in various sizes and colors, enabling homeowners to achieve a customized and stylish look.
These are just a few examples of the types of stone veneer siding available. It’s important to consider the style of your home, your personal preferences, and the aesthetic you want to achieve when choosing the type of stone veneer siding that best suits your needs. Consulting with a professional can help you make an informed decision and ensure that your stone veneer siding enhances the beauty and charm of your home.
Installation Process of Stone Veneer Siding
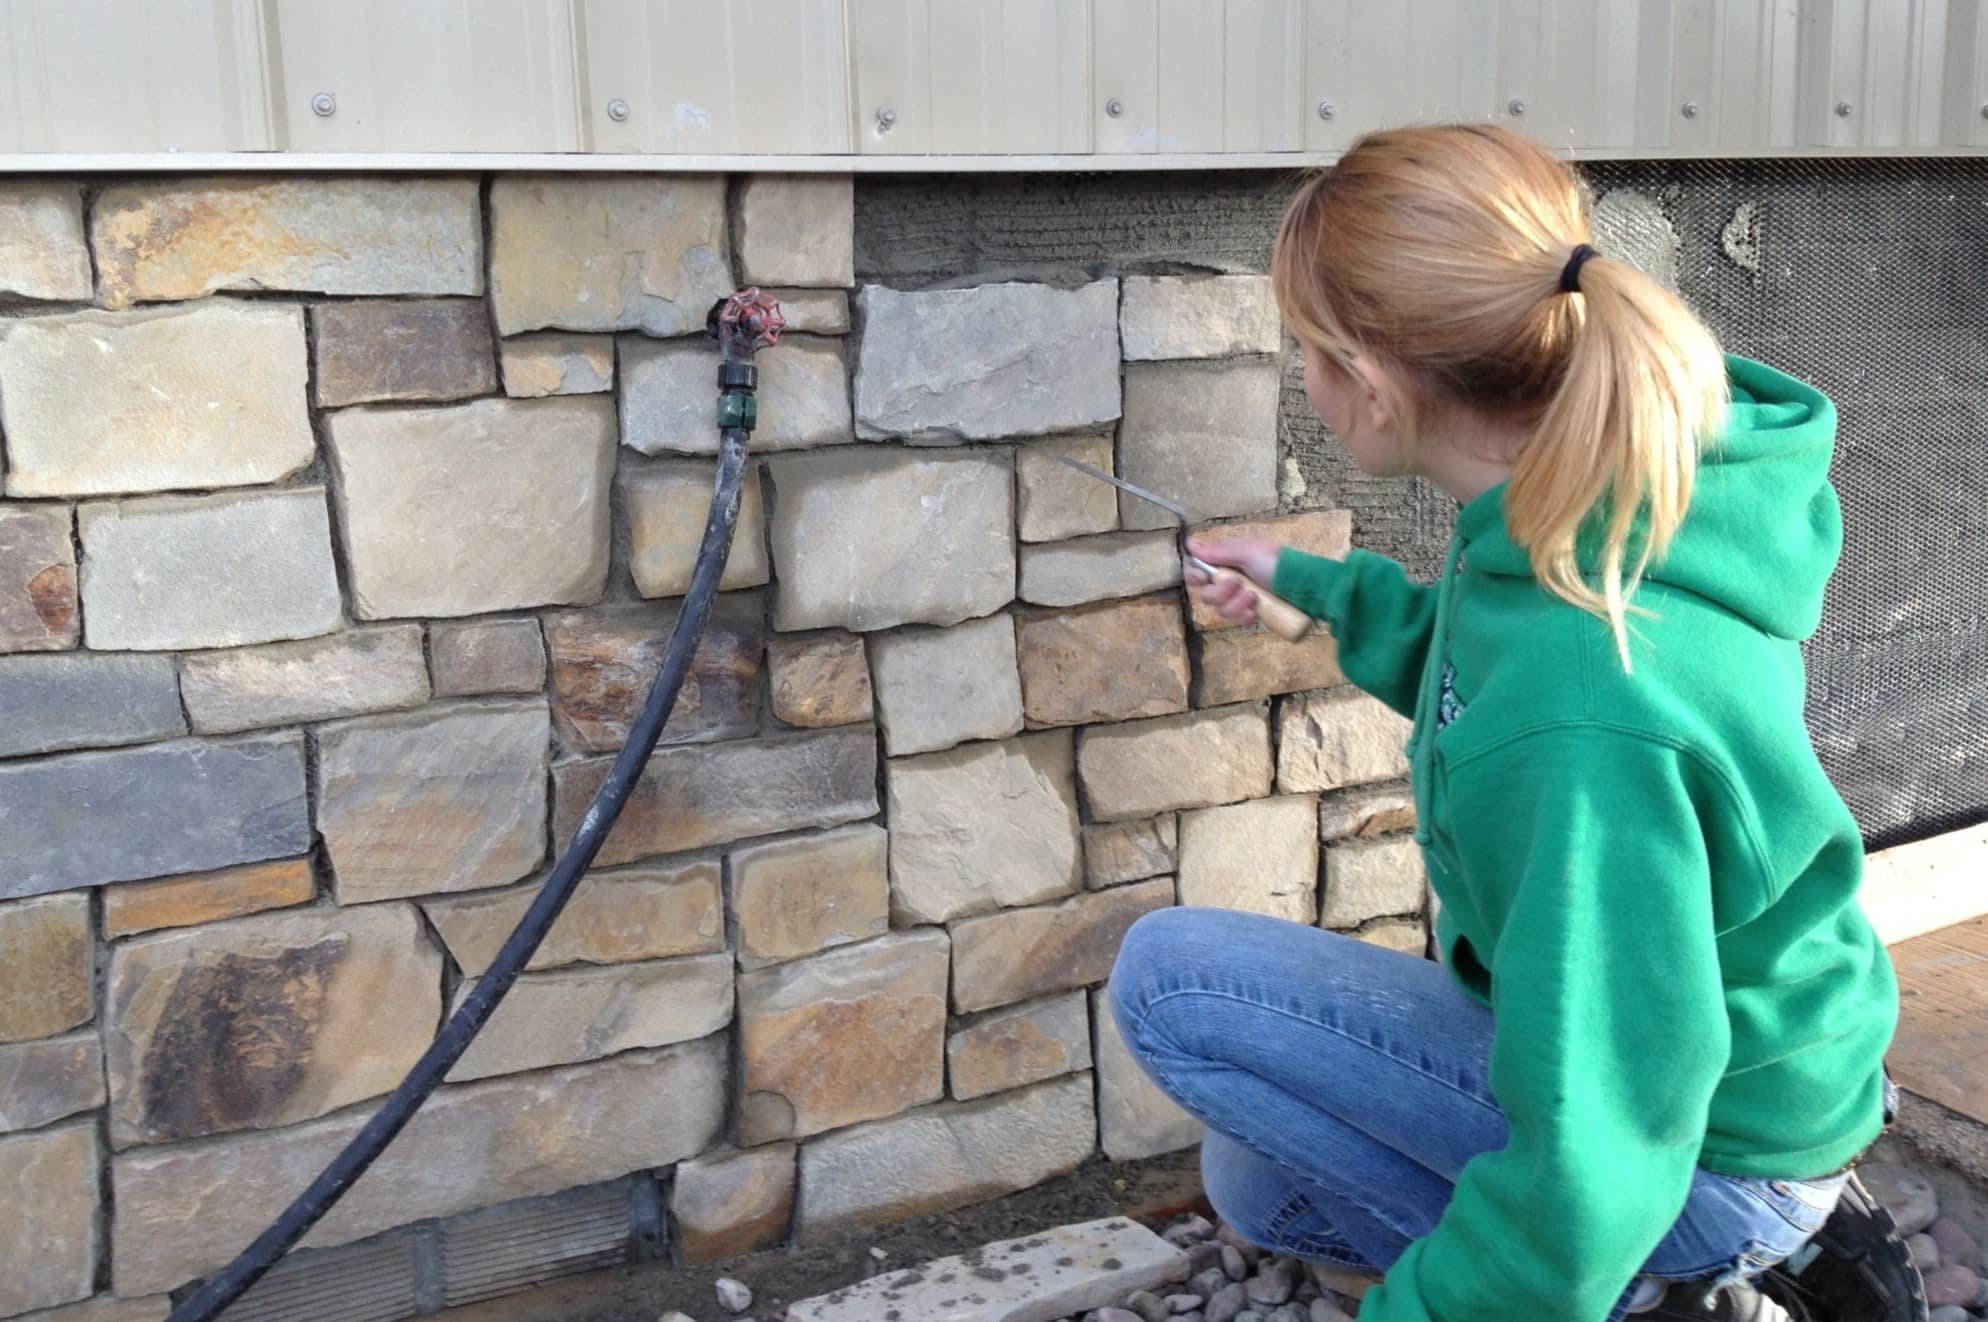
Installing stone veneer siding requires careful planning and attention to detail to ensure a proper and long-lasting application. While it is recommended to hire a professional for the installation, understanding the general process can give you an idea of what to expect. Here is a step-by-step guide to the installation process of stone veneer siding:
- Prepare the Surface: Before installing the stone veneer siding, the surface must be clean, dry, and free of debris. If necessary, repair any damaged areas or apply a weather-resistant barrier to ensure proper insulation and moisture protection.
- Prime the Surface: For better adhesion, it is advisable to prime the surface with a suitable bonding agent. This will help the stone veneer adhere securely to the backing material and prevent any moisture penetration.
- Trim and Measure: Measure the area where the stone veneer siding will be installed and calculate the amount of materials needed. Cut the stone veneer to the desired shape and size using a wet saw or a diamond blade grinder.
- Apply Mortar or Adhesive: Depending on the type of stone veneer and the backing material, you will use either mortar or a specialized adhesive to secure the stone veneer. Apply the mortar or adhesive to the back of the stone veneer, using a trowel or a specific tool recommended by the manufacturer.
- Position and Press the Stone Veneer: Carefully position the stone veneer onto the prepared surface, starting from the bottom and working your way up. Press the stone veneer firmly to create a strong bond. Use a level to ensure the stones are straight and plumb as you go along.
- Fill the Joints: After securing the stone veneer, fill the gaps between the stones with grout or mortar. Use a grout bag or a trowel to apply the grout into the joints, ensuring they are completely filled and leveled with the surface of the stone veneer.
- Clean and Seal: Once the installation is complete, clean any excess mortar or grout from the stone veneer using a brush or a damp sponge. Allow the installation to dry fully before applying a sealant to protect the stone veneer from stains, moisture, and UV damage. Follow the manufacturer’s instructions for the specific sealant product.
It is crucial to note that the installation process may vary depending on the specific product and manufacturer’s instructions. Additionally, compliance with local building codes and regulations is essential to ensure a safe and structurally sound installation. Hiring a professional contractor with experience in stone veneer siding installation is highly recommended to achieve the best results and avoid costly mistakes.
Stone veneer siding is a thin layer of natural or manufactured stone applied to the exterior of a building. It provides the look of real stone at a lower cost and with easier installation. Proper installation and maintenance are key to ensuring its longevity and durability.
Read more: What Grout To Use For Stone Veneer
Maintenance and Care for Stone Veneer Siding
Stone veneer siding is known for its durability and low maintenance requirements. With proper care, it can continue to enhance the beauty of your home for many years to come. Here are some essential maintenance tips to keep your stone veneer siding in great condition:
- Regular Cleaning: Clean your stone veneer siding at least once a year or as needed to remove dirt, dust, and other debris. Use a soft-bristle brush or a pressure washer on a low setting to gently scrub the surface. Avoid using harsh chemicals or abrasive cleaning agents that could damage the stone veneer.
- Inspect for Damage: Periodically inspect your stone veneer siding for any signs of damage, such as cracks, chips, or loose stones. Promptly repair any issues to prevent further damage and maintain the integrity of the installation. Consult a professional if you’re unsure about the repairs needed.
- Sealant Application: Apply a stone sealant every few years to protect the stone veneer from moisture penetration and staining. The sealant forms a protective barrier, helping to maintain the appearance and longevity of the siding. Follow the manufacturer’s instructions for the specific sealant product.
- Preventive Measures: Take preventive measures to protect your stone veneer siding. Trim nearby trees or shrubs to prevent branches and foliage from touching the siding, which can cause scratches or damage. Avoid using sharp or abrasive objects near the siding.
- Keep Gutters and Downspouts Clean: Ensure that your gutters and downspouts are clear of debris and functioning properly. Proper water drainage is essential to prevent water from pooling or overflowing onto the stone veneer siding, which can lead to moisture damage or staining.
- Address Mold or Mildew: If you notice any signs of mold or mildew growth on your stone veneer siding, address the issue promptly. Use a mixture of water and mild detergent to clean the affected areas. If the problem persists, consult a professional for further assistance.
- Professional Inspections: Schedule regular professional inspections of your stone veneer siding. A qualified specialist can identify any potential issues and provide recommendations for maintenance or repairs, ensuring the long-term health and longevity of your siding.
By following these maintenance guidelines and taking proactive measures, you can ensure that your stone veneer siding remains in excellent condition and continues to enhance the beauty of your home. Remember to consult the manufacturer’s recommendations and seek professional assistance when needed to ensure proper care and maintenance.
Cost of Stone Veneer Siding
The cost of stone veneer siding can vary depending on various factors, such as the type and quality of the stone veneer, the size and complexity of the installation, and the region in which you live. Understanding the cost components can help you budget for your project and make informed decisions. Here are some factors to consider when estimating the cost of stone veneer siding:
- Stone Veneer Type: Different types of stone veneer, such as cultured stone or natural stone, can vary in cost. Cultured stone veneer is generally more affordable compared to natural stone veneer. The price will also depend on the quality, style, and brand of the stone veneer you choose.
- Size of the Installation: The size of the area to be covered with stone veneer siding will influence the overall cost. Larger areas will require more materials, leading to higher expenses. Similarly, complex installations with intricate designs or curves may require additional labor and time, increasing the cost.
- Additional Materials and Accessories: Besides the stone veneer itself, there may be additional materials required for installation, such as mortar, adhesive, flashing, and corner pieces. These additional materials will contribute to the overall cost. Additionally, if you choose to add accessories like window sills or trim pieces, they will increase the total project cost.
- Installation Labor Costs: The cost of labor can vary based on the complexity of the installation, the contractor’s experience and reputation, and the region in which you live. It is advisable to obtain multiple quotes from reputable contractors to compare prices and ensure you are getting a fair deal.
- Location: The location of your home can impact the cost of stone veneer siding. Prices can vary depending on the local market conditions, supplier availability, and transportation costs. It’s a good idea to research the average prices in your area to get a better understanding of the cost expectations.
- Additional Expenses: It’s important to consider any additional expenses that may arise during the stone veneer siding installation, such as permits, inspections, and disposal fees for any waste materials. These costs will vary depending on local regulations and requirements.
It is difficult to provide an exact cost estimate for stone veneer siding as it will depend on the specific factors mentioned above. However, as a rough guide, the cost of stone veneer siding can range from $10 to $30 per square foot, including materials and labor. Keep in mind that this is just an estimate and prices can vary significantly.
To get an accurate cost estimate, it is recommended to consult with reputable contractors or suppliers who can provide a detailed quote based on your specific requirements. They will assess your project, consider the variables involved, and provide a more accurate cost breakdown.
Comparison of Stone Veneer Siding to Other Siding Options
When it comes to selecting the right siding for your home, there are various options to consider. Each type of siding has its own advantages and drawbacks. Let’s compare stone veneer siding to other popular siding options to help you make an informed decision:
- Stone Veneer Siding vs. Vinyl Siding: Vinyl siding is a cost-effective option that requires minimal maintenance. However, it lacks the natural and luxurious appeal of stone veneer siding. Stone veneer has more durability, offers better resistance to damage, and has a longer lifespan. It also adds more value and visual appeal to your home, but it comes at a higher initial cost.
- Stone Veneer Siding vs. Wood Siding: Wood siding has a traditional and timeless look, but it requires regular maintenance, including painting, staining, and sealing. Stone veneer siding, on the other hand, offers the same aesthetic beauty of natural stone without the extensive maintenance needs. It is more durable, resistant to pests and rot, and doesn’t warp or twist like wood siding can.
- Stone Veneer Siding vs. Fiber Cement Siding: Fiber cement siding is a durable and low-maintenance option that can mimic the appearance of wood or masonry. While fiber cement can provide a similar look to stone veneer, it doesn’t quite capture the natural beauty and texture that stone veneer offers. Stone veneer siding is also more lightweight and easier to install compared to fiber cement, which can be heavier and require more labor-intensive installation processes.
- Stone Veneer Siding vs. Brick Siding: Brick siding has a classic and timeless appeal. Both stone veneer and brick siding offer exceptional durability and require minimal maintenance. However, brick siding can be more expensive to install due to the cost of the materials and the specialized skills needed for installation. Stone veneer siding provides a cost-effective alternative that captures the look and feel of real stone without the heavy weight and higher price tag.
- Stone Veneer Siding vs. Stucco Siding: Stucco siding offers a sleek and modern look. It is highly durable and long-lasting, but it may experience cracking over time. Stone veneer siding can provide a similar aesthetic with added texture and charm. It is lightweight, easier to install, and offers better resistance to cracking and weather-related damage.
Ultimately, the choice between stone veneer siding and other siding options will depend on your personal preferences, budget, and the architectural style of your home. Stone veneer siding stands out for its natural beauty, durability, and low maintenance requirements. While it may have a higher initial cost, it offers long-term value and a timeless appearance that can greatly enhance the overall aesthetic of your home.
It is recommended to consult with a professional contractor or siding specialist who can provide further guidance and help you choose the best siding option based on your specific needs and preferences.
Conclusion
Stone veneer siding is a remarkable choice for homeowners looking to enhance the exterior of their homes with natural beauty and durability. With its ability to replicate the appearance of natural stone at a more affordable cost, stone veneer siding has become increasingly popular in recent years. It offers a range of benefits, including enhanced curb appeal, cost-effectiveness, versatility, and low maintenance requirements.
Stone veneer siding comes in various types, such as cultured stone, natural stone, stacked stone, brick veneer, and river rock veneer, allowing homeowners to choose the one that best suits their style and preferences. The installation process involves careful preparation, measurement, application of mortar or adhesive, and proper positioning and pressing of the stone veneer.
Maintenance and care for stone veneer siding are relatively straightforward, requiring regular cleaning to remove dirt and debris, occasional inspections for damage, and the application of a sealant every few years to protect against moisture and stains. With proper care, stone veneer siding can maintain its beauty and integrity for many years to come.
When compared to other siding options such as vinyl, wood, fiber cement, brick, and stucco siding, stone veneer siding offers a unique blend of aesthetics, durability, and low maintenance. It provides the natural appeal of real stone without the high cost or extensive upkeep requirements.
In conclusion, stone veneer siding is an excellent investment for homeowners seeking a visually appealing, durable, and cost-effective solution to enhance the exterior of their homes. It offers the timeless beauty of natural stone while providing the benefits of affordability, versatility, and easy maintenance. By choosing stone veneer siding, you can transform your home’s exterior into a stunning showcase of elegance and sophistication.
Frequently Asked Questions about What Is Stone Veneer Siding
Was this page helpful?
At Storables.com, we guarantee accurate and reliable information. Our content, validated by Expert Board Contributors, is crafted following stringent Editorial Policies. We're committed to providing you with well-researched, expert-backed insights for all your informational needs.


0 thoughts on “What Is Stone Veneer Siding”