Home>Construction & Tools>Building Materials>How To Fill Gaps In Brick Walls
Building Materials
How To Fill Gaps In Brick Walls
Modified: August 17, 2024
Learn effective techniques for filling gaps in brick walls using high-quality building materials. Find the best solutions for repairing and sealing brickwork.
(Many of the links in this article redirect to a specific reviewed product. Your purchase of these products through affiliate links helps to generate commission for Storables.com, at no extra cost. Learn more)
Introduction
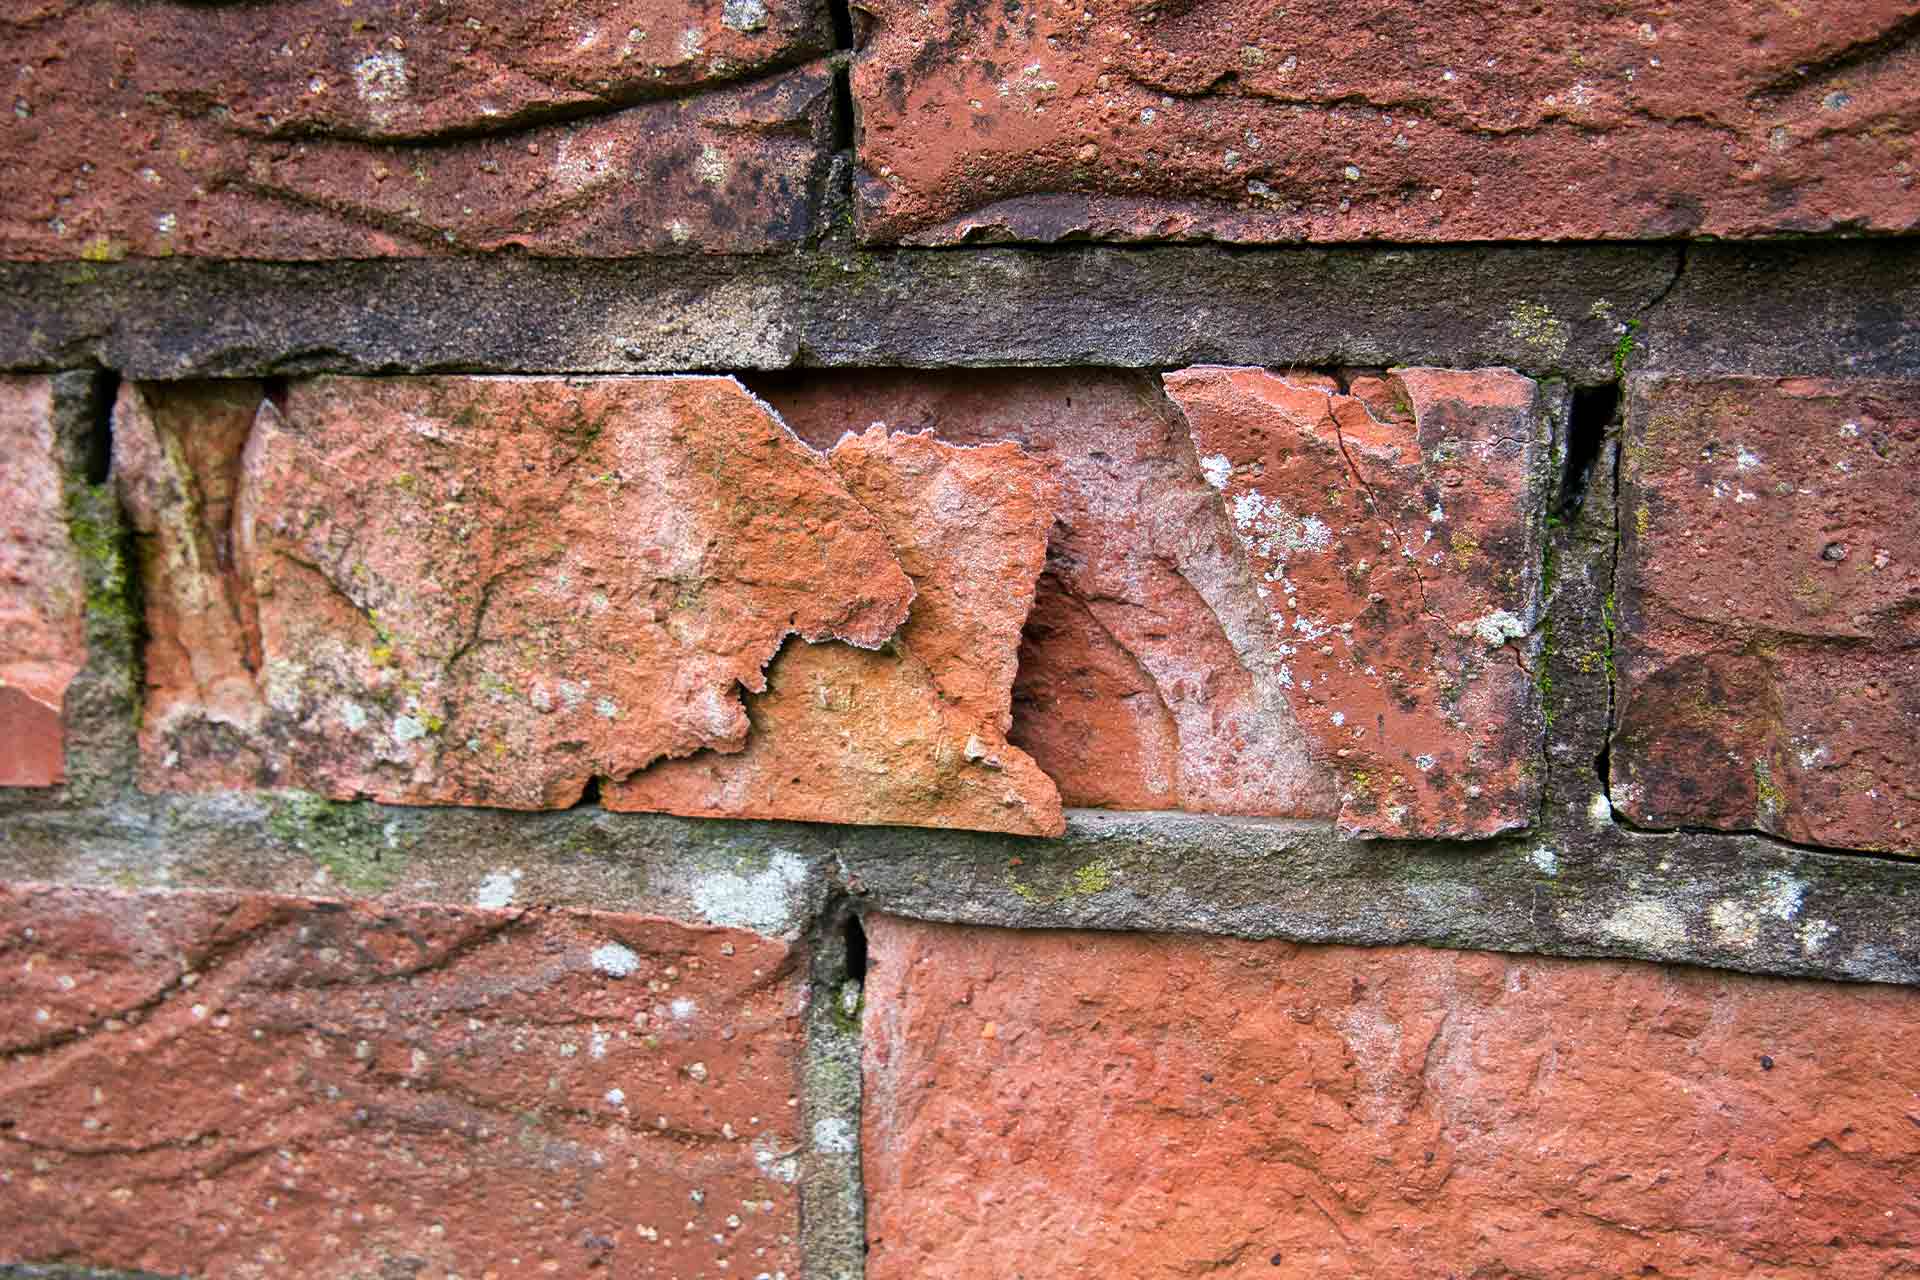
Welcome to the world of masonry, where the timeless art of building with bricks has left its mark on architecture for centuries. While brick walls exude a sense of strength and durability, even they are not immune to the passage of time and the elements. Over the years, small cracks and gaps can develop, causing concern for both the structural integrity and aesthetic appeal of the wall. Fortunately, with a few simple tools and some basic know-how, you can easily restore the solidity and beauty of your brick walls by filling in those gaps.
In this guide, we will walk you through the process of filling gaps in brick walls, covering everything from the essential tools and materials needed to the step-by-step techniques for addressing small and large gaps. Whether you are a seasoned DIY enthusiast or a newcomer to the world of masonry, this article will equip you with the knowledge to tackle this task with confidence. So, roll up your sleeves, gather your supplies, and let’s get started on revitalizing your brick walls!
Key Takeaways:
- Revitalize brick walls by filling gaps with mortar. Clean, apply, and smooth mortar for small gaps, and pack densely for larger gaps. Finish with sealant and color matching for a polished look.
- Prepare, protect, and prioritize safety when filling gaps in brick walls. Embrace the art of masonry and take pride in preserving the timeless beauty and strength of brick structures.
Read more: How To Fill Gap Between Wall And Ceiling
Tools and Materials Needed
Before embarking on the task of filling gaps in brick walls, it’s essential to gather the necessary tools and materials. Here’s what you’ll need:
Tools:
- Trowel: A flat-bladed tool used for applying and smoothing mortar.
- Pointing trowel: A smaller trowel with a pointed blade, ideal for precision work.
- Wire brush: For cleaning out debris and loose material from the gaps.
- Hammer and chisel: To remove any loose or damaged bricks if necessary.
- Bucket: For mixing mortar.
- Joint raker: If re-pointing the mortar joints is required.
- Protective gloves and goggles: For safety during the process.
Materials:
- Mortar mix: Choose a mortar mix that matches the composition and color of the existing mortar.
- Water: For mixing with the mortar to achieve the right consistency.
- Brick sealant: Optional, but recommended for protecting the filled gaps from moisture and weathering.
- Replacement bricks: In case any damaged bricks need to be replaced.
- Lint-free cloth: For wiping off excess mortar and cleaning the bricks.
By ensuring you have these tools and materials on hand, you’ll be well-prepared to effectively address the gaps in your brick walls, restoring both their strength and visual appeal.
Preparation
Before diving into the process of filling gaps in brick walls, it’s crucial to prepare the work area and assess the extent of the damage. Here’s a step-by-step guide to the preparation phase:
Read more: How To Fill A Gap Between Vanity And Wall
1. Clean the Surface:
Begin by thoroughly cleaning the brick wall to remove any dirt, debris, or loose mortar from the gaps. Use a wire brush to scrub the surface and ensure that the gaps are clear of any obstructions. This will provide a clean and sound base for the filling process.
2. Inspect for Damage:
Inspect the wall for any signs of structural damage, such as cracked or spalled bricks. If you identify any compromised bricks, consider replacing them before proceeding with the gap-filling process. Use a hammer and chisel to carefully remove damaged bricks, taking care not to disturb the surrounding structure.
3. Mix the Mortar:
Prepare the mortar mix according to the manufacturer’s instructions. Achieving the right consistency is crucial for effective gap filling, so take care to add the appropriate amount of water and mix the mortar thoroughly until it reaches a workable texture.
4. Protect Surrounding Areas:
Before applying the mortar, take measures to protect the surrounding areas from accidental spills and splatters. Cover the ground and any adjacent surfaces with a drop cloth or plastic sheeting to prevent mortar from staining or damaging other materials.
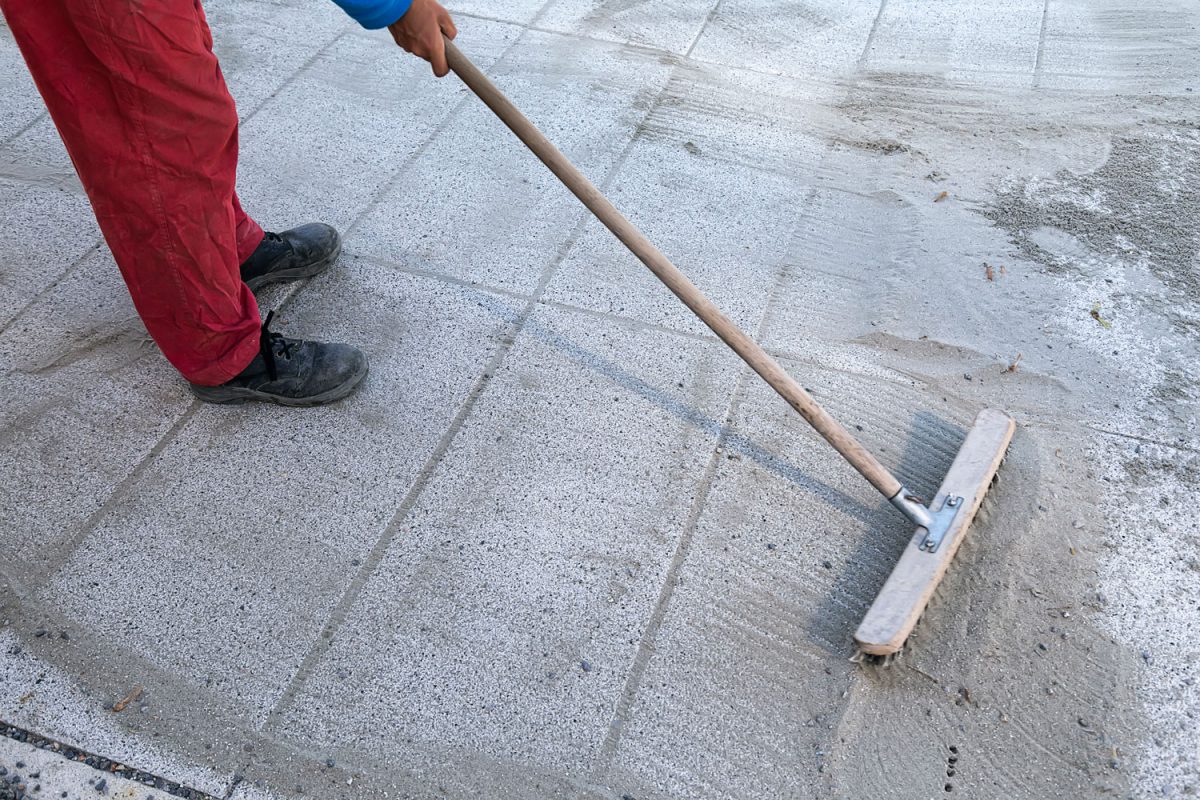
Read more: How To Fill Gaps In A Driveway
5. Safety Precautions:
Prioritize safety by wearing protective gloves and goggles throughout the process. Working with mortar and masonry tools requires caution, so ensure that you are adequately protected from potential hazards.
By following these preparatory steps, you’ll set the stage for a smooth and efficient gap-filling process, laying the groundwork for a successful restoration of your brick walls.
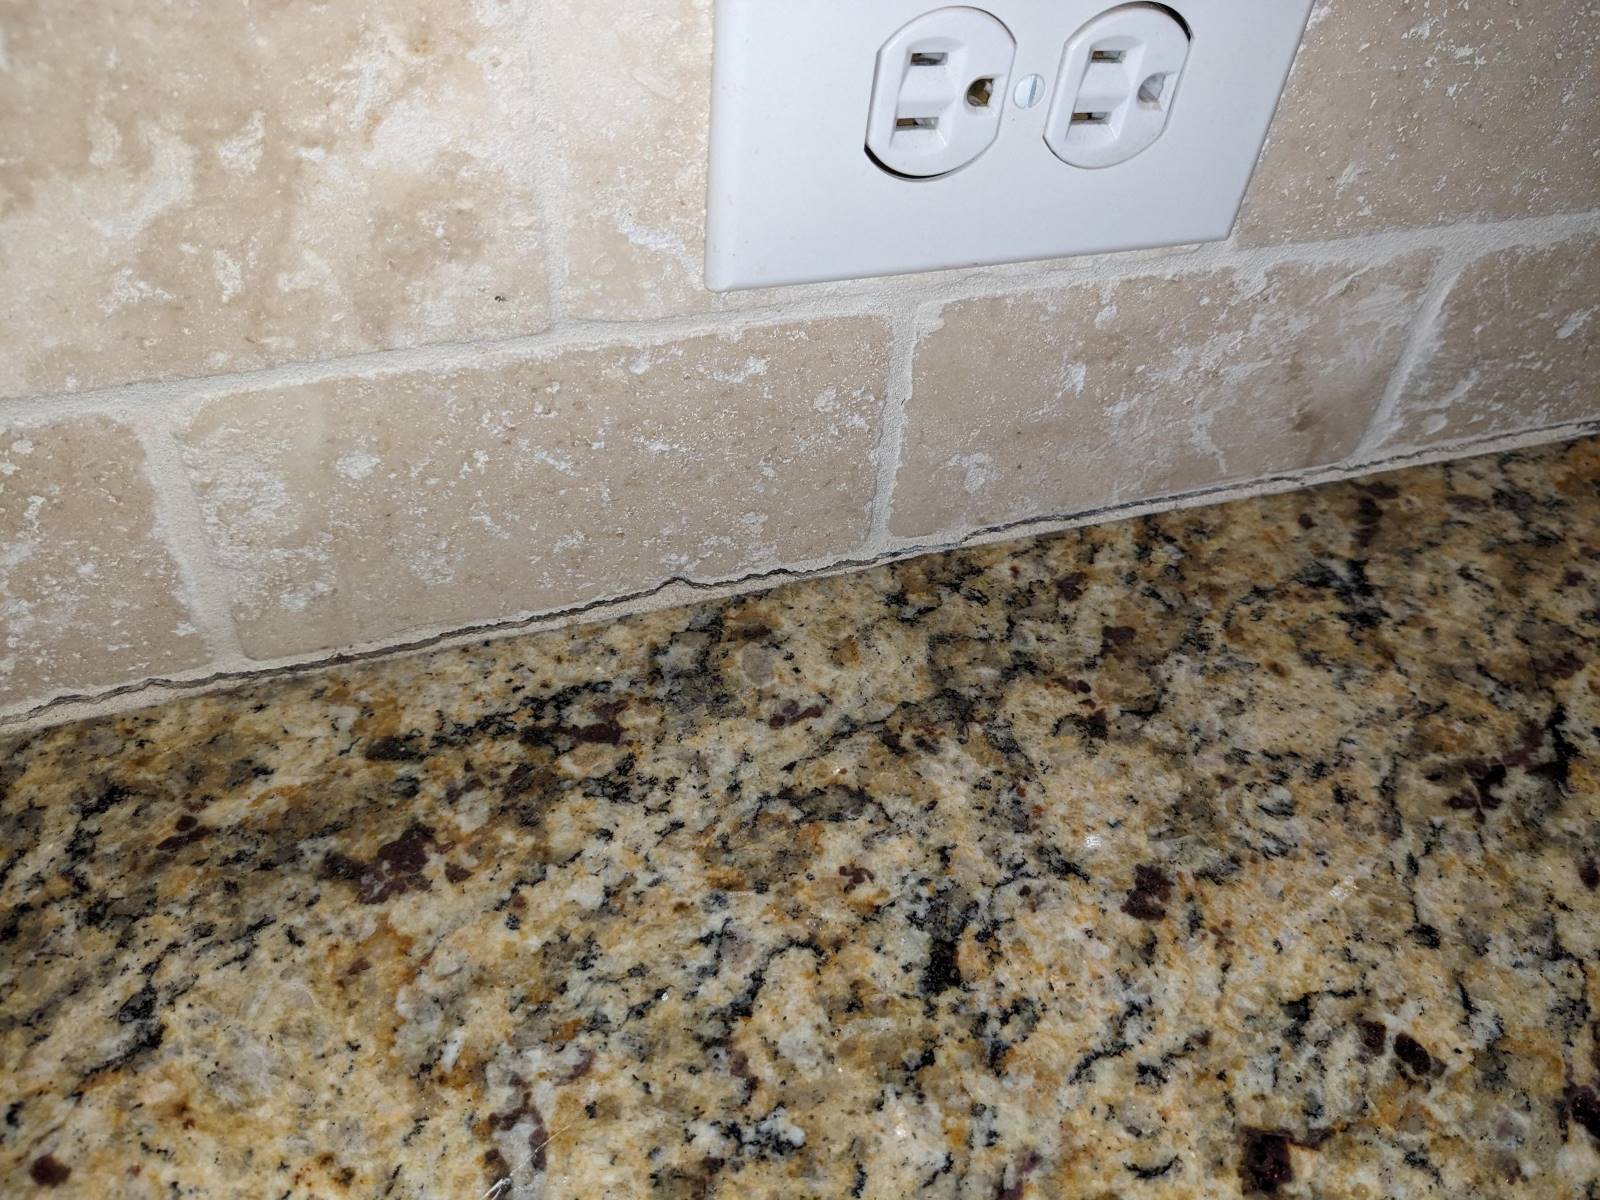
Filling Small Gaps
When it comes to addressing small gaps in brick walls, precision and attention to detail are key. Here’s a systematic approach to filling small gaps with mortar:
1. Preparing the Gap:
Using a wire brush, clean out the small gaps between the bricks, ensuring that any loose debris or old mortar is removed. This will create a clean and solid foundation for the new mortar to adhere to.
2. Applying the Mortar:
Using a pointing trowel, carefully apply the mortar into the cleaned gaps, ensuring that the mortar fills the spaces completely. Press the mortar firmly into the gaps to eliminate air pockets and create a strong bond with the surrounding bricks.
Read more: How To Fill Hardwood Floor Gaps
3. Smoothing the Surface:
Once the gaps are filled, use the flat edge of the pointing trowel to smooth the surface of the mortar, ensuring that it is flush with the brick faces. This will create a seamless finish and enhance the visual appeal of the wall.
4. Wiping Excess Mortar:
After smoothing the surface, use a damp lint-free cloth to carefully wipe away any excess mortar that may have spread onto the brick faces. This step is crucial for maintaining the clean and uniform appearance of the wall.
5. Allow for Setting:
Allow the newly filled gaps to set for the recommended time as per the mortar manufacturer’s instructions. This will ensure that the mortar achieves its full strength and durability, providing long-lasting support to the brick wall.
By following these steps, you can effectively address small gaps in your brick walls, restoring their integrity and visual appeal with precision and care.
Filling Larger Gaps
Addressing larger gaps in brick walls requires a slightly different approach to ensure a strong and durable fill. Here’s a detailed guide to filling larger gaps with mortar:
1. Preparing the Gap:
Use a wire brush and a joint raker to thoroughly clean out the larger gaps, removing any loose debris, old mortar, and other obstructions. It’s essential to create a clean and well-prepared surface for the new mortar to bond effectively.
2. Applying the Mortar:
With a trowel, generously apply the mortar into the cleaned larger gaps, ensuring that it fills the spaces completely and forms a solid bond with the surrounding bricks. Press the mortar firmly into the gaps to eliminate voids and create a robust fill.
3. Packing the Mortar:
For larger gaps, it may be necessary to pack the mortar more densely to ensure a secure and stable fill. Use the end of the trowel or a small piece of wood to compact the mortar within the gaps, minimizing the risk of shrinkage or dislodgment.
4. Shaping and Smoothing:
After packing the mortar, use the trowel to shape and smooth the surface, ensuring that it is even and flush with the surrounding brick faces. This step is crucial for achieving a seamless and professional finish.
Read more: How To Fill Gaps Under Fence
5. Finishing Touches:
Inspect the filled gaps and make any necessary adjustments to ensure that the mortar is well-packed and smoothly contoured. Wipe away any excess mortar from the brick faces using a damp lint-free cloth for a clean and polished appearance.
6. Allow for Setting:
Allow the mortar to set and cure for the recommended time as per the manufacturer’s instructions. This will ensure that the fill achieves optimal strength and stability, reinforcing the integrity of the brick wall.
By following these steps, you can effectively address larger gaps in your brick walls, fortifying their structure and preserving their visual appeal with meticulous attention to detail.
Finishing Touches
After filling the gaps in your brick walls, it’s time to add the finishing touches that will enhance the overall appearance and longevity of the restoration. Here’s a guide to the essential finishing touches:
1. Sealing the Mortar:
Consider applying a brick sealant to the filled gaps to provide an additional layer of protection against moisture and weathering. This step can help prolong the lifespan of the mortar fill and safeguard the integrity of the brick wall over time.
Read more: How To Fill Large Gaps Around A Bathtub
2. Matching the Color:
If the mortar used for filling the gaps appears noticeably different in color from the surrounding mortar, consider using a tinting agent to achieve a closer match. This will ensure a cohesive and harmonious look across the entire wall.
3. Blending with the Surrounding Surface:
Use a brush or small tool to carefully blend the filled gaps with the surrounding brick surface, ensuring a seamless transition between the original structure and the repaired areas. This step contributes to a unified and polished aesthetic.
4. Cleaning and Polishing:
Wipe down the entire brick wall with a damp cloth to remove any residual mortar or dust particles. This final cleaning step will reveal the full impact of your restoration efforts, leaving the wall looking refreshed and revitalized.
5. Inspection and Touch-Ups:
Thoroughly inspect the filled gaps and the overall condition of the brick wall. Address any areas that may require additional touch-ups or refinements to ensure a consistent and professional finish.
Read more: How To Fill Gap Between Baseboard And Floor
6. Appreciating the Results:
Stand back and admire the transformation of your brick wall. Take pride in the meticulous restoration work you’ve completed, knowing that the gaps have been expertly filled, and the wall has been rejuvenated to its former glory.
By attending to these finishing touches, you can elevate the quality and visual appeal of your brick wall restoration, achieving a seamless and enduring outcome that enhances the character of the entire structure.
Conclusion
Embarking on the journey of filling gaps in brick walls has allowed you to engage with the timeless craft of masonry and contribute to the preservation of a fundamental architectural element. By following the step-by-step process outlined in this guide, you’ve gained the knowledge and confidence to address gaps of varying sizes, restoring the strength, integrity, and aesthetic appeal of your brick walls.
From the meticulous preparation and cleaning to the precise application of mortar and the final finishing touches, each step has played a crucial role in revitalizing the brick wall and ensuring its long-term durability. The careful selection of tools and materials, coupled with attention to detail, has resulted in a seamless and professional restoration.
As you stand back and admire the transformation, take pride in the craftsmanship and dedication you’ve invested in this project. The filled gaps now stand as a testament to your commitment to preserving the beauty and functionality of the brick walls, ensuring that they continue to withstand the test of time.
Whether you’ve tackled small cracks or addressed larger gaps, the process of filling gaps in brick walls has not only rejuvenated the physical structure but has also deepened your connection to the artistry of masonry. As you witness the renewed strength and visual appeal of the brick walls, you’ve become a steward of their legacy, contributing to their ongoing legacy in the architectural landscape.
So, as you conclude this endeavor, take pride in the transformation you’ve achieved and the knowledge you’ve gained. Your brick walls now stand as a testament to the enduring tradition of masonry, embodying both resilience and timeless beauty.
Frequently Asked Questions about How To Fill Gaps In Brick Walls
Was this page helpful?
At Storables.com, we guarantee accurate and reliable information. Our content, validated by Expert Board Contributors, is crafted following stringent Editorial Policies. We're committed to providing you with well-researched, expert-backed insights for all your informational needs.


0 thoughts on “How To Fill Gaps In Brick Walls”