Home>Construction & Tools>Building Materials>How To Install Porch Light On Brick
Building Materials
How To Install Porch Light On Brick
Modified: February 17, 2024
Learn how to install a porch light on brick with our step-by-step guide. Find the best building materials and tips for a successful installation.
(Many of the links in this article redirect to a specific reviewed product. Your purchase of these products through affiliate links helps to generate commission for Storables.com, at no extra cost. Learn more)
Introduction
Welcome to the comprehensive guide on how to install a porch light on brick! Whether you're looking to enhance the curb appeal of your home or increase its security, adding a porch light can make a significant difference. While the process may seem daunting, especially when dealing with brick surfaces, with the right tools, materials, and know-how, you can successfully tackle this project.
Installing a porch light on brick requires careful planning, precise execution, and a good understanding of the necessary steps. In this guide, we will walk you through the process, from assessing the location and choosing the right porch light to preparing the brick surface, installing the mounting bracket, wiring the porch light, attaching the light fixture, and finally, testing the porch light to ensure everything is in working order.
Before we dive into the specifics, it's important to emphasize the significance of safety when working with electrical components and climbing ladders. Always prioritize your well-being and consider consulting a professional if you're unsure about any aspect of the installation process.
By the end of this guide, you'll have the knowledge and confidence to install a porch light on a brick surface, elevating the functionality and aesthetics of your home. So, let's roll up our sleeves and get ready to illuminate your porch with a stunning new light fixture!
Key Takeaways:
- Installing a porch light on brick requires careful planning, precise execution, and a good understanding of the necessary steps. Safety is crucial, and assessing the location and choosing the right porch light are key factors for success.
- Gathering the necessary tools and materials, preparing the brick surface, and wiring the porch light are essential steps in the installation process. Testing the porch light ensures that the fixture functions as intended, providing enhanced functionality and security.
Read more: How To Install Porch Light
Assessing the Location
Before you begin the installation process, it’s crucial to carefully assess the location where you intend to install the porch light. Take a step back and consider the following factors:
- Lighting Needs: Evaluate the specific lighting requirements for your porch. Do you need a bright light to illuminate a large area, or are you looking for a softer, more ambient glow?
- Existing Wiring: Check if there’s existing wiring in the desired location. If not, you may need to consult an electrician to handle the wiring aspect of the installation.
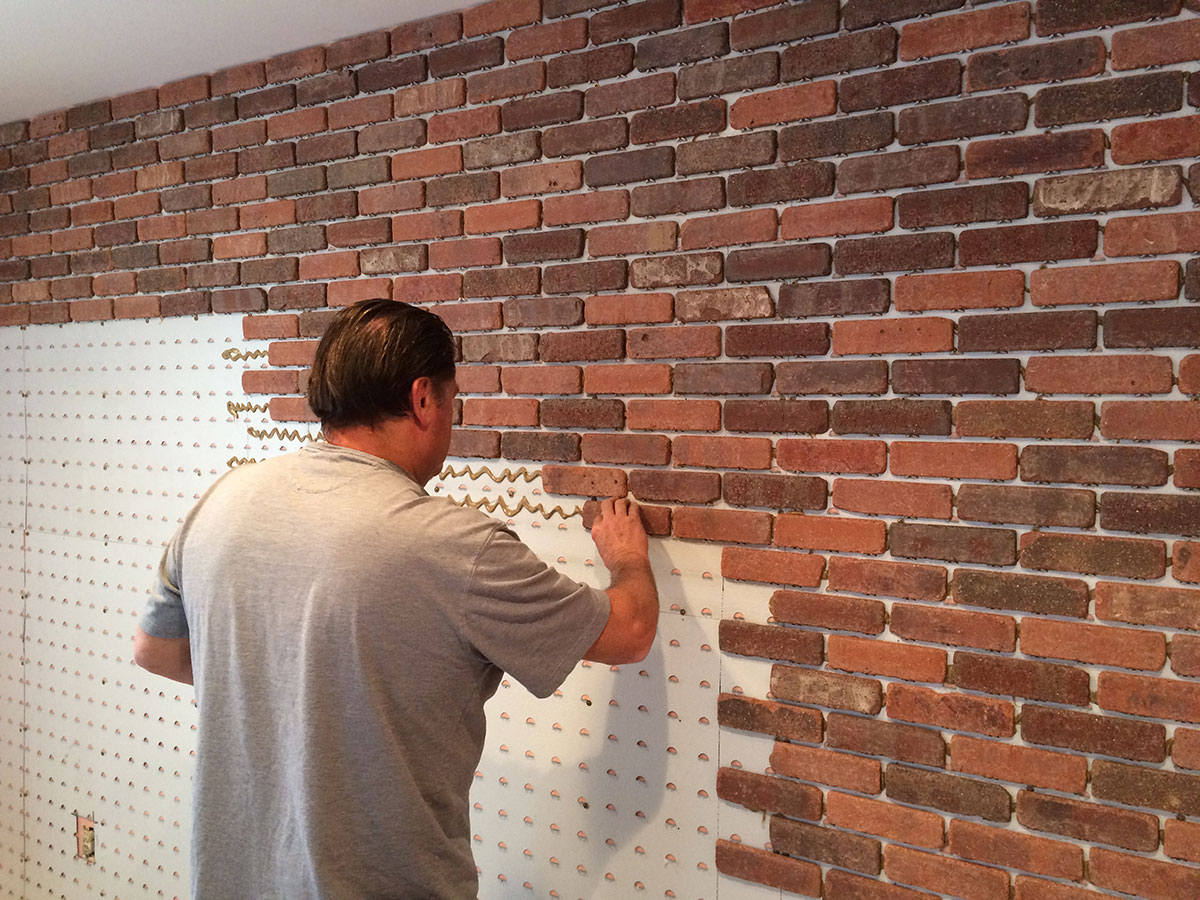
- Brick Condition: Examine the condition of the brick surface where the light will be mounted. Ensure that the bricks are stable and in good shape to support the fixture securely.
- Aesthetic Considerations: Consider the aesthetic impact of the porch light. Will it complement the architectural style of your home? Take into account factors such as color, size, and design.
- Accessibility: Assess the accessibility of the installation area. Will you need a ladder or any special equipment to reach the mounting location safely?
By carefully evaluating these aspects, you can make informed decisions about the type of porch light that will best suit your needs and the specific requirements of the installation location. This initial assessment sets the stage for a successful and visually appealing porch light installation on your brick surface.
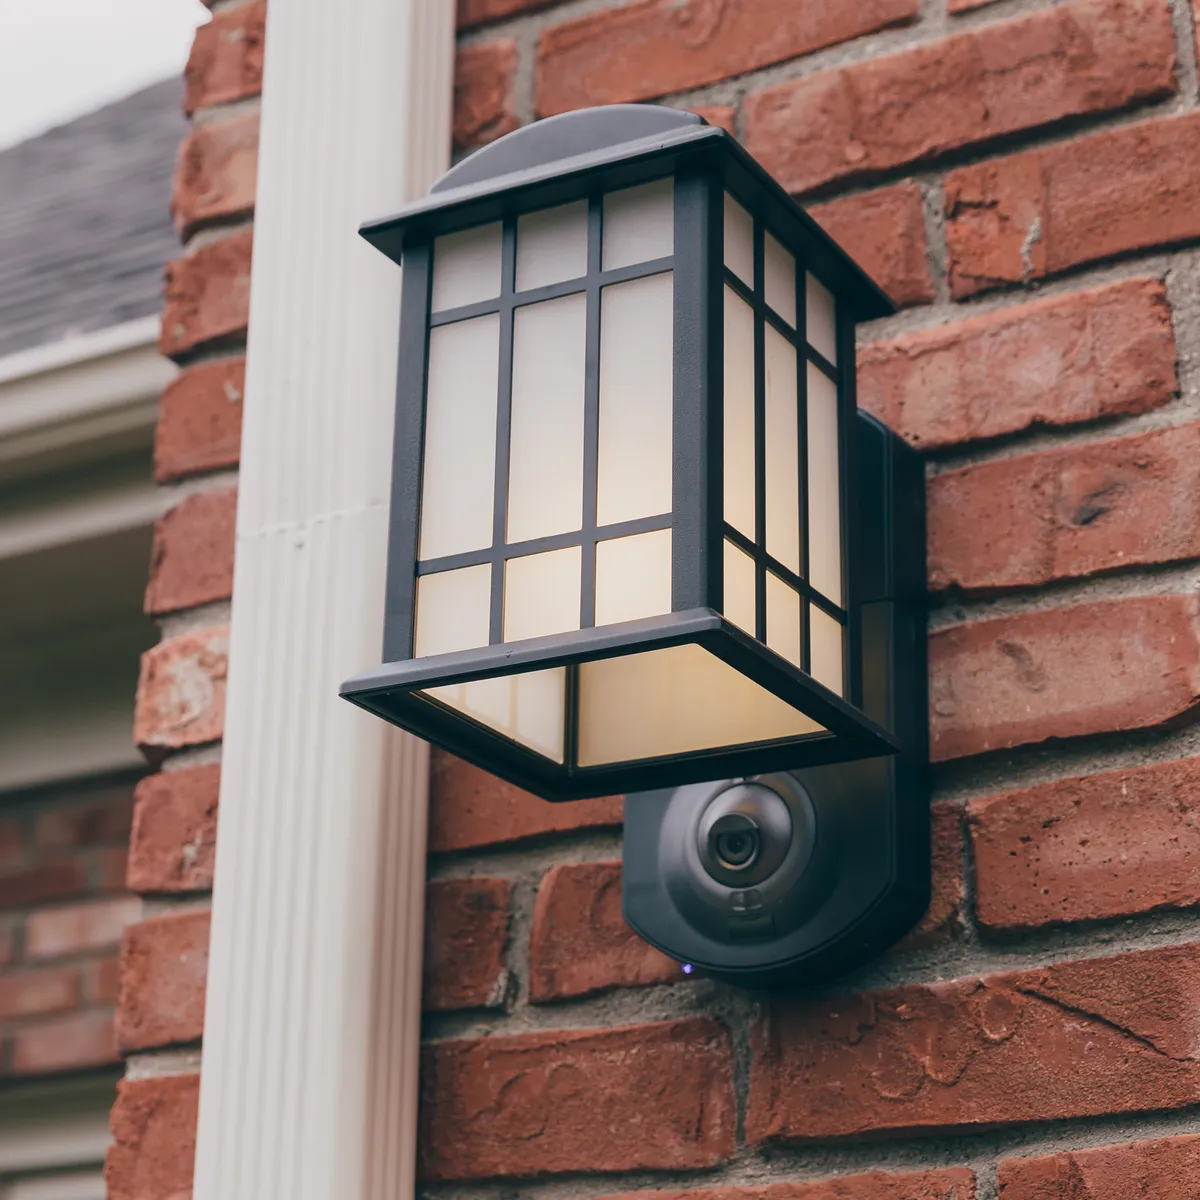
Choosing the Right Porch Light
When it comes to selecting a porch light for your home, there are numerous options to consider. The right porch light not only illuminates your entryway but also adds to the overall aesthetic appeal of your home’s exterior. Here are some key factors to keep in mind when choosing the perfect porch light:
- Style and Design: Consider the architectural style of your home and choose a porch light that complements its design. Whether your home boasts a traditional, modern, or contemporary aesthetic, there are a variety of porch light styles to suit every preference.
- Size and Scale: Ensure that the size of the porch light is proportionate to the space where it will be installed. A small, understated light may get lost on a large facade, while an oversized fixture can overwhelm a smaller entryway.
- Lighting Type: Determine the type of lighting you need. Whether you prefer the warm, inviting glow of incandescent bulbs or the energy-efficient benefits of LED lighting, choose a porch light that aligns with your desired ambiance and energy considerations.
- Finish and Color: Coordinate the finish and color of the porch light with other exterior elements, such as door hardware, house numbers, and outdoor fixtures. Whether you opt for classic black, sleek stainless steel, or a custom color, ensure that the porch light harmonizes with the overall color scheme of your home’s exterior.
- Weather Resistance: Given that the porch light will be exposed to the elements, select a fixture designed to withstand outdoor conditions. Look for weather-resistant materials and finishes that will maintain their appearance and functionality over time.
By carefully considering these factors, you can narrow down your options and choose a porch light that not only meets your practical lighting needs but also enhances the visual appeal of your home’s exterior. The right porch light has the power to elevate the overall look of your entryway, creating a welcoming and well-lit space for you and your guests.
Gathering the Necessary Tools and Materials
Before you embark on the porch light installation, it’s essential to gather all the required tools and materials. Having the right equipment at hand will streamline the installation process and ensure a successful outcome. Here’s a comprehensive list of tools and materials you’ll need:
Tools:
- Drill and Masonry Bits: To create holes in the brick for anchors and wiring.
- Screwdriver Set: Both flathead and Phillips screwdrivers for various fastening needs.
- Adjustable Wrench: For securing nuts and bolts during the installation process.
- Wire Strippers and Cutters: Essential for preparing the electrical wiring.
- Ladder or Step Stool: To access the installation area safely and comfortably.
- Level: Ensures that the porch light is installed straight and aligned correctly.
- Pliers: Useful for gripping and twisting wires and fasteners.
- Utility Knife: For cutting and stripping electrical wires and cables.
- Hammer: To gently tap anchors into the drilled holes in the brick.
Materials:
- Porch Light Fixture: The chosen porch light that meets your style and lighting requirements.
- Mounting Bracket and Hardware: Typically included with the porch light or available separately if needed.
- Electrical Wire and Wire Nuts: Ensure you have the appropriate gauge and length for the wiring connections.
- Anchors and Screws: Designed for masonry applications to securely mount the light fixture.
- Bulbs: If not included with the porch light, select the appropriate bulbs based on the fixture's specifications.
- Electrical Tape: For insulating wire connections and providing added protection.
- Caulk or Sealant: Weatherproof sealant for filling gaps and ensuring a watertight installation.
By ensuring that you have all the necessary tools and materials on hand, you’ll be well-prepared to tackle the installation process efficiently and effectively. With everything in place, you can proceed with confidence, knowing that you have what you need to complete the project seamlessly.
Preparing the Brick Surface
Before you can begin installing the porch light, it’s essential to prepare the brick surface to ensure a secure and stable mounting. Proper preparation will also contribute to the longevity and visual appeal of the installation. Here’s a step-by-step guide to preparing the brick surface:
- Marking the Mounting Holes: Position the mounting bracket on the brick surface and mark the locations for the mounting holes using a pencil or marker. Ensure that the bracket is level and aligned as desired.
- Drilling Pilot Holes: Using a masonry drill bit, carefully drill pilot holes at the marked locations. It’s important to select a drill bit size that matches the diameter of the anchors you’ll be using.
- Inserting Anchors: Gently tap masonry anchors into the pilot holes using a hammer. Ensure that the anchors are flush with the surface of the brick and securely seated.
- Sealing the Drill Holes: Apply a small amount of caulk or sealant around the edges of the drilled holes to create a watertight seal and prevent moisture from seeping into the brick.
By following these steps, you’ll effectively prepare the brick surface for the installation of the porch light. Properly securing the mounting bracket to the brick ensures that the fixture will be stably and safely attached, ready to provide illumination and enhance the aesthetic appeal of your home’s exterior.
Installing the Mounting Bracket
With the brick surface prepared, it’s time to proceed with installing the mounting bracket for the porch light. The mounting bracket serves as the foundation for securing the light fixture to the brick surface. Follow these steps to install the mounting bracket securely:
- Aligning the Bracket: Position the mounting bracket over the drilled pilot holes, ensuring that it is level and aligned as per your markings.
- Attaching the Bracket: Using suitable masonry screws or anchors, fasten the mounting bracket to the brick surface. Ensure that the screws are tightened securely, but be cautious not to overtighten, which could damage the brick.
- Verifying Stability: Once the bracket is attached, give it a gentle tug to ensure that it is firmly secured to the brick surface. Any movement or instability should be addressed before proceeding.
By following these steps, you’ll successfully install the mounting bracket, providing a stable and reliable base for mounting the porch light fixture. With the bracket securely in place, you’re now ready to proceed with the next phase of the installation process: wiring the porch light.
When installing a porch light on brick, use a masonry drill bit to create pilot holes for the screws. Insert plastic anchors into the holes before attaching the light fixture to ensure a secure and stable installation.
Wiring the Porch Light
With the mounting bracket securely installed, the next crucial step in the porch light installation process is wiring the fixture. Proper wiring is essential to ensure that the porch light functions safely and effectively. Follow these steps to wire the porch light:
- Turn Off Power: Before handling any electrical components, turn off the power to the existing light fixture or the designated electrical circuit at the breaker box. Use a voltage tester to confirm that the power is indeed off before proceeding.
- Prepare the Wires: If the porch light requires assembly, follow the manufacturer’s instructions to prepare the wires and ensure that they are ready for connection.
- Connect the Wires: Carefully connect the corresponding wires from the porch light to the existing electrical wires. Typically, this involves connecting the black (hot) wires, white (neutral) wires, and, if present, green or bare copper (ground) wires. Use wire nuts to secure the connections and electrical tape to insulate them.
- Tuck and Secure Wires: Once the connections are made, carefully tuck the wires into the electrical box and ensure that they are not pinched or strained. Secure any excess wire neatly within the box.
- Attach the Porch Light: With the wiring in place, carefully mount the porch light fixture onto the installed mounting bracket. Follow the manufacturer’s instructions for securing the fixture in place.
By following these steps, you’ll successfully wire the porch light, ensuring that it is safely and securely connected to the electrical supply. With the wiring complete, you’re now ready to proceed with attaching the light fixture and conducting the final testing to ensure that your new porch light illuminates your entryway beautifully.
Read more: How To Clean A Brick Porch
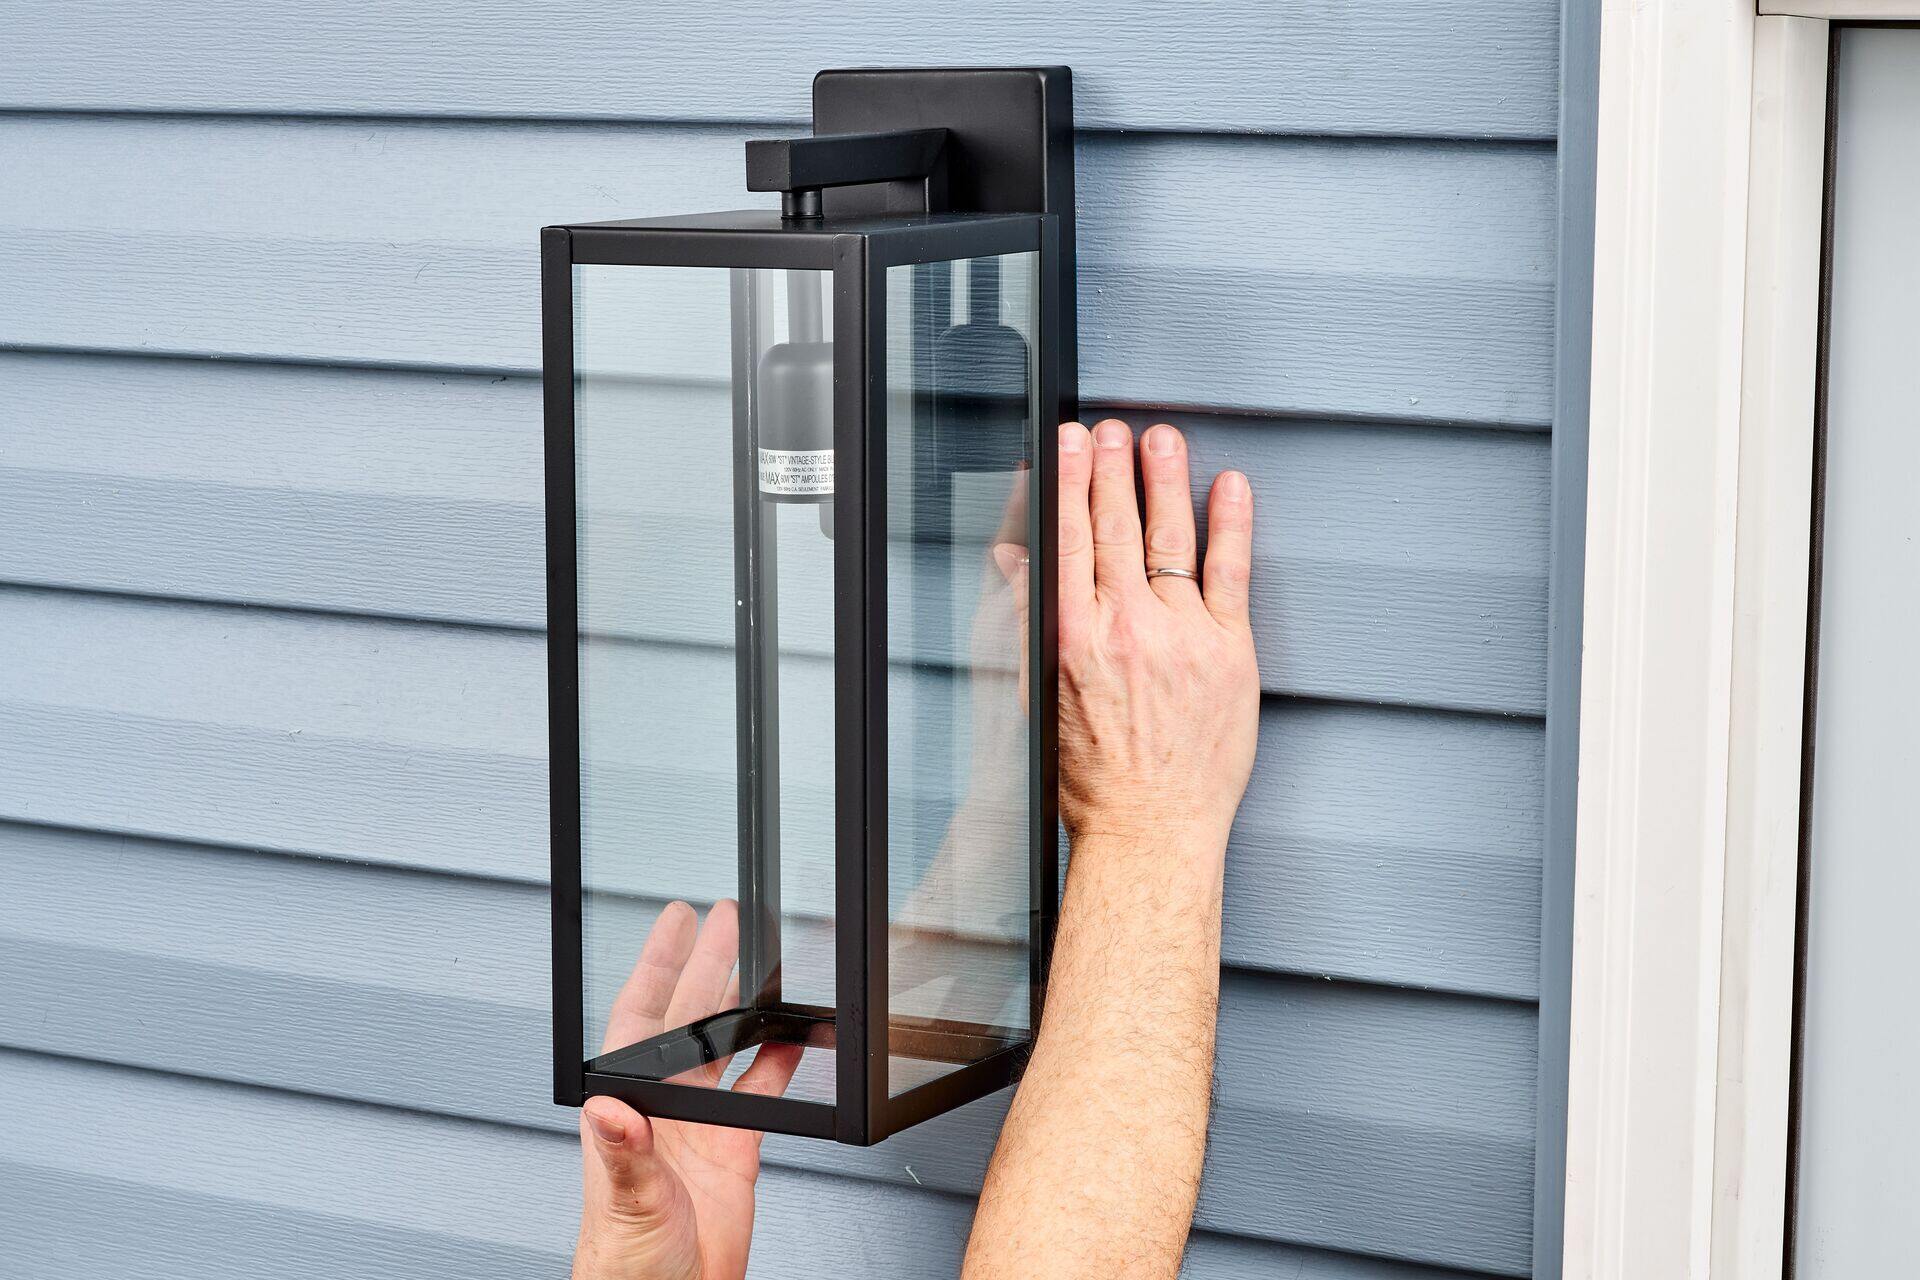
Attaching the Light Fixture
With the porch light wired and the mounting bracket securely in place, the final step in the installation process is attaching the light fixture. This step brings the project to fruition, transforming the functional wiring and mounting preparations into a visually appealing and illuminating addition to your home’s exterior. Follow these steps to attach the light fixture:
- Positioning the Fixture: Carefully position the light fixture over the mounting bracket, ensuring that it aligns correctly and that any mounting screws or bolts line up with the corresponding holes on the fixture.
- Securing the Fixture: Using the provided screws or bolts, secure the light fixture to the mounting bracket. Ensure that the fixture is snug and aligned properly, making any necessary adjustments to achieve the desired positioning.
- Finishing Touches: Once the light fixture is securely attached, make any final adjustments to ensure that it is level and aligned with the surrounding architecture. Tighten any remaining screws or bolts and remove any protective film or coverings from the fixture’s surfaces.
With the light fixture successfully attached, take a moment to admire your handiwork. The porch light now stands as a functional and visually appealing addition to your home’s exterior, ready to welcome guests and provide illumination for your entryway.
Testing the Porch Light
With the porch light fully installed, it’s time to conduct a thorough test to ensure that the fixture functions as intended. This final step in the installation process allows you to verify that the wiring is correct, the fixture illuminates properly, and any motion sensors or other features operate as expected. Follow these steps to test the porch light:
- Restore Power: If you turned off the power during the installation process, restore power to the porch light at the breaker box. With the power back on, the porch light should be ready to test.
- Check the Switch: Head inside and flip the switch that controls the porch light. Verify that the fixture turns on and off as expected. If the porch light includes multiple settings or features, test each one to ensure proper functionality.
- Adjust Motion Sensors (If Applicable): If your porch light includes motion sensors, adjust the settings and test their responsiveness. Walk within the sensor’s range to confirm that the light activates when motion is detected and turns off after a set period of inactivity.
- Inspect the Illumination: Step outside and assess the illumination provided by the porch light. Verify that the light adequately illuminates the intended area and that there are no flickering or dimming issues. If the porch light includes adjustable brightness or angle settings, make any necessary adjustments to suit your preferences.
By conducting a thorough test of the porch light, you can ensure that the installation has been completed successfully and that the fixture operates as intended. With the testing phase complete, you can now enjoy the enhanced functionality, security, and visual appeal that your new porch light brings to your home’s exterior.
Conclusion
Congratulations on successfully installing a porch light on your brick surface! By following the comprehensive steps outlined in this guide, you’ve not only added a functional and visually appealing element to your home’s exterior but also gained valuable insights into the installation process. As you stand back and admire the warm glow of your new porch light, take a moment to appreciate the effort and attention to detail that went into this project.
Installing a porch light on brick may have presented its challenges, but your careful planning, meticulous preparation, and precise execution have resulted in a seamless and rewarding experience. The end result is not just a well-lit entryway but a testament to your DIY prowess and commitment to enhancing your home.
As you bask in the welcoming ambiance of your new porch light, remember the importance of safety and diligence throughout the installation process. Whether it’s assessing the location, choosing the right porch light, or meticulously wiring the fixture, your dedication to a job well done has paid off in creating a beautiful and functional addition to your home.
With your porch light now illuminating your entryway, you’ve not only enhanced the curb appeal of your home but also added an extra layer of security and convenience. The warm glow that greets you and your guests as you approach your home is a testament to the care and attention you’ve invested in this project.
So, as day turns to night, and your porch light casts its inviting glow, take pride in the knowledge that you’ve successfully installed a porch light on a brick surface, elevating the aesthetics and functionality of your home’s exterior. Your efforts have not only brightened your entryway but have also illuminated the path to future DIY triumphs.
Frequently Asked Questions about How To Install Porch Light On Brick
Was this page helpful?
At Storables.com, we guarantee accurate and reliable information. Our content, validated by Expert Board Contributors, is crafted following stringent Editorial Policies. We're committed to providing you with well-researched, expert-backed insights for all your informational needs.


0 thoughts on “How To Install Porch Light On Brick”