
Articles
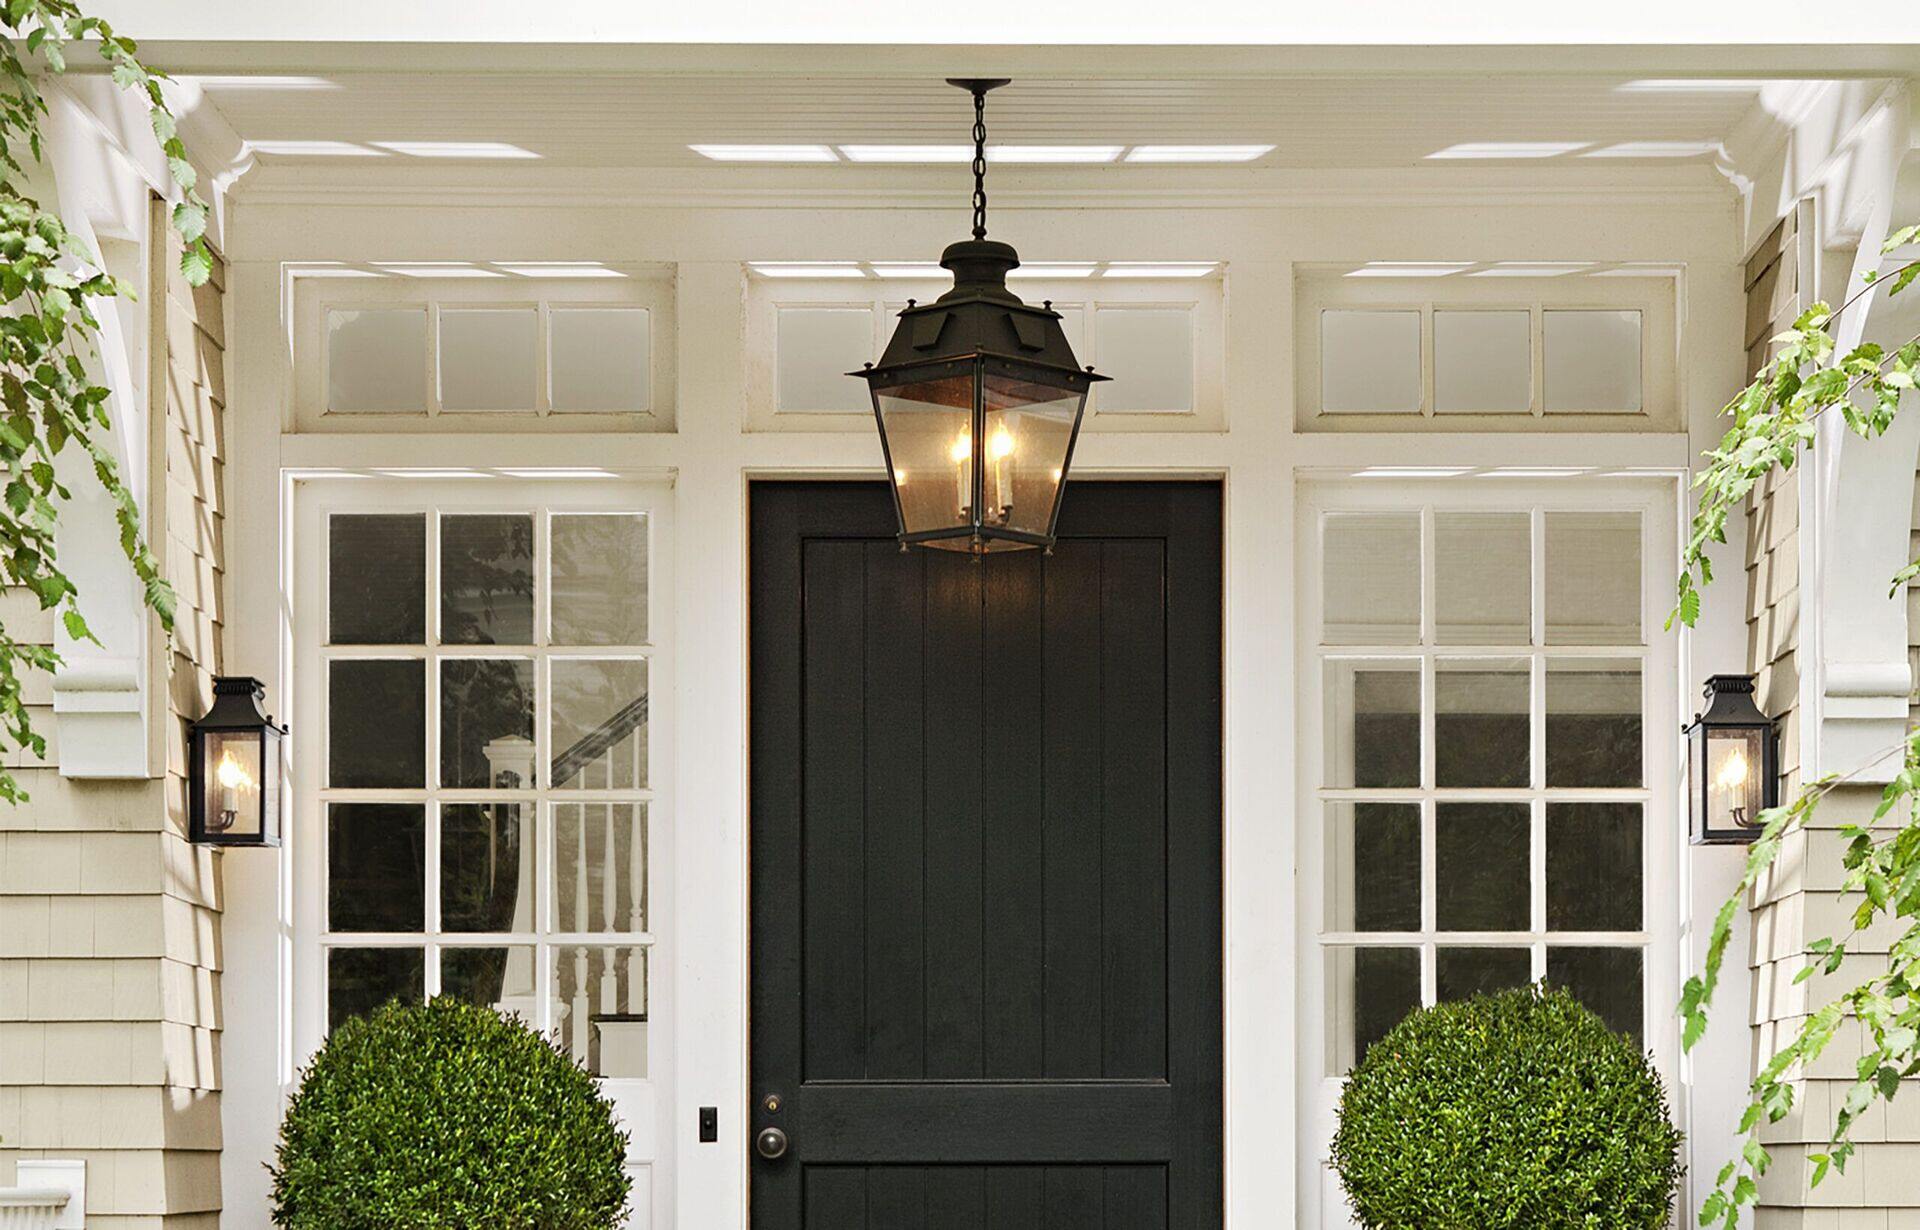
How To Install Porch Light
Modified: October 19, 2024
Learn how to install a porch light with step-by-step instructions and helpful tips in this informative article. Enhance the exterior of your home with a new porch light installed by following our expert advice.
(Many of the links in this article redirect to a specific reviewed product. Your purchase of these products through affiliate links helps to generate commission for Storables.com, at no extra cost. Learn more)
Introduction
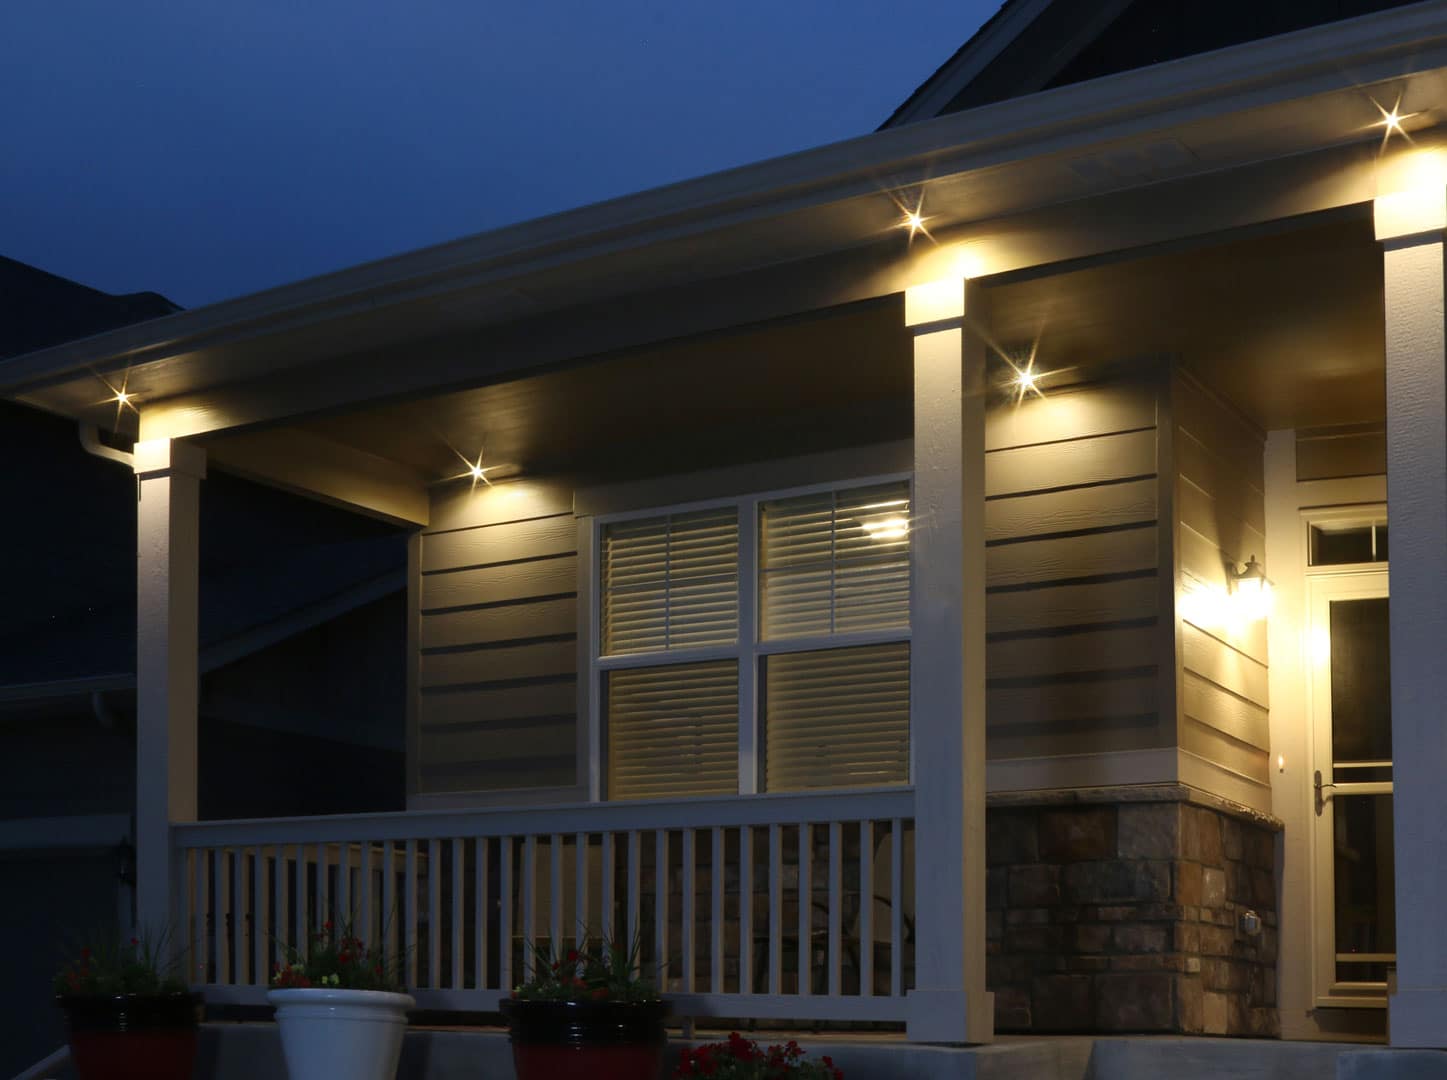
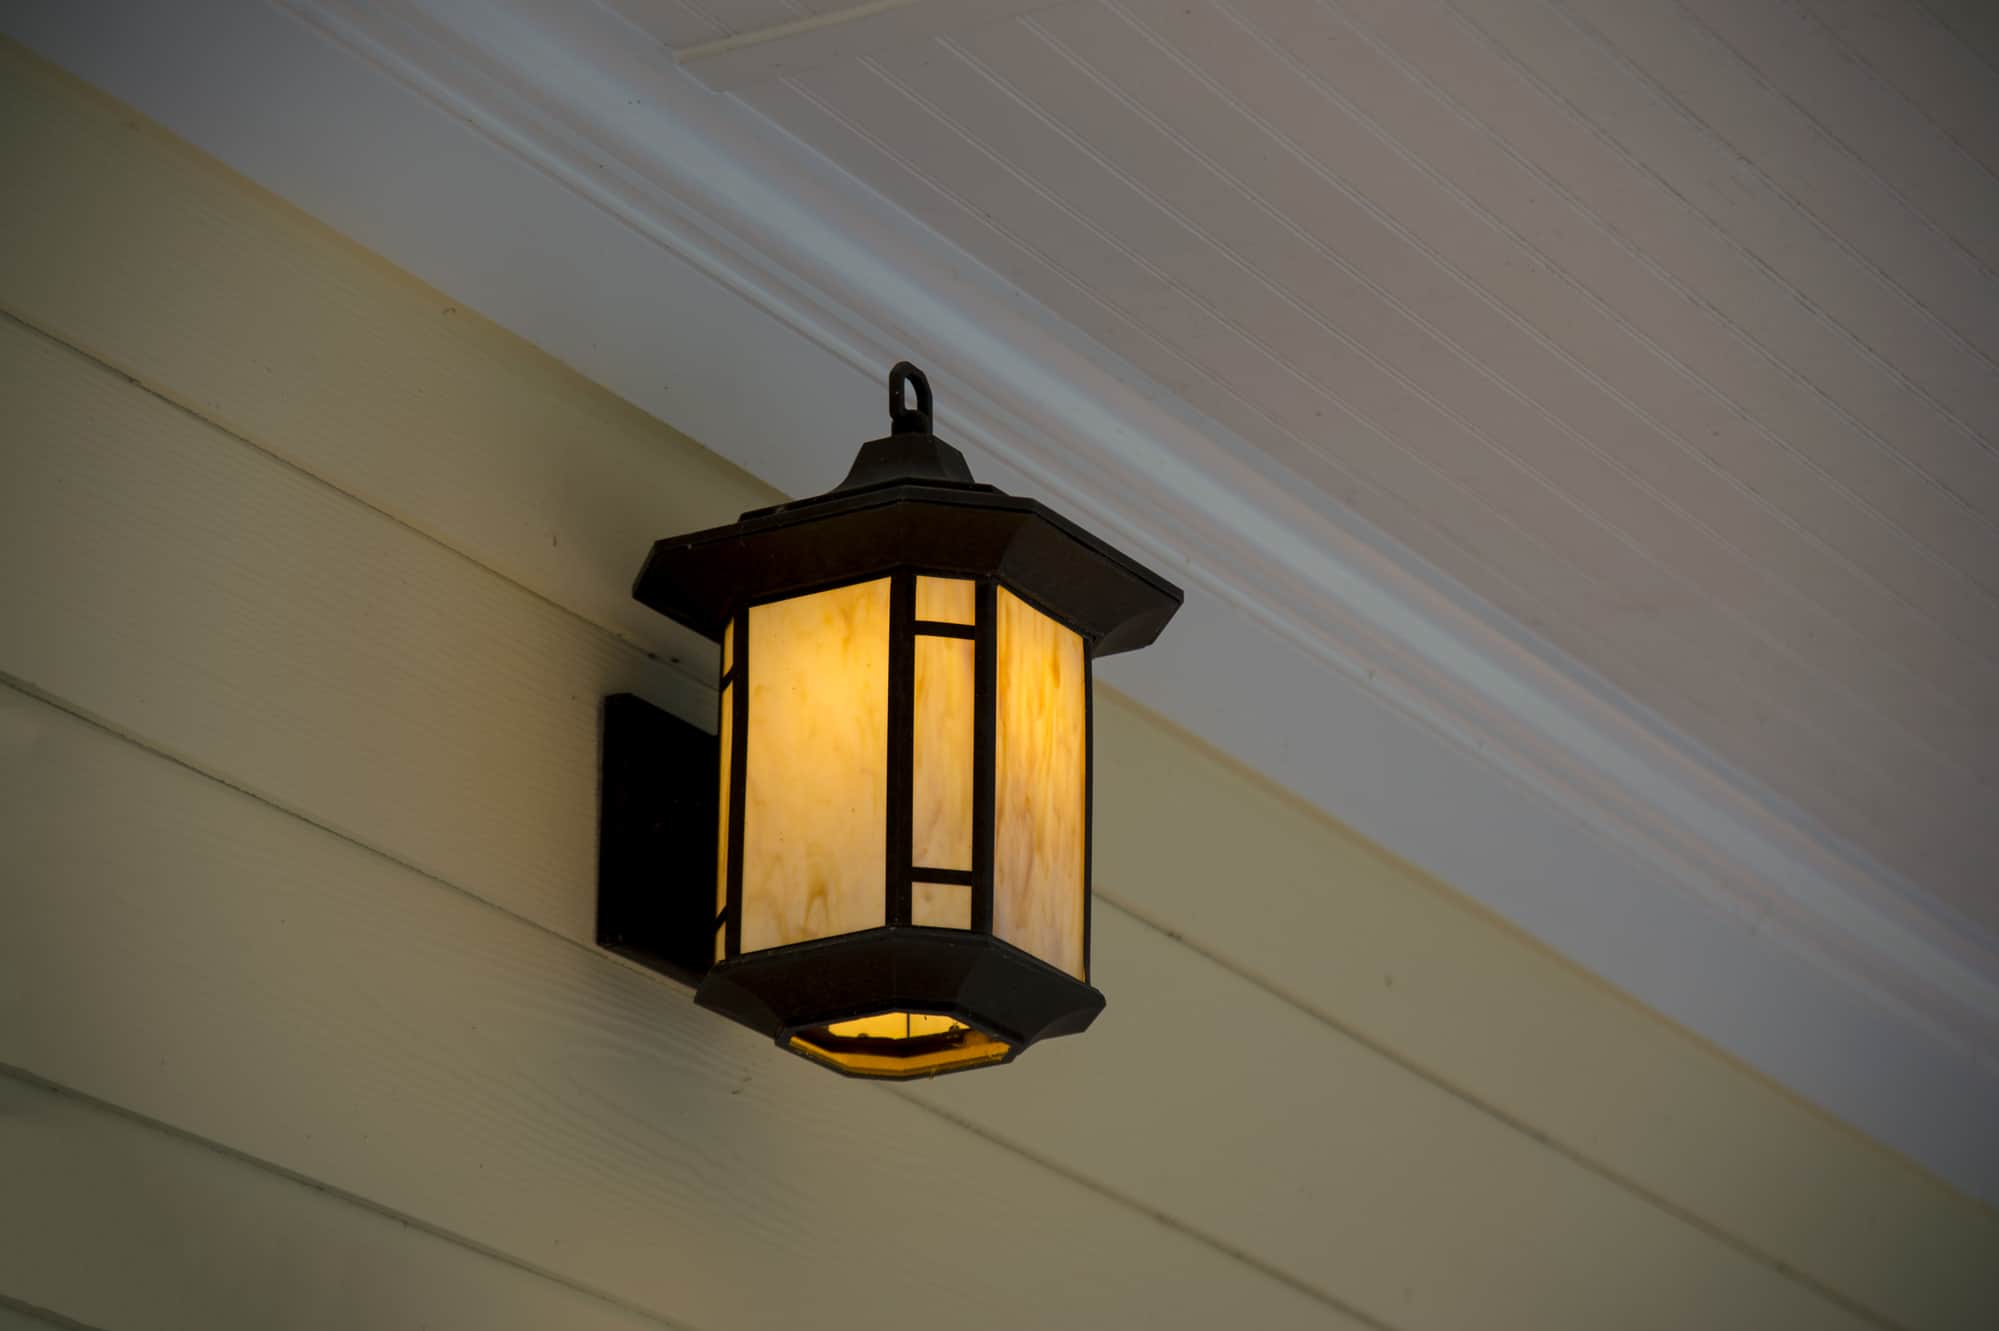
Installing a porch light can instantly transform the look and feel of your home’s exterior. Not only does it provide additional safety and security by illuminating your porch and entrance area, but it also adds a touch of charm and curb appeal.
If you’re a DIY enthusiast looking to take on a new project or simply want to upgrade your existing porch light fixture, you’ve come to the right place. In this step-by-step guide, we will walk you through the process of installing a porch light.
Before we dive into the installation process, it’s important to ensure that you have the necessary tools and materials handy. This will make the installation smoother and more efficient, saving you time and frustration.
So, let’s gather our tools and materials and get started on this exciting project!
Key Takeaways:
- Installing a porch light not only enhances safety and curb appeal but also provides a rewarding DIY project. Prioritize safety, gather tools, and follow the step-by-step guide for a successful installation.
- From turning off power to testing the new fixture, the porch light installation process requires attention to detail and patience. Enjoy the benefits of a well-lit and welcoming porch area after completing the project.
Read more: How To Install Porch Columns
Step 1: Gather the Necessary Tools and Materials
Before you begin installing your porch light, it’s essential to gather all the tools and materials you’ll need. This will ensure that you have everything within reach, saving you from unnecessary trips to the hardware store.
Here is a list of the tools and materials you’ll need:
- Screwdriver – to remove the existing fixture and attach the new one.
- Wire cutters/strippers – for trimming and stripping the electrical wires.
- Electrical tape – for insulating wire connections.
- Wire nuts – to secure the wire connections.
- Ladder or step stool – to reach the porch light fixture.
- Flashing kit – if required to weatherproof the installation.
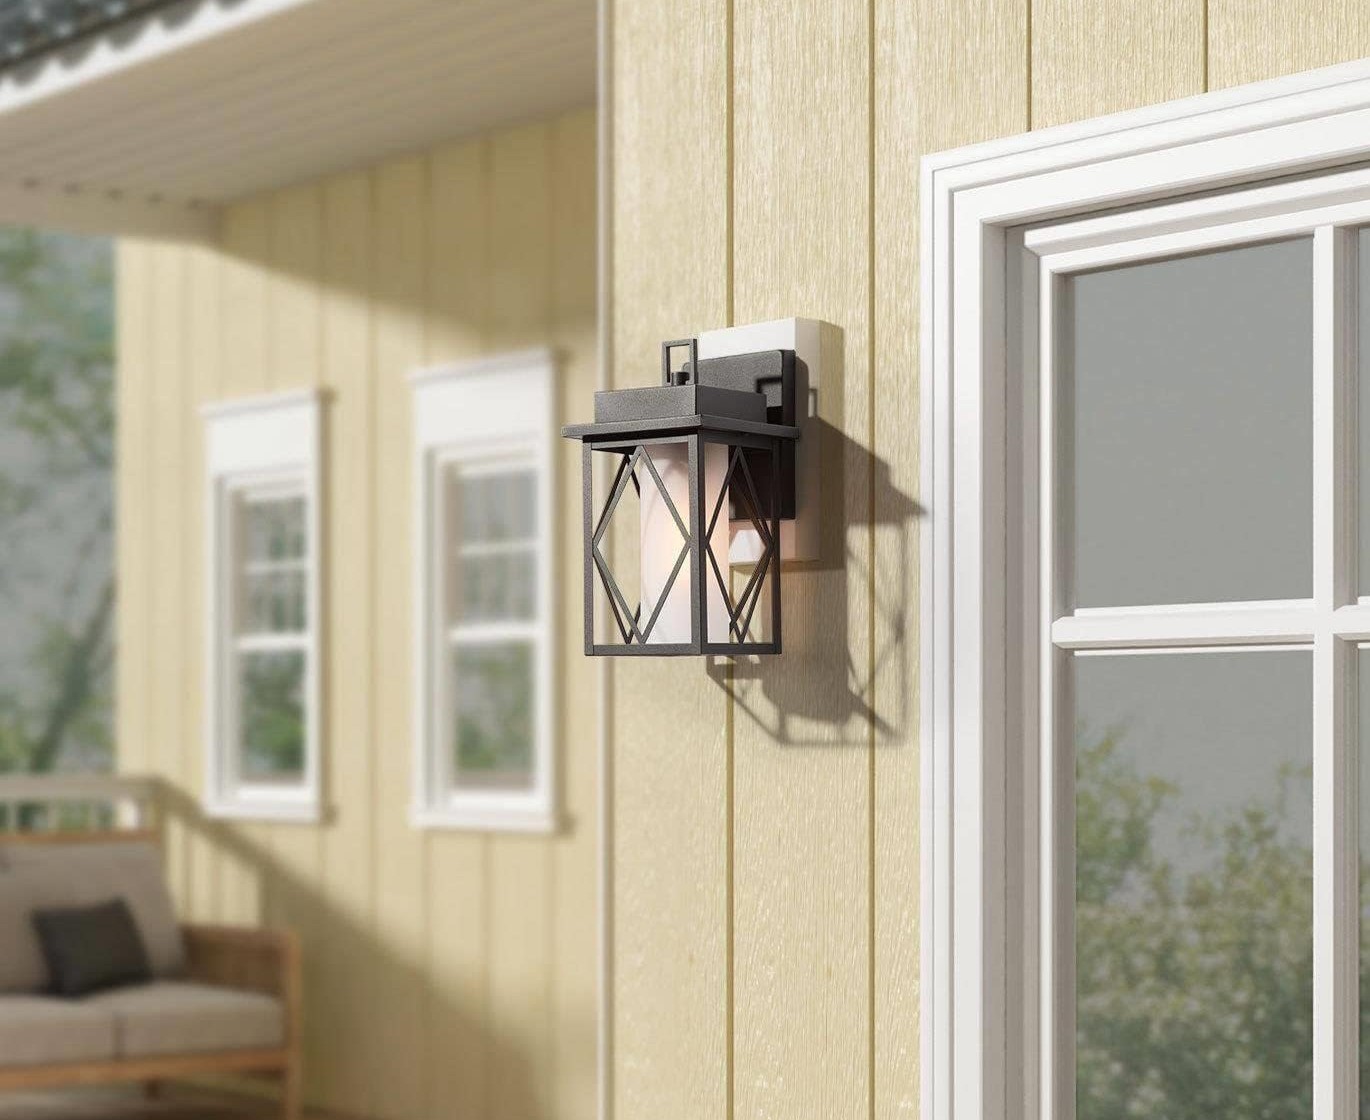
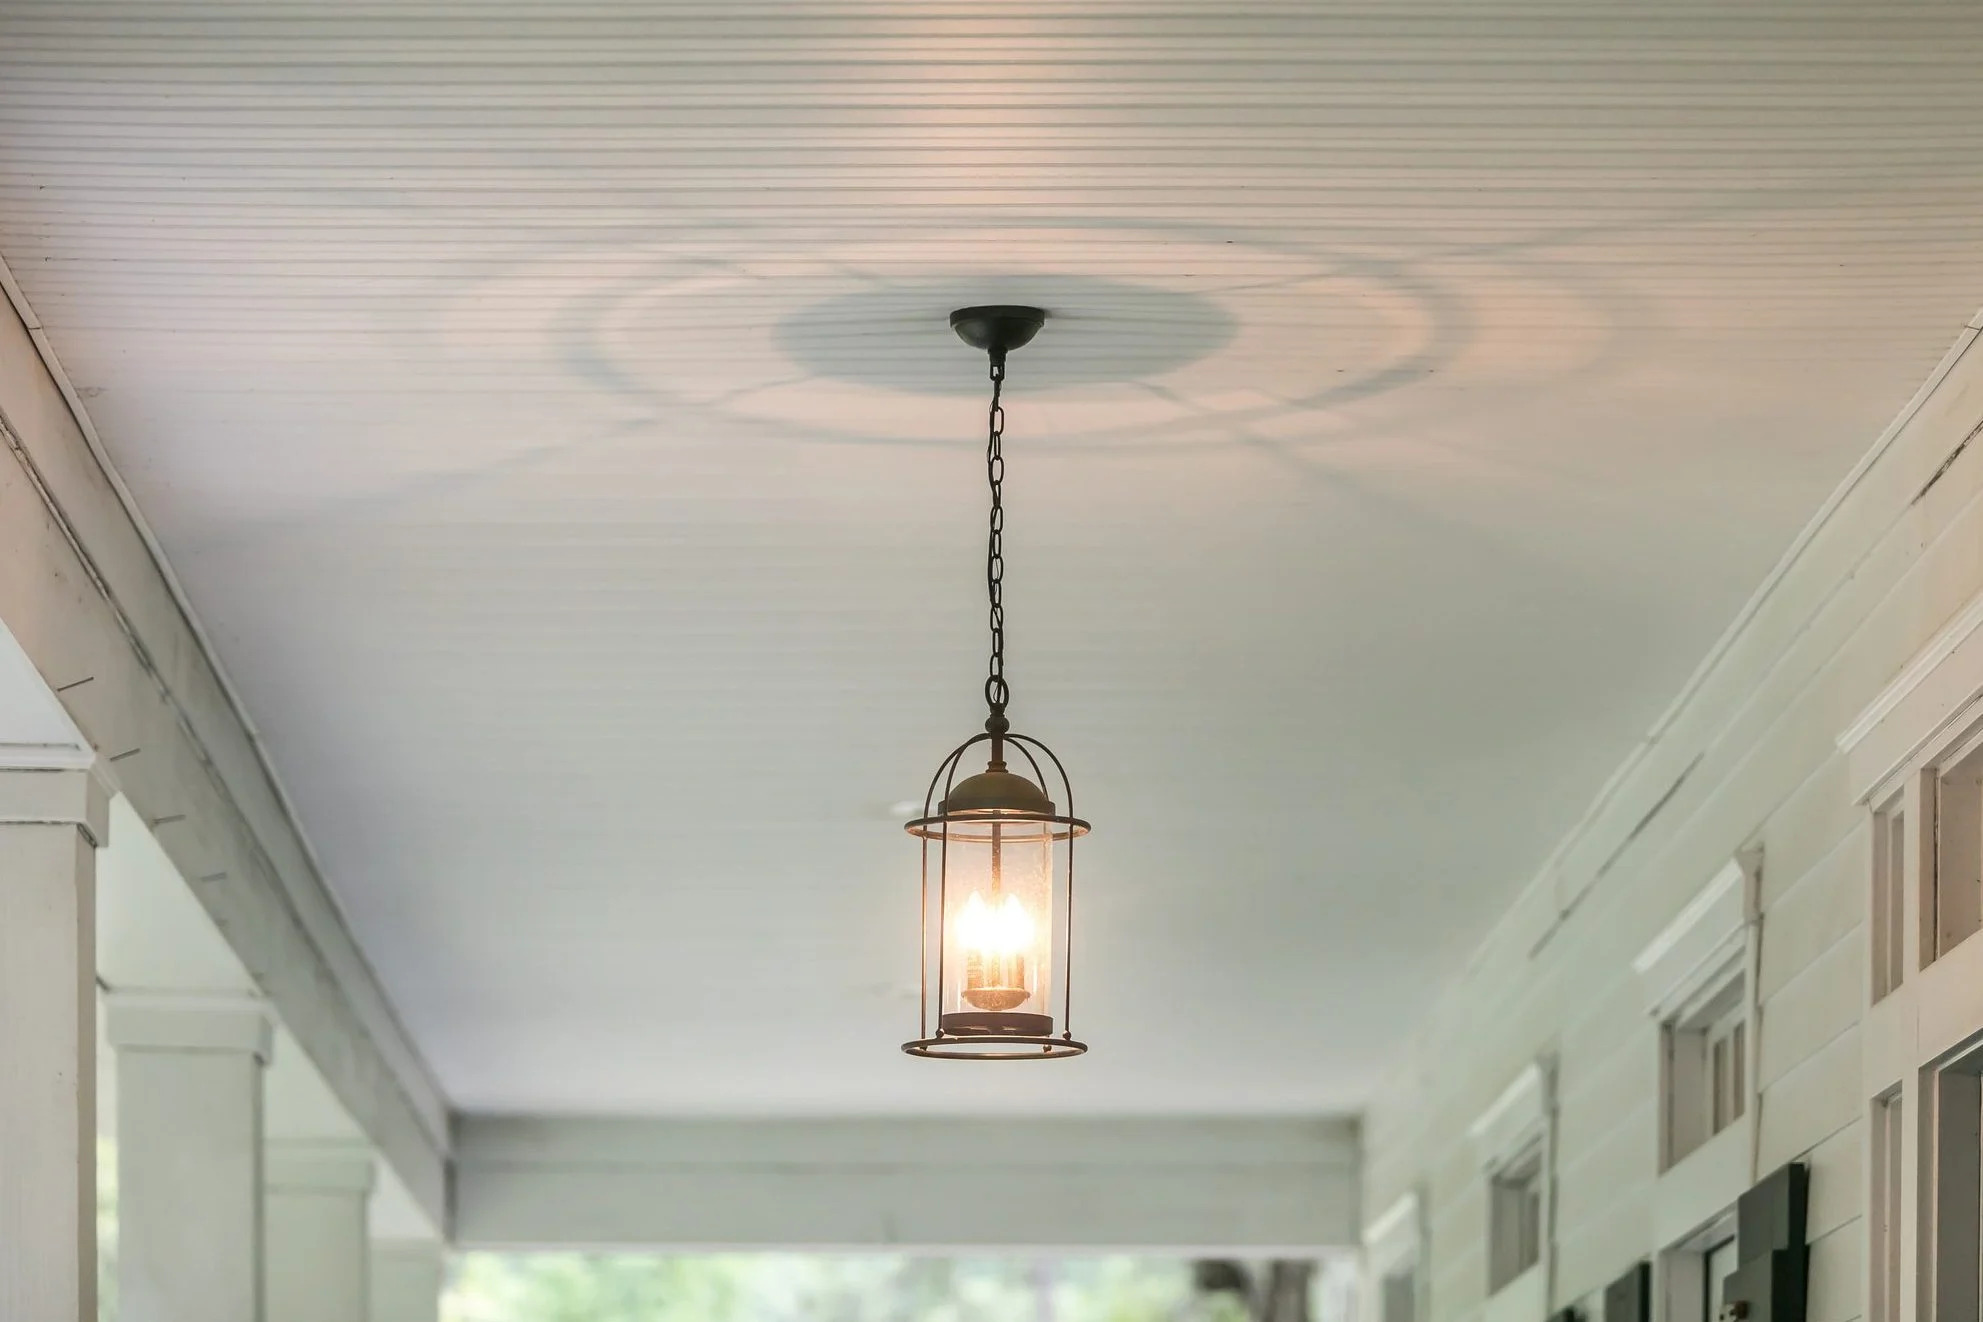
- New porch light fixture – choose one that suits your style and meets safety requirements.
- Bulb(s) – select the appropriate wattage and type for your porch light fixture.
It’s always a good idea to double-check the manufacturer’s instructions for any additional tools or materials specific to your chosen porch light fixture.
Once you have gathered all the necessary tools and materials, you can move on to the next step – turning off power to the porch light.
Step 2: Turn Off Power to the Porch Light
Before you begin working on your porch light, it is crucial to ensure your safety by turning off the power to the fixture. This will prevent any accidents or electrical shocks while handling the wiring.
To turn off the power, locate your home’s electrical breaker box. It is usually found in the basement, garage, or utility room. Open the breaker box panel and look for the circuit breaker labeled “porch light” or “outdoor lighting.”
Flip the corresponding circuit breaker to the “off” position. It is essential to double-check that the power is completely shut off by testing the porch light switch. If the light still turns on, return to the breaker box and try flipping the circuit breaker again.
Once you are absolutely certain that the power to the porch light is turned off, it is safe to proceed with the installation process.
Remember, electrical safety should always be a top priority. If you are uncomfortable or unsure about working with electrical wiring, it is recommended to seek professional assistance.
Now that the power is off, you can move on to removing the existing porch light fixture in the next step.
Step 3: Remove the Existing Porch Light Fixture
Now that the power to the porch light is turned off, it’s time to remove the existing fixture. This step involves disconnecting the wiring and detaching the fixture from the mounting bracket.
Start by unscrewing any screws or bolts that hold the fixture in place. Carefully remove the screws and set them aside, as you’ll need them later to secure the new fixture.
Once the screws are removed, gently pull the fixture away from the mounting bracket. Be cautious not to yank or tug on the wires, as they are still connected to the electrical source.
With the fixture detached from the mounting bracket, you can now access the wiring. Identify the wire connections – typically a black (hot) wire, a white (neutral) wire, and a green or copper (ground) wire.
Using your wire cutters or wire strippers, carefully disconnect the wire connections by removing the wire nuts. Untwist the wire nuts in a counterclockwise direction and separate the wires.
Once the wire connections are disconnected, remove the old fixture completely and set it aside. Take this opportunity to clean the mounting bracket and surrounding area, removing any debris or dirt that may have accumulated over time.
With the existing porch light fixture removed, you’re ready to move on to the next step – testing the wires for power.
Step 4: Test the Wires for Power
Before proceeding with the installation of the new porch light fixture, it is essential to test the wires for power. This step ensures that the electrical circuit is properly turned off and there is no risk of electric shock.
To test the wires, you will need a non-contact voltage tester. This handy tool allows you to detect the presence of electrical current without making direct contact with the wires.
Follow these steps to test the wires for power:
- Turn on the non-contact voltage tester and hold it near each wire. The tool will indicate if there is any electrical current present by emitting a visual or audible signal.
- Start with the black wire, which is typically the hot wire. Hold the voltage tester close to the end of the wire and observe the reading. If the tester does not detect any voltage, it means the wire is safe to work with.
- Repeat the process with the white wire, which is the neutral wire. The voltage tester should once again indicate that there is no power.
- Finally, test the green or copper wire, which is the ground wire. As with the previous wires, the voltage tester should show no voltage.
If the non-contact voltage tester detects any voltage on the wires, it means that the power to the porch light is still active. In this case, return to the breaker box and double-check that the corresponding circuit breaker is switched off.
Once you have confirmed that there is no power running through the wires, you can move on to the next step – mounting the new porch light fixture.
Before installing a porch light, make sure to turn off the power at the breaker to avoid any electrical accidents. Always use a voltage tester to double-check that the power is off before starting the installation.
Read more: How To Replace Porch Light
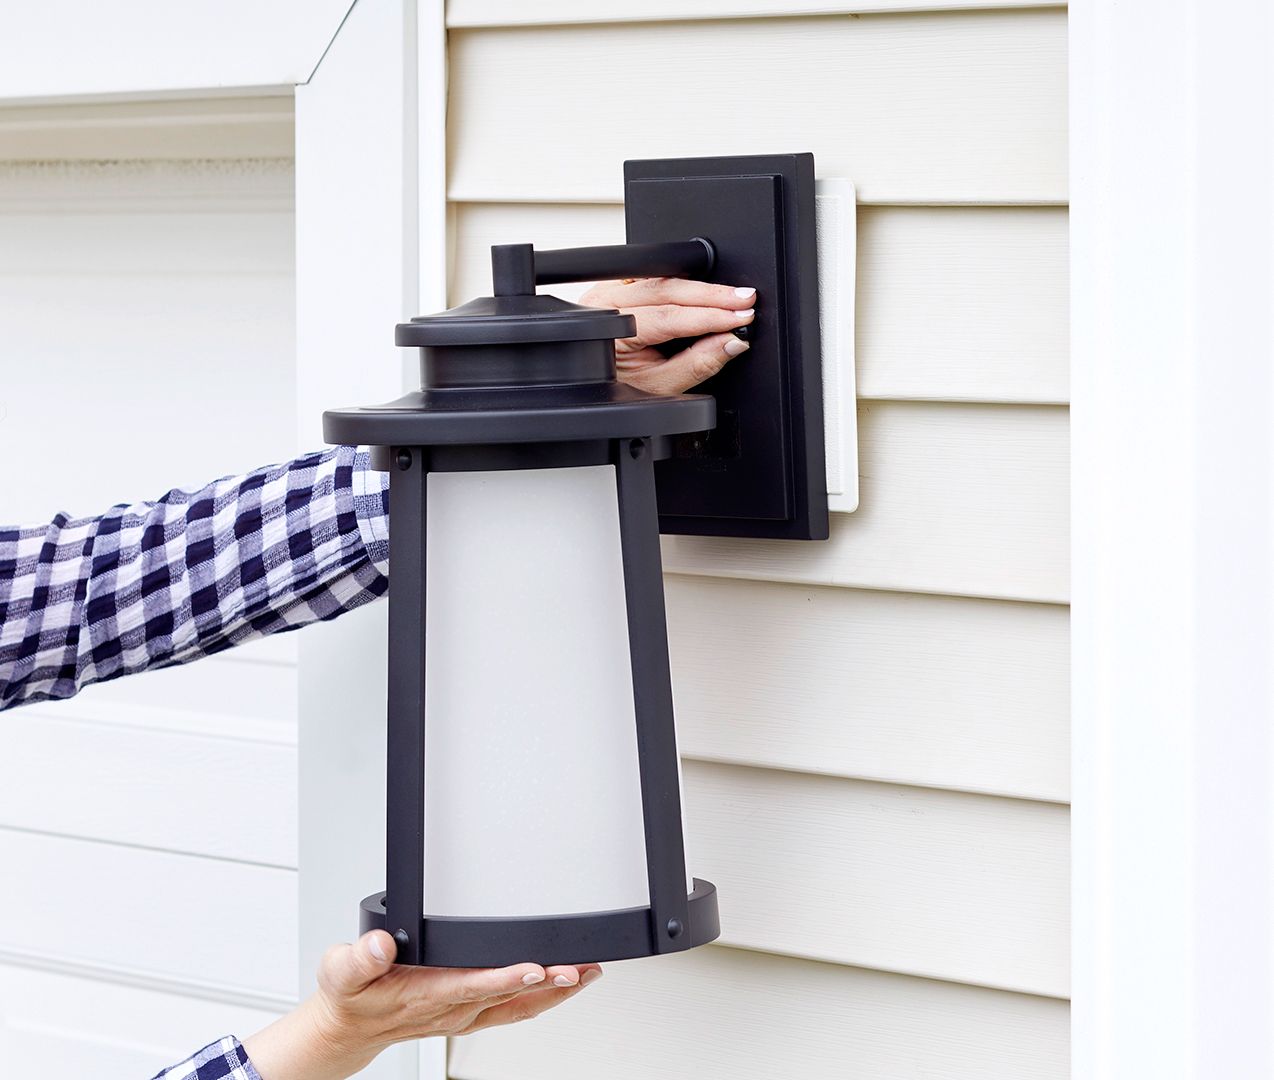
Step 5: Mount the New Porch Light Fixture
With the wiring tested and confirmed to be safe, it’s time to mount the new porch light fixture. Proper installation ensures that the fixture is securely attached to the mounting bracket and aligns correctly with your porch area.
Follow these steps to mount the new porch light fixture:
- Take the new fixture and align it with the screw holes on the mounting bracket. Line up the holes on the fixture with the ones on the bracket.
- Insert the screws through the screw holes on the fixture and into the holes on the mounting bracket. Using a screwdriver, tighten the screws to secure the fixture in place. Ensure that the fixture is level and flush against the mounting bracket.
- Check that the fixture is stable and doesn’t wobble. If needed, adjust the screws to ensure a secure fit.
- If your fixture includes a gasket or seal, place it between the fixture and the wall surface. This helps to weatherproof the installation and prevent moisture from seeping in.
- If required, attach any additional components or decorative elements included with your porch light fixture according to the manufacturer’s instructions.
Once the new fixture is securely mounted, take a step back and visually inspect the installation. Ensure that the fixture is positioned correctly and looks aesthetically pleasing.
Now that the fixture is mounted, it’s time to move on to the next step – connecting the wires to the new fixture.
Step 6: Connect the Wires to the New Fixture
Now that the new porch light fixture is securely mounted, it’s time to connect the wires. Properly connecting the wires ensures that the fixture functions correctly and safely.
Follow these steps to connect the wires to the new fixture:
- Start by matching the wire colors: black to black, white to white, and green (or copper) to green or bare copper.
- If the fixture has pre-attached wires, carefully feed them through the wire opening in the backplate or base of the fixture.
- For each wire connection, strip about half an inch of insulation from the end of the wire using wire strippers. This will expose the bare wire for making the connection.
- Twist the bare end of the black wire from the fixture together with the black wire from the electrical box in a clockwise direction.
- Place a wire nut over the twisted wires and twist it clockwise until it is secure. Ensure that the nut covers all exposed wire ends for a safe and secure connection.
- Repeat the process for the white (neutral) wires and the green (ground) wires.
Double-check each wire connection to ensure they are secure, properly insulated, and free of any exposed wire. If necessary, use electrical tape to further insulate the wire nuts for added safety.
Once the wire connections are successfully made and secured, gently tuck the wires into the electrical box and align the backplate or base of the fixture with the mounting bracket.
Now that the wires are properly connected, it’s time to move on to the next step – securing the new fixture in place.
Step 7: Secure the New Fixture in Place
With the wires connected and tucked into the electrical box, it’s time to secure the new porch light fixture in place. This step ensures that the fixture remains stable and firmly attached to the mounting bracket.
Follow these steps to secure the new fixture:
- Align the screw holes on the backplate or base of the fixture with the corresponding holes on the mounting bracket.
- Insert the screws provided with the fixture through the holes and into the bracket. Use a screwdriver to tighten the screws until the fixture is securely fastened.
- Give the fixture a gentle tug to ensure it is stable and properly secured. If there is any wobbling or movement, tighten the screws further.
It’s important to ensure that the fixture is level and aligned with the surrounding area. Take a step back and visually inspect the fixture’s positioning to make any necessary adjustments.
If your fixture includes any additional components such as a shade or decorative cover, attach them according to the manufacturer’s instructions to complete the installation.
Now that the new fixture is securely in place, it’s time to move on to the next step – turning on the power and testing the new porch light.
Step 8: Turn On Power and Test the New Porch Light
Now that the new porch light fixture is installed and secured, it’s time to turn on the power and test the functionality of the light. This final step ensures that everything is working correctly and the fixture is providing the desired illumination.
Follow these steps to turn on the power and test the new porch light:
- Return to the electrical breaker box and locate the circuit breaker that controls the porch light.
- Flip the circuit breaker to the “on” position to restore power to the porch light fixture.
- Move back to the porch area and flip the light switch to the “on” position. The new porch light should illuminate.
- Observe the light to ensure it has the desired brightness and provides adequate coverage for your porch area.
- If the light doesn’t turn on, double-check the connections and ensure that the power is properly restored at the breaker box.
- Test the light switch by turning it on and off a few times to ensure it is functioning correctly.
If the new porch light is functioning properly, congratulations! You have successfully installed a new porch light fixture. Take a moment to admire your handiwork and enjoy the improved aesthetic and functionality it brings to your home.
If, after testing, you encounter any issues with the porch light, review the installation steps and check the connections. It’s possible that a loose connection or wiring issue may be causing the problem. If troubleshooting doesn’t resolve the issue, consider seeking assistance from a qualified electrician.
With the new porch light successfully installed and tested, you can now sit back and bask in the warm glow of your beautifully illuminated porch area.
Congratulations on completing the installation of your porch light fixture!
Read more: How To Install Porch Post On Concrete
Conclusion
Installing a porch light can be a rewarding DIY project that enhances the safety, security, and aesthetic appeal of your home’s exterior. By following the step-by-step guide outlined in this article, you gained the knowledge and skills needed to successfully install a new porch light fixture.
Throughout the installation process, we covered important steps such as gathering the necessary tools and materials, turning off the power, removing the existing fixture, testing the wires for power, mounting the new fixture, connecting the wires, securing the fixture in place, and finally, turning on the power and testing the new porch light.
While the installation process may require some time and effort, the end result is well worth it. A well-placed and properly functioning porch light not only enhances the safety of your home but also adds a touch of charm and elegance to your porch area.
Remember to always prioritize safety when working with electrical components. If you are unsure or uncomfortable with any step of the installation, it’s best to seek professional assistance from a qualified electrician.
Now that you have the knowledge and confidence to install a porch light, go ahead and embark on this exciting home improvement project. Enjoy the benefits of a well-lit porch and create a warm and welcoming atmosphere for yourself and your guests to enjoy.
Happy porch light installation!
Frequently Asked Questions about How To Install Porch Light
Was this page helpful?
At Storables.com, we guarantee accurate and reliable information. Our content, validated by Expert Board Contributors, is crafted following stringent Editorial Policies. We're committed to providing you with well-researched, expert-backed insights for all your informational needs.


0 thoughts on “How To Install Porch Light”