Home>Construction & Tools>Building Materials>How To Install An Outdoor Light Fixture On Brick

Building Materials
How To Install An Outdoor Light Fixture On Brick
Modified: March 24, 2024
Learn how to install an outdoor light fixture on brick with our step-by-step guide. Find the best building materials for a secure and stylish installation.
(Many of the links in this article redirect to a specific reviewed product. Your purchase of these products through affiliate links helps to generate commission for Storables.com, at no extra cost. Learn more)
Introduction
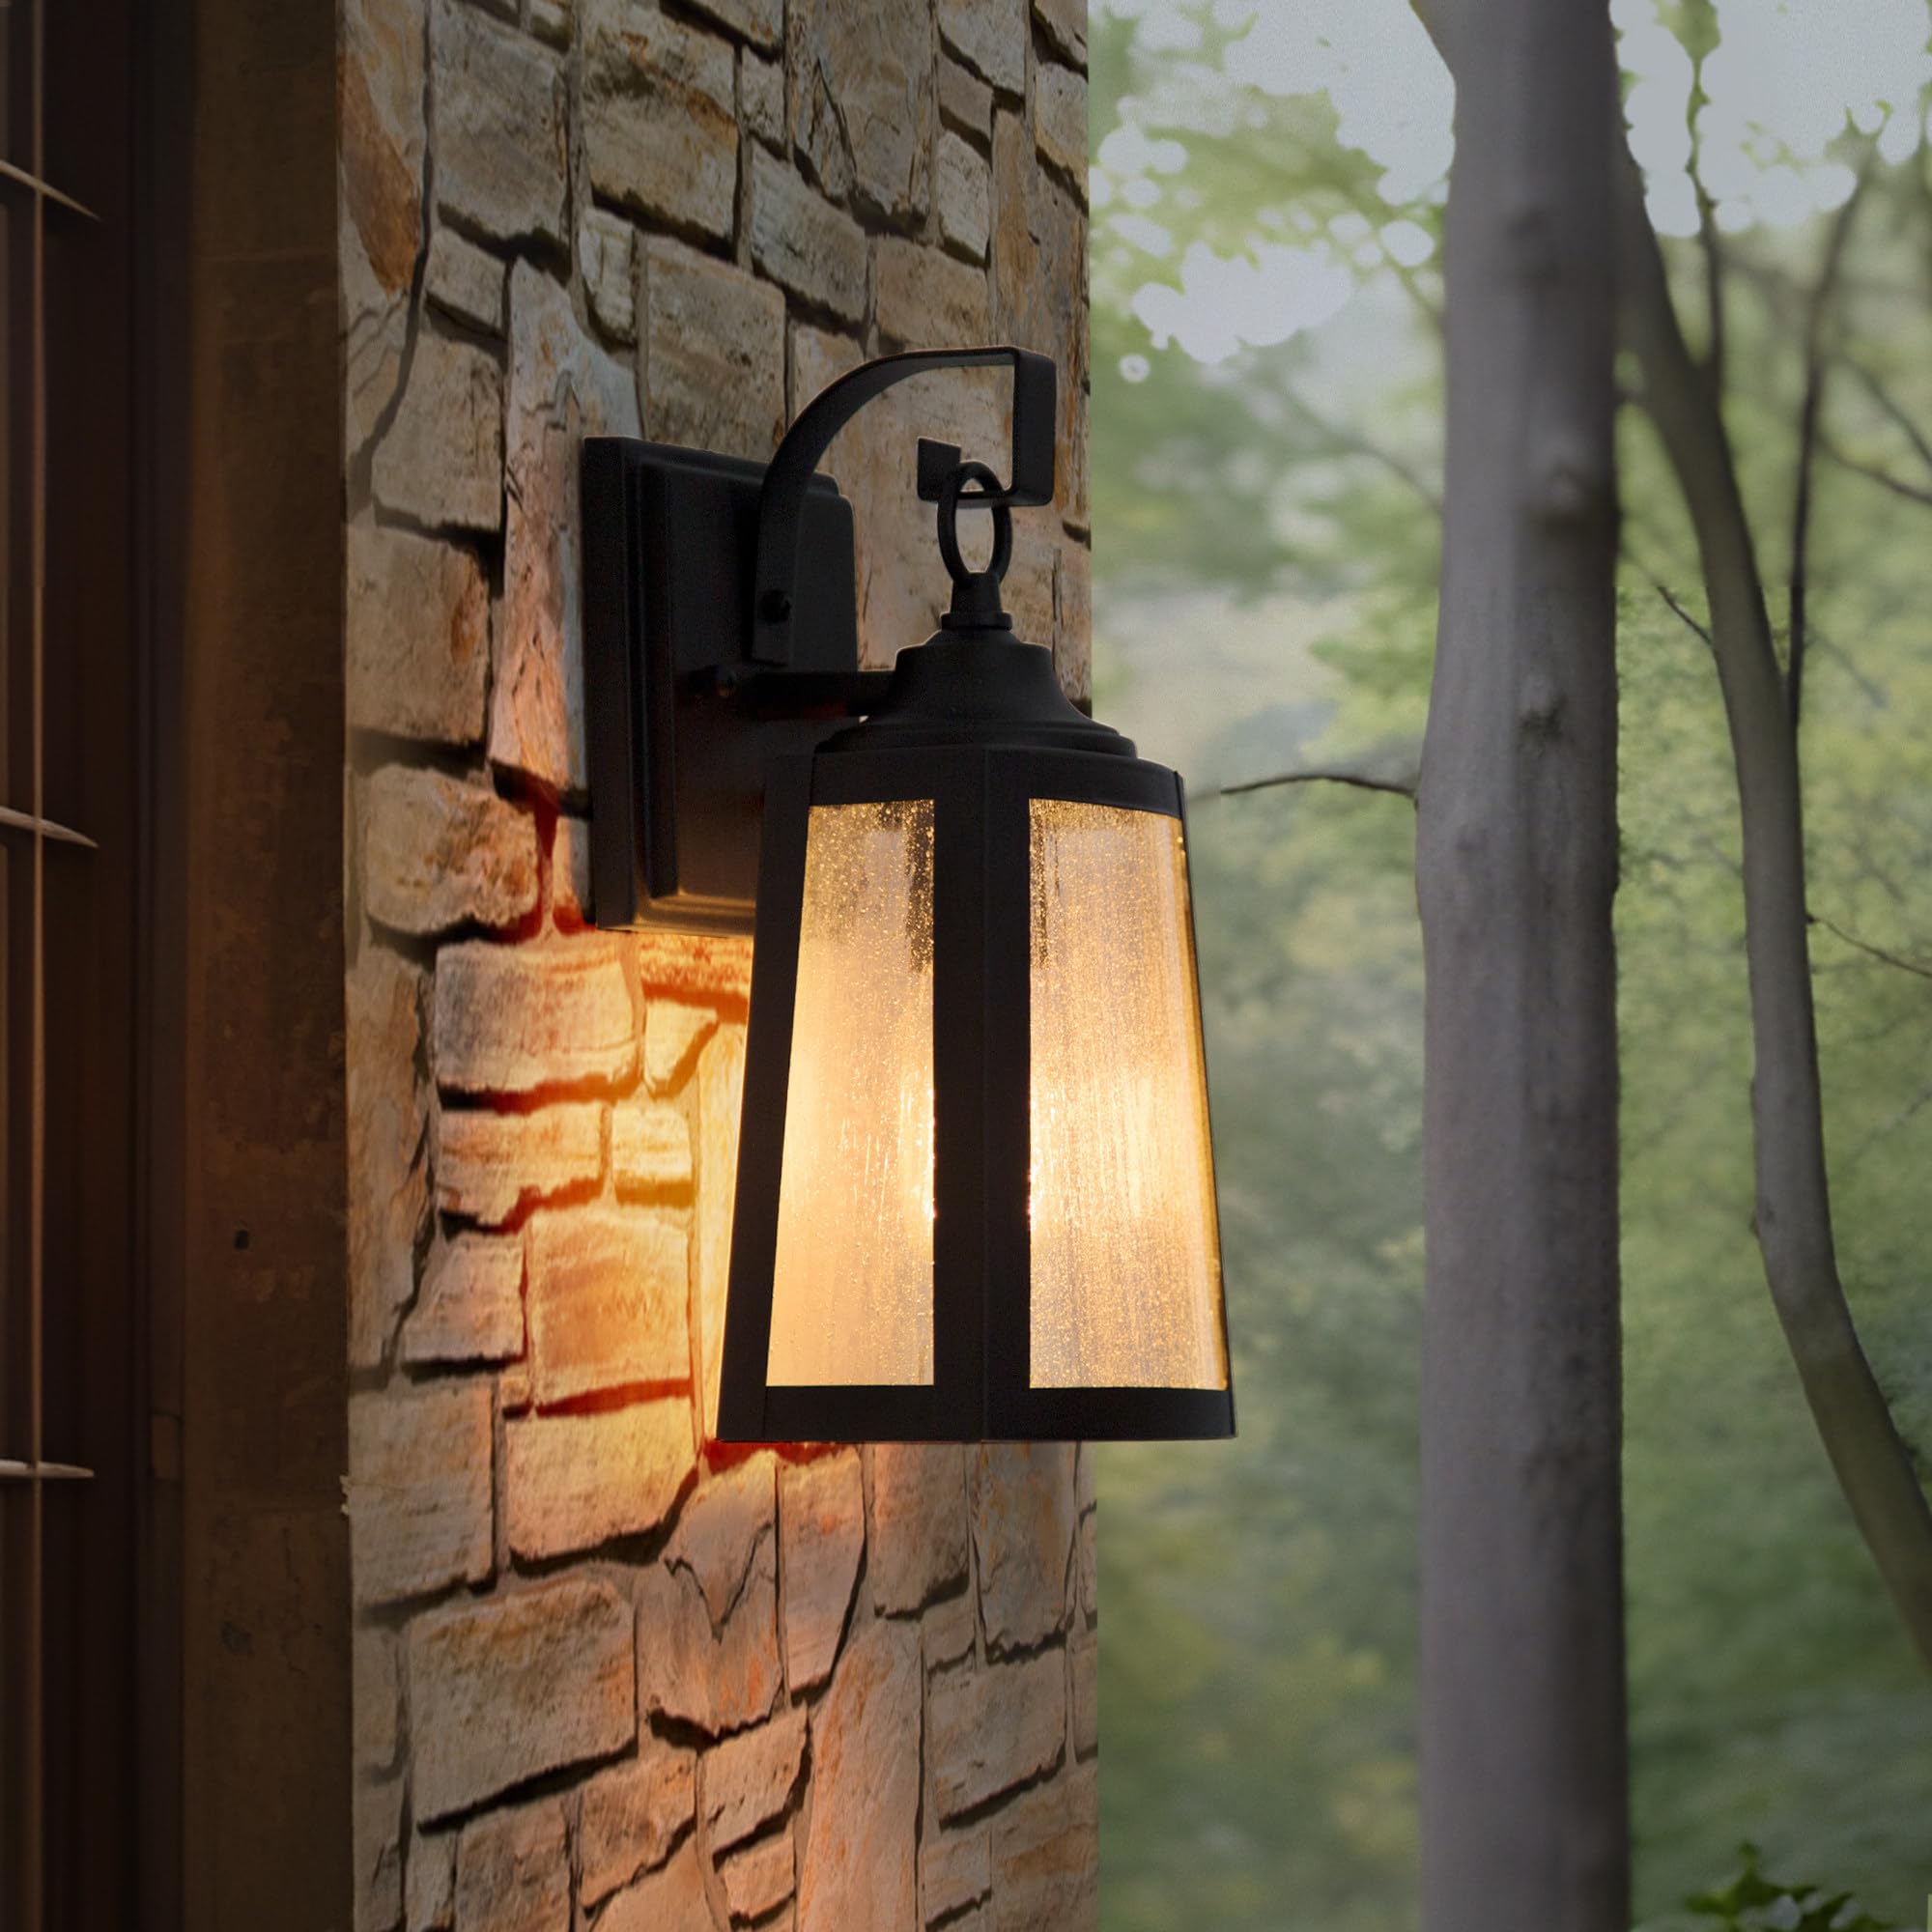
Installing an outdoor light fixture on brick can significantly enhance the aesthetic appeal and functionality of your home’s exterior. Whether you’re looking to improve security, add ambiance to your outdoor space, or simply increase visibility around your property, a well-placed light fixture can make a world of difference.
While the prospect of mounting a light fixture onto brick may seem daunting, with the right tools, materials, and a methodical approach, it’s a task that can be accomplished with relative ease. In this guide, we’ll walk you through the step-by-step process of installing an outdoor light fixture on brick, ensuring that you can illuminate your outdoor space safely and effectively.
Before embarking on this project, it’s essential to prioritize safety and thorough planning. By following the steps outlined in this guide, you’ll not only achieve a professional-looking installation but also gain the satisfaction of having completed a home improvement project that adds both beauty and practicality to your outdoor living space.
Now, let’s gather the necessary tools and materials to get started!
Key Takeaways:
- Installing an outdoor light fixture on brick is a manageable project with the right tools and safety precautions. It can enhance your home’s exterior with both beauty and practicality.
- By following the step-by-step process outlined in this guide, you can achieve a professional and visually appealing installation, adding security, ambiance, and functionality to your outdoor space.
Step 1: Gather the Necessary Tools and Materials
Before you begin the installation process, it’s crucial to gather all the essential tools and materials. Having everything on hand will streamline the installation and minimize the risk of interruptions. Here’s a comprehensive list of what you’ll need:
- Safety Gear: Start by ensuring that you have the appropriate safety gear, including safety glasses and work gloves, to protect your eyes and hands during the installation process.
- Outdoor Light Fixture: Select a high-quality outdoor light fixture that complements the style of your home’s exterior. Consider the size, design, and illumination capacity of the fixture to ensure it meets your specific lighting needs.
- Mounting Hardware: Depending on the type of outdoor light fixture you’ve chosen, gather the necessary mounting hardware, such as screws, bolts, and nuts, to secure the fixture in place.
- Drill and Masonry Bits: Since you’ll be installing the fixture on brick, a power drill equipped with masonry drill bits is essential for creating holes in the brick to accommodate the mounting hardware.
- Wall Anchors: Opt for sturdy wall anchors designed for masonry applications. These anchors will provide the necessary support for securing the fixture to the brick surface.
- Wire Strippers and Connectors: To connect the light fixture to your home’s electrical wiring, have wire strippers and connectors readily available. These tools will facilitate a secure and reliable electrical connection.
- Electrical Tape: Electrical tape is crucial for insulating wire connections and providing an extra layer of protection against moisture and environmental elements.
- Screwdriver and Adjustable Wrench: A screwdriver and an adjustable wrench will be indispensable for tightening screws, bolts, and nuts during the installation process.
- Voltage Tester: Prior to working with electrical components, ensure that you have a voltage tester to confirm that the power supply to the installation area has been safely turned off.
- Ladder or Step Stool: Depending on the height of the installation area, a sturdy ladder or step stool will be necessary to access the mounting location safely and comfortably.
By gathering these tools and materials in advance, you’ll be well-prepared to proceed with the installation process smoothly and efficiently. With everything at your fingertips, you can focus on each step of the installation with confidence and precision.
With the necessary tools and materials in hand, it’s time to move on to the next crucial step: turning off the power to the installation area.
Step 2: Turn Off the Power
Prior to commencing any work on the electrical components of the outdoor light fixture, it is imperative to ensure the safety of the installation area by turning off the power. Here’s a systematic guide to safely disconnecting the power supply:
- Locate the Circuit Breaker: Identify the circuit breaker that controls the power supply to the outdoor lighting area. If your home has a specific breaker dedicated to outdoor lighting, it will simplify the process. Otherwise, consult the electrical panel to determine the appropriate breaker.
- Turn Off the Breaker: Once you’ve located the correct breaker, switch it to the “off” position. This action will effectively cut off the power supply to the outdoor lighting circuit, ensuring that no electricity is flowing to the installation area.
- Verify Power Cutoff: To confirm that the power has been successfully turned off, use a voltage tester to check the wires and connections at the installation site. The voltage tester will indicate whether there is any remaining electrical current, providing an additional layer of safety verification.
By following these steps, you can guarantee that the installation area is free from electrical current, minimizing the risk of potential hazards during the mounting process. Safety should always be the top priority when working with electrical components, and taking the time to turn off the power is a critical precautionary measure.
With the power supply safely disconnected, you’re ready to move on to the next phase of the installation: marking the precise placement of the light fixture on the brick surface.
Step 3: Mark the Placement of the Fixture
Accurate placement of the outdoor light fixture is crucial for achieving a visually appealing and functional installation. Here’s a detailed guide to marking the precise placement of the fixture on the brick surface:
- Positioning Considerations: Before marking the location, consider the optimal placement of the light fixture. Take into account the desired illumination coverage, aesthetic balance, and any architectural features that may influence the placement.
- Measurements and Markings: Using a tape measure, determine the exact placement of the fixture in relation to nearby architectural elements, such as doors, windows, or outdoor living spaces. Mark the positions where the mounting holes for the fixture will be drilled, ensuring that they are level and symmetrical.
- Visual Alignment: To visualize the placement of the fixture, consider using painter’s tape or removable markers to outline the area where the fixture will be mounted. This visual guide will provide a clear reference point for the subsequent drilling and installation steps.
- Double-Check the Placement: Before proceeding to the drilling phase, review the marked positions to confirm that they align with your aesthetic and practical objectives. Adjust the markings as needed to achieve the desired placement.
By meticulously marking the placement of the outdoor light fixture, you’ll lay the groundwork for a precise and visually appealing installation. Taking the time to plan and mark the placement ensures that the fixture will seamlessly integrate with the architectural features of your home’s exterior, creating a harmonious and functional lighting solution.
With the fixture placement accurately marked, you’re prepared to move on to the next step: drilling holes in the brick to accommodate the mounting hardware.
Step 4: Drill Holes in the Brick
Drilling precise holes in the brick is a critical step in the installation process, as it provides the foundation for securely mounting the outdoor light fixture. Follow these steps to drill the necessary holes with accuracy and care:
- Select the Appropriate Drill Bit: Choose a masonry drill bit that matches the diameter of the wall anchors or mounting hardware specified by the light fixture manufacturer. This ensures that the holes will accommodate the fasteners securely.
- Mark Drill Locations: Referencing the previously marked positions for the fixture’s mounting holes, use a pencil or marker to indicate the precise spots on the brick where the holes will be drilled. Double-check the accuracy of the markings before proceeding.
- Wear Safety Gear: Prior to drilling, don safety glasses and work gloves to protect your eyes and hands from debris generated during the drilling process.
- Drilling Technique: Position the drill perpendicular to the brick surface and apply steady, even pressure as you begin drilling. It’s essential to maintain a consistent speed to prevent the drill bit from overheating and to ensure clean, precise holes.
- Clean Out Dust and Debris: Periodically withdraw the drill bit to clear away accumulated brick dust and debris from the hole. This practice will help maintain the effectiveness of the drill and ensure that the holes are clean and ready for the next step.
- Depth and Cleanliness: Drill the holes to the required depth, as specified by the mounting hardware or wall anchors. Once the holes are drilled, use a brush or compressed air to remove any remaining debris, ensuring that the holes are clean and ready for the next phase of the installation.
By following these steps, you’ll successfully create clean, accurately positioned holes in the brick, setting the stage for the secure attachment of the outdoor light fixture. With the holes drilled, you’re now prepared to move on to the next crucial step: installing the wall anchors to provide stable support for the fixture.
Read more: How To Install Vanity Light Fixture
Step 5: Install Wall Anchors
Installing wall anchors in the drilled holes is a pivotal stage in the process of mounting an outdoor light fixture on brick. Wall anchors provide the essential support and stability necessary for securely fastening the fixture to the brick surface. Follow these steps to ensure the proper installation of wall anchors:
- Select the Correct Anchors: Choose wall anchors that are specifically designed for masonry applications. Opt for anchors that match the size and type recommended by the light fixture manufacturer for the most secure attachment.
- Insert the Anchors: Gently tap the wall anchors into the drilled holes using a hammer, ensuring that they are inserted flush with the surface of the brick. The anchors should fit snugly in the holes, providing a stable foundation for the mounting hardware.
- Verify Stability: Once the anchors are in place, confirm their stability by gently tugging on each anchor to ensure that it is firmly seated in the brick and capable of supporting the weight of the light fixture.
- Prepare for Mounting: With the wall anchors securely installed, you’re ready to proceed with attaching the fixture mounting plate to the brick surface. The stable foundation provided by the wall anchors is essential for ensuring a secure and long-lasting installation.
By following these steps, you’ll effectively install the wall anchors, laying the groundwork for the secure attachment of the outdoor light fixture. With the anchors in place, you’re now prepared to move on to the next phase of the installation: attaching the fixture mounting plate to the brick surface.
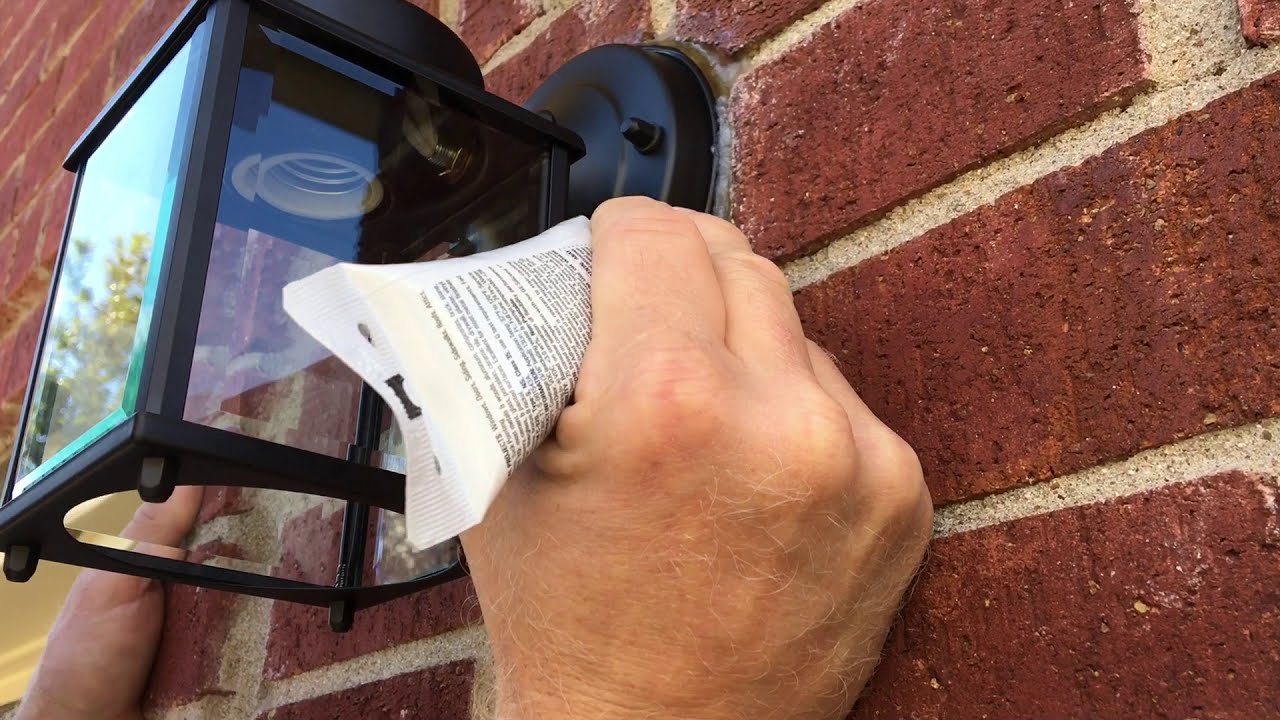
When installing an outdoor light fixture on brick, use a masonry drill bit to create pilot holes for the screws. This will prevent the brick from cracking and make the installation process much easier.
Step 6: Attach the Fixture Mounting Plate
Attaching the fixture mounting plate to the brick surface is a crucial step that sets the stage for securely affixing the outdoor light fixture. Follow these steps to ensure the proper installation of the mounting plate:
- Position the Mounting Plate: Align the pre-drilled holes in the mounting plate with the wall anchors installed in the brick. Ensure that the plate is level and positioned according to the markings made during the placement phase.
- Secure the Mounting Plate: Using the appropriate screws or fasteners provided with the light fixture, attach the mounting plate to the brick surface. Apply even pressure to ensure that the plate is securely fastened and flush against the brick.
- Verify Stability: Once the mounting plate is attached, confirm its stability by gently testing its resistance to ensure that it is firmly anchored to the brick surface. A stable mounting plate is essential for the safe and secure installation of the light fixture.
- Prepare for Wiring: With the mounting plate securely in place, you’re ready to proceed with connecting the electrical wiring and attaching the outdoor light fixture to the mounting plate.
By following these steps, you’ll successfully attach the fixture mounting plate to the brick surface, laying the groundwork for the secure installation of the outdoor light fixture. With the mounting plate in position, you’re now prepared to move on to the next phase of the installation: connecting the electrical wires to power the light fixture.
Step 7: Connect the Wires
Connecting the electrical wires is a critical phase in the installation of an outdoor light fixture on brick. Properly wiring the fixture ensures safe and reliable operation. Follow these steps to connect the wires securely and effectively:
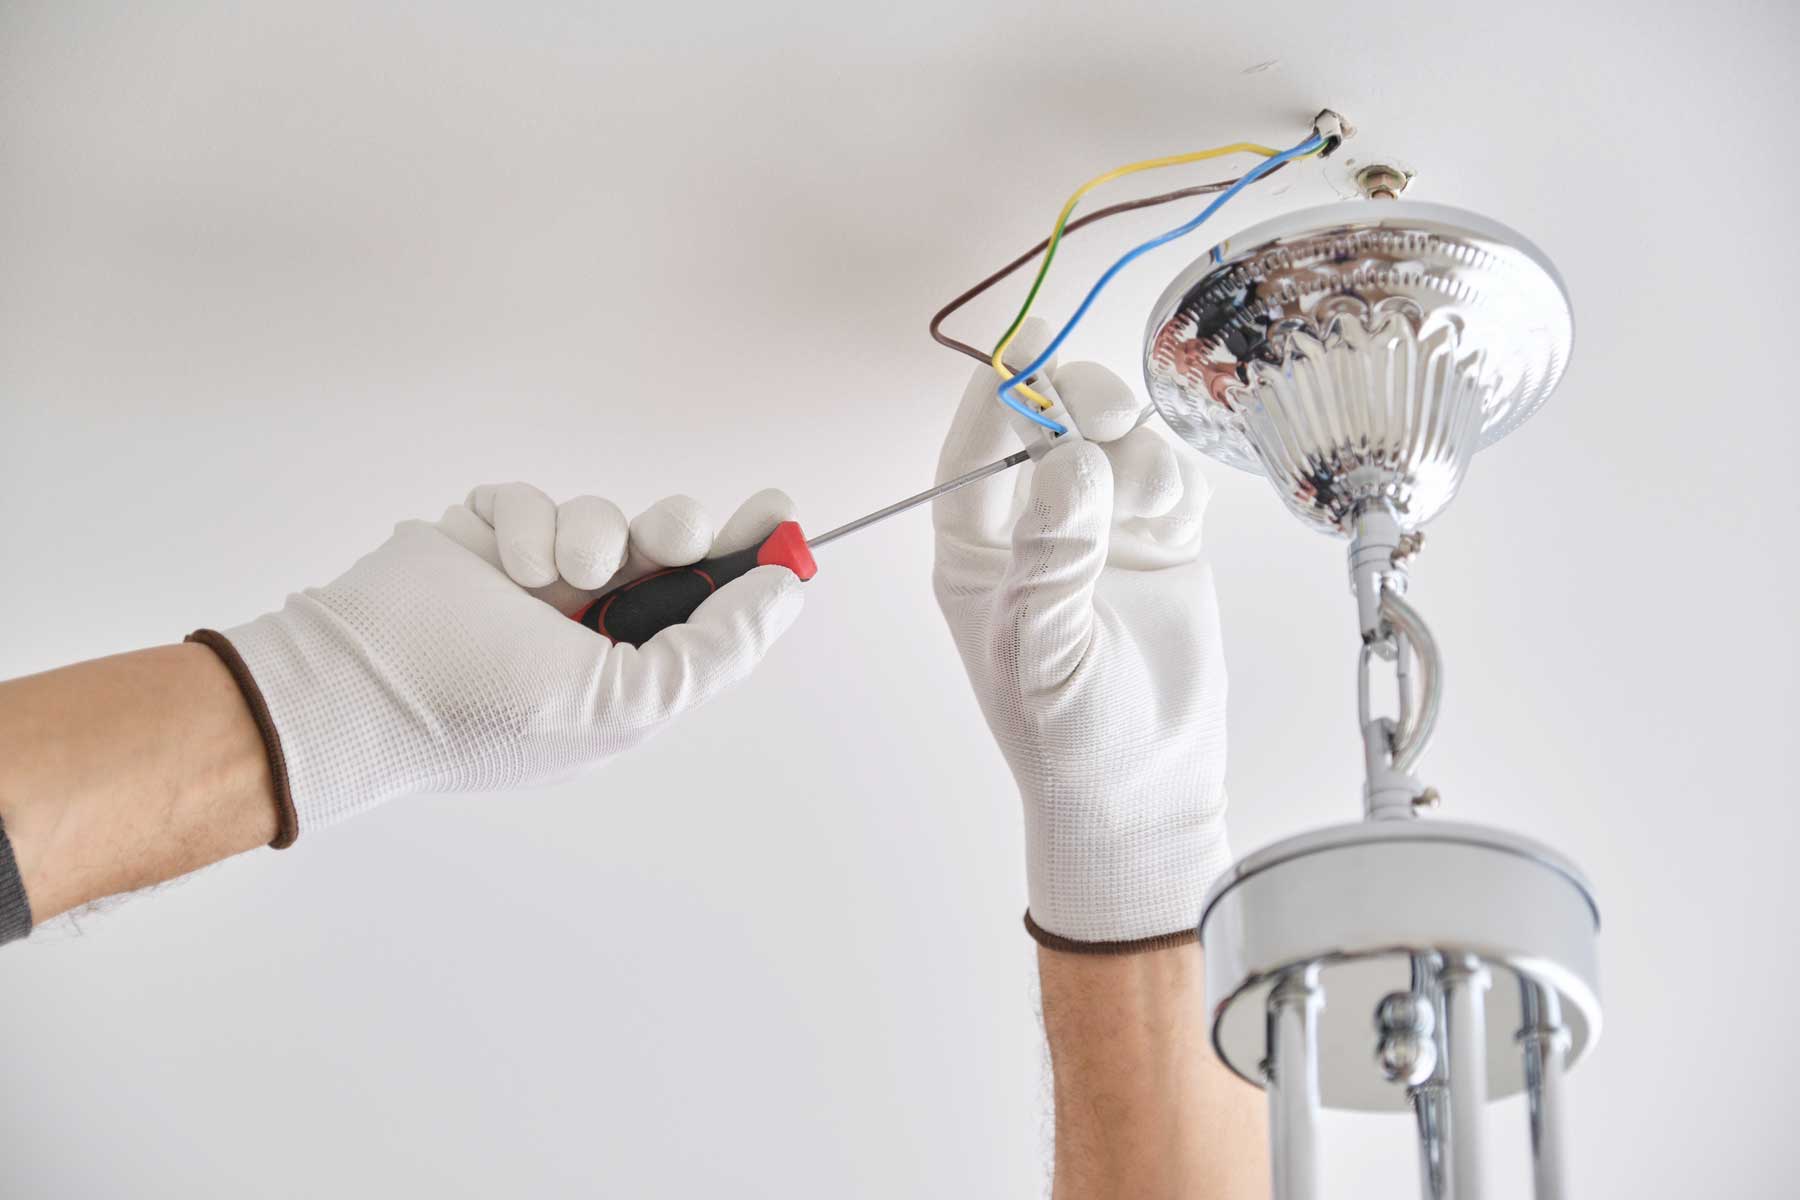
- Prepare the Wires: Strip the insulation from the ends of the electrical wires, exposing approximately 1/2 inch of bare wire for secure connections. Use wire strippers to carefully remove the insulation, taking care not to damage the conductive wires.
- Match the Wires: Match the exposed copper wires from the light fixture to the corresponding wires from the electrical supply. Typically, these connections include matching the black (hot) wires, white (neutral) wires, and green or bare (ground) wires, ensuring that the connections are secure and insulated.
- Secure the Connections: Use wire connectors to join the wires, twisting them together and securing them with the appropriate wire connectors. After connecting each set of wires, wrap the connections with electrical tape to provide an additional layer of insulation and protection.
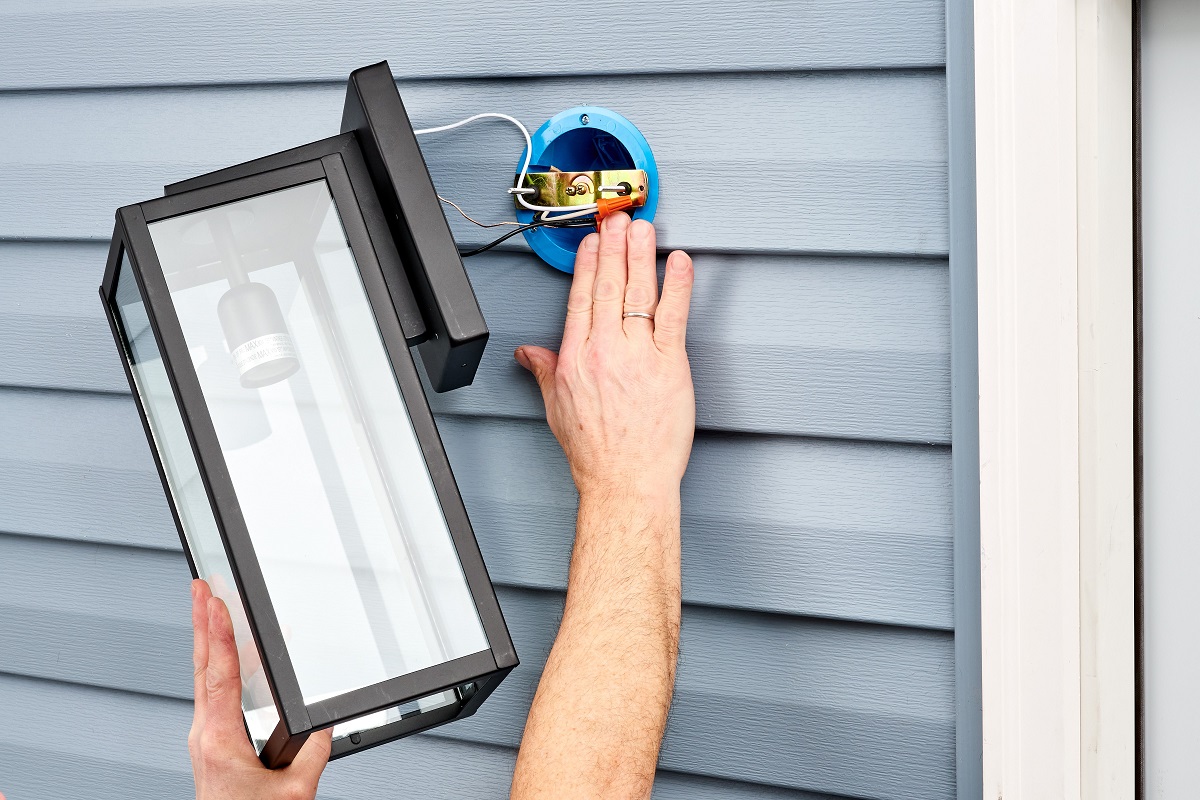
- Tuck and Insulate: Once the connections are secured and insulated, carefully tuck the connected wires into the electrical junction box or mounting plate, ensuring that they are neatly arranged and do not interfere with the installation of the light fixture.
By following these steps, you’ll effectively connect the electrical wires, ensuring a safe and reliable power supply for the outdoor light fixture. With the wires securely connected, you’re now prepared to move on to the next phase of the installation: attaching the light fixture to the mounting plate.
Step 8: Attach the Light Fixture
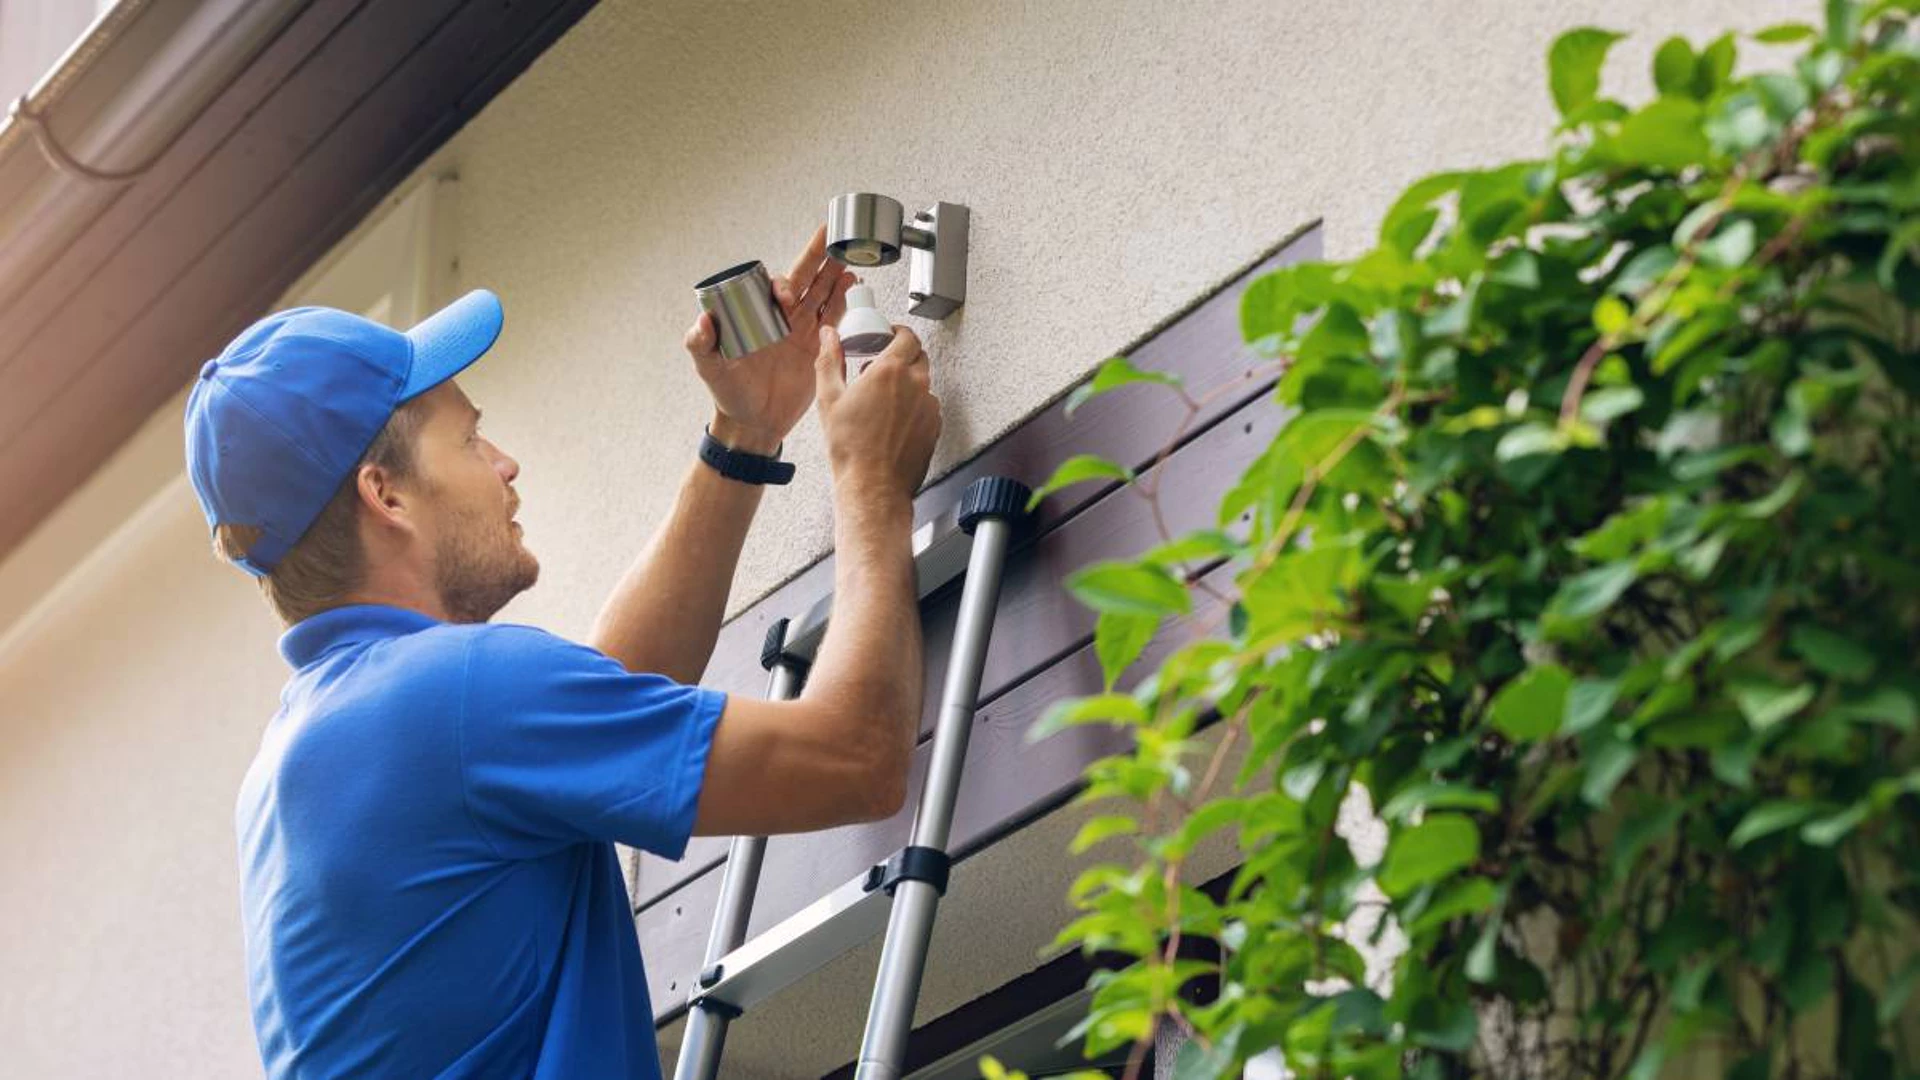
Attaching the light fixture to the mounting plate is a pivotal step that brings the installation process to its culmination. Follow these steps to ensure the secure and aesthetically pleasing attachment of the outdoor light fixture:
- Position the Fixture: Carefully align the keyhole slots or mounting holes on the back of the light fixture with the screws or fasteners protruding from the mounting plate. Ensure that the fixture is level and positioned according to the markings made during the placement phase.
- Secure the Fixture: Using the appropriate screws or fasteners provided with the light fixture, affix the fixture to the mounting plate. Apply even pressure to ensure that the fixture is securely fastened and flush against the mounting plate.
- Test for Stability: Once the fixture is attached, gently test its stability to ensure that it is firmly anchored to the mounting plate. A stable attachment is essential for the safe and reliable operation of the outdoor light fixture.
- Finishing Touches: After securing the fixture, make any necessary adjustments to ensure that it is level and aesthetically aligned with the surrounding architectural elements. Tighten the mounting screws or fasteners as needed to achieve a secure and visually appealing installation.
By following these steps, you’ll successfully attach the light fixture to the mounting plate, bringing the installation process to its completion. With the fixture securely in place, you’re now prepared to move on to the final phase of the installation: testing the light fixture to ensure proper functionality.
Read more: How To Test An Outdoor Light Fixture
Step 9: Test the Light Fixture
Testing the light fixture is the final and crucial step in the installation process, ensuring that the fixture operates as intended and provides the desired illumination. Follow these steps to test the light fixture and verify its proper functionality:
- Restore Power: Turn the power supply back on at the electrical panel, restoring electricity to the outdoor lighting circuit. Exercise caution and ensure that all connections are secure before re-energizing the circuit.
- Switch on the Fixture: Use the light switch or control mechanism associated with the newly installed outdoor light fixture to turn it on. Observe the fixture to confirm that it illuminates as expected and provides the desired level of brightness and coverage.
- Check for Proper Operation: Ensure that the light fixture operates consistently without flickering, dimming, or exhibiting any irregular behavior. Verify that the illumination effectively enhances the desired areas of your outdoor space.
- Adjustments and Fine-Tuning: Make any necessary adjustments to the positioning or orientation of the light fixture to optimize its illumination and ensure that it aligns with your aesthetic and practical objectives. Fine-tune the fixture to achieve the ideal lighting effect for your outdoor space.
By following these steps, you’ll effectively test the light fixture, confirming that it operates reliably and enhances the functionality and aesthetics of your outdoor space. With the fixture successfully tested and functioning as intended, you’ve completed the installation process, achieving a professional and visually appealing addition to your home’s exterior.
Congratulations on successfully installing an outdoor light fixture on brick, adding both beauty and functionality to your outdoor living space!
Conclusion
Installing an outdoor light fixture on brick is a rewarding project that can transform the aesthetics and functionality of your home’s exterior. By following the step-by-step process outlined in this guide, you’ve successfully navigated the intricacies of mounting a light fixture on a challenging surface, achieving a professional and visually appealing result.
Throughout the installation process, you’ve prioritized safety, precision, and attention to detail, ensuring that the light fixture is securely attached and provides the desired illumination for your outdoor space. By gathering the necessary tools and materials, turning off the power, marking the placement, drilling holes, installing wall anchors, attaching the mounting plate, connecting the wires, and securing the light fixture, you’ve demonstrated a commendable level of skill and dedication to achieving a successful installation.
As you test the light fixture and witness its reliable and aesthetically pleasing operation, you can take pride in the accomplishment of enhancing your home’s exterior with a well-placed and professionally installed outdoor light fixture. The added security, ambiance, and functionality provided by the fixture will undoubtedly enrich your outdoor living experience and contribute to the overall appeal of your property.
With the completion of this installation, you’ve not only illuminated your outdoor space but also illuminated your capability to undertake a challenging home improvement project with confidence and proficiency. Your dedication to achieving a professional result reflects a commitment to enhancing your living environment and enjoying the benefits of a beautifully illuminated outdoor space.
As you bask in the glow of your newly installed outdoor light fixture, take a moment to appreciate the transformative impact it has on your home’s exterior. Your attention to detail and commitment to excellence have undoubtedly made a significant difference in the functionality and visual appeal of your outdoor living space.
Well done on a successful installation, and may your beautifully illuminated outdoor space bring joy and practicality to your home for years to come!
Frequently Asked Questions about How To Install An Outdoor Light Fixture On Brick
Was this page helpful?
At Storables.com, we guarantee accurate and reliable information. Our content, validated by Expert Board Contributors, is crafted following stringent Editorial Policies. We're committed to providing you with well-researched, expert-backed insights for all your informational needs.


0 thoughts on “How To Install An Outdoor Light Fixture On Brick”