Articles
How To Install Screen On Porch
Modified: December 7, 2023
Learn how to install a screen on your porch with our helpful articles. Get step-by-step instructions and tips for a successful DIY project.
(Many of the links in this article redirect to a specific reviewed product. Your purchase of these products through affiliate links helps to generate commission for Storables.com, at no extra cost. Learn more)
Introduction
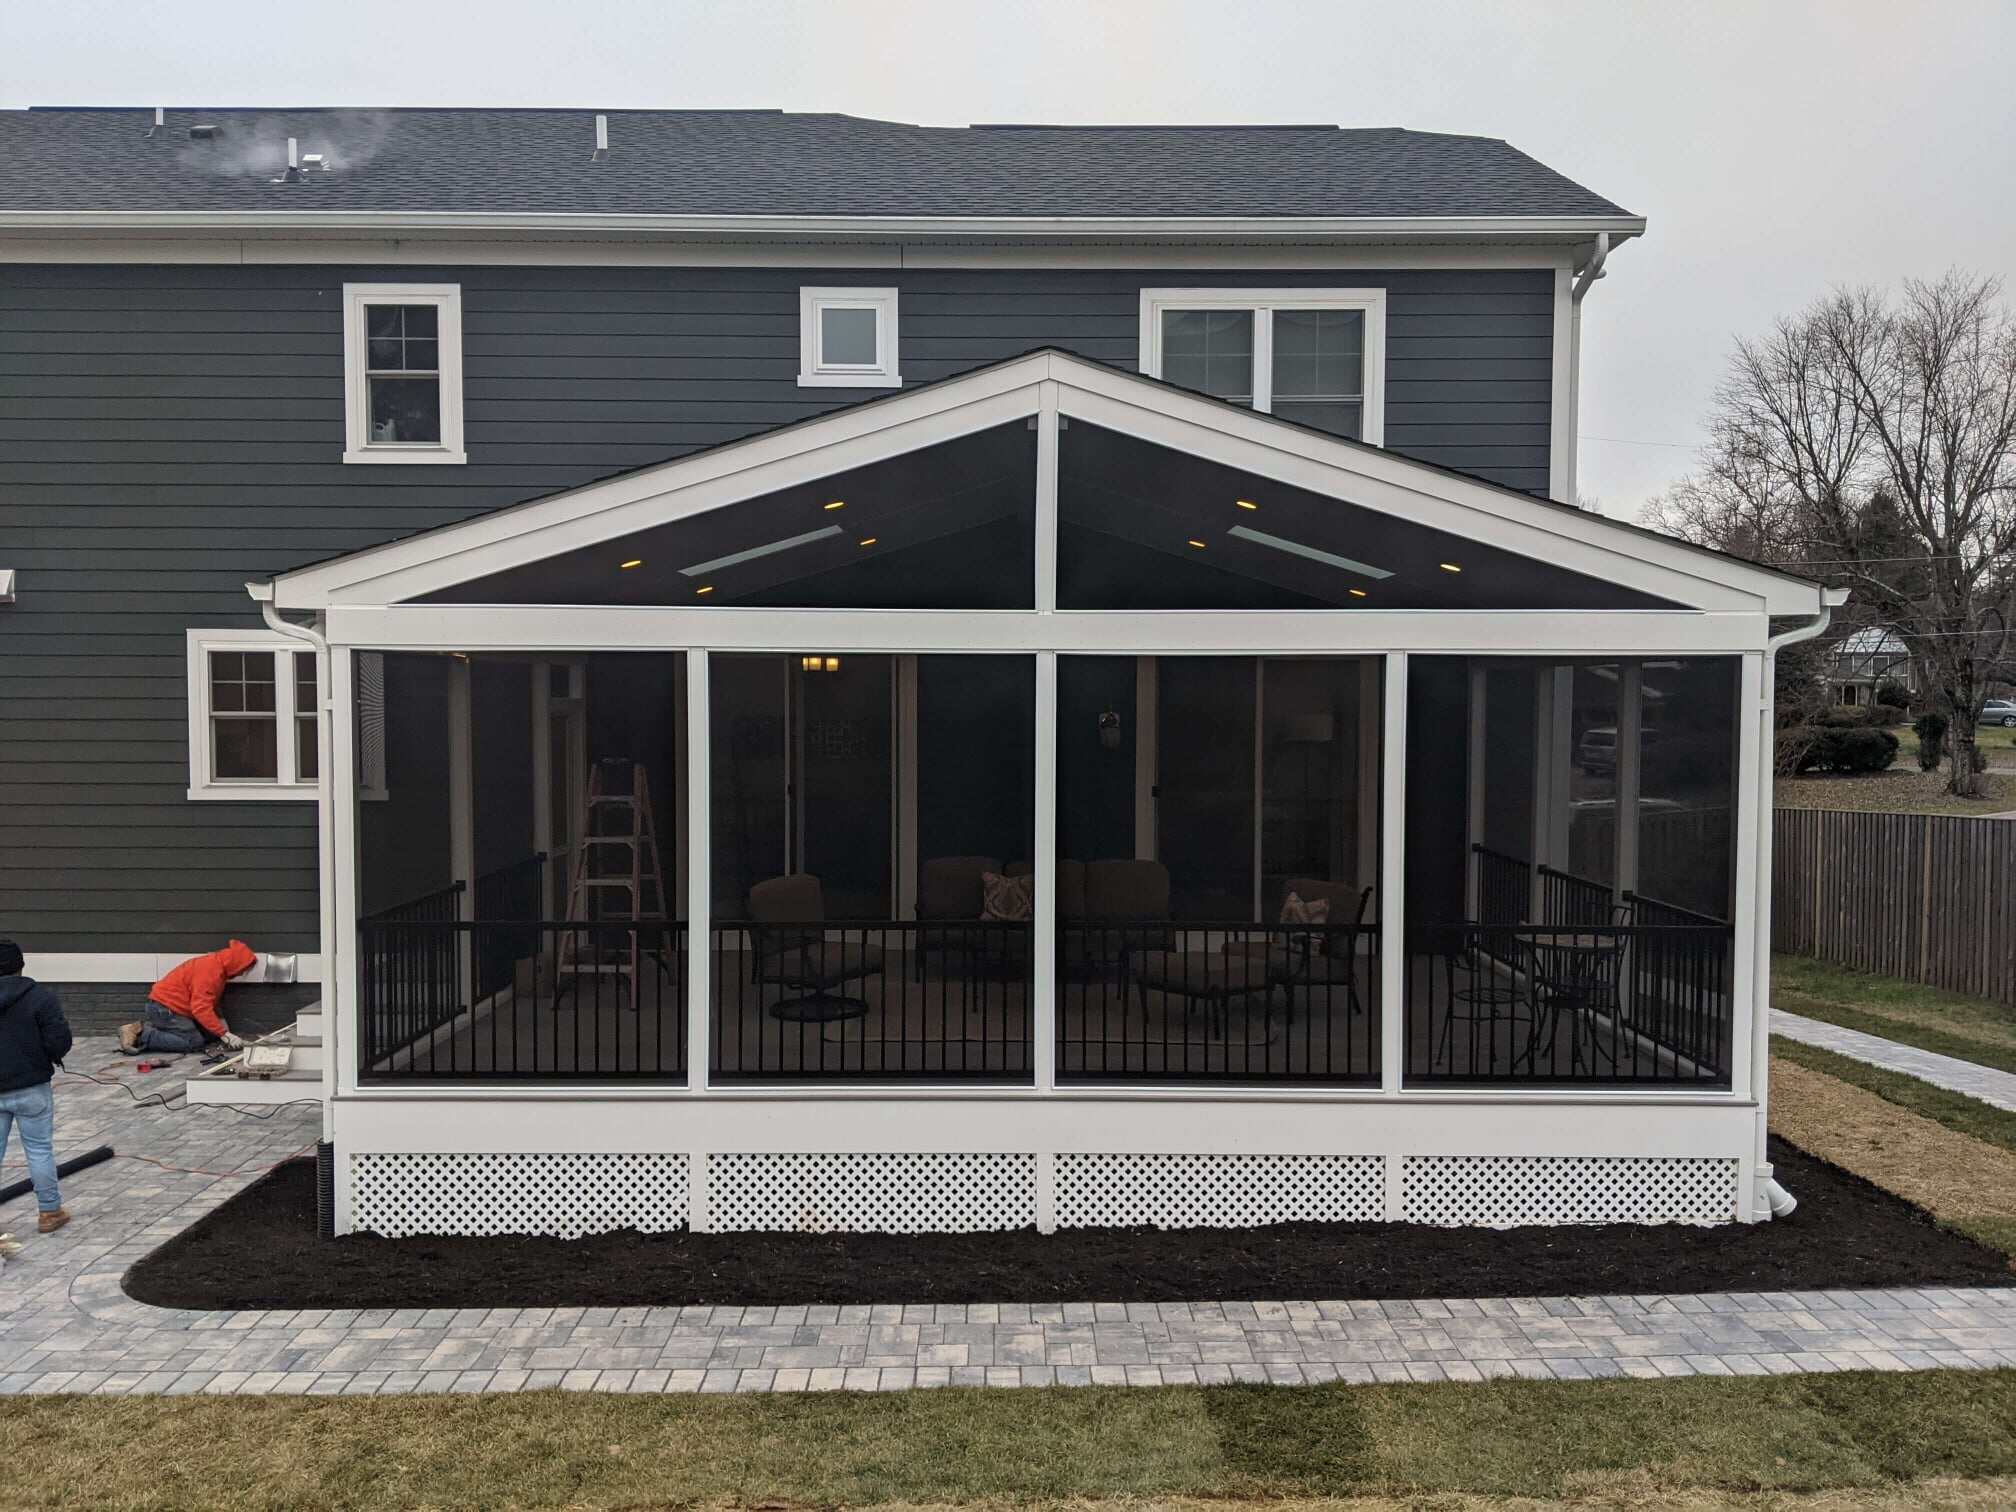
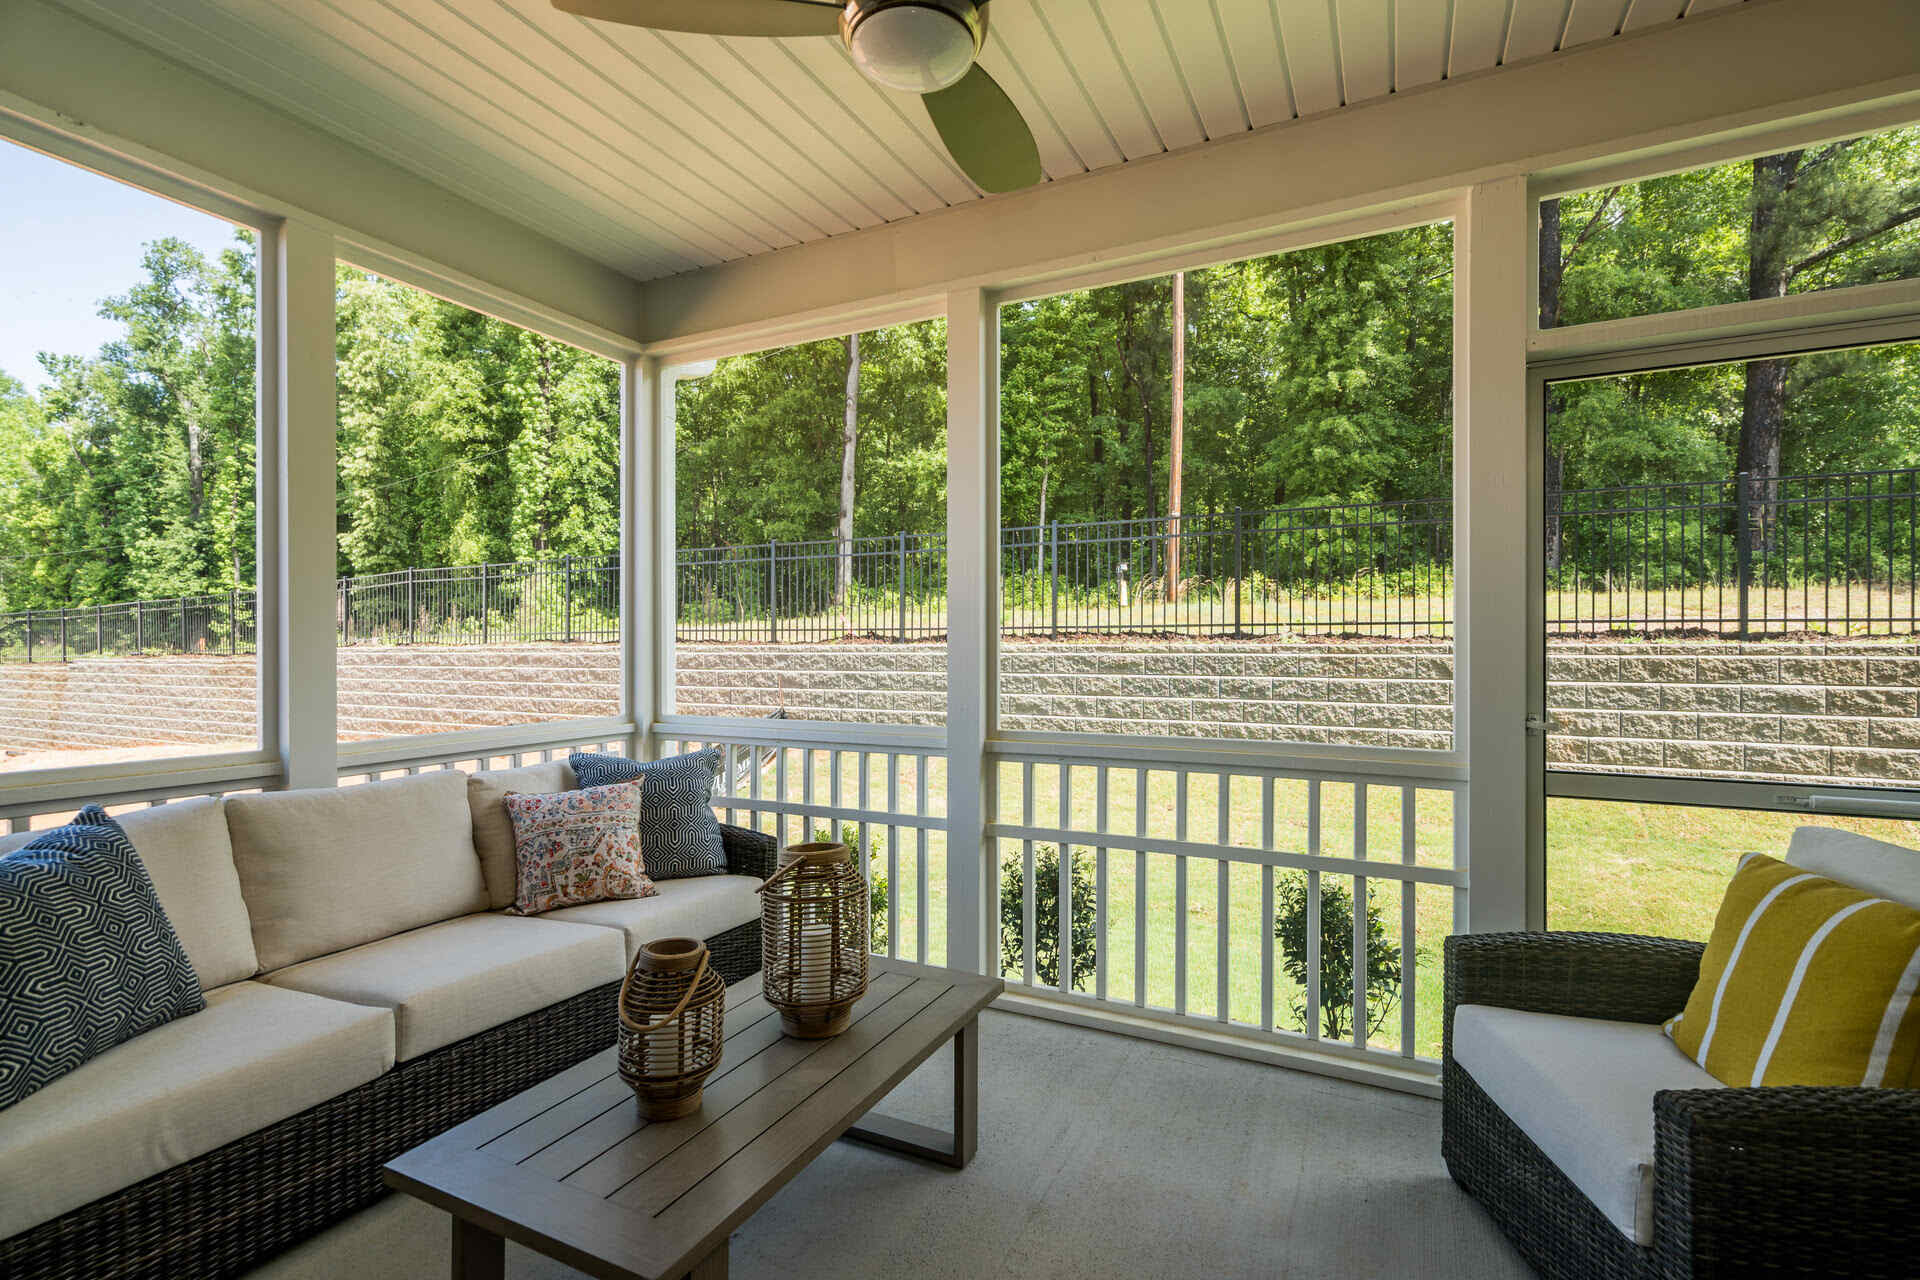
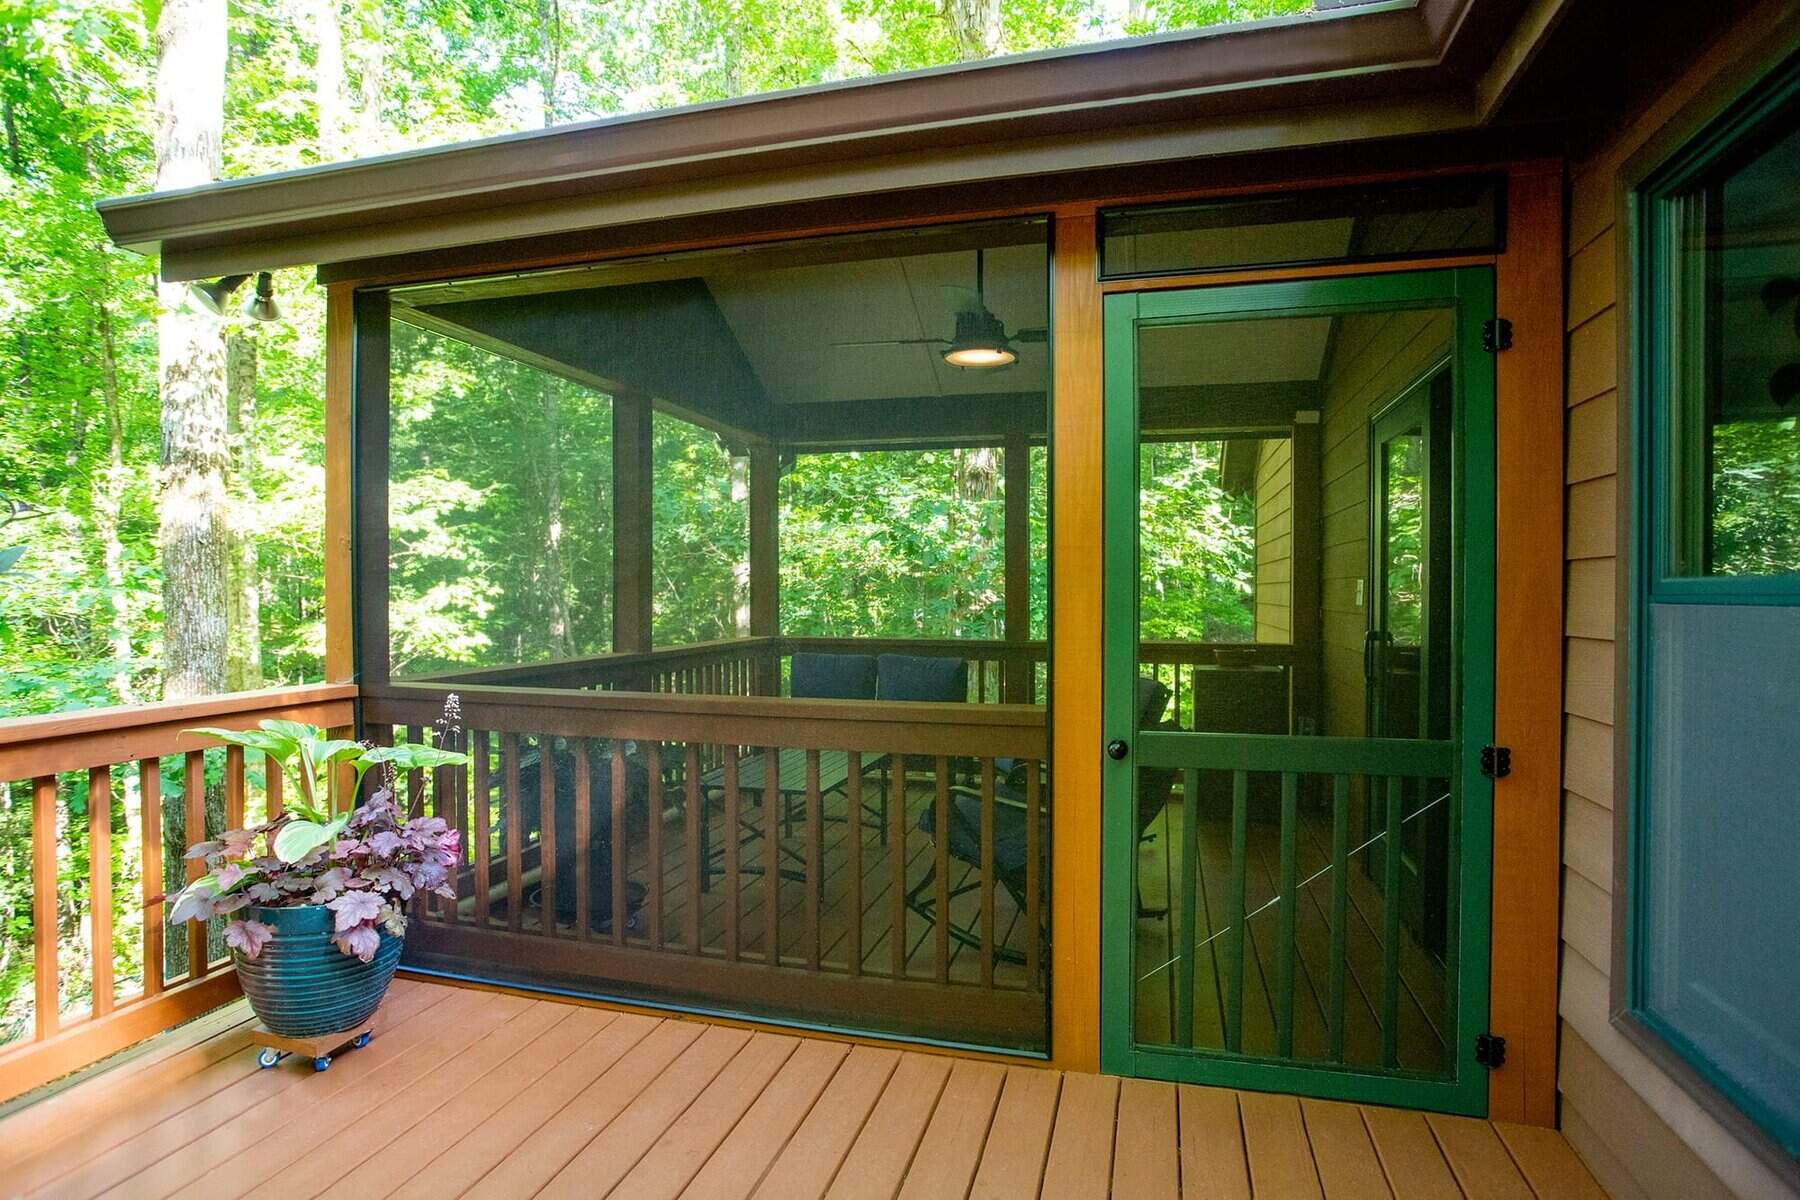
Welcome to the ultimate guide on how to install a screen on your porch. Adding a screen to your porch not only enhances the aesthetic appeal of your outdoor space but also provides protection against insects and debris while allowing fresh air to flow freely. Whether you want to create a cozy spot to enjoy your morning coffee or shield your porch from unwanted guests, installing a screen can be a worthwhile project.
In this article, we will walk you through the step-by-step process of screen installation and provide valuable tips and insights along the way. By following these instructions and guidelines, you’ll be able to transform your porch into a comfortable and inviting oasis.
Before we dive into the installation process, let’s go over a few important points. First, make sure you have all the necessary tools and materials on hand. The specific requirements may vary depending on the size and structure of your porch, but generally, you’ll need a tape measure, utility knife, screen frame material, screen material, spline roller, and a screwdriver or drill.
Additionally, it’s crucial to measure and prepare your porch frame accurately before proceeding with the installation. Taking precise measurements ensures a proper fit and prevents any potential issues down the line. Whether you have an existing porch or are building one from scratch, this step is essential for a successful installation.
Now that you understand the key points to consider let’s move on to the step-by-step process of installing a screen on your porch. It may seem daunting at first, but with a little patience and effort, you’ll be able to complete this project and enjoy the benefits of a screened porch in no time.
Key Takeaways:
- Create a bug-free oasis: Installing a screen on your porch not only enhances its beauty but also keeps insects and debris at bay, allowing you to enjoy the outdoors in peace and comfort.
- DIY screened porch: With the right tools and step-by-step instructions, you can transform your porch into a cozy and inviting space, free from unwanted pests and full of fresh air.
Step 1: Gather the necessary tools and materials
Before you begin the installation process, it’s essential to gather all the tools and materials you’ll need. Having everything prepared beforehand will save you time and frustration later on. Here are the key items you’ll require:
- Measuring tape: This will be used to accurately measure the dimensions of your porch.
- Utility knife: A utility knife is necessary for cutting and trimming the screen material and spline.
- Screen frame material: Choose a durable and weather-resistant frame material that matches the style of your porch. Common options include aluminum, vinyl, and wood.
- Screen material: Select a high-quality screen material that provides both insect protection and visibility. Fiberglass and aluminum are popular choices.
- Spline roller: A spline roller is used to insert the screen material into the grooves of the frame securely.
- Screwdriver or drill: Depending on your porch’s construction, you may need a screwdriver or drill to secure the screen frame in place.
- Safety goggles and gloves: Protect your eyes and hands while working with tools and materials.
Once you have gathered all the necessary tools and materials, ensure that everything is in good condition and ready to use. If any items are missing or damaged, make a note and acquire replacements before proceeding with the installation.
It’s also a good idea to have some extra screen material and spline on hand, just in case you need to make adjustments or repair any damages in the future. Having these spare materials will save you the hassle of finding matching replacements later.
Now that you have all the essential tools and materials ready, you’re one step closer to installing a screen on your porch. In the next step, we will cover how to measure and prepare the porch frame, ensuring a smooth and accurate installation process.
Step 2: Measure and prepare the porch frame
Before installing the screen frame, it’s crucial to measure and prepare your porch frame to ensure a proper fit and alignment. Follow these steps to complete this essential preparatory phase:
- Start by measuring the dimensions of your porch frame. Use a measuring tape to measure the height and width of each opening where the screen will be installed. Make sure to measure from the inside edge of the frame.
- Once you have the measurements, subtract about 1/4 inch from each side to allow room for the screen frame to fit comfortably within the opening. This slight adjustment accounts for the thickness of the frame and ensures a snug fit.
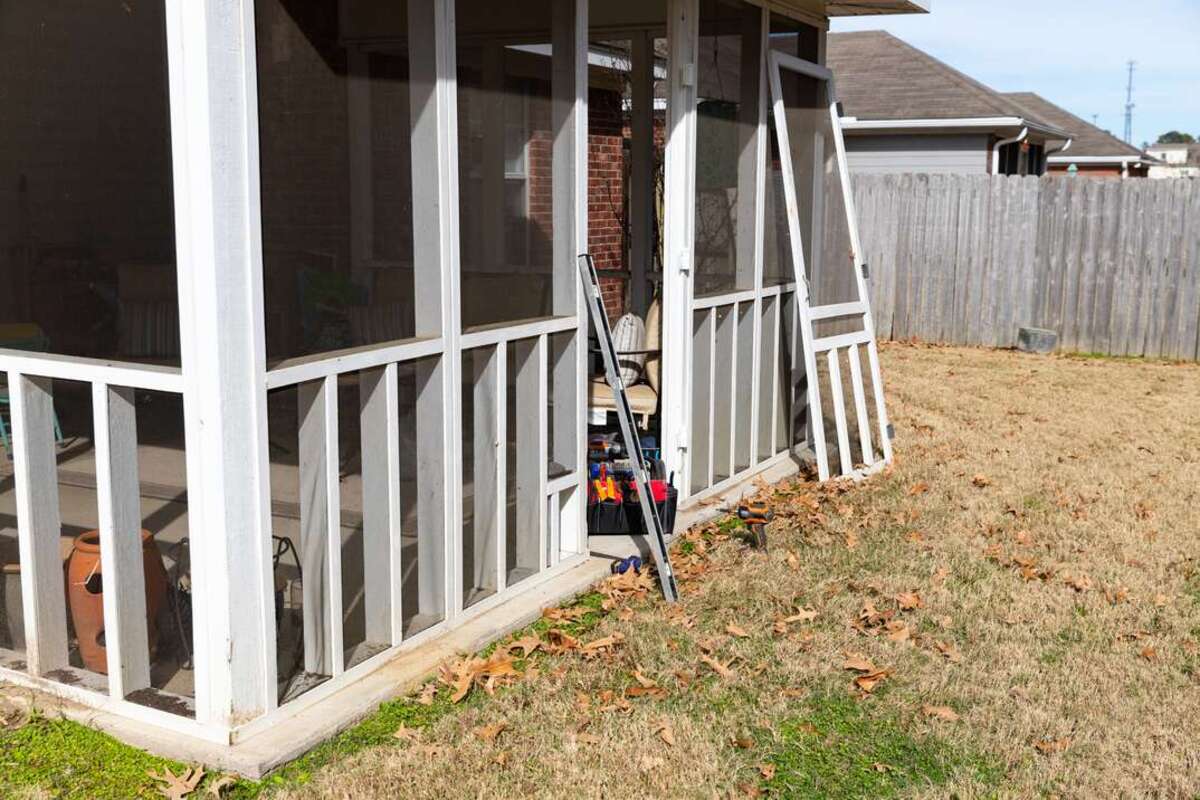
- If the porch frame has any existing screens, remove them carefully by prying or unscrewing the frames. Take note of how the screens were installed, as this will serve as a guide during the installation process.
- Inspect the porch frame for any damages or rot. If you come across any issues, repair or replace the affected sections before proceeding with the screen installation. This step is vital for maintaining the structural integrity of your porch.
- Clean the porch frame thoroughly to remove any dirt, debris, or peeling paint. A clean surface will allow for better adhesion when attaching the new screen frame.
- If desired, you can also paint or stain the porch frame at this stage. Applying a fresh coat of paint or stain not only enhances the appearance but also provides additional protection against the elements.
By carefully measuring and preparing the porch frame, you’re laying the groundwork for a successful screen installation. Taking the time to ensure accurate measurements and addressing any necessary repairs will result in a seamless and long-lasting finish.
With the porch frame properly measured and prepared, you’re now ready to move on to the next step: installing the screen frame. We’ll guide you through the process in the following section.
Step 3: Install the screen frame
Now that you’ve measured and prepared the porch frame, it’s time to install the screen frame. Follow these steps to complete this important stage of the installation:
- Start by cutting the screen frame material to fit the dimensions of each opening. Use a saw or a miter box to make accurate cuts. Remember to subtract about 1/4 inch from each side to ensure a proper fit.
- Place the cut screen frame pieces within the openings of the porch frame, ensuring they are aligned correctly. If necessary, use a level to ensure the frames are plumb and straight.
- For additional support, you can attach angle brackets or L-shaped corner brackets to the screen frame and porch frame. Use a screwdriver or drill to securely fasten these brackets in place.
- If your porch frame has pre-drilled holes for screws, insert the screws through the pre-drilled holes and into the screen frame to secure it in place. If there are no pre-drilled holes, use a drill to create pilot holes and then insert the screws.
- Repeat this process for each opening, making sure that each screen frame is securely attached to the porch frame. Double-check the alignment and stability of the frames before proceeding to the next step.
During the installation of the screen frame, it’s essential to maintain accuracy and stability. Proper alignment and secure attachment will ensure a sturdy base for the screen material. Take your time and make any necessary adjustments to achieve the best results.
With the screen frames securely installed, you’re ready to move on to the next step: attaching the screen material. We’ll cover this process in detail in the following section.
Step 4: Attach the screen material
Now that the screen frames are securely installed, it’s time to attach the screen material. Follow these steps to complete this stage of the installation:
- Cut the screen material to fit the dimensions of each screen frame. Make sure to leave a few inches of excess material on all sides for easier handling.
- Place the screen material over one of the screen frames, ensuring it is centered and evenly distributed. Use clips or clamps to hold the screen material in place temporarily.
- Starting at one corner, use a spline roller to insert the screen material into the groove of the screen frame. Apply gentle pressure as you roll the spline roller along the groove, securing the screen material in place.
- Continue to work your way around the screen frame, using the spline roller to insert the screen material and tighten it securely.
- Once you have attached the screen material to the first frame, move on to the next frame and repeat the process. Make sure to maintain even tension across the screen material as you go.
- If necessary, trim any excess screen material using a utility knife, leaving a small allowance for adjustments or repairs in the future.
Attaching the screen material requires patience and attention to detail. Take your time to ensure that the material is smooth and wrinkle-free, and that it is securely held in place by the spline roller.
With the screen material attached to all the frames, you’re ready to move on to the next step: securing the screen in place. We’ll guide you through this process in the following section.
When installing screen on a porch, make sure to measure and cut the screen accurately to fit the openings. Use a screen installation tool to secure the screen tightly in place, and double check for any tears or holes before finishing the installation.
Read more: How To Screen In A Porch
Step 5: Secure the screen in place
After attaching the screen material to the frames, it’s important to secure the screen in place to ensure it remains taut and properly aligned. Follow these steps to complete this stage of the installation:
- Starting from one corner, use a screwdriver or a staple gun to secure the screen material to the screen frame. Place screws or staples at regular intervals along the frame, ensuring they go through the screen material and into the frame.
- Continue securing the screen material around the entire perimeter of each screen frame until it is fully secured. Make sure to maintain even tension to avoid any sagging or loose spots.
- If using screws, countersink them slightly below the surface of the screen frame to prevent any potential snags or tears in the screen material.
- Double-check the alignment and tension of the screen material once it is fully secured. Make any necessary adjustments to ensure a tight and smooth surface.
Securing the screen in place not only keeps it taut and wrinkle-free but also adds additional stability and longevity to the installation. Screws or staples provide a reliable and secure attachment method that will endure various weather conditions and regular use.
With the screen material securely fastened, you’re nearly finished. The next step involves trimming and finishing the edges of the screen. We’ll guide you through this process in the following section.
Step 6: Trim and finish the edges
Trimming and finishing the edges of the screen is the final step to complete the installation. This ensures a polished and professional look while also providing additional reinforcement. Follow these steps to complete this stage:
- Starting at one corner, use a utility knife to trim any excess screen material that extends beyond the outer edge of the screen frames. Take care to make clean and straight cuts.
- Once the excess screen material is trimmed, use a spline roller or a flat-edged object to press the remaining screen material into the groove of the screen frame. This provides a neat and finished appearance.
- If desired, you can add a decorative trim or molding along the edges to further enhance the aesthetic appeal of your screened porch. This step is optional but can add a touch of elegance.
- Inspect the trimmed edges for any loose or uneven sections. Make any necessary adjustments or repairs, ensuring that the screen material is securely held in place and the edges are smooth.
By trimming and finishing the edges, you achieve a clean and professional-looking installation. It also helps to prevent any fraying or unraveling of the screen material, ensuring its durability in the long run.
With the edges trimmed and finished, you’ve successfully completed the installation process. The next step involves testing the screen and making any necessary adjustments, which we’ll cover in the following section.
Step 7: Test and make any necessary adjustments
After installing the screen and finishing the edges, it’s important to test the functionality and appearance of your newly screened porch. Follow these steps to complete this final stage and make any necessary adjustments:
- Carefully inspect the entire screened porch, paying attention to the screen material, frame attachment, and trim. Look for any signs of loose screens, gaps, or uneven tension.
- If you notice any areas with loose screens or gaps, use a screwdriver or staple gun to reattach or tighten the screen material and secure any loose sections.
- Test the functionality of the screen by opening and closing doors or windows, ensuring they move smoothly without catching or damaging the screen material.
- Step back and evaluate the overall appearance of your newly screened porch. Make any adjustments or refinements as needed to ensure a visually appealing and well-finished installation.
Testing and making necessary adjustments is a crucial step to ensure that your newly installed screen is functioning properly and meeting your expectations. Taking the time to address any issues or fine-tune the installation will result in a fully functional and aesthetically pleasing screened porch.
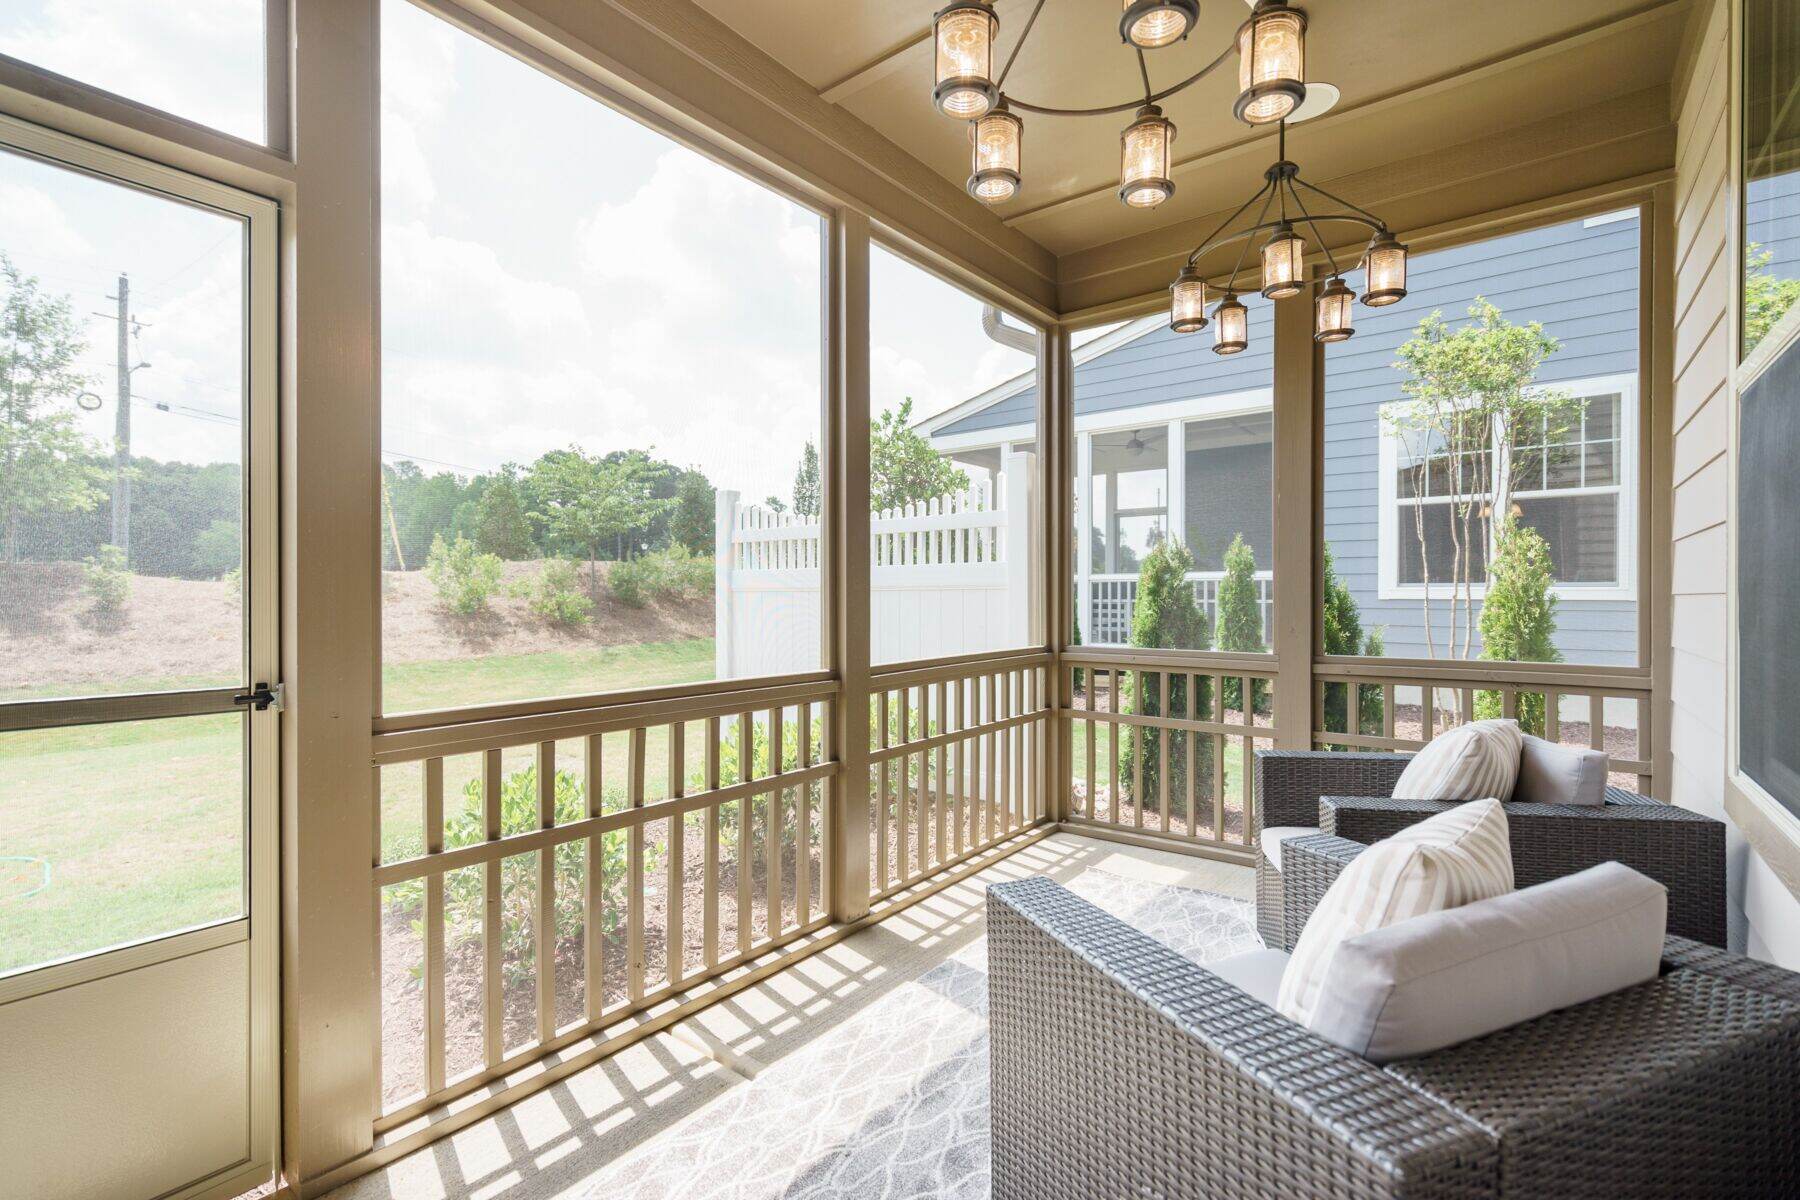
Congratulations! You’ve successfully completed the installation process and now have a beautifully screened porch, providing you with a comfortable and insect-free outdoor space. Enjoy the fresh air and tranquility while knowing that your porch is protected and inviting.
Remember, regular maintenance and periodic inspections are important to keep your screened porch in top condition. Keep an eye out for any signs of wear or damage, and address them promptly to extend the longevity of your screen installation.
Thank you for following this comprehensive guide on how to install a screen on your porch. We hope it has been informative and helpful. Happy screening!
Conclusion
Congratulations! You have successfully completed the process of installing a screen on your porch. By following the step-by-step instructions provided in this guide, you have transformed your outdoor space into a comfortable and insect-free oasis. Now, you can enjoy the fresh air and scenery without having to worry about unwanted pests.
Installing a screen on your porch not only enhances the aesthetics of your outdoor space but also provides numerous practical benefits. You can now relax, entertain guests, or enjoy a meal on your porch without the annoyance of buzzing insects or debris. Additionally, a screened porch allows for improved ventilation, letting in cool breezes while keeping out dust and allergens.
Throughout the installation process, you learned how to gather the necessary tools and materials, measure and prepare the porch frame, install the screen frame, attach the screen material, secure the screen in place, trim and finish the edges, and finally, test and make any necessary adjustments. Each step was carefully outlined to ensure a successful and professional installation.
Remember, regular maintenance and inspections are important to keep your screened porch in top condition. Periodically check for any signs of wear or damage, and address them promptly to extend the longevity of your screen installation. This will ensure that your porch remains a beautiful and functional space for years to come.
We hope this comprehensive guide has provided you with the knowledge and confidence to install a screen on your porch. Enjoy the benefits of your newly screened porch and create memorable moments in your outdoor sanctuary. Embrace the tranquility and peace that a screened porch brings, and make the most of your outdoor living space.
Thank you for choosing to follow our guide, and we wish you many enjoyable days and evenings on your screened porch!
Frequently Asked Questions about How To Install Screen On Porch
Was this page helpful?
At Storables.com, we guarantee accurate and reliable information. Our content, validated by Expert Board Contributors, is crafted following stringent Editorial Policies. We're committed to providing you with well-researched, expert-backed insights for all your informational needs.


0 thoughts on “How To Install Screen On Porch”