Home>Construction & Tools>Building Materials>How To Make Brick Red
Building Materials
How To Make Brick Red
Modified: October 19, 2024
Learn how to make brick red using building materials. Discover the best techniques and tips for achieving the perfect brick red color for your project.
(Many of the links in this article redirect to a specific reviewed product. Your purchase of these products through affiliate links helps to generate commission for Storables.com, at no extra cost. Learn more)
**
Introduction
**
Brick red, a color reminiscent of warmth and tradition, holds a timeless appeal. The process of creating bricks in this rich hue is an art form that has been perfected over centuries. Whether you are a DIY enthusiast or a professional in the construction industry, understanding how to make brick red can be a valuable skill.
The journey of transforming raw materials into durable and aesthetically pleasing bricks involves a series of carefully orchestrated steps. From selecting the right materials to mastering the art of firing, each phase contributes to the creation of these versatile building blocks.
In this comprehensive guide, we will delve into the intricate process of making brick red, exploring the materials needed, the mixing process, shaping techniques, and the crucial stages of drying and firing. By the end of this journey, you will have gained a profound understanding of the craftsmanship involved in producing these iconic building materials. So, let's embark on this fascinating exploration of the art and science of making brick red.
**
Key Takeaways:
- Making brick red involves carefully selecting materials like clay, sand, and colorants, and mastering the art of mixing, shaping, drying, and firing to create enduring and iconic building materials.
- The process of making brick red is a captivating blend of tradition, craftsmanship, and scientific precision, resulting in bricks that embody strength, character, and the timeless allure of brick red.
Read more: How To Paint A Red Brick Fireplace White
Materials Needed
**
Creating brick red involves a meticulous selection of materials that will ultimately determine the color, strength, and durability of the final product. Here are the essential components required for crafting these iconic bricks:
1. Clay: The foundation of brick making, clay serves as the primary raw material. The type of clay used significantly influences the color and texture of the bricks. For brick red, a clay rich in iron oxide is preferred, as it infuses the bricks with the distinctive hue that exudes warmth and character.
2. Sand: A crucial additive in brick making, sand contributes to the structural integrity of the bricks. It helps to reduce shrinkage during the drying and firing process, ensuring that the bricks maintain their shape and strength. Additionally, the right combination of sand and clay influences the final color and texture of the bricks.
3. Water: An essential component in the mixing process, water acts as the medium through which the clay and sand are blended to form a workable and moldable consistency. The quality of water used can impact the overall composition of the brick mixture, making it crucial to use clean and suitable water for optimal results.
4. Colorants: While the natural iron oxide in the clay contributes to the brick red color, additional colorants can be incorporated to achieve specific shades and variations. These colorants can be organic or synthetic and are carefully measured and mixed to achieve the desired aesthetic effect.
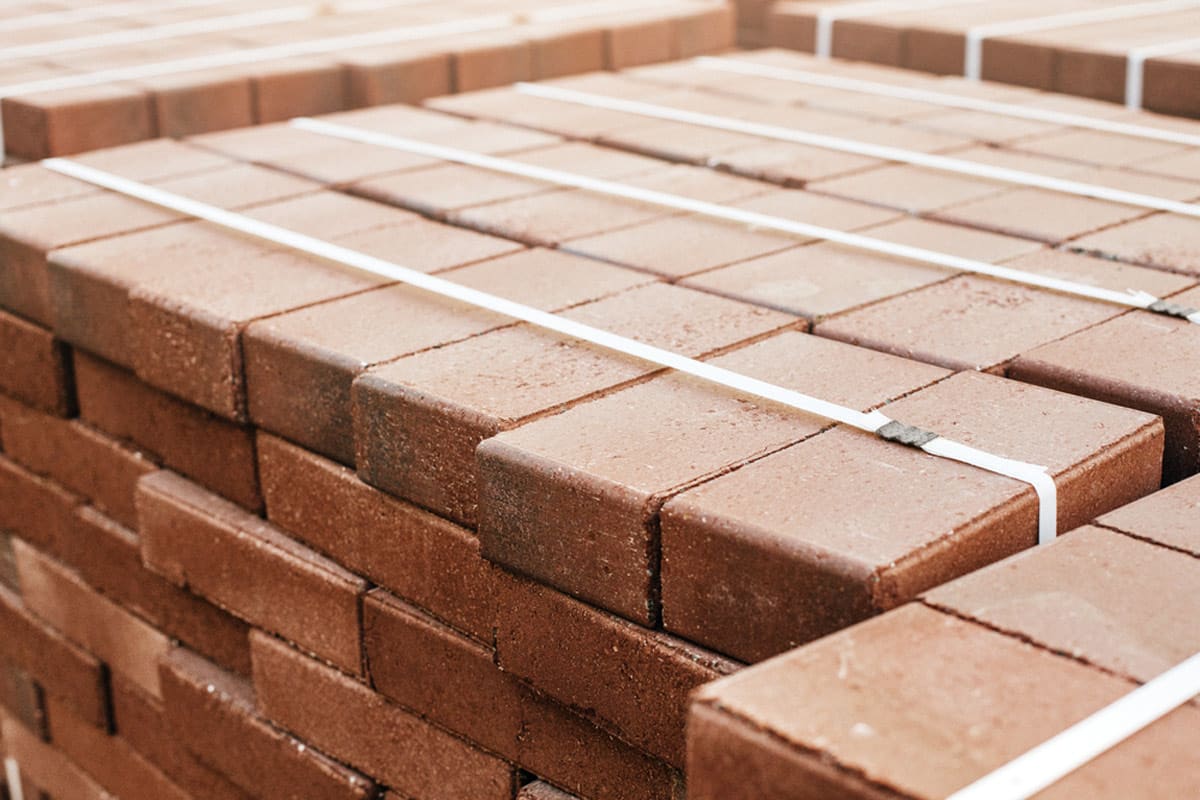
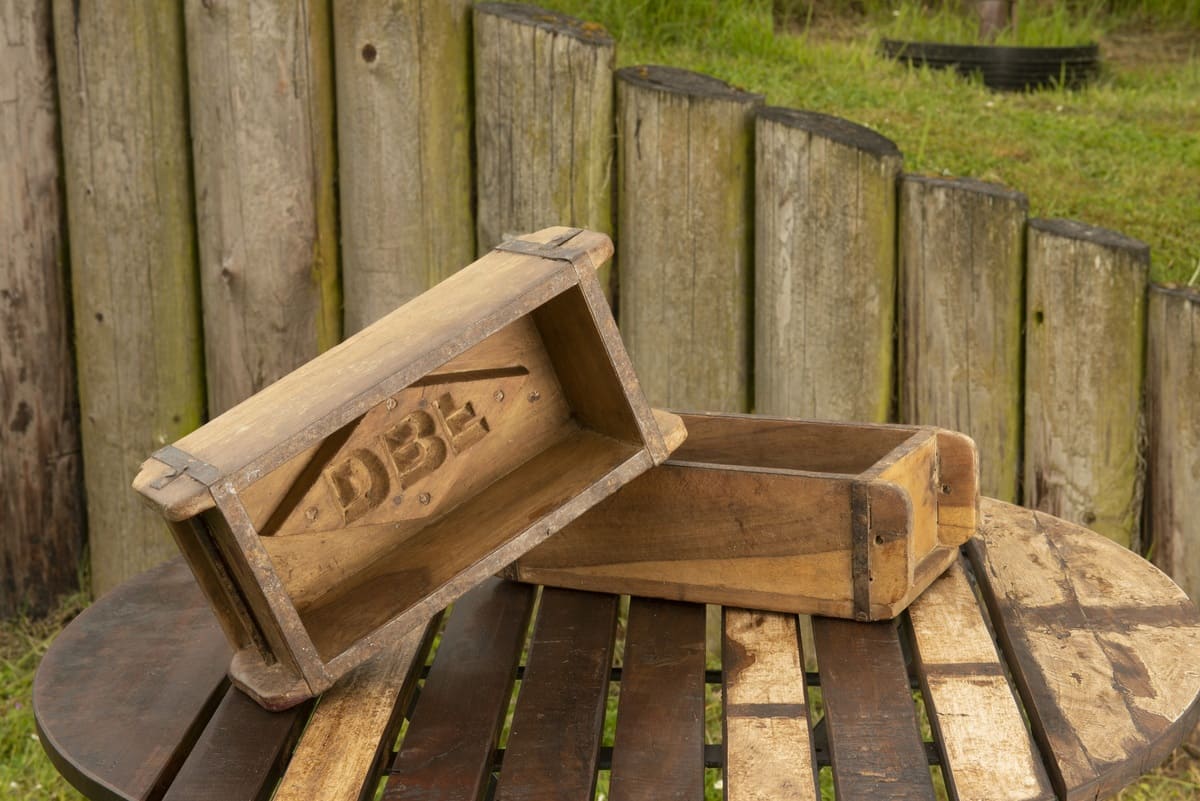
5. Molds: To shape the clay mixture into bricks, molds of the desired dimensions are essential. These molds come in various sizes and shapes, allowing for flexibility in creating different types of bricks for diverse construction needs.
By gathering these materials and understanding their role in the brick-making process, you are equipped to embark on the journey of creating brick red, a timeless and enduring building material.
**
Mixing the Ingredients
**
The process of mixing the ingredients for brick making is a delicate dance that requires precision and expertise. The goal is to achieve a homogeneous blend that incorporates the clay, sand, water, and colorants in perfect harmony. Here’s a step-by-step guide to mastering the art of mixing the ingredients:
1. Preparing the Clay: Before mixing, the clay needs to be prepared by removing any impurities and ensuring a consistent texture. This may involve crushing, grinding, and screening the clay to achieve the desired fineness and uniformity.
2. Measuring the Proportions: The right balance of clay, sand, and water is crucial in creating bricks with optimal strength and color. The proportions may vary depending on the specific requirements of the project, but a typical ratio involves combining approximately 60% to 70% clay with 30% to 40% sand, along with the necessary amount of water to achieve the desired consistency.
3. Adding Colorants: If additional colorants are being used to enhance or modify the natural brick red hue, they are carefully measured and incorporated into the clay and sand mixture. This step demands precision to ensure uniform color distribution throughout the batch.
4. Mixing Process: The blending of the ingredients is typically carried out in a pug mill or a mixing machine specially designed for brick making. The clay, sand, water, and colorants are introduced into the mixer, where they are thoroughly combined to form a cohesive and malleable mass.
5. Testing and Adjusting: Throughout the mixing process, periodic testing is conducted to assess the consistency, color, and workability of the mixture. Adjustments in the proportions or moisture content may be made to achieve the desired characteristics for molding and shaping the bricks.
Mastering the art of mixing the ingredients is a fundamental aspect of brick making, as it sets the stage for the subsequent phases of shaping, drying, and firing. A well-blended mixture ensures that the bricks exhibit uniform color, strength, and resilience, embodying the timeless allure of brick red.
**
To make brick red, mix red and brown paint together until you achieve the desired shade. Start with a small amount of brown and gradually add more until you reach the right color.
Shaping the Bricks
**
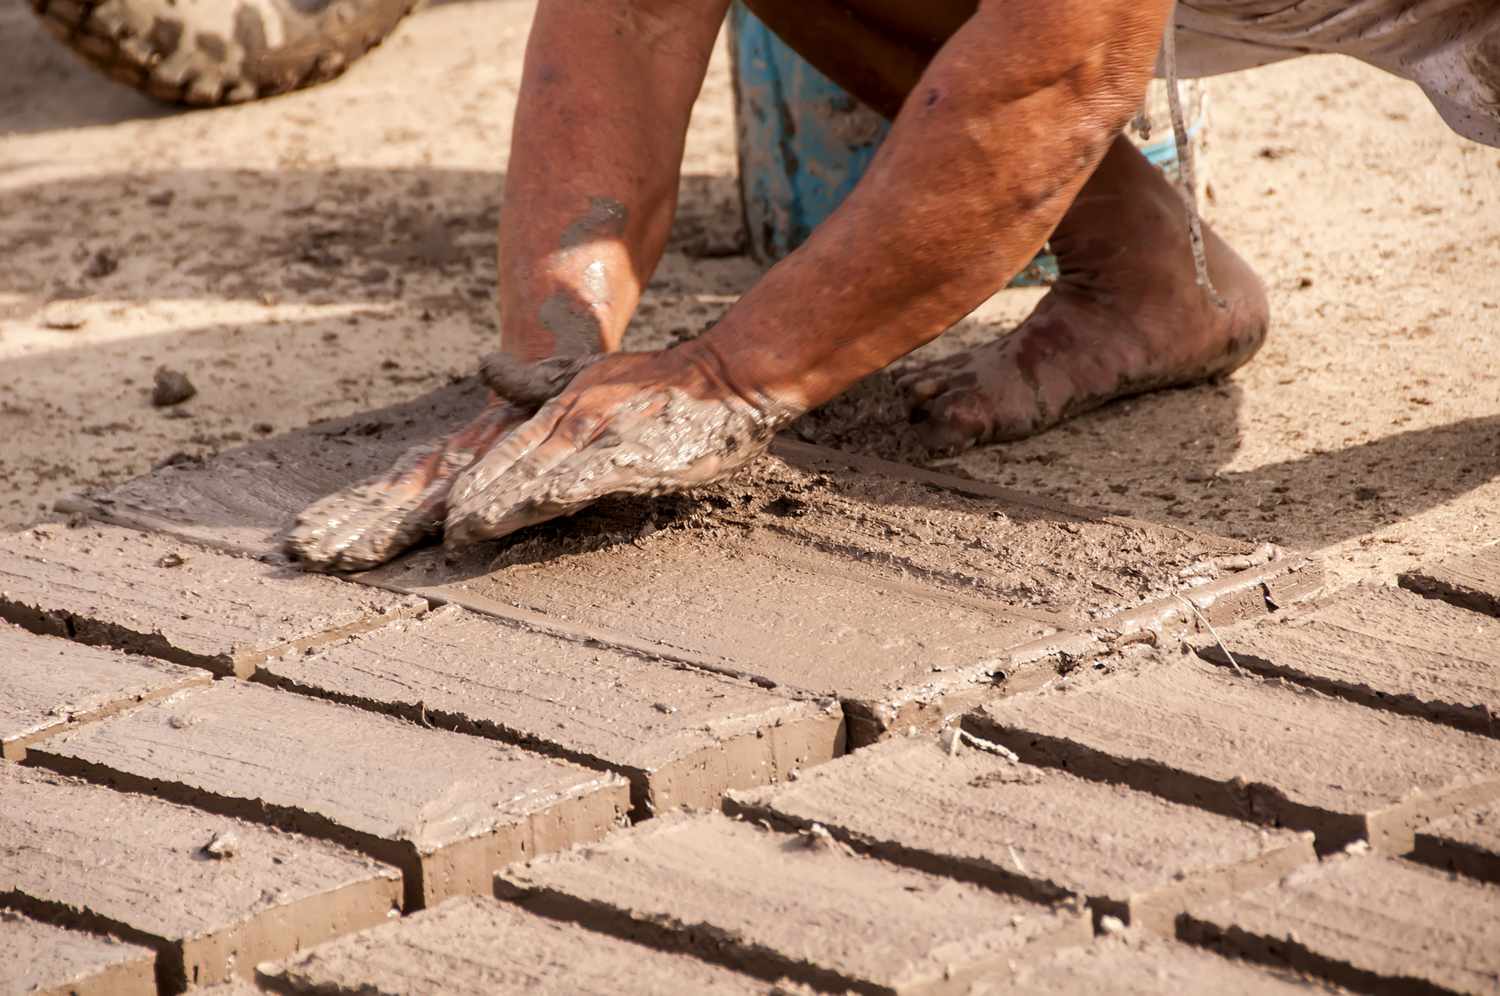
Shaping the bricks is a pivotal stage in the brick-making process, where the carefully mixed ingredients are transformed into the iconic building blocks that embody the distinctive allure of brick red. The shaping process demands skill, precision, and an eye for detail to ensure that each brick meets the desired specifications. Here’s a comprehensive overview of the art of shaping bricks:
1. Preparing the Molds: The molds, typically made of wood or metal, are meticulously cleaned and prepared to receive the clay mixture. Proper mold preparation is essential to ensure that the bricks can be easily removed without distortion or damage.
2. Filling the Molds: The well-blended clay and sand mixture is carefully introduced into the molds, ensuring that each mold cavity is uniformly filled to create bricks of consistent size and shape. This step requires steady hands and attention to detail to achieve the desired uniformity.
3. Compacting the Mixture: Once the molds are filled, the clay mixture is compacted to eliminate air pockets and achieve a dense and solid composition. This can be done using manual or mechanical methods, such as tamping or pressing, to ensure that the bricks possess the necessary structural integrity.
4. Smoothing and Finishing: After compacting, the excess clay mixture is trimmed and the surface of the bricks is smoothed to impart a refined and uniform appearance. This step contributes to the aesthetic appeal of the bricks and ensures that they will form seamless and visually pleasing structures when used in construction.
5. Releasing the Bricks: Once the shaping and finishing are complete, the bricks are gently released from the molds, taking care to preserve their form and structural integrity. The freshly molded bricks are then set aside for the crucial stages of drying and firing.
Shaping the bricks is a labor-intensive yet gratifying process that epitomizes the artistry and precision involved in brick making. Each meticulously shaped brick carries with it the legacy of craftsmanship and the enduring charm of brick red, ready to become an integral part of architectural endeavors and construction projects.
**
Drying and Firing
**
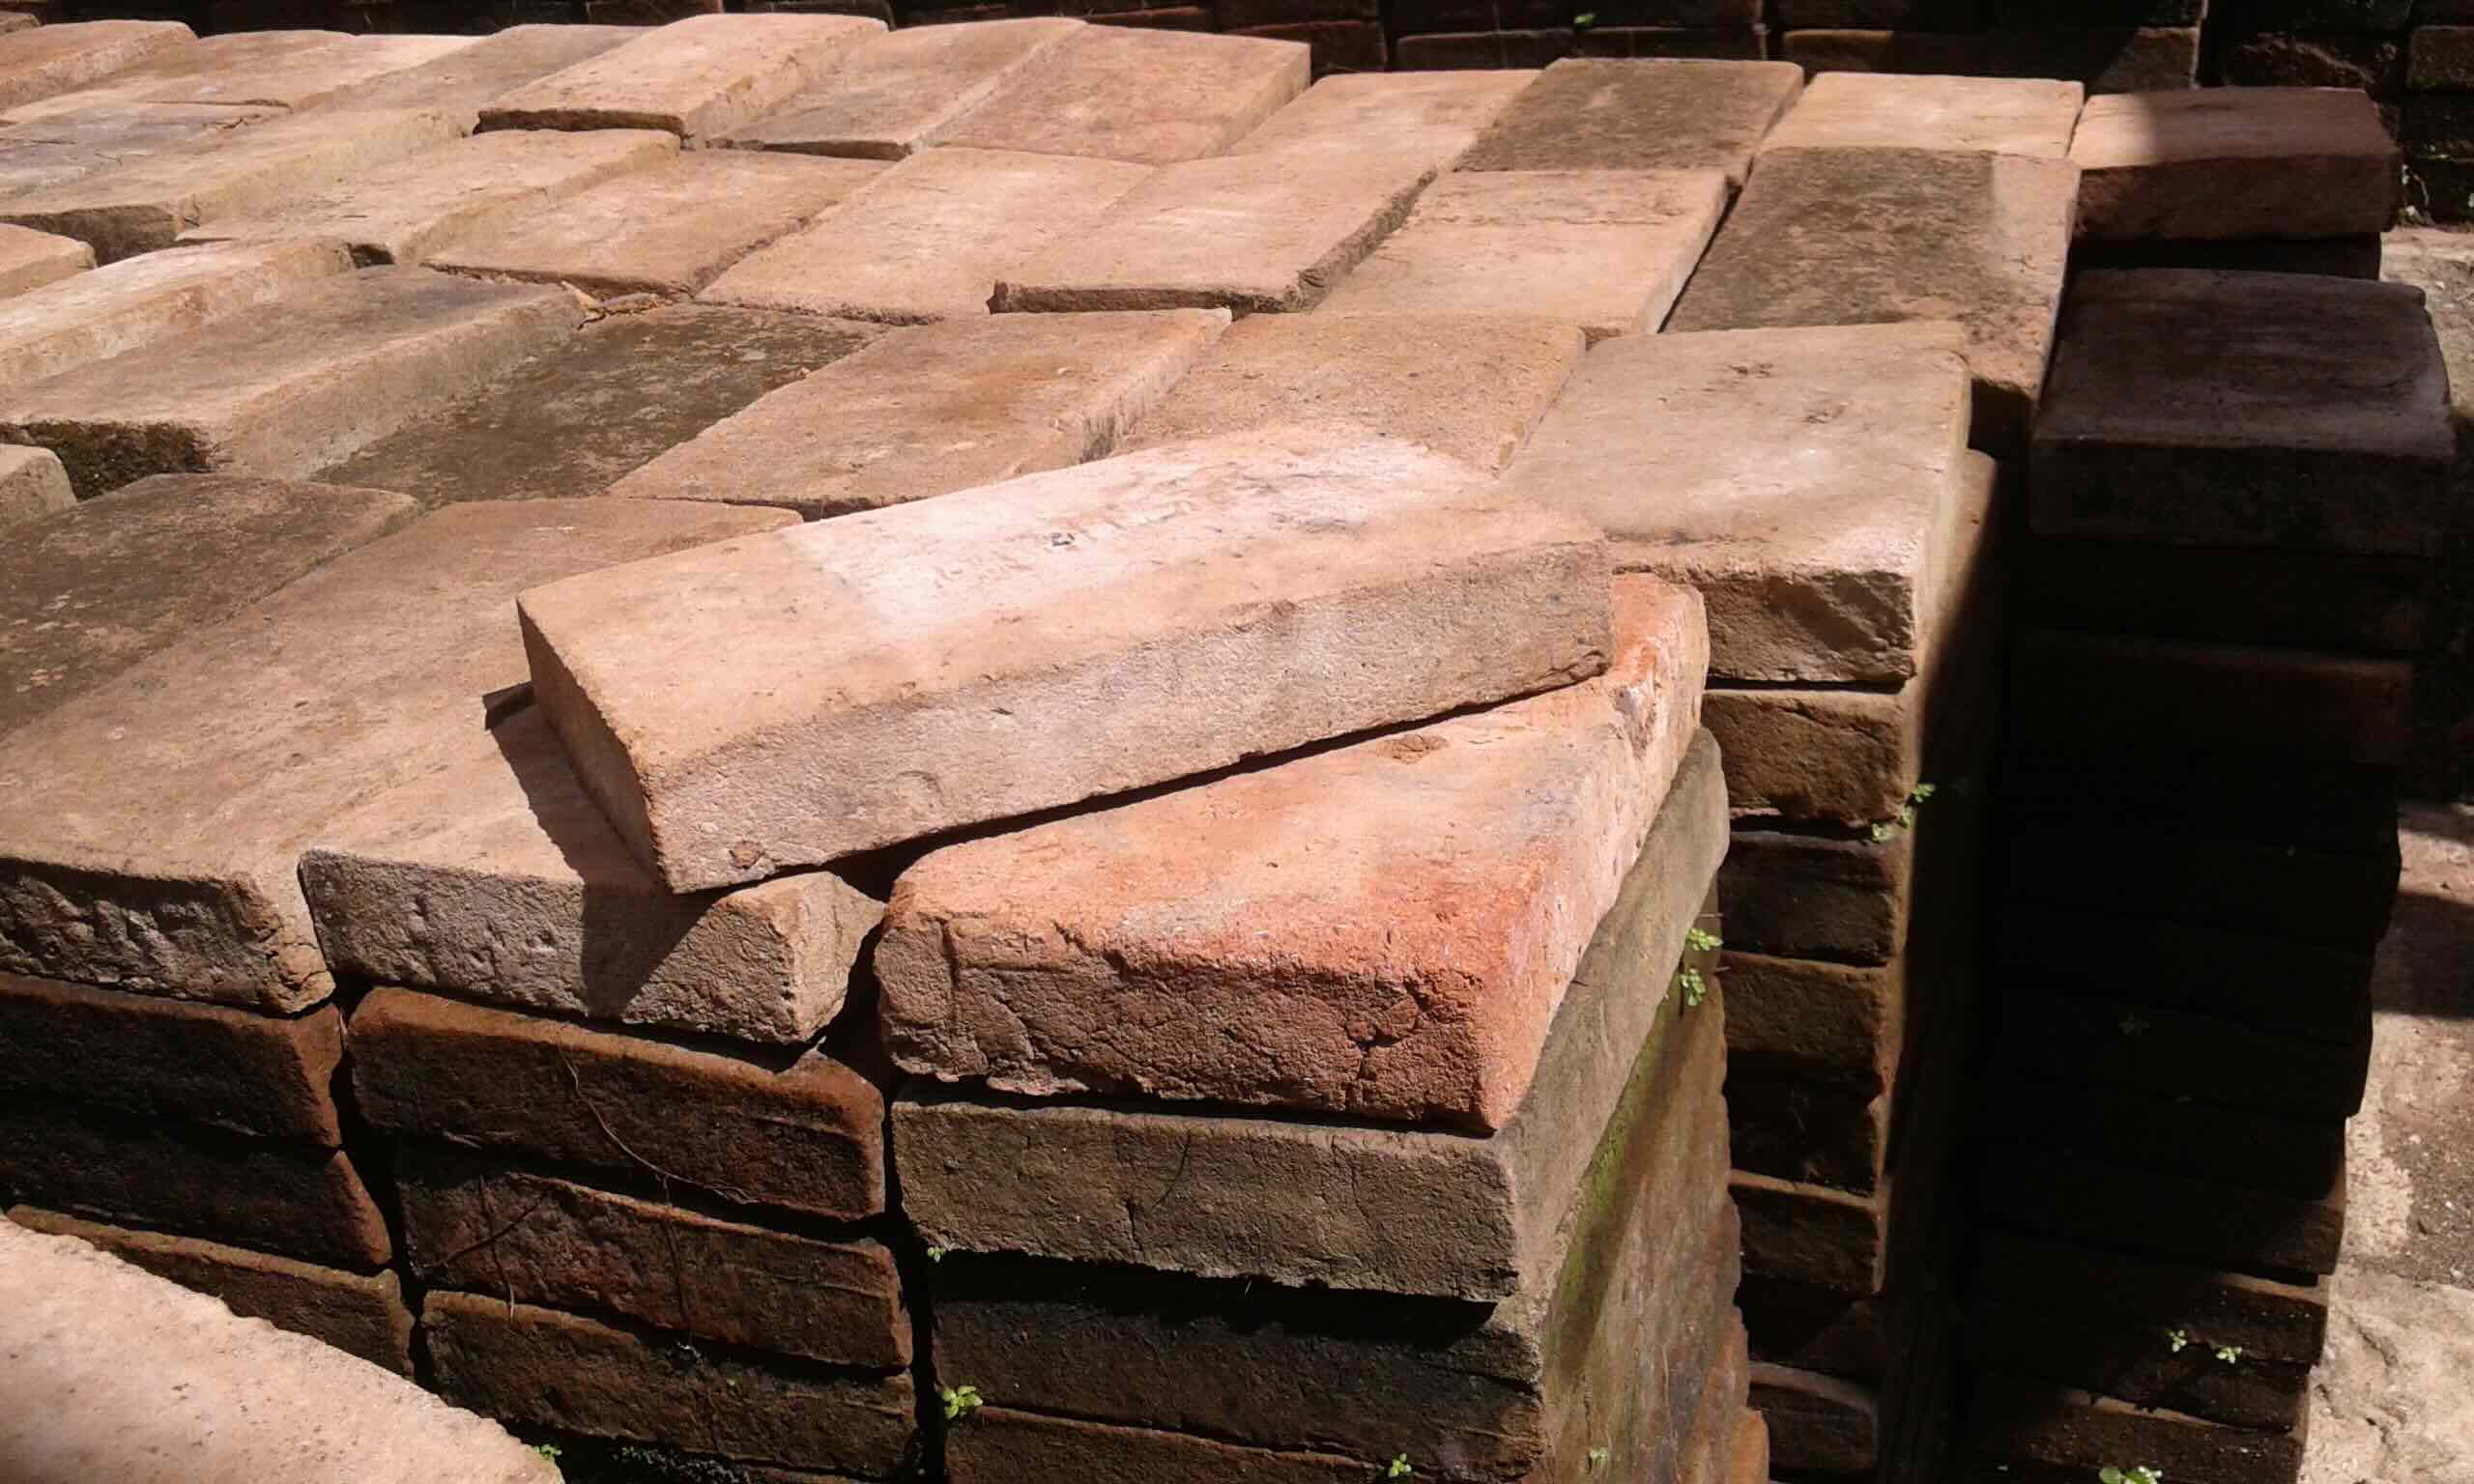
The drying and firing of bricks mark the culmination of the intricate brick-making process, transforming the molded clay mixture into robust and enduring building materials. These crucial stages impart strength, resilience, and the characteristic brick red hue to the bricks, making them ready for a myriad of construction applications. Let’s delve into the transformative journey of drying and firing:
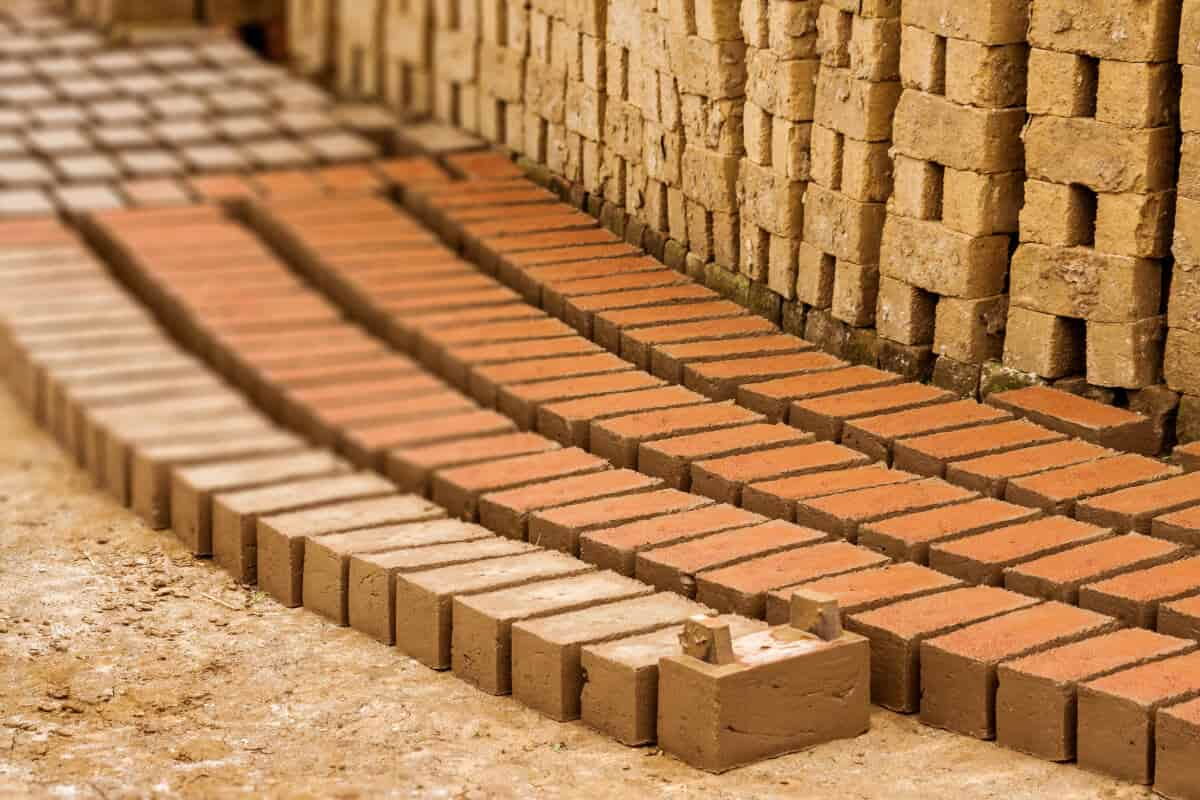
1. Initial Drying: Freshly molded bricks are subjected to an initial drying phase, where they are carefully arranged in a controlled environment to gradually remove excess moisture. This gradual drying process is essential to prevent cracking and warping, ensuring that the bricks retain their shape and structural integrity.
2. Air Drying: Following the initial drying, the bricks are exposed to the natural elements, allowing them to further air dry and acclimate to the ambient conditions. This phase contributes to the gradual evaporation of residual moisture, preparing the bricks for the subsequent firing process.
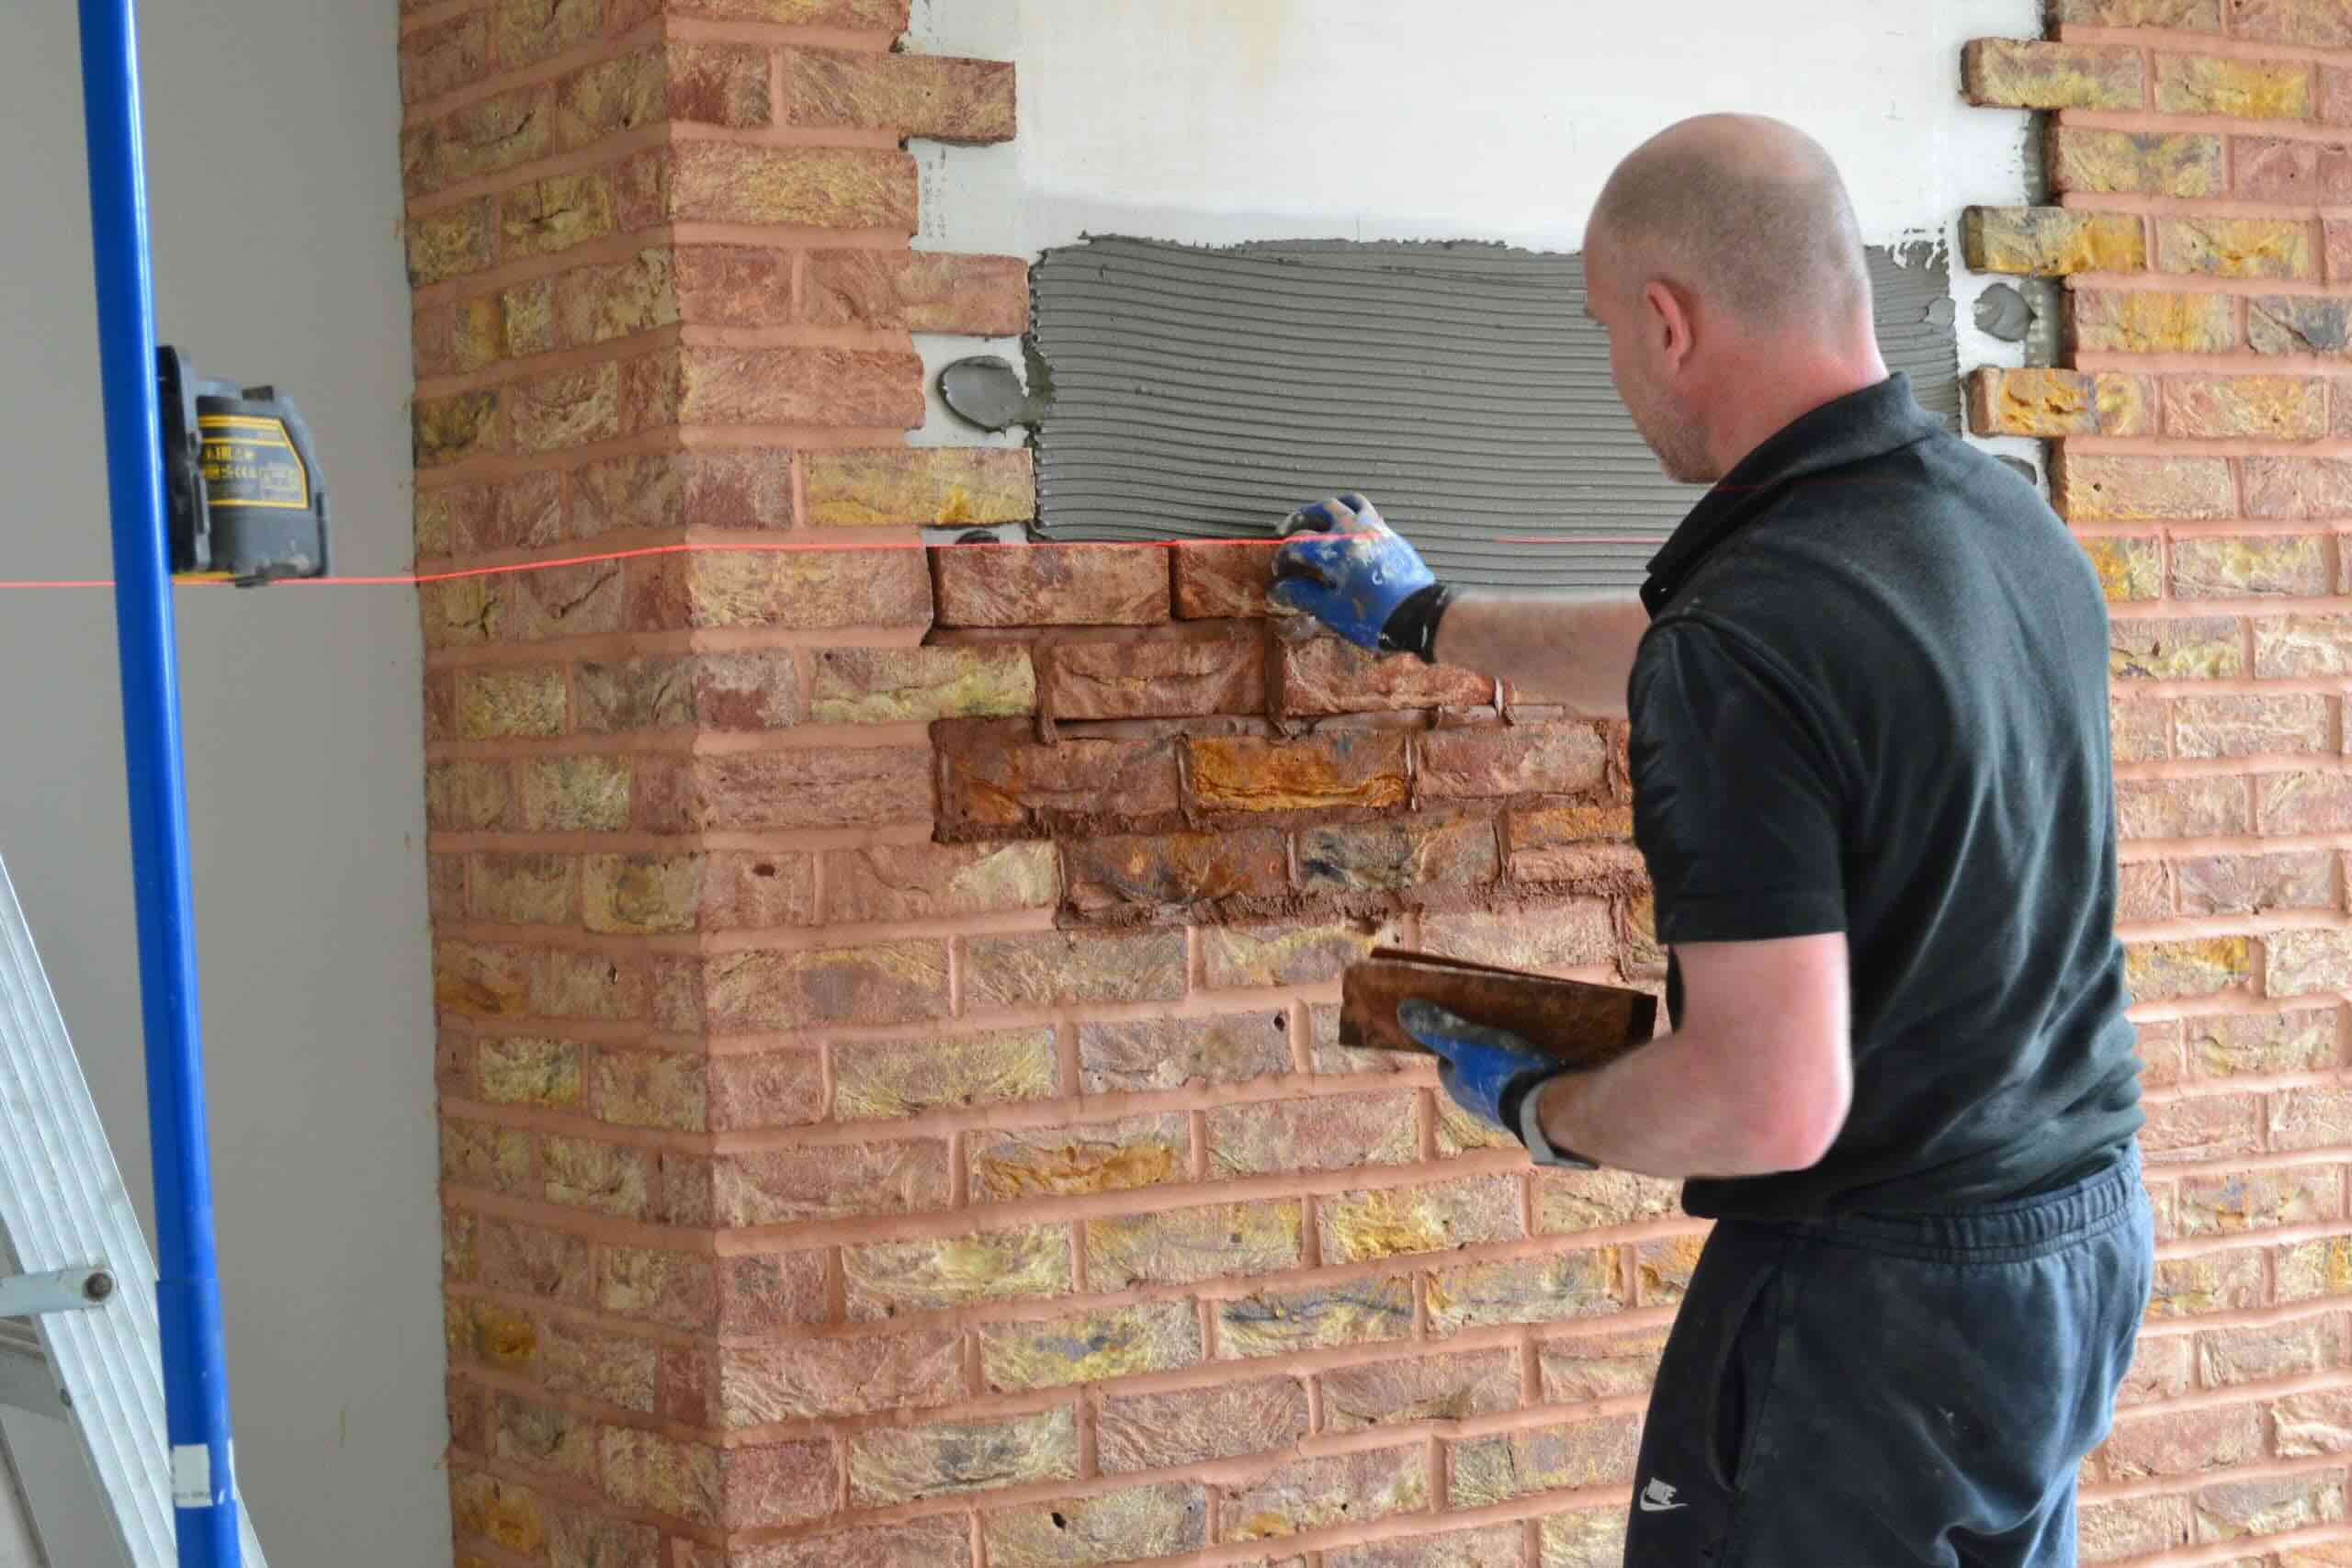
3. Firing Kiln Preparation: The dried bricks are meticulously arranged in kilns, where they will undergo the firing process. The kilns are carefully loaded to facilitate uniform heating and ensure that the bricks are exposed to the intense heat necessary for their transformation.
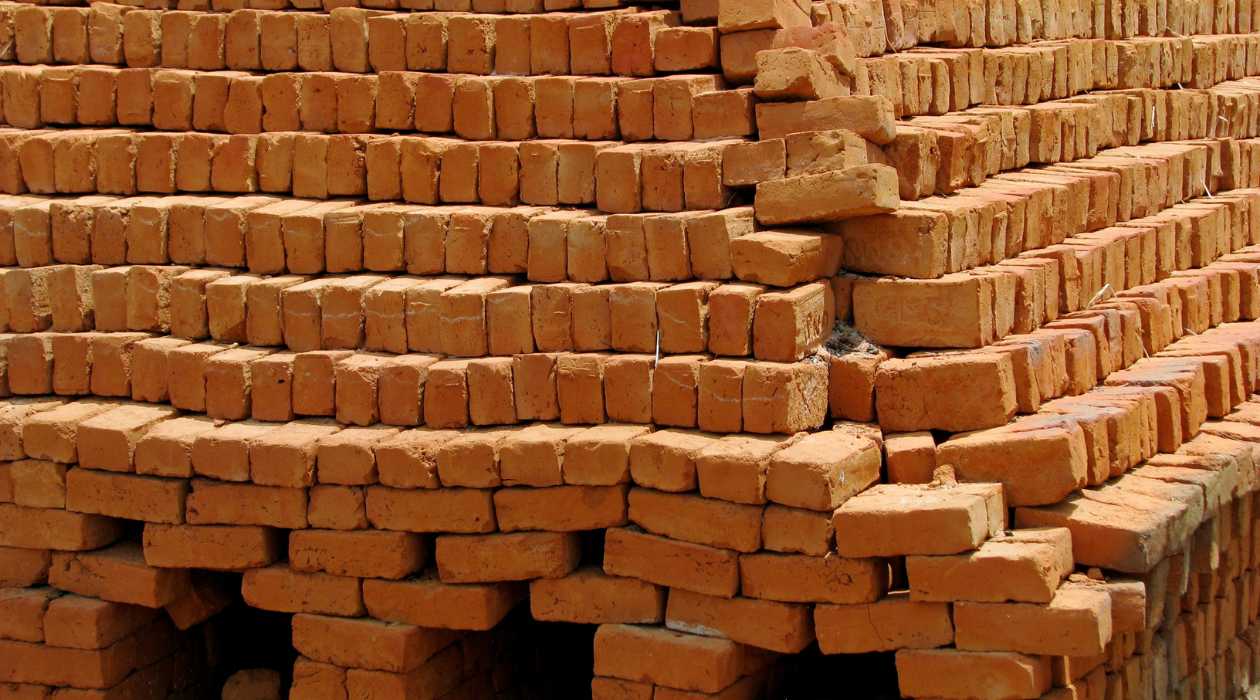
4. Firing Process: The firing of the bricks involves subjecting them to high temperatures within the kiln, typically ranging from 1,800 to 2,000 degrees Fahrenheit. This intense heat causes a series of chemical and physical changes within the clay, resulting in the solidification and strengthening of the bricks. Additionally, the firing process brings out the rich brick red color, infusing the bricks with their timeless aesthetic appeal.
5. Cooling and Inspection: Once the firing process is complete, the kilns are gradually cooled to allow the bricks to acclimate to lower temperatures. The cooled bricks are then carefully inspected to ensure that they exhibit the desired strength, color, and uniformity, meeting the exacting standards of quality and craftsmanship.
The meticulous process of drying and firing imparts durability, strength, and the iconic brick red hue to the bricks, elevating them to indispensable building materials that have stood the test of time. Each brick bears the legacy of artisanship and precision, ready to become an enduring element in architectural endeavors and construction projects.
**
Read more: What Is The Size Of A Standard Red Brick
Conclusion
**
The art of making brick red is a captivating blend of tradition, craftsmanship, and scientific precision. From the careful selection of materials to the transformative stages of mixing, shaping, drying, and firing, each step in the process contributes to the creation of these enduring building materials.
Brick red, with its timeless allure and versatile applications, embodies the spirit of architectural innovation and structural resilience. Whether adorning the facades of historic buildings or forming the foundations of modern structures, brick red stands as a testament to the enduring legacy of brick making.
As we conclude this exploration of the intricate process of making brick red, it is evident that the artistry and expertise involved in crafting these iconic bricks have been honed over centuries. The careful blending of clay, sand, and colorants, the meticulous shaping and finishing, and the transformative journey of drying and firing collectively contribute to the creation of bricks that embody strength, character, and the captivating hue of brick red.
May this journey through the art and science of making brick red inspire a profound appreciation for the craftsmanship and ingenuity that shape our built environment. Whether you are a builder, architect, or enthusiast of traditional crafts, the allure of brick red continues to captivate and endure, standing as a timeless embodiment of human creativity and resilience.
As we reflect on the rich history and enduring appeal of brick red, let us celebrate the artisans and craftsmen who have mastered this age-old tradition, infusing our world with the warmth and character of brick red, a hue that transcends time and trends, leaving an indelible mark on the architectural landscape.
Frequently Asked Questions about How To Make Brick Red
Was this page helpful?
At Storables.com, we guarantee accurate and reliable information. Our content, validated by Expert Board Contributors, is crafted following stringent Editorial Policies. We're committed to providing you with well-researched, expert-backed insights for all your informational needs.


0 thoughts on “How To Make Brick Red”