Home>Construction & Tools>Building Materials>How To Make A Brick Kiln
Building Materials
How To Make A Brick Kiln
Modified: October 19, 2024
Learn how to make a brick kiln and discover the essential building materials needed for the process. Follow our step-by-step guide to create your own kiln today!
(Many of the links in this article redirect to a specific reviewed product. Your purchase of these products through affiliate links helps to generate commission for Storables.com, at no extra cost. Learn more)
Introduction
Welcome to the fascinating world of brickmaking! Whether you're a seasoned artisan or a curious novice, learning how to construct a brick kiln can be a rewarding and educational experience. Brick kilns have been used for centuries to transform raw clay into durable building materials, and the process remains a timeless craft that combines tradition with practicality.
In this guide, we'll explore the essential steps and materials required to build a brick kiln, offering valuable insights into this age-old practice. From selecting the ideal location to firing the kiln, each stage plays a crucial role in the successful creation of high-quality bricks. By understanding the intricacies of brick kiln construction, you'll gain a newfound appreciation for the artistry and precision involved in producing these fundamental building blocks.
Whether you're embarking on a personal brickmaking project or seeking to expand your knowledge of construction techniques, this guide will equip you with the know-how to construct a brick kiln with confidence. So, roll up your sleeves, gather your materials, and prepare to delve into the time-honored craft of brick kiln construction. Let's begin this exciting journey of discovery and creativity!
Key Takeaways:
- Building a brick kiln requires precision and patience, showcasing the fusion of tradition and practicality in crafting durable building materials.
- Constructing a brick kiln fosters appreciation for craftsmanship and offers opportunities for continued learning and exploration in construction techniques.
Read more: How To Make A Brick
Materials Needed
Before embarking on the construction of a brick kiln, it’s essential to gather the necessary materials to ensure a smooth and efficient building process. Here’s a comprehensive list of the materials you’ll need:
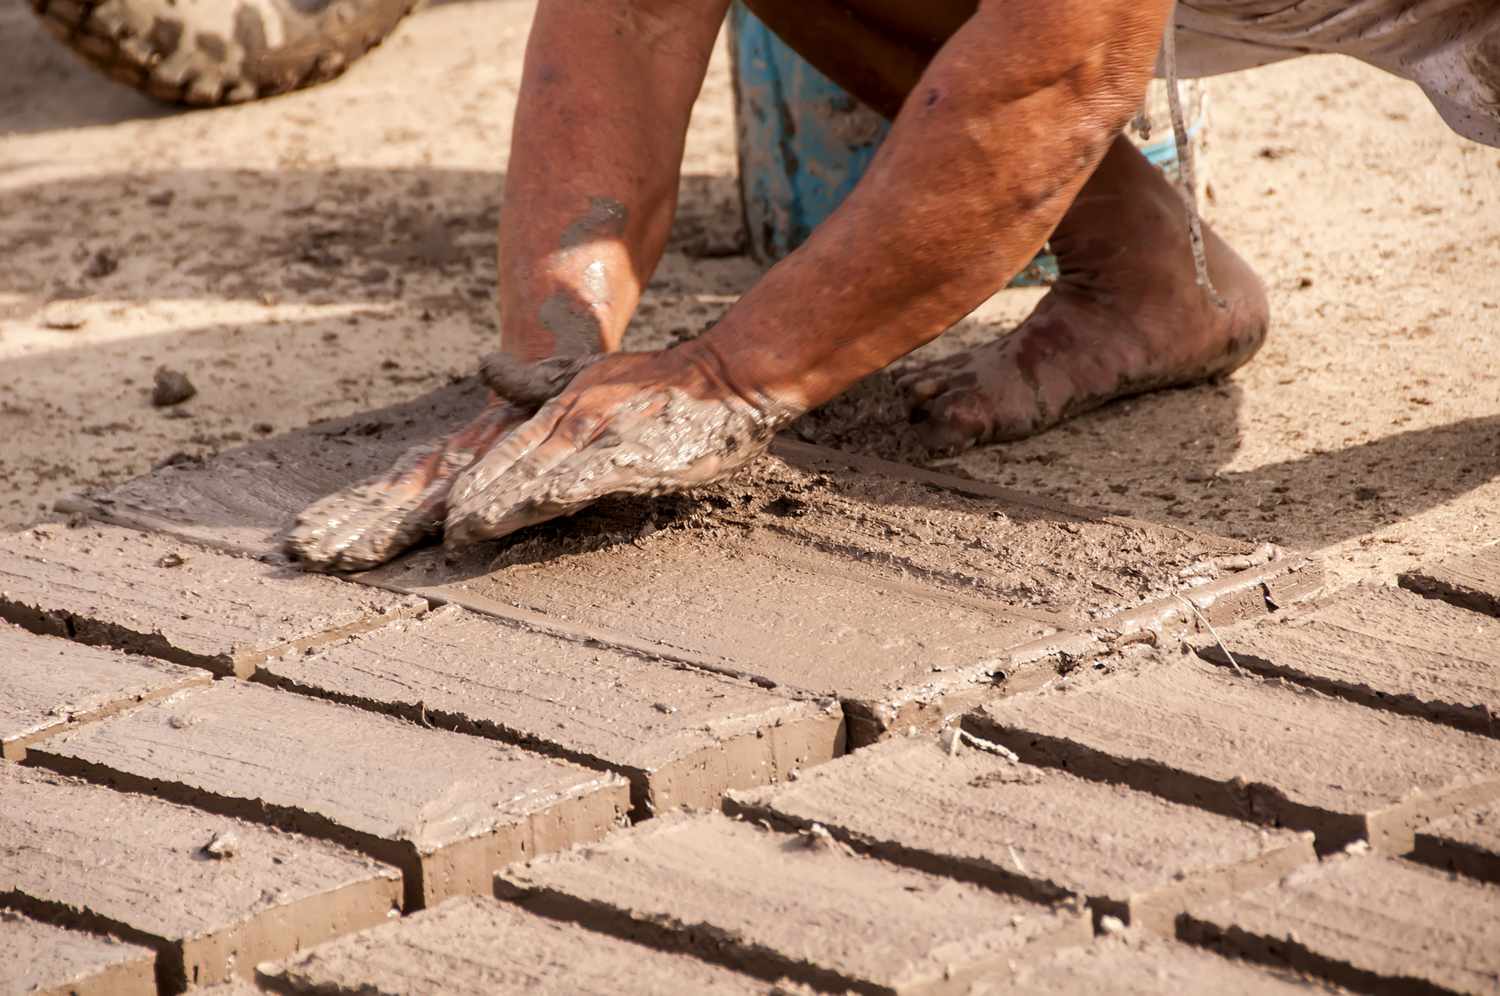
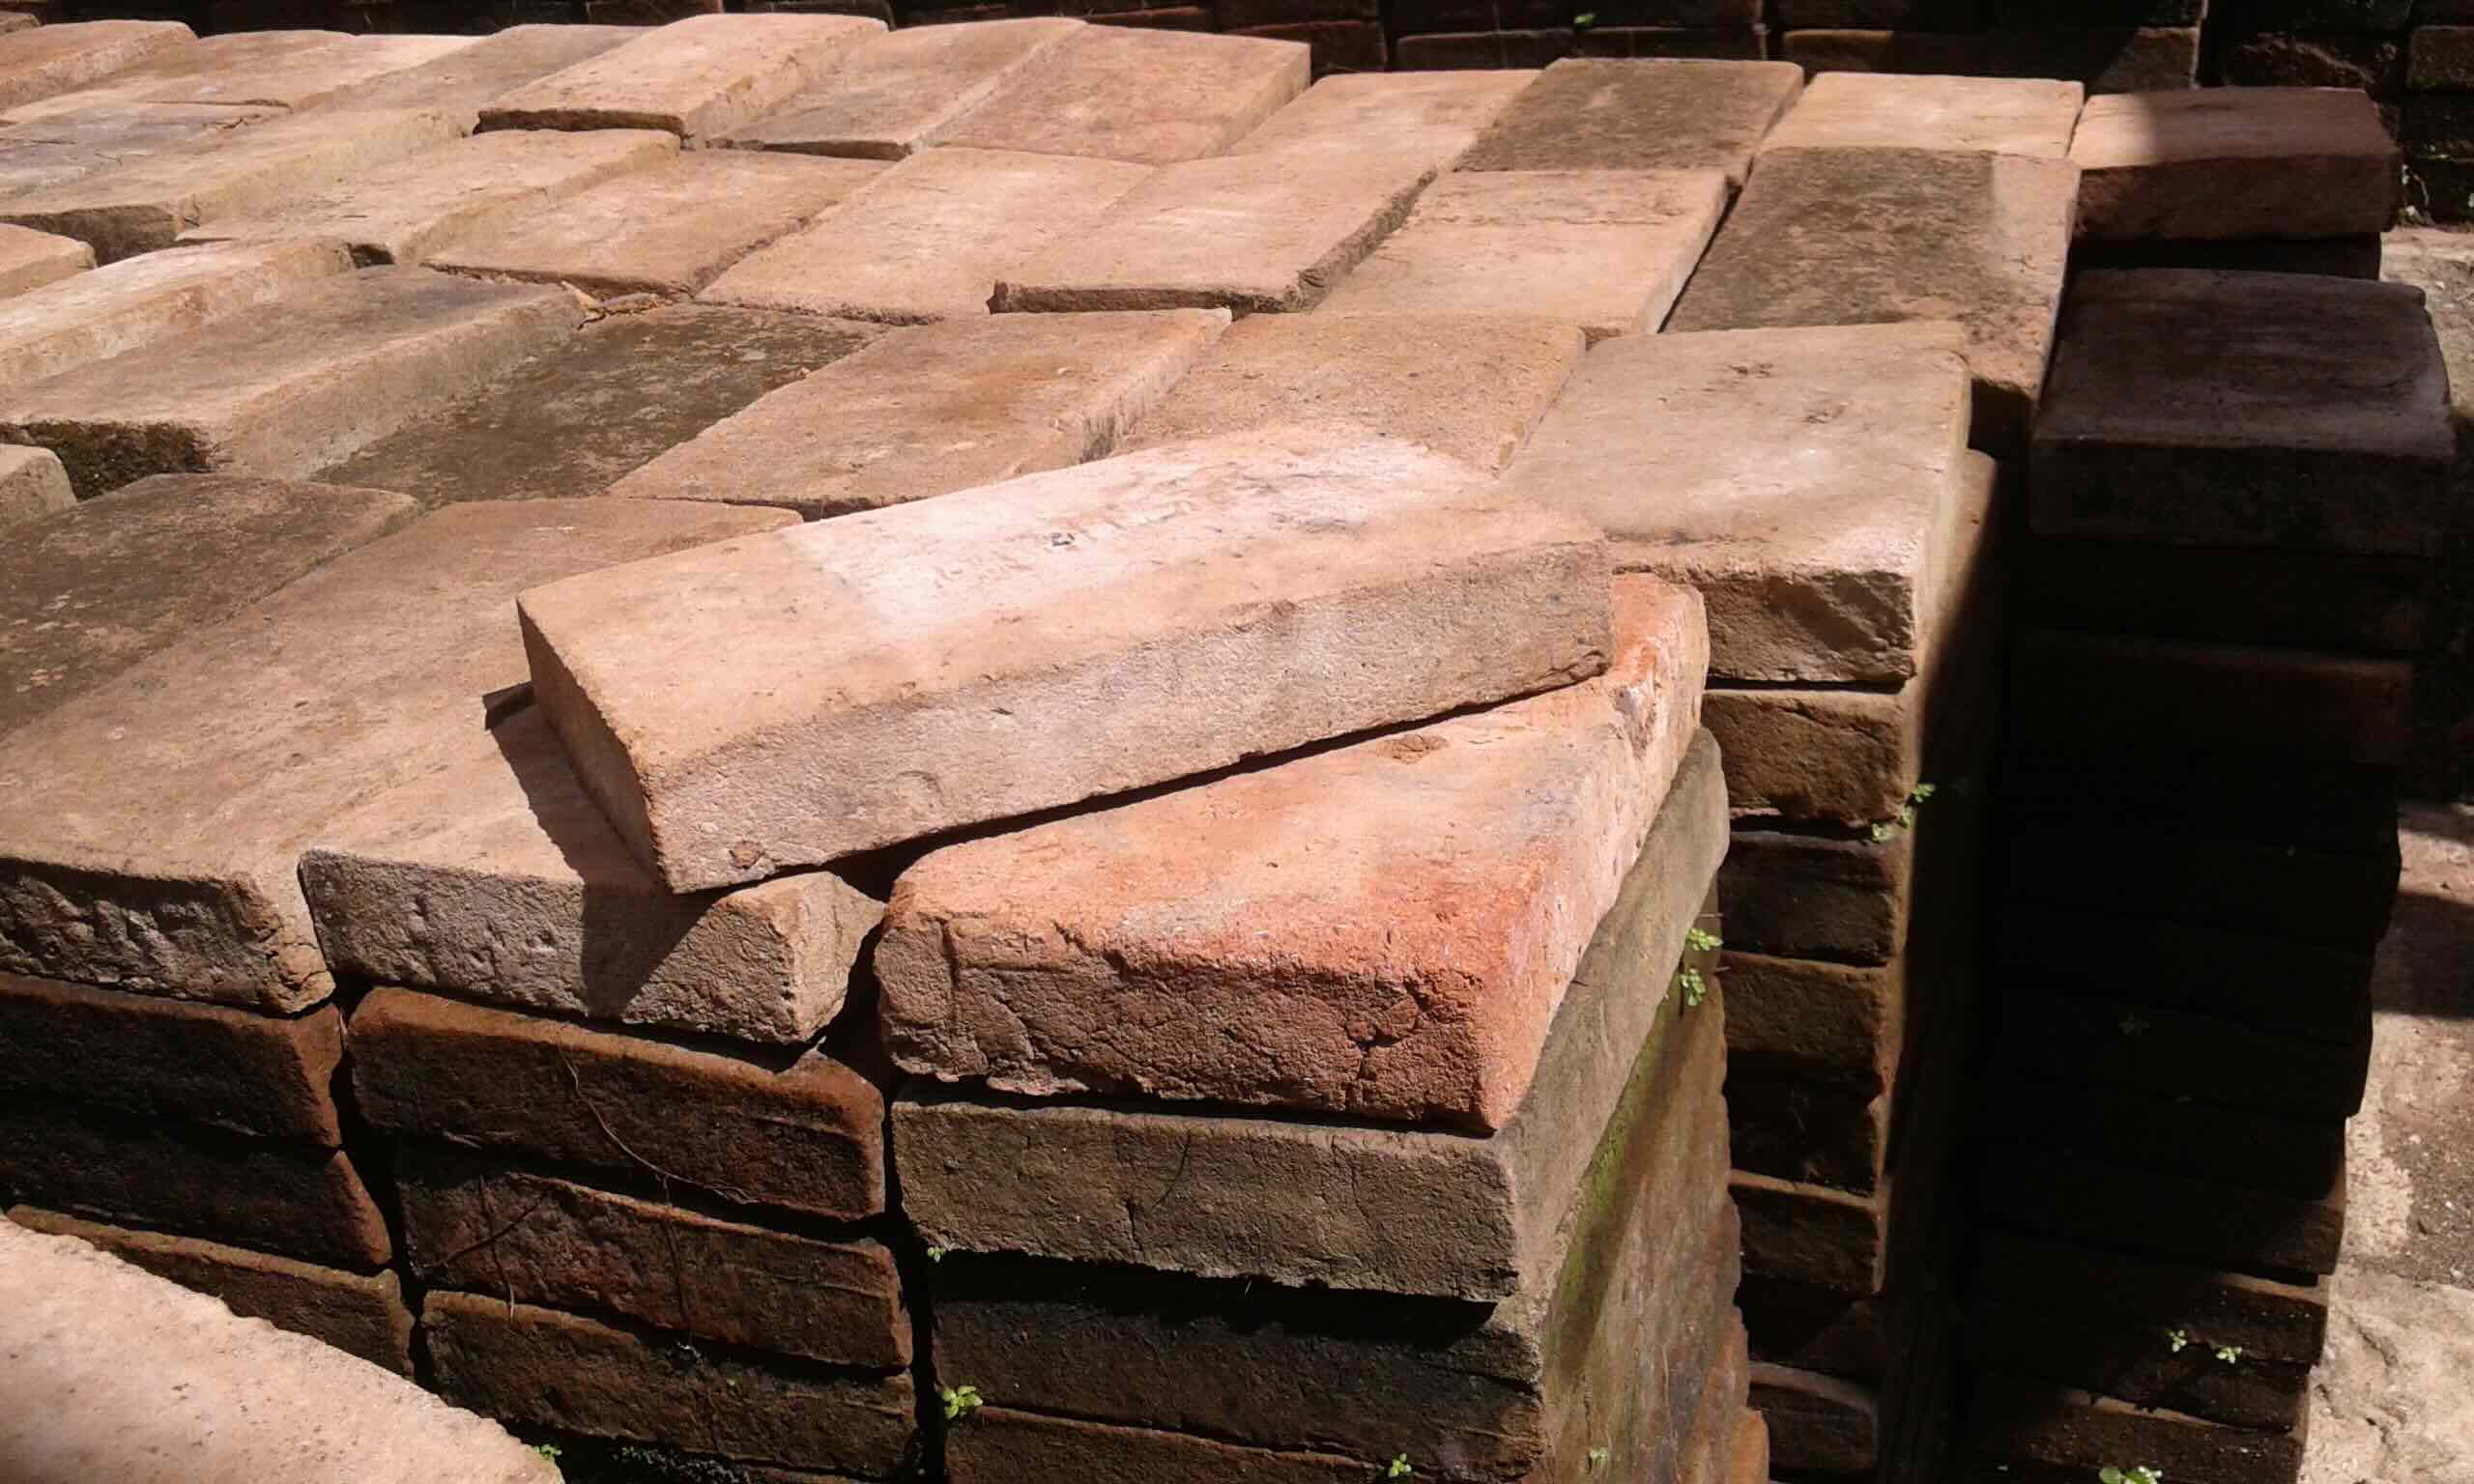
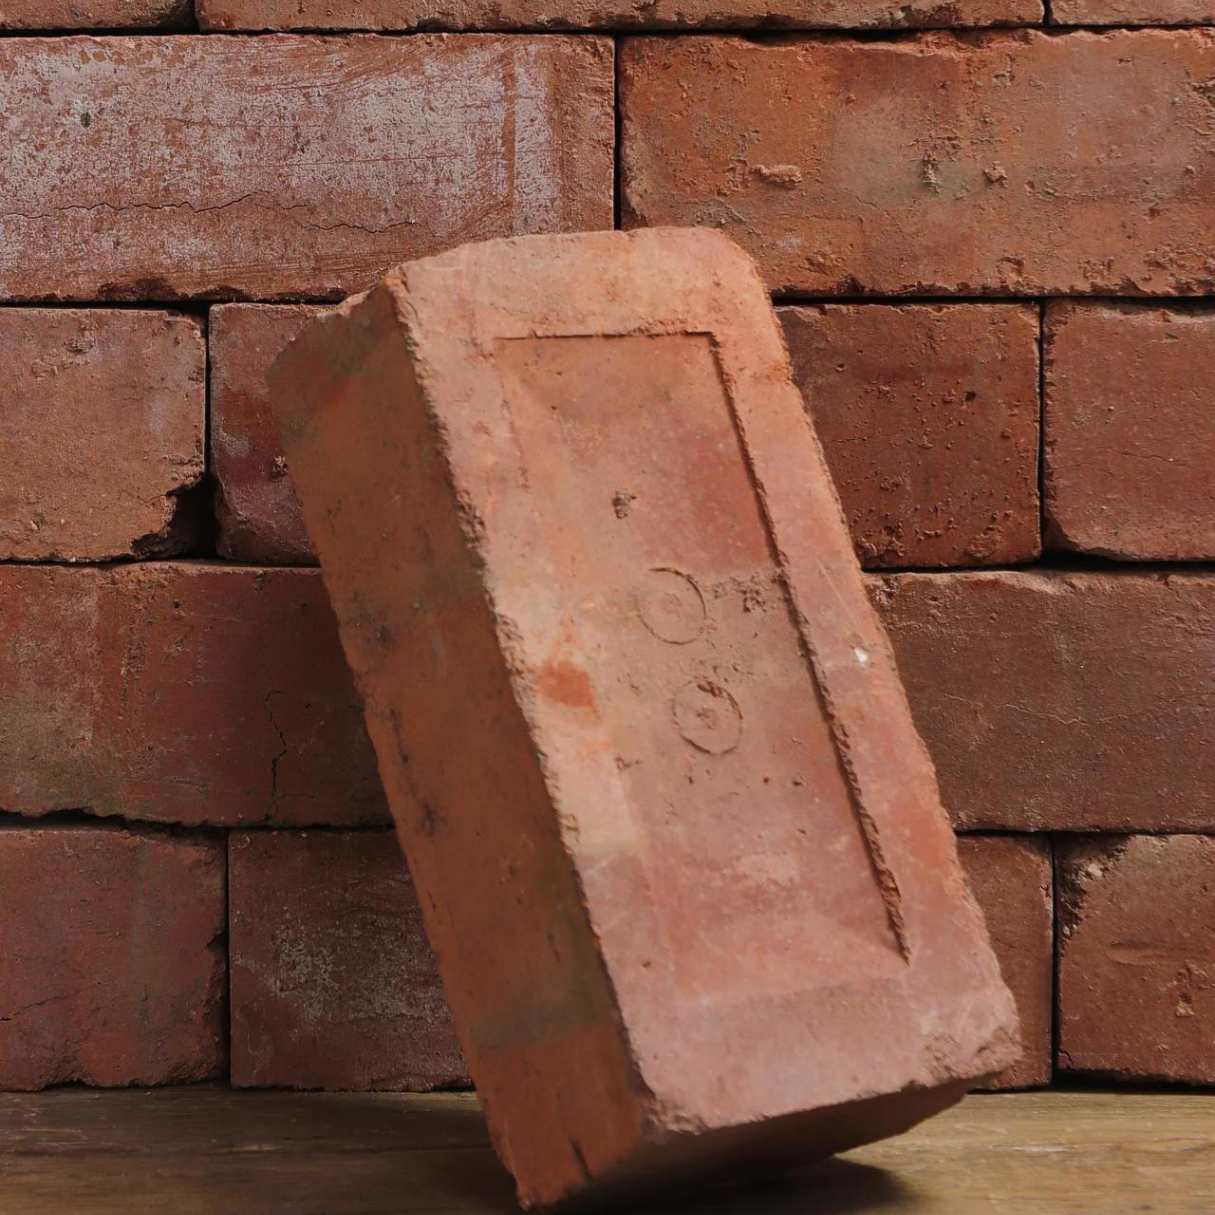
- Clay: The primary raw material for making bricks, clay should be of high quality and free from impurities. Look for clay with good plasticity, which allows it to be easily molded and shaped.
- Sand: Mixing sand with clay enhances the strength and texture of the bricks. Opt for clean, coarse sand to achieve the desired consistency in your brick mixture.
- Water: An essential component for preparing the clay and sand mixture, water is crucial for achieving the right level of moisture in the brick material.
- Wood or Fuel: To fire the kiln and bake the bricks, you’ll need a reliable source of fuel. This can include firewood, coal, or other suitable combustible materials.
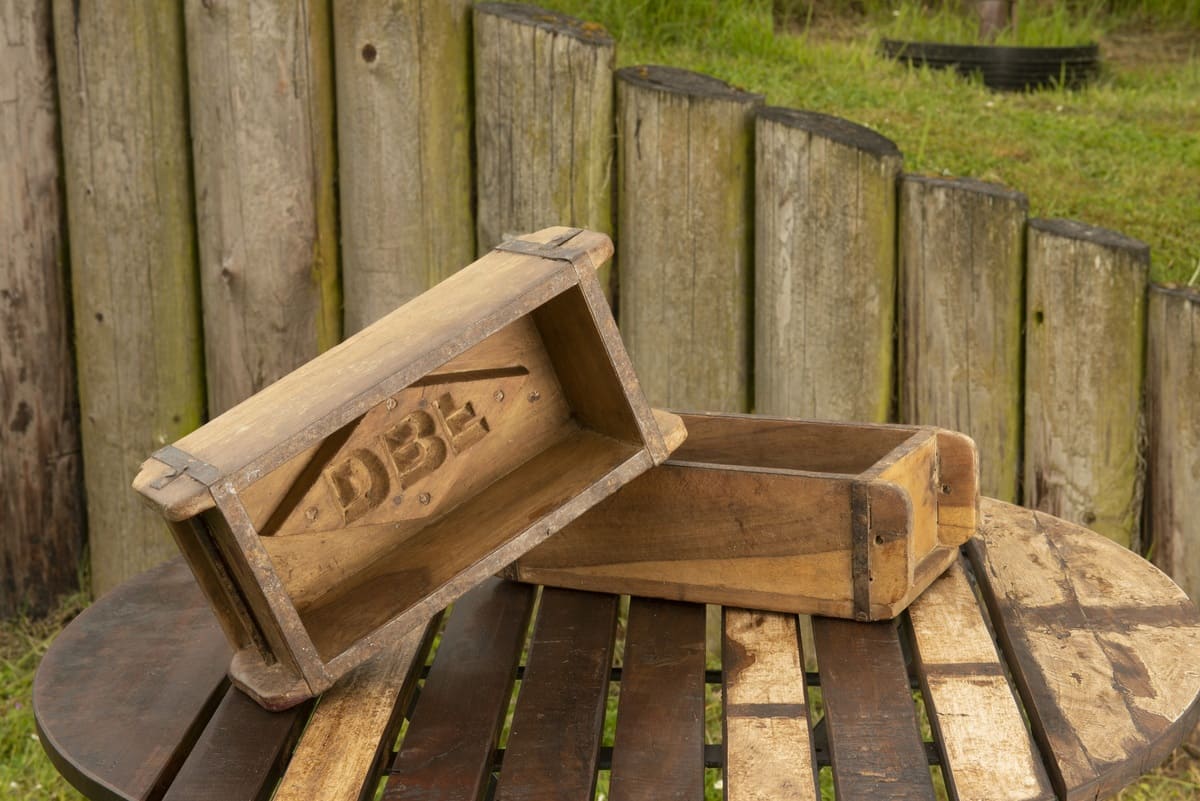
- Brick Molds: These molds are used to shape the clay mixture into uniform bricks. Ensure that the molds are sturdy and capable of producing bricks of consistent size and shape.
- Bricklaying Tools: Essential tools such as a trowel, level, and mallet will be required for laying the bricks and ensuring precise construction.
- Shovel and Wheelbarrow: These tools are indispensable for transporting and mixing the raw materials, ensuring a seamless workflow during the construction process.
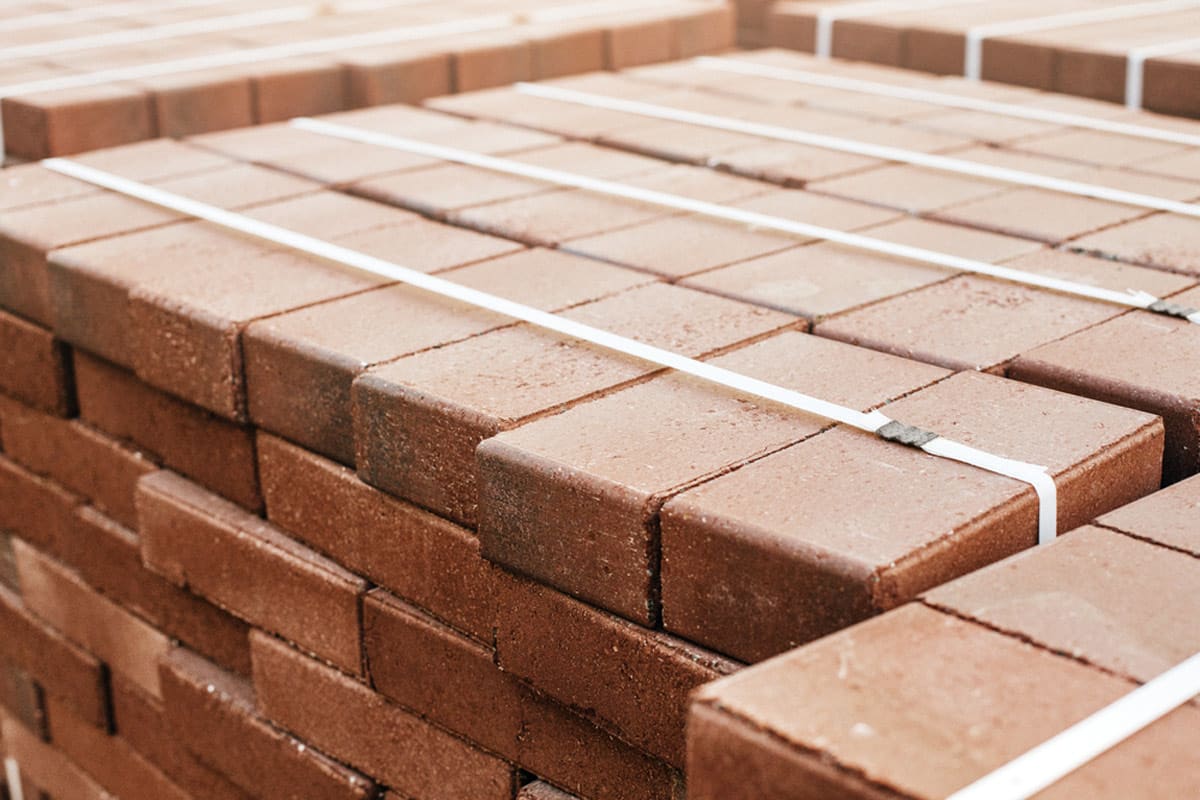
- Heat-Resistant Bricks: For the construction of the kiln itself, heat-resistant bricks are necessary to withstand the intense temperatures generated during firing.
- Metal Grate: A metal grate is used to support the bricks and allow for proper airflow during the firing process, ensuring uniform heating throughout the kiln.
- Thermometer: To monitor the temperature inside the kiln during firing, a reliable thermometer is essential for achieving optimal brick-baking conditions.
By ensuring that you have these materials on hand, you’ll be well-prepared to commence the construction of your brick kiln. With the right resources at your disposal, you can look forward to a successful and fulfilling brickmaking endeavor.
Choosing the Right Location
When setting out to construct a brick kiln, selecting the ideal location is paramount to the success of your project. The following considerations will guide you in choosing the optimal site for building your kiln:
- Accessibility: Ensure that the chosen location allows for easy transportation of materials and equipment. Accessibility is crucial for the smooth progress of construction and the subsequent firing of the kiln.
- Flat, Stable Ground: Look for a level area with stable ground to serve as the foundation for the kiln. This will facilitate the even distribution of weight and ensure the structural integrity of the kiln base.
- Distance from Flammable Materials: Select a location that is a safe distance away from any flammable structures or materials. Safety is paramount when operating a brick kiln, and minimizing fire hazards is essential.
- Adequate Ventilation: Consider the airflow in the chosen location to ensure proper ventilation for the kiln. Sufficient airflow is crucial for the firing process and the release of combustion by-products.
- Protection from the Elements: While adequate ventilation is necessary, it’s also important to shield the kiln from excessive wind and rain. Choose a location that provides some protection from the elements without compromising ventilation.
- Local Regulations: Familiarize yourself with any local regulations or permits required for building and operating a brick kiln. Compliance with local laws and regulations is essential to avoid potential legal issues.
By carefully considering these factors, you can select a location that provides the optimal environment for constructing and operating your brick kiln. A well-chosen site will contribute to the efficiency, safety, and overall success of your brickmaking venture.
Constructing the Base
The foundation of a brick kiln is critical to its stability and longevity. Follow these essential steps to construct a solid base for your kiln:
- Excavation: Begin by excavating the selected area to a depth of approximately 8-12 inches. This will create a stable foundation for the base of the kiln.
- Leveling: Use a level to ensure that the excavated area is flat and even. A well-leveled base is essential for the stability and structural integrity of the kiln.
- Gravel Bed: Lay a bed of gravel in the excavated area to provide drainage and prevent moisture accumulation. The gravel will also aid in supporting the weight of the kiln.
- Concrete Slab: Pour a concrete slab over the gravel bed to create a solid and durable base for the kiln. Ensure that the concrete is level and evenly distributed across the entire base area.
- Curing: Allow the concrete to cure for the recommended period, typically several days, to achieve maximum strength and stability.
By meticulously following these steps, you’ll establish a sturdy and reliable base for your brick kiln. A well-constructed base sets the stage for the subsequent assembly of the kiln structure and ensures its resilience in withstanding the rigors of brick firing.
When building a brick kiln, make sure to use fire-resistant materials such as firebricks and refractory cement to withstand high temperatures. Also, consider the size and shape of the kiln to ensure efficient firing of the bricks.
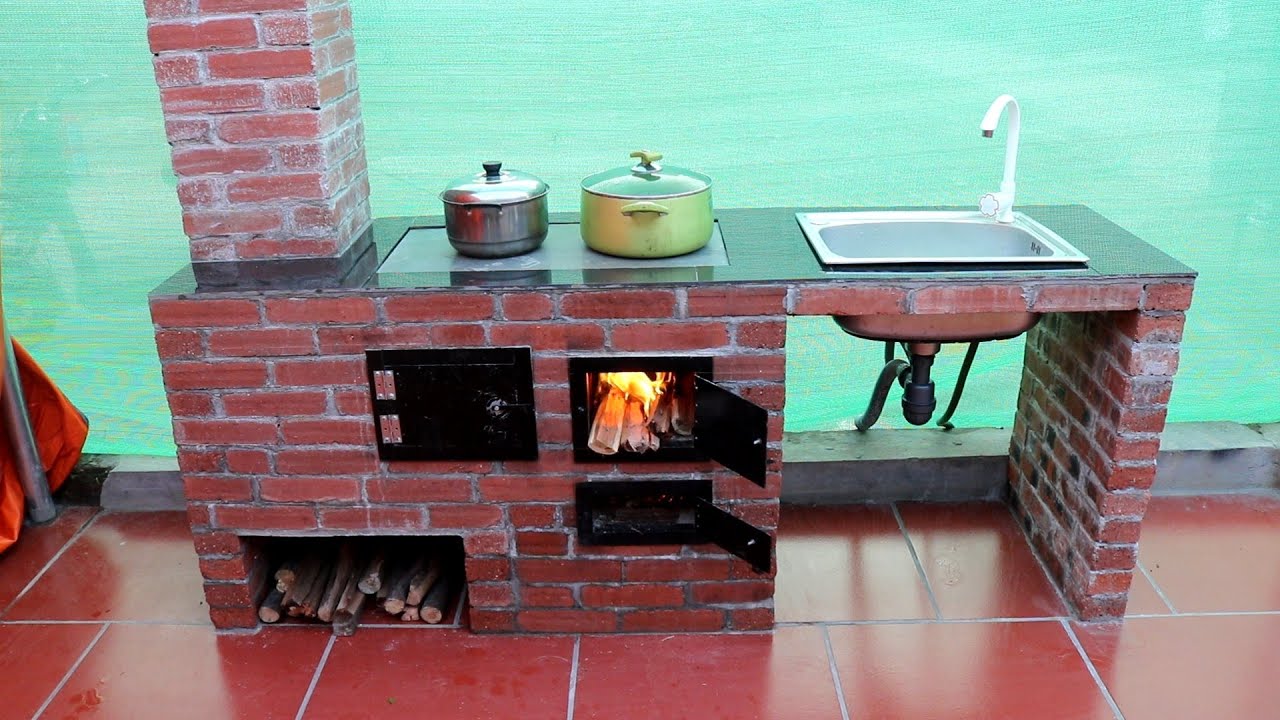
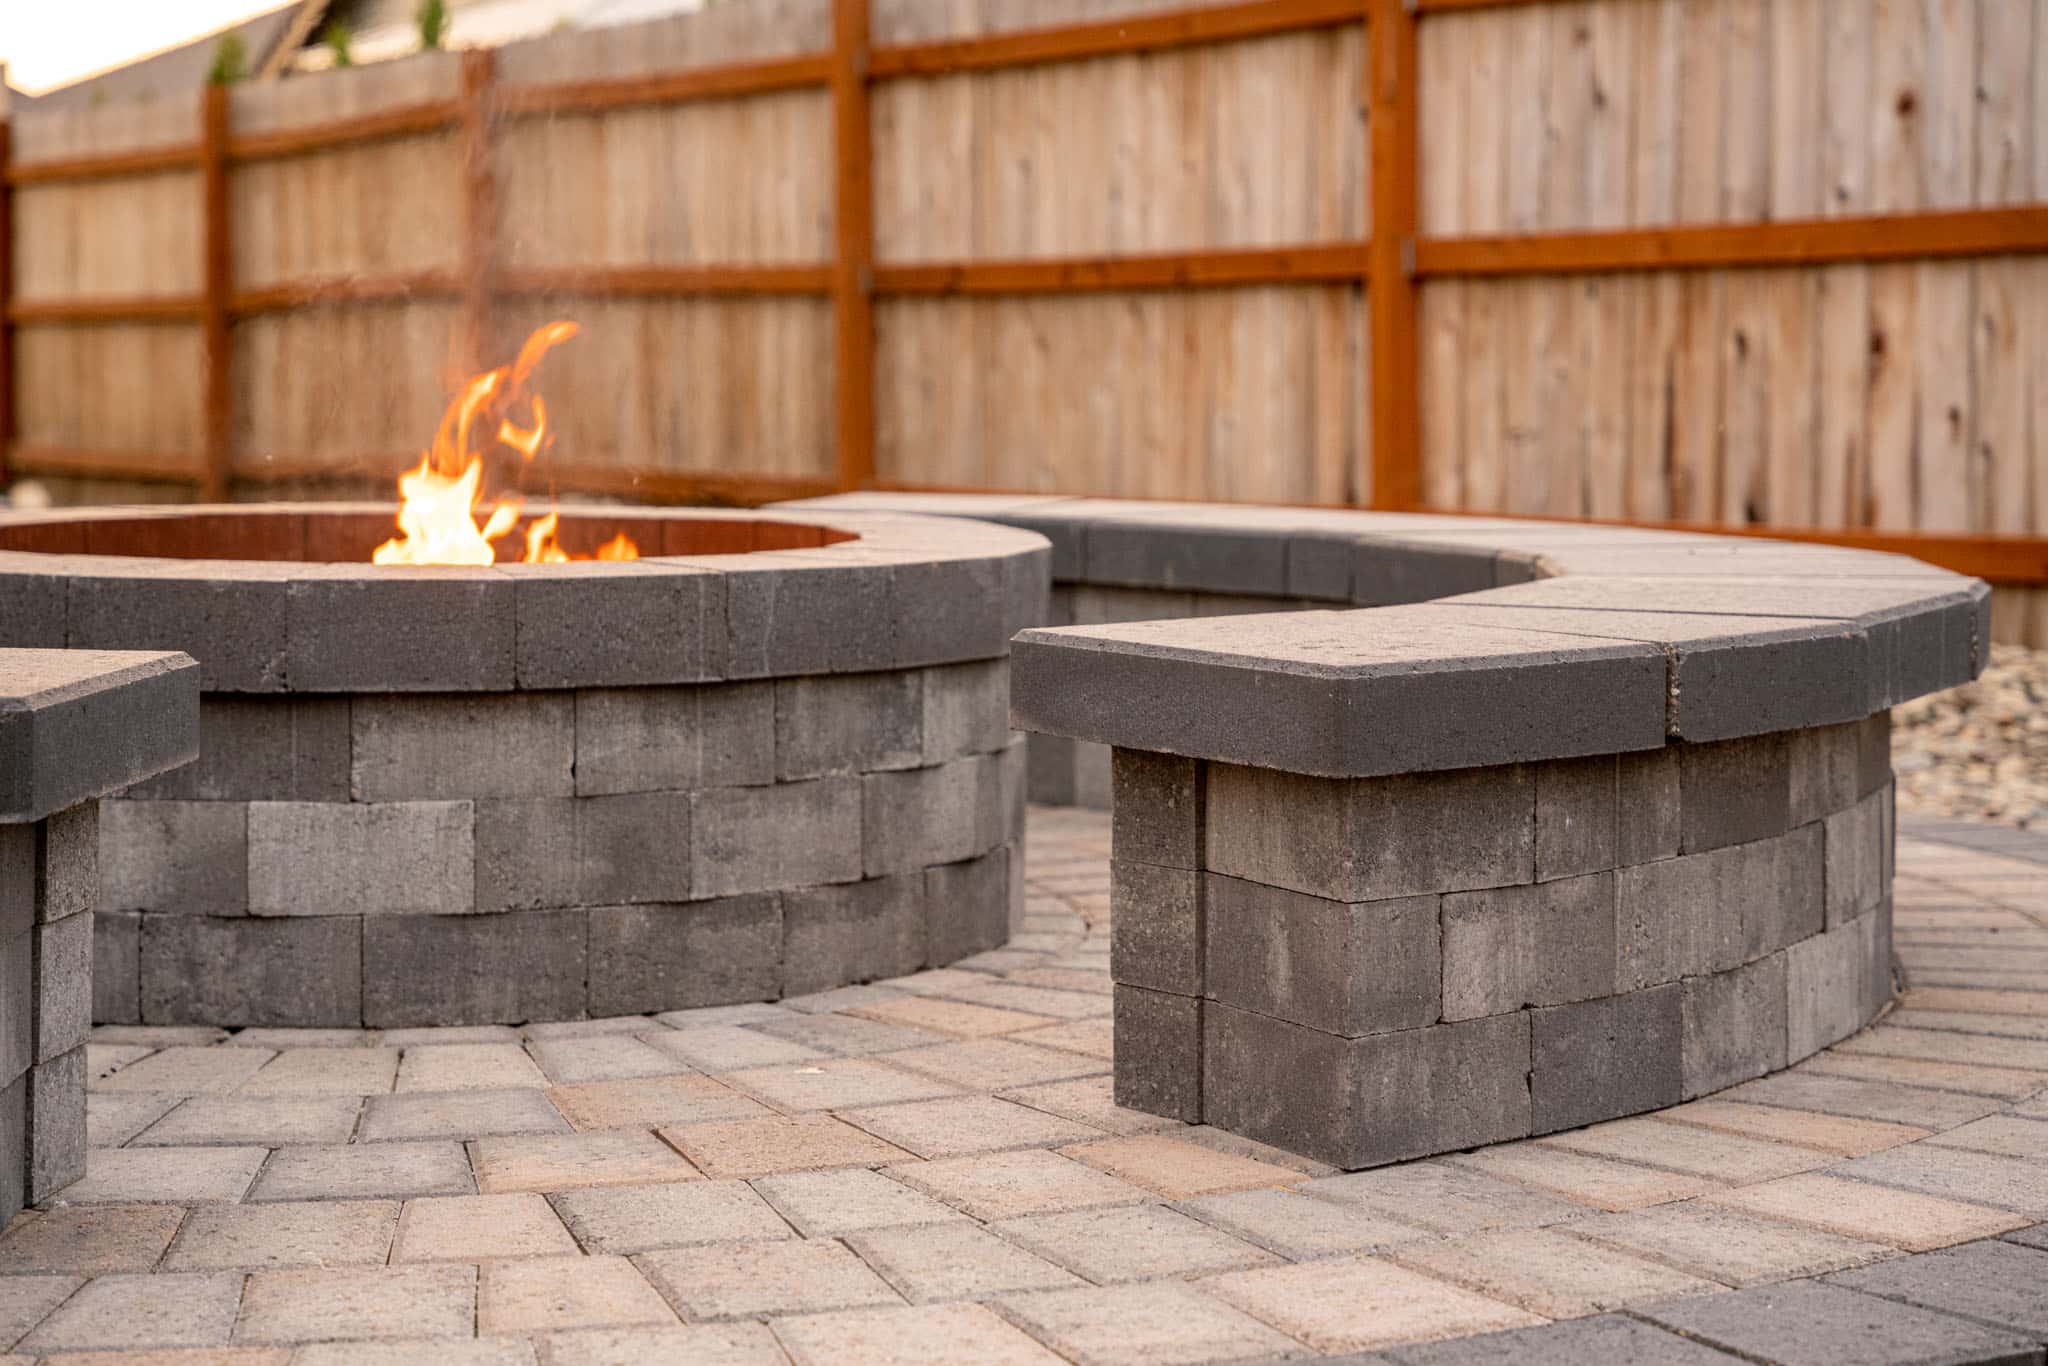
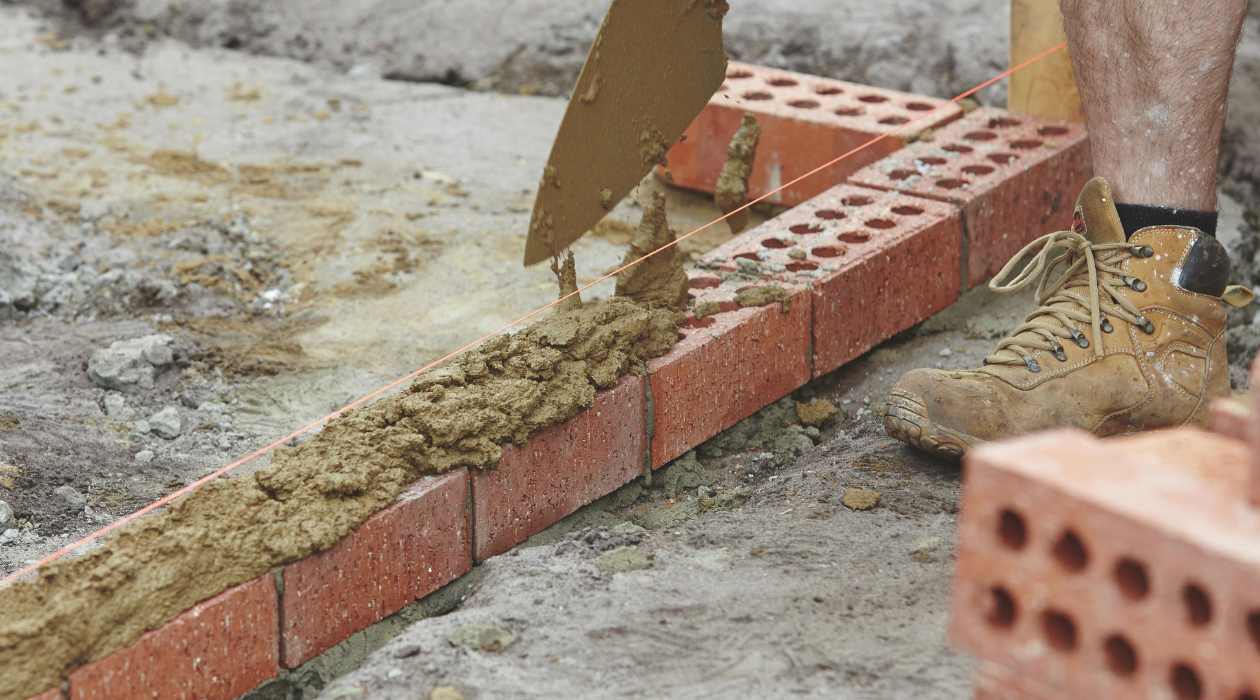
Building the Walls
Constructing the walls of a brick kiln requires precision and attention to detail to ensure structural integrity and efficient heat retention. Follow these steps to build the walls of your kiln:
- Layout Planning: Begin by planning the layout of the kiln walls, taking into account the dimensions and design of the structure. Mark the positions for the entrance, flue, and any additional openings required for airflow.
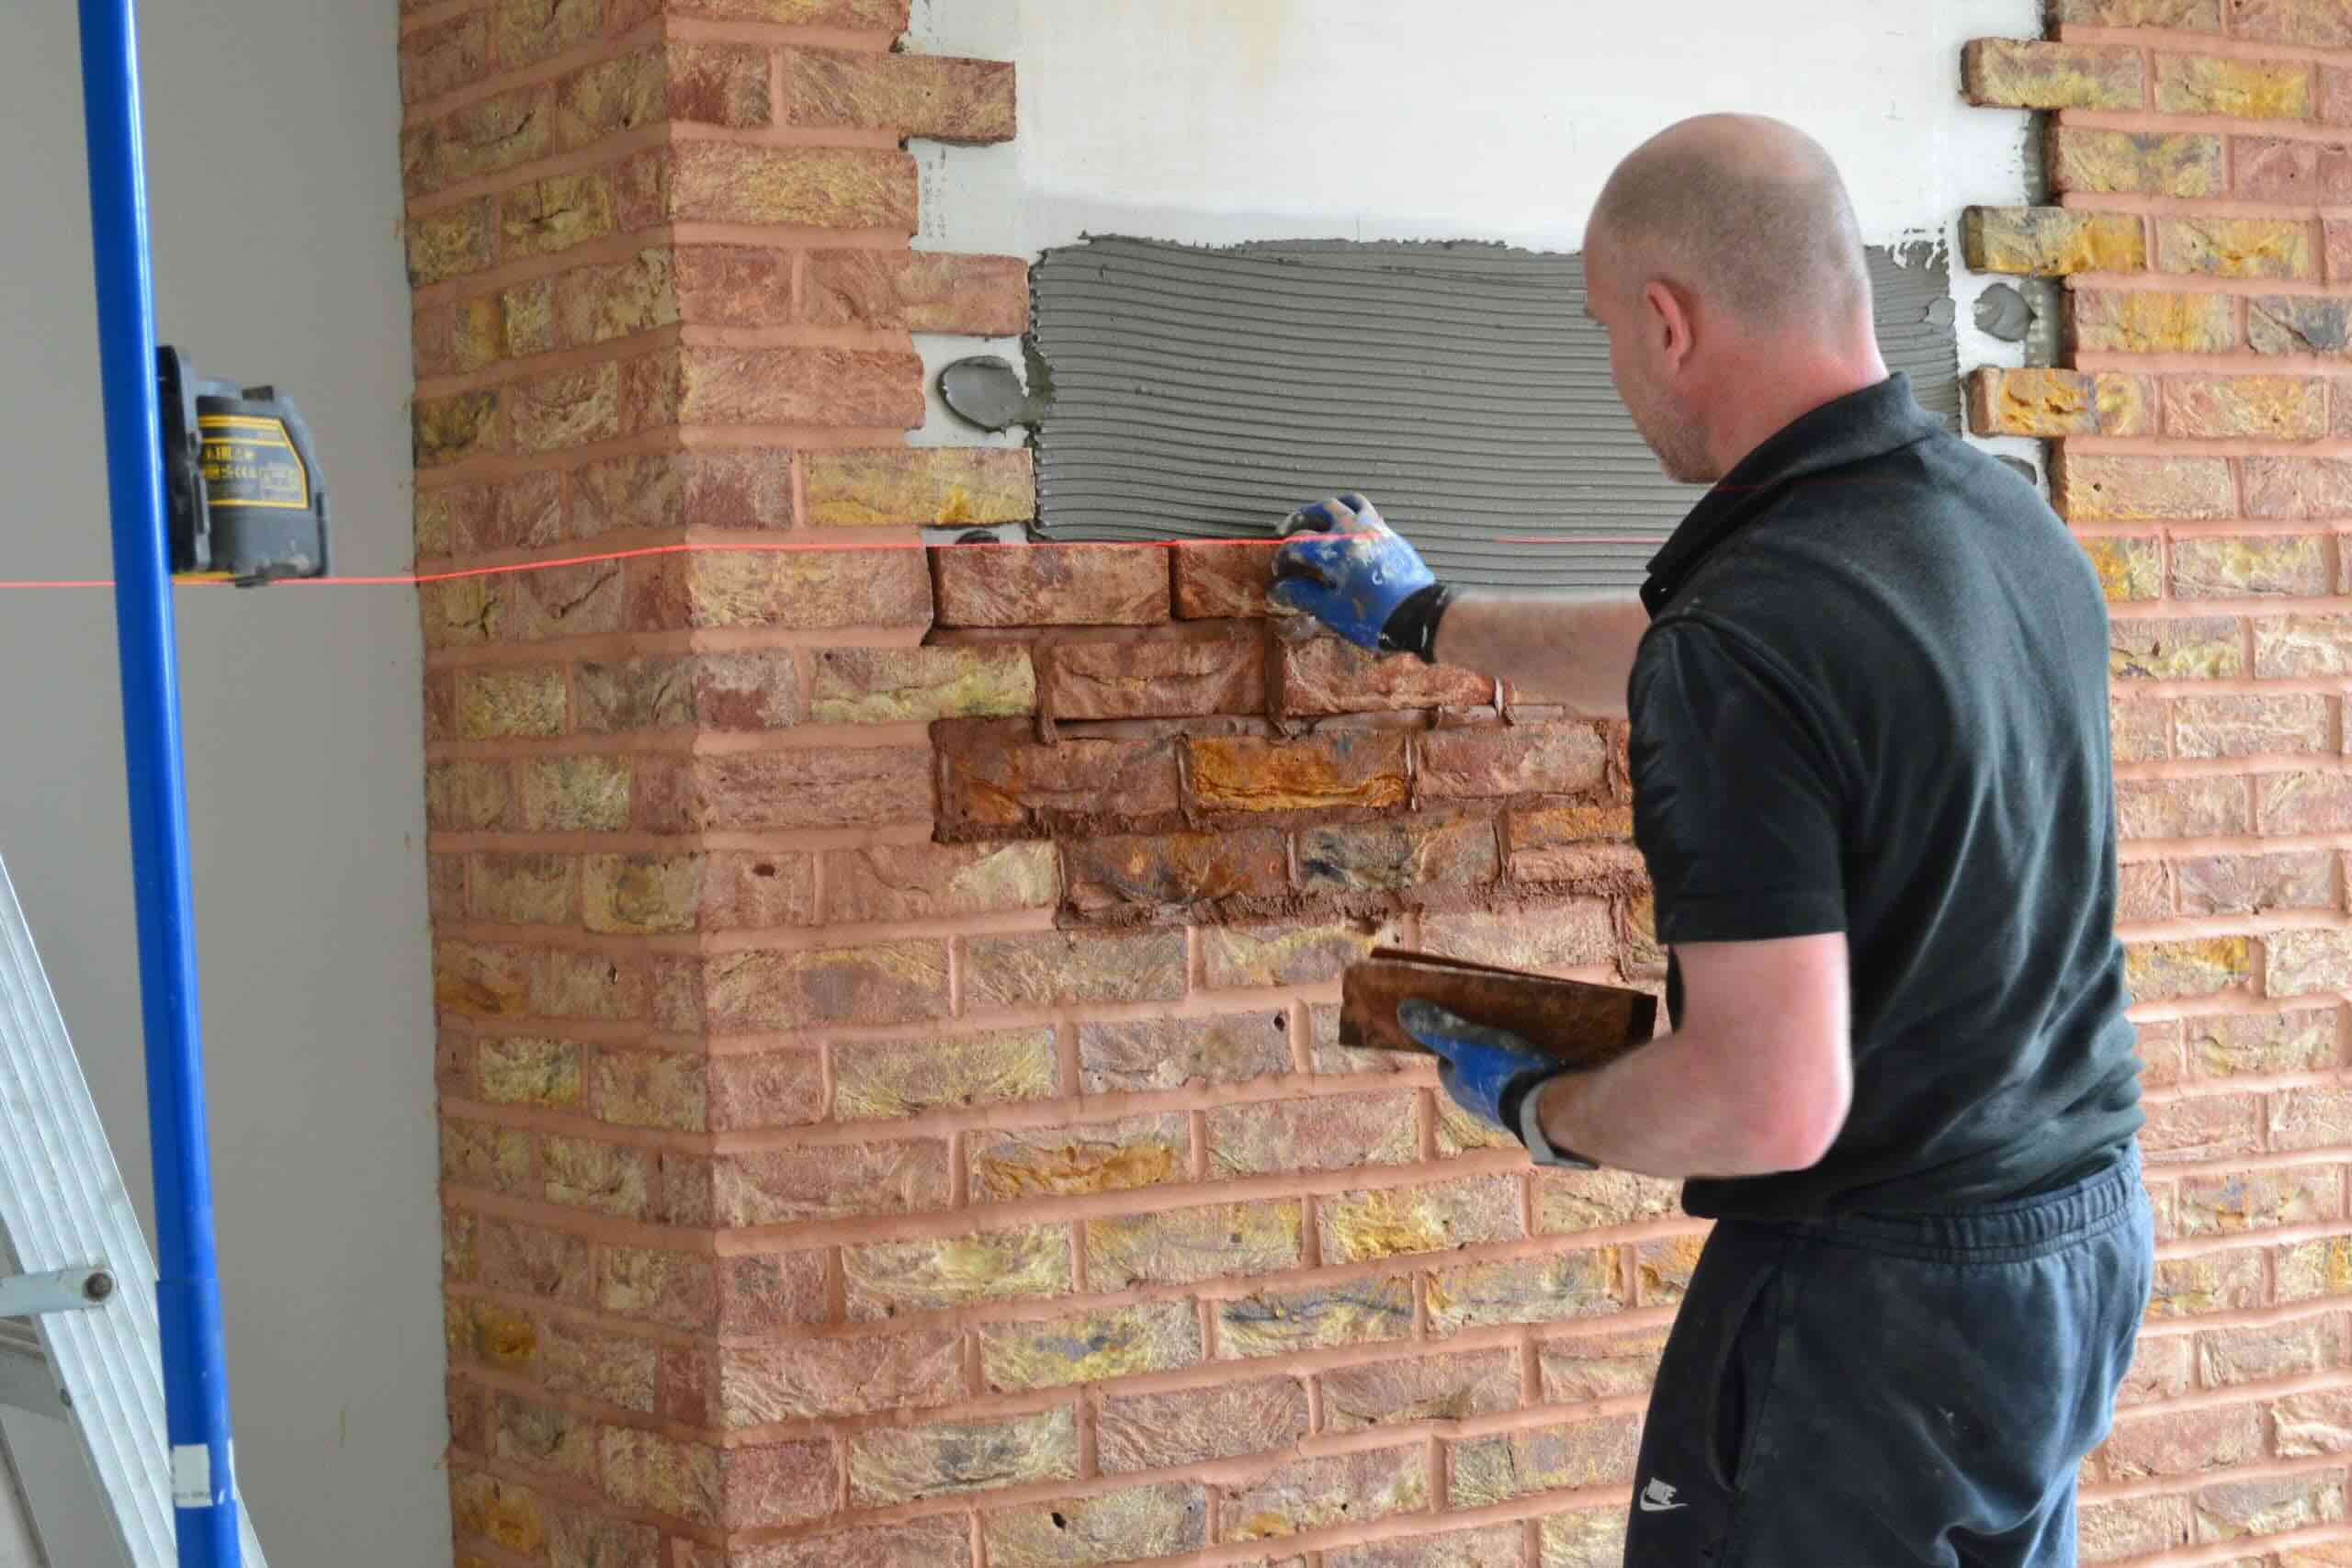
- Brick Placement: Lay the first layer of heat-resistant bricks in a circular or rectangular formation, depending on the desired shape of the kiln. Use a level to ensure that the bricks are evenly aligned and form a stable base for the walls.
- Mortar Application: Apply a suitable mortar between the bricks to bond them together securely. The mortar should be heat-resistant and capable of withstanding the high temperatures generated during firing.
- Layering: Continue to layer the bricks, alternating the orientation of each successive row to enhance the stability and strength of the walls. Maintain a consistent thickness for the walls to ensure uniform heat distribution during firing.
- Entrance and Flue Construction: As you progress upward, incorporate the entrance and flue into the wall structure, ensuring that they are strategically positioned for efficient loading and airflow management.
- Insulation Layer: Once the main walls are constructed, consider adding an insulation layer using heat-resistant materials to enhance heat retention and optimize the firing process.
By following these guidelines, you’ll be well-equipped to build sturdy and well-insulated walls for your brick kiln. The careful construction of the kiln walls is crucial for maintaining consistent and controlled heat distribution during the firing of the bricks, ultimately influencing the quality and durability of the finished products.
Read more: How To Build An Outdoor Kiln
Creating the Chimney
The chimney of a brick kiln plays a vital role in regulating airflow, heat distribution, and the release of combustion by-products during the firing process. Follow these steps to create an effective and efficient chimney for your kiln:
- Positioning: Determine the optimal location for the chimney, ensuring that it is strategically placed to facilitate the upward flow of hot gases and the release of smoke and fumes.
- Construction Material: Use heat-resistant bricks or specialized chimney components to construct a durable and reliable chimney structure. The chimney should be capable of withstanding high temperatures and maintaining structural integrity.
- Height and Diameter: Consider the ideal height and diameter for the chimney to promote efficient draft and airflow. A well-proportioned chimney contributes to effective heat management and the expulsion of combustion by-products.
- Flue Connection: Ensure that the chimney is properly connected to the flue within the kiln structure, creating a direct pathway for the release of hot gases and smoke. The connection should be secure and free from obstructions.
- Insulation and Sealing: Insulate the chimney to minimize heat loss and maximize the upward flow of hot gases. Additionally, seal any gaps or joints in the chimney structure to prevent the escape of smoke or heat during operation.
- Top Cap: Install a top cap or cover on the chimney to protect it from the elements and prevent debris or animals from entering. The top cap should allow for the unimpeded release of gases while providing necessary protection.
By meticulously following these steps, you’ll create a well-designed and functional chimney that enhances the performance and efficiency of your brick kiln. A properly constructed chimney is essential for maintaining optimal firing conditions and ensuring the successful production of high-quality bricks.
Firing the Kiln
The firing process is a crucial stage in brickmaking, where the kiln transforms raw materials into durable and resilient bricks through the application of intense heat. Follow these essential steps to effectively fire your brick kiln:
- Preheating: Before loading the kiln with raw bricks, preheat the interior by building a small fire using kindling and fuel. Gradually increase the temperature to drive off any remaining moisture and prepare the kiln for the firing process.
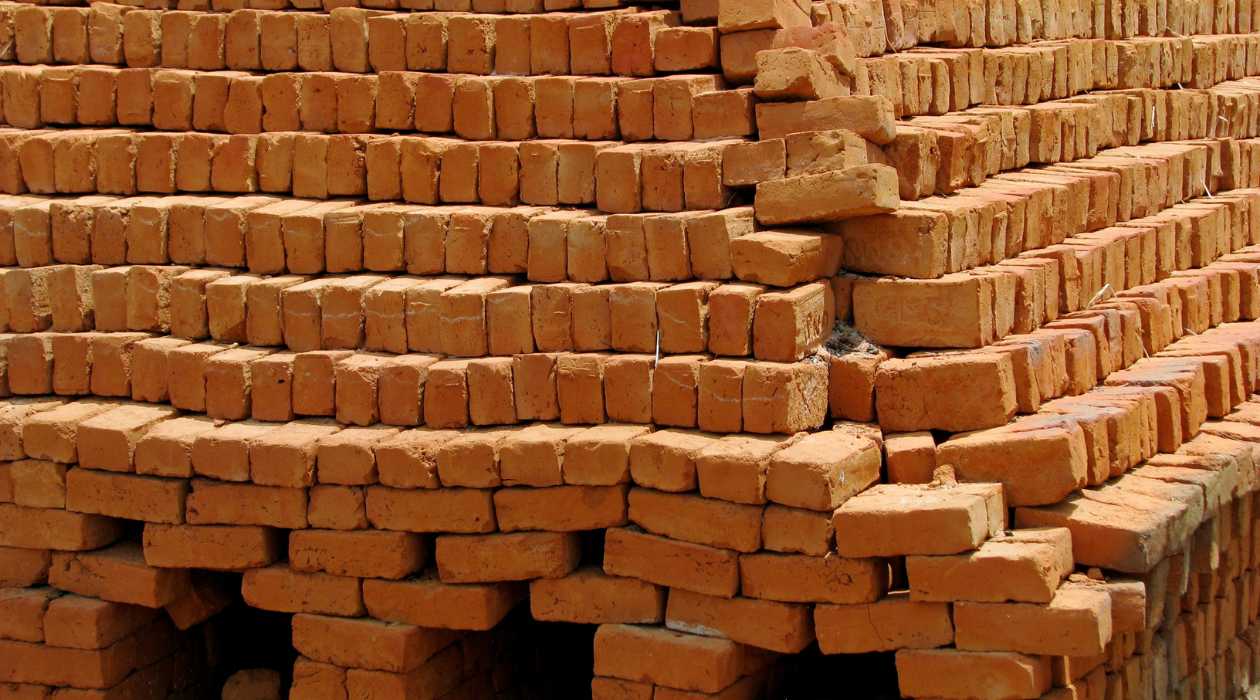
- Brick Loading: Carefully load the raw bricks into the kiln, ensuring that they are stacked evenly and securely to allow for uniform heating. Leave sufficient space between the bricks to facilitate the circulation of hot air and gases.
- Temperature Control: Monitor the temperature inside the kiln using a reliable thermometer. Gradually increase the heat to the desired firing temperature, allowing the kiln to reach the optimal level for brick baking.
- Firing Duration: Maintain the firing temperature for the recommended duration, allowing the bricks to undergo the necessary chemical and physical transformations. The firing duration is crucial for achieving the desired strength and durability in the finished bricks.
- Cooling Phase: Once the firing process is complete, allow the kiln to cool gradually to prevent thermal shock and ensure the integrity of the bricks. Rapid cooling can lead to cracking or damage to the finished products.
- Unloading and Inspection: After the kiln has cooled sufficiently, carefully remove the fired bricks and inspect them for quality and uniformity. Properly fired bricks should exhibit consistent coloration and structural integrity.
By following these guidelines, you’ll successfully navigate the firing process, resulting in the production of high-quality bricks with the desired strength and durability. Firing the kiln is a pivotal stage in the brickmaking journey, and careful attention to temperature control and timing will yield excellent results.
Conclusion
Congratulations on completing the journey of constructing and firing a brick kiln! Throughout this process, you’ve delved into the time-honored craft of brickmaking, gaining valuable insights into the artistry and precision involved in producing durable building materials. As you reflect on this experience, consider the following key takeaways:
- Tradition Meets Practicality: The construction of a brick kiln embodies the fusion of tradition and practicality, showcasing the enduring relevance of age-old techniques in modern craftsmanship.
- Precision and Patience: Building and firing a kiln require precision and patience, emphasizing the meticulous attention to detail and the gradual, deliberate progression of the brickmaking process.
- Quality and Durability: By mastering the construction and firing of a kiln, you’ve contributed to the production of high-quality, durable bricks that serve as foundational components in construction and architecture.
- Appreciation for Craftsmanship: This journey has fostered a deeper appreciation for the craftsmanship and expertise involved in brickmaking, highlighting the artistry and skill of artisans throughout history.
- Continued Learning and Exploration: As you conclude this endeavor, consider further opportunities for learning and exploration in the realm of building materials and construction techniques.
Whether you embarked on this venture as a personal project or as part of a broader exploration of construction practices, the knowledge and skills gained from constructing a brick kiln will undoubtedly enrich your understanding of this timeless craft. As you witness the fruits of your labor in the form of sturdy, well-fired bricks, take pride in the enduring legacy of brickmaking and the role you’ve played in upholding this esteemed tradition.
Now, armed with a deeper understanding of brick kiln construction and firing, you’re poised to continue your journey of discovery and creativity in the realm of building materials. Whether you choose to apply your newfound expertise to practical endeavors or simply relish the satisfaction of mastering a time-honored craft, the experience of constructing a brick kiln will undoubtedly leave a lasting impression on your journey as a builder and creator.
Frequently Asked Questions about How To Make A Brick Kiln
Was this page helpful?
At Storables.com, we guarantee accurate and reliable information. Our content, validated by Expert Board Contributors, is crafted following stringent Editorial Policies. We're committed to providing you with well-researched, expert-backed insights for all your informational needs.


0 thoughts on “How To Make A Brick Kiln”