Home>Construction & Tools>Building Materials>How To Make A Brick Barbecue Pit

Building Materials
How To Make A Brick Barbecue Pit
Modified: October 19, 2024
Learn how to make a brick barbecue pit using high-quality building materials. Follow our step-by-step guide for a durable and stylish outdoor cooking space.
(Many of the links in this article redirect to a specific reviewed product. Your purchase of these products through affiliate links helps to generate commission for Storables.com, at no extra cost. Learn more)
Introduction
If you're a fan of outdoor cooking and the unmistakable flavor of food prepared over an open flame, then building a brick barbecue pit in your backyard is a fantastic idea. Not only does it add a touch of rustic charm to your outdoor space, but it also provides a dedicated area for grilling, roasting, and enjoying mouthwatering meals with family and friends.
Constructing a brick barbecue pit is a rewarding project that allows you to showcase your DIY skills while creating a functional and aesthetically pleasing addition to your home. Whether you're a seasoned DIY enthusiast or a novice looking for a hands-on project, this guide will walk you through the process of building your own brick barbecue pit from start to finish.
From selecting the ideal location and gathering the necessary materials to crafting the perfect grill and adding personalized finishing touches, each step is crucial in creating a durable and visually appealing barbecue pit. So, roll up your sleeves, gather your tools, and let's dive into the exciting world of bricklaying and outdoor culinary adventures.
Key Takeaways:
- Building a brick barbecue pit requires careful planning, sturdy materials, and precise construction. From selecting the ideal location to adding personalized finishing touches, each step contributes to creating a durable and visually appealing outdoor cooking space.
- Constructing a brick barbecue pit is more than just a DIY project; it’s a testament to passion for outdoor living and the joy of sharing delicious meals with family and friends. The process results in a versatile and inviting environment for hosting memorable gatherings and savoring the pleasures of outdoor cooking and dining.
Read more: How To Make A Brick Fire Pit
Materials and Tools
Before embarking on your brick barbecue pit construction journey, it’s essential to gather all the necessary materials and tools. Here’s a comprehensive list to ensure you’re well-prepared for the project:
Materials:
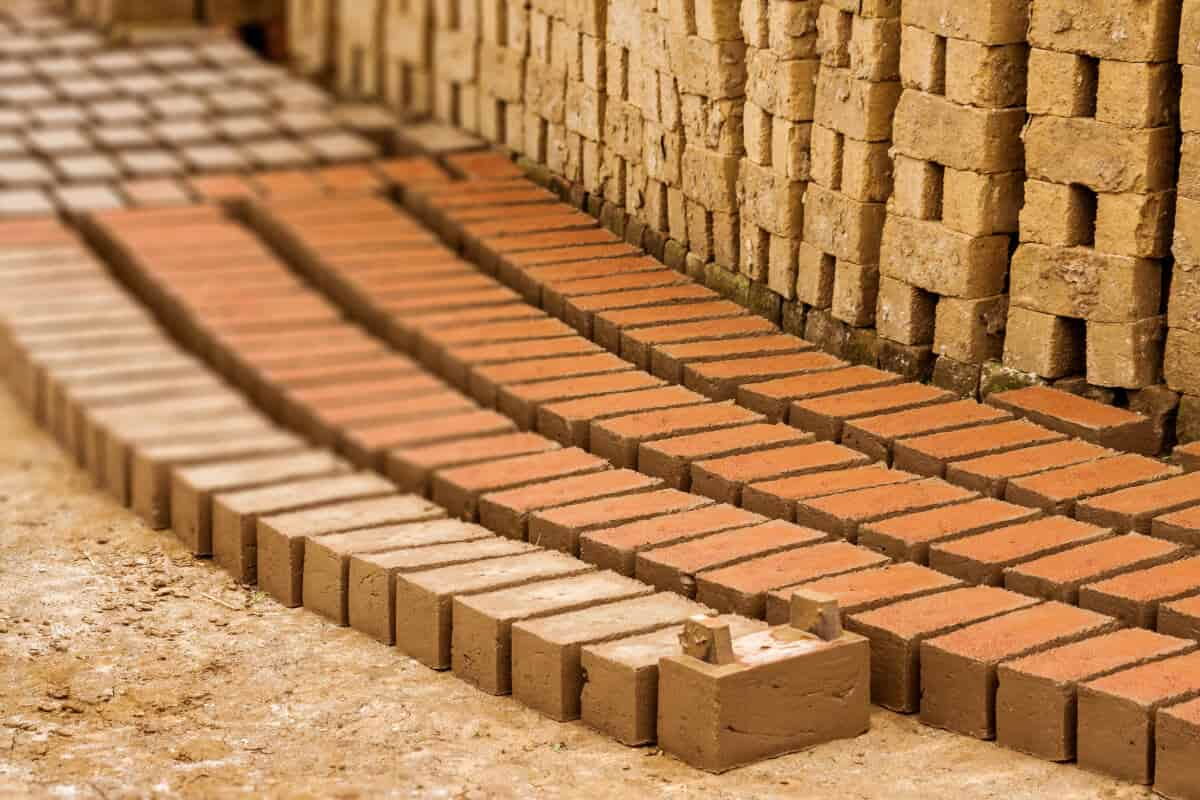
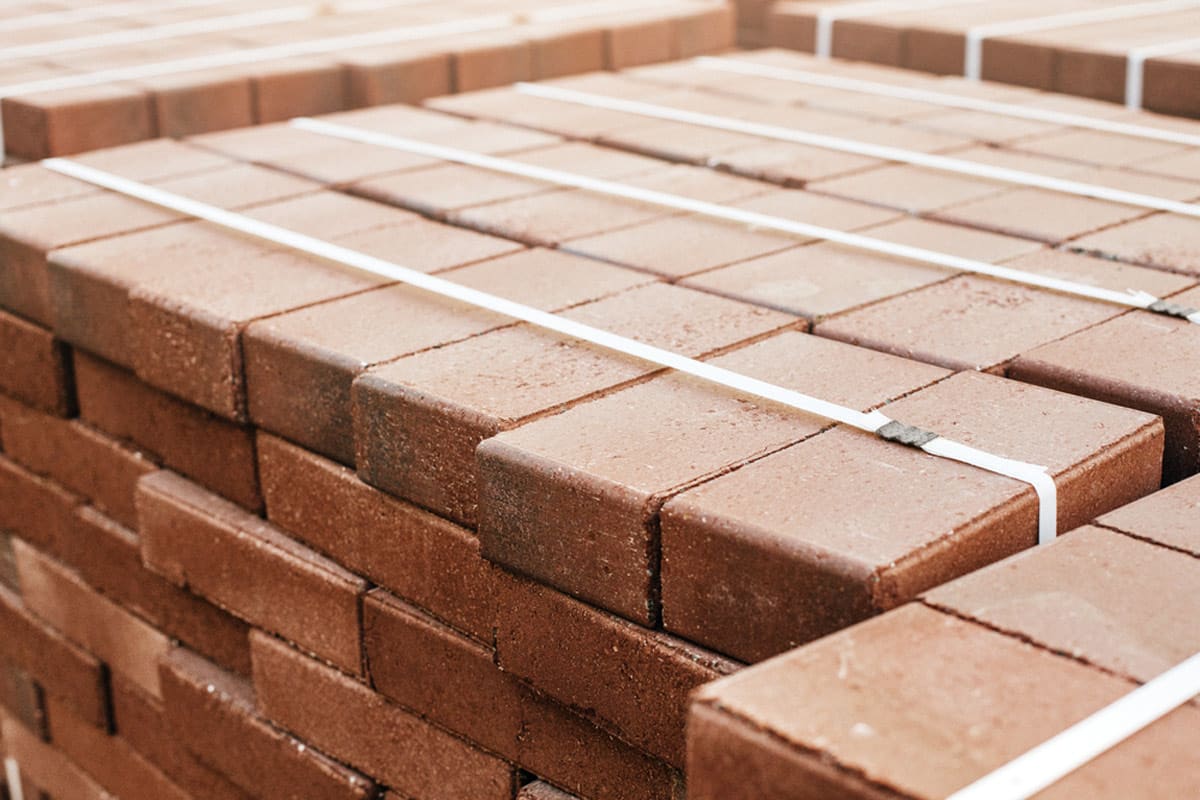
- Bricks: Choose high-quality, fire-resistant bricks to withstand the heat of the grill.
- Cement: Opt for cement suitable for outdoor use, ensuring durability and stability.
- Gravel: Used for creating a sturdy base and foundation for the barbecue pit.
- Rebar: Reinforcing bars provide structural support and strength for the foundation and walls.
- Fire bricks: These specialized bricks are designed to endure high temperatures, making them perfect for the interior of the barbecue pit.
- Grill Grate: Select a stainless steel or cast iron grill grate for even heat distribution and easy maintenance.
- Mortar: Choose a high-temperature mortar to secure the bricks and withstand the heat of the barbecue pit.
- Steel lintel: Required for supporting the grill grate and forming the cooking surface.
- Leveling sand: Essential for creating a smooth and level base for the barbecue pit.
- Concrete sealer: Protect the finished barbecue pit from the elements with a suitable concrete sealer.
Tools:
- Masonry trowel: Used for applying mortar and leveling bricks during construction.
- Brick jointer: Essential for finishing mortar joints and achieving a professional look.
- Shovel: For digging the foundation and mixing concrete and mortar.
- Wheelbarrow: Ideal for transporting and mixing materials such as gravel, sand, and cement.
- Tape measure: Ensure precision and accuracy in the layout and construction process.
- Level: Critical for verifying the evenness of the bricks and ensuring a stable barbecue pit.
- Wire brush: Used for cleaning excess mortar and maintaining the appearance of the bricks.
- Protective gear: Including gloves, safety goggles, and a dust mask for personal safety during construction.
By acquiring these materials and tools, you’ll be well-equipped to proceed with the construction of your brick barbecue pit. The next steps will involve choosing the ideal location and preparing the foundation for your project.
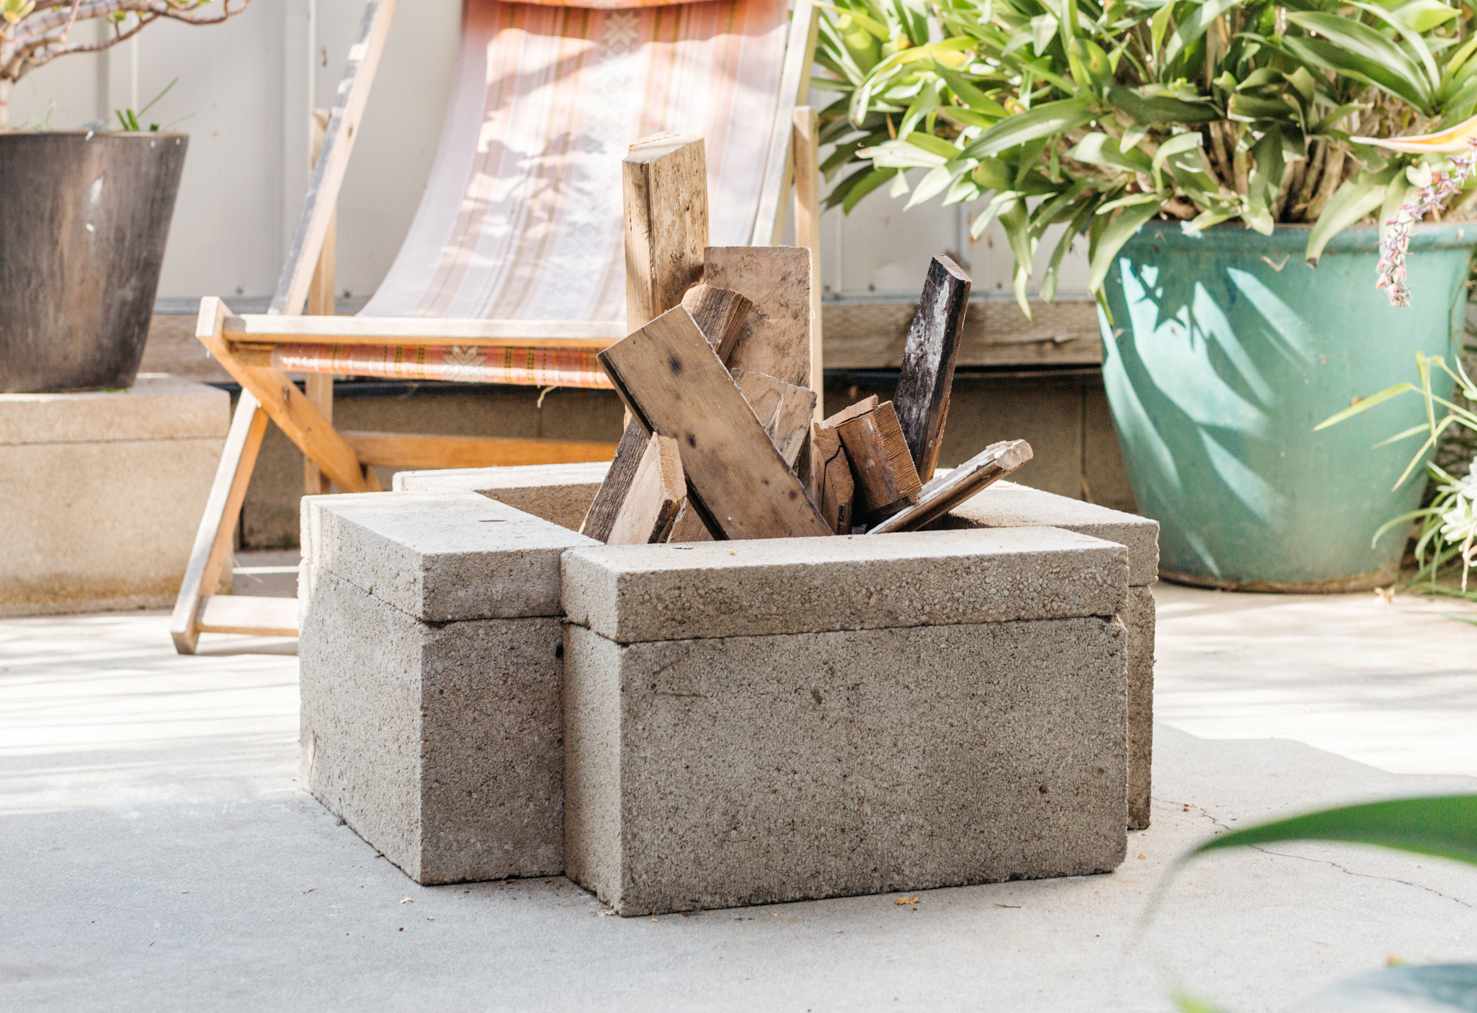
Choosing the Location
When selecting the location for your brick barbecue pit, several factors should be taken into consideration to ensure both functionality and aesthetic appeal. Here are some key points to ponder as you choose the perfect spot:
Safety and Accessibility: Opt for a location that provides a safe and easily accessible area for grilling. Keep the barbecue pit away from flammable materials, overhanging branches, and structures to prevent potential fire hazards. Additionally, ensure there is ample space for movement around the barbecue pit to guarantee a comfortable and safe cooking experience.
Wind and Smoke: Consider the prevailing wind direction in your outdoor space. Position the barbecue pit so that the smoke is directed away from seating areas and gathering spots. This thoughtful placement will prevent smoke from blowing into unwanted areas and ensure a pleasant dining environment for you and your guests.
Utility Connections: If you plan to incorporate additional features such as a sink, countertop, or storage space into your outdoor cooking area, consider the proximity to utility connections such as water and electricity. This foresight will facilitate the future expansion of your outdoor kitchen and enhance its overall functionality.
Shading and Seating: Create a comfortable and inviting atmosphere by situating the barbecue pit in an area with adequate shading and nearby seating options. Whether it’s under a pergola, near a patio, or amidst a landscaped garden, the location should encourage relaxation and enjoyment while cooking and dining outdoors.
By carefully evaluating these factors, you can pinpoint the optimal location for your brick barbecue pit, setting the stage for an exceptional outdoor culinary experience. Once the location is determined, the next step involves preparing the foundation to support the construction of the barbecue pit.
Read more: How To Make A Fire Pit With Bricks
Preparing the Foundation
Establishing a solid and level foundation is crucial for the stability and longevity of your brick barbecue pit. The following steps outline the process of preparing the foundation:
Marking the Layout: Begin by marking the layout of the barbecue pit on the ground using stakes and string. Ensure that the dimensions are accurate and that the layout aligns with your desired design and location.
Excavation: Use a shovel to excavate the marked area to a depth of approximately 6 inches. This excavation will accommodate the gravel base and provide space for the foundation materials.
Adding Gravel: Once the area is excavated, spread a layer of gravel evenly across the bottom. Use a tamper to compact the gravel, creating a stable and level surface for the foundation.
Installing Rebar: For added strength, place rebar in a grid pattern within the gravel layer. This reinforcement will enhance the foundation’s ability to withstand the weight of the barbecue pit and the heat generated during its use.
Creating a Form: Construct a wooden form around the excavated area to contain the concrete mix for the foundation. Ensure that the form is level and securely in place before proceeding to pour the concrete.
Pouring Concrete: Mix the concrete according to the manufacturer’s instructions and pour it into the form, covering the gravel and rebar completely. Use a screed board to level the concrete and eliminate any excess, creating a smooth and even surface.
Curing the Foundation: Allow the concrete foundation to cure for the recommended time, typically several days, before proceeding with the construction of the barbecue pit. This curing period is essential for ensuring the strength and stability of the foundation.
By meticulously following these steps, you’ll establish a robust foundation that forms the basis for the construction of your brick barbecue pit. With the foundation in place, you can proceed to build the base of the barbecue pit, bringing you one step closer to enjoying outdoor culinary delights in your backyard.
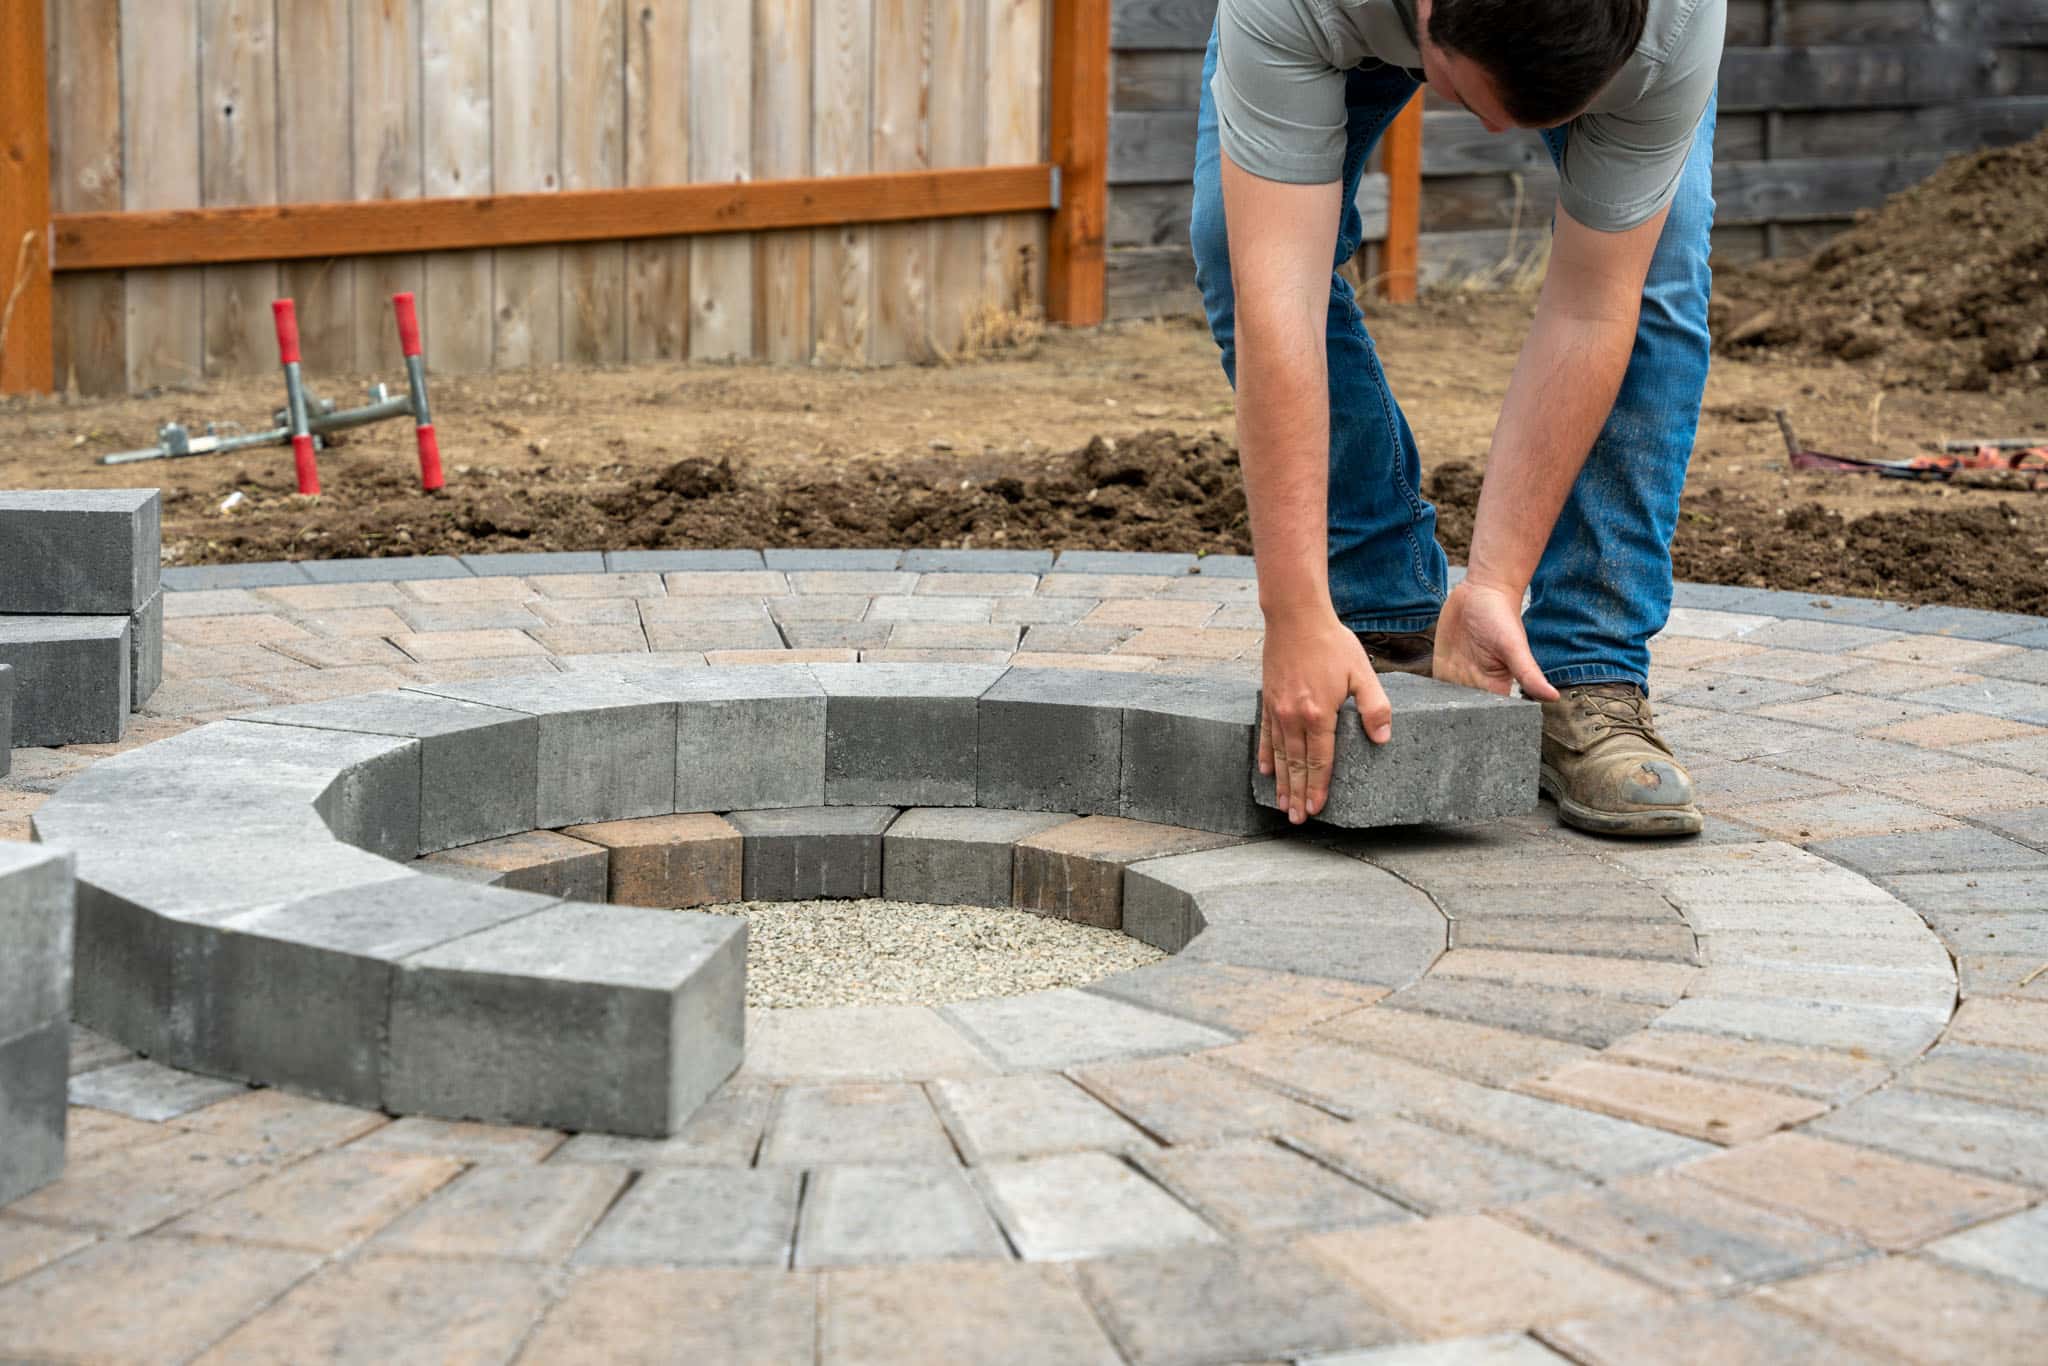
Building the Base
Constructing a sturdy and well-designed base is essential for the structural integrity and functionality of your brick barbecue pit. The following steps outline the process of building the base:
Laying the First Course: Begin by laying the first course of bricks on top of the cured concrete foundation. Use a spirit level to ensure that the bricks are perfectly level and aligned, creating a solid and even base for the barbecue pit.
Applying Mortar: Apply a layer of mortar on top of the first course of bricks, using a masonry trowel to spread it evenly. This mortar layer serves as the adhesive that holds the subsequent courses of bricks in place.
Stacking Additional Courses: Continue stacking additional courses of bricks, applying mortar between each layer to secure the bricks and create a stable base. As you progress, periodically check for levelness and adjust the positioning of the bricks as needed.
Creating Openings: Depending on your design preferences, create openings within the base for airflow and access to the interior of the barbecue pit. These openings will facilitate ventilation and the placement of the grill components during the later stages of construction.
Reinforcing the Base: For added strength and stability, insert rebar vertically into the hollow cores of the bricks, ensuring that they extend into the concrete foundation. This reinforcement fortifies the base and enhances its load-bearing capacity.
Finishing the Top Surface: Once the desired height of the base is achieved, finish the top surface with a layer of mortar, creating a smooth and level platform for the construction of the walls and the placement of the grill components.
By meticulously following these steps, you’ll create a robust and meticulously crafted base that forms the foundation for the walls and grill components of your brick barbecue pit. With the base in place, you can proceed to construct the walls, bringing you closer to the completion of your outdoor culinary haven.
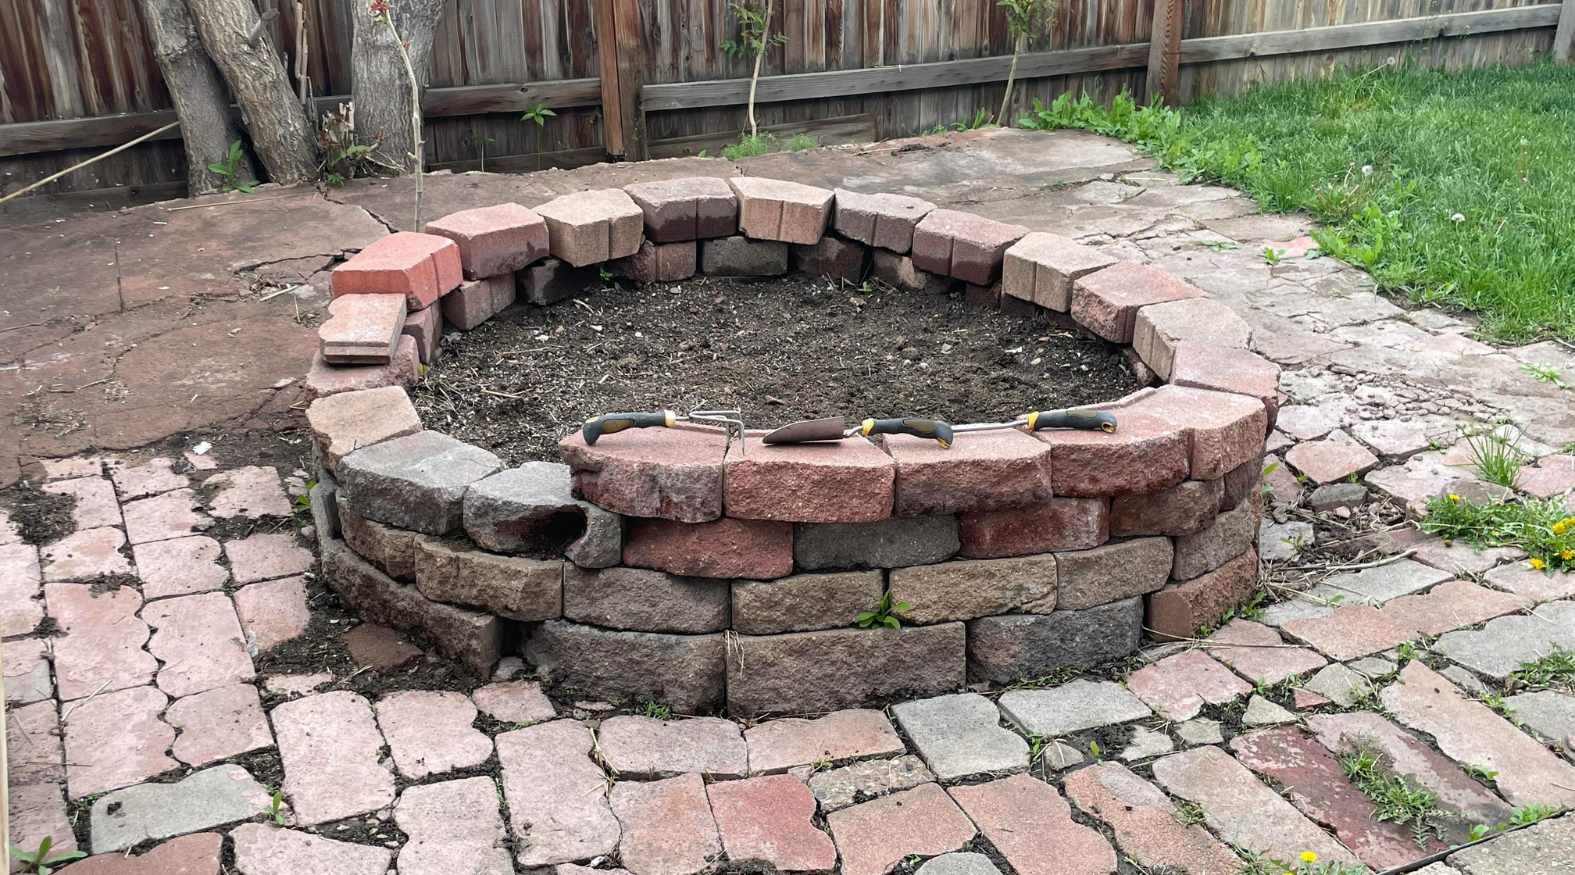
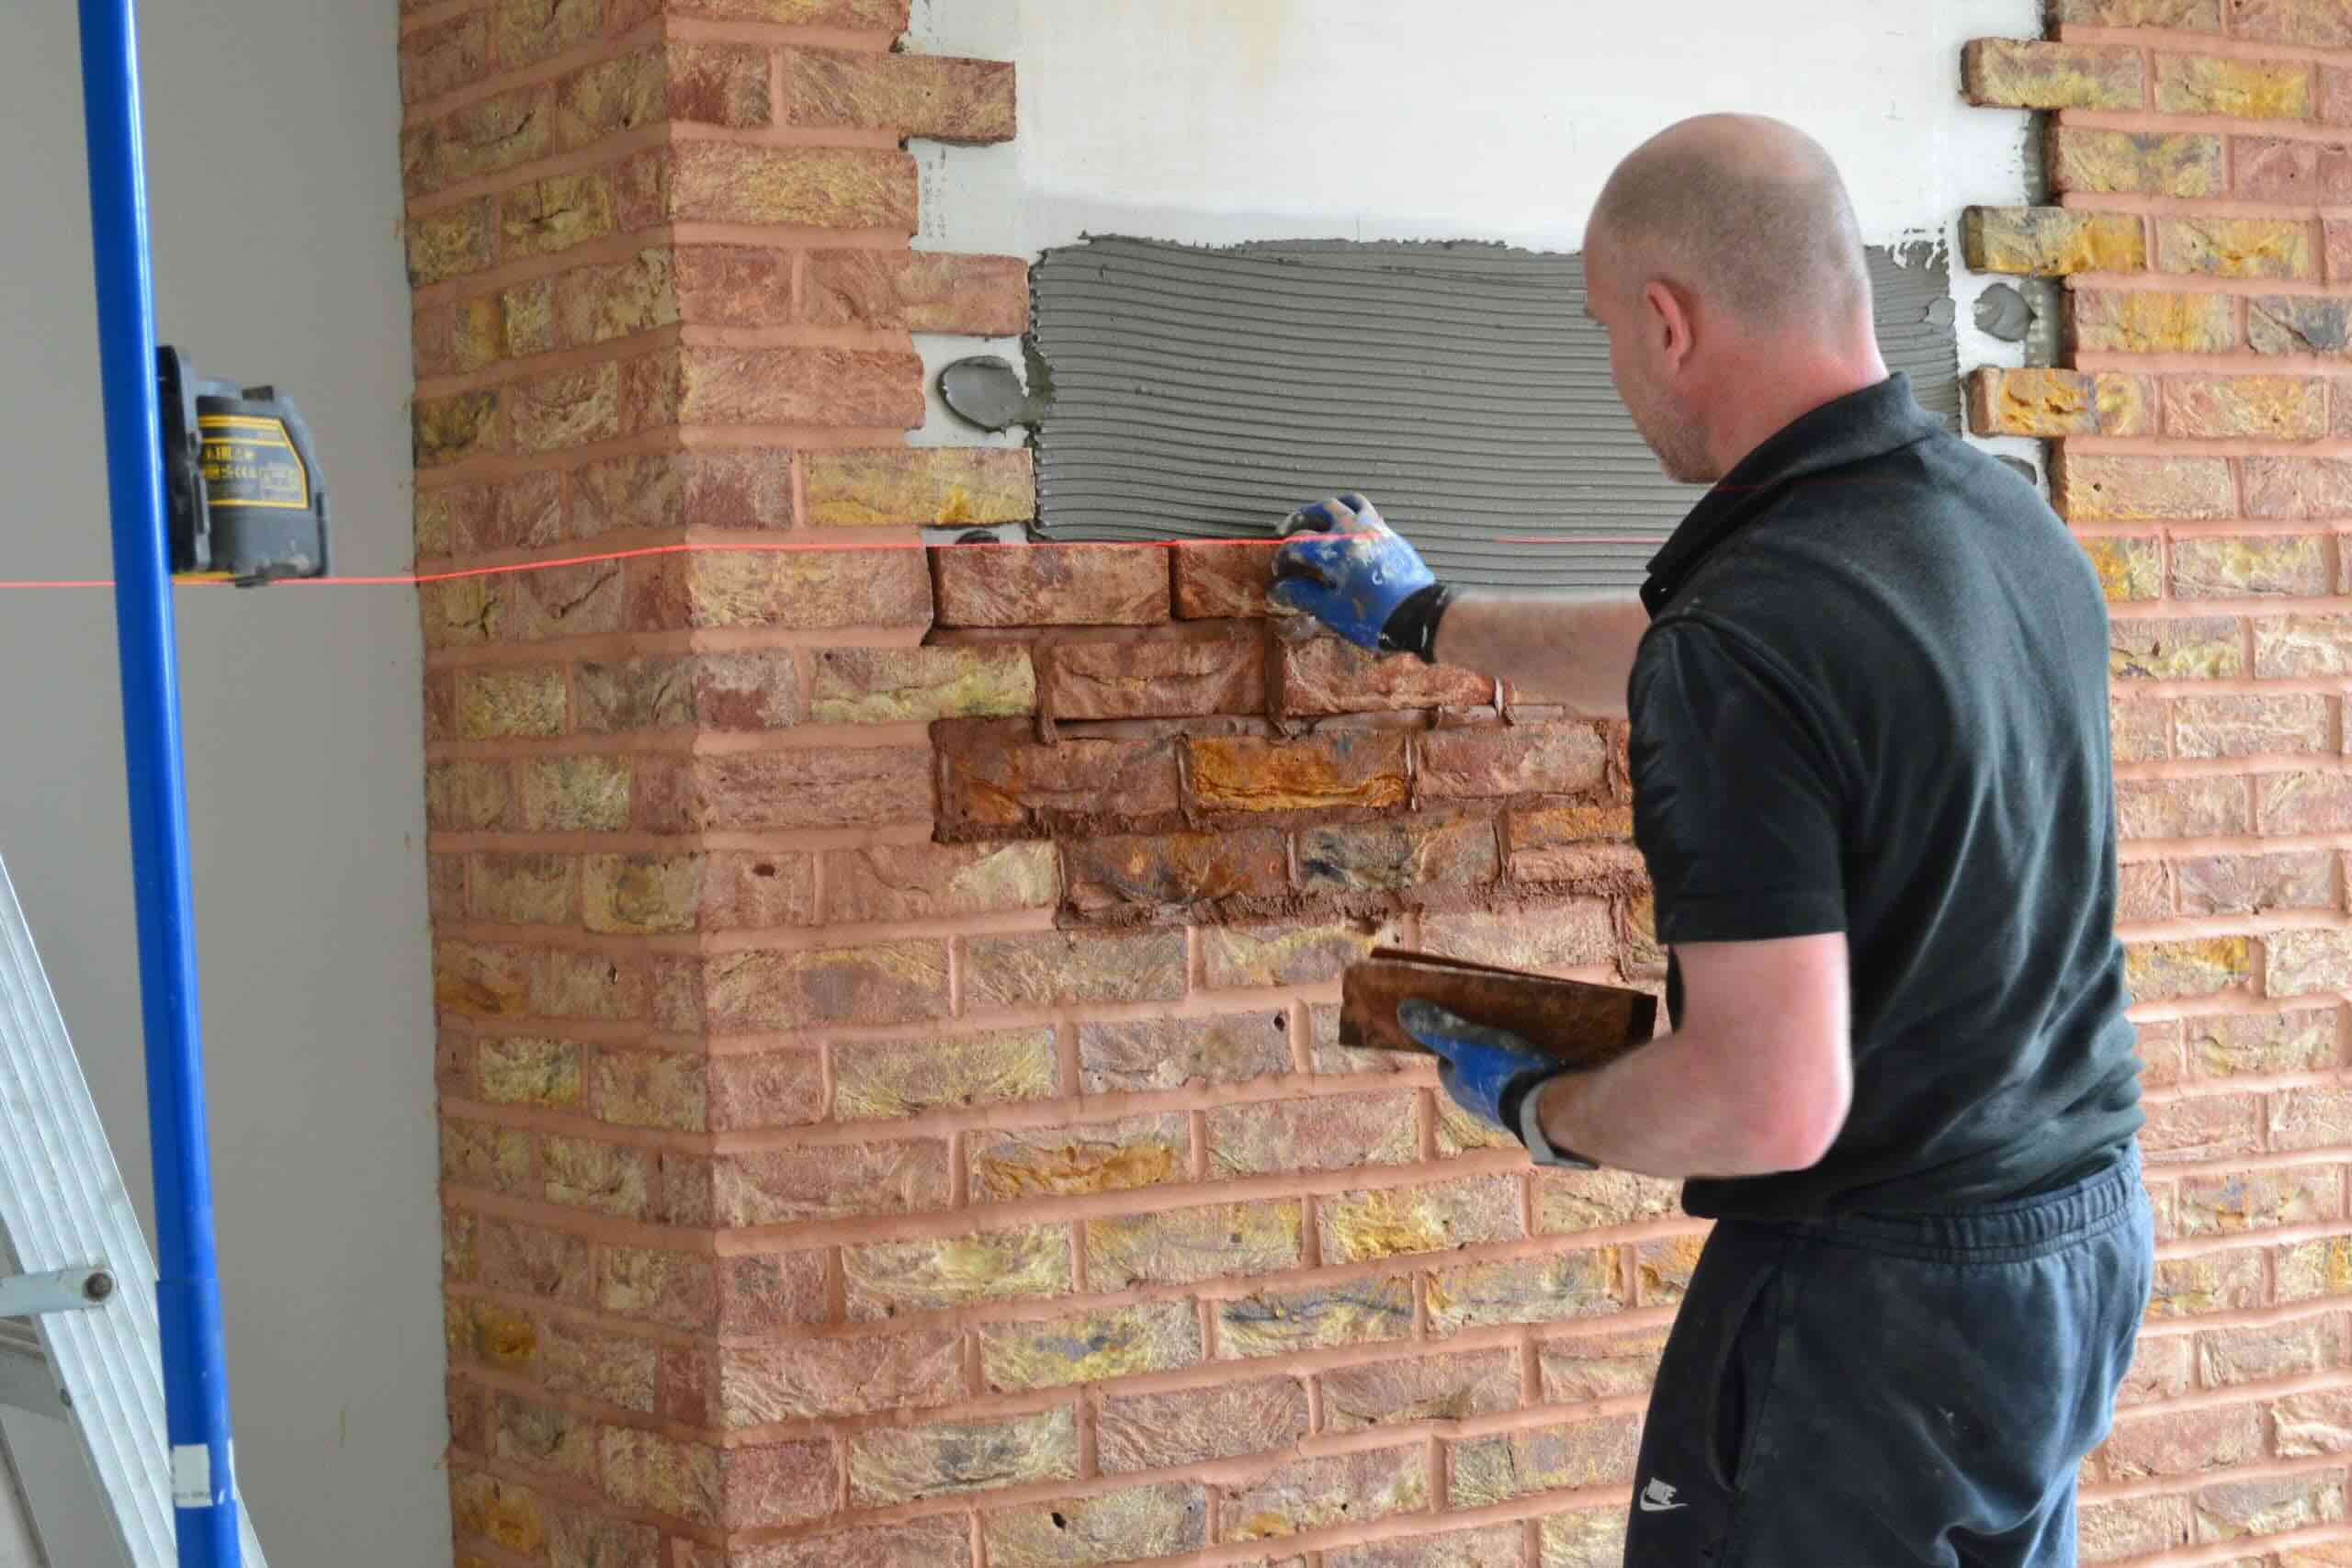
Constructing the Walls
Constructing the walls of your brick barbecue pit is a pivotal stage that contributes to both its structural integrity and visual appeal. The following steps outline the process of building the walls:
Applying Mortar: Begin by applying a layer of mortar on top of the base where the walls will be constructed. Use a trowel to spread the mortar evenly, creating a secure foundation for the bricks.
Laying the Bricks: Carefully lay the first course of bricks on top of the mortar, ensuring that they are level and aligned with precision. As with the base, use a spirit level to verify the evenness of the bricks and make adjustments as necessary.
Stacking Additional Courses: Continue stacking additional courses of bricks, applying mortar between each layer to bond the bricks together. As the walls rise, maintain a consistent level and straight alignment, periodically checking for accuracy and adjusting as needed.
Creating Openings: If your design incorporates openings for airflow or aesthetic purposes, carefully integrate them into the wall construction as you progress. Maintain the structural integrity of the walls while accommodating any planned openings.
Reinforcing the Corners: To enhance the strength and stability of the walls, reinforce the corners with corner bricks or masonry reinforcements. This reinforcement ensures that the corners are structurally sound and resistant to potential wear and tear.
Finishing the Top: Once the desired height of the walls is reached, finish the top edge with a layer of mortar, providing a smooth and uniform surface for the placement of the grill components and the completion of the barbecue pit.
By meticulously following these steps, you’ll create robust and impeccably constructed walls that form the enclosure for your brick barbecue pit. With the walls in place, you can proceed to craft the grill components, bringing you closer to the realization of your outdoor culinary haven.
When building a brick barbecue pit, make sure to use fire-resistant bricks and mortar. Also, create a solid foundation and leave space for grilling and airflow.
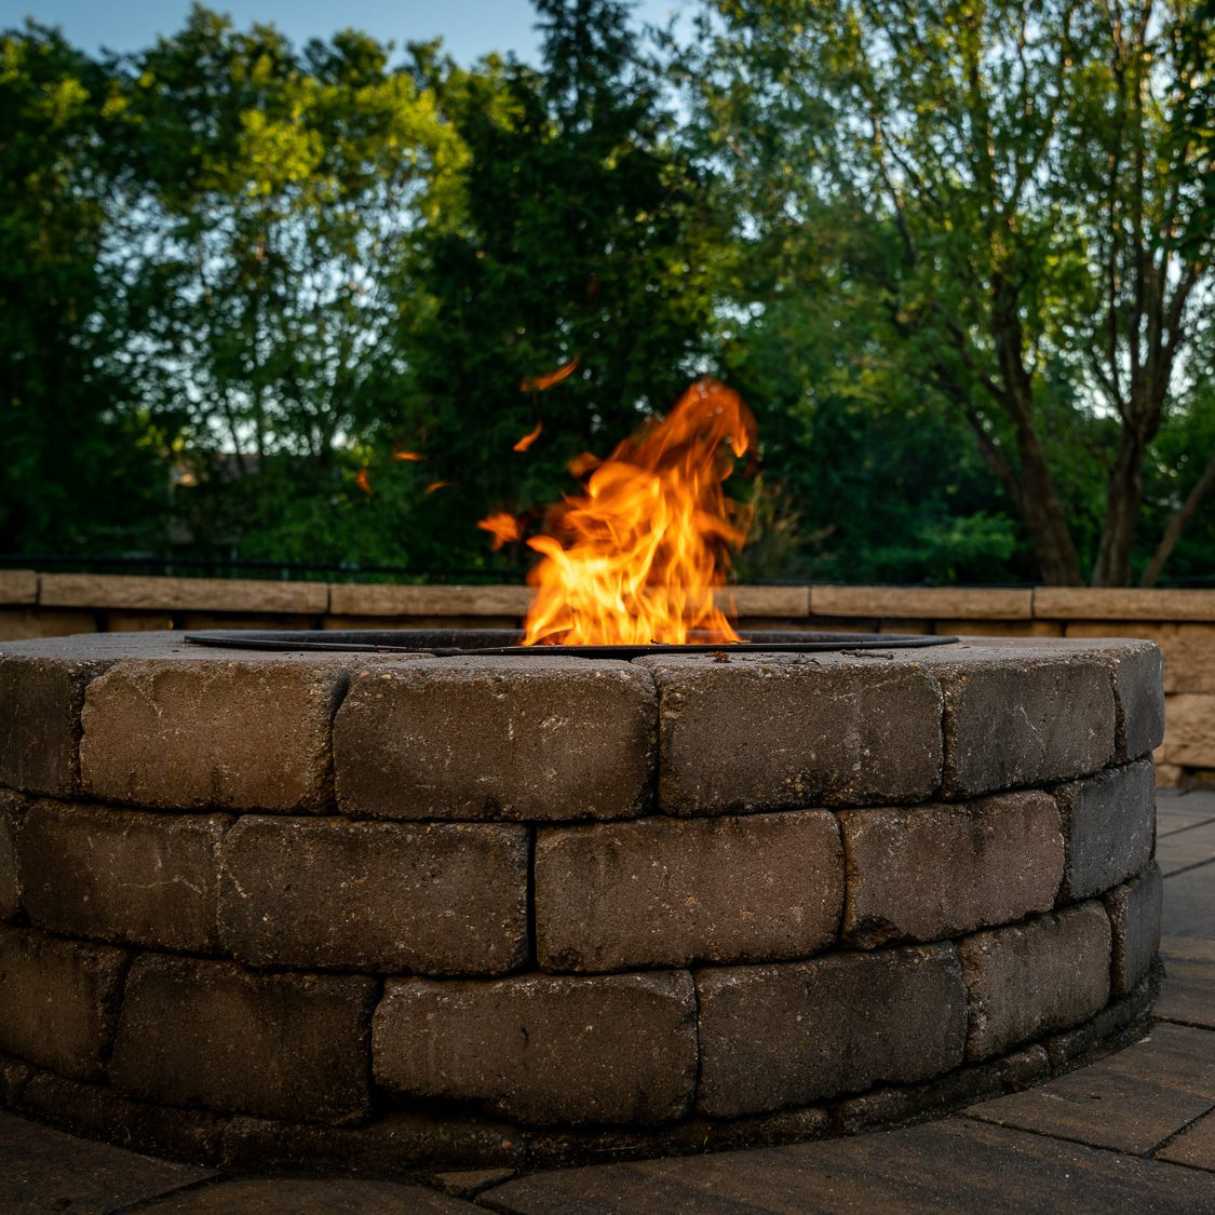
Creating the Grill
The grill component of your brick barbecue pit is the focal point of culinary creativity and outdoor gatherings. Crafting a durable and efficient grill requires attention to detail and precision. The following steps outline the process of creating the grill:
Installing the Lintel: Begin by installing a steel lintel across the top of the walls to support the grill grate. Ensure that the lintel is securely positioned and level, providing a stable foundation for the grill surface.
Positioning the Grill Grate: Place the grill grate on top of the steel lintel, ensuring that it fits snugly and securely. The grill grate should be positioned at an optimal height for cooking and grilling, allowing for easy access and heat management.
Securing the Grill Grate: To prevent movement and ensure stability, secure the grill grate in place using suitable brackets or fasteners. This step is crucial for creating a safe and reliable cooking surface for all your outdoor culinary endeavors.
Adjusting Air Vents: If your design incorporates air vents for temperature control, ensure that they are strategically positioned within the barbecue pit. These vents allow for airflow regulation, enabling you to fine-tune the heat levels during grilling and cooking sessions.
Applying a Protective Coating: Consider applying a high-temperature-resistant coating to the grill components to enhance their durability and resistance to corrosion. This protective measure prolongs the lifespan of the grill and ensures its continued functionality over time.
Testing the Functionality: Before finalizing the construction, conduct a thorough test of the grill to ensure its functionality and safety. Verify that the grill grate is stable, the airflow is adequate, and the overall construction meets your expectations.
By meticulously following these steps, you’ll create a robust and meticulously crafted grill that serves as the centerpiece of your brick barbecue pit. With the grill in place, you can proceed to add personalized finishing touches, bringing you one step closer to enjoying unforgettable outdoor culinary experiences in your backyard.
Read more: How To Build A Brick Fire Pit
Finishing Touches
Adding personalized finishing touches to your brick barbecue pit not only enhances its visual appeal but also contributes to the overall functionality and ambiance of your outdoor cooking space. The following steps highlight the process of adding those final, defining touches:
Applying a Decorative Finish: Consider using decorative bricks or specialized finishes to add aesthetic appeal to the exterior of the barbecue pit. This step allows you to personalize the appearance of the structure and integrate it seamlessly into your outdoor living space.
Creating Countertop Space: If your design incorporates a countertop or preparation area, construct it using suitable materials such as stone, concrete, or tile. This addition provides a convenient space for food preparation and serving during outdoor gatherings.
Installing Storage Options: Integrate storage compartments or shelves into the design, offering convenient storage for grilling utensils, fuel, and cooking accessories. This thoughtful addition enhances the functionality of your outdoor cooking area and keeps essential items within reach.
Enhancing Lighting: Incorporate outdoor lighting near the barbecue pit to extend its functionality into the evening hours. Whether through overhead lighting, pathway illumination, or decorative fixtures, proper lighting enhances safety and creates a welcoming atmosphere for nighttime gatherings.
Adding Seating and Entertainment: Surround the barbecue pit with seating options such as benches, chairs, or built-in seating walls. This creates a comfortable and inviting space for guests to relax and enjoy the culinary delights prepared on the grill.
Personalizing the Surroundings: Enhance the ambiance of the outdoor cooking area by incorporating landscaping, potted plants, or decorative elements. This infusion of greenery and visual appeal complements the barbecue pit, creating a harmonious and inviting outdoor space.
By carefully considering and implementing these finishing touches, you’ll transform your brick barbecue pit into a captivating and functional focal point within your outdoor living space. With these elements in place, your barbecue pit becomes a versatile and inviting environment for hosting memorable gatherings and savoring the pleasures of outdoor cooking and dining.
Conclusion
Congratulations on completing the construction of your brick barbecue pit! This rewarding endeavor has not only added a captivating focal point to your outdoor space but has also provided a dedicated area for culinary creativity and memorable gatherings. As you reflect on the journey from the initial planning stages to the finishing touches, it’s evident that your commitment to craftsmanship and attention to detail have culminated in a remarkable addition to your home.
Building a brick barbecue pit is more than just a DIY project; it’s a testament to your passion for outdoor living and the joy of sharing delicious meals with family and friends. The process of selecting the perfect location, preparing the foundation, constructing the base and walls, creating the grill, and adding personalized finishing touches has resulted in a space that reflects your unique style and hospitality.
As you envision the countless gatherings and culinary adventures that await in your outdoor haven, remember that the barbecue pit is not just a structure; it’s a catalyst for creating cherished memories and fostering meaningful connections. From sizzling summer barbecues to cozy fall gatherings, your brick barbecue pit stands ready to be the backdrop for countless moments of joy and camaraderie.
Embrace the versatility of your outdoor cooking area, experimenting with a diverse array of recipes and techniques to delight your guests and elevate your outdoor dining experiences. Whether it’s a casual weeknight grilling session or a celebratory feast, your brick barbecue pit is a steadfast companion, ready to bring your culinary aspirations to life.
As you embark on this new chapter of outdoor entertaining and culinary exploration, may your brick barbecue pit serve as a source of inspiration, warmth, and delectable delights. Cherish the laughter, the aromas, and the shared experiences that will unfold around this special space, knowing that you’ve created more than just a barbecue pit – you’ve crafted a hub of hospitality and togetherness.
So, fire up the grill, gather your loved ones, and savor the moments that await in your outdoor culinary sanctuary. Your brick barbecue pit is a testament to your creativity, craftsmanship, and the enduring allure of outdoor living.
Frequently Asked Questions about How To Make A Brick Barbecue Pit
Was this page helpful?
At Storables.com, we guarantee accurate and reliable information. Our content, validated by Expert Board Contributors, is crafted following stringent Editorial Policies. We're committed to providing you with well-researched, expert-backed insights for all your informational needs.


0 thoughts on “How To Make A Brick Barbecue Pit”