Home>Construction & Tools>Building Materials>How To Make A Brick Bench
Building Materials
How To Make A Brick Bench
Modified: October 19, 2024
Learn how to make a brick bench using building materials with our step-by-step guide. Create a durable and stylish outdoor seating solution for your garden or patio.
(Many of the links in this article redirect to a specific reviewed product. Your purchase of these products through affiliate links helps to generate commission for Storables.com, at no extra cost. Learn more)
Introduction
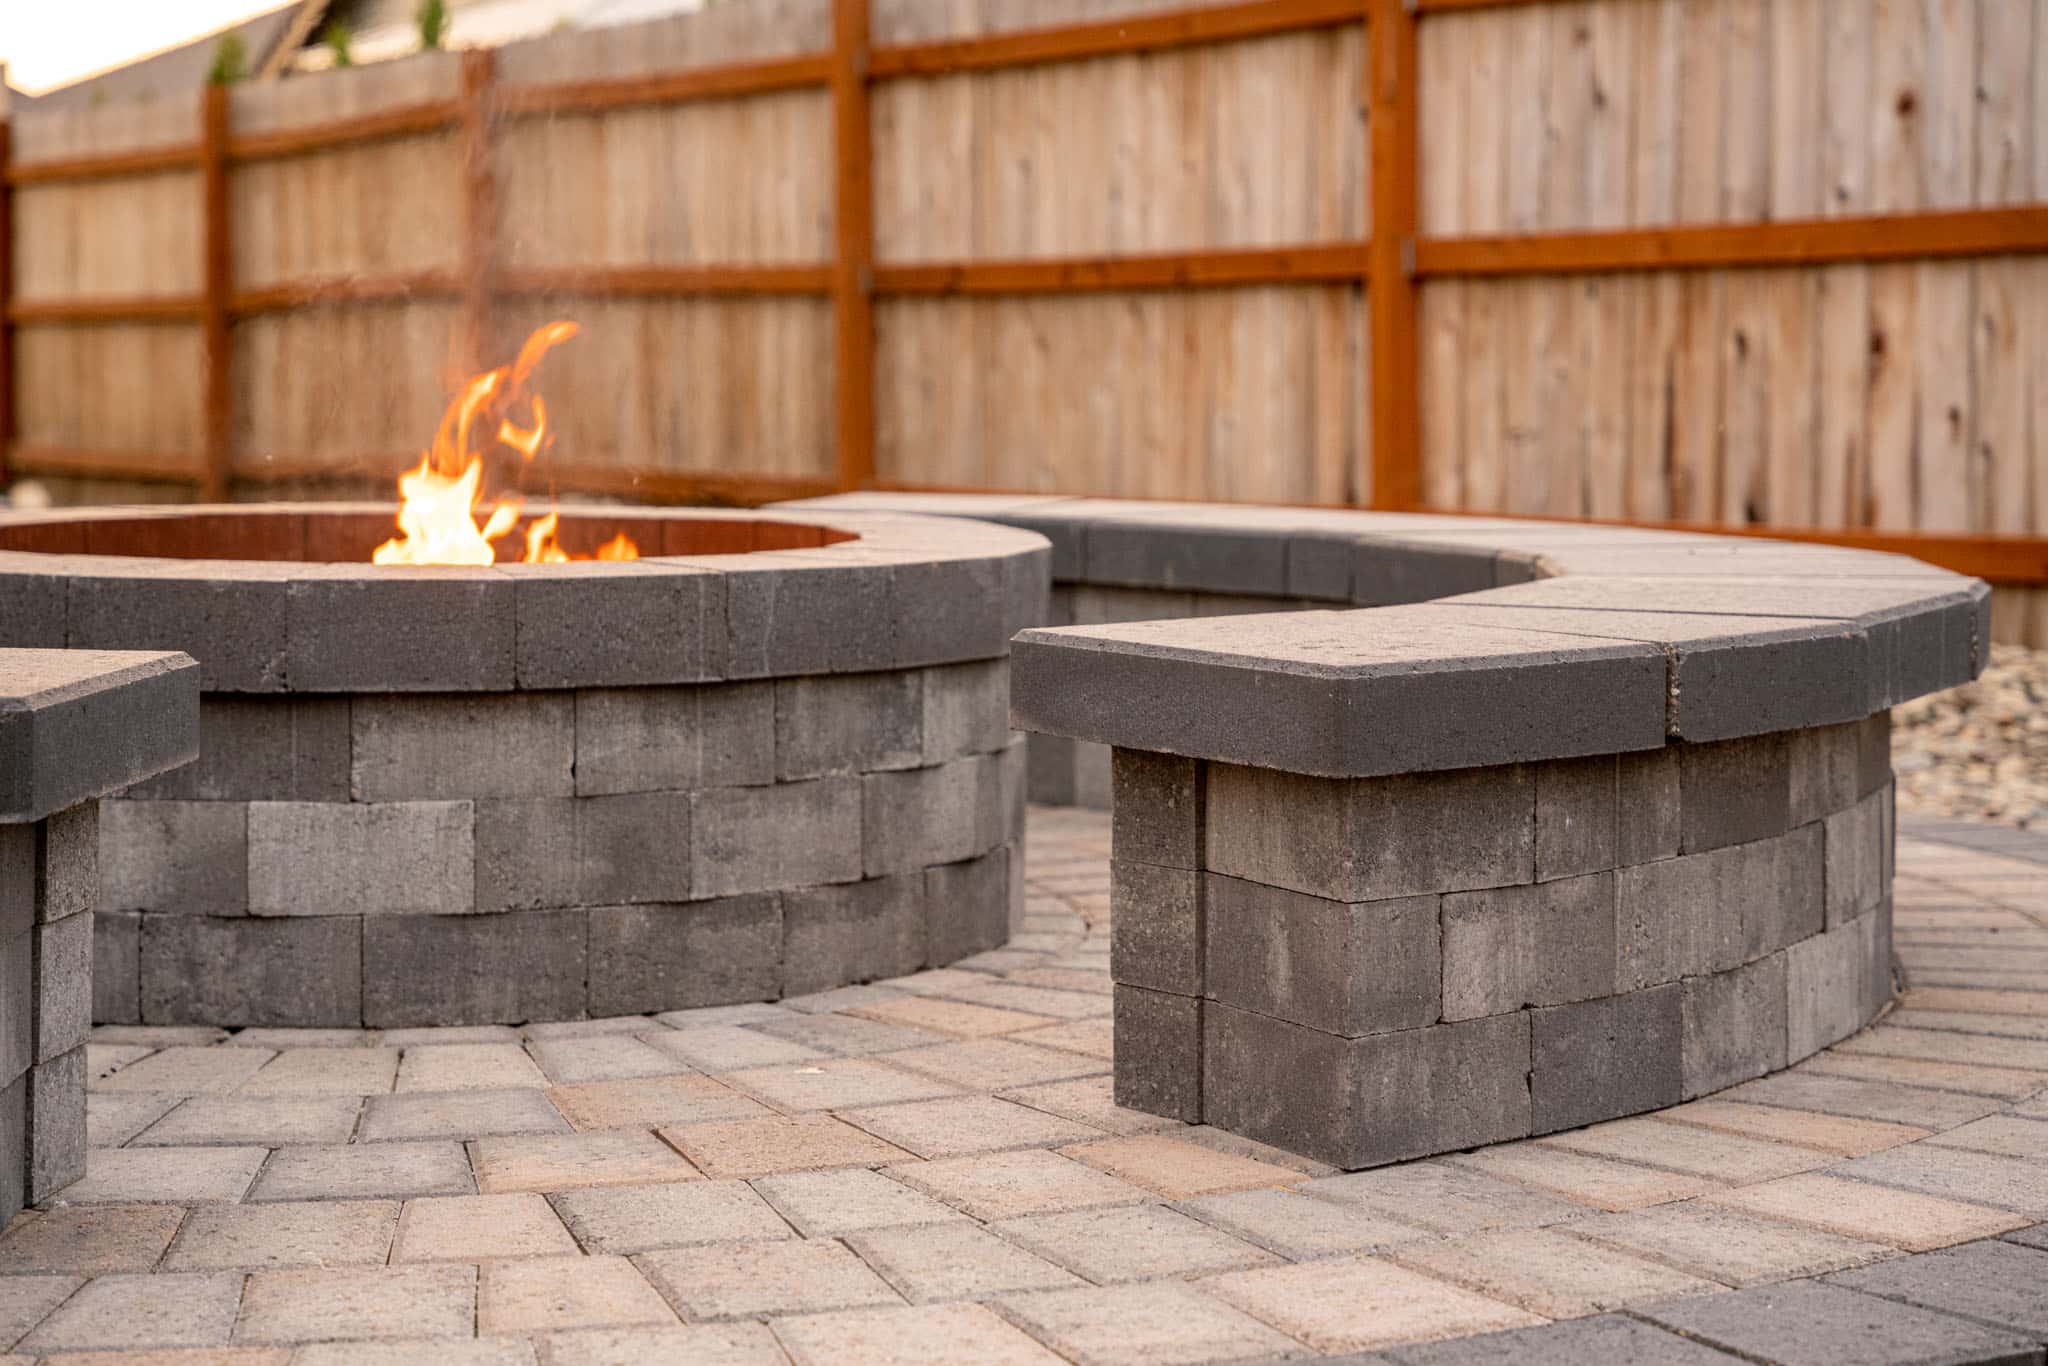
Welcome to the world of DIY brick bench building! If you’re looking to add a touch of rustic charm to your outdoor space, a brick bench can be a fantastic addition. Not only does it provide a cozy spot to relax and enjoy your surroundings, but it also serves as a visually appealing feature that can complement the natural beauty of your garden or patio.
Building a brick bench is a rewarding project that allows you to unleash your creativity while enhancing the functionality of your outdoor area. Whether you’re a seasoned DIY enthusiast or a novice looking to embark on your first construction venture, this guide will walk you through the process, providing step-by-step instructions and valuable tips to help you bring your brick bench vision to life.
As we delve into the world of brick bench construction, you’ll discover the essential materials and tools required, learn how to prepare the site for the project, and master the art of laying a sturdy foundation. From building the base to constructing the backrest and adding the finishing touches, you’ll gain the knowledge and confidence needed to tackle this project with finesse.
So, roll up your sleeves, gather your supplies, and get ready to embark on an exciting journey of creativity and craftsmanship. Let’s dive into the world of brick bench construction and unleash your inner DIY maestro!
Key Takeaways:
- Building a brick bench requires high-quality bricks, concrete mix, gravel, and essential tools like a shovel, level, and protective gear. Meticulous site preparation and sturdy foundation laying are crucial for a durable and visually appealing bench.
- Constructing a brick bench involves building a stable base, adding a comfortable backrest, and finishing with a protective sealant. Personalizing with cushions and greenery enhances the bench’s inviting allure and ensures long-lasting enjoyment.
Read more: How To Make A Wooden Outdoor Bench
Materials Needed
Before diving into the construction process, it’s crucial to gather all the necessary materials to ensure a smooth and efficient building experience. Here’s a comprehensive list of the materials you’ll need to construct your brick bench:
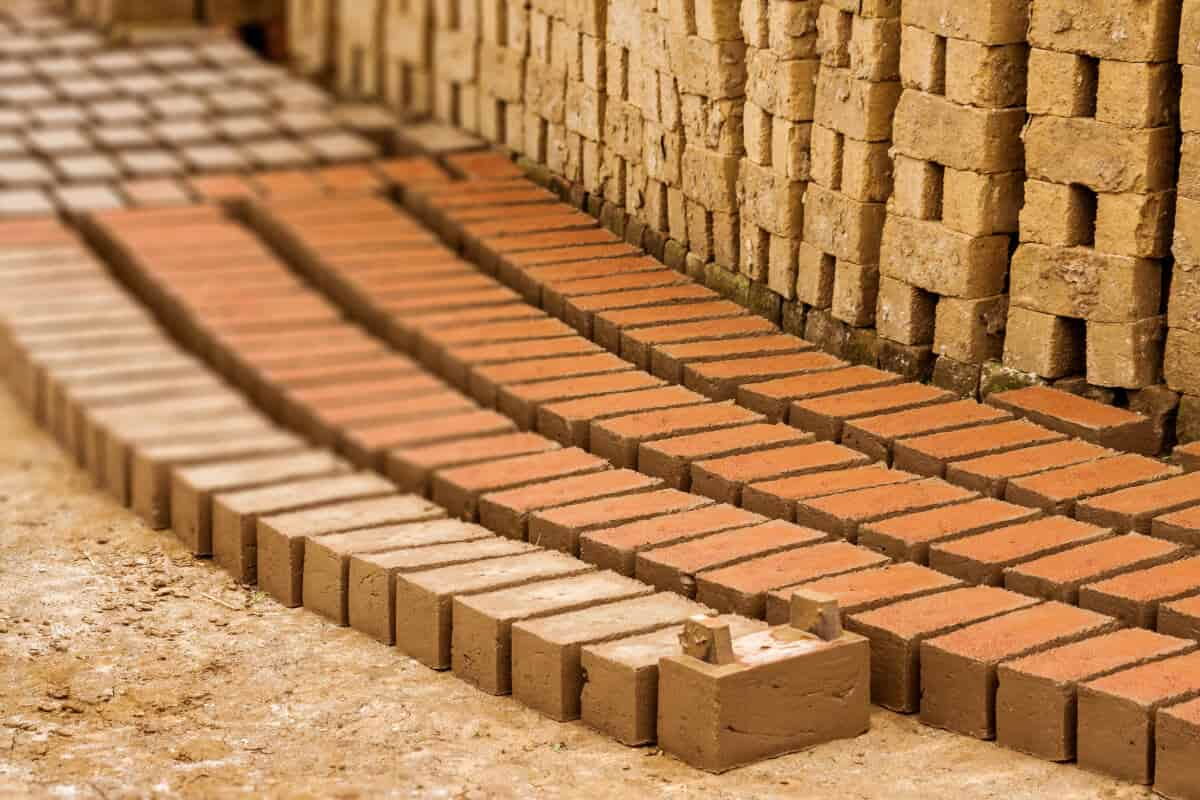
- Bricks: Select high-quality bricks that are durable and suitable for outdoor use. The quantity will depend on the dimensions of your bench.
- Concrete mix: Used for creating a solid foundation and securing the bricks in place.
- Gravel: Provides drainage and stability when preparing the foundation.
- Pressure-treated lumber or concrete blocks: These will serve as the support for the bench base.
- Rebar or steel mesh: Reinforcement material for the concrete foundation.
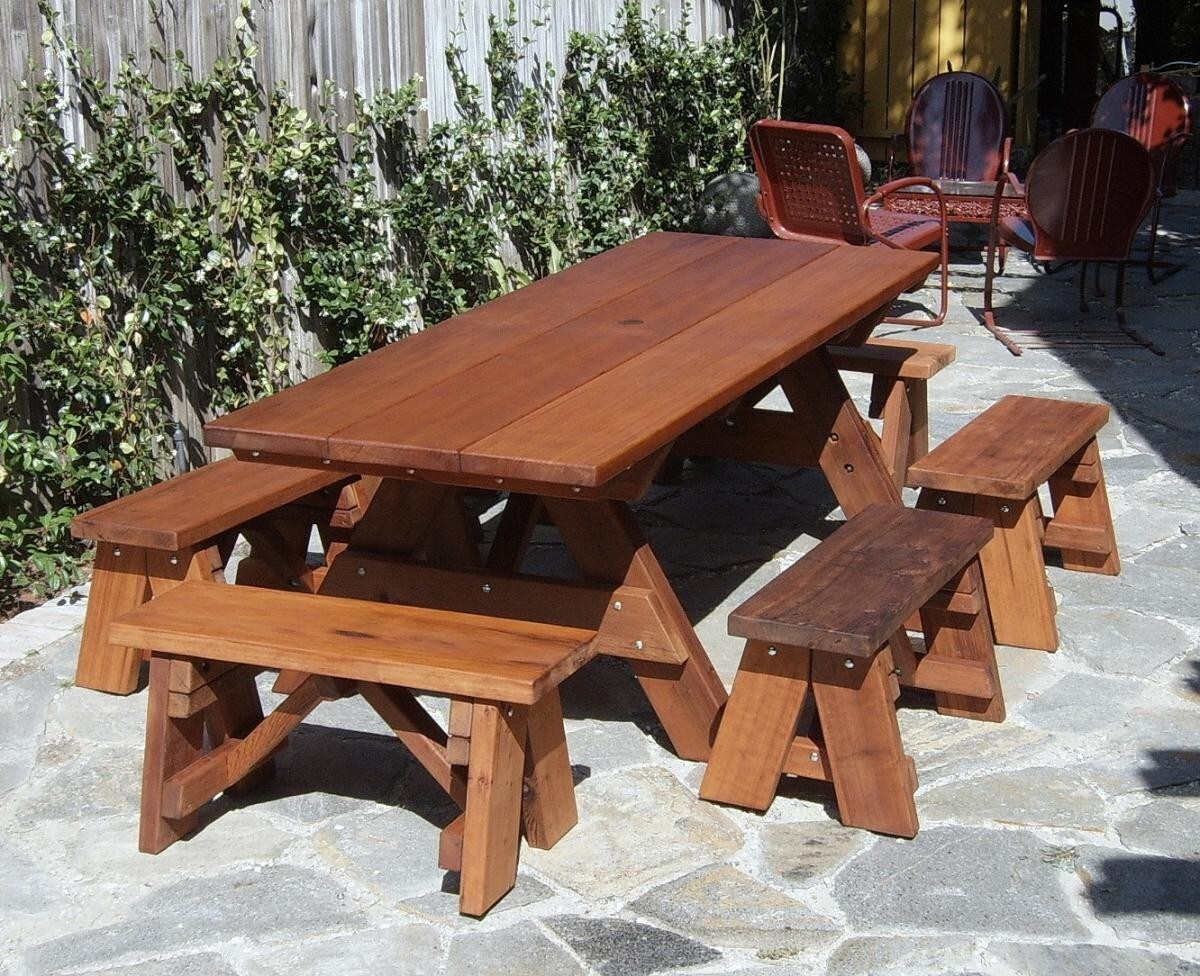
- Wood boards: If you choose to add a wooden seating surface, you’ll need suitable wood boards.
- Sealant: For protecting the bench from the elements and enhancing its longevity.
By ensuring that you have all the required materials on hand, you’ll be well-prepared to commence the construction process without any unnecessary interruptions. With these materials at your disposal, you’re one step closer to creating a stunning brick bench that will stand the test of time.
Tools Needed
Equipping yourself with the right tools is essential for executing the construction of your brick bench with precision and efficiency. Here’s a list of the essential tools you’ll need to have on hand:
- Shovel: For excavating the site and preparing the foundation.
- Tape measure: To ensure accurate dimensions and alignment during the construction process.
- Level: Essential for ensuring that the bench base and backrest are perfectly horizontal and vertical, respectively.
- Masonry trowel: Used for applying mortar and leveling the surface of the bricks.
- Wheelbarrow: For mixing concrete and transporting materials around the construction site.
- Hammer: To assist in breaking bricks or adjusting their placement as needed.
- Power saw: If you’re incorporating wooden elements into your bench, a power saw will be necessary for cutting the wood to the desired dimensions.
- Protective gear: Safety goggles, work gloves, and a dust mask are essential for ensuring your safety during the construction process.
By having these tools at your disposal, you’ll be well-equipped to tackle each phase of the construction process with confidence and precision. With the right tools in hand, you’re ready to embark on the exciting journey of building your very own brick bench.
Step 1: Prepare the Site
Before you start laying bricks and crafting the bench, it’s crucial to prepare the site meticulously to ensure a sturdy and long-lasting foundation. Here’s a step-by-step guide to preparing the site for your brick bench construction:
- Choose the Location: Select a suitable location for your bench, ensuring that it’s on a level surface and offers a pleasant view of your outdoor space. Take into account factors such as sunlight exposure and proximity to other outdoor features.
- Mark the Dimensions: Use stakes and string to outline the dimensions of the bench, creating a clear visual guide for the construction process.
- Excavate the Area: Use a shovel to dig a trench for the foundation, ensuring that it’s deep enough to accommodate the concrete base and provide stability for the bench.
- Add Gravel: Once the trench is excavated, fill it with a layer of gravel to promote proper drainage and prevent water accumulation around the foundation.
- Compact the Gravel: Use a tamper or a piece of lumber to compact the gravel firmly, creating a solid and stable base for the concrete foundation.
By meticulously preparing the site, you’ll lay the groundwork for a robust and durable brick bench that will withstand the test of time. Taking the time to complete this crucial initial step will set the stage for the subsequent phases of construction, ensuring that your bench is built on a solid and stable foundation.
When making a brick bench, use a level surface as a base, and stack the bricks in a stable and even manner. Use mortar to secure the bricks together, and consider adding a cushion for comfort.
Step 2: Lay the Foundation
With the site prepared, it’s time to lay the foundation for your brick bench. The foundation serves as the backbone of the structure, providing stability and support for the bench. Here’s a detailed guide to laying the foundation:
- Prepare the Concrete Mix: Follow the manufacturer’s instructions to prepare the concrete mix, ensuring the correct ratio of water to concrete for optimal consistency and strength.
- Pour the Concrete: Carefully pour the concrete mix into the prepared trench, ensuring an even and level distribution throughout the entire foundation area.
- Add Reinforcement: If desired, insert rebar or lay steel mesh into the wet concrete to reinforce the foundation, enhancing its structural integrity.
- Smooth the Surface: Use a trowel to smooth the surface of the concrete, eliminating any lumps or uneven areas to create a level and uniform foundation.
- Cure the Concrete: Allow the concrete to cure according to the manufacturer’s recommendations, ensuring that it achieves the necessary strength and durability before proceeding to the next phase of construction.
By meticulously executing the foundation-laying process, you’ll establish a solid base for your brick bench, ensuring that it remains stable and resilient for years to come. With the foundation in place, you’re ready to progress to the next stage of constructing the bench base, bringing you one step closer to realizing your vision of a charming and functional outdoor seating area.
Read more: How To Make A Vanity Bench
Step 3: Build the Base
With the foundation set, it’s time to embark on the construction of the base for your brick bench. The base provides the structural framework for the seating area, offering stability and support. Here’s a comprehensive guide to building the base:
- Position Support Elements: Place pressure-treated lumber or concrete blocks on the cured foundation to serve as the support for the base of the bench.
- Lay the First Layer of Bricks: Using mortar, lay the first layer of bricks on top of the support elements, ensuring that they are aligned and level to create a sturdy base.
- Apply Mortar and Stack Bricks: Apply mortar to the top of the first layer of bricks and carefully stack additional layers, ensuring a secure and stable construction.
- Check for Level and Alignment: Regularly use a level to ensure that the base is perfectly horizontal and that the bricks are aligned, making any necessary adjustments as you progress.
- Create a Smooth Surface: Use a trowel to smooth the mortar between the bricks, creating a clean and uniform surface for the base of the bench.
By meticulously constructing the base of your brick bench, you’ll establish a robust and reliable foundation for the seating area, ensuring both durability and visual appeal. With the base in place, you’re ready to move on to the next phase of the construction process, bringing you closer to the completion of your charming and inviting brick bench.
Step 4: Construct the Backrest
As you progress with the construction of your brick bench, the next crucial step involves the creation of the backrest. The backrest not only enhances the comfort of the bench but also adds a touch of elegance to the overall design. Here’s a detailed guide to constructing the backrest:
- Plan the Design: Determine the height and angle of the backrest, considering ergonomic comfort and aesthetic appeal.
- Mark the Placement: Use chalk or a pencil to mark the placement of the backrest on the base of the bench, ensuring precise alignment.
- Lay the First Layer of Bricks: Using mortar, lay the first layer of bricks to form the base of the backrest, ensuring that they are securely positioned and aligned with the bench base.
- Stack Additional Layers: Apply mortar and carefully stack additional layers of bricks, gradually building up the height of the backrest while maintaining stability and alignment.
- Smooth the Joints: Use a trowel to smooth the mortar between the bricks, creating a seamless and visually appealing finish for the backrest.
By skillfully constructing the backrest, you’ll add a functional and aesthetically pleasing element to your brick bench, elevating its comfort and visual allure. With the backrest in place, your bench will soon be ready for the final phase of construction, bringing you closer to the realization of your outdoor oasis.
Step 5: Finish and Seal the Bench
As you near the completion of your brick bench construction, the final step involves finishing and sealing the bench to ensure its longevity and visual appeal. This phase adds the finishing touches that will elevate the bench from a construction project to a stunning outdoor feature. Here’s a comprehensive guide to finishing and sealing the bench:
- Clean the Bench: Remove any excess mortar or debris from the surface of the bench, ensuring a clean and polished appearance.
- Apply Sealant: Choose a high-quality sealant suitable for outdoor use and apply it to the entire surface of the bench, including the bricks and any wooden elements, following the manufacturer’s instructions.
- Allow for Drying Time: Give the sealant sufficient time to dry and cure, ensuring that it forms a protective barrier that shields the bench from the elements.
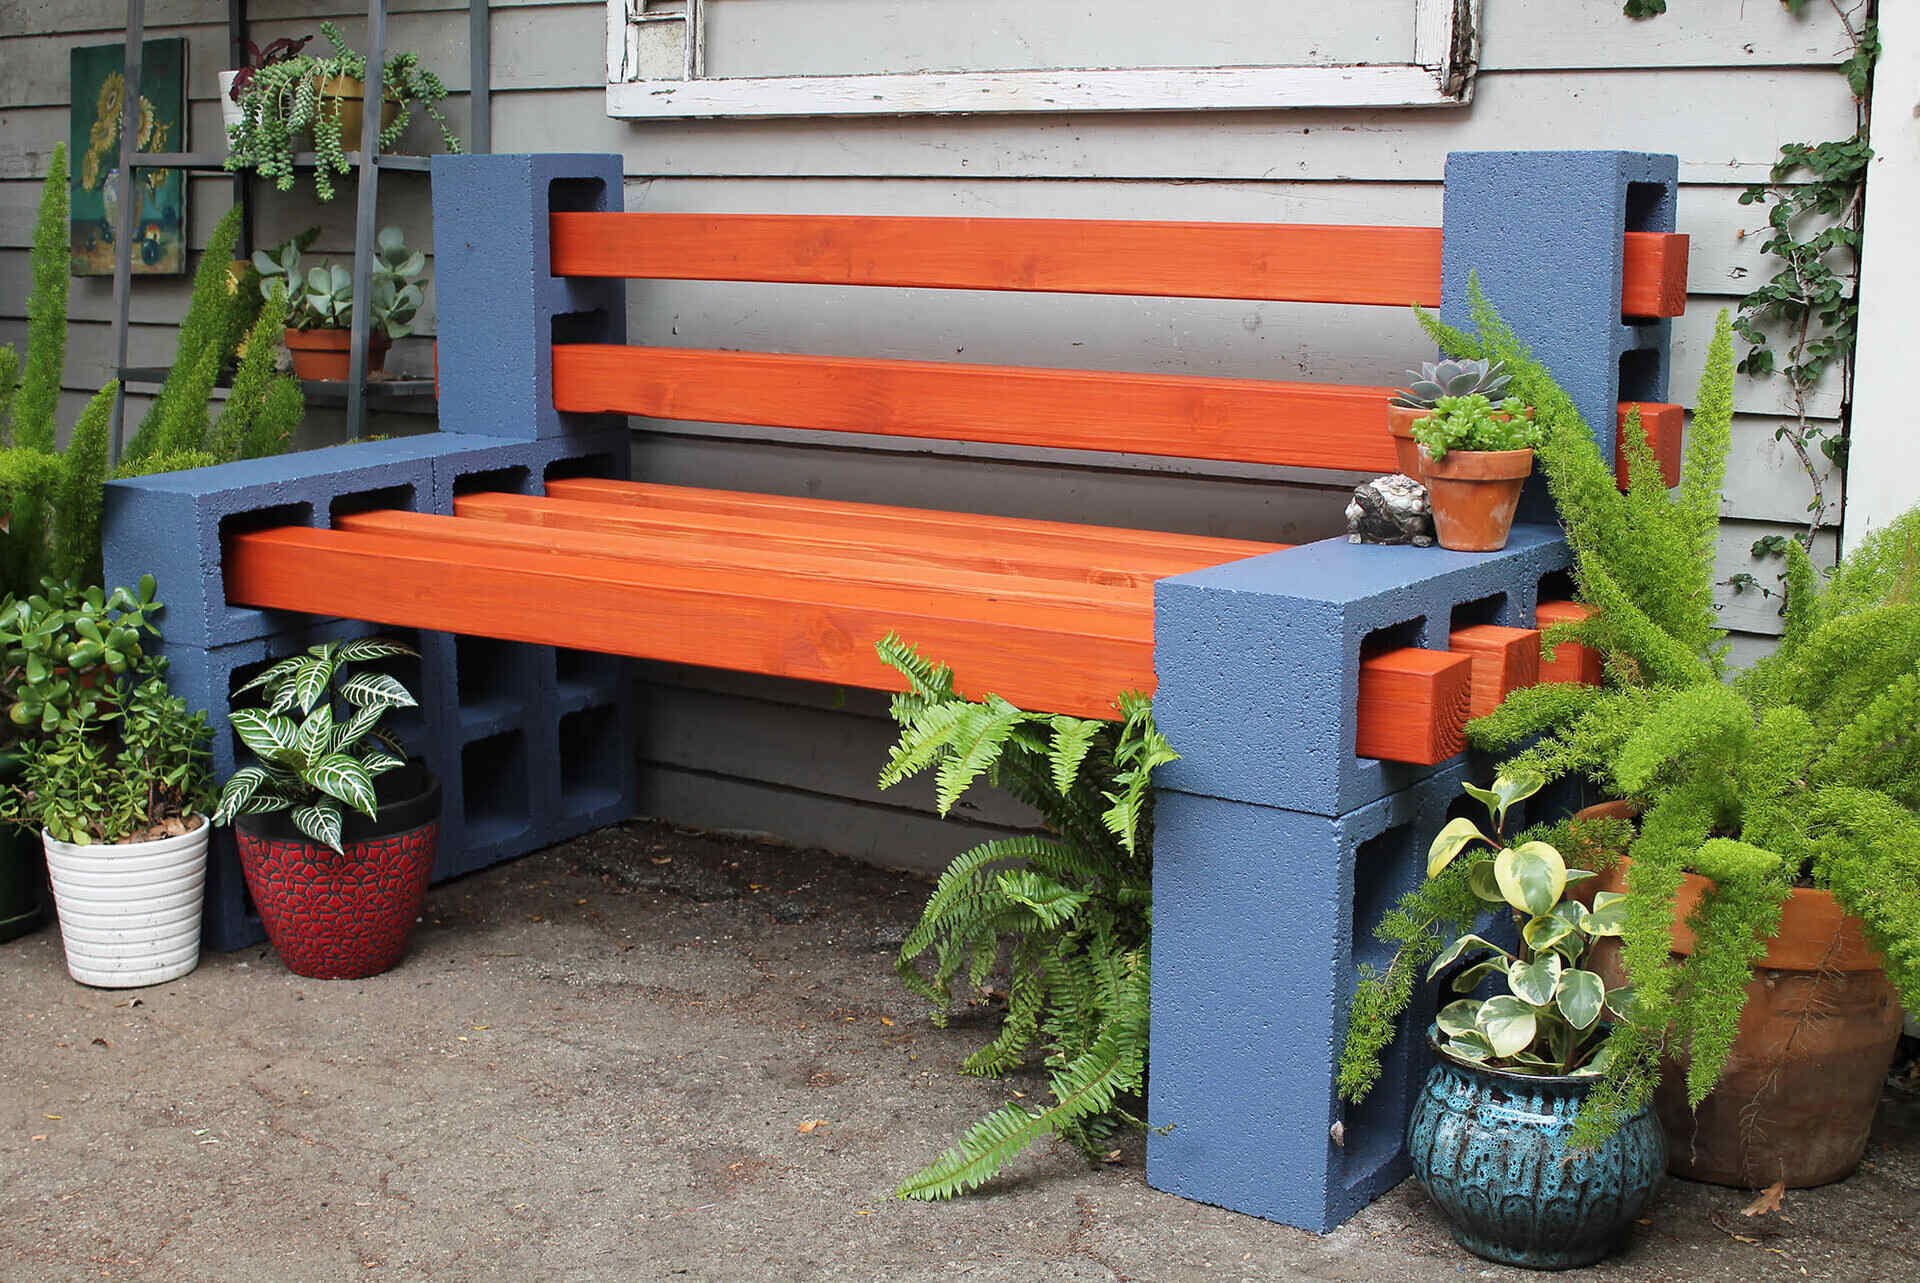
- Add Cushions or Pillows: For added comfort and style, consider placing weather-resistant cushions or pillows on the bench, enhancing its inviting allure.
- Personalize with Greenery: Surround the bench with potted plants or climbing vines to infuse the space with natural beauty, creating a serene and inviting atmosphere.
By meticulously finishing and sealing the bench, you’ll safeguard its structural integrity and enhance its visual appeal, ensuring that it remains a captivating feature in your outdoor space for years to come. With the bench now complete, you can sit back, relax, and bask in the satisfaction of bringing your brick bench vision to life.
Frequently Asked Questions about How To Make A Brick Bench
Was this page helpful?
At Storables.com, we guarantee accurate and reliable information. Our content, validated by Expert Board Contributors, is crafted following stringent Editorial Policies. We're committed to providing you with well-researched, expert-backed insights for all your informational needs.


0 thoughts on “How To Make A Brick Bench”