Home>Construction & Tools>Building Materials>How To Make A Brick Stove
Building Materials
How To Make A Brick Stove
Modified: October 19, 2024
Learn how to make a brick stove using building materials with our step-by-step guide. Create a durable and efficient stove for your outdoor cooking needs.
(Many of the links in this article redirect to a specific reviewed product. Your purchase of these products through affiliate links helps to generate commission for Storables.com, at no extra cost. Learn more)
Introduction
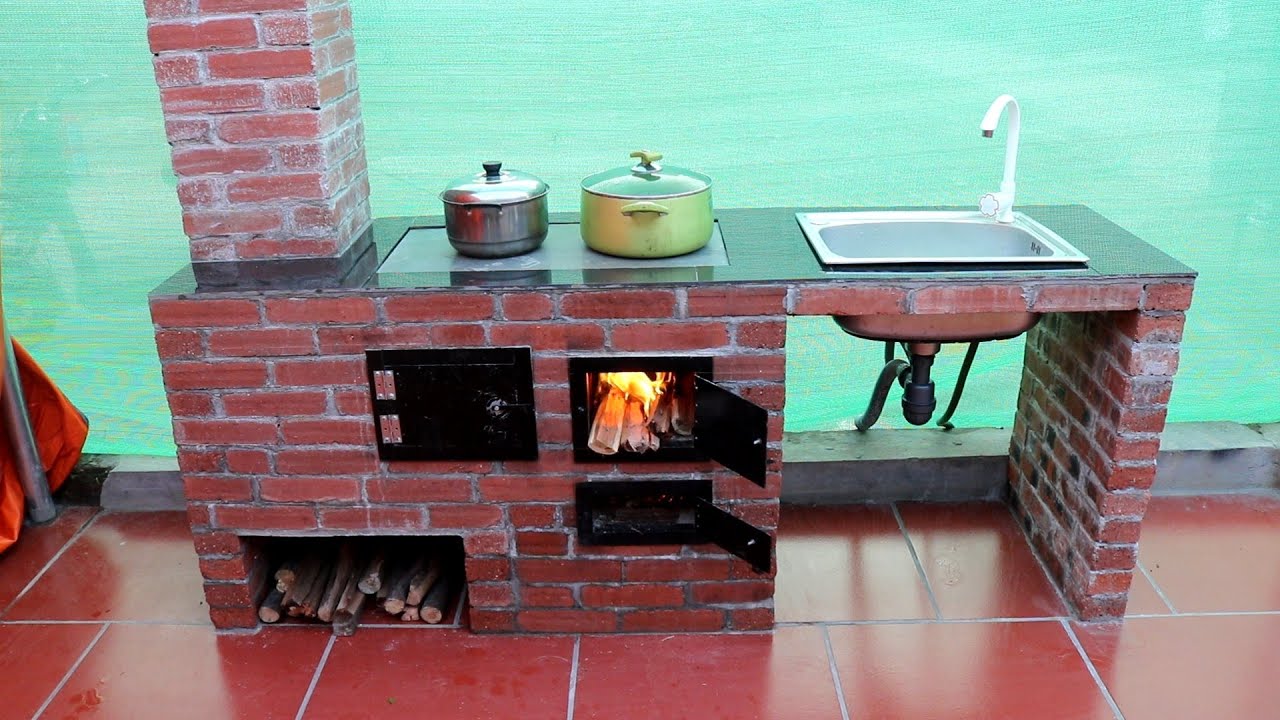
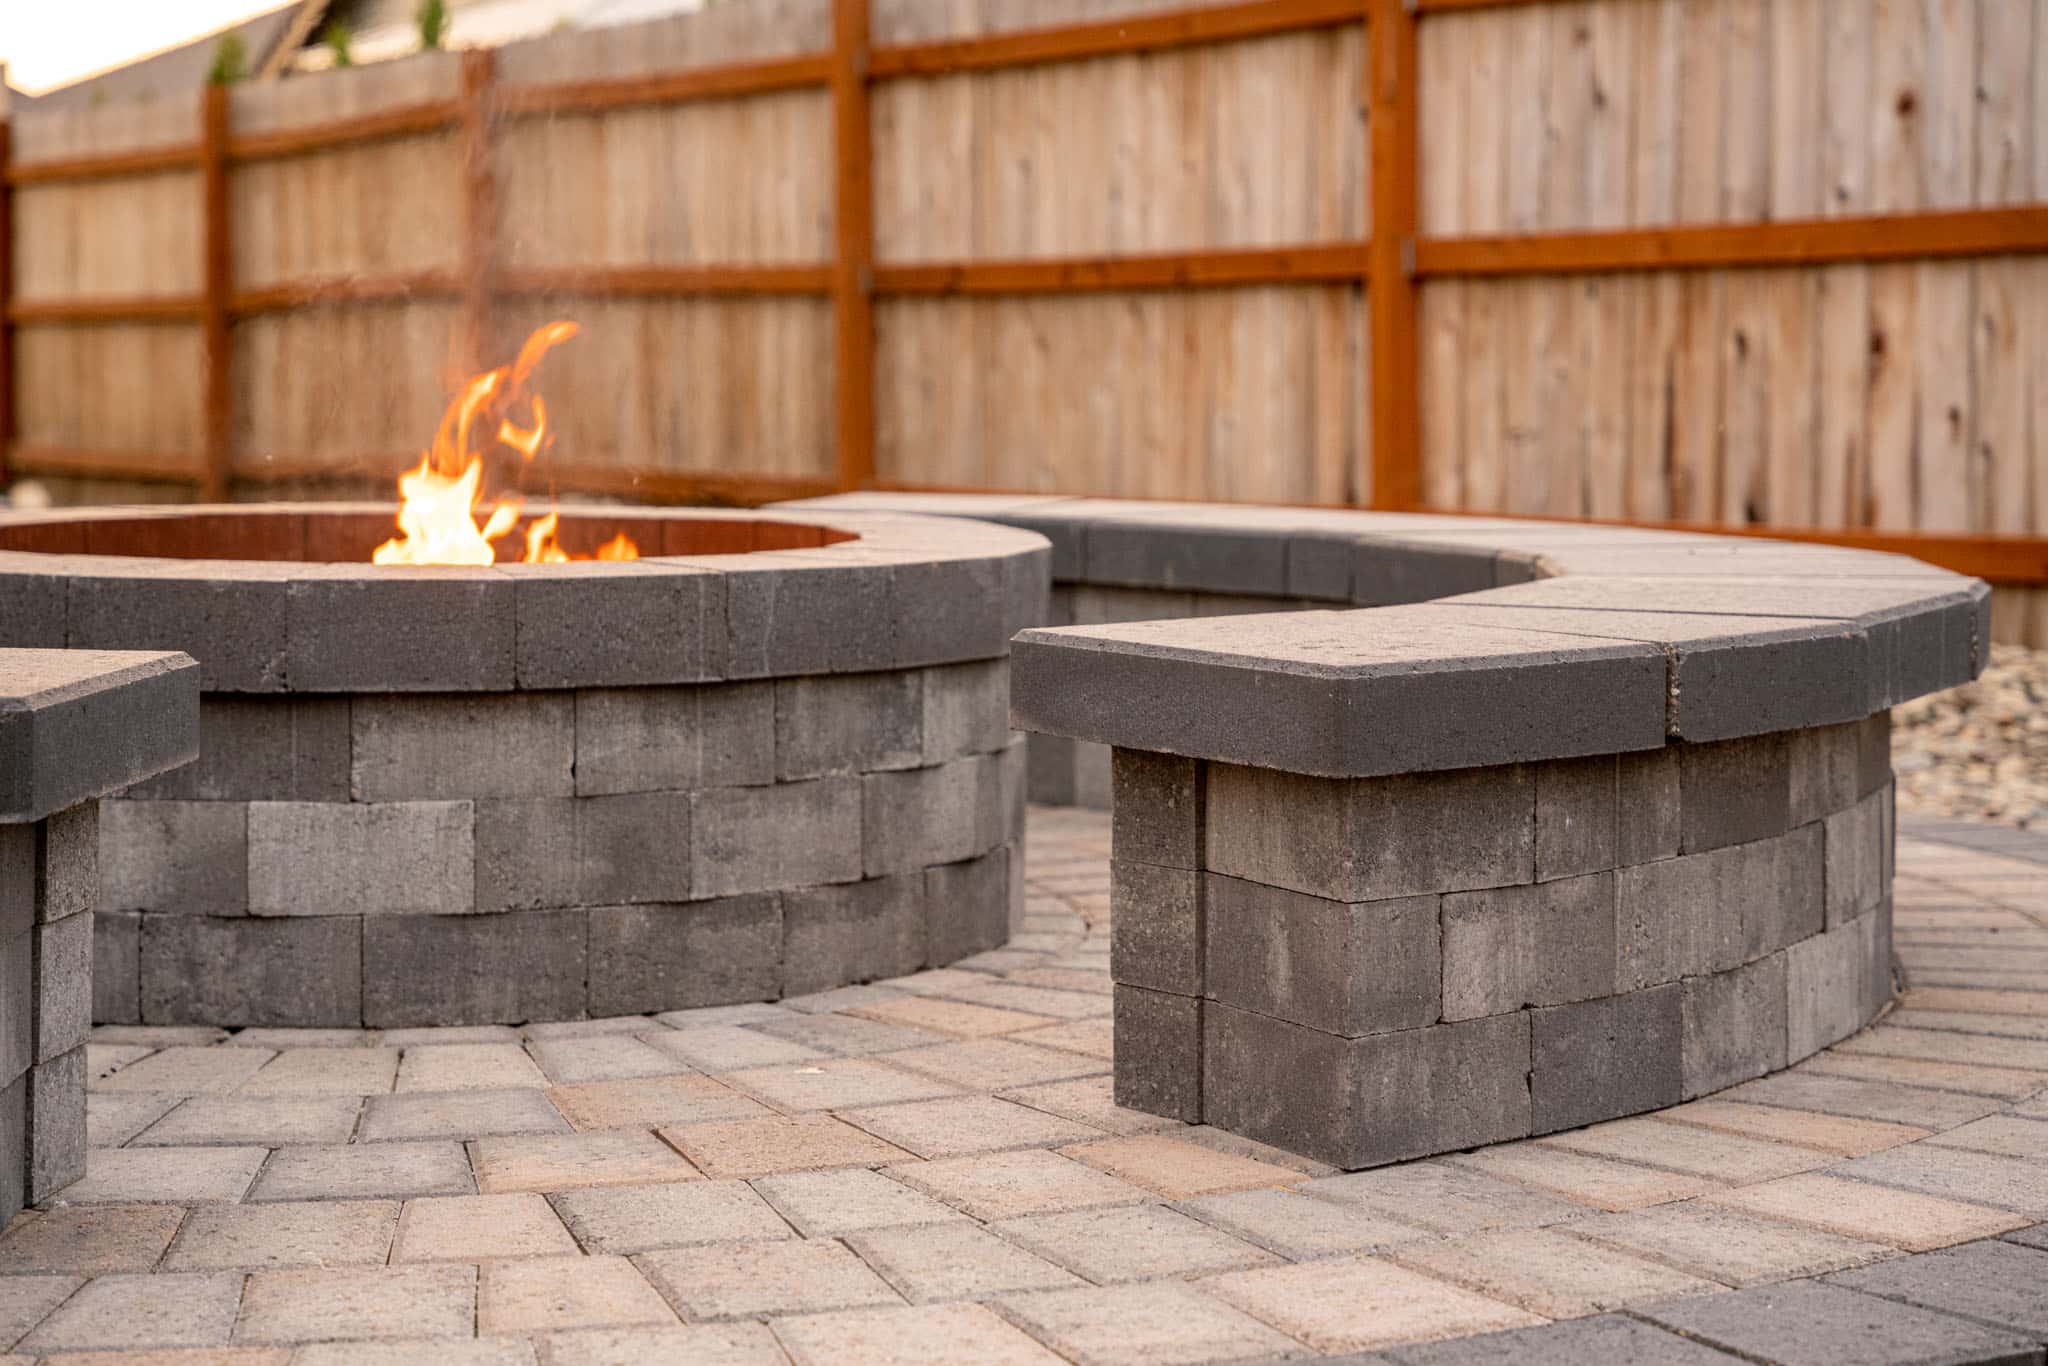
Welcome to the world of traditional cooking! Building a brick stove is not only a practical and sustainable way to prepare meals, but it also adds a touch of rustic charm to your outdoor space. Whether you’re a seasoned DIY enthusiast or a novice looking to embark on a new project, creating a brick stove can be a rewarding and fulfilling endeavor.
In this guide, we will walk you through the step-by-step process of constructing a brick stove, from selecting the right materials to adding the finishing touches. By the end of this journey, you’ll have a functional and visually appealing stove that will serve as the centerpiece of your outdoor cooking area.
So, roll up your sleeves, gather your tools, and get ready to unleash your creativity as we delve into the art of building a brick stove.
Key Takeaways:
- Building a brick stove is a creative and sustainable way to cook outdoors, bringing tradition and warmth to your gatherings while unleashing your culinary creativity.
- By following the step-by-step process and adding finishing touches, you can transform basic materials into a functional and visually captivating centerpiece for your outdoor space.
Read more: How To Make A Brick
Materials and Tools
Before diving into the construction process, it’s essential to gather all the necessary materials and tools. Here’s a comprehensive list to get you started:
Materials:
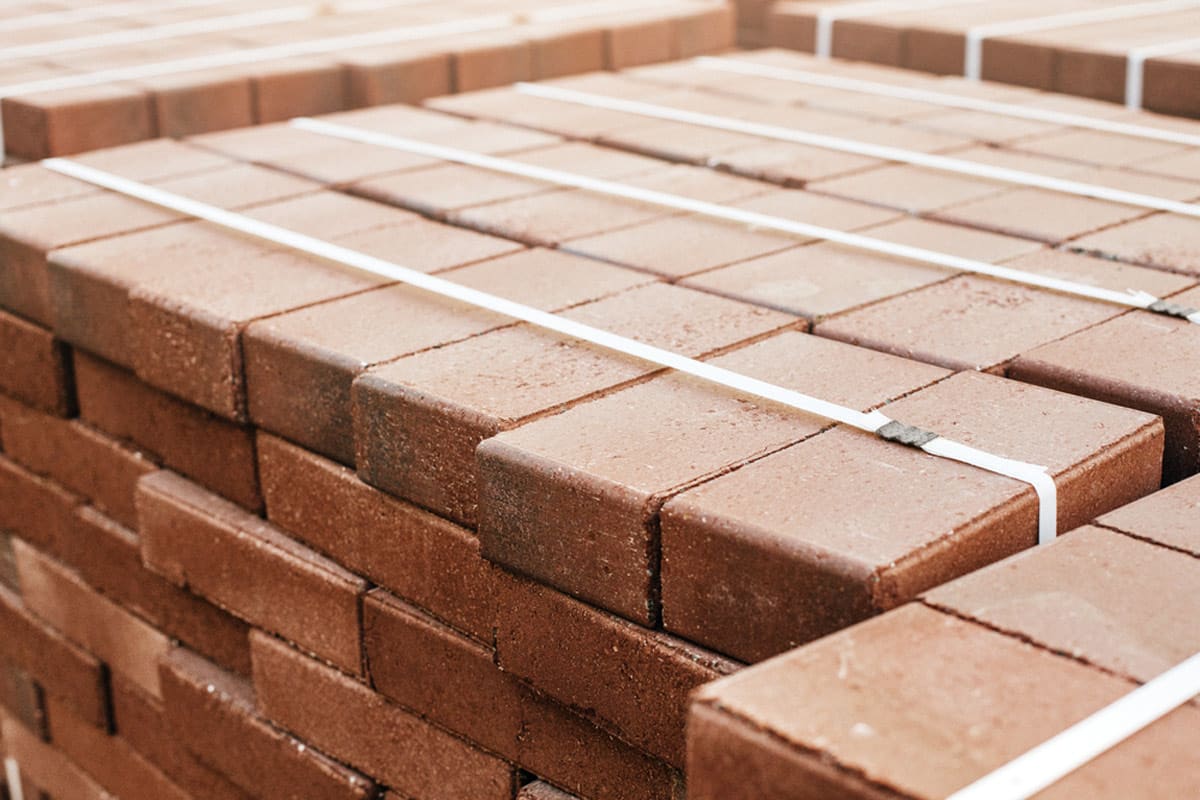
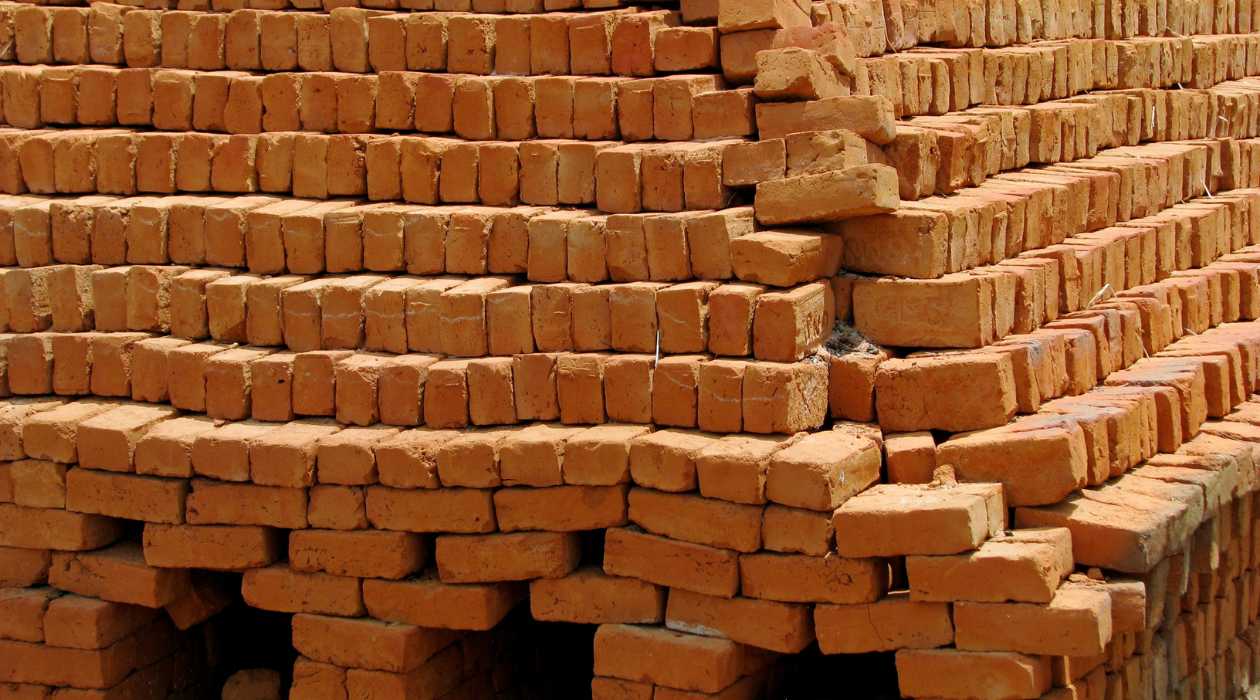
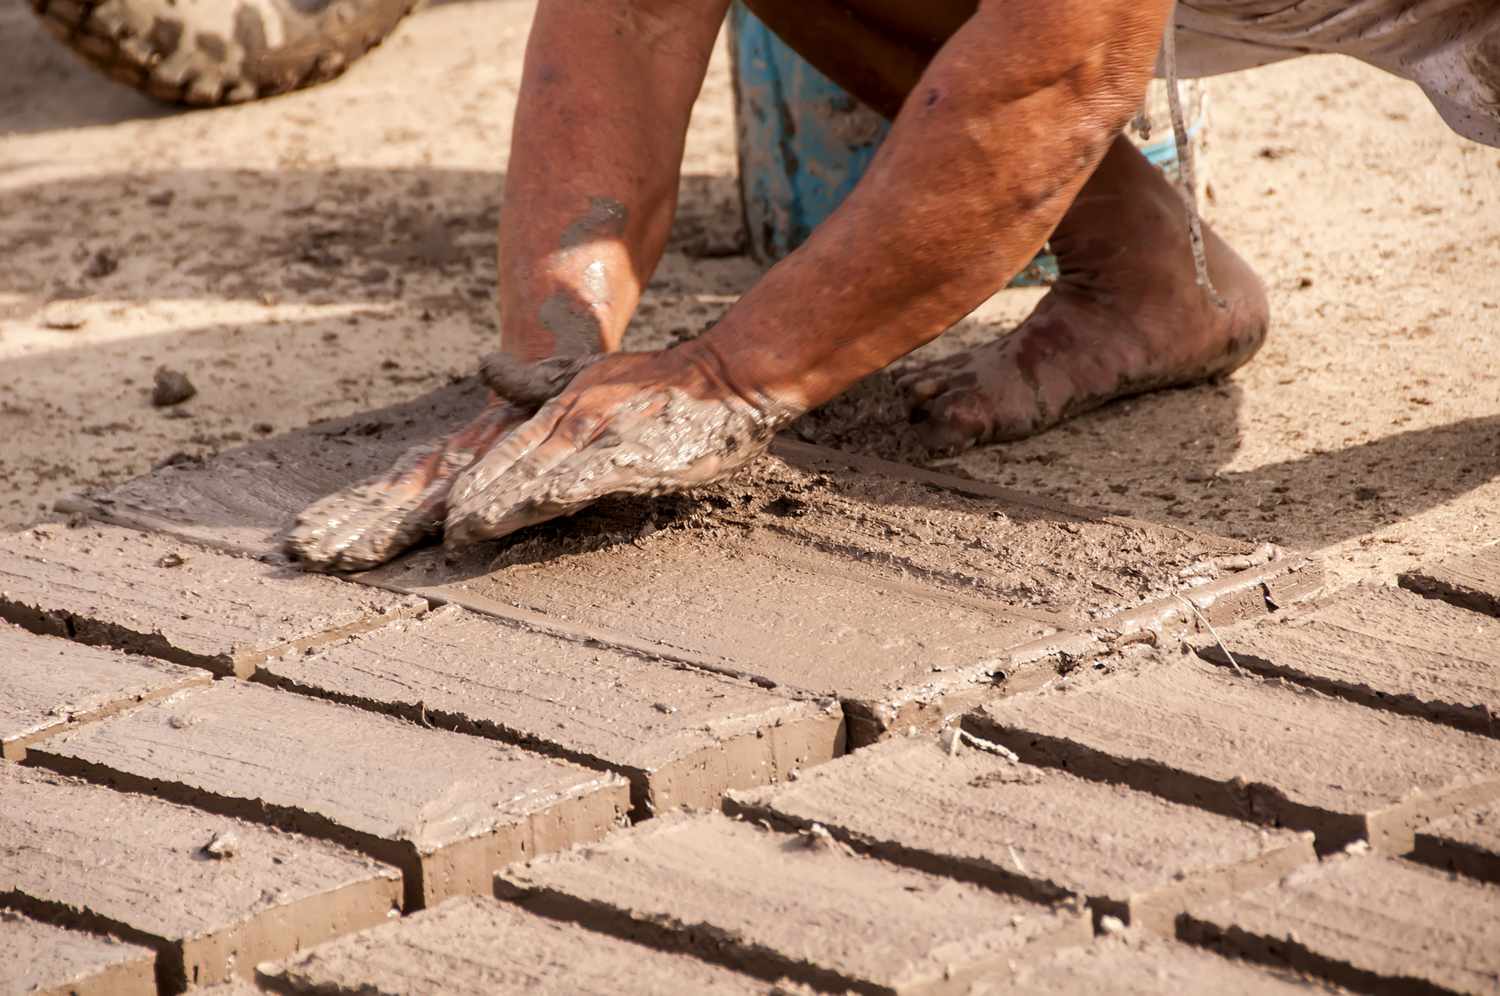
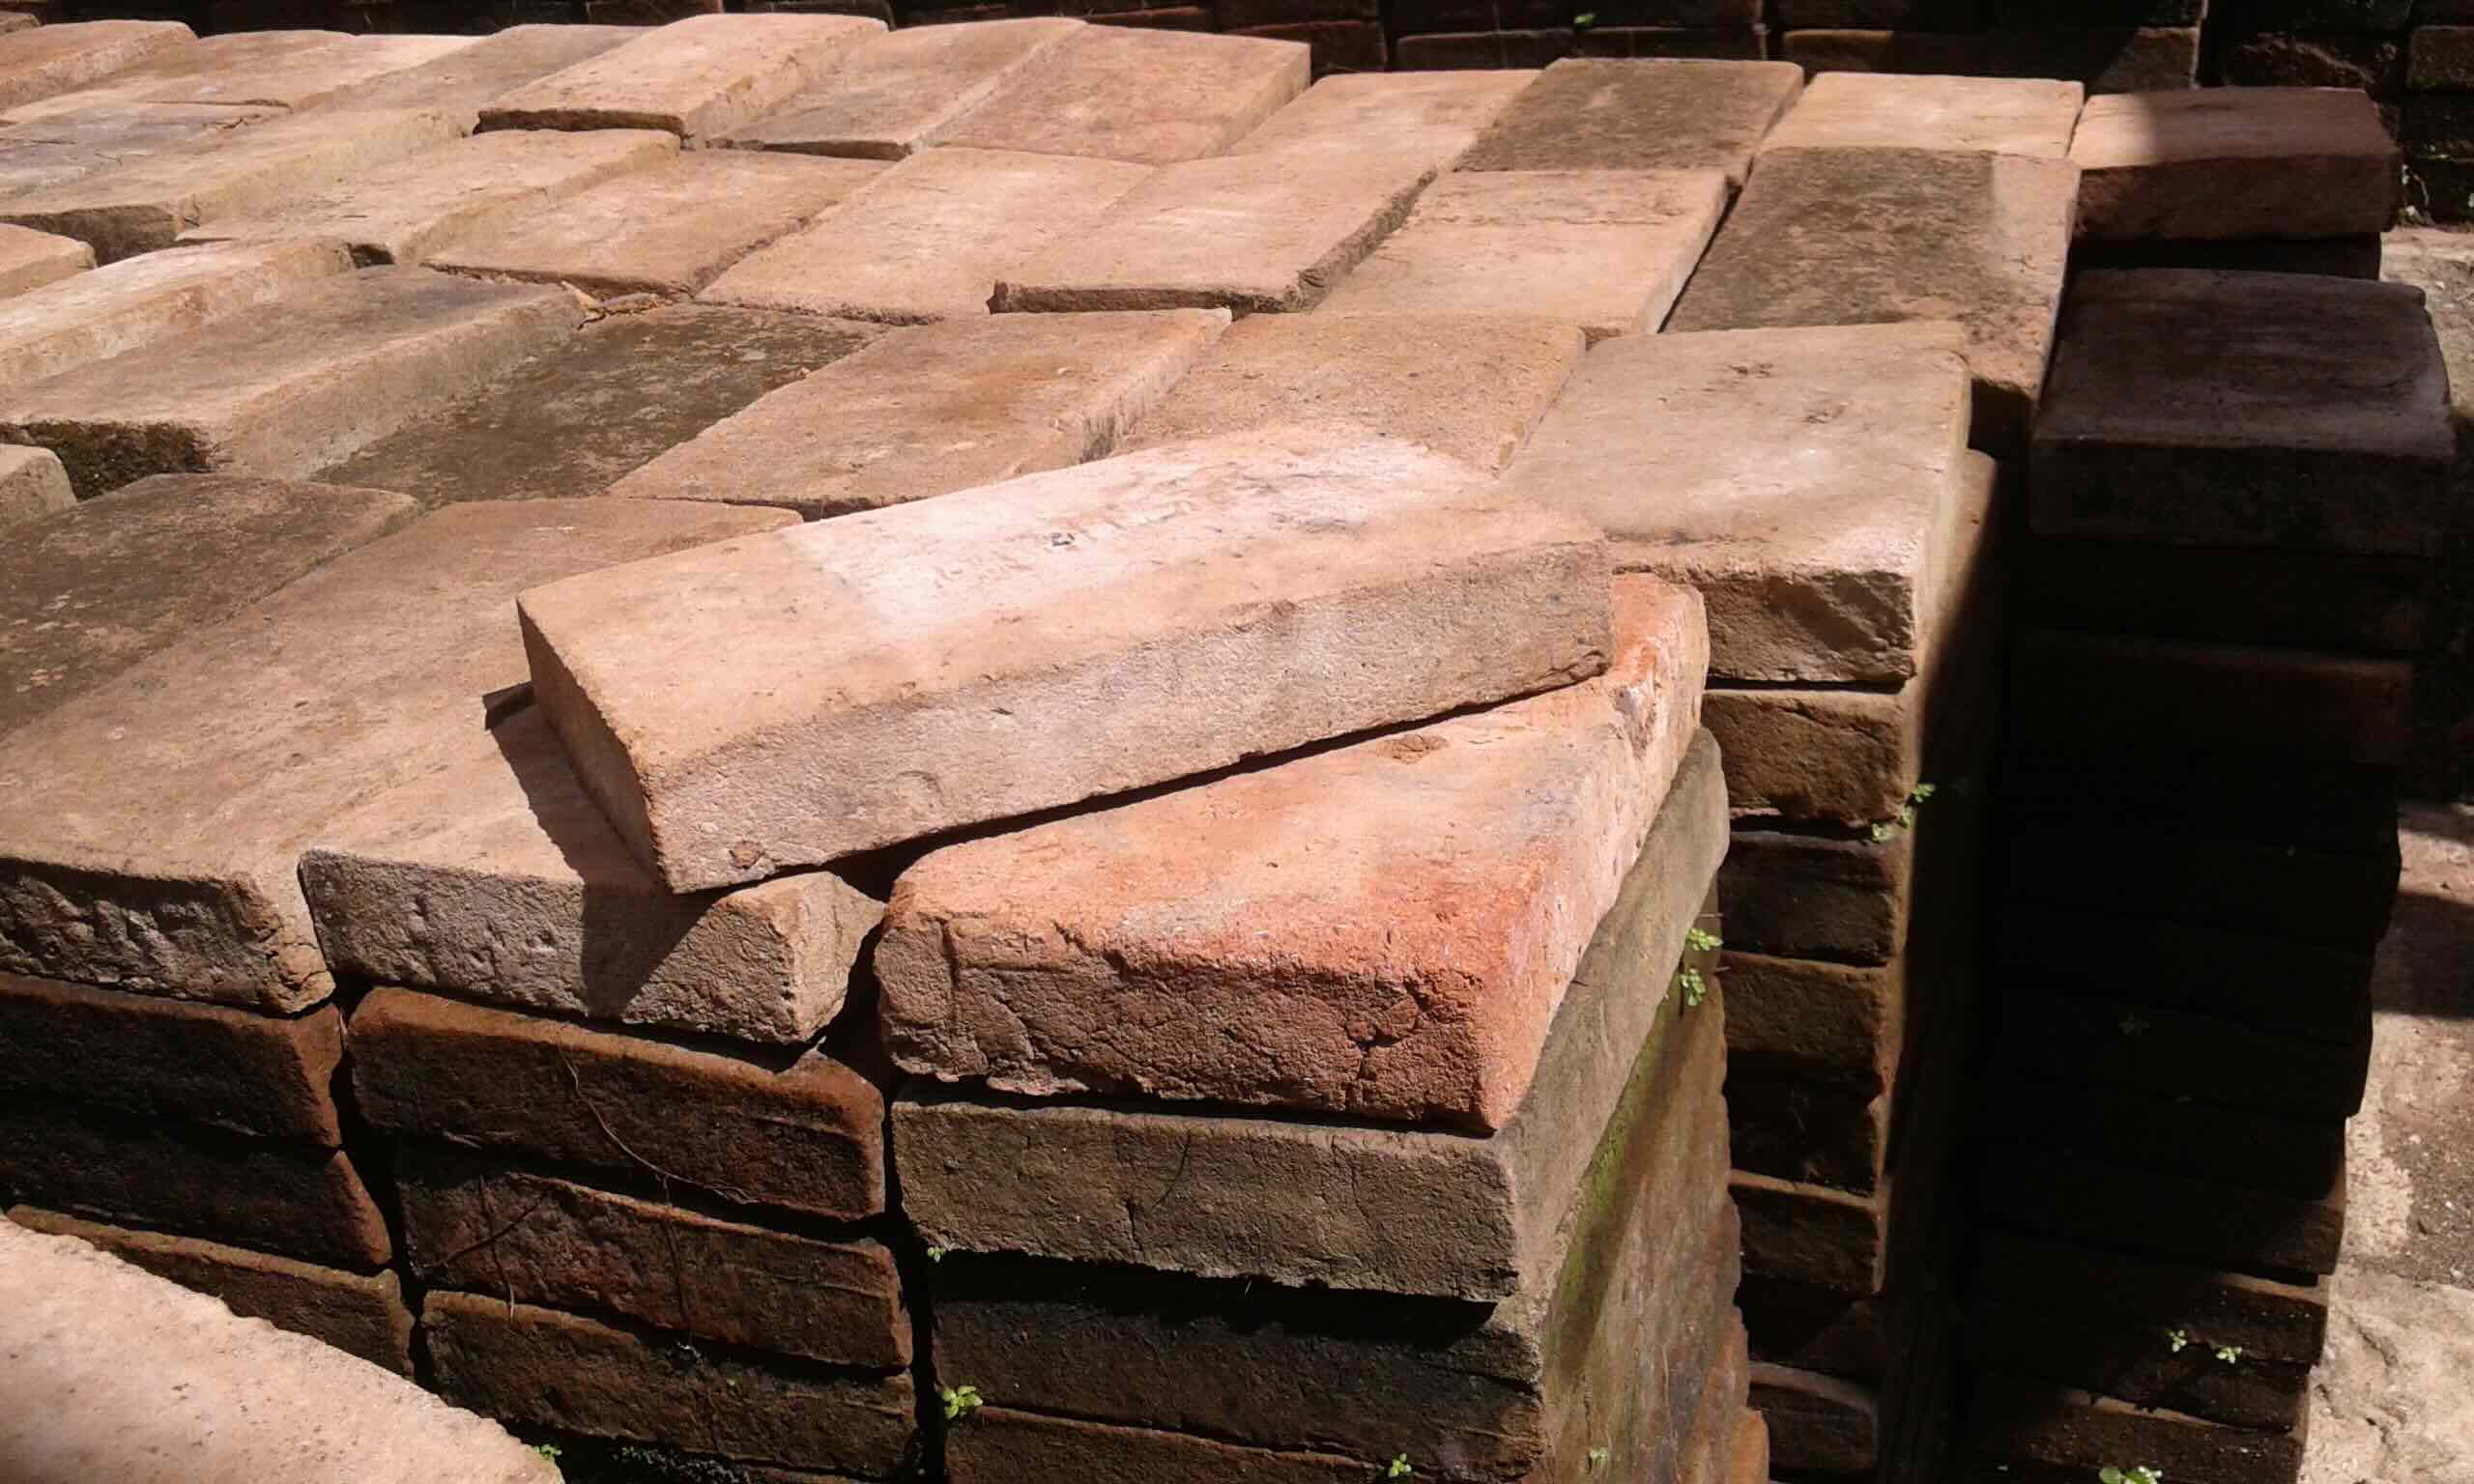
- Bricks: Opt for fire bricks, which are designed to withstand high temperatures.
- Mortar: Choose a high-temperature mortar that can withstand the heat generated by the stove.
- Gravel: For creating a stable and level foundation.
- Concrete: To reinforce the base of the stove.
- Steel reinforcing bar (rebar): Provides structural support for the foundation.
- Fire-resistant cooking surface: Consider using a durable material such as cast iron or fire bricks for the cooking area.
- Insulating materials: Vermiculite or perlite can be used to insulate the stove and improve its heat retention.
Tools:
- Trowel: Essential for applying mortar and creating a smooth finish.
- Level: Ensures that the stove is constructed on a stable and even surface.
- Masonry saw: For cutting bricks to the required size and shape.
- Shovel: Used for digging and moving gravel and concrete.
- Measuring tape: Ensures precision in the construction process.
- Protective gear: Safety goggles, gloves, and a dust mask are essential when working with mortar and concrete.
By having these materials and tools at your disposal, you’ll be well-equipped to commence the construction of your brick stove. With everything in place, it’s time to move on to the next crucial step: choosing the perfect location for your stove.
Choosing the Location
Selecting the right location for your brick stove is pivotal to ensure its functionality and aesthetic appeal. Here are some key considerations to keep in mind when choosing the placement:
Accessibility: Opt for a location that is easily accessible from your kitchen or outdoor dining area. This will streamline the process of transferring food to and from the stove, making it a convenient addition to your cooking space.
Safety: Ensure that the chosen area is a safe distance away from any flammable structures or materials. It’s crucial to prioritize safety to prevent the risk of accidental fires or damage to surrounding objects.
Ventilation: Adequate ventilation is essential to allow smoke and fumes to disperse efficiently. Position the stove in an area where smoke can dissipate easily without causing inconvenience to you or your guests.
Stability: The ground should be stable and level to support the weight of the stove. Avoid placing the stove on uneven or soft ground, as this can compromise its structural integrity.
Aesthetics: Consider the visual impact of the stove within your outdoor space. Choose a location that complements the overall design and ambiance of your outdoor area, enhancing its appeal as a focal point for gatherings and cooking activities.
By carefully evaluating these factors, you can pinpoint the perfect spot for your brick stove. Once the location is chosen, it’s time to prepare the foundation that will provide a solid base for the construction of the stove.
Read more: How To Make Brick Molds
Preparing the Foundation
The foundation serves as the bedrock of your brick stove, providing stability and support for the entire structure. Follow these steps to prepare a solid foundation:
Clear the Area: Begin by clearing the chosen location of any debris, rocks, or vegetation. This will create a clean and level surface for the foundation.
Excavation: Use a shovel to excavate the area to a depth of approximately 6 inches. This depth allows ample space for the foundation materials and ensures a stable base for the stove.
Add Gravel: Once the area is excavated, spread a layer of gravel evenly across the surface. The gravel will facilitate drainage and prevent the accumulation of water, which could compromise the integrity of the foundation.
Compact the Gravel: Use a hand tamper or a mechanical compactor to compact the gravel firmly. This step is crucial for creating a solid and level base that can withstand the weight of the stove.
Install Rebar: For added reinforcement, place steel reinforcing bars (rebar) in a grid pattern over the compacted gravel. This will enhance the structural integrity of the foundation, especially in areas prone to soil movement or seismic activity.
Pour Concrete: Once the rebar is in place, pour a layer of concrete over the gravel and rebar. Ensure that the concrete is spread evenly and leveled to create a smooth surface for building the base of the stove.
With the foundation in place, you’ve laid the groundwork for the construction of your brick stove. The next step involves building the base, which will form the sturdy platform for the stove’s structure.
Building the Base
The base of the brick stove provides essential support and stability for the entire structure. Follow these steps to construct a solid and durable base:
Lay the First Course of Bricks: Begin by arranging the fire bricks in a rectangular shape to form the first course. Ensure that the bricks are positioned evenly and aligned to create a level base.
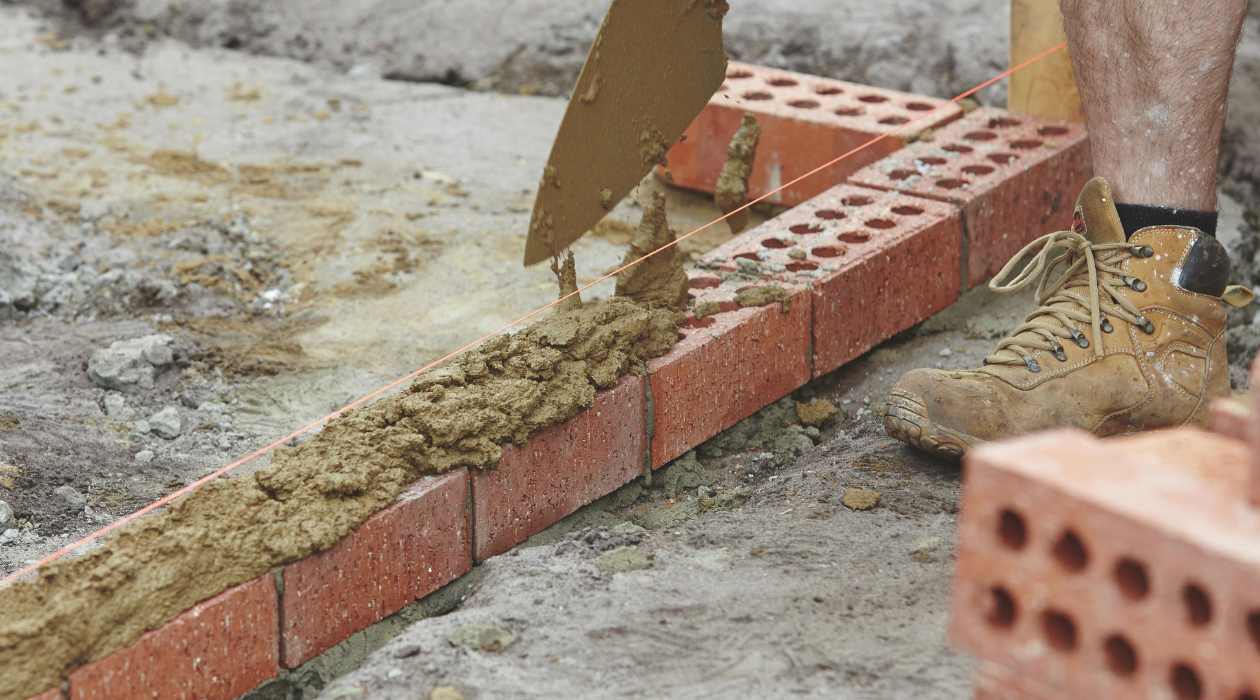
Apply Mortar: Using a trowel, apply a layer of high-temperature mortar on top of the first course of bricks. This mortar will bond the bricks together and create a strong foundation for the stove.
Add Subsequent Courses: Continue stacking the bricks, applying mortar between each layer to bond the bricks securely. As you add more courses, stagger the joints to enhance the stability and structural integrity of the base.
Leveling and Alignment: Use a level to ensure that each course of bricks is perfectly horizontal. Additionally, check the alignment of the bricks to maintain a uniform and symmetrical appearance for the base.
Reinforcement: For added strength, insert steel reinforcing bars (rebar) vertically at the corners of the base. This reinforcement will fortify the structure and provide additional support for the stove.
Finishing Touches: Once the base is constructed, allow the mortar to cure and set for the recommended period. This will ensure that the base is solid and ready to support the subsequent construction of the stove’s walls and cooking surface.
With the base in place, you’ve established a sturdy foundation for the brick stove. The next phase involves constructing the walls that will enclose the stove and create the cooking chamber.
Constructing the Walls
Building the walls of the brick stove is a crucial step in creating the cooking chamber and ensuring the efficient containment of heat. Follow these steps to construct the walls of the stove:
Stacking the Bricks: Begin by stacking the fire bricks on top of the base, forming the walls of the stove. Use high-temperature mortar to bond the bricks together securely, ensuring a tight and stable structure.
Creating Openings: Leave openings for the stove’s air intake and chimney. These openings will facilitate the flow of air and smoke, contributing to efficient combustion and ventilation within the stove.
Layering the Bricks: As you continue to stack the bricks, alternate the orientation of the bricks to create a sturdy and interlocking wall structure. This technique enhances the stability and durability of the walls.
Reinforcement: For added reinforcement, insert steel reinforcing bars (rebar) vertically within the walls at strategic points. This reinforcement strengthens the overall structure of the stove, particularly in areas prone to stress and heat exposure.
Insulation: Consider incorporating insulating materials, such as vermiculite or perlite, within the walls to enhance heat retention and improve the stove’s overall efficiency. These insulating materials help maintain a consistent and high cooking temperature within the stove.
Finishing the Walls: Once the walls are constructed, ensure that the mortar is allowed to cure thoroughly. This curing process is essential for the mortar to achieve maximum strength and durability, preparing the stove for the next phase of the construction process.
With the walls in place, you’ve established the fundamental structure of the brick stove. The subsequent step involves creating the cooking surface, where the culinary magic will unfold.
When building a brick stove, make sure to use fire-resistant bricks and mortar. Plan the design carefully to ensure proper ventilation and stability. Always follow local building codes and safety guidelines.
Creating the Cooking Surface
The cooking surface of the brick stove serves as the focal point for culinary endeavors, providing a durable and heat-resistant platform for preparing delicious meals. Follow these steps to create the cooking surface:
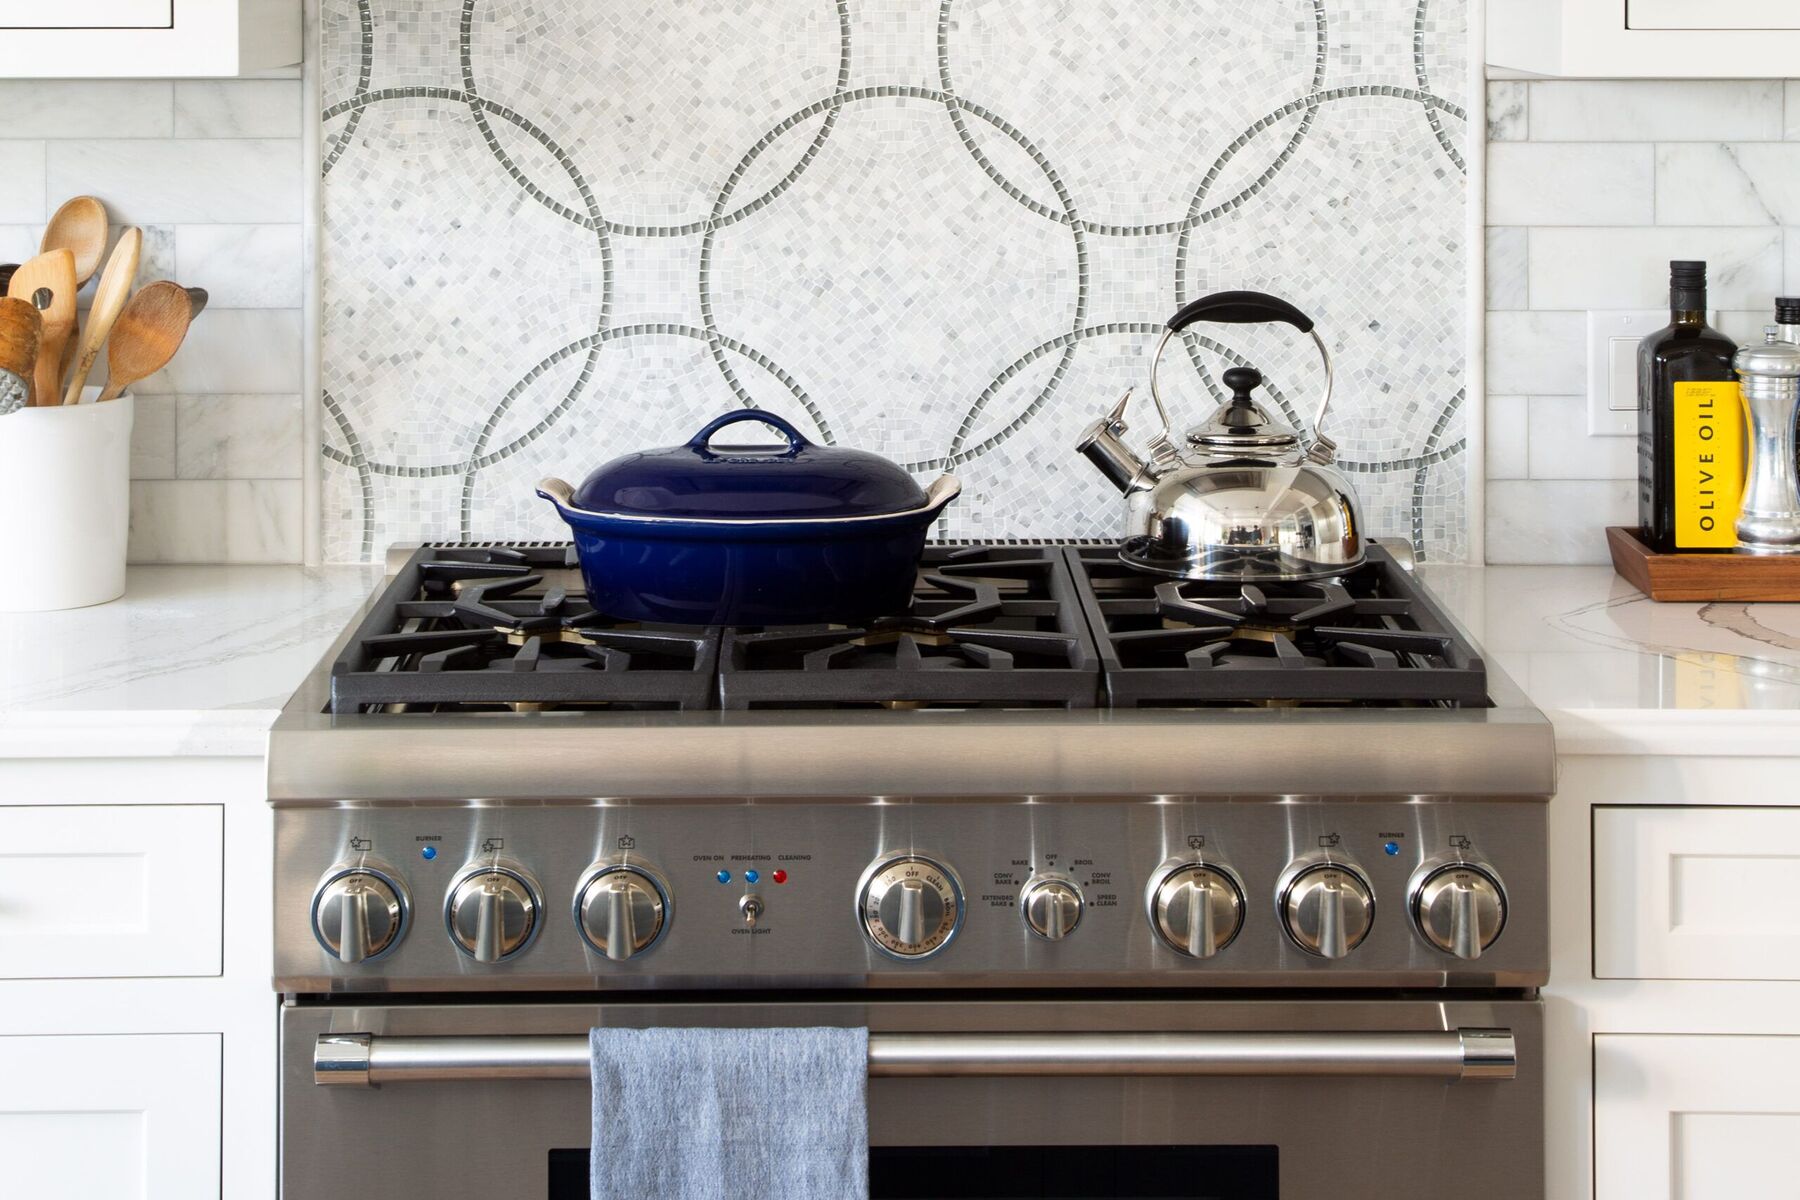
Choosing the Material: Select a fire-resistant material for the cooking surface, such as cast iron or fire bricks. These materials are capable of withstanding high temperatures and distributing heat evenly for optimal cooking results.
Positioning the Material: Place the chosen material on top of the stove, ensuring a secure and level fit. The cooking surface should be positioned to allow easy access for cooking while maintaining a safe distance from the stove’s walls.
Securing the Surface: Use high-temperature mortar to secure the cooking surface in place. Apply the mortar carefully to create a strong bond between the material and the top of the stove, ensuring stability and durability during cooking activities.
Heat Retention: Consider incorporating insulating materials, such as vermiculite or perlite, beneath the cooking surface. These insulating materials help retain heat within the stove, promoting consistent and efficient cooking temperatures for various culinary endeavors.
Finishing Touches: Once the cooking surface is in position, allow the mortar to cure thoroughly. This curing process is essential for ensuring the stability and resilience of the cooking surface, preparing it for the culinary adventures that await.
With the cooking surface in place, your brick stove is poised to become the centerpiece of outdoor culinary creativity. The final touches will add aesthetic appeal and functionality to the stove, enhancing its overall charm and practicality.
Read more: How To Make Brick Slips
Finishing Touches
Adding the finishing touches to your brick stove not only enhances its visual appeal but also contributes to its functionality and longevity. Here are the essential finishing touches to complete the construction process:
Chimney Installation: Install a chimney to facilitate the efficient release of smoke and combustion byproducts. A well-designed chimney promotes proper ventilation and prevents the accumulation of smoke within the cooking area, ensuring a comfortable and safe cooking environment.
Weatherproofing: Apply a weatherproof sealant to the exterior of the stove to protect it from the elements. This sealant helps prevent moisture penetration and safeguards the stove from the effects of rain, snow, and fluctuating temperatures, prolonging its lifespan.
Decorative Elements: Consider incorporating decorative elements, such as ceramic tiles or heat-resistant paint, to personalize the appearance of the stove. These decorative touches add a touch of aesthetic charm to the stove, complementing your outdoor space and reflecting your unique style.
Cleaning and Maintenance: Establish a routine for cleaning and maintaining the brick stove to ensure its optimal performance and longevity. Regularly remove ash and debris from the stove, inspect the chimney for obstructions, and address any signs of wear or damage promptly.
Fire Safety Precautions: Educate yourself and others about fire safety practices when using the brick stove. Implement safety measures, such as keeping a fire extinguisher nearby and adhering to proper cooking protocols, to ensure a secure and enjoyable cooking experience.
With these finishing touches, your brick stove is not only a functional cooking appliance but also a captivating addition to your outdoor space. Embrace the warmth of traditional cooking and the allure of craftsmanship as you embark on culinary adventures around your newly constructed brick stove.
Conclusion
Congratulations on completing the construction of your brick stove! Through dedication, creativity, and craftsmanship, you’ve transformed a collection of materials into a functional and visually captivating cooking centerpiece for your outdoor space. As you reflect on this journey, consider the following:
Tradition and Sustainability: Embracing the art of building a brick stove is a celebration of tradition and sustainability. By harnessing natural materials and traditional building techniques, you’ve created a timeless cooking appliance that embodies the spirit of self-reliance and resourcefulness.
Culinary Creativity: Your brick stove is more than a cooking appliance; it’s a platform for culinary creativity and exploration. Whether you’re preparing hearty stews, artisanal pizzas, or slow-roasted meats, the stove invites you to unleash your culinary prowess and savor the rich flavors of outdoor cooking.
Gathering and Sharing: Beyond its functional value, the brick stove fosters a sense of gathering and sharing. It beckons friends and family to come together, share stories, and savor delicious meals prepared with care and passion. It becomes a focal point for creating cherished memories and fostering meaningful connections.
Continued Inspiration: As you embark on this new chapter with your brick stove, let it inspire you to explore new culinary horizons and embrace the joy of outdoor cooking. Let it serve as a testament to your ingenuity and determination, reminding you of the rewards that come from creating something with your own hands.
With your brick stove standing proudly in your outdoor space, may it kindle the flames of creativity, warmth, and conviviality for years to come. Let it be a constant reminder of the joy found in craftsmanship, the satisfaction of self-reliance, and the enduring allure of traditional cooking.
So, fire up the stove, savor the aromas of your favorite dishes, and relish the moments of connection and contentment that arise around this timeless creation. Your brick stove is more than a structure; it’s a testament to your ability to turn dreams into reality and transform humble materials into a source of enduring delight.
Frequently Asked Questions about How To Make A Brick Stove
Was this page helpful?
At Storables.com, we guarantee accurate and reliable information. Our content, validated by Expert Board Contributors, is crafted following stringent Editorial Policies. We're committed to providing you with well-researched, expert-backed insights for all your informational needs.


0 thoughts on “How To Make A Brick Stove”