Home>Construction & Tools>Building Materials>How To Repair A Falling Brick Wall
Building Materials
How To Repair A Falling Brick Wall
Modified: August 28, 2024
Learn how to repair a falling brick wall with the right building materials and techniques. Our expert tips will help you restore your wall to its former strength and stability.
(Many of the links in this article redirect to a specific reviewed product. Your purchase of these products through affiliate links helps to generate commission for Storables.com, at no extra cost. Learn more)
Introduction
Welcome to the comprehensive guide on repairing a falling brick wall. Whether your brick wall has suffered from erosion, weathering, or other forms of damage, this step-by-step guide will equip you with the knowledge and skills needed to restore its structural integrity and aesthetic appeal. A well-maintained brick wall not only enhances the curb appeal of your property but also provides essential structural support.
Throughout this article, we will delve into the process of assessing the damage, gathering the necessary tools and materials, and executing the repair with precision. From repairing mortar joints to replacing damaged bricks and reinforcing the wall, we will cover each step in detail, ensuring that you have the expertise to tackle this project confidently. By the end, you will have the knowledge and confidence to restore your brick wall to its former glory.
So, roll up your sleeves, gather your tools, and let’s embark on this rewarding journey of brick wall repair together.
Key Takeaways:
- Attention to detail and meticulous repairs have restored the brick wall’s strength and beauty, preserving its timeless craftsmanship for future generations to admire.
- By reinforcing the wall and adding finishing touches, its resilience against the elements has been enhanced, ensuring lasting durability and captivating appeal.
Read more: How To Render A Brick Wall
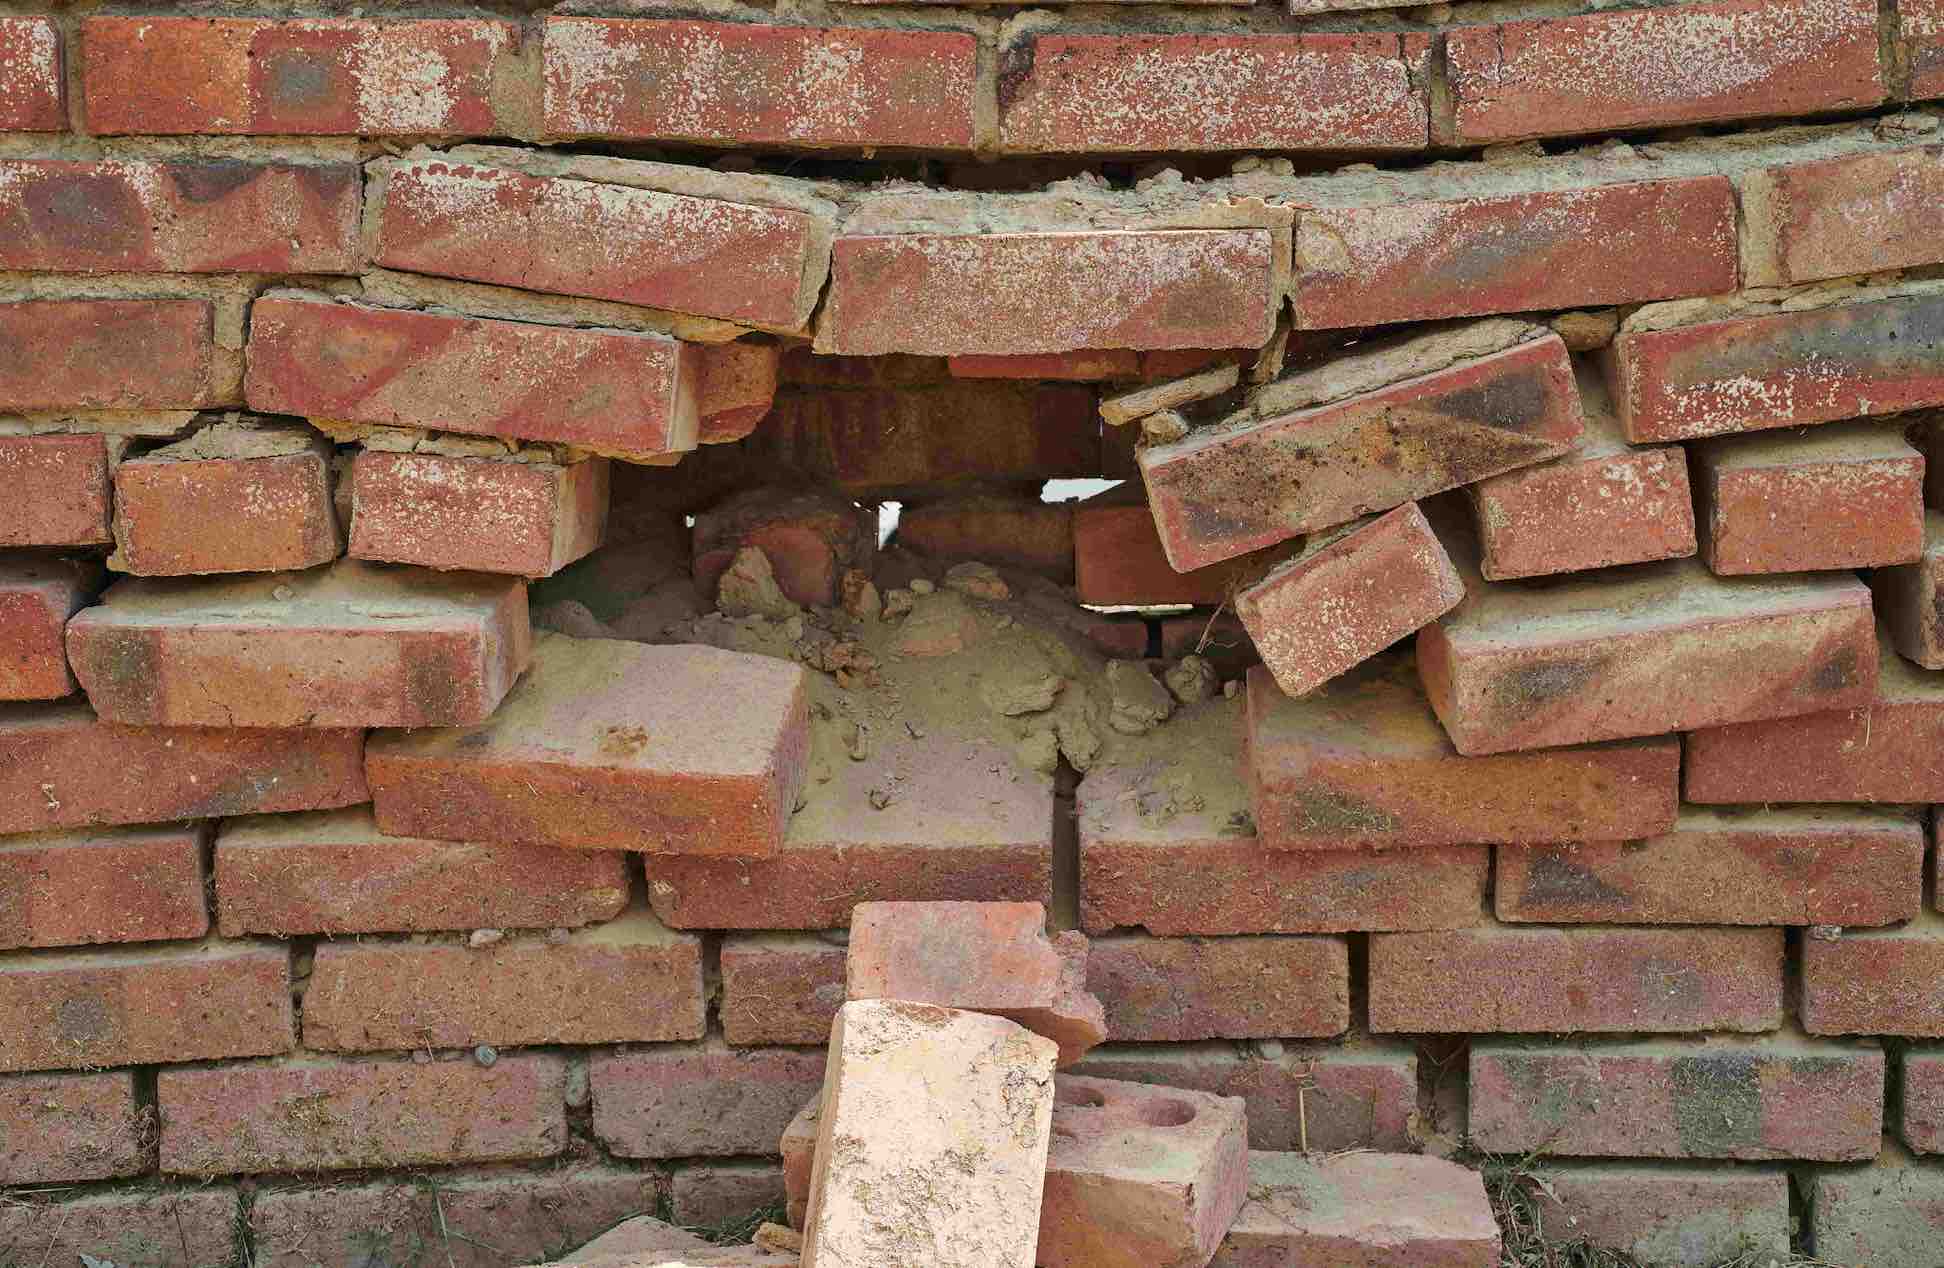
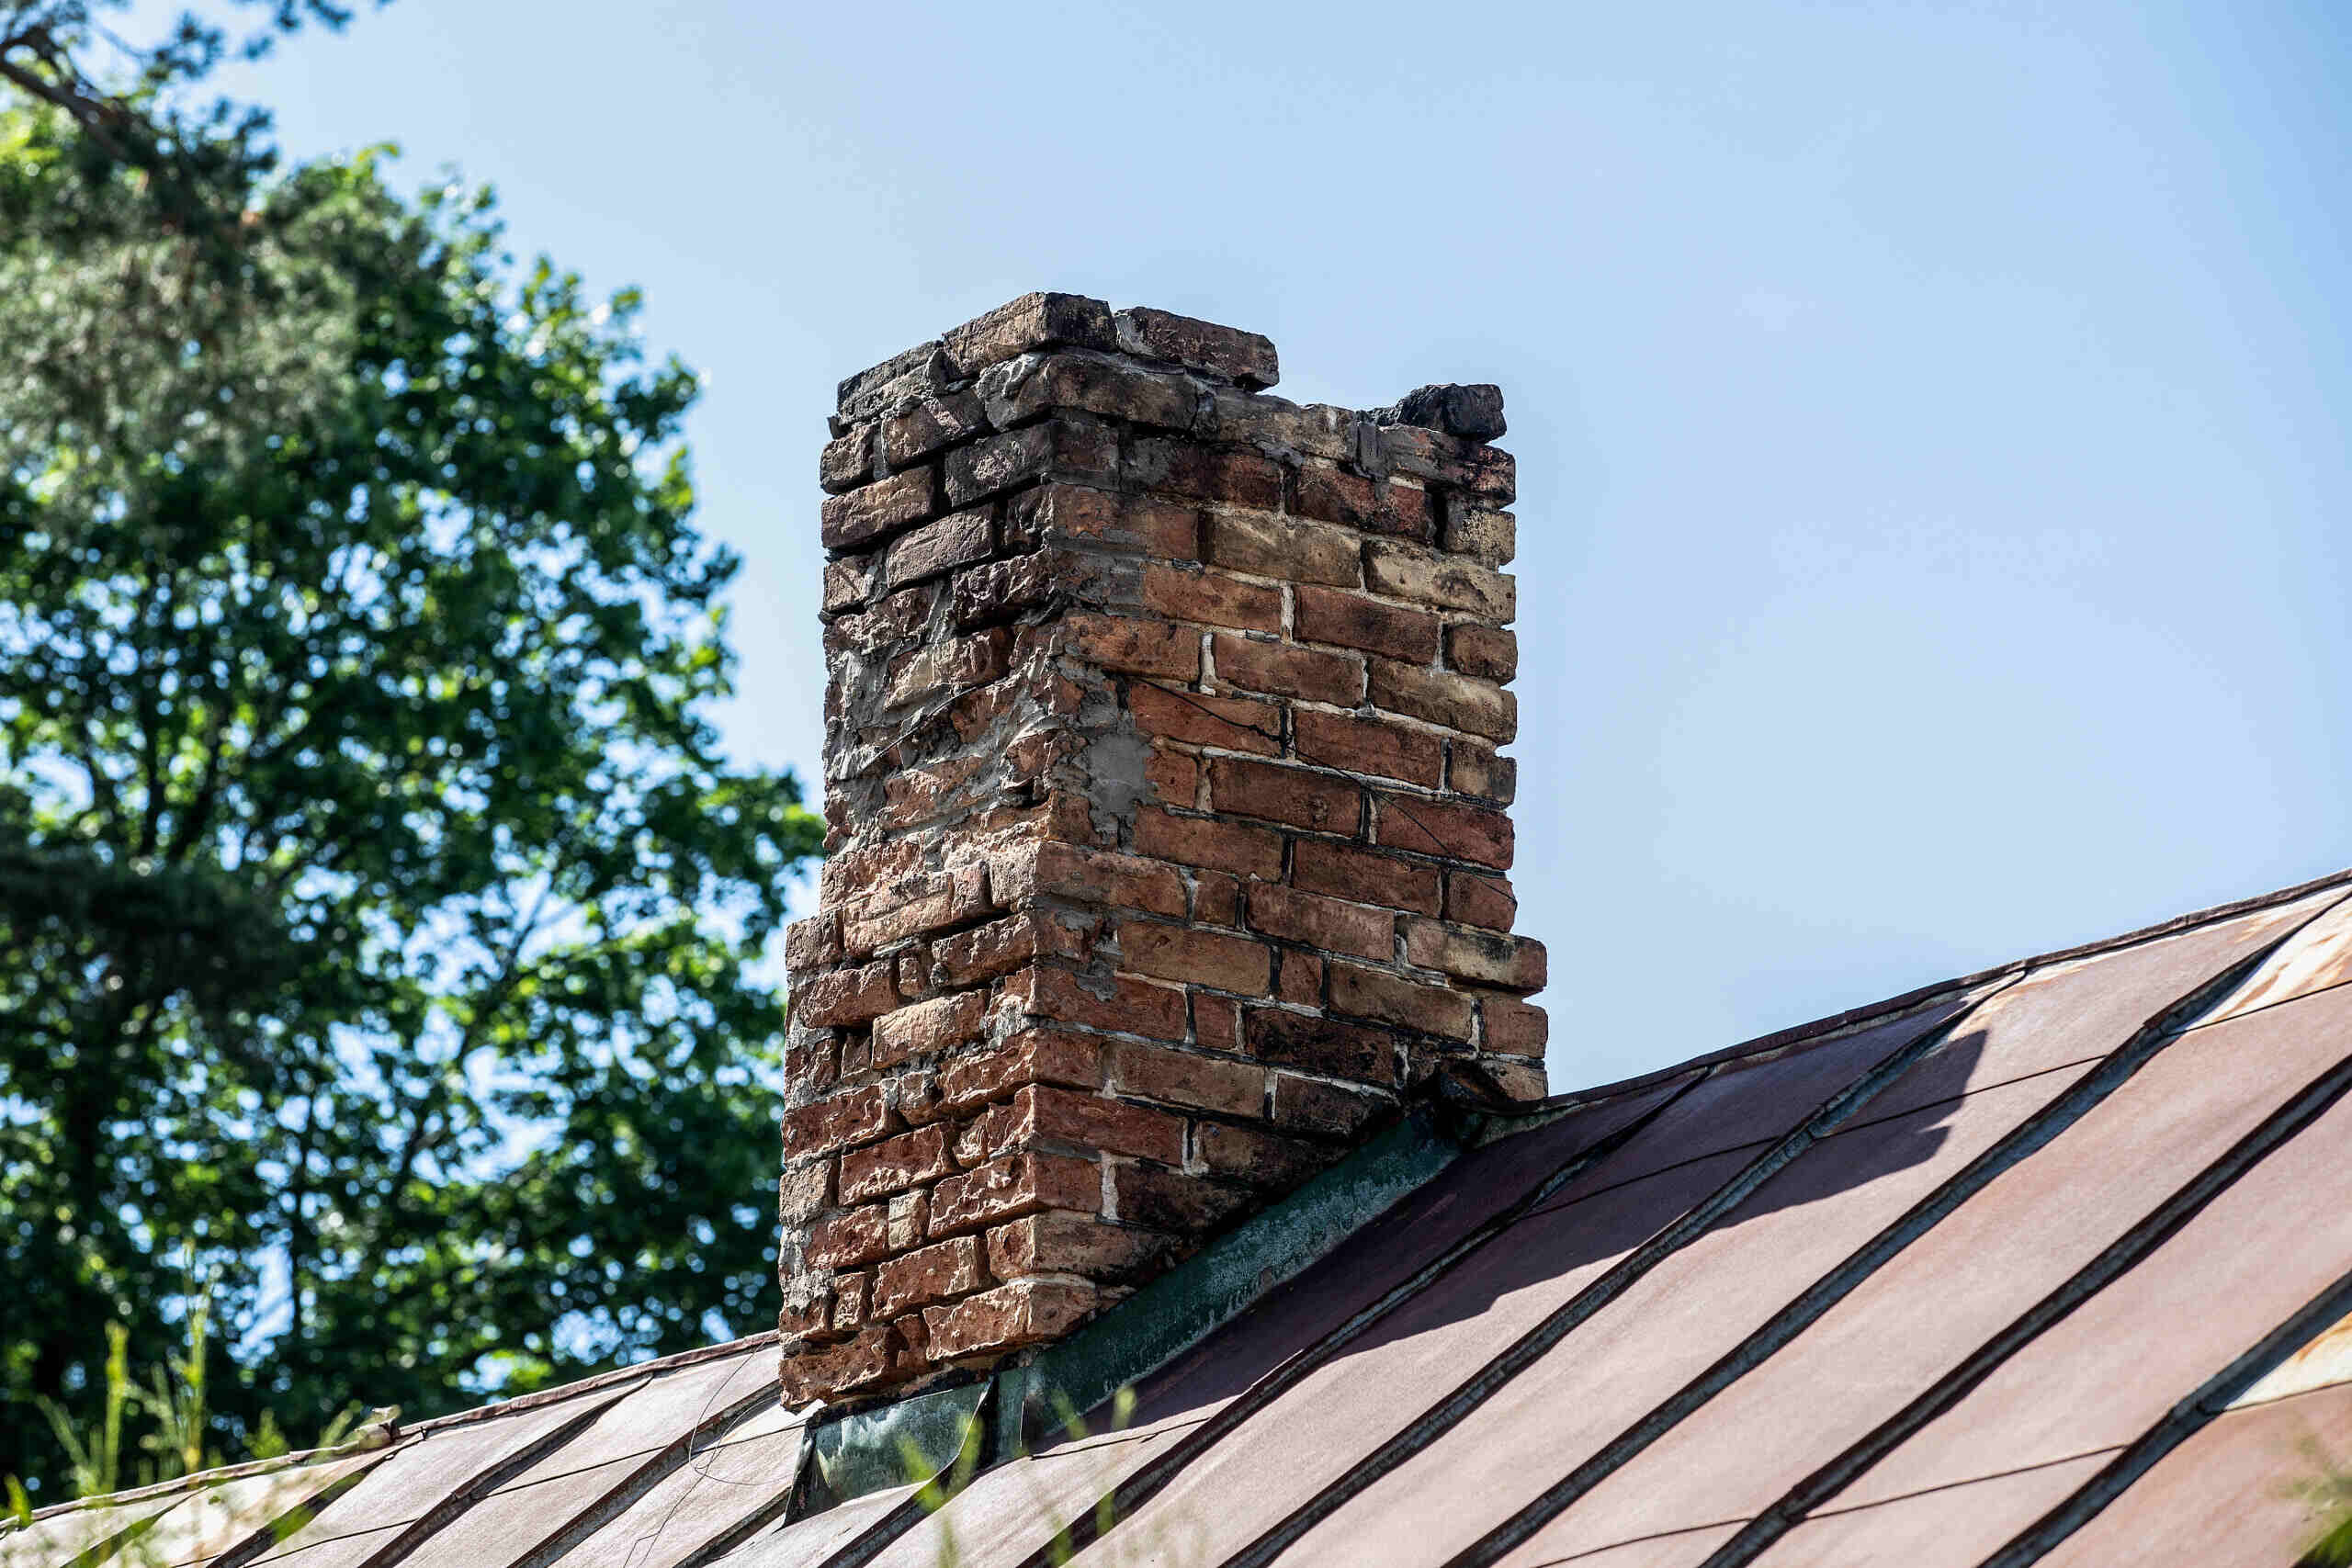
Assessing the Damage
Before diving into the repair process, it’s crucial to conduct a thorough assessment of the damage to your brick wall. This initial step will help you understand the extent of the issues and determine the necessary course of action. Here’s how to effectively assess the damage:
- Visual Inspection: Begin by visually examining the entire length and height of the wall. Look for cracks, gaps, bulging areas, and any signs of loose or deteriorating mortar.
- Probe for Stability: Use a screwdriver or a similar tool to gently probe the mortar joints and the bricks. Loose mortar will feel powdery and can be easily chipped away, while unstable bricks may move slightly when pressure is applied.
- Check for Water Damage: Look for areas where water may have infiltrated the wall, such as discolored or moss-covered sections. Water damage can weaken the structural integrity of the bricks and mortar.
- Assess Foundation and Footing: Inspect the base of the wall to ensure that the foundation and footing are intact. Any signs of shifting or sinking should be noted for further evaluation.
By conducting a meticulous assessment, you will gain a clear understanding of the issues plaguing your brick wall. This knowledge will guide you in determining the specific repairs needed and the materials required for the restoration process. Remember, a comprehensive assessment sets the stage for a successful repair project, ensuring that no underlying issues are overlooked.
Gathering the Necessary Tools and Materials
Equipping yourself with the right tools and materials is essential for executing a successful brick wall repair. Here’s a comprehensive list of what you’ll need:
Tools:
- Brick Chisel: Used for removing damaged bricks and old mortar.
- Club Hammer: Ideal for chiseling and breaking up stubborn mortar.
- Masonry Trowel: Essential for applying new mortar and shaping it to match the existing joints.
- Pointing Trowel: Perfect for filling and finishing mortar joints with precision.
- Wire Brush: Helps clean debris and loose mortar from the brick surfaces.
- Safety Goggles and Gloves: Protect your eyes and hands from debris and sharp edges.
- Level: Ensures that the repaired sections are aligned and plumb.
- Joint Raker: Used for removing old mortar from joints.
Materials:
- Mortar Mix: Choose a high-quality mortar mix that matches the composition and color of the existing mortar.
- Replacement Bricks: Acquire new bricks that closely match the size, texture, and color of the original bricks.
- Waterproofer: If water damage is a concern, consider using a waterproofing solution to protect the repaired wall.
- Grout Bag: Useful for neatly applying mortar to joints.
- Protective Sealant: Optional for sealing the repaired area against moisture and weathering.
- Expansion Joints: If the wall is prone to movement, consider incorporating flexible expansion joints to prevent future cracking.
By gathering these essential tools and materials, you’ll be well-prepared to tackle the repair process with confidence and precision. Remember, using high-quality materials and the right tools is crucial for achieving long-lasting and visually appealing results.
Read more: How To Point A Brick Wall
Repairing the Mortar Joints
Once you’ve assessed the damage and gathered the necessary tools and materials, it’s time to focus on repairing the mortar joints of your brick wall. Follow these steps to restore the integrity of the mortar:
- Removing Damaged Mortar: Use a brick chisel and a club hammer to carefully chip away the deteriorated mortar from the joints. Ensure that the joints are clean and free of debris before proceeding.
- Preparing the Mortar Mix: Follow the manufacturer’s instructions to prepare the mortar mix. Achieve the desired consistency, typically resembling thick peanut butter, for optimal application.
- Applying the New Mortar: Using a pointing trowel or grout bag, carefully fill the cleaned joints with the prepared mortar mix. Press the mortar firmly into the joints to ensure a solid bond.
- Finishing the Joints: Once the mortar has set slightly, use the striking edge of the pointing trowel to match the finish of the existing joints. This process, known as “pointing,” creates a seamless transition between the old and new mortar.
- Curing the Mortar: Protect the newly repaired joints from excessive drying and rapid temperature changes. Lightly mist the mortar with water for several days to facilitate proper curing.
By meticulously repairing the mortar joints, you’ll not only enhance the structural stability of the wall but also rejuvenate its appearance. Effective mortar repair is essential for preventing water infiltration and preserving the overall integrity of the brick wall.
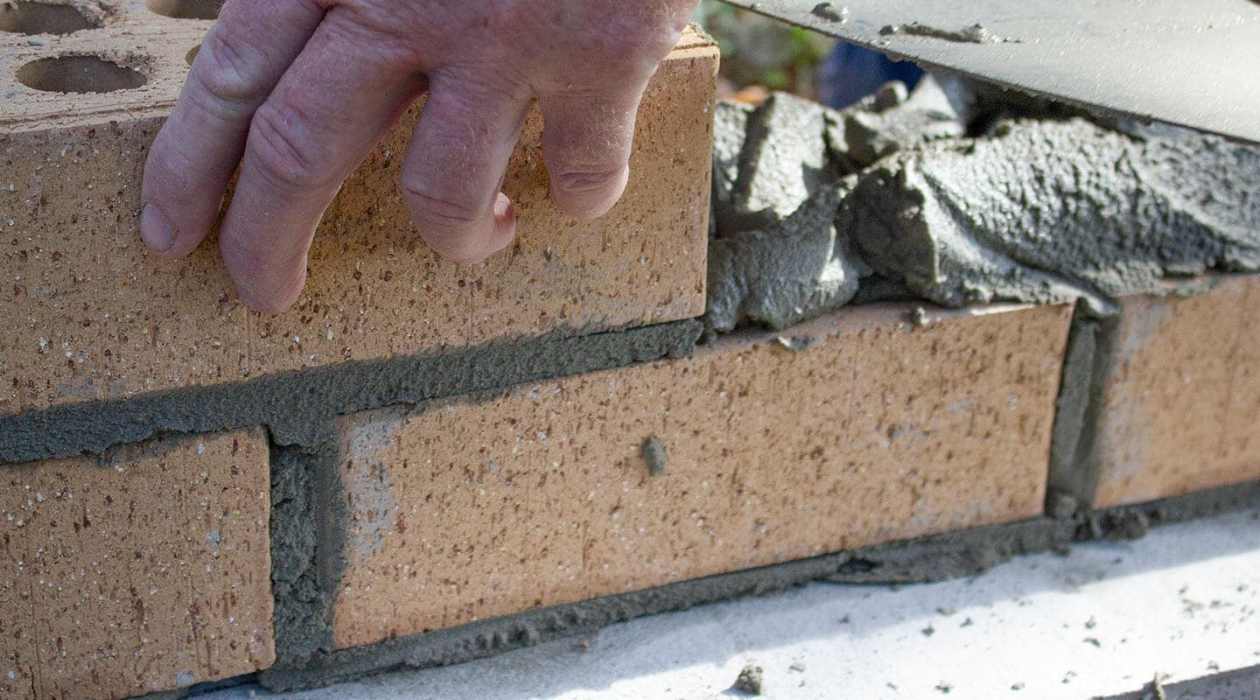
Replacing Damaged Bricks
When dealing with a falling brick wall, the replacement of damaged bricks is a crucial step in the restoration process. Follow these steps to seamlessly integrate new bricks into the existing structure:
- Removing the Damaged Bricks: Use a brick chisel and a club hammer to carefully remove the damaged bricks without causing further harm to the surrounding area. Take your time to avoid unnecessary stress on adjacent bricks and mortar joints.
- Cleaning the Cavity: Clear out any debris and old mortar from the cavity left by the removed bricks. Use a wire brush to clean the surfaces and ensure a proper bond for the new bricks.
- Applying Mortar to the Cavity: Use a masonry trowel to apply a layer of fresh mortar to the cavity, ensuring even coverage on the bottom and sides.
- Placing the New Bricks: Carefully set the replacement bricks into the prepared cavity, pressing them firmly into the mortar. Ensure that the new bricks align with the existing course and maintain the desired pattern.
- Finishing the Joints: Apply additional mortar to the vertical and horizontal joints around the new bricks, ensuring a seamless connection with the surrounding masonry.
- Curing the Repaired Section: Protect the newly replaced bricks and mortar joints from rapid drying. Lightly mist the area with water and cover it with a damp cloth for several days to facilitate proper curing.
By skillfully replacing damaged bricks and integrating them into the wall with precision, you’ll contribute to the structural stability and visual cohesion of the entire structure. This meticulous process ensures that the repaired section seamlessly blends with the existing masonry, resulting in a unified and aesthetically pleasing brick wall.
Inspect the wall for loose or damaged bricks. Use a chisel and hammer to remove any loose mortar. Replace damaged bricks and reapply mortar to secure them in place. Consider hiring a professional for larger repairs.
Reinforcing the Wall
Reinforcing a brick wall is essential for fortifying its structural integrity and safeguarding it against potential future damage. Follow these steps to effectively reinforce the wall:
- Installing Wall Ties: If the wall consists of multiple layers of bricks, consider installing wall ties to connect the inner and outer layers. This enhances the wall’s stability and prevents individual layers from separating.
- Applying Epoxy Resin: In cases where the wall has suffered from extensive damage or instability, consider reinforcing it with epoxy resin. This specialized adhesive strengthens the brickwork and provides added support.
- Adding Buttresses: For walls under significant stress or prone to movement, adding buttresses can effectively distribute the load and stabilize the structure. Buttresses are supportive structures placed against the wall to counteract lateral forces.
- Installing Expansion Joints: If the wall is located in an area susceptible to ground movement or temperature fluctuations, incorporating expansion joints can mitigate the risk of cracking. These flexible joints accommodate movement and help maintain the wall’s integrity.
- Reinforcing with Steel Rods: In cases of severe damage or instability, reinforcing the wall with steel rods can provide crucial support. This method involves drilling into the brickwork and inserting steel rods, which are then secured with epoxy resin for added strength.
By reinforcing the brick wall using these methods, you’ll significantly enhance its resilience and longevity. Reinforcement measures not only address existing vulnerabilities but also serve as proactive strategies to mitigate potential issues, ensuring the enduring stability of the wall.
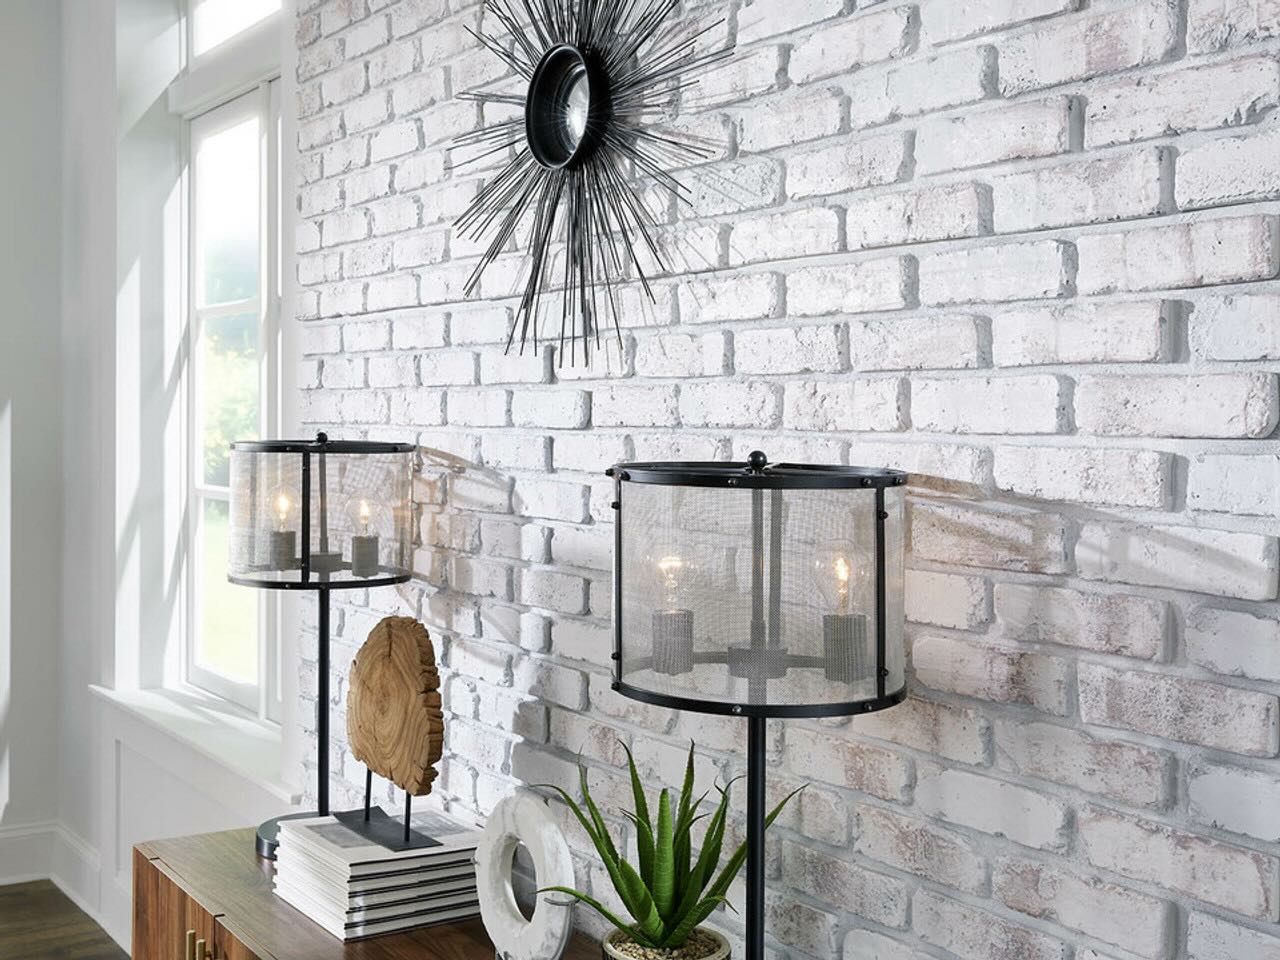
Finishing Touches
After completing the essential repairs and reinforcements, it’s time to focus on the finishing touches that will elevate the visual appeal and durability of your brick wall. Here are the key steps to add those final, essential details:
- Applying Protective Sealant: Consider applying a protective sealant to the repaired and reinforced sections of the wall. This sealant acts as a barrier against moisture infiltration, weathering, and environmental pollutants, prolonging the life of the masonry.
- Cleaning and Polishing: Use a wire brush and a damp cloth to clean the entire surface of the wall, removing any residual mortar, dust, or debris. Once clean, consider polishing the bricks to restore their natural luster and enhance the overall appearance.
- Inspecting and Touching Up: Conduct a thorough inspection of the repaired areas, ensuring that the mortar joints are uniform, the bricks are securely in place, and the wall’s alignment is consistent. Touch up any minor imperfections to achieve a seamless finish.
- Landscaping and Lighting: Enhance the visual impact of the restored brick wall by complementing it with well-planned landscaping and strategic lighting. Thoughtfully positioned plants, shrubs, or decorative lighting can accentuate the wall’s aesthetic appeal and create a captivating outdoor ambiance.
- Maintaining Regular Inspections: After completing the restoration process, commit to regular inspections of the brick wall. Monitor for any signs of deterioration, water damage, or structural shifts, and address any issues promptly to maintain the wall’s integrity.
By attending to these finishing touches, you’ll not only enhance the visual allure of the brick wall but also fortify its resilience against environmental factors. These meticulous steps contribute to the overall longevity and appeal of the structure, ensuring that your restored brick wall stands as a testament to enduring craftsmanship and care.
Read more: How To Waterproof A Brick Wall
Conclusion
Congratulations on successfully navigating the intricate process of repairing a falling brick wall. By embarking on this restoration journey, you’ve not only revitalized the structural integrity of the wall but also imbued it with enduring strength and visual appeal. As you reflect on this transformative experience, consider the following key takeaways:
- Attention to Detail: The meticulous attention paid to assessing the damage, gathering the necessary tools and materials, and executing the repair process has resulted in a meticulously restored brick wall.
- Preservation of Craftsmanship: By embracing the art of brick wall repair, you’ve contributed to the preservation of time-honored craftsmanship, ensuring that the wall continues to stand as a testament to enduring quality.
- Enhanced Resilience: Through reinforcement and strategic interventions, the wall has been fortified against environmental elements and potential structural challenges, ensuring its enduring resilience.
- Longevity and Beauty: The amalgamation of skillful repairs, thoughtful reinforcements, and meticulous finishing touches has endowed the brick wall with both enduring longevity and captivating beauty.
As you stand back and admire the restored brick wall, take pride in the knowledge that your efforts have not only preserved a foundational element of your property but also contributed to its enduring charm and character. Moving forward, remember to conduct regular inspections and maintenance, ensuring that the wall continues to stand as a resilient and captivating feature of your environment.
Thank you for embarking on this rewarding journey of brick wall repair. Your dedication to craftsmanship and preservation has left an indelible mark on this enduring structure, ensuring that it stands tall for generations to come.
Now that you've got a handle on mending that crumbling brick wall, why not delve deeper into related safety measures? Understanding construction safety is crucial for any project, big or small. Our next piece sheds light on pivotal safety protocols that prevent mishaps and safeguard those on site. It's packed with insights and advice that are indispensable for anyone involved in construction work. Don't miss out on enriching your knowledge and ensuring every project is not only successful but also safe.
Frequently Asked Questions about How To Repair A Falling Brick Wall
Was this page helpful?
At Storables.com, we guarantee accurate and reliable information. Our content, validated by Expert Board Contributors, is crafted following stringent Editorial Policies. We're committed to providing you with well-researched, expert-backed insights for all your informational needs.


0 thoughts on “How To Repair A Falling Brick Wall”