Home>Construction & Tools>Building Materials>How To Repair Broken Brick Steps
Building Materials
How To Repair Broken Brick Steps
Modified: August 28, 2024
Learn how to repair broken brick steps using durable building materials. Follow our step-by-step guide for a sturdy and long-lasting fix.
(Many of the links in this article redirect to a specific reviewed product. Your purchase of these products through affiliate links helps to generate commission for Storables.com, at no extra cost. Learn more)
Introduction
Broken brick steps can be an eyesore and a safety hazard, but with the right knowledge and tools, you can repair them yourself. Whether the damage is due to weathering, wear and tear, or other factors, restoring your brick steps can revitalize the appearance of your home and ensure the safety of those who use them. In this comprehensive guide, we’ll walk you through the step-by-step process of repairing broken brick steps, from assessing the damage to applying the finishing touches. By following these instructions, you can tackle this home improvement project with confidence and achieve professional-looking results.
Key Takeaways:
- Assess the damage and gather the right materials and tools before repairing broken brick steps. Understanding the cause of damage and thorough preparation are key to achieving lasting results.
- Carefully remove damaged bricks, prepare the surface, and replace bricks with precision to restore the beauty and safety of your brick steps. Attention to detail and finishing touches elevate the repair outcome.
Read more: How To Build Brick Steps
Assessing the Damage
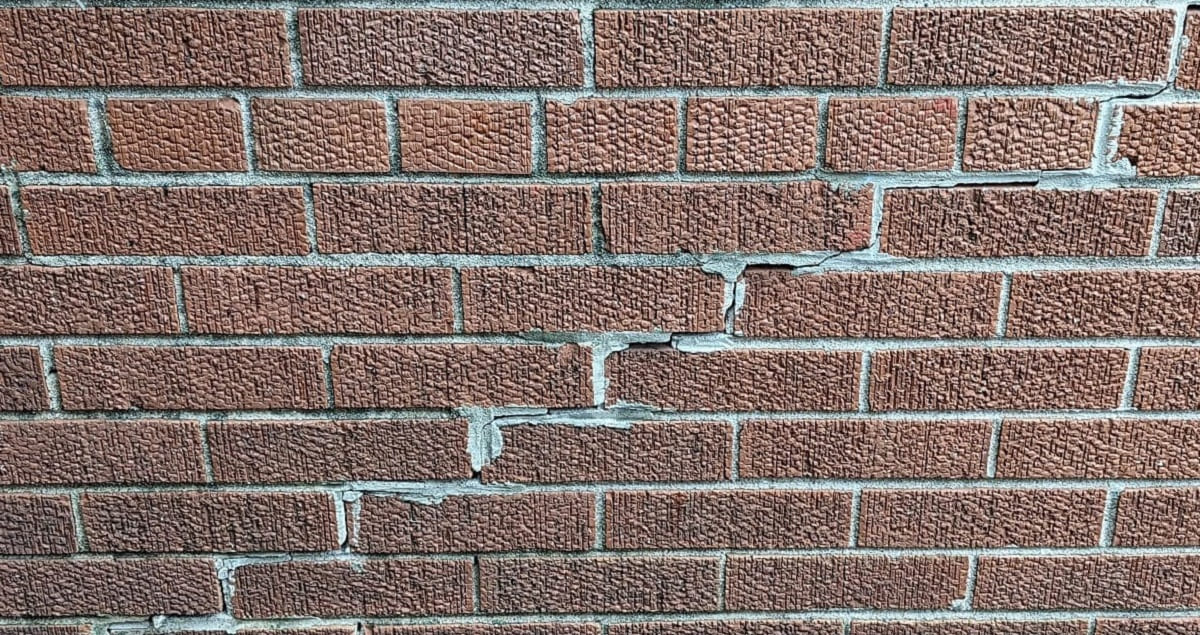
Before diving into the repair process, it’s crucial to thoroughly assess the extent of the damage to your brick steps. Start by carefully examining each step, noting any cracks, loose bricks, or areas of deterioration. Pay close attention to the mortar joints, as these are often the first areas to show signs of wear. Additionally, check for any underlying issues such as water damage or structural problems that may have contributed to the damage.
Take note of the type of bricks used in your steps, as well as the mortar composition. Understanding these details will help you procure the right materials for the repair. If you’re unsure about the specific type of bricks or mortar, consider seeking advice from a local building materials supplier or a professional mason.
It’s also essential to assess the underlying cause of the damage. Factors such as poor drainage, freeze-thaw cycles, or heavy foot traffic can all contribute to the deterioration of brick steps. By identifying the root cause, you can take preventive measures to ensure the longevity of your repairs.
Finally, consider the overall condition of your steps and evaluate whether a simple repair will suffice or if a more extensive restoration is needed. By conducting a thorough assessment, you’ll be equipped with the knowledge needed to proceed with the appropriate repairs and achieve lasting results.
Gathering Materials and Tools
Once you’ve assessed the damage to your brick steps, it’s time to gather the necessary materials and tools for the repair. Here’s a comprehensive list of what you’ll need:
Materials:
- Replacement bricks: Ensure that the new bricks match the size, style, and color of the existing ones.
- Mortar mix: Choose a high-quality mortar mix suitable for outdoor applications. Consider the color of the existing mortar to achieve a seamless blend.
- Concrete bonding agent: This will help the new mortar adhere to the existing bricks and mortar.
- Clean water
- Protective gloves and eyewear
Tools:
- Chisel and hammer: These will be used to remove damaged bricks and old mortar.
- Masonry trowel: Essential for applying the new mortar.
- Wire brush: Use this to clean the surfaces of the existing bricks and remove debris from the mortar joints.
- Bucket and mixing tool: For preparing the mortar mix.
- Level: To ensure the bricks are laid evenly and at the correct angle.
- Protective knee pads: Repairing brick steps often involves kneeling on hard surfaces, so it's essential to protect your knees.
Before purchasing materials, take precise measurements of the damaged area to determine the quantity of bricks and mortar mix needed. It’s advisable to acquire slightly more materials than estimated to account for any unforeseen circumstances.
By assembling the appropriate materials and tools, you’ll be well-prepared to tackle the repair process efficiently and effectively, ultimately restoring the functionality and aesthetics of your brick steps.
Read more: How To Repair Broken Pipe Plumbing
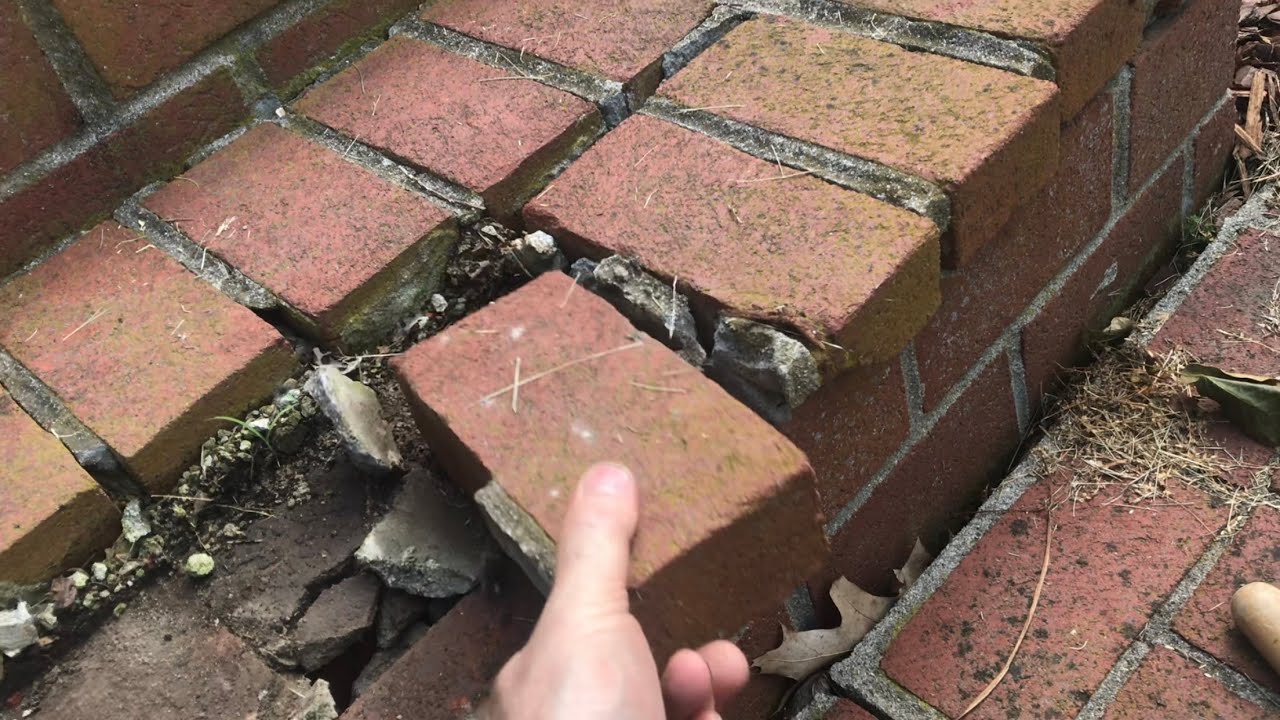
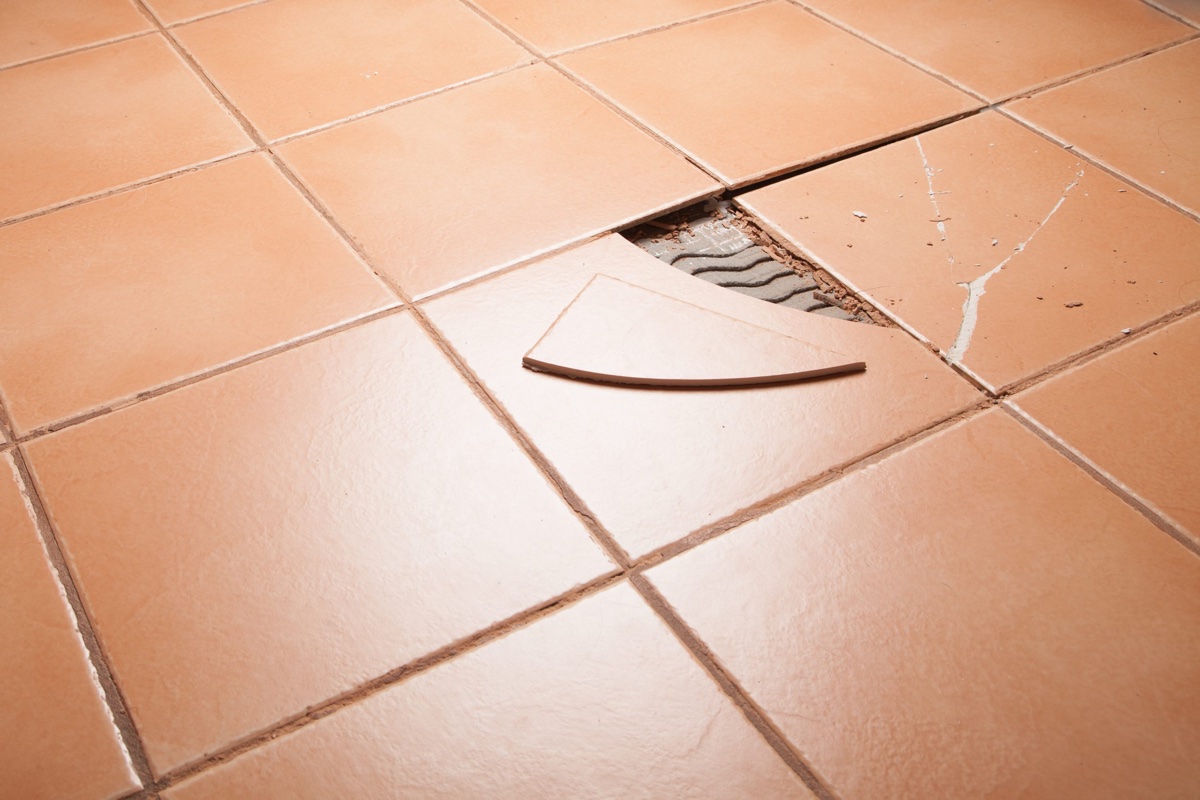
Removing the Damaged Bricks
With your materials and tools at the ready, it’s time to begin the repair process by removing the damaged bricks from your steps. Follow these steps to ensure a systematic and safe removal:
- Safety First: Before starting, put on your protective gloves and eyewear to safeguard yourself from any debris.
- Assess the Stability: Examine the surrounding bricks and mortar to ensure their stability. If adjacent bricks are loose or damaged, consider removing and replacing them as well.
- Loosen the Mortar: Use a chisel and hammer to carefully chip away the mortar surrounding the damaged bricks. Work methodically to avoid damaging the adjacent bricks and surrounding mortar joints.
- Remove the Bricks: Once the mortar is sufficiently loosened, gently pry out the damaged bricks using the chisel and hammer. Take care to avoid unnecessary force, as this can cause further damage to the surrounding structure.
- Clean the Area: After removing the damaged bricks, use a wire brush to clean the surfaces of the remaining bricks and the mortar joints. Clear away any debris and ensure that the area is ready for the next steps of the repair process.
During the brick removal process, it’s essential to exercise caution and patience to prevent unintended damage to the surrounding structure. By following these steps, you’ll effectively prepare the area for the next stages of the repair, setting the stage for a successful restoration of your brick steps.
Preparing the Surface
After removing the damaged bricks, the next crucial step in repairing your brick steps is preparing the surface for the placement of new bricks and mortar. This phase is essential for ensuring the stability and longevity of the repair. Follow these steps to effectively prepare the surface:
- Inspect and Clean: Thoroughly examine the exposed area, checking for any remaining debris, loose mortar, or irregularities. Use a wire brush to clean the surfaces of the existing bricks and remove any residual mortar from the joints.
- Apply Bonding Agent: Once the surface is clean and free of debris, apply a concrete bonding agent to the exposed brick and mortar surfaces. This will enhance the adhesion of the new mortar and bricks, promoting a durable and secure repair.
- Mix the Mortar: Prepare the mortar mix according to the manufacturer’s instructions. Achieving the correct consistency is crucial for ensuring the strength and stability of the repair.
- Dampen the Surface: Lightly dampen the exposed brick and mortar surfaces with clean water. This will prevent the existing materials from absorbing moisture from the new mortar, which can compromise its integrity.
By meticulously preparing the surface, you’ll create an optimal environment for the placement of new bricks and mortar, laying the foundation for a successful and long-lasting repair. This attention to detail will contribute to the overall structural integrity and aesthetic appeal of your restored brick steps.
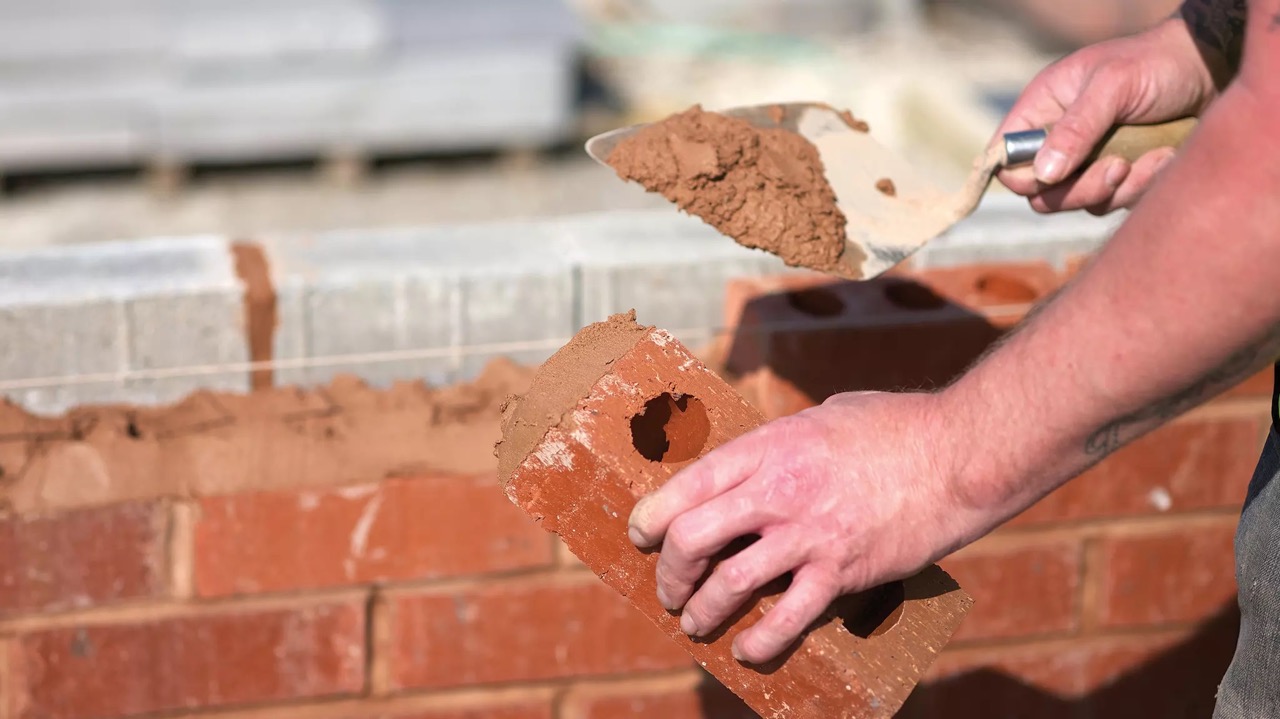
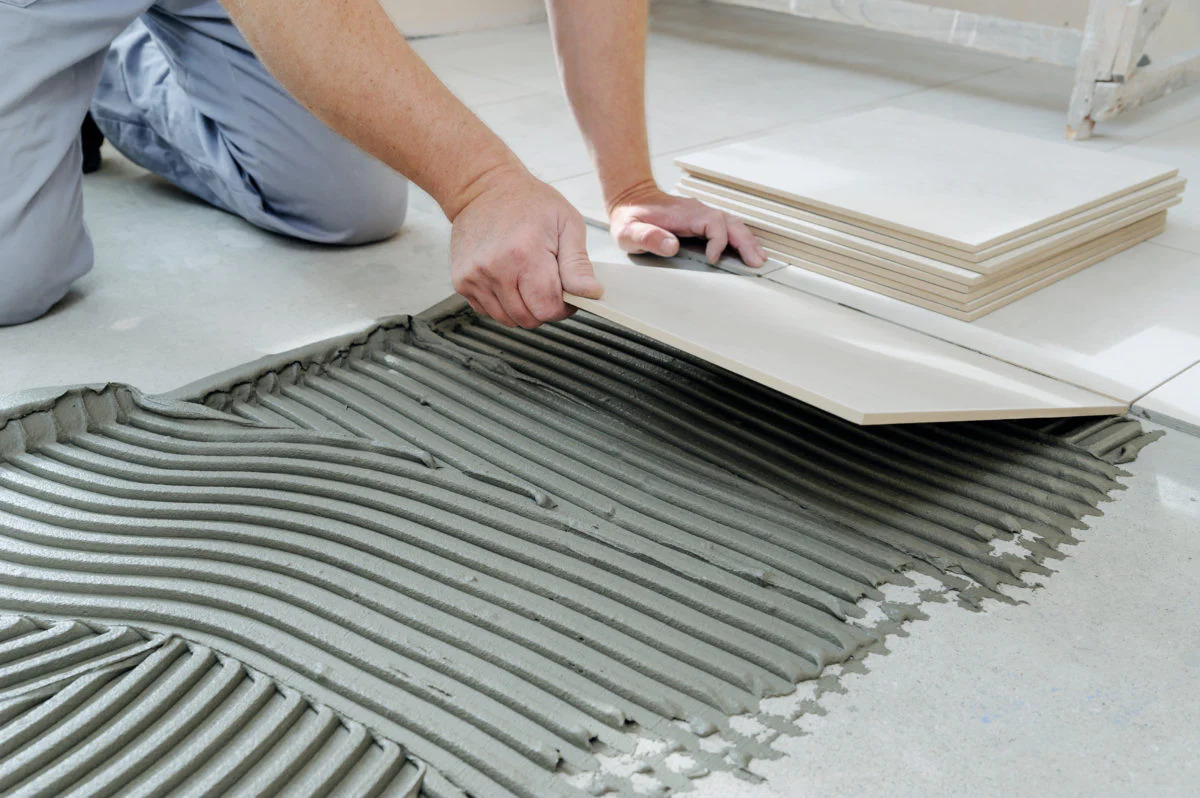
Mixing and Applying Mortar
Once the surface is thoroughly prepared, it’s time to mix and apply the mortar, a critical step in the brick step repair process. Properly mixing and applying the mortar is essential for ensuring the stability and longevity of the repair. Follow these steps to achieve a strong and secure bond:
- Prepare the Mortar: Follow the manufacturer’s instructions to mix the mortar to the appropriate consistency. Typically, this involves combining the mortar mix with clean water in a bucket and using a mixing tool to achieve a smooth, workable texture.
- Apply the Mortar: Using a masonry trowel, apply a generous amount of mortar to the exposed surfaces where the new bricks will be placed. Ensure that the mortar is evenly distributed and covers the designated areas for each brick.
- Score the Mortar: Use the notched edge of the trowel to create a scored pattern in the mortar. This texture will enhance the bond between the mortar and the new bricks, promoting a secure and stable placement.
- Position the Bricks: Carefully place the replacement bricks into the designated areas, pressing them firmly into the mortar. Use a level to ensure that the bricks are aligned evenly and at the appropriate angle.
- Remove Excess Mortar: As you lay each brick, remove any excess mortar that seeps out from the joints. A clean and uniform application of mortar will contribute to the overall aesthetic appeal of the repair.
- Check for Alignment: Periodically check the alignment and levelness of the bricks as you progress, making any necessary adjustments to ensure a uniform and professional finish.
By diligently mixing and applying the mortar, you’ll establish a solid foundation for the replacement bricks, ultimately contributing to the structural integrity and visual appeal of your repaired brick steps.
To repair broken brick steps, start by removing the damaged bricks and cleaning the area. Then, mix mortar and water to the right consistency and apply it to the area. Place the new bricks and let them set before using the steps.
Replacing the Bricks
With the mortar in place, it’s time to carefully replace the damaged bricks with new ones, ensuring a secure and visually appealing restoration of your brick steps. Follow these steps to effectively replace the bricks:
- Position the Bricks: Carefully place the replacement bricks into the designated areas, pressing them firmly into the mortar. Ensure that the bricks are aligned evenly and at the appropriate angle, maintaining a consistent and professional appearance.
- Check for Alignment: Use a level to verify that the bricks are positioned uniformly and at the correct angle. Make any necessary adjustments to ensure a seamless integration with the existing steps.
- Tap the Bricks: Gently tap the surface of each newly placed brick with a rubber mallet to ensure a secure bond with the mortar. This will help eliminate air pockets and promote a strong connection.
- Smooth the Joints: Use the edge of the trowel to smooth the mortar joints between the new bricks, creating a clean and uniform finish. Pay attention to detail, as well-executed joints contribute to the overall aesthetic appeal of the repair.
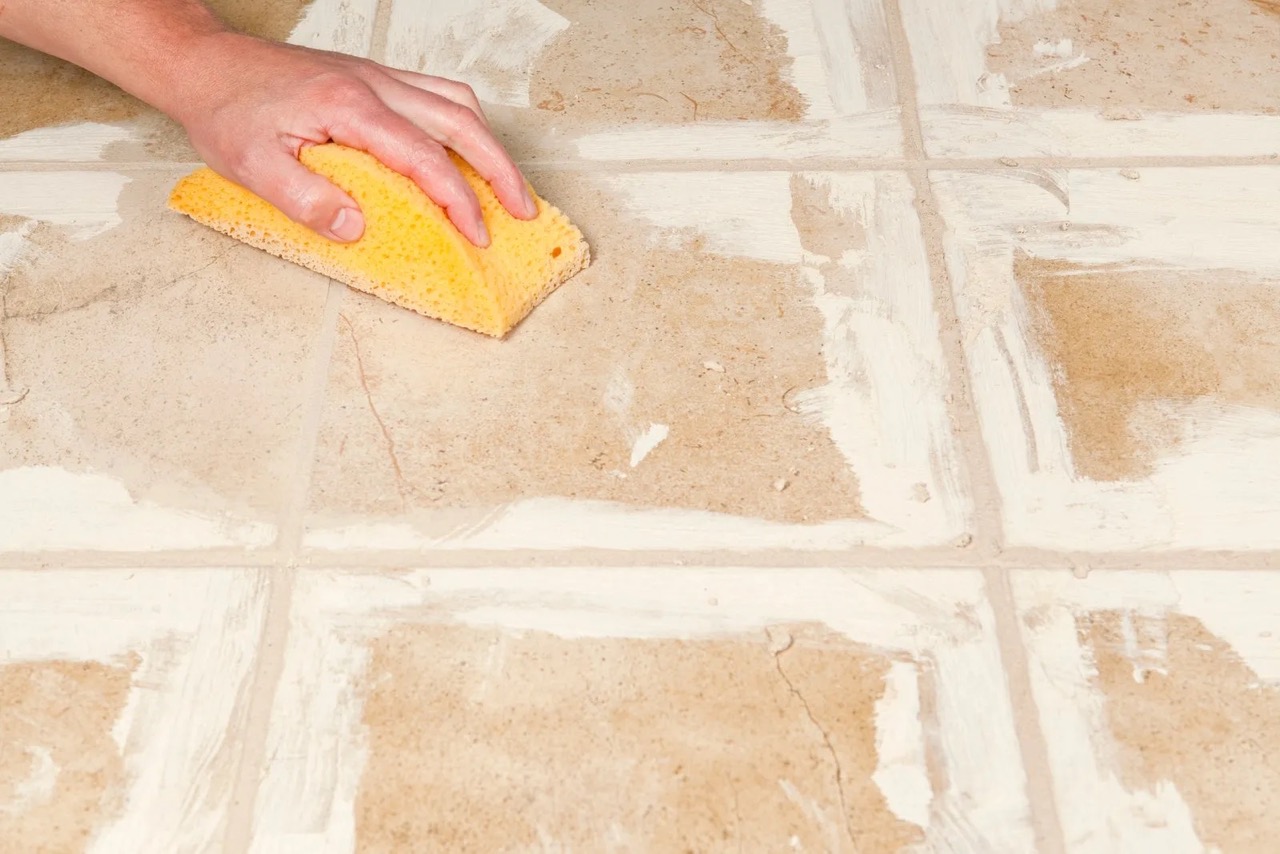
- Clean Excess Mortar: Remove any excess mortar from the surface of the bricks using a damp cloth or sponge. This final touch will enhance the appearance of the repaired steps, leaving them looking fresh and well-maintained.
By conscientiously replacing the bricks and attending to the finer details of the repair, you’ll achieve a professional and durable restoration of your brick steps, enhancing the overall appearance and functionality of your home’s exterior.
Read more: How To Repair Broken Extension Cord
Finishing Touches
As you near the completion of the brick step repair process, it’s time to add the finishing touches to ensure a polished and professional outcome. Attention to detail during this phase will elevate the overall appearance and longevity of the repair. Follow these steps to add the final touches to your restored brick steps:
- Cure the Mortar: Allow the mortar to cure according to the manufacturer’s recommendations. This typically involves keeping the repaired area protected from excessive moisture and foot traffic for a specified period, ensuring that the mortar achieves its full strength and stability.
- Inspect the Repair: Once the mortar has cured, thoroughly inspect the repaired area, checking for any irregularities or areas that may require additional attention. Address any minor imperfections to achieve a flawless finish.
- Apply a Sealer (Optional): Consider applying a masonry sealer to the repaired steps to enhance their resistance to water, stains, and weathering. Consult with a local building materials supplier to select the appropriate sealer for your specific brick type and environmental conditions.
- Enhance the Surroundings: Consider complementing the restored brick steps with landscaping or lighting features to accentuate their visual appeal. Well-coordinated surroundings can elevate the overall aesthetic impact of your home’s exterior.
- Maintain Regular Inspections: After completing the repair, make a habit of periodically inspecting your brick steps for any signs of wear, damage, or deterioration. Promptly addressing any issues will help preserve the longevity of your repair and ensure the safety of your steps.
By attending to these finishing touches, you’ll elevate the quality and durability of your brick step repair, ultimately achieving a visually striking and enduring enhancement to your home’s exterior.
Conclusion
Repairing broken brick steps is a rewarding endeavor that not only enhances the visual appeal of your home but also ensures the safety and functionality of this essential feature. By carefully assessing the damage, gathering the necessary materials and tools, and following a systematic repair process, you can achieve professional-quality results. Through meticulous attention to detail and the application of best practices, you can restore your brick steps to their former glory.
Remember, the key to a successful repair lies in thorough preparation, precise execution, and a commitment to achieving a durable and visually appealing outcome. By following the steps outlined in this guide and embracing the craftsmanship of brick masonry, you can take pride in revitalizing an integral part of your home’s exterior.
As you admire the restored beauty of your brick steps, take satisfaction in knowing that your efforts have contributed to the overall charm and safety of your home. With proper maintenance and periodic inspections, your repaired brick steps will continue to serve as a testament to your dedication to quality and craftsmanship.
Embrace the opportunity to enhance your home’s curb appeal and create a welcoming entryway by embarking on the journey of repairing your brick steps. Your commitment to this project will not only yield tangible results but also provide a sense of accomplishment and pride in preserving the timeless elegance of brick masonry.
Frequently Asked Questions about How To Repair Broken Brick Steps
Was this page helpful?
At Storables.com, we guarantee accurate and reliable information. Our content, validated by Expert Board Contributors, is crafted following stringent Editorial Policies. We're committed to providing you with well-researched, expert-backed insights for all your informational needs.

0 thoughts on “How To Repair Broken Brick Steps”