Home>Construction & Tools>Building Materials>How To Repair Hole In Stucco


Building Materials
How To Repair Hole In Stucco
Modified: February 18, 2024
Learn how to repair a hole in stucco with our step-by-step guide. Find the best building materials and techniques for a seamless fix. Expert tips and advice.
(Many of the links in this article redirect to a specific reviewed product. Your purchase of these products through affiliate links helps to generate commission for Storables.com, at no extra cost. Learn more)
**
Introduction
**
Repairing a hole in stucco may seem like a daunting task, but with the right materials, a bit of know-how, and a touch of patience, it can be accomplished with satisfying results. Stucco, a durable and weather-resistant building material, is commonly used for exterior finishes on many homes and buildings. Over time, due to various factors such as impact or weathering, stucco can develop holes or cracks that compromise its integrity and aesthetics. Fortunately, with the proper guidance, you can restore the stucco to its former glory.
In this comprehensive guide, we will delve into the step-by-step process of repairing a hole in stucco. From assessing the damage to the final touches of painting, you will gain valuable insights into the techniques and materials required for a successful stucco repair. Whether you are a seasoned DIY enthusiast or a novice homeowner looking to tackle your first repair project, this guide will equip you with the knowledge and confidence to restore your stucco to its original condition.
So, roll up your sleeves, gather your tools, and let's embark on this stucco repair journey together. By the end of this guide, you will have the expertise to mend that unsightly hole in your stucco and enhance the overall appeal and durability of your home's exterior.
Let's get started!
**
Key Takeaways:
- Repairing a hole in stucco is a manageable task with the right materials and know-how. Assess the damage, gather materials, and follow the step-by-step process for a successful repair.
- By meticulously filling, smoothing, and painting the repaired stucco, you can achieve a visually cohesive and durable restoration. With patience and attention to detail, you can conquer any home repair endeavor.
Read more: How To Stucco A Chimney
Assessing the Damage
**
Before diving into the repair process, it is crucial to thoroughly assess the extent of the damage to the stucco. This initial evaluation will help determine the appropriate approach and materials needed for the repair. Here are the key steps to effectively assess the damage:
**
1. Visual Inspection:
**
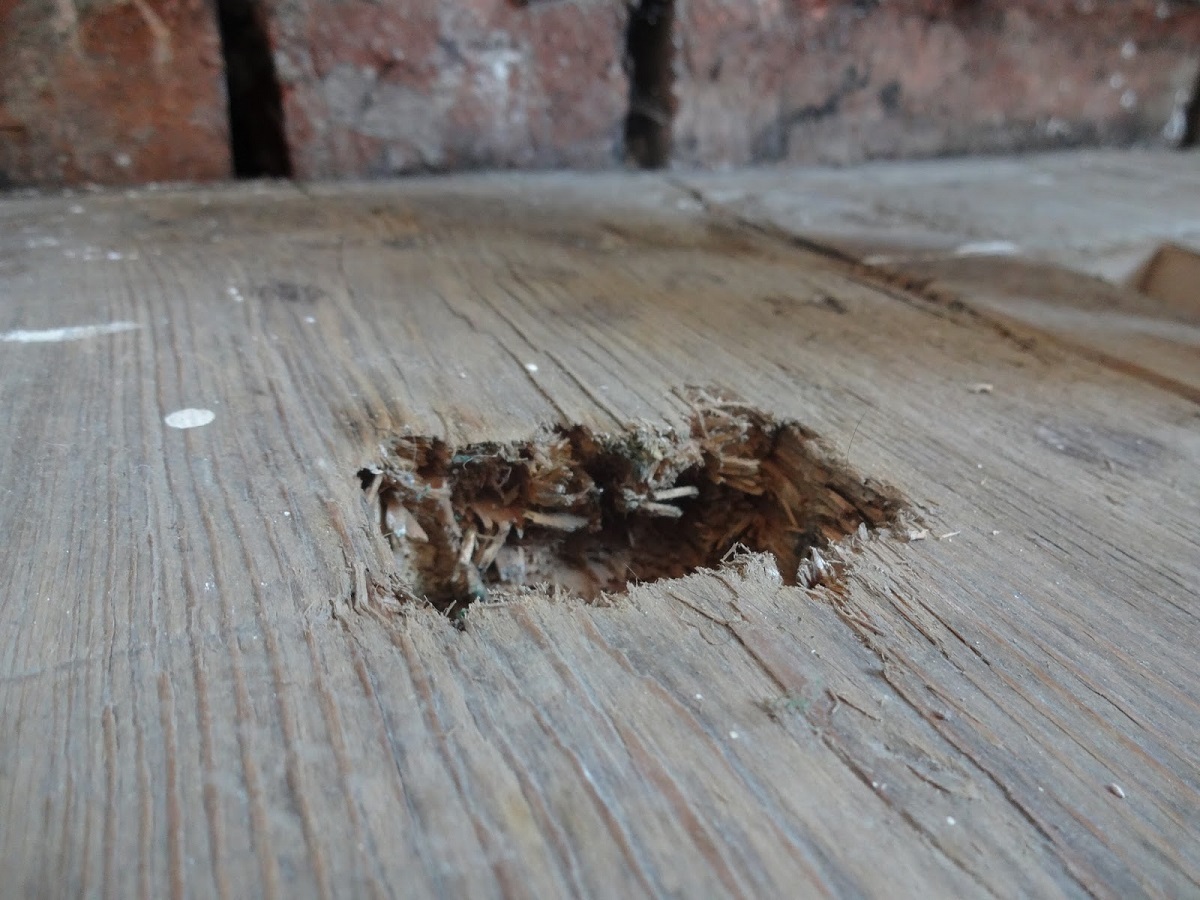
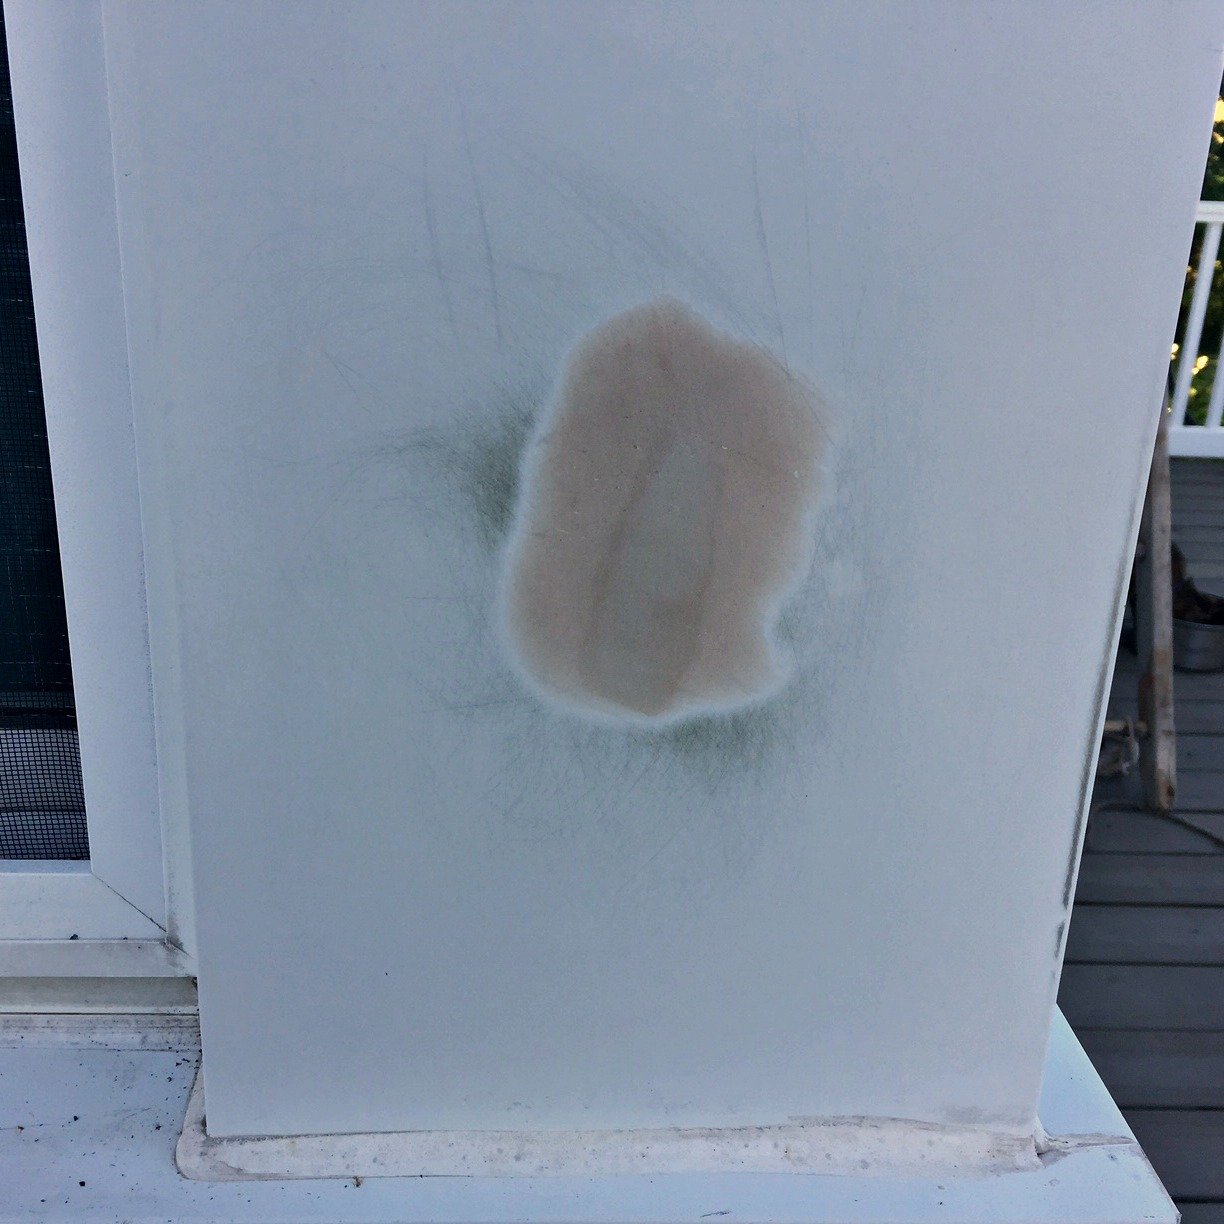
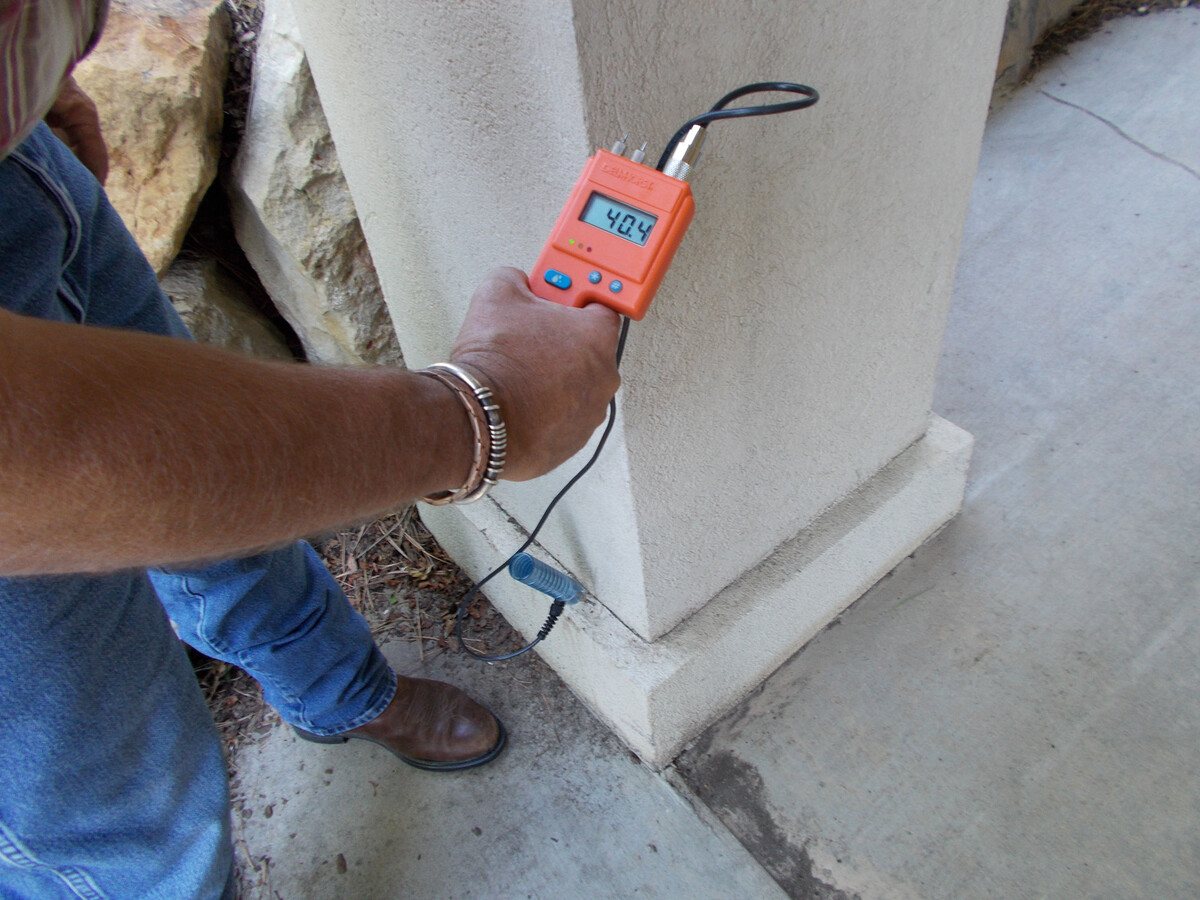
Begin by visually examining the area surrounding the hole in the stucco. Look for any signs of moisture, discoloration, or crumbling edges. Take note of the size and shape of the hole, as well as any adjacent cracks or imperfections. This visual assessment will provide valuable insights into the underlying causes of the damage.
**
2. Probe the Area:
**
Using a small tool such as a screwdriver or a pointed object, gently probe the edges of the hole and the surrounding stucco. Pay attention to any soft or hollow areas, as these indicate potential delamination or deterioration beneath the surface. By probing the area, you can identify the stability of the existing stucco and whether it requires additional reinforcement.
**
3. Identify the Cause:
**
Consider the factors that may have contributed to the damage. Was it caused by impact, moisture infiltration, or structural movement? Understanding the root cause will help prevent future damage and guide the selection of appropriate repair materials.
**
4. Take Measurements:
**
Measure the dimensions of the hole, including its depth. This information will be essential when determining the amount of repair material needed to effectively fill and restore the damaged area.
By diligently assessing the damage, you will be equipped with a clear understanding of the repair requirements. Whether it’s a small puncture or a larger hole, this initial evaluation sets the stage for a successful stucco repair endeavor.
**
Gathering Materials
**
Once you have assessed the damage and gained a comprehensive understanding of the repair requirements, it’s time to gather the essential materials and tools for the stucco repair project. The following items are crucial for effectively addressing the hole in the stucco:
**
1. Stucco Patching Compound:
**
Choose a high-quality stucco patching compound that matches the color and texture of your existing stucco. Opt for a product specifically designed for exterior repairs to ensure durability and weather resistance.
**
2. Bonding Agent:
**
An acrylic bonding agent is essential for promoting adhesion between the existing stucco and the patching compound. This bonding agent enhances the strength and longevity of the repair.
**
3. Trowel and Margin Trowel:
**
A standard trowel and a margin trowel will facilitate the application and shaping of the stucco patching compound. These tools allow for precise and controlled spreading and smoothing of the material.
**
4. Wire Brush:
**
Use a wire brush to clean the damaged area and remove any loose debris, dirt, or old stucco particles. This prepares the surface for optimal adhesion and ensures a clean foundation for the repair.
**
5. Protective Gear:
**
Ensure your safety by wearing protective gear, including gloves, safety goggles, and a dust mask. Working with stucco and repair materials requires protection against potential irritants and airborne particles.
**
6. Measuring Tools:
**
Have a measuring tape or ruler on hand to accurately gauge the dimensions of the hole and assess the depth of the repair area. Precise measurements are essential for calculating the required amount of patching compound.
**
7. Paint and Primer (Optional):
**
If the repaired area will be visibly distinct from the surrounding stucco, ensure you have matching exterior paint and primer to seamlessly blend the patch with the existing finish.
By assembling these materials and tools, you will be well-prepared to commence the stucco repair process with confidence and efficiency. With the right resources at your disposal, you can navigate the repair steps smoothly and achieve a professional-quality outcome.
**
Preparing the Area
**
Before applying the stucco patching compound, it’s essential to prepare the damaged area to ensure optimal adhesion and a seamless repair. The following steps will guide you through the crucial preparation process:
**
1. Clean the Surface:
Begin by thoroughly cleaning the area surrounding the hole in the stucco. Use a wire brush to remove any loose debris, dirt, or remnants of the old stucco. Ensure that the surface is free from contaminants that could hinder the bonding of the patching compound.
**
2. Apply Bonding Agent:
Using a paintbrush or roller, apply a layer of acrylic bonding agent to the prepared surface. The bonding agent promotes strong adhesion between the existing stucco and the patching compound, enhancing the overall durability of the repair.
**
3. Mix the Patching Compound:
Follow the manufacturer’s instructions to prepare the stucco patching compound. Thoroughly mix the compound to achieve a uniform consistency, ensuring that it is ready for application. Consistency is key to achieving a smooth and uniform repair.
**
4. Dampen the Area:
Lightly dampen the prepared surface with water before applying the patching compound. This moisture helps prevent rapid drying of the stucco, allowing for better workability and adhesion. However, avoid over-saturating the area, as excessive moisture can compromise the integrity of the repair.
**
5. Protect Surrounding Surfaces:
Cover adjacent surfaces and landscaping near the repair area to shield them from accidental splatter or spills during the application process. This precaution will safeguard surrounding areas from unintended contact with the patching compound.
**
By meticulously preparing the area, you create an ideal foundation for the stucco repair, setting the stage for a successful and long-lasting restoration. Taking the time to execute these preparatory steps will contribute to the overall quality and durability of the repair.
**
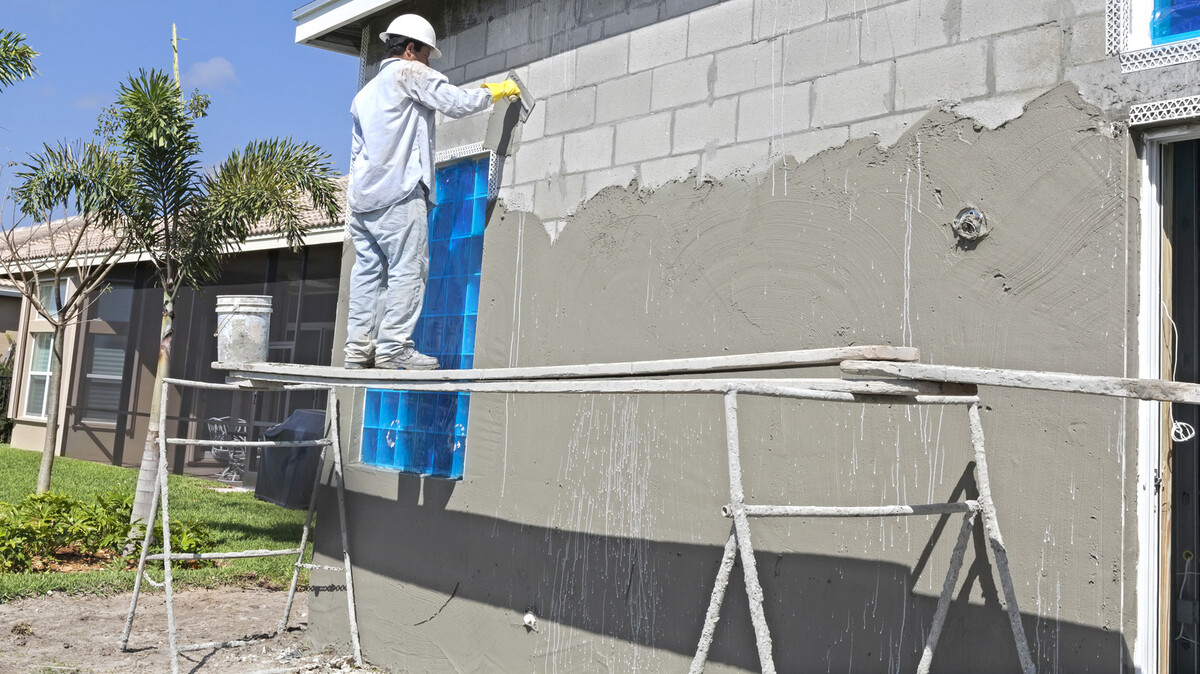
Use a wire brush to clean the area around the hole. Fill the hole with a stucco patching compound, then smooth it out with a trowel. Let it dry, then paint to match the rest of the stucco.
Filling the Hole
**
With the surface prepared and the necessary materials at hand, it’s time to fill the hole in the stucco with the patching compound. This step requires precision and attention to detail to achieve a seamless and structurally sound repair. Follow these guidelines to effectively fill the hole:
**
1. Apply the Patching Compound:
**
Using a trowel, carefully scoop an appropriate amount of the stucco patching compound and apply it to the prepared area. Begin by filling the hole with the compound, ensuring that it slightly overfills the cavity to account for shrinkage during drying.
**
2. Press and Smooth:
**
Gently press the patching compound into the hole, compacting it to eliminate air pockets and achieve a solid fill. Use the trowel to smooth the surface of the compound, blending it with the surrounding stucco to create a seamless transition.
**
3. Build Layers (If Necessary):
**
For larger or deeper holes, it may be necessary to apply the patching compound in layers to achieve a level surface. Allow each layer to partially set before adding the next, ensuring that the repair gradually builds up to the desired level.
**
4. Shape and Feather the Edges:
**
Feather the edges of the filled area with the trowel to create a gradual transition between the patch and the surrounding stucco. This feathering technique helps blend the repair seamlessly, minimizing the visibility of the patched area.
**
5. Allow for Drying Time:
**
Follow the manufacturer’s guidelines regarding the drying time for the patching compound. Ensure that the repair is given ample time to dry and cure before proceeding to the next phase of the stucco repair process.
By meticulously filling the hole with the patching compound and paying attention to the details of the application, you will lay the foundation for a successful and visually appealing stucco repair. The careful execution of this step is essential for achieving a seamless integration of the patch with the existing stucco surface.
**
Read more: How To Fill Holes In Concrete Floor
Smoothing and Finishing
**
Once the patching compound has adequately dried, the focus shifts to smoothing and refining the repaired area to seamlessly blend with the surrounding stucco. This critical phase involves meticulous attention to detail and finesse to achieve a professional finish. Follow these steps to effectively smooth and finish the repaired stucco:
**
1. Sanding the Surface:
Using fine-grit sandpaper or a sanding block, gently smooth the dried patching compound to create a uniform and level surface. Take care to blend the edges of the repair with the surrounding stucco, ensuring a seamless transition.
**
2. Remove Excess Material:
Inspect the repaired area for any excess or protruding patching compound. Carefully remove any irregularities or high spots by lightly sanding or using a trowel to level the surface, achieving a flush and cohesive finish.
**
3. Clean the Surface:
Thoroughly clean the smoothed and finished area to remove any dust or debris resulting from the sanding process. A clean surface sets the stage for the subsequent painting phase and ensures a flawless application of paint and primer.
**
4. Inspect for Imperfections:
Closely examine the repaired area for any imperfections or inconsistencies in texture. Address any remaining blemishes or uneven areas by refining the surface with additional sanding or application of a small amount of patching compound as needed.
**
5. Feather and Blend:
Utilize the trowel to feather and blend the edges of the repair once again, ensuring a seamless integration with the surrounding stucco. This final feathering and blending process enhances the overall cohesion and aesthetic appeal of the repair.
By meticulously smoothing and finishing the repaired stucco, you will achieve a refined and visually harmonious surface that seamlessly integrates with the existing stucco finish. This attention to detail sets the stage for the final phase of the stucco repair process: painting the repaired area to achieve a uniform and polished appearance.
**
Painting the Repaired Area
**
After successfully filling, smoothing, and refining the repaired stucco, the final phase involves painting the restored area to seamlessly blend it with the existing finish. This transformative step not only enhances the visual appeal but also provides an additional layer of protection. Follow these guidelines to effectively paint the repaired stucco:
-
Select Matching Paint: Choose an exterior paint that closely matches the color and texture of the surrounding stucco. Opt for a high-quality, weather-resistant paint that is formulated for exterior applications to ensure long-lasting results.
-
Apply Primer (If Needed): If the repaired area is noticeably distinct from the surrounding stucco, apply a suitable exterior primer to promote adhesion and uniformity of the paint. The primer helps create a consistent surface, allowing the paint to adhere evenly.
-
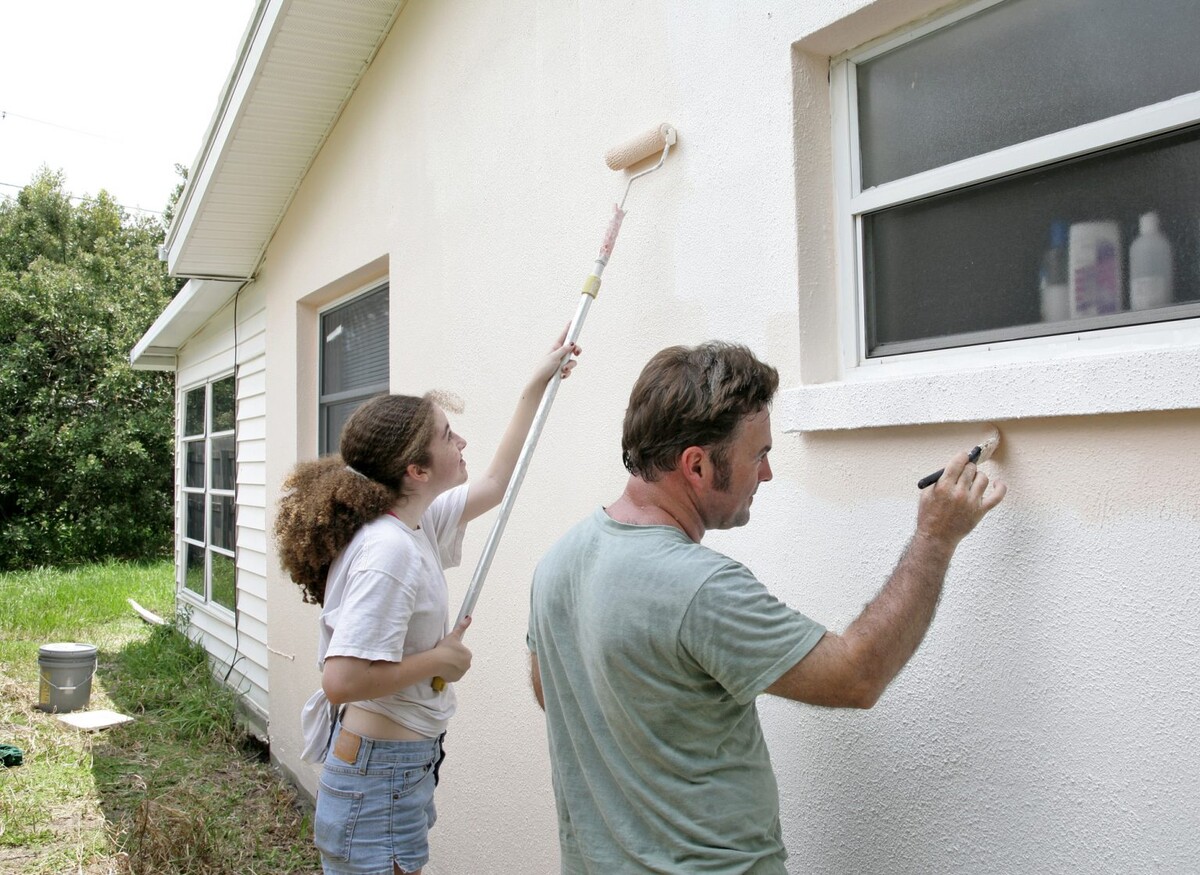
Paint Application: Using a paintbrush or roller, carefully apply the selected exterior paint to the repaired area, extending slightly beyond the edges of the patch to blend it seamlessly with the surrounding stucco. Apply multiple thin coats as needed, allowing each coat to dry according to the manufacturer's recommendations.
-
Feather and Blend: Feather the edges of the painted area with the brush or roller to seamlessly blend it with the existing stucco. This feathering technique ensures a gradual transition, minimizing the visibility of the repaired section.
-
Allow for Drying and Curing: Ensure that the painted area is given ample time to dry and cure according to the paint manufacturer's instructions. This critical drying period is essential for achieving a durable and uniform finish.
By meticulously painting the repaired stucco and seamlessly integrating it with the existing finish, you will achieve a visually cohesive and professionally restored exterior surface. This final touch not only enhances the aesthetic appeal of your home but also ensures the long-term durability and weather resistance of the stucco repair.
Once the paint has fully cured, step back and admire the seamless integration of the repaired area with the rest of the stucco finish. You have successfully navigated the stucco repair process, restoring the integrity and visual appeal of your home's exterior. With patience, attention to detail, and the right materials, you have accomplished a professional-quality stucco repair that enhances the overall beauty and resilience of your property.
**
Conclusion
**
Embarking on the journey of repairing a hole in stucco may have initially seemed daunting, but with the guidance provided in this comprehensive guide, you have gained the knowledge and confidence to tackle this task with finesse. The meticulous process of assessing the damage, gathering materials, preparing the area, filling the hole, smoothing and finishing, and finally painting the repaired area has equipped you with the expertise to restore your stucco to its former glory.
By meticulously assessing the damage and understanding the underlying causes, you have laid the groundwork for a targeted and effective repair approach. The careful gathering of materials and tools has ensured that you are well-prepared to navigate each phase of the repair process with confidence and efficiency.
The critical steps of preparing the area, filling the hole, and meticulously smoothing and finishing the repaired stucco have allowed you to achieve a seamless and visually harmonious integration with the existing finish. The transformative phase of painting the repaired area has not only enhanced the aesthetic appeal but also fortified the surface against the elements.
As you stand back and admire the seamless integration of the repaired area with the rest of the stucco finish, take pride in the accomplishment of a professional-quality stucco repair. Your dedication to precision, attention to detail, and the utilization of the right materials have resulted in a visually cohesive and durable restoration of your home's exterior.
Armed with the knowledge and skills acquired through this guide, you have not only enhanced the beauty and resilience of your property but have also gained valuable experience that can be applied to future repair projects. Remember, with the right guidance and a touch of patience, you can conquer any home repair endeavor and elevate the appeal and durability of your living space.
So, as you revel in the satisfaction of a job well done, take a moment to appreciate the transformation you have achieved. Your stucco repair journey has not only restored the integrity of your home's exterior but has also empowered you with the expertise to tackle future projects with confidence.
Congratulations on successfully navigating the stucco repair process. Your dedication and attention to detail have yielded a remarkable outcome that will stand as a testament to your craftsmanship and commitment to maintaining the beauty and resilience of your home.
Frequently Asked Questions about How To Repair Hole In Stucco
Was this page helpful?
At Storables.com, we guarantee accurate and reliable information. Our content, validated by Expert Board Contributors, is crafted following stringent Editorial Policies. We're committed to providing you with well-researched, expert-backed insights for all your informational needs.




0 thoughts on “How To Repair Hole In Stucco”