Home>Construction & Tools>Building Materials>How To Stucco A Brick Wall

Building Materials
How To Stucco A Brick Wall
Modified: August 28, 2024
Learn how to stucco a brick wall using the best building materials for a durable and attractive finish. Step-by-step guide for a professional-looking stucco application.
(Many of the links in this article redirect to a specific reviewed product. Your purchase of these products through affiliate links helps to generate commission for Storables.com, at no extra cost. Learn more)
Introduction
Read more: How To Stucco A Brick Fireplace
Introduction
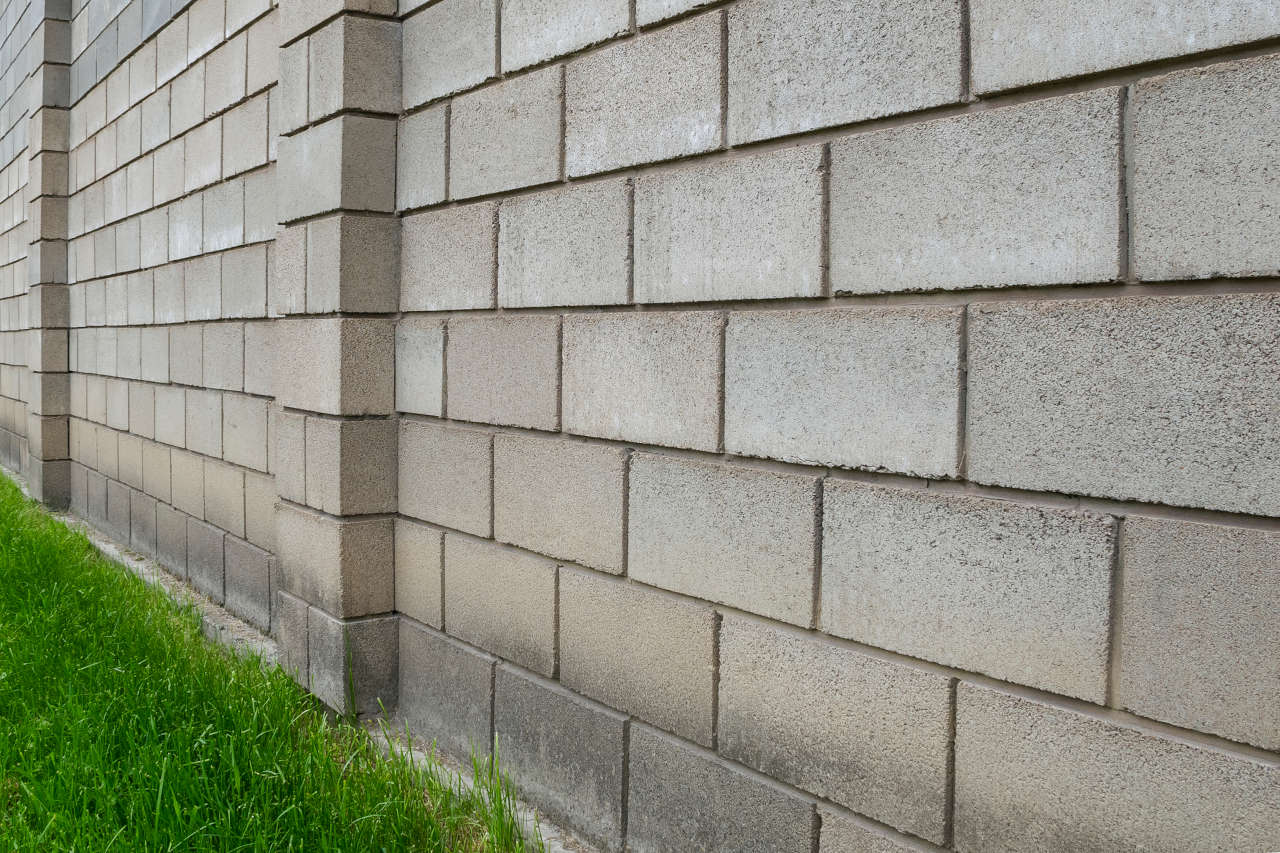
Stucco is a time-honored building material that has been used for centuries to provide durable and attractive finishes to walls and other surfaces. When it comes to enhancing the appearance of a brick wall, stucco offers a versatile and long-lasting solution. Whether you want to update the exterior of your home or add a touch of character to an interior brick wall, stucco can transform the look and feel of the surface while adding an extra layer of protection.
Stucco consists of a mixture of cement, sand, and water, which, when applied correctly, creates a hard, weather-resistant coating. The process of stuccoing a brick wall involves several stages, including preparing the wall, applying multiple coats of stucco, and ensuring proper curing for a durable finish. By following the right techniques and using the appropriate materials, you can achieve a professional-looking stucco finish that enhances the aesthetic appeal and longevity of your brick wall.
In this comprehensive guide, we will walk you through the step-by-step process of stuccoing a brick wall, from preparing the surface to applying the scratch, brown, and finish coats. We will also discuss the essential materials and tools needed for the job, as well as the crucial steps for curing and maintaining the stucco finish. Whether you're a seasoned DIY enthusiast or a homeowner looking to take on a new project, mastering the art of stuccoing a brick wall can add value and visual charm to your property. So, roll up your sleeves and get ready to learn the ins and outs of this time-tested technique for transforming brick walls with stucco.
Materials and Tools Needed
Key Takeaways:
- Transforming a brick wall with stucco involves meticulous preparation, application, and curing processes to create a durable and visually appealing finish, adding value and charm to any property.
- By mastering the art of stucco application, you can elevate the character and value of your property while enjoying the enduring charm of a stuccoed brick wall.
Materials and Tools Needed
Before embarking on the stuccoing process, it’s essential to gather the necessary materials and tools to ensure a smooth and efficient workflow. Here’s a comprehensive list of what you’ll need:
Materials:
- Portland cement
- Masonry sand
- Acrylic bonding agent
- Fiberglass mesh or metal lath
- Water
- Stucco mix (pre-mixed or traditional)
- Plastic sheeting
- Stucco colorant (if desired)
- Sealer or stucco finish coat
Tools:
- Wheelbarrow or mixing tub
- Shovel
- Masonry hoe or mixing paddle
- Trowels (finishing, corner, and margin)
- Stiff-bristle brush
- Wire cutters (if using metal lath)
- Measuring tools (tape measure, level, etc.)
- Protective gear (gloves, safety goggles, dust mask)
- Sprayer or hose for dampening the wall
- Plastic or metal casing beads (for corners and edges)
It’s important to ensure that all materials are of high quality and suitable for stucco applications. The right tools, from trowels to protective gear, will contribute to a successful and safe stuccoing process. Additionally, consider the size of the project and the condition of the brick wall when determining the quantities of materials needed. With the proper materials and tools at your disposal, you’ll be well-equipped to tackle the task of stuccoing a brick wall with confidence and precision.
Preparing the Brick Wall
Read more: What Is A Stucco Wall
Preparing the Brick Wall
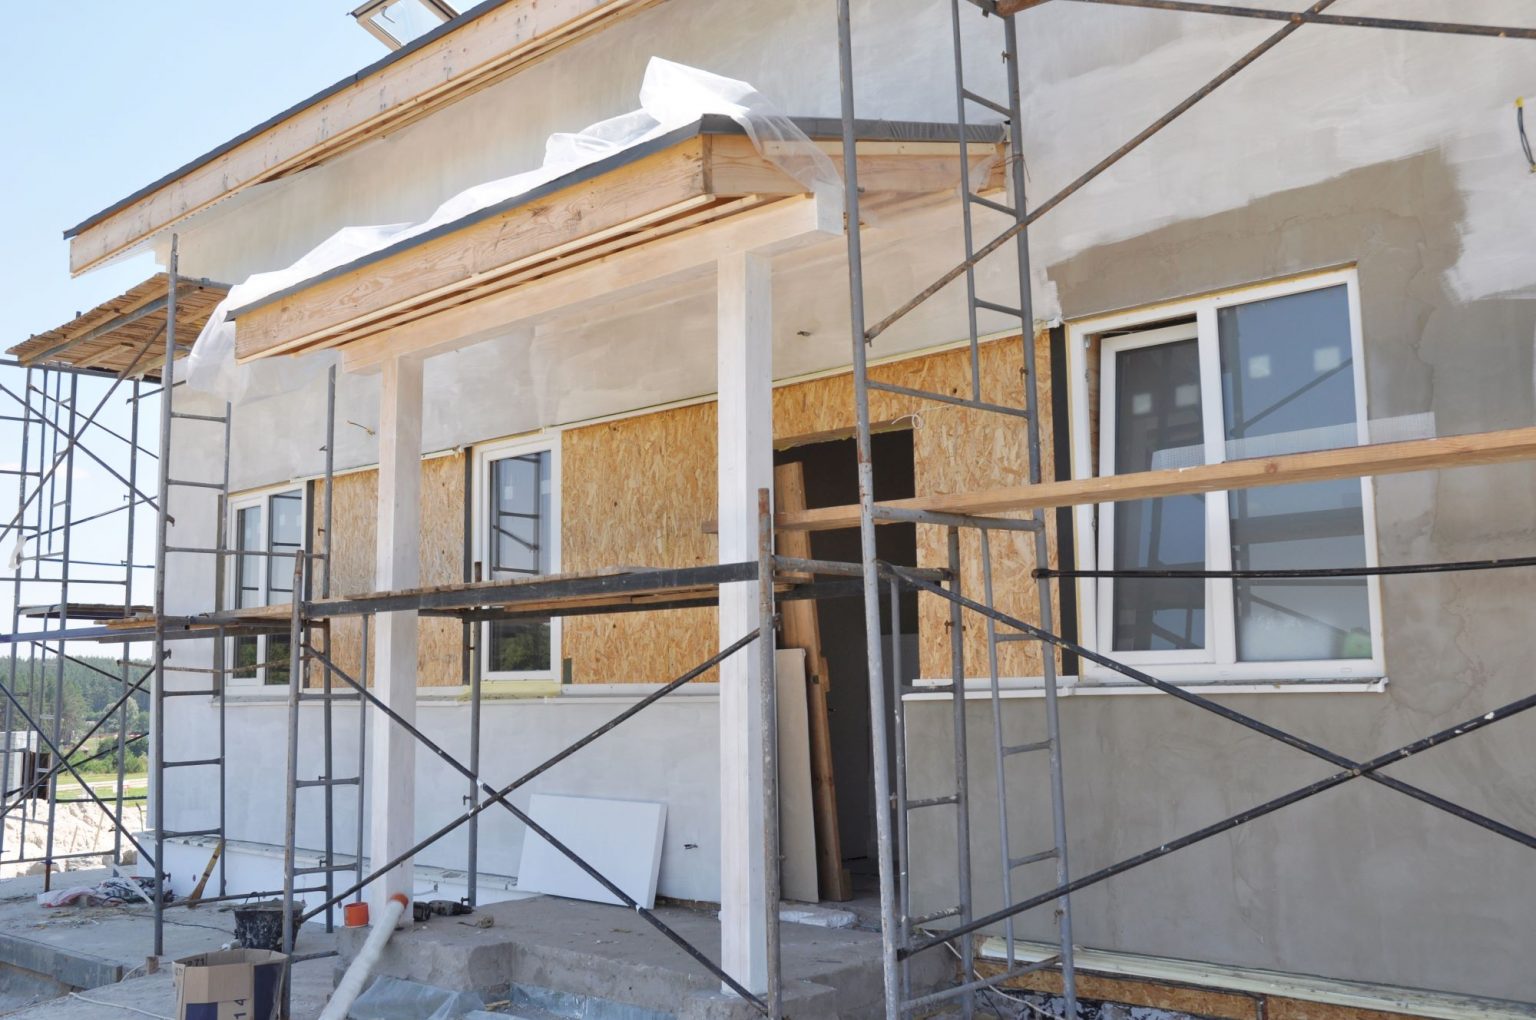
Before applying stucco to a brick wall, thorough preparation is crucial to ensure a strong bond and a flawless finish. Here’s a step-by-step guide to preparing the brick wall for the stucco application:
1. Clean the Surface: Start by thoroughly cleaning the brick wall to remove any dirt, dust, or debris. Use a stiff-bristle brush or a pressure washer to scrub the surface and eliminate loose particles. Allow the wall to dry completely before proceeding.
2. Repair Any Damage: Inspect the brick wall for any cracks, holes, or other imperfections. Use a suitable masonry repair compound to fill in any damaged areas and ensure a smooth, even surface for the stucco application.
3. Apply Bonding Agent: To promote adhesion between the brick and the stucco, apply a generous coat of acrylic bonding agent to the clean, dry surface. This will help the stucco adhere firmly to the brick and prevent delamination over time.
4. Install Metal Lath or Fiberglass Mesh: Depending on the condition of the brick wall and the desired stucco thickness, you may need to install metal lath or fiberglass mesh as a reinforcement. Secure the lath or mesh to the wall using appropriate fasteners, ensuring a secure and even placement across the entire surface.
5. Dampen the Wall: Prior to applying the stucco, lightly dampen the prepared brick wall with a sprayer or hose. This helps to prevent the brick from absorbing moisture from the stucco mix too quickly, promoting better adhesion and curing.
By diligently preparing the brick wall, you set the stage for a successful stucco application. The clean, sound, and properly prepped surface will contribute to a durable and visually appealing stucco finish. With the brick wall primed and ready, you’re now prepared to move on to the next stage of the stuccoing process: applying the scratch coat.
Applying the Scratch Coat
Applying the Scratch Coat
The scratch coat is the first layer of stucco applied to the prepared brick wall, serving as a base for subsequent coats. This initial layer plays a crucial role in creating a strong bond and a level surface for the stucco finish. Here’s a detailed guide on how to apply the scratch coat:
1. Mix the Scratch Coat: In a wheelbarrow or mixing tub, combine the appropriate ratio of Portland cement, masonry sand, and water to create a workable stucco mix. Add an acrylic bonding agent to enhance adhesion and workability, following the manufacturer’s recommendations.
2. Apply the Stucco Mix: Using a masonry trowel, start applying the scratch coat to the dampened brick wall. Work in small sections, spreading the stucco mix evenly to achieve a uniform thickness of about 3/8 inch. Use a scratcher or a large comb-like tool to create horizontal grooves or scratches in the stucco surface. This texturing allows the next coat to bond effectively.
3. Maintain Consistent Thickness: As you progress across the wall, ensure that the scratch coat maintains a consistent thickness and a level surface. Pay attention to corners and edges, using a margin trowel to achieve neat and precise edges.
4. Cure the Scratch Coat: After completing the application, mist the scratch coat with water to keep it moist during the curing process. Proper curing is essential for the scratch coat to achieve strength and adhesion. Protect the newly applied stucco from direct sunlight and rapid drying to prevent cracking.
5. Check for Uniformity: Once the scratch coat has cured sufficiently, inspect the surface for uniformity and any imperfections. Address any uneven areas or voids by applying additional stucco mix as needed, smoothing and leveling the surface for the next coat.
Applying the scratch coat sets the foundation for a durable and well-adhered stucco finish. By following the proper techniques and ensuring thorough curing, you’ll establish a solid base for the subsequent coats of stucco. With the scratch coat in place, you’re ready to move on to the next phase: applying the brown coat.
Applying the Brown Coat
Read more: How To Do A Stucco Wall
Applying the Brown Coat
Once the scratch coat has been applied and properly cured, the next step in stuccoing a brick wall is to add the brown coat. This intermediate layer further strengthens the stucco system and prepares the surface for the final finish. Here’s a comprehensive guide on how to apply the brown coat to the stuccoed brick wall:
1. Mix the Brown Coat: Prepare a well-proportioned stucco mix consisting of Portland cement, masonry sand, and water, ensuring a workable and cohesive consistency. Consider adding an acrylic bonding agent to enhance adhesion and durability, promoting a robust bond between the scratch and brown coats.
2. Apply the Brown Coat: Using a masonry trowel, begin applying the brown coat to the cured scratch coat. Work in manageable sections, spreading the stucco mix evenly to achieve a uniform thickness of approximately 3/8 inch. Maintain a consistent surface level while ensuring thorough coverage across the entire wall.
3. Float and Texture: Once the brown coat is applied, use a wooden float to smooth and compact the surface, removing any irregularities and achieving a uniform texture. This step helps to create a solid, even base for the final stucco layer while enhancing the overall appearance of the wall.
4. Cure the Brown Coat: After applying the brown coat, it’s crucial to mist the surface with water to promote proper curing. Protect the wall from rapid drying and direct sunlight, ensuring that the brown coat cures evenly and attains the necessary strength for the subsequent finish coat.
5. Inspect for Quality: Once the brown coat has sufficiently cured, inspect the surface for uniformity, texture, and any imperfections. Address any areas that require additional attention, ensuring that the brown coat provides a solid and aesthetically pleasing foundation for the final stucco layer.
With the brown coat in place, the brick wall is now primed for the final phase of the stuccoing process: applying the finish coat. The meticulous application of the brown coat sets the stage for a resilient and visually appealing stucco finish, bringing the transformation of the brick wall to its concluding stages.
Applying the Finish Coat
Applying the Finish Coat
The finish coat is the final layer of stucco that not only enhances the aesthetic appeal of the brick wall but also provides protection and durability. This phase of the stuccoing process requires attention to detail and precision to achieve a flawless and enduring finish. Here’s a comprehensive guide on how to apply the finish coat to the stuccoed brick wall:
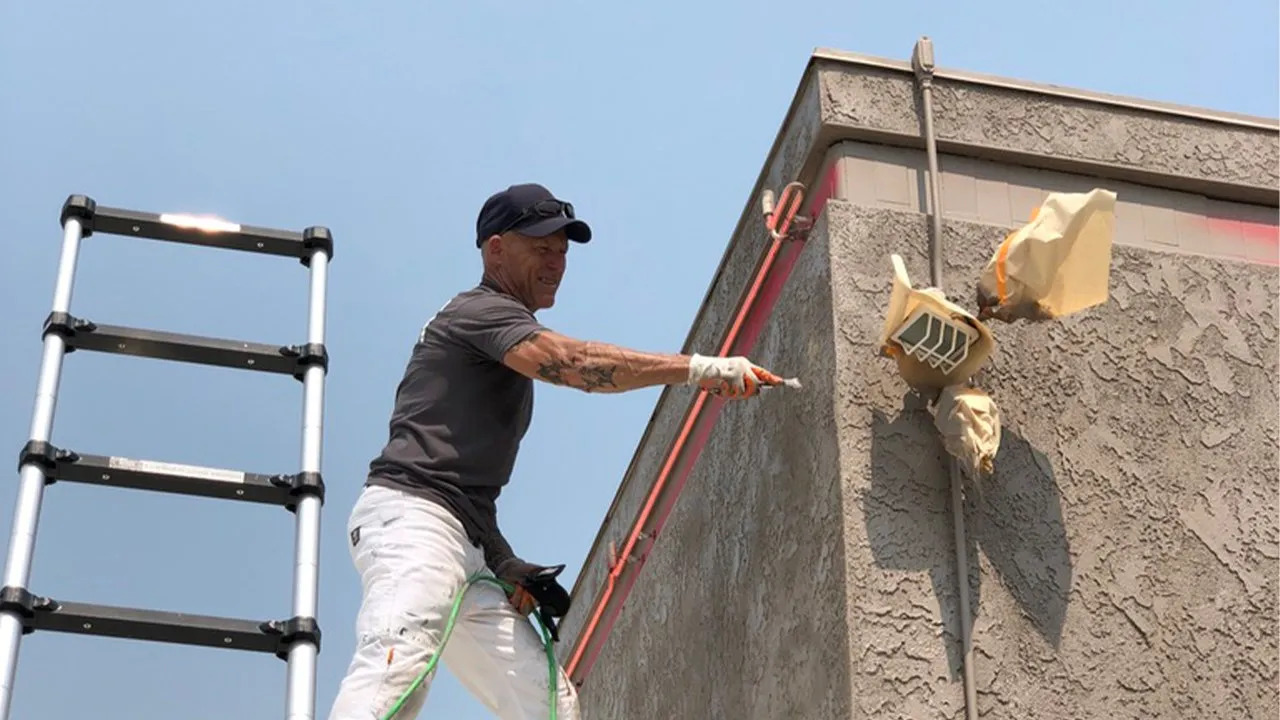
1. Prepare the Finish Coat: Mix the stucco finish coat, which may include a pre-mixed stucco or a traditional mix of Portland cement, masonry sand, and water. If desired, incorporate stucco colorant into the mix to achieve the desired hue, ensuring that the color is consistent throughout the application.
2. Apply the Finish Coat: Using a clean masonry trowel, carefully apply the finish coat to the cured brown coat. Work methodically in small sections, spreading the stucco mix evenly to achieve the desired thickness, typically ranging from 1/8 to 1/4 inch. Pay close attention to achieving a uniform and smooth surface across the entire wall.
3. Texture and Finish: Depending on the desired aesthetic, texture the finish coat using a trowel, sponge, or other suitable tools to create the preferred surface texture. Whether opting for a smooth, swirled, or textured finish, ensure that the application is consistent and visually appealing, adding character to the stuccoed brick wall.
4. Maintain Proper Curing: After applying the finish coat, mist the surface with water to promote proper curing. Shield the wall from direct sunlight and rapid drying, allowing the finish coat to cure thoroughly and attain the strength and resilience necessary for long-term performance.
5. Final Inspection: Once the finish coat has cured, inspect the wall for uniformity, texture, and any imperfections. Address any areas that require touch-ups, ensuring that the finish coat achieves the desired visual impact and protective qualities.
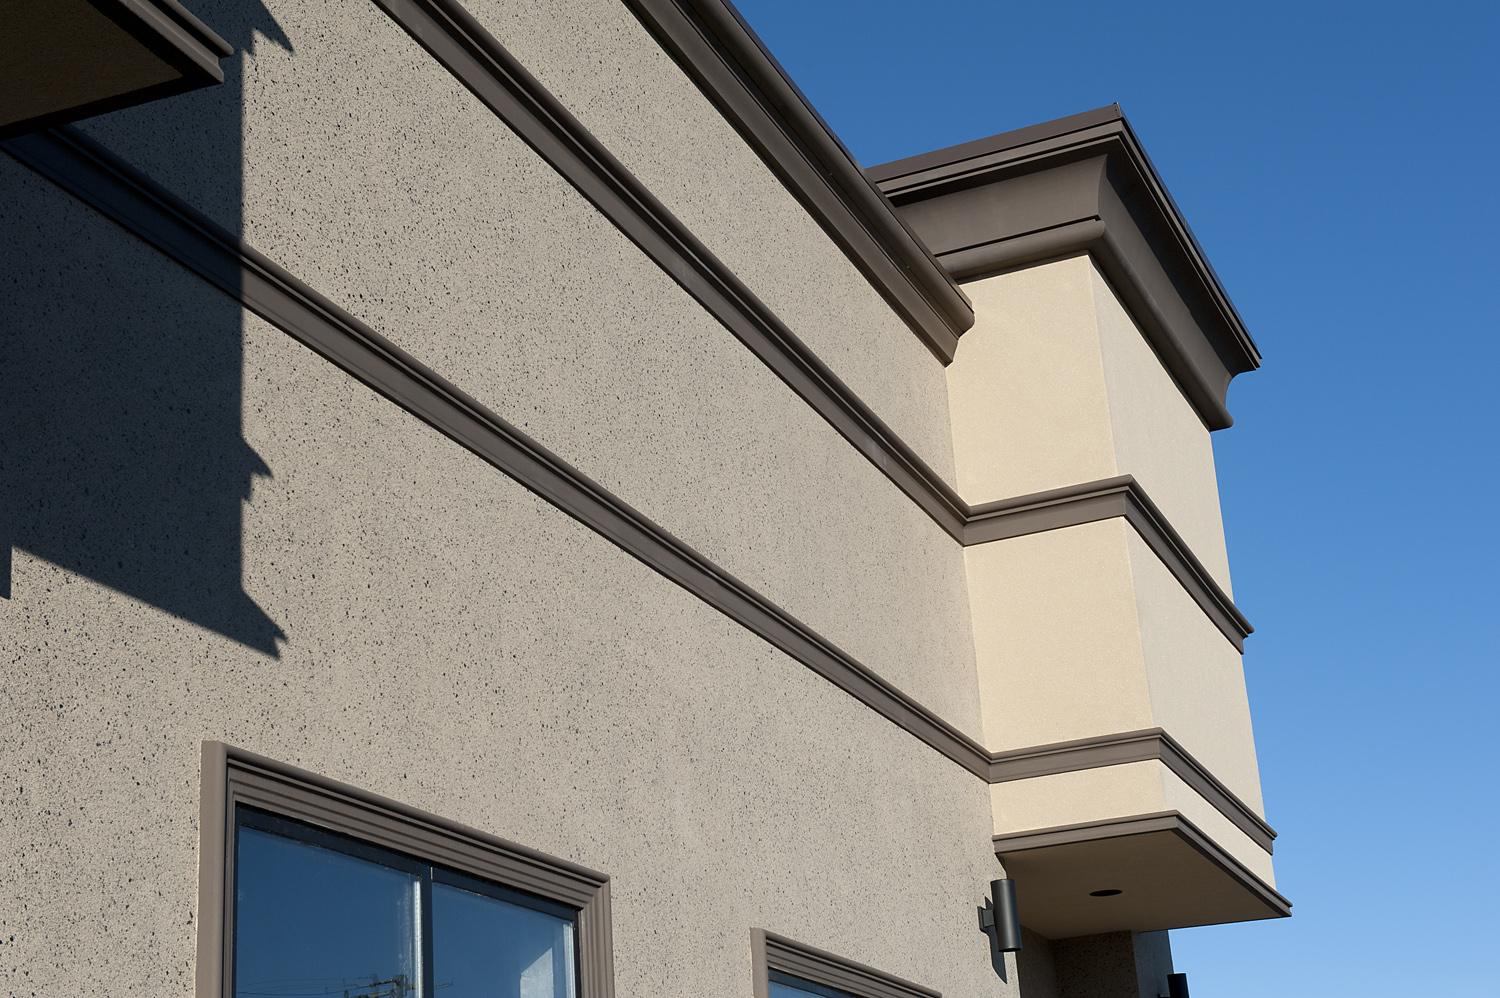
With the finish coat expertly applied, the stuccoed brick wall undergoes its final transformation, exuding a polished and enduring charm. The meticulous execution of the finish coat not only elevates the aesthetic appeal of the wall but also ensures its resilience and longevity, marking the completion of the stuccoing process.
Curing and Maintaining the Stucco Finish
Read more: How To Stucco Concrete Walls
Curing and Maintaining the Stucco Finish
Proper curing and ongoing maintenance are essential for preserving the integrity and visual appeal of the stuccoed brick wall. By following the appropriate curing practices and implementing regular maintenance, you can ensure the longevity and enduring beauty of the stucco finish. Here’s a comprehensive guide on curing and maintaining the stuccoed brick wall:
1. Allow Sufficient Curing Time: After applying the finish coat, allow the stucco to cure for the recommended period, typically around 7 to 10 days, depending on weather conditions. During this time, it’s crucial to keep the stucco damp by misting it with water several times a day to facilitate proper curing and prevent premature drying.
2. Protect the Stuccoed Surface: Shield the stuccoed wall from potential damage during the curing phase. Avoid leaning ladders or heavy equipment against the stucco, and prevent excessive moisture exposure from sprinklers or heavy rain, which could impede the curing process and compromise the finish.
3. Inspect for Cracks and Damage: After the initial curing period, inspect the stuccoed surface for any cracks, chips, or other damage. Address any issues promptly by repairing damaged areas with suitable stucco patching materials, ensuring that the surface remains intact and visually appealing.
4. Regular Cleaning and Maintenance: To preserve the stucco finish, periodically clean the surface using a gentle detergent and water to remove dirt, grime, and other contaminants. Avoid using abrasive materials or high-pressure washers, as these can damage the stucco. Additionally, inspect the wall for signs of mold or mildew, addressing any growth promptly to maintain the stucco’s pristine appearance.
5. Consider Sealing the Stucco: Depending on the desired level of protection and sheen, consider applying a suitable sealer to the stuccoed surface. A quality sealer can enhance the stucco’s resistance to moisture, UV exposure, and staining, prolonging the lifespan and visual allure of the finish.
By diligently following the recommended curing practices and implementing regular maintenance, you can uphold the stuccoed brick wall’s resilience and aesthetic appeal for years to come. The combination of proper curing and attentive maintenance ensures that the stucco finish remains a source of enduring beauty and protection, adding value and charm to the surrounding environment.
Conclusion
Conclusion
Stuccoing a brick wall is a transformative process that not only enhances the visual appeal of the surface but also provides lasting protection and durability. From preparing the wall to applying the scratch, brown, and finish coats, each step in the stuccoing process contributes to the creation of a resilient and aesthetically pleasing finish. By mastering the art of stucco application, you can elevate the character and value of your property while enjoying the enduring charm of a stuccoed brick wall.
Throughout this comprehensive guide, we’ve explored the essential materials, tools, and techniques needed to stucco a brick wall successfully. The meticulous preparation, application, and curing processes are crucial for achieving a professional-quality stucco finish that stands the test of time. Whether you’re embarking on a DIY project or seeking to collaborate with skilled professionals, the knowledge and insights shared here serve as a valuable resource for stucco enthusiasts and homeowners alike.
As the finish coat cures and the stuccoed wall comes to life, it becomes a testament to the timeless allure and enduring strength of stucco as a building material. The careful maintenance and periodic care further ensure that the stuccoed brick wall remains a captivating feature of your property, withstanding the elements and retaining its visual allure for years to come.
In conclusion, the art of stuccoing a brick wall is a blend of craftsmanship, creativity, and practicality, culminating in a surface that exudes character and resilience. Whether adorning the exterior of a home or enhancing an interior space, a stuccoed brick wall is a testament to the enduring appeal of this time-honored building material. Embrace the process, savor the transformation, and revel in the enduring beauty of your stuccoed brick wall.
Now that you've mastered stucco application on brick walls, why not explore other ways to spruce up walls around your home? Our next guide delves into various wall textures that can transform any space from bland to brilliant. Whether you're looking to add a subtle flair or make a bold statement, understanding different textures is key to achieving your desired ambiance. Don't miss out on our insights into creating eye-catching walls that reflect your unique style.
Frequently Asked Questions about How To Stucco A Brick Wall
Was this page helpful?
At Storables.com, we guarantee accurate and reliable information. Our content, validated by Expert Board Contributors, is crafted following stringent Editorial Policies. We're committed to providing you with well-researched, expert-backed insights for all your informational needs.


0 thoughts on “How To Stucco A Brick Wall”