Home>Furniture>Living Room Furniture>How To Redo A Coffee Table
Living Room Furniture
How To Redo A Coffee Table
Modified: March 16, 2024
Learn how to redo a coffee table in your living room with our step-by-step guide. Discover creative ideas for transforming your living room furniture and make a stunning statement.
(Many of the links in this article redirect to a specific reviewed product. Your purchase of these products through affiliate links helps to generate commission for Storables.com, at no extra cost. Learn more)
Introduction
When it comes to transforming your living room, one of the key pieces of furniture that can make a statement is the coffee table. This versatile and functional centerpiece has the power to tie together the entire room. But what do you do when your coffee table is looking a little lackluster and needs a revival? Fear not, because in this article, we will guide you through the process of redoing your coffee table to give it a fresh and updated look that will breathe new life into your living space.
Whether you want to change the color, apply a new finish, or add some decorative elements, redoing a coffee table is a creative and rewarding DIY project that anyone can tackle. Not only will it give your coffee table a makeover, but it will also provide an opportunity to showcase your personal style and creativity.
Before diving into the process, it’s important to prepare yourself and your workspace. Make sure to gather all the necessary materials and tools to ensure a smooth and efficient project. This may include sandpaper, paint or stain, brushes, a drop cloth or plastic sheeting to protect the surrounding area, and any additional decorative elements you wish to incorporate.
Next, assess the condition of your coffee table. Is it made of wood or another material? Does it have any existing finishes or coatings that need to be removed? These factors will determine the steps you need to take to properly prepare the surface for a successful transformation.
Now that you’re equipped with the right mindset and materials, it’s time to delve into the step-by-step process of redoing your coffee table. By following these instructions and infusing your personal touch, you’ll be amazed at the difference it can make in rejuvenating your living room.
So, let’s get started and dive into the first step: preparing the coffee table!
Key Takeaways:
- Revamp your coffee table by cleaning, sanding, and applying a new finish to showcase your personal style and creativity, transforming your living room centerpiece into a stunning focal point.
- Add decorative elements like hardware, stenciling, or seasonal decorations to elevate your coffee table’s aesthetic, making it a unique and personalized addition to your living room.
Read more: How To Redo A Table To Farmhouse Style
Preparing the Coffee Table
Before you can begin the transformation process, it’s crucial to properly prepare your coffee table. This step is vital in ensuring that the new finish adheres well and lasts for a long time. Here’s what you need to do:
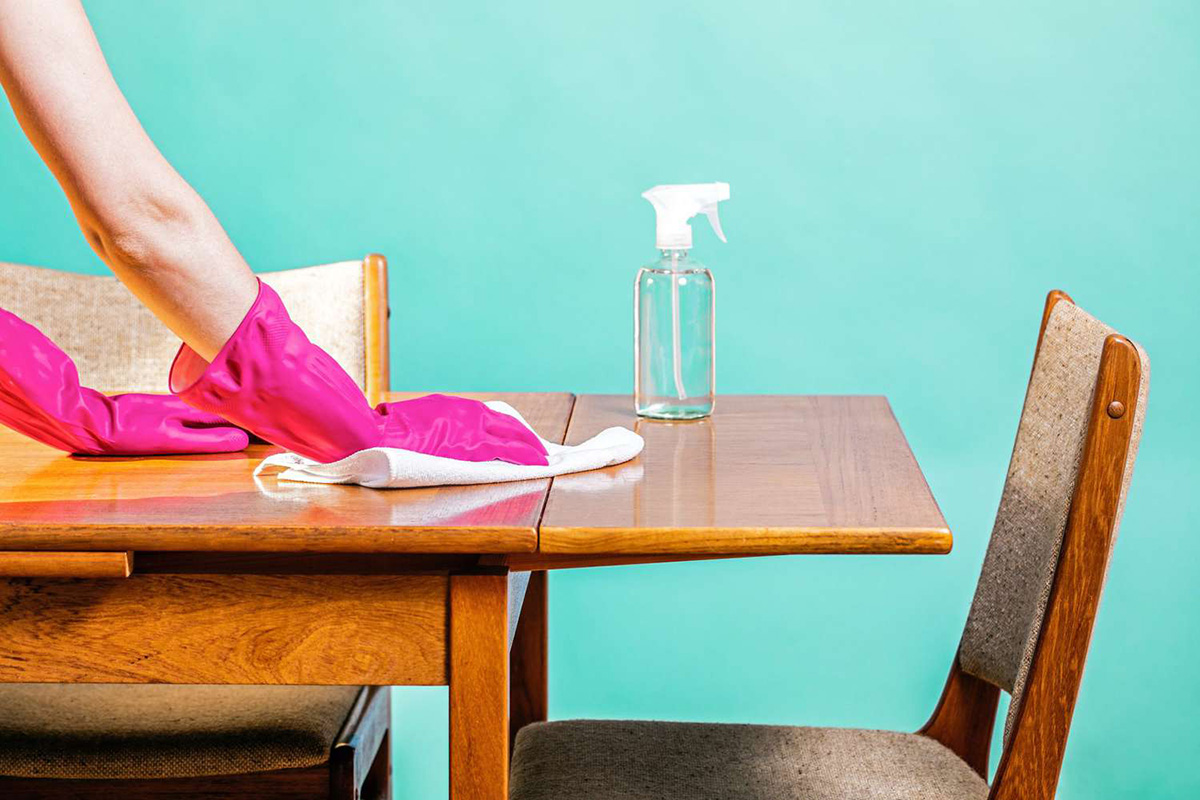
- Clean the surface: Start by removing any dust, dirt, or grime from the coffee table. Use a damp cloth or a mild cleaning solution to wipe down the entire surface. This will provide a clean canvas for the next steps.
- Remove existing finishes: If your coffee table has any existing finishes, such as varnish or paint, it’s important to remove them before applying a new one. This can be done using sandpaper, a paint stripper, or a chemical stripping agent. Follow the specific instructions provided with the product you choose, and make sure to work in a well-ventilated area.
- Repair any damages: Examine the coffee table for any scratches, dents, or chips. If you find any, fill them in with wood filler or epoxy putty and allow it to dry completely. Once dry, sand the repaired areas smooth, blending them seamlessly with the rest of the surface.
- Sand the entire surface: Sanding is an essential step in achieving a smooth and even finish. Use medium-grit sandpaper to gently sand the entire surface of the coffee table. This will help remove any remaining finishes, smooth out imperfections, and provide a roughened surface for better paint or stain adhesion. Always sand with the grain of the wood to avoid creating visible scratches.
- Clean up the dust: After sanding, use a tack cloth or a damp cloth to remove any sanding dust from the coffee table. Ensure that the surface is completely dry before moving on to the next step.
By following these steps, you’ll have a properly prepared coffee table ready for the next phase of the transformation process. Preparing the surface is crucial for achieving a professional-looking result, so take your time and ensure that each step is done thoroughly.
Sanding the Coffee Table
Once you have prepared the coffee table surface, the next step in transforming your coffee table is sanding. Sanding is a crucial step that helps to create a smooth and even surface for the new finish. Here’s how you can go about sanding your coffee table:
- Select the right sandpaper: Depending on the condition of your coffee table and the desired finish, choose the appropriate sandpaper grit. A medium-grit sandpaper, such as 120 to 150 grit, is generally suitable for sanding wooden coffee tables. For more worn-out surfaces or to remove old finishes, you may start with a coarser grit, such as 80 or 100, and gradually move to a finer grit for a smoother finish.
- Start sanding: Begin sanding the coffee table surface using steady and even strokes. Ensure that you follow the grain of the wood to avoid creating visible scratches. Apply moderate pressure, but be careful not to exert too much force that can damage the wood. Regularly check the surface to make sure you are achieving an even and smooth result.
- Paying attention to detail: Pay extra attention to the edges, corners, and intricate details of the coffee table. Use sandpaper folded or wrapped around a small block to reach tight or curved areas. Take your time to ensure all surfaces are evenly sanded and any rough spots are smoothed out.
- Switch to a finer grit: Once you have completed the initial sanding with the medium-grit sandpaper, switch to a finer grit sandpaper, such as 180 or 220. This finer sandpaper will help further refine the surface, removing any remaining imperfections and creating a smoother finish.
- Remove dust: After sanding, use a tack cloth or a clean, dry cloth to remove any sanding dust from the coffee table surface. You can also lightly vacuum the surface to ensure all the dust is removed. A clean surface is essential for the next steps of the transformation process.
Remember to take breaks during the sanding process to avoid strain and fatigue. It is also important to wear a dust mask or respirator to protect yourself from inhaling any dust particles.
By following these steps, you will be able to achieve a smooth and uniform surface, ready for the next phase of the coffee table transformation process: staining or painting.
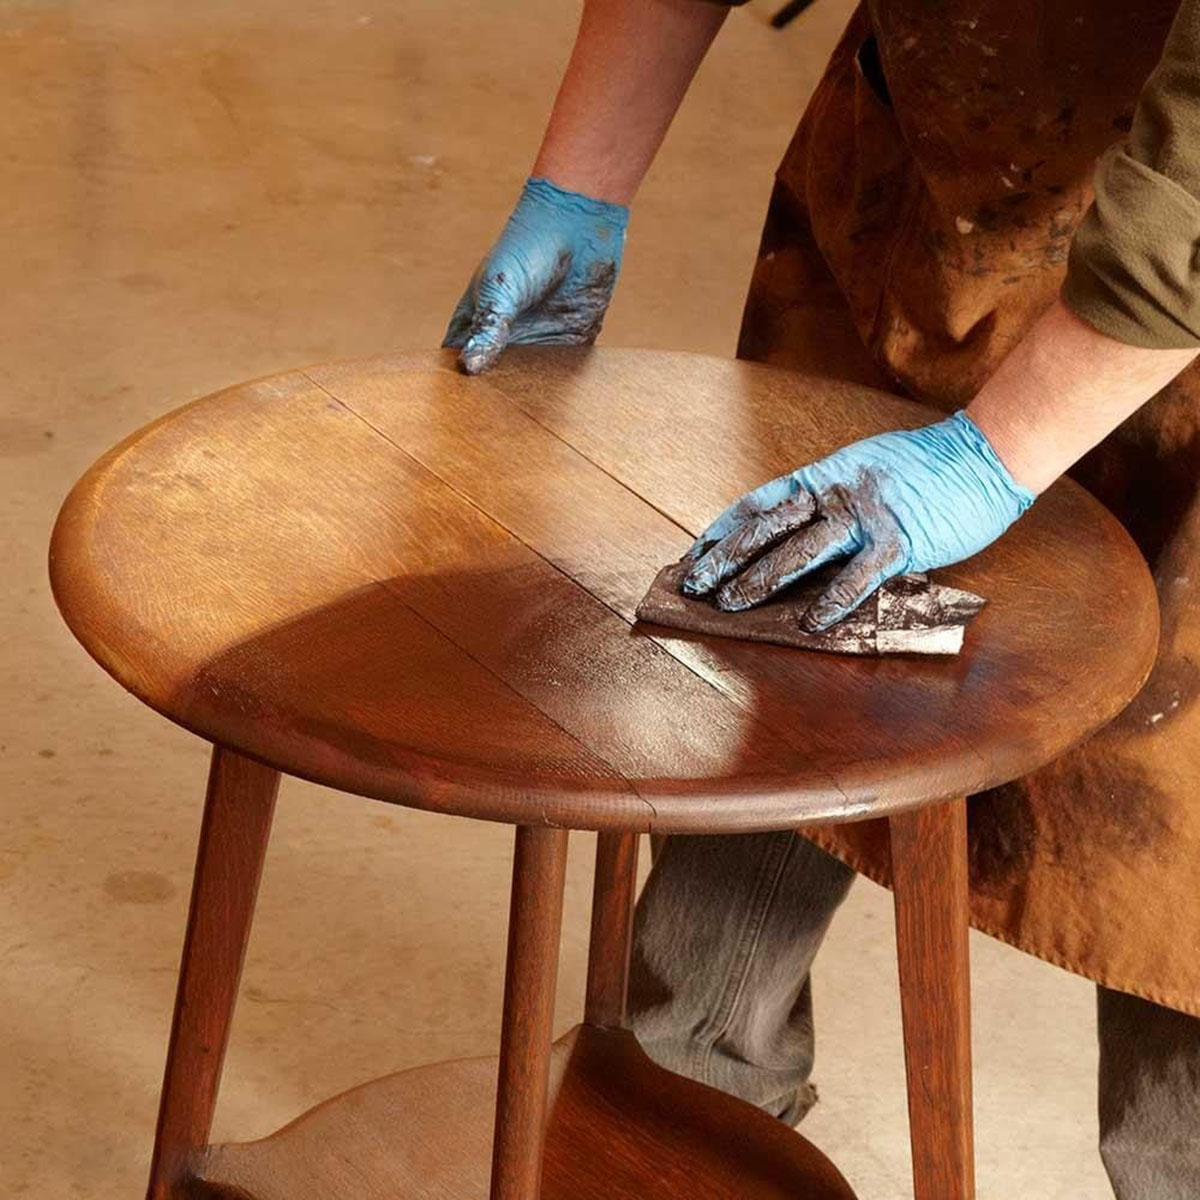
Staining or Painting the Coffee Table
Now that you have sanded and prepared the surface of your coffee table, it’s time to apply the new finish. Depending on your preferred aesthetic and the type of wood your coffee table is made of, you can choose between staining or painting. Here’s how to proceed with each option:
Staining:
Staining is an excellent choice if you want to enhance the natural beauty of the wood grain while adding depth and richness to the coffee table. Follow these steps to stain your coffee table:
- Select the right stain: Choose a wood stain that complements the desired look for your coffee table. Consider the color and opacity of the stain. Test the stain on a small, inconspicuous area of the coffee table or on a scrap piece of wood to ensure you achieve the desired shade.
- Apply the stain: Use a brush, sponge, or cloth to apply the stain evenly, working in the direction of the wood grain. Start with a small section and wipe off any excess stain with a clean cloth after a few minutes. Gradually work your way across the entire coffee table, ensuring consistent coverage.
- Allow drying and assess: Let the stain dry for the recommended time as specified by the manufacturer. Once dry, assess the color and determine if you need to apply an additional coat for a deeper hue. Apply additional coats if desired, allowing proper drying time between each coat.
- Apply a protective finish: To seal the stain and protect the coffee table, apply a clear polyurethane or varnish. Use a brush or foam applicator, and apply thin, even coats. Allow proper drying time between each coat, following the manufacturer’s instructions. Lightly sand between coats for a smooth finish.
Read more: How To Redo The Upholstery On Dining Chairs
Painting:
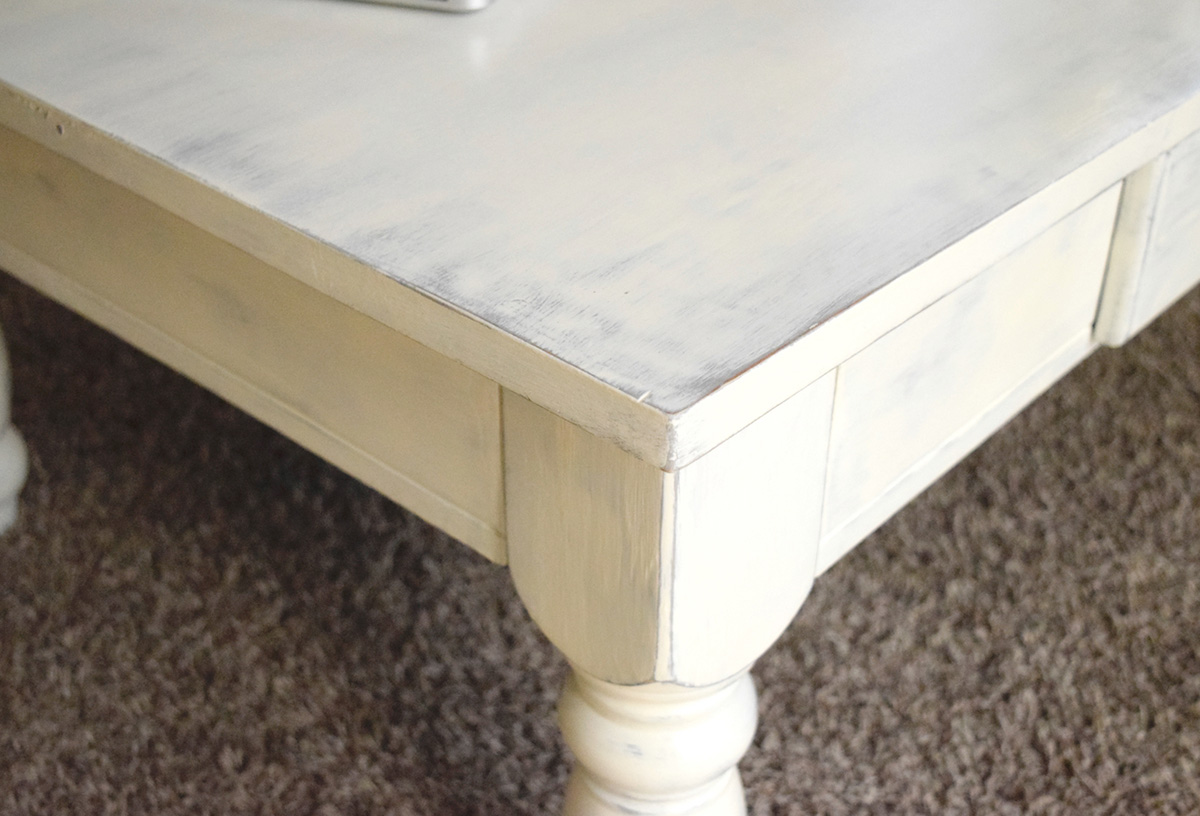
If you want a more dramatic look or want to add a pop of color to your living room, painting your coffee table is a great option. Follow these steps when painting your coffee table:
- Choose the right paint: Select a high-quality paint suitable for wooden surfaces. Consider the color and finish you desire, whether it’s matte, satin, or glossy. Also, take into account the type of paint, such as latex or oil-based, based on your preferences and the durability you are seeking.
- Apply a primer: For better adhesion and coverage, it is recommended to apply a coat of primer. Use a brush or roller to apply an even layer of primer to the coffee table surface. Allow the primer to dry according to the manufacturer’s instructions.
- Start painting: Once the primer is dry, apply the paint using a brush, roller, or sprayer. Start from the edges and work your way toward the center, ensuring consistent coverage. Apply thin coats and let each coat dry before applying the next one. Sand lightly between coats for a smoother finish.
- Protect with a topcoat: To protect the painted surface and improve its longevity, apply a clear topcoat. Choose a polyurethane or varnish suitable for painted surfaces and apply thin, even coats. Follow the manufacturer’s instructions regarding drying time and sanding between coats.
Whether you choose to stain or paint, remember to work in a well-ventilated area and protect the surrounding space from any potential drips or spills. Additionally, follow the instructions provided by the manufacturer regarding safety precautions, drying times, and application techniques.
Once the stain or paint is dry and you are satisfied with the finish, you can move on to the next phase: applying a protective finish.
Applying a Protective Finish
After staining or painting your coffee table, it’s essential to apply a protective finish to ensure its longevity and durability. The protective finish acts as a barrier against everyday wear and tear, spills, and scratches. Here’s how you can apply a protective finish to your coffee table:
- Select the right finish: There are various options for protective finishes, such as polyurethane, varnish, lacquer, or wax. Consider the level of sheen and the level of protection you desire. Choose a finish that is specifically recommended for the type of finish you applied (stain or paint).
- Prepare the coffee table: Before applying the protective finish, ensure that the surface is clean and free from any dust, debris, or fingerprints. You can use a tack cloth or a damp cloth to wipe down the coffee table, and allow it to dry completely.
- Apply the protective finish: Use a high-quality brush or foam applicator to apply thin and even coats of the protective finish. Working in the direction of the wood grain, start from one end and move to the other, ensuring full coverage. Avoid applying too much finish at once, as it can lead to drips or uneven results.
- Allow drying and sanding: Follow the manufacturer’s instructions regarding the drying time of the protective finish. Once dry, lightly sand the surface with fine-grit sandpaper to remove any imperfections and create a smooth finish. Wipe away any dust with a clean, dry cloth before applying subsequent coats.
- Apply additional coats: Depending on the type of protective finish you chose and the level of protection you desire, you may need to apply multiple coats. Typically, 2-3 coats are sufficient, but it’s essential to refer to the manufacturer’s recommendations for the specific product you’re using.
- Final sanding and buffing: After applying the final coat of protective finish, let it dry completely. Then, lightly sand the surface again with fine-grit sandpaper to ensure a smooth and flawless finish. Finally, use a clean, soft cloth to buff the surface gently, giving it a polished appearance.
Remember to work in a well-ventilated area while applying the protective finish and follow all safety precautions mentioned by the manufacturer. It’s also important to allow sufficient drying time between each coat to achieve optimal results.
Once the protective finish is dry and the coffee table is looking stunning with its newly added luster and protection, you can consider adding some decorative elements to further enhance its visual appeal.
Sand the surface of the coffee table before applying any new finish to ensure a smooth and even result. Use a fine-grit sandpaper and work in the direction of the wood grain for best results.
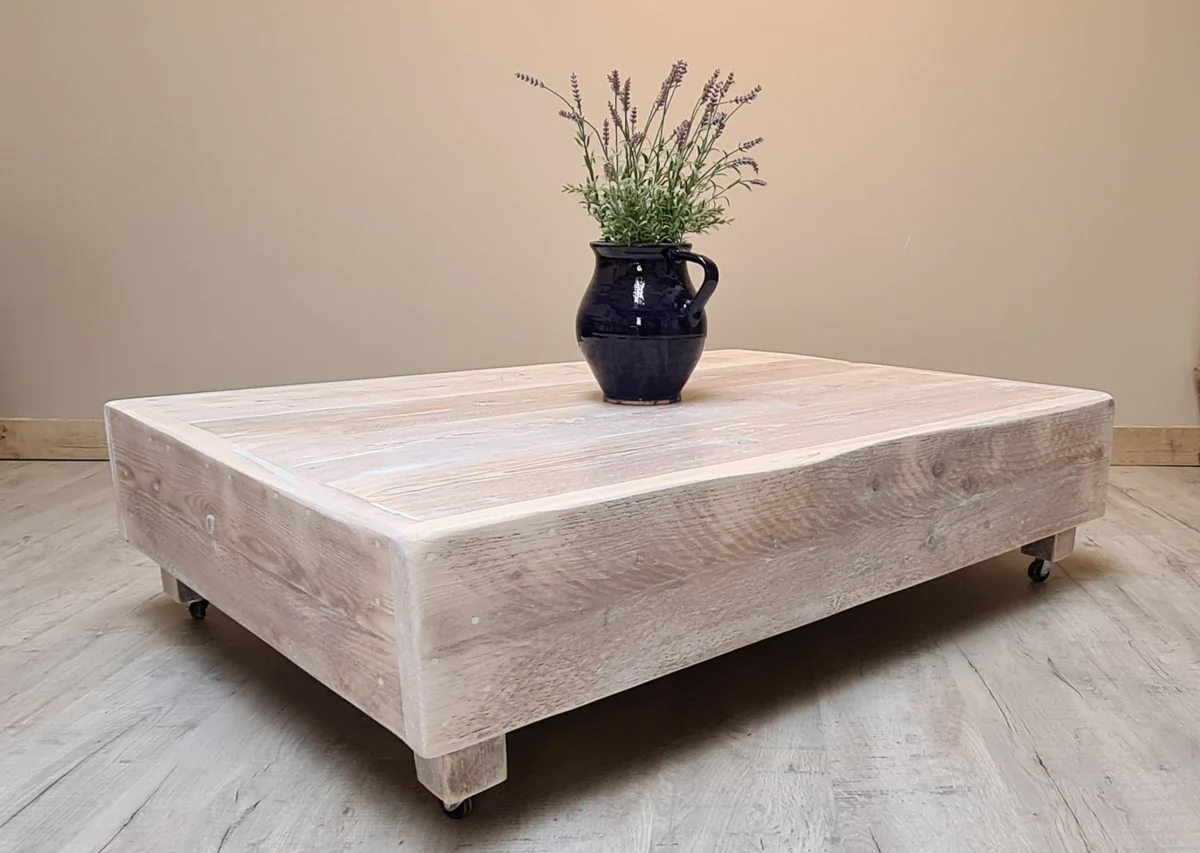
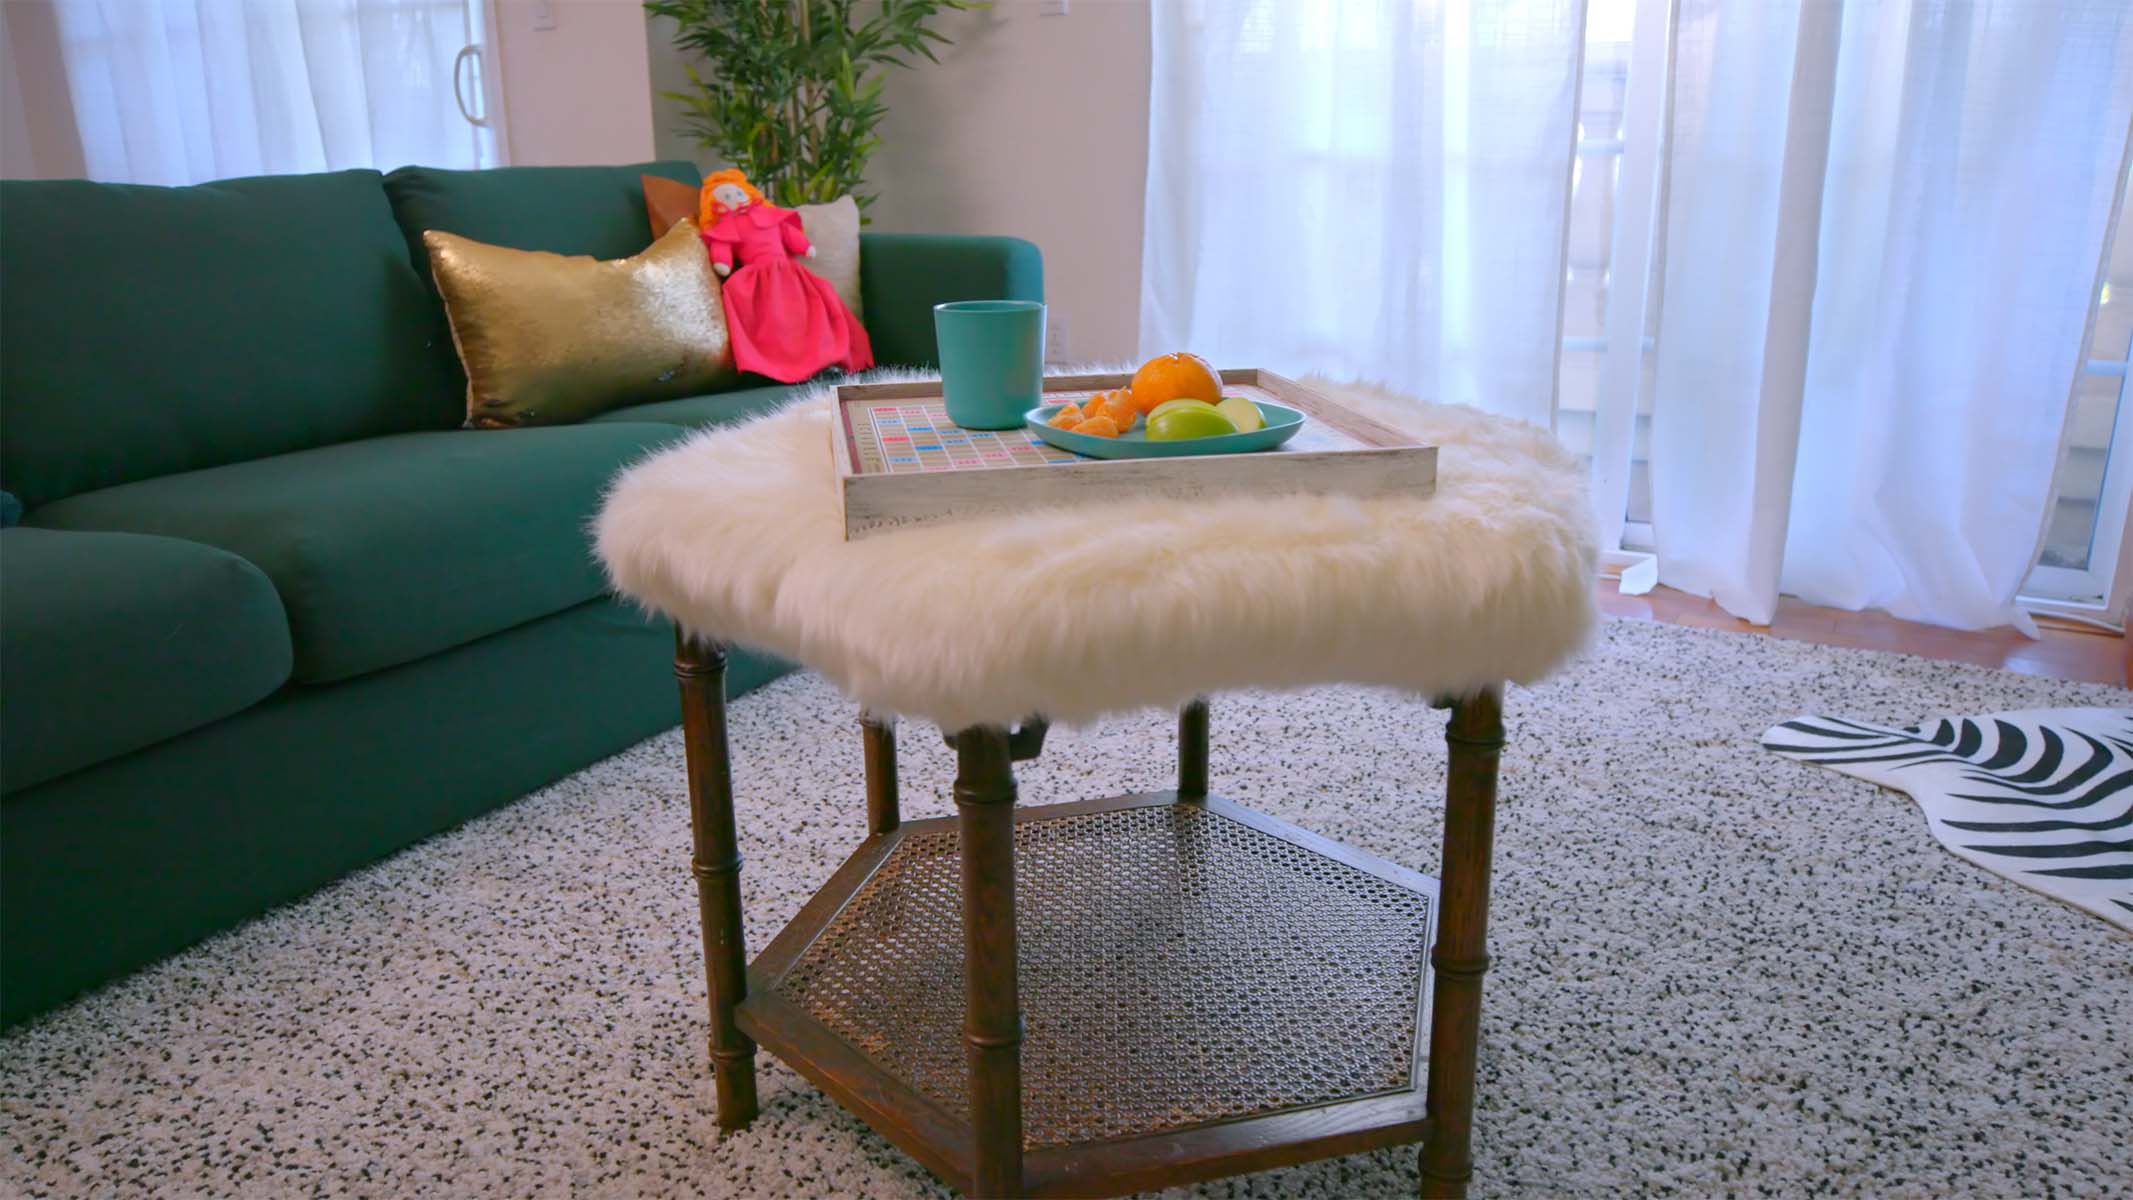
Adding Decorative Elements (Optional)
After completing the main steps of redoing your coffee table, you may choose to take your project to the next level by incorporating some decorative elements. Adding these finishing touches can elevate the overall aesthetic and make your coffee table truly unique. Here are a few optional decorative elements you can consider:
- Hardware: If your coffee table has drawers or doors, consider replacing the existing hardware with new knobs or handles. Opt for styles that complement the design and finish of your coffee table, whether it’s modern, rustic, or vintage-inspired. This simple update can give your coffee table a fresh and customized look.
- Stenciling or decoupage: Get creative by stenciling or decoupaging designs onto the coffee table surface. You can use stencils to create intricate patterns or motifs, or choose decoupage to attach decorative papers, fabric, or even photographs that reflect your personal style and interests. Make sure to seal the stenciled or decoupaged area with an additional layer of protective finish.
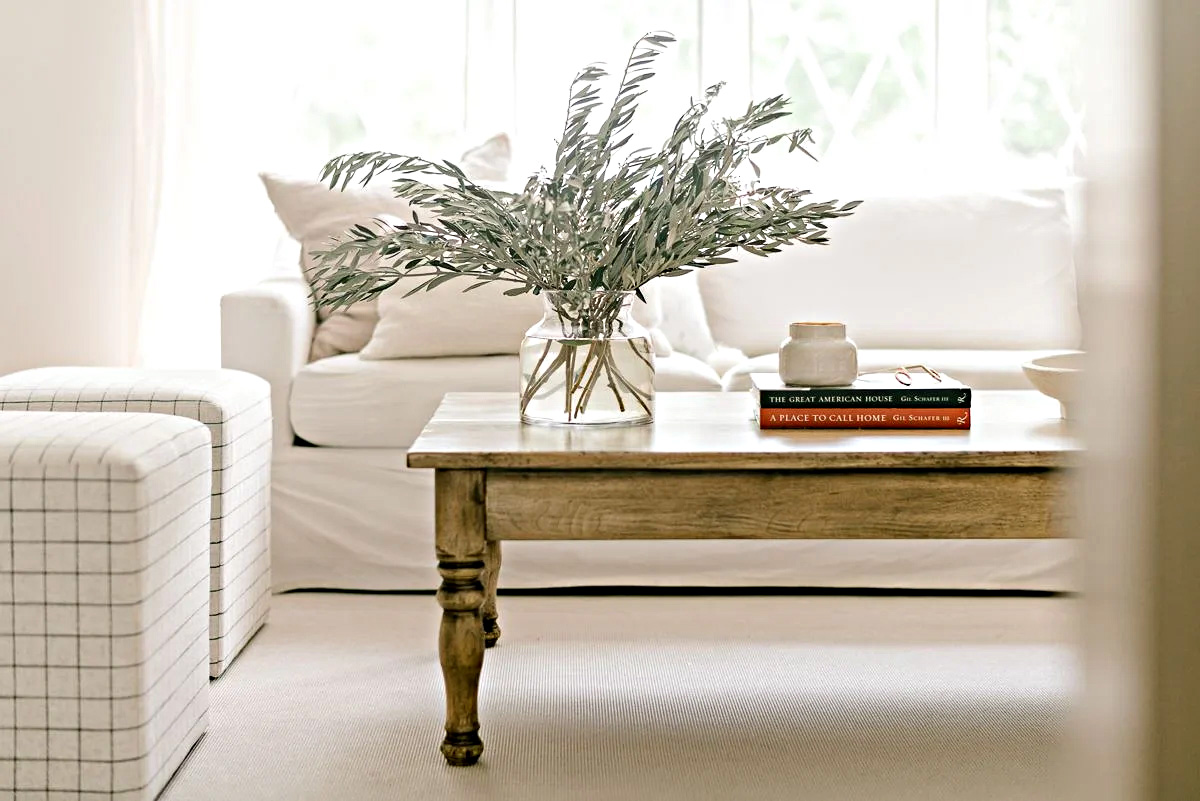
- Trays or decorative objects: Place a decorative tray on your coffee table and arrange it with curated objects such as candles, small plants, books, or sculptures. This not only adds visual interest but also provides a practical and organized way to display items.
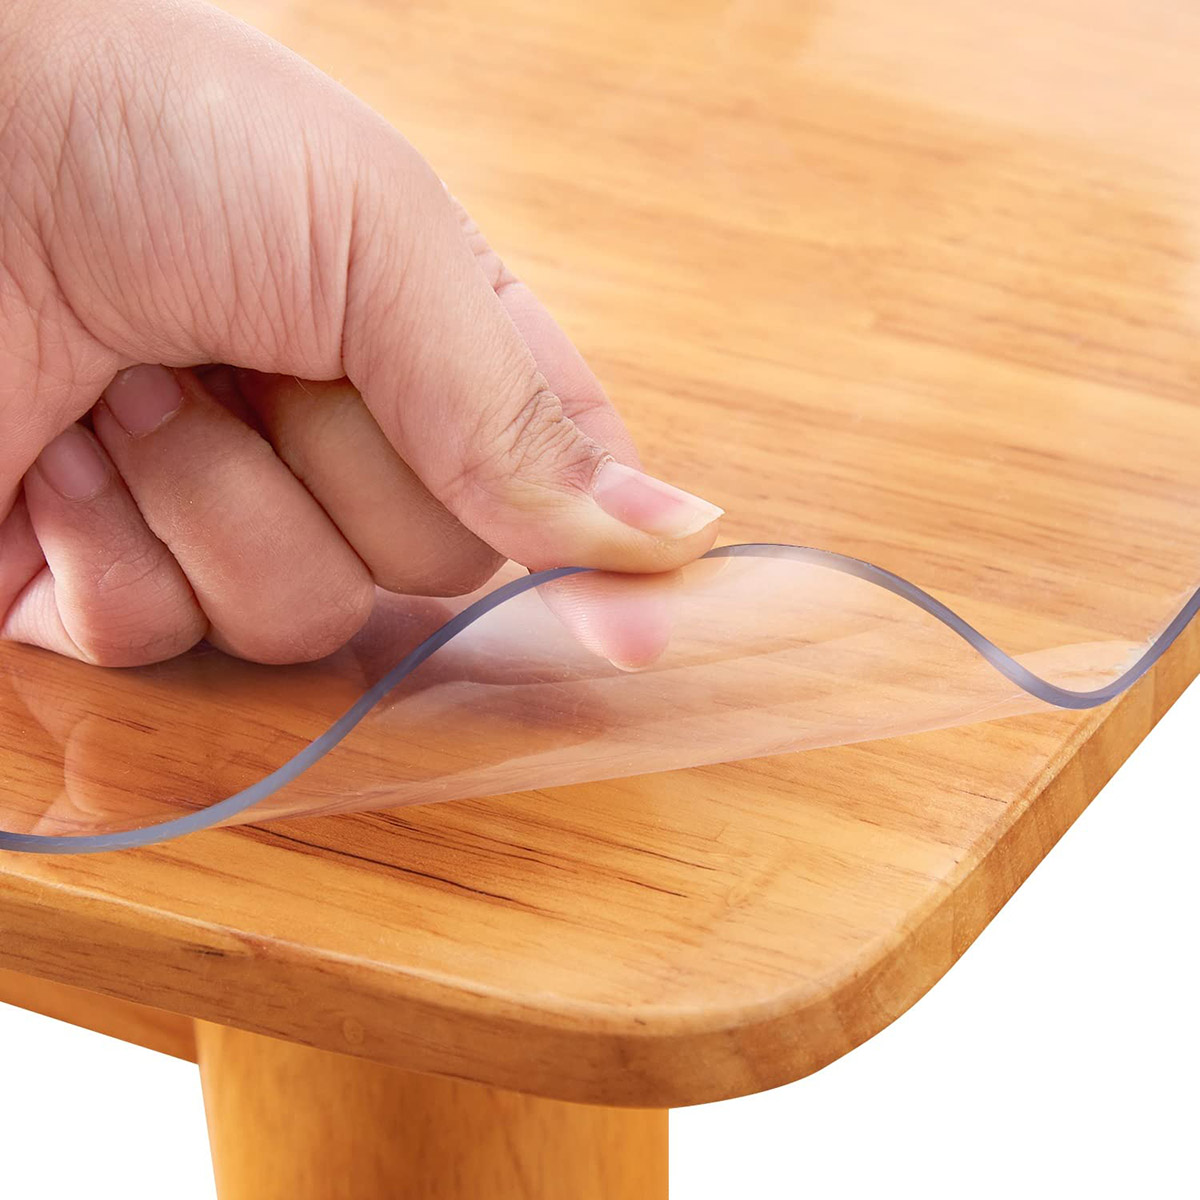
- Coasters or placemats: Protect your newly refurbished coffee table by using coasters or placemats. Look for stylish options that coordinate with your decor while serving their function of preventing damage from heat, spills, and scratches.
- Table runner or cloth: Dress up your coffee table by adding a table runner or cloth. This decorative fabric can add texture, color, and style to your table while also protecting the surface from scratches and spills.
- Seasonal decorations: Change up the look of your coffee table throughout the year by incorporating seasonal decorations. For example, during the holidays, you can add festive ornaments, garlands, or themed decorations. This small touch can bring a joyful and festive atmosphere to your living room.
The choice of decorative elements is entirely up to you and your personal taste. Experiment with different ideas and see what resonates with your style and the overall theme of your living room. These optional decorative elements can add personality and character to your coffee table, making it a true focal point in your living room.
Once you have added the desired decorative elements, step back and admire your newly transformed coffee table. Take pride in the work you have done, knowing that you have not only breathed new life into a piece of furniture but also imbued your living room with your own personal style and creativity.
Final Thoughts
Congratulations on successfully redoing your coffee table! By following the steps outlined in this article, you have transformed a tired and lackluster piece of furniture into a stunning focal point for your living room. Whether you chose to stain or paint, apply a protective finish, or add decorative elements, your coffee table now reflects your personal style and enhances the overall ambiance of your living space.
It’s important to remember that the process of redoing a coffee table is not only about the end result but also about the journey. Embrace the opportunity to tap into your creativity, experiment with different techniques, and enjoy the satisfaction of a DIY project accomplished.
As you continue to enjoy your newly transformed coffee table, keep in mind some general maintenance tips to ensure its longevity:
- Clean regularly: Regularly dust and clean your coffee table using a soft, lint-free cloth or a microfiber cloth. Avoid using harsh chemicals or abrasive cleaners that can damage the finish. Instead, opt for mild soap and water for gentle cleaning.
- Use coasters and trivets: Protect the surface of your coffee table by using coasters for drinks and trivets for hot items. This will prevent water rings and heat damage.
- Avoid direct sunlight: Prolonged exposure to direct sunlight can fade the finish of your coffee table. Consider using curtains or blinds to protect it from excessive sunlight.
- Handle with care: Treat your coffee table with care to avoid unnecessary scratches or dents. Use caution when placing or moving heavy objects to prevent damaging the surface.
- Touch-up as needed: Over time, your coffee table may experience minor wear and tear. Keep extra paint or stain for touch-ups and apply as needed to maintain its appearance.
By implementing these maintenance practices, you can ensure that your coffee table continues to shine and be a cherished piece in your living room for years to come.
Remember, the process of redoing a coffee table is not limited to just one time. It is an ongoing opportunity to update and refresh the look of your living room. Allow yourself to be inspired and let your creativity flow as you consider other ways to transform your coffee table or other furniture pieces.
Enjoy the satisfaction and pride that comes with transforming a piece of furniture with your own hands. Your renewed coffee table not only enhances the beauty of your living space but also serves as a reflection of your personal style and creative expression.
Here’s to many enjoyable moments spent around your revamped coffee table!
Frequently Asked Questions about How To Redo A Coffee Table
Was this page helpful?
At Storables.com, we guarantee accurate and reliable information. Our content, validated by Expert Board Contributors, is crafted following stringent Editorial Policies. We're committed to providing you with well-researched, expert-backed insights for all your informational needs.


0 thoughts on “How To Redo A Coffee Table”