Home>Furniture>Outdoor Furniture>How To Edge A Paver Patio
Outdoor Furniture
How To Edge A Paver Patio
Modified: March 7, 2024
Learn how to edge your paver patio with ease and create the perfect outdoor furniture space. Enhance your outdoor living area today!
(Many of the links in this article redirect to a specific reviewed product. Your purchase of these products through affiliate links helps to generate commission for Storables.com, at no extra cost. Learn more)
Introduction
Welcome to this comprehensive guide on how to edge a paver patio. If you’re looking to enhance the beauty and functionality of your outdoor space, edging your patio can make a significant difference. Edging not only adds a neat and finished look to your patio but also helps to contain the pavers and prevent them from shifting over time.
Whether you’re a seasoned DIY enthusiast or a beginner, this step-by-step guide will walk you through the process of edging a paver patio. By following these instructions, you’ll be able to create a professional-looking patio that will enhance the overall appeal of your outdoor area.
Before we dive into the specifics, it’s important to gather the necessary tools and materials for the project. This will ensure that you have everything you need on hand when you’re ready to begin. Here is a list of the essential tools and materials:
- Edging material: There are various types of edging materials available, such as plastic or metal. Choose a material that suits your design preferences and climate.
- Shovel: A shovel will be needed to excavate the area where the edging will be installed.
- Level: A level will help ensure that the patio surface is even and properly aligned.
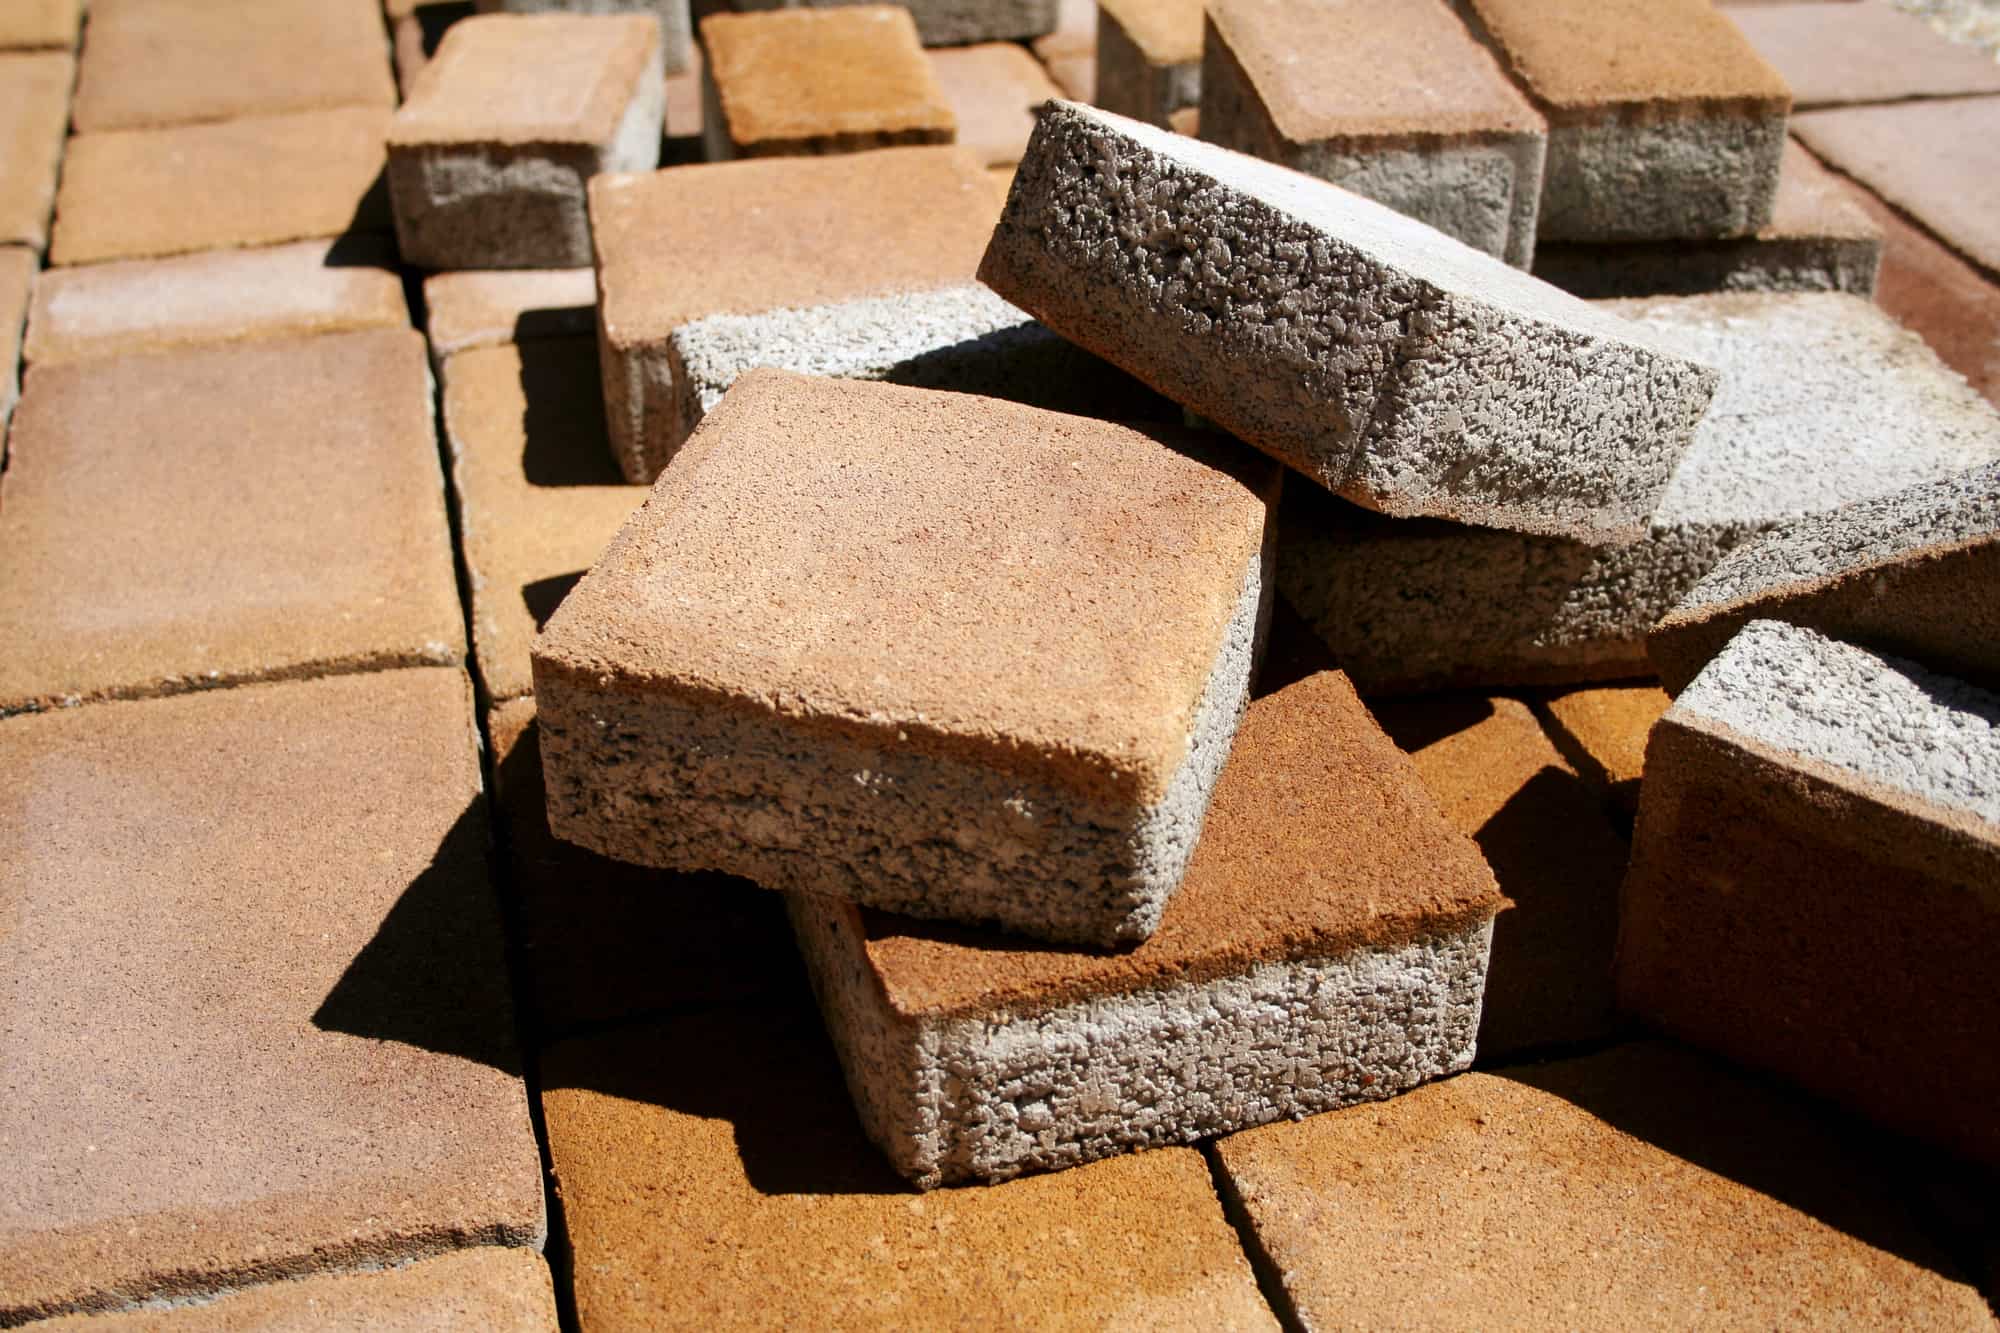
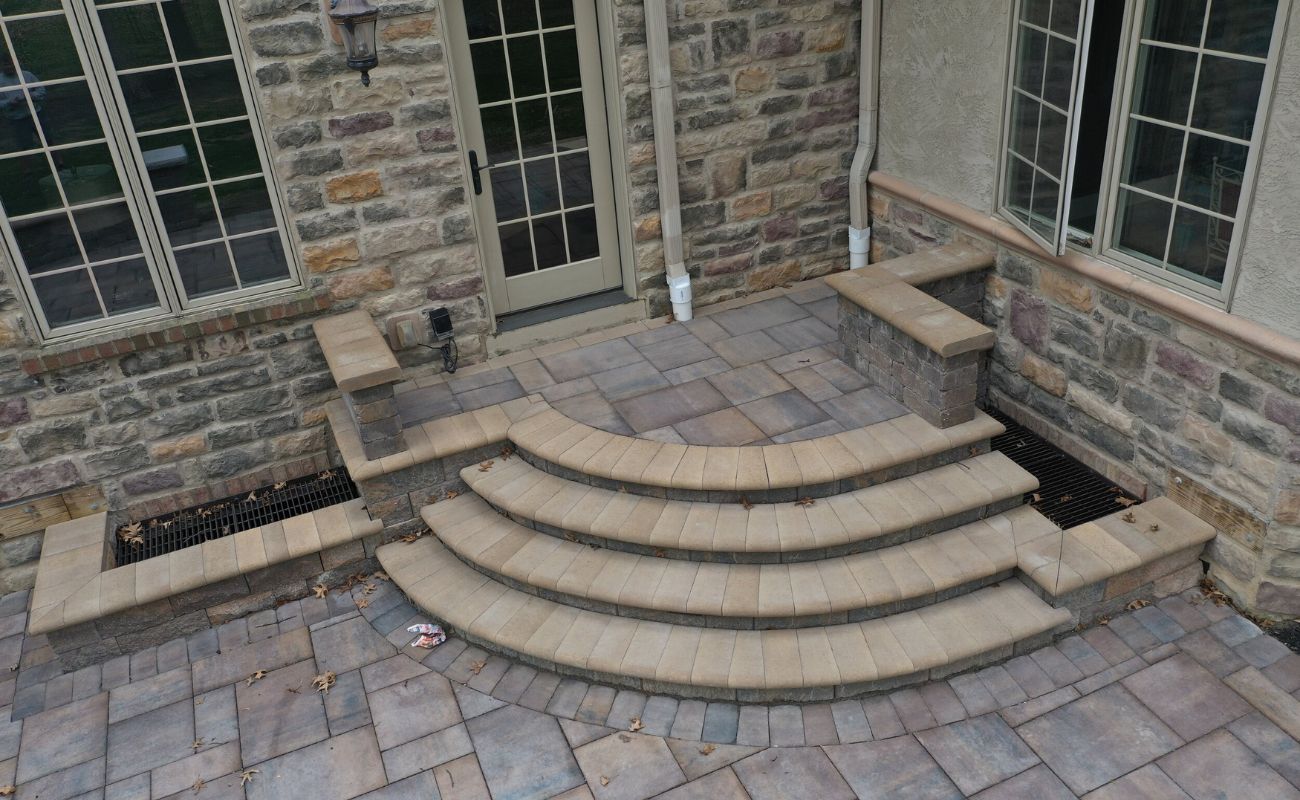
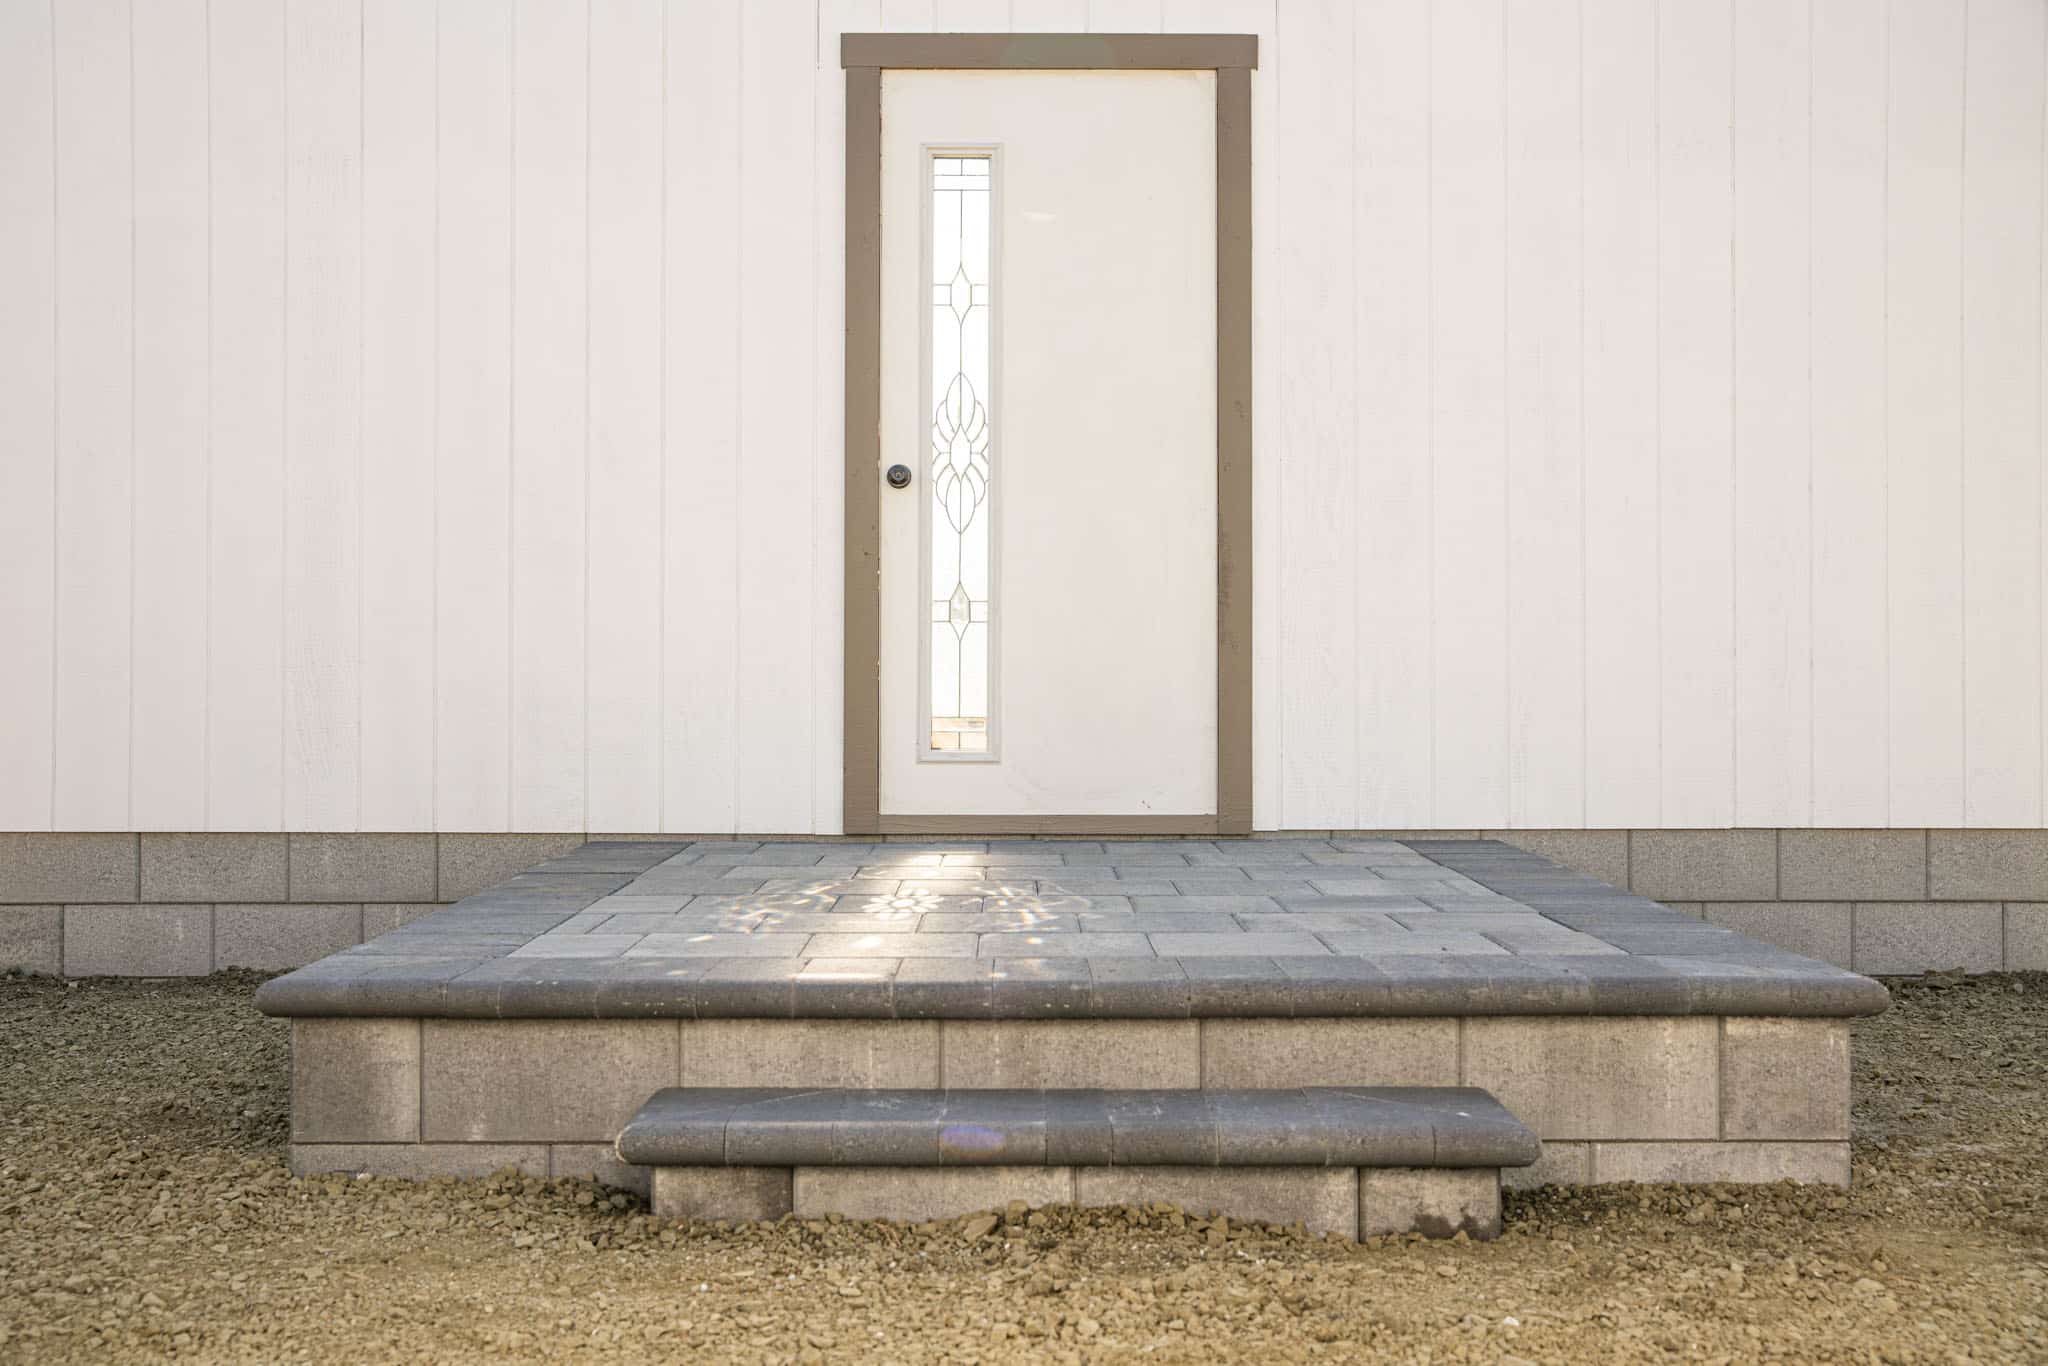
- Paver stones: Select the type and style of paver stones that will complement your outdoor space.
- Sand: Joint sand is used to fill in the gaps between the paver stones.
- Compactor: A compactor or tamper is necessary to compact the patio base and settle the pavers.
- Saw or paver splitter: Depending on the design of your patio, you may need to cut or trim paver stones to fit specific areas.
- Cleaning supplies: You’ll want to have a broom and a hose or pressure washer to clean the patio surface.
- Sealer: Applying a sealer will help protect the paver stones and prolong their lifespan.
Now that you have all the necessary tools and materials, let’s move on to the next step: preparing the area for edging. Stay tuned for Step 2!
Key Takeaways:
- Edging a paver patio involves gathering tools, preparing the area, installing edging material, leveling and compacting the base, laying paver stones, and sealing the patio for a beautiful and durable outdoor space.
- Proper maintenance, such as regular cleaning and resealing, is essential for preserving the beauty and functionality of a paver patio. Following the ten-step process ensures a stunning and long-lasting outdoor area.
Read more: What Are Pavers For Patio
Step 1: Gather the Necessary Tools and Materials
Before you begin edging your paver patio, it’s crucial to gather all the tools and materials you’ll need for the project. Having everything on hand will ensure a smooth and efficient process. Here is a detailed list of the essential tools and materials:
- Edging Material: The first item on the list is the edging material itself. There are various options to choose from, such as plastic or metal. Plastic edging is cost-effective and easy to work with, while metal edging offers durability and a sleek appearance. Consider your design preferences and climate when selecting the right material for your patio.
- Shovel: A shovel is essential for excavating the area where the edging will be installed. It’s important to remove any existing grass, plants, or debris to create a clean and level surface.
- Level: A level is a crucial tool for ensuring that the patio surface is even and properly aligned. It will help you avoid any uneven areas that could cause problems down the line.
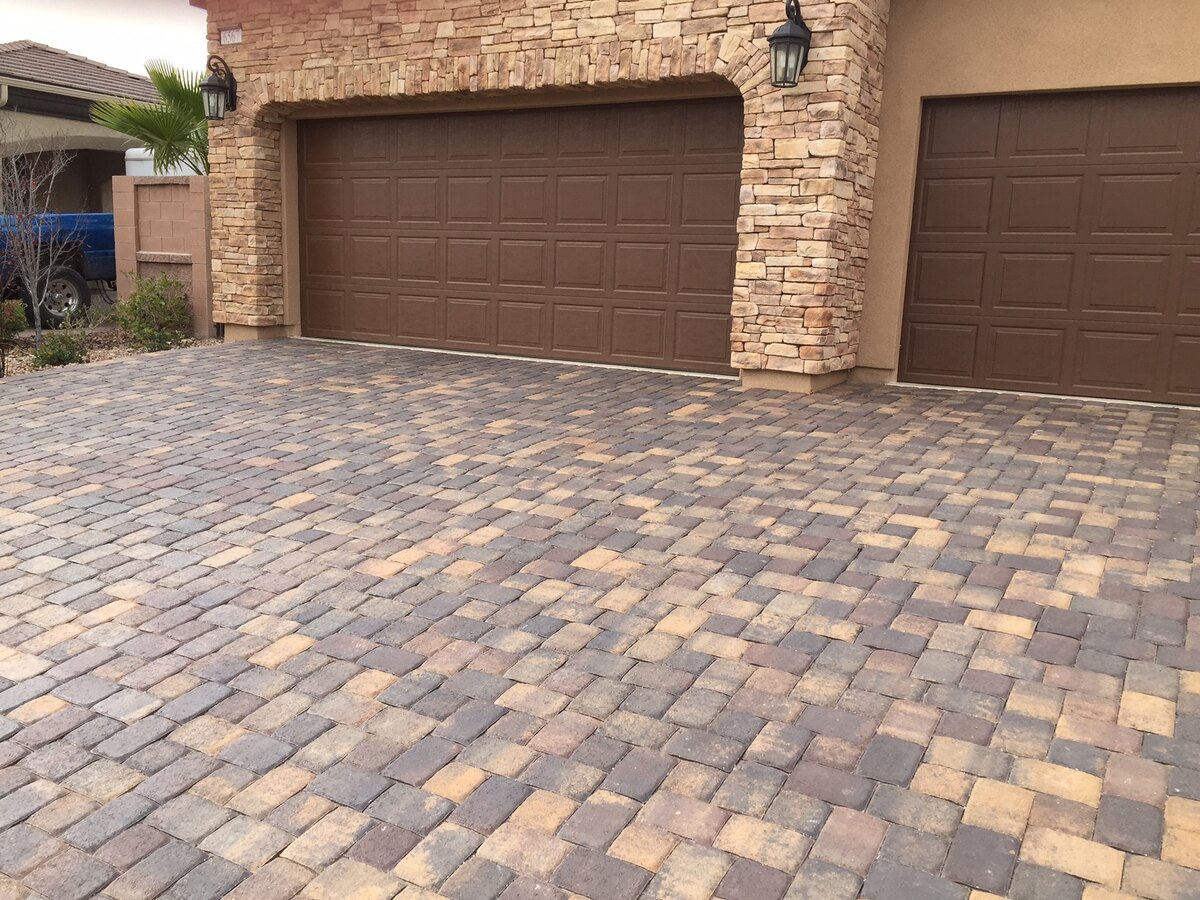
- Paver Stones: Choose the type and style of paver stones that will complement your outdoor space. Paver stones come in various materials, shapes, sizes, and colors, so you’ll have plenty of options to create a patio that suits your aesthetic preferences.
- Sand: Joint sand is used to fill in the gaps between the paver stones and create a stable surface. It’s important to use the correct type of sand, such as polymeric sand, which hardens when wet and helps prevent weed growth and erosion.
- Compactor: A compactor or tamper is necessary for compacting the patio base and settling the paver stones. This step is crucial to ensure a solid and stable patio surface that will withstand the test of time.
- Saw or Paver Splitter: Depending on the design of your patio, you may need to cut or trim paver stones to fit specific areas. A saw or paver splitter will come in handy for these tasks. Remember to wear protective eyewear and follow safety precautions when using these tools.
- Cleaning Supplies: Once the patio is complete, you’ll want to clean the surface to remove any debris, dirt, or excess sand. A broom and a hose or pressure washer will help you achieve a clean and polished finish.
- Sealer: Applying a sealer to the paver stones is an optional but beneficial step. A sealer helps protect the pavers from stains, fading, and damage caused by UV rays and weather conditions. It also enhances the color and appearance of the stones, giving them a fresh and vibrant look.
By ensuring that you have all the necessary tools and materials before you begin, you’ll be well-prepared to tackle the next steps in edging your paver patio. Remember to prioritize safety and follow the manufacturer’s instructions for any tools or materials you’re using. Now that you’re fully equipped, let’s move on to Step 2: preparing the area for edging.
Step 2: Prepare the Area for Edging
Now that you have gathered all the necessary tools and materials, it’s time to prepare the area for edging your paver patio. This step is crucial for creating a solid foundation and ensuring a successful installation. Follow these steps to prepare the area:
- Mark the Area: Use stakes and string or spray paint to mark the outline of your patio. This will give you a clear visual of the area you’ll be working with and help you stay on track during the excavation process.
- Excavate the Area: Use a shovel to remove any existing grass, plants, or debris within the marked area. Dig down to a depth of around 6 inches to allow room for the base material and pavers.
- Ensure Proper Slope: To prevent water from pooling on your patio, it’s important to incorporate a slight slope into the excavation. Aim for a slope of around 1/8 inch per linear foot, directing water away from your home or any other structures.
- Compact the Soil: Once the area has been excavated and shaped, use a compactor or tamper to compact the soil. This will create a solid and stable base for your patio.
- Add Base Material: Spread a layer of base material, such as crushed stone or gravel, over the compacted soil. This layer should be around 2 to 4 inches thick and will provide additional stability for your patio.
- Compact the Base Material: Use the compactor or tamper to compact the base material, ensuring that it is evenly distributed and firmly packed.
- Check for Level: Use a level to verify that the base material is level and even. Make any necessary adjustments to ensure a smooth and uniform surface.
- Install Landscape Fabric: To prevent weed growth and maintain the integrity of your patio, consider installing landscape fabric over the base material. This barrier will help keep weeds at bay while allowing proper drainage.
By properly preparing the area for edging, you are setting the foundation for a durable and long-lasting patio. Take your time during this step to ensure that the excavation is done accurately, the surface is properly sloped, and the base material is compacted thoroughly. With a solid foundation in place, you’re ready to move on to installing the edging material in Step 3.
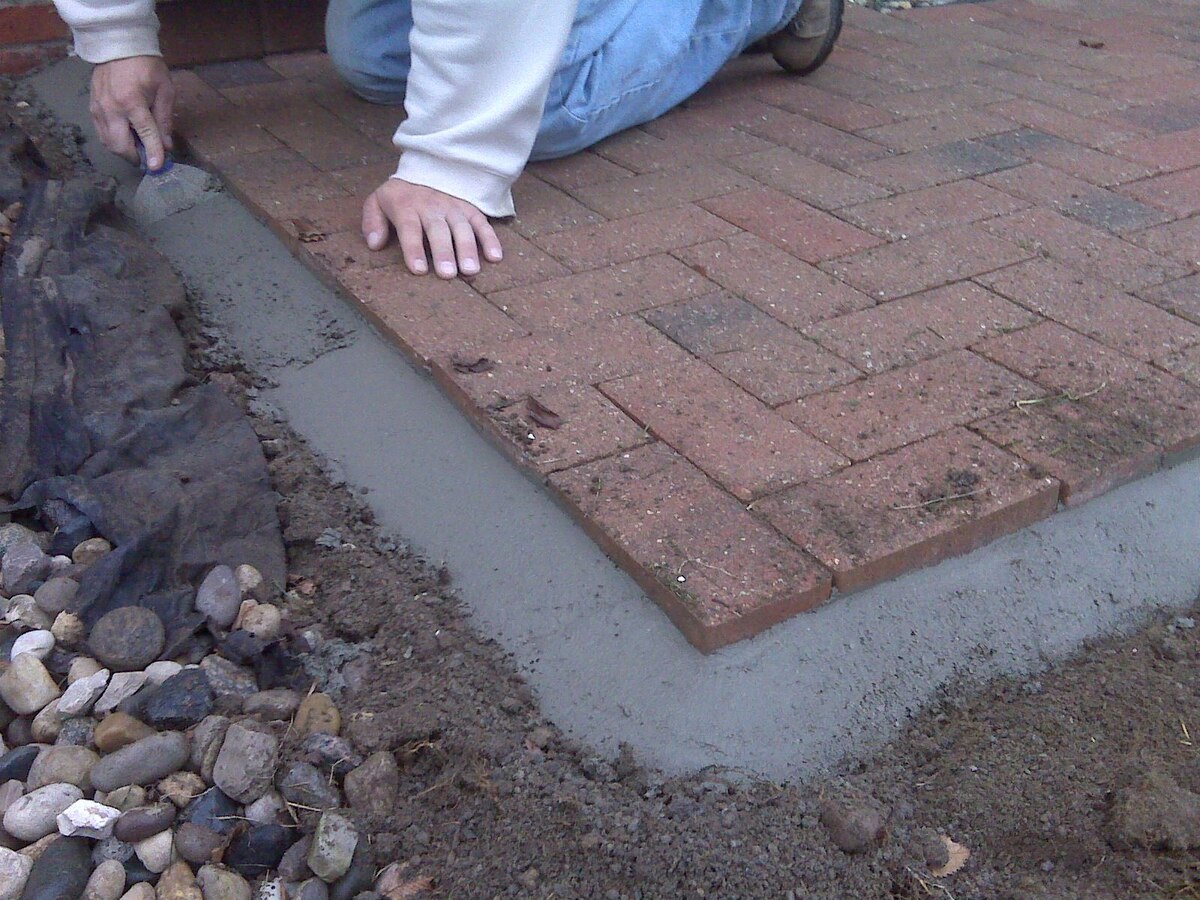
Step 3: Install the Edging Material
With the area prepared and the base material in place, it’s time to move on to installing the edging material for your paver patio. The edging will create a clean separation between the patio area and the surrounding landscape, providing a defined edge and preventing the pavers from shifting. Follow these steps to install the edging material:
- Select the Edging Material: Choose the type of edging material that best suits your design preferences and climate. Plastic and metal edging are popular choices, each with its own advantages. Plastic edging is lightweight, easy to install, and budget-friendly, while metal edging offers durability and a sleek appearance.
- Measure and Cut: Use a tape measure to determine the length of each section of edging material. With this measurement, use a saw or utility knife to cut the edging to the appropriate size.
- Place the Edging: Position the edging material along the perimeter of the patio, ensuring that it sits flush against the base material. Straight edges can be installed by simply pushing them into the ground, while flexible edging can be bent to conform to curved sections of your patio.
- Drive Anchoring Stakes: To secure the edging in place, drive anchoring stakes at regular intervals along the length of the edging material. Hammer the stakes into the ground at a slight angle, ensuring they are firmly set and hold the edging securely.
- Verify Level and Alignment: Use a level to ensure that the edging is straight and level. Make any necessary adjustments by tapping the edging with a rubber mallet or repositioning the anchoring stakes.
- Connect Sections: If your patio requires multiple sections of edging material, connect them by overlapping the ends and securing them with connectors or screws. This will ensure a seamless and continuous edging installation.
Properly installed edging material will provide a clear and defined border for your paver patio, helping to maintain the integrity of the design and prevent paver displacement. Take the time to measure and cut the edging accurately, ensuring a tight fit against the base material. Securing the edging with anchoring stakes and verifying its level and alignment will help create a professional and polished look for your patio.
With the edging material installed, you’re now ready to move on to Step 4: securing the edging to further reinforce its stability and ensure a long-lasting patio.
Step 4: Secure the Edging
Now that the edging material is in place, it’s important to secure it to further reinforce its stability and ensure that it stays in position. By anchoring the edging properly, you’ll prevent shifting or movement that could compromise the integrity of your paver patio. Follow these steps to secure the edging:
- Check Alignment: Before securing the edging, double-check that it is properly aligned and level. Use a level to verify its straightness, making any necessary adjustments if needed.
- Drill Holes (For Metal Edging): If you’re working with metal edging, use a drill with a metal bit to create holes in the edging material. These holes will allow you to secure the edging to the ground later. Space the holes evenly along the length of the edging, taking care to avoid any joints or connectors.
- Insert Anchoring Stakes: For both plastic and metal edging, insert anchoring stakes or spikes into the ground at regular intervals. These stakes will help hold the edging in place and prevent it from shifting. If using plastic edging, they can be inserted directly into the holes provided. If using metal edging, hammer the stakes into the ground at an angle, ensuring they are secure.
- Tighten Screws (For Metal Edging): If you’re using metal edging, use screws to secure the edging to the ground through the holes you drilled earlier. This will provide additional stability and prevent any movement of the edging over time.
- Verify Stability: Once the anchoring stakes or screws are in place, gently push or tug on the edging to ensure it is secure. Make any necessary adjustments or add additional anchoring stakes if needed.
By taking the time to properly secure the edging, you’ll prevent any shifting or movement that could compromise the integrity of your paver patio. This step is especially important in areas with heavy foot traffic or where the patio may be subjected to external forces like weather or landscaping activities. With the edging securely in place, you can proceed with confidence to the next step: leveling and compacting the patio base.
Read more: What Is A Paver Patio
Step 5: Level and Compact the Patio Base
With the edging securely in place, it’s time to focus on leveling and compacting the patio base. This step is crucial for ensuring a stable and even surface for your paver patio. Follow these steps to level and compact the patio base:
- Spread the Base Material: Begin by spreading a layer of base material, such as crushed stone or gravel, over the area inside the edging. The base material should be about 2 to 4 inches thick. Use a rake or shovel to spread the material evenly.
- Create a Slope: Use a screed board or a long, straight board to create a slight slope on the base material. Aim for a slope of about 1/8 inch per linear foot, directing water away from your home or any other structures. Move the board back and forth in a sawing motion to level the base material.
- Check for Level: Use a level to verify that the base material is level and even across the patio area. Adjust as needed by adding or removing base material in areas where the surface is uneven.
- Compact the Base Material: Use a plate compactor or hand tamper to compact the base material. Start at one corner of the patio and work your way across, making multiple passes over each section. The goal is to achieve a solid and uniform base that will provide ample support for the paver stones.
- Check for Evenness: After compacting the base material, use a level to double-check the evenness of the surface. Make any necessary adjustments by adding or compacting more base material.
- Water the Base Material: Watering the compacted base material will help settle it further and achieve a more solid foundation. Use a hose or watering can to lightly water the entire surface, allowing the water to penetrate the base material.
- Check for Drainage: Ensure that the patio base has proper drainage by observing how the water flows. It should drain away from the home or any other nearby structures. Make any adjustments, if necessary, to achieve the desired drainage.
By leveling and compacting the patio base, you’re creating a strong and stable foundation for your paver patio. This will ensure that the paver stones have a solid surface to rest on and minimize the chances of unevenness or shifting. With the patio base properly prepared, you’re now ready to move on to the exciting step of laying and aligning the paver stones in Step 6.
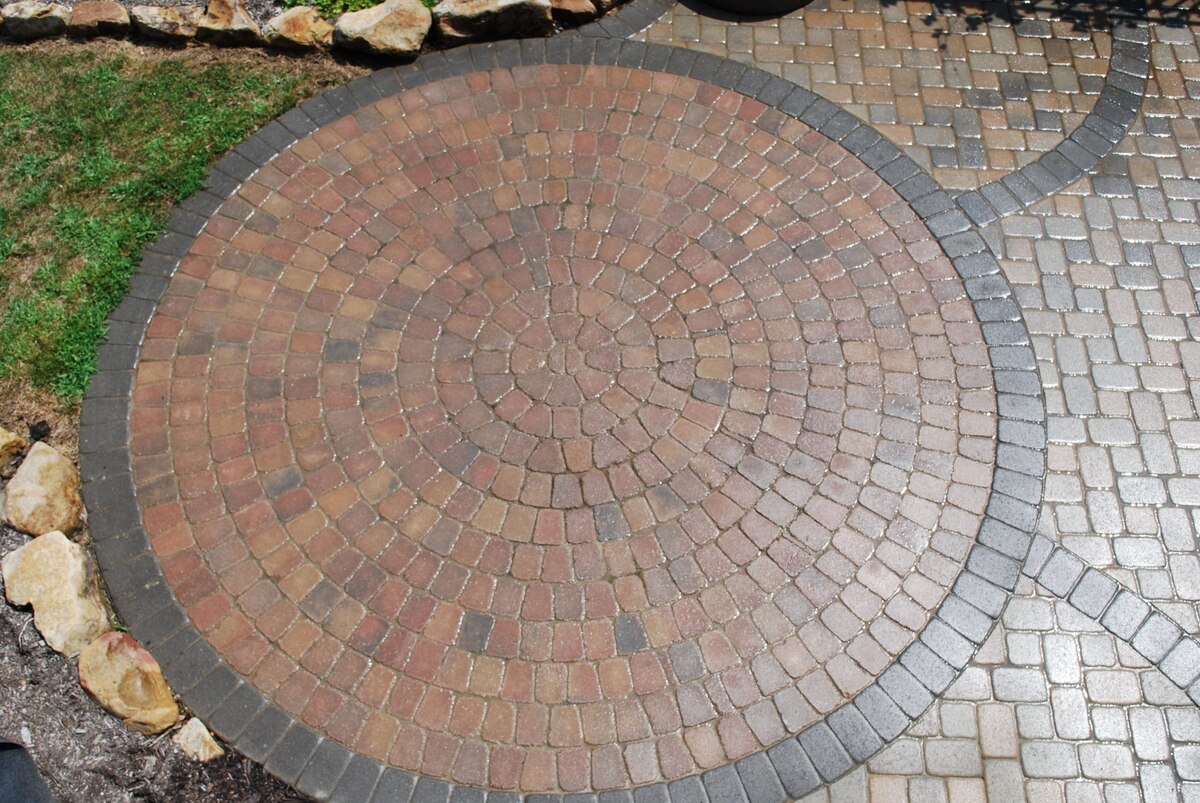
When edging a paver patio, make sure to use sturdy materials like concrete or metal to prevent shifting. Install the edging at the same level as the pavers to create a smooth, seamless look.
Step 6: Lay and Align the Paver Stones
With the patio base leveled and compacted, it’s time to move on to the exciting step of laying and aligning the paver stones. This is where your patio starts taking shape and begins to showcase its unique design. Follow these steps to lay and align the paver stones:
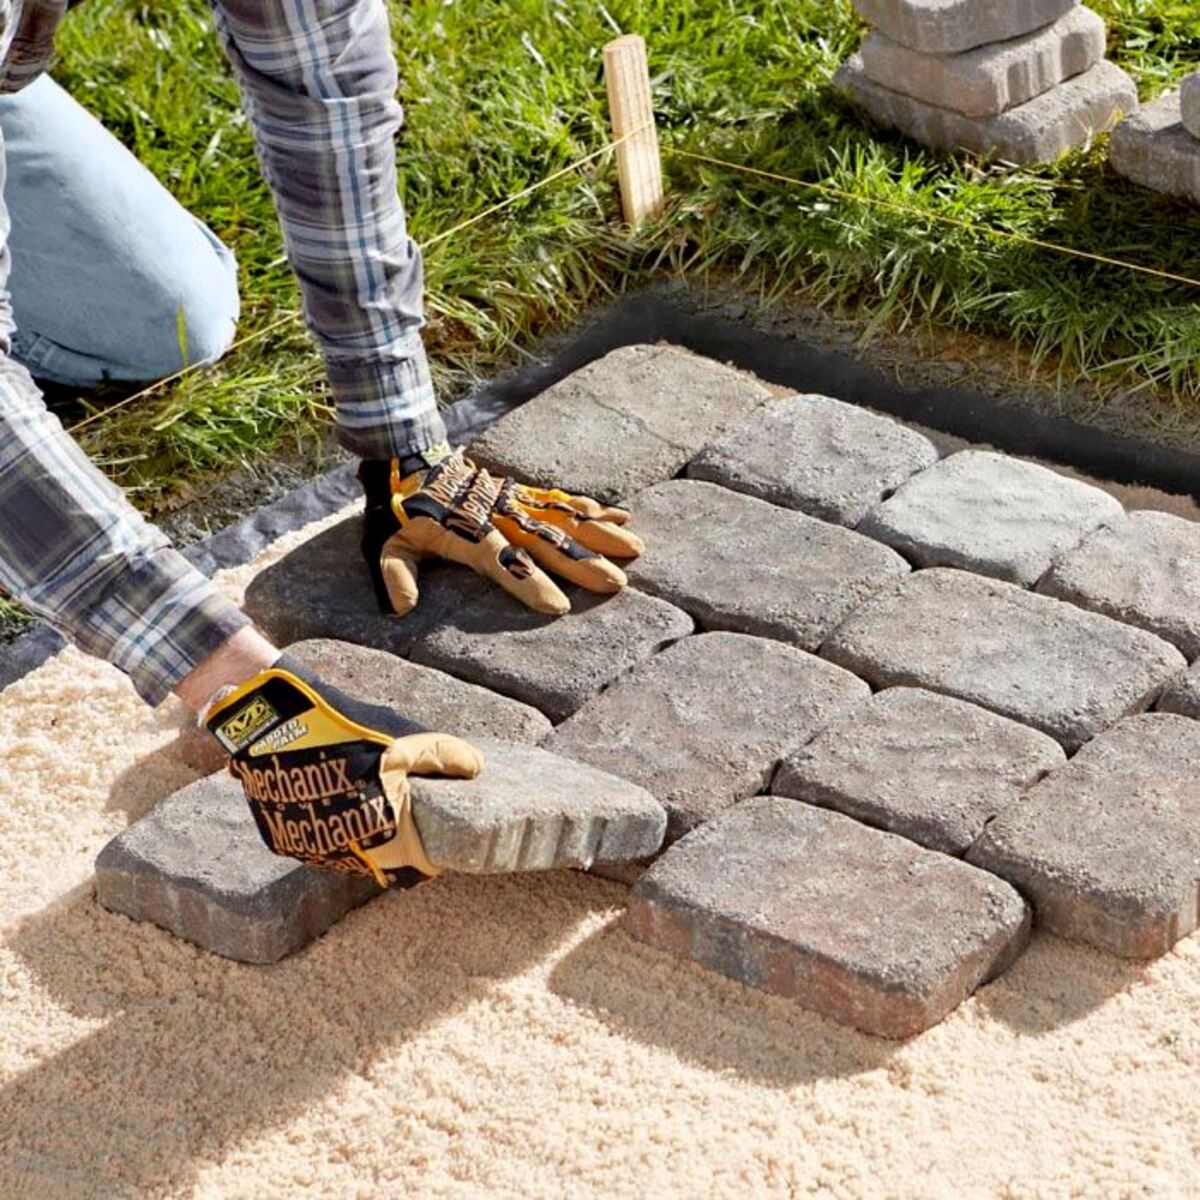
- Start from a Corner: Begin by placing the first paver stone in one corner of the patio. This corner will serve as your starting point and reference for alignment.
- Tap the Pavers: Use a rubber mallet or a wooden block and hammer to tap the paver stones gently into place. This will help ensure that they are level with each other and properly seated in the base material.
- Keep a Gap: Leave a small gap, typically around 1/8 to 1/4 inch, between each paver stone. This gap will be filled with joint sand in a later step to provide stability and prevent weed growth.
- Check for Level and Alignment: As you lay each paver stone, use a level to verify its levelness and ensure that it aligns with the adjacent stones. Adjust the stones as necessary to maintain a consistent level and alignment throughout.
- Consider the Pattern: If you’re using different sizes or shapes of paver stones or incorporating a specific pattern, take the time to plan the layout carefully. This will help create an aesthetically pleasing design and minimize any cutting or trimming of pavers.
- Work in Sections: Divide the patio area into manageable sections and work on one section at a time. This will make the process more manageable and allow you to focus on maintaining alignment and levelness within each section.
- Use a String Line: To ensure straight lines and uniform spacing, consider using a string line as a visual guide. Stretch the string line across the patio, parallel to the edging, and adjust the pavers accordingly.
- Check for Drainage Slope: As you lay the paver stones, regularly check for proper drainage slope. The patio should have a slight slope away from your home or any structures to prevent water pooling. Adjust the alignment of the pavers if needed to achieve the desired slope.
By focusing on proper alignment and levelness while laying the paver stones, you’ll create a visually appealing and structurally sound patio. Take your time during this step to ensure each paver is properly positioned and aligned with adjacent stones. Keeping consistent spacing and considering any pattern you’re using will add to the overall aesthetic appeal. Once the pavers are laid and aligned, you can move on to cutting and fitting pavers as needed in Step 7.
Step 7: Cut and Fit Pavers as Needed
As you lay the paver stones in your patio, you may encounter areas where the standard size pavers do not fit perfectly. This is where the seventh step, cutting and fitting pavers as needed, comes into play. Follow these steps to ensure a seamless and professional-looking patio:
- Assess the Layout: Take a careful look at the layout and identify areas where paver stones need to be cut or trimmed to fit. This could be around edges, corners, or non-standard shapes.
- Measure and Mark: Use a tape measure to determine the dimensions of the space that needs a custom-sized paver. Transfer these measurements onto the paver stone, ensuring accuracy.
- Cut the Paver: Depending on the material of the paver and the desired cut, use a saw or a paver splitter to cut the paver stone. Be sure to follow the manufacturer’s instructions and wear appropriate safety gear, such as safety goggles and gloves.
- Test Fit and Adjust: After cutting the paver, place it in the designated area to check the fit. Make any necessary adjustments, such as further trimming, to ensure a snug fit and a visually pleasing appearance.
- Smooth Edges: If the cut edges of the paver are rough or jagged, use a stone file or sandpaper to smooth them out. This will help create a clean and seamless transition between the cut paver and the surrounding stones.
- Continue Laying Pavers: Once the custom-sized paver is properly cut and fitted, continue laying and aligning the remaining paver stones as per the established pattern. Regularly check for levelness and alignment throughout the process.
- Fill in Gaps: As you lay the pavers, there may be small gaps between them. Ensure these gaps are consistent and even. These gaps will be filled with joint sand in the following steps.
By taking the time to properly cut and fit paver stones as needed, you’ll achieve a cohesive and professional finish for your patio. This step may require some patience and precision, but the result will be a visually pleasing patio with a uniform and well-fitting layout. With the pavers cut and fitted, it’s time to move on to the next step: filling the gaps with joint sand in Step 8.
Step 8: Fill the Gaps with Joint Sand
Once the paver stones are laid and fitted into place, it’s time to fill the gaps between them with joint sand. Joint sand serves multiple purposes, including stabilizing the pavers, preventing weed growth, and enhancing the overall appearance of your patio. Follow these steps to fill the gaps with joint sand:
- Clean the Surface: Before applying the joint sand, ensure that the surface of the paver patio is clean and free of any debris. Use a broom or leaf blower to remove any loose dirt or particles.
- Spread the Joint Sand: Pour the joint sand onto the surface of the patio, ensuring that it covers all the gaps between the paver stones. Use a broom or a wide brush to spread the sand evenly, ensuring that it fills the gaps completely.
- Brush the Sand into the Gaps: Using a stiff bristle broom, sweep the sand back and forth, ensuring that it gets fully into the gaps. This process will help pack the sand tightly and create a stable foundation.
- Compact the Sand: Use a plate compactor or tamper to compact the joint sand into the gaps between the paver stones. This step helps ensure that the sand is firmly packed and will prevent it from washing away or shifting over time.
- Reapply Sand if Needed: It’s common for joint sand to settle after the initial compacting. If any gaps appear or seem less filled, add more sand and repeat the sweeping and compacting process until all gaps are filled evenly.
- Remove Excess Sand: After compacting the sand, use a soft broom or brush to gently sweep off any excess sand from the surface of the paver stones. Be careful not to disturb the sand in the gaps.
By filling the gaps with joint sand, you enhance the stability and longevity of your paver patio. The sand helps lock the paver stones in place, preventing shifting and reducing the chances of weed growth. Additionally, the joint sand adds a polished and finished look to your patio’s design.
With the gaps filled and excess sand removed, you’re ready to move on to the next step: compacting and settling the pavers in Step 9. This vital step ensures a secure and solid surface for your patio, so let’s get started!
Read more: How To Fix A Paver Patio
Step 9: Compact and Settle the Pavers
After filling the gaps with joint sand, it’s time to ensure that the paver stones are securely set and properly settled in their positions. By compacting the pavers, you’ll create a stable and durable patio that can withstand heavy traffic and the test of time. Follow these steps to compact and settle the pavers:
- Clear the Surface: Before starting the compacting process, make sure the surface of the patio is clear of any debris or loose materials. Use a broom or leaf blower to remove any dirt, leaves, or sand on the surface.
- Start at the Edge: Begin compacting the pavers from the outer edge of the patio and work towards the center. This will ensure that any excess material is pushed towards the edging, creating a clean and seamless transition.
- Use a Plate Compactor: A plate compactor is the most efficient tool for this step. Start the compactor and carefully guide it over the entire surface of the patio, making multiple passes in different directions. The weight and vibration of the compactor help settle the pavers and ensure a solid base.
- Pay Attention to Edges and Corners: While compacting, pay special attention to the outer edges and corners of the patio. These areas may require additional compaction to ensure proper settling and stability.
- Reapply Joint Sand if Necessary: The compacting process may cause some joint sand to settle or displace. If you notice any gaps or areas where the joint sand is no longer fully filling the gaps, reapply the sand and repeat the sweeping and compacting process from the previous step.
- Inspect and Adjust: Once the compaction is complete, carefully inspect the patio surface. Look for any unevenness or areas that may need adjustment. Use a rubber mallet or a block of wood to tap any raised or uneven pavers into place.
- Recheck Levels: After compacting and settling the pavers, use a level to double-check that the patio surface is even and level. Make any necessary adjustments to ensure a smooth and visually appealing result.
By compacting and settling the pavers, you’ll create a sturdy and long-lasting patio surface. The compaction process helps eliminate voids and ensures that the pavers are firmly set in the joint sand. This step is essential for maintaining the integrity of your patio and minimizing any potential shifting or settling over time.
With the pavers thoroughly compacted and settled, you’re now ready to move on to the final step: cleaning and sealing the patio in Step 10. This will add the finishing touch to your paver patio project, so let’s continue!
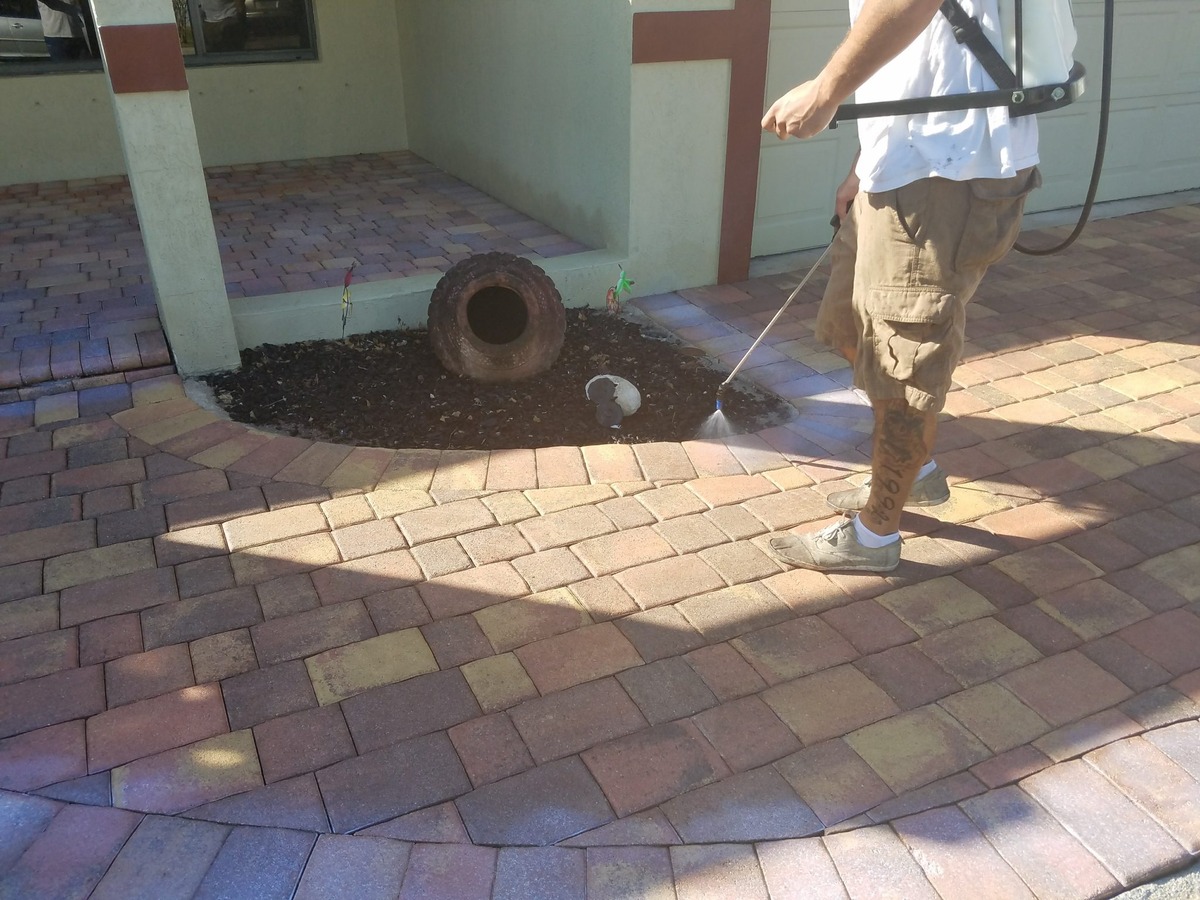
Step 10: Clean and Seal the Patio
Congratulations on reaching the final step of your paver patio project! Now it’s time to clean and seal the patio to preserve its beauty and protect it from the elements. Follow these steps to ensure a pristine and long-lasting finish:
- Sweep the Surface: Start by sweeping the entire surface of the patio to remove any loose debris, dirt, or sand. Use a broom or leaf blower to thoroughly clean the paver stones and joints.
- Wash with Water: After sweeping, use a garden hose or pressure washer to wash the patio surface. This will remove any stubborn dirt or stains and prepare the pavers for sealing.
- Apply Cleaner (If Needed): If your patio has stubborn stains or discoloration, you may need to use a cleaner formulated for pavers. Follow the manufacturer’s instructions and use a stiff brush or scrubber to agitate the cleaner into the stained areas.
- Rinse Thoroughly: After applying a cleaner, rinse the patio surface thoroughly with water to remove any residue. Ensure that all cleanser is completely washed away before proceeding.
- Allow to Dry: Allow the patio surface to dry completely before moving on to the sealing process. This is important to ensure that the sealer adheres properly and achieves the desired effect.
- Choose the Right Sealer: Select a high-quality sealer specifically designed for paver surfaces. There are different sealers available, such as solvent-based or water-based, matte or glossy finish. Consider your preferences and the desired appearance for your patio.
- Apply the Sealer: Follow the manufacturer’s instructions for applying the sealer. Generally, you will use a brush, roller, or sprayer to evenly apply the sealer to the surface of the paver stones. Ensure complete coverage and avoid applying excessive sealer that can result in a sticky or uneven finish.
- Allow the Sealer to Cure: Give the sealer sufficient time to cure and dry completely. This timeframe may vary depending on the type of sealer used, so refer to the manufacturer’s instructions for specific guidelines.
- Enjoy and Maintain: Once the sealer has cured, your paver patio is ready to be enjoyed! Regular maintenance, such as sweeping off debris, occasional rinsing, and resealing as needed, will help prolong the life and appearance of your patio.
Cleaning and sealing your patio is the final touch that enhances its beauty and protects it from the elements. Sealing helps to prevent staining, fading, and weed growth, while also bringing out the natural colors and textures of the paver stones. It’s a crucial step in maintaining the long-term durability and aesthetic appeal of your patio.
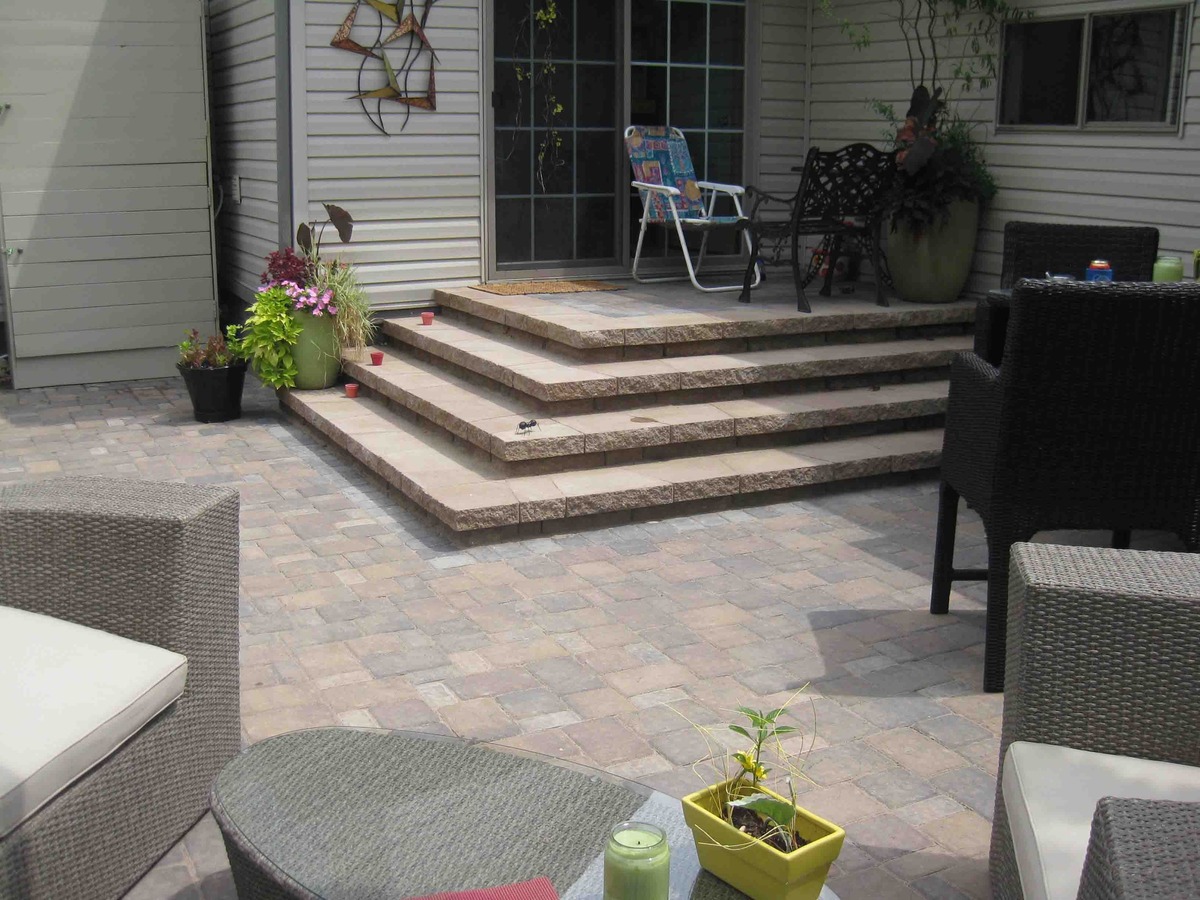
With the patio now cleaned and sealed, take a step back and admire your completed project. Your hard work and attention to detail have transformed your outdoor space into a stunning and functional paver patio that you can enjoy for years to come.
Thank you for following this comprehensive guide on how to edge a paver patio. We hope you found the information helpful and inspiring. Now go out and make the most of your beautiful new patio!
Conclusion
Congratulations on completing this comprehensive guide on how to edge a paver patio! By following the ten-step process outlined in this guide, you have successfully transformed your outdoor space into a stunning and functional area that will be the envy of your family and friends.
Throughout this journey, you learned the importance of gathering the necessary tools and materials, preparing the area for edging, installing the edging material, securing it in place, and leveling and compacting the patio base. You also discovered how to lay and align the paver stones, cut and fit pavers as needed, fill the gaps with joint sand, and compact and settle the pavers. Finally, you learned how to clean and seal the patio, ensuring its long-lasting beauty and durability.
By following the steps in this guide, you have not only created a beautiful outdoor space but also ensured its structural integrity and longevity. A properly edged and maintained paver patio will provide you with years of enjoyment, whether it’s for hosting gatherings, relaxing with a book, or simply enjoying the outdoors.
Remember, regular maintenance is key to preserving the beauty and functionality of your patio. Sweep off debris, rinse when needed, and reapply sealer as recommended to keep your patio looking its best. With proper care, your paver patio will continue to impress for many years.
We hope this guide has empowered you with the knowledge and confidence to tackle your own paver patio project. Each step was carefully explained to ensure you understand the process and achieve professional results. Now it’s time for you to put your skills into action and enjoy the rewards of your hard work.
Thank you for joining us on this journey, and we wish you all the best as you create your own stunning paver patio. May it bring you joy, relaxation, and many memorable moments in the great outdoors!
Frequently Asked Questions about How To Edge A Paver Patio
Was this page helpful?
At Storables.com, we guarantee accurate and reliable information. Our content, validated by Expert Board Contributors, is crafted following stringent Editorial Policies. We're committed to providing you with well-researched, expert-backed insights for all your informational needs.


0 thoughts on “How To Edge A Paver Patio”