
Tableware
How To Make Bridal Party Wine Glasses
Modified: November 1, 2024
Discover the perfect tableware for your bridal party with our step-by-step guide on how to make personalized wine glasses, creating a memorable and unique wedding experience.
(Many of the links in this article redirect to a specific reviewed product. Your purchase of these products through affiliate links helps to generate commission for Storables.com, at no extra cost. Learn more)
Introduction
Welcome to the wonderful world of bridal party wine glasses! If you’re searching for a unique and personal touch to add to your special day, customized wine glasses for your bridal party are the perfect choice. These glasses not only serve as a lovely keepsake but also make for beautiful and functional wedding favors.
Creating your own bridal party wine glasses allows you to showcase your creativity and add a personalized touch to each glass. Whether you want to match the glasses to your wedding theme, include the names of your bridesmaids and groomsmen, or simply design something that reflects your style, the possibilities are endless.
In this article, we will guide you through the step-by-step process of making your own bridal party wine glasses. From gathering the necessary materials to adding the final touches, we’ll cover everything you need to know to create stunning and customized glasses that will delight your bridal party.
So, let’s gather our supplies and get started on this exciting DIY project!
Key Takeaways:
- Create personalized bridal party wine glasses to add a unique and meaningful touch to your wedding celebration. Infuse creativity, personalization, and care into each glass for cherished keepsakes.
- Follow a step-by-step guide to make stunning bridal party wine glasses, from gathering supplies to adding final touches. Showcase your creativity and appreciation for your bridal party with personalized gifts.
Read more: How To Make Teacup Wine Glasses
Materials Needed
Before we dive into the process of making bridal party wine glasses, let’s gather all the necessary materials. Here’s a list of what you’ll need:
- Wine glasses: Choose high-quality glassware that suits your preferences and style. Consider the shape, size, and stem options to match the aesthetic you have in mind.
- Vinyl decals or stickers: These will be used to create the designs on your wine glasses. Opt for adhesive vinyl decals in various colors and patterns that complement your wedding theme.
- Transfer tape: This is essential for applying the vinyl decals onto the glasses smoothly and accurately.
- Scissors: You’ll need a pair of sharp scissors to cut out the vinyl decals and trim any excess.
- Cleaning supplies: Make sure to have glass cleaner, lint-free cloths, and rubbing alcohol on hand to clean the glasses thoroughly before applying the decals.
- Baking oven (optional): If you want to make the wine glasses dishwasher-safe, you’ll need an oven to bake them after applying the decals.
- Paint pens or markers (optional): These are great for personalizing the wine glasses with additional details, such as names, dates, or unique designs.
- Ribbon or decorative accents (optional): Consider adding a finishing touch to your wine glasses with ribbons, charms, or other decorative elements to match your wedding theme.
With this list of materials in hand, you’re ready to embark on your bridal party wine glass-making adventure. Let’s move on to the step-by-step process of creating these personalized and stunning glasses!
Step 1: Gather Supplies
The first step in creating your bridal party wine glasses is to gather all the necessary supplies. Take out the list of materials needed and ensure you have everything ready.
Start by selecting the wine glasses that you will be using for this project. Consider the style, size, and shape of the glass that reflects your vision for the bridal party. You can choose stemless glasses for a modern look or go for classic stemmed glasses.
Next, gather the vinyl decals or stickers that you will be using to decorate the wine glasses. Look for adhesive vinyl decals in various colors and patterns that match your wedding theme. You can choose to have the same design for all the glasses or create unique designs for each member of the bridal party.
Additionally, make sure you have transfer tape on hand. This will allow you to apply the vinyl decals smoothly and accurately onto the glasses. You may also want to have a pair of sharp scissors for cutting out the decals and trimming any excess.
Since cleanliness is crucial for a flawless finish, prepare the necessary cleaning supplies. This includes glass cleaner, lint-free cloths, and rubbing alcohol. Clean the wine glasses thoroughly before applying the decals to ensure they are free from any dust or fingerprints.
If you plan to make the wine glasses dishwasher-safe, you will need an oven for the baking process. Make sure you have access to a baking oven and check that it is in good working condition.
Lastly, if you want to add personal touches to the wine glasses, gather paint markers or special paint for wine glasses that can be used for customization. This will allow you to add names, dates, or unique designs to each glass, making them even more special.
Once you have gathered all the supplies, you’re ready to move on to the next step: cleaning the wine glasses.
Step 2: Clean the Wine Glasses
Now that you have all your supplies ready, it’s time to ensure that your wine glasses are clean and free from any debris or smudges. Cleaning the glasses thoroughly is essential to achieve a flawless and long-lasting finish.
Start by rinsing each wine glass under warm water to remove any loose particles. Then, apply a small amount of glass cleaner to a lint-free cloth and gently wipe the entire surface of the glass, inside and out. This will remove any dirt, fingerprints, or residue that may be present.
After cleaning with the glass cleaner, it’s a good practice to use rubbing alcohol to further sanitize the surface of the wine glasses. Apply a small amount of rubbing alcohol onto a fresh lint-free cloth and wipe down each glass again, making sure to reach all the nooks and crannies.
Allow the glasses to air dry completely before moving on to the next step. This will ensure that there are no water droplets or moisture that could interfere with the application of the vinyl decals.
It’s essential to handle the wine glasses with clean hands or wear disposable gloves during this process. This will prevent any additional oils or dirt from getting onto the surface of the glasses.
Once the glasses are completely dry and free from any residue, they are ready for the next exciting step: preparing the design for your bridal party wine glasses!
Step 3: Prepare the Design
With your cleaned wine glasses ready to go, it’s time to start preparing the design that you will be applying to each glass. This step is where your creativity can shine as you decide on the look and feel you want for your bridal party wine glasses.
If you have chosen pre-made vinyl decals or stickers, carefully remove them from their packaging. Lay them out on a clean surface and take a moment to envision how they will look on the wine glasses. Consider the placement and alignment, ensuring that they are symmetrical and centered.
If you prefer a more custom look, you can create your own vinyl decals using a vinyl cutting machine and adhesive vinyl sheets. This allows you to design personalized graphics, monograms, or text that reflect the theme of your wedding or the personalities of your bridal party members.
Once you have your vinyl decals ready, it’s a good idea to use transfer tape to make the application process easier. Cut a piece of transfer tape slightly larger than your decal and place it over the vinyl. Use a credit card or scraper tool to firmly press the transfer tape onto the decal, ensuring that it adheres well.
This step is important because it helps transfer the design onto the glass smoothly and accurately without any air bubbles or creases. It also makes it easier to position the decal correctly on the wine glass.
Take the time to experiment with different designs and layouts before committing to the final decision. It can be helpful to use a pencil or a piece of masking tape to lightly mark the desired placement on the wine glass. This will give you a visual guide when applying the decals.
Remember, the design should not only be visually appealing but also reflect the personality and style of your bridal party. Whether it’s elegant and understated or vibrant and playful, choose a design that you and your bridal party will love.
Now that you’ve prepared the design, it’s time to move on to the exciting part of applying the vinyl decals to your wine glasses in the next step!
Read more: How To Make Custom Wine Glasses
Step 4: Apply Vinyl Decals
Now that you have your design ready, it’s time to apply the vinyl decals to your bridal party wine glasses. This step requires patience, precision, and a steady hand.
Start by carefully peeling off the transfer tape from the vinyl decal, ensuring that the decal sticks to the transfer tape and that no pieces are left behind on the backing paper. Hold the decal gently by the edges or use tweezers to avoid touching the adhesive side.
Position the decal onto the wine glass according to the guidelines you marked in the previous step. Slowly and gently press down on the decal, starting from the center and working your way out to the edges. Use a credit card or scraper tool to smooth out any air bubbles and ensure a secure adhesion to the glass.
If you’re working with larger decals or intricate designs, it may be helpful to peel off a small section of the transfer tape at a time, applying the decal in stages. This allows for better control and reduces the risk of misalignment or wrinkles.
Once the decal is properly applied, gently peel off the transfer tape, starting from one corner and pulling back at a 45-degree angle. Take your time to ensure that the decal stays in place and adheres well to the glass. If any parts of the decal lift with the transfer tape, press them back down onto the glass and smooth them out.
Repeat these steps for each wine glass, applying the vinyl decals according to your design plan. Take breaks if needed to maintain focus and avoid rushing the process.
Remember, precision is key when applying the vinyl decals. Take your time and pay attention to detail to achieve a professional-looking result. If you make any mistakes, don’t fret! Vinyl decals are forgiving and can be easily removed and repositioned before pressing down firmly.
Now that you have successfully applied the vinyl decals to your bridal party wine glasses, the next step is to remove any excess vinyl in order to achieve a clean and polished final look.
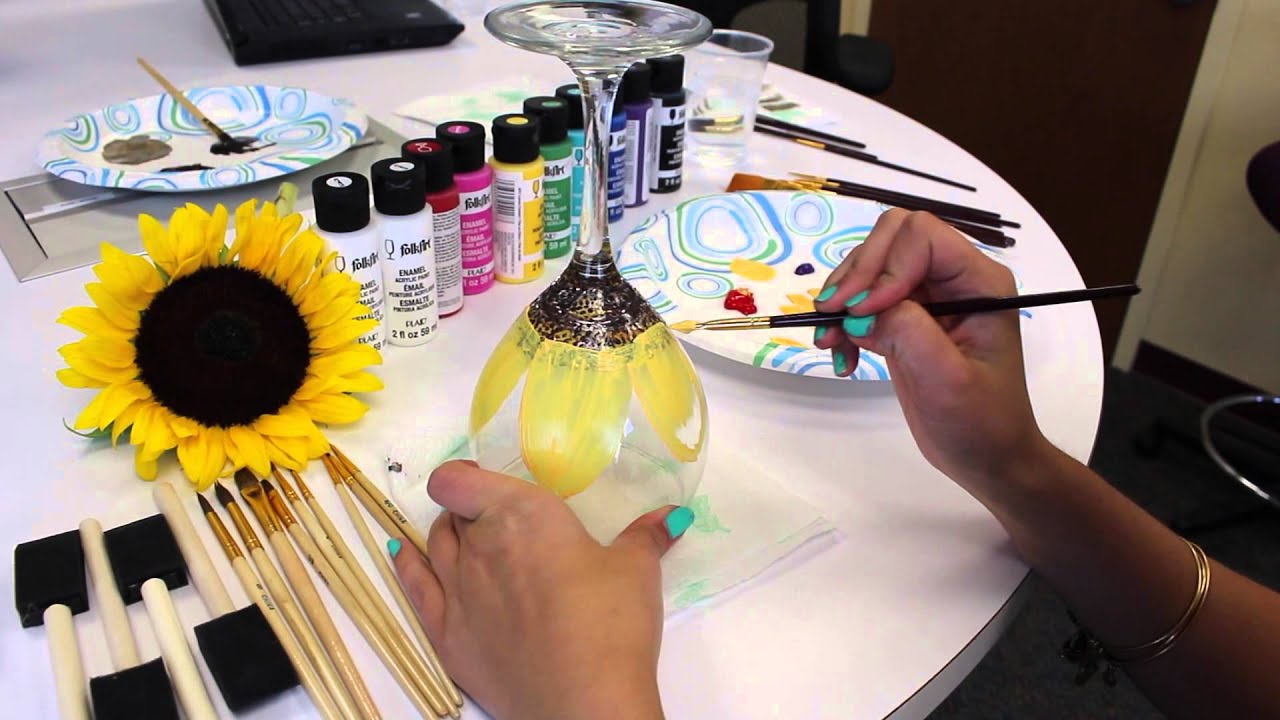
When making bridal party wine glasses, be sure to use glass paint specifically designed for glassware to ensure the design stays put through washing and use.
Step 5: Remove Excess Vinyl
After applying the vinyl decals to your bridal party wine glasses, it’s time to remove any excess vinyl to achieve a clean and professional finish. This step will give your glasses a polished look and make the design stand out.
Start by inspecting each glass and identifying areas where there may be excess vinyl around the edges of the decal. Gently pick at the corner of the excess vinyl using your fingernail or a weeding tool if available. Carefully peel away the excess vinyl, pulling it back at a 45-degree angle.
Take your time and be cautious not to pull too forcefully, as this could cause the decal to lift or stretch. If you encounter any stubborn or small pieces of excess vinyl, you can use tweezers or a weeding tool to remove them. Ensure that the edges of the decal remain intact and undamaged.
Once all the excess vinyl has been removed, take a closer look at the wine glass to ensure a clean and neat appearance. Smooth out any edges or corners of the decal that may still be lifting using a credit card or scraper tool. This will help the decal adhere securely to the glass.
During this step, it’s essential to be patient and meticulous. Take your time to ensure that all excess vinyl is removed accurately, as this will greatly enhance the final result of your bridal party wine glasses.
If you notice any imperfections or areas where the decal may have lifted or become damaged, don’t worry. Vinyl decals are forgiving and can be easily replaced or touched up. Simply remove the decal and apply a new one if necessary.
Now that you have removed the excess vinyl, your bridal party wine glasses are almost complete. The next step is optional but highly recommended if you want to make the glasses dishwasher-safe: baking them in an oven.
Step 6: Bake the Glasses (Optional)
If you want to make your bridal party wine glasses dishwasher-safe and ensure that the vinyl decals will last for a long time, you can choose to bake the glasses in an oven. This step will help the decals adhere permanently and withstand the heat and moisture of the dishwasher.
Before proceeding, make sure to read the instructions provided by the manufacturer of the vinyl decals. They may have specific guidelines or temperature recommendations for baking their particular product. Follow these instructions to ensure the best results.
Start by preheating your oven to the temperature specified by the manufacturer. Generally, a temperature of around 250-300°F (120-150°C) is recommended. Allow the oven to reach the desired temperature before placing the wine glasses inside.
Once the oven is heated, carefully place the wine glasses on a baking sheet, making sure they are spaced apart to allow for even heat distribution. Avoid overcrowding the glasses, as this can result in uneven baking or accidental contact between the glasses that could cause damage to the vinyl decals.
Place the baking sheet with the wine glasses carefully into the oven, ensuring that they are steady and will not tip over. Let the glasses bake for the duration specified by the vinyl decal manufacturer, usually around 20-30 minutes.
During the baking process, be mindful of the glasses and monitor them closely to prevent any mishaps. Keep a timer handy to ensure that you do not overbake the glasses, as this could potentially cause the vinyl decals to melt or become damaged.
After the recommended baking time has elapsed, turn off the oven and carefully remove the baking sheet with the wine glasses. Place them on a heat-resistant surface and allow them to cool completely before handling.
It’s important to note that not all vinyl decals are suitable for oven baking. Some decals may require alternative methods of heat application, such as using a heat press or a blow dryer. Always consult the manufacturer’s instructions for the recommended method of heat setting, if applicable.
Baking the glasses is an optional step, but it adds durability to the vinyl decals and ensures they can withstand regular dishwasher use. If you choose not to bake the glasses, you can still hand wash them gently to maintain the longevity of the decals.
Now that your wine glasses are baked and ready (if you opted for this step), it’s time to add a personal touch to each glass in the next step.
Step 7: Personalize the Glasses (Optional)
Now that you have created stunning bridal party wine glasses, you have the option to take it a step further and personalize each glass for your special occasion. Adding personal touches not only makes the glasses more unique but also helps to create a meaningful connection between the glass and its recipient.
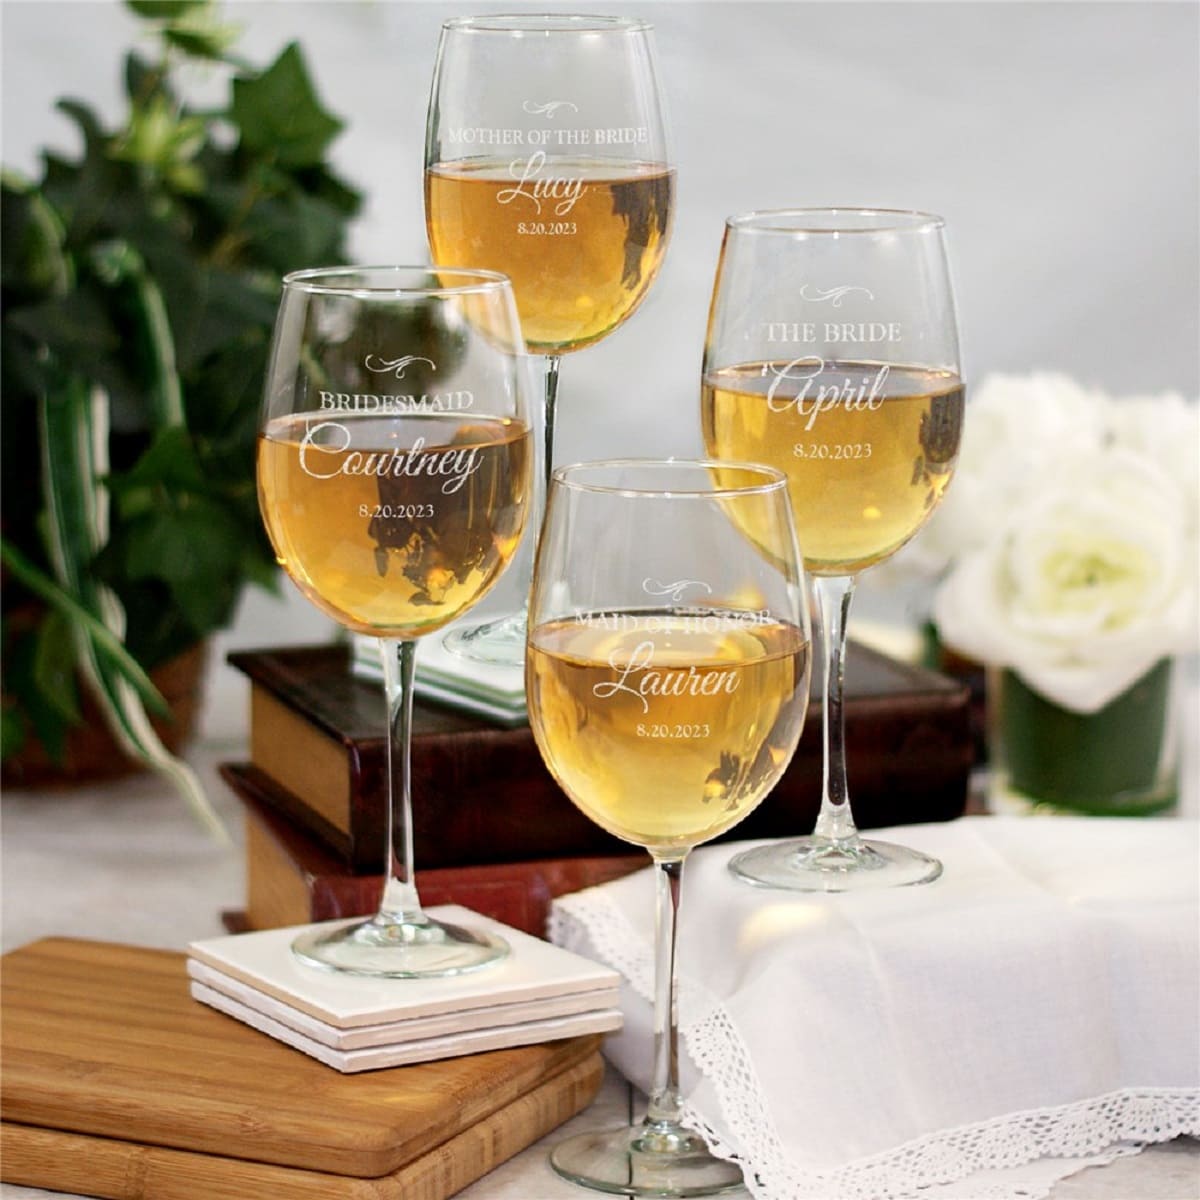
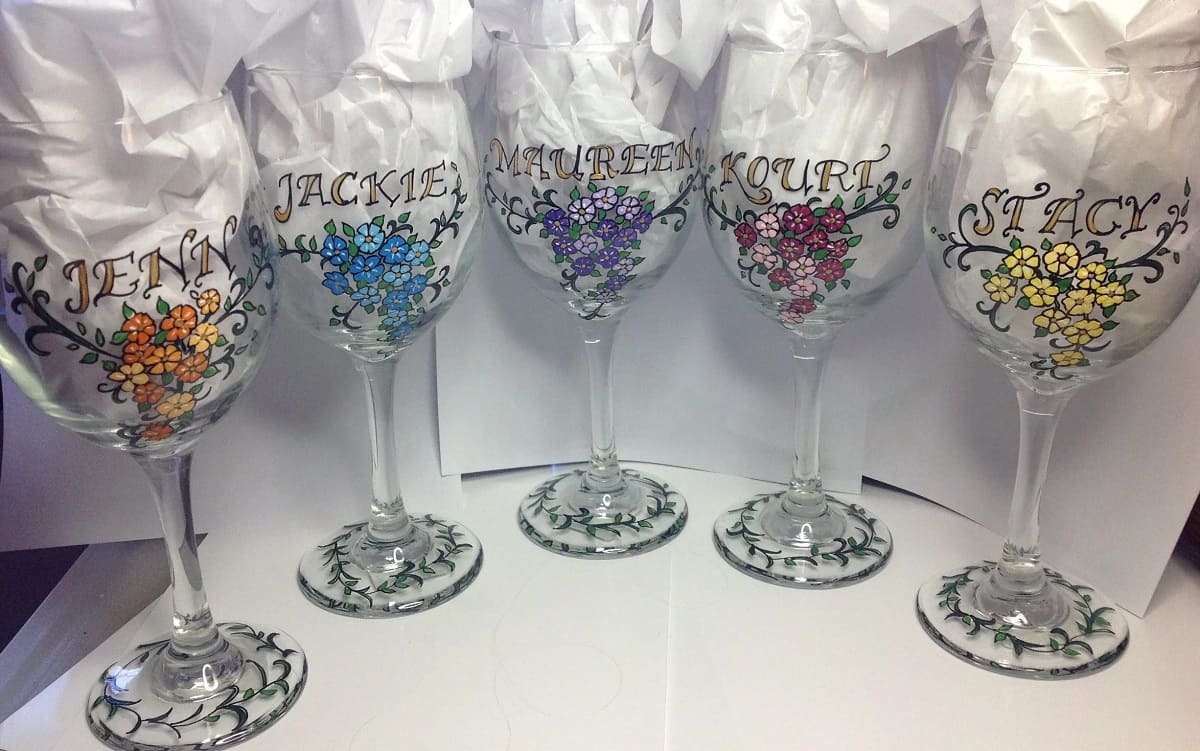
One way to personalize the glasses is by adding the names of each bridal party member. You can use paint pens or markers to carefully write their names on the glass, near or below the vinyl decal. Choose colors that complement the design and ensure that the names are legible and neat.
In addition to names, you can also include other personalized details such as the wedding date, a special message, or a brief quote that holds significance to your bridal party. Again, paint pens or markers can help you achieve a clean and precise look.
Consider the preferences and personalities of each member of your bridal party and add elements that reflect who they are. For example, if one of your bridesmaids loves flowers, you can add a small floral design near her name. This personalized touch will make the wine glass even more special and meaningful.
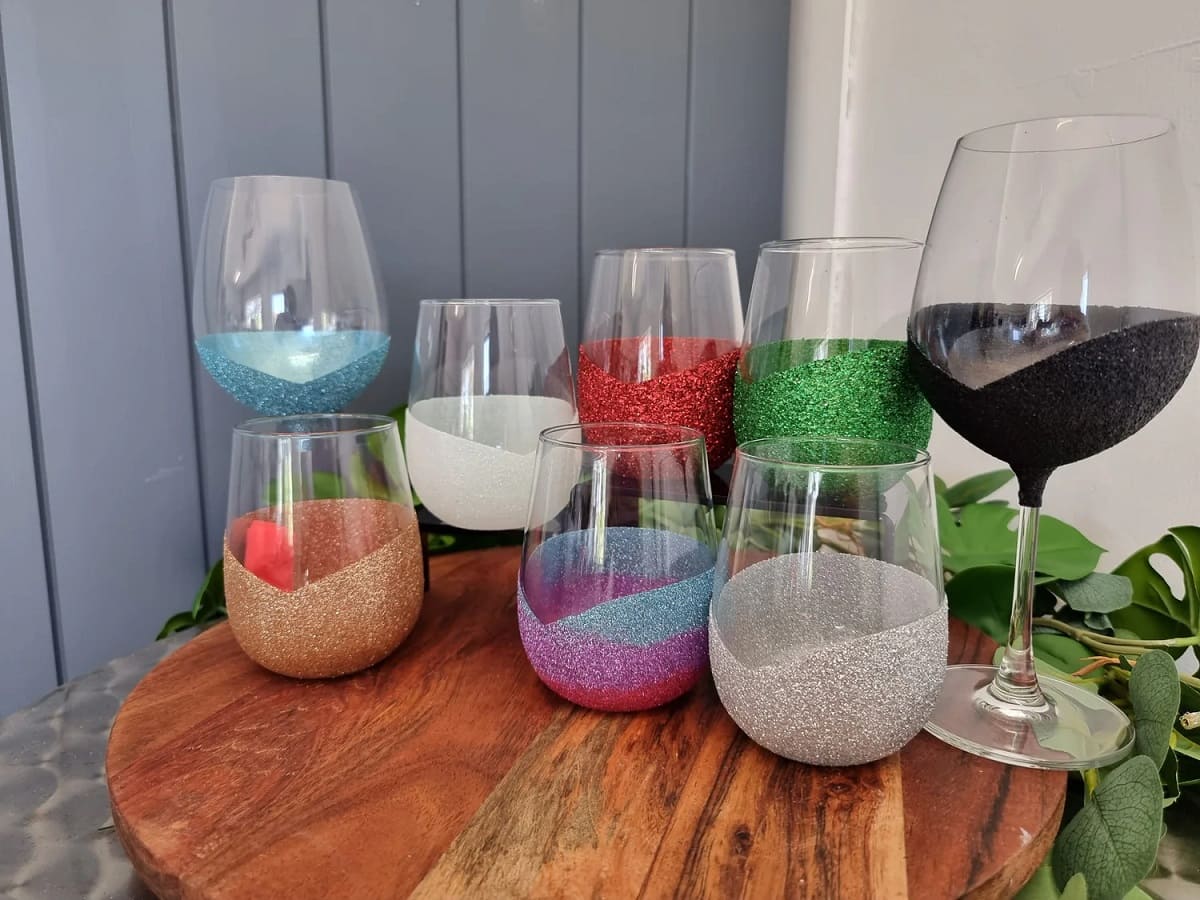
While personalizing the glasses is entirely optional, incorporating the step to make glitter wine glasses can create a lasting impression on your bridal party. This unique touch adds an extra level of thoughtfulness and shows that you have taken the time to ensure each glass is uniquely dazzling for its recipient.
When personalizing the glasses, it’s important to use paint pens or markers that are suitable for glass surfaces. Follow the instructions provided by the manufacturer to ensure that the ink is permanent and will not easily fade or smudge.
Once you have personalized each wine glass, take a moment to admire your handiwork. The personal touch you’ve added will make these glasses cherished keepsakes for your bridal party members.
Now that you’ve personalized the glasses (if you chose to do so), it’s time to move on to the final step: adding some finishing touches to complete the look.
Read more: How To Make A Wine Glass Chandelier
Step 8: Add Final Touches
You’ve come a long way in creating your bridal party wine glasses, and now it’s time to add some final touches to complete the look and make these glasses truly special.
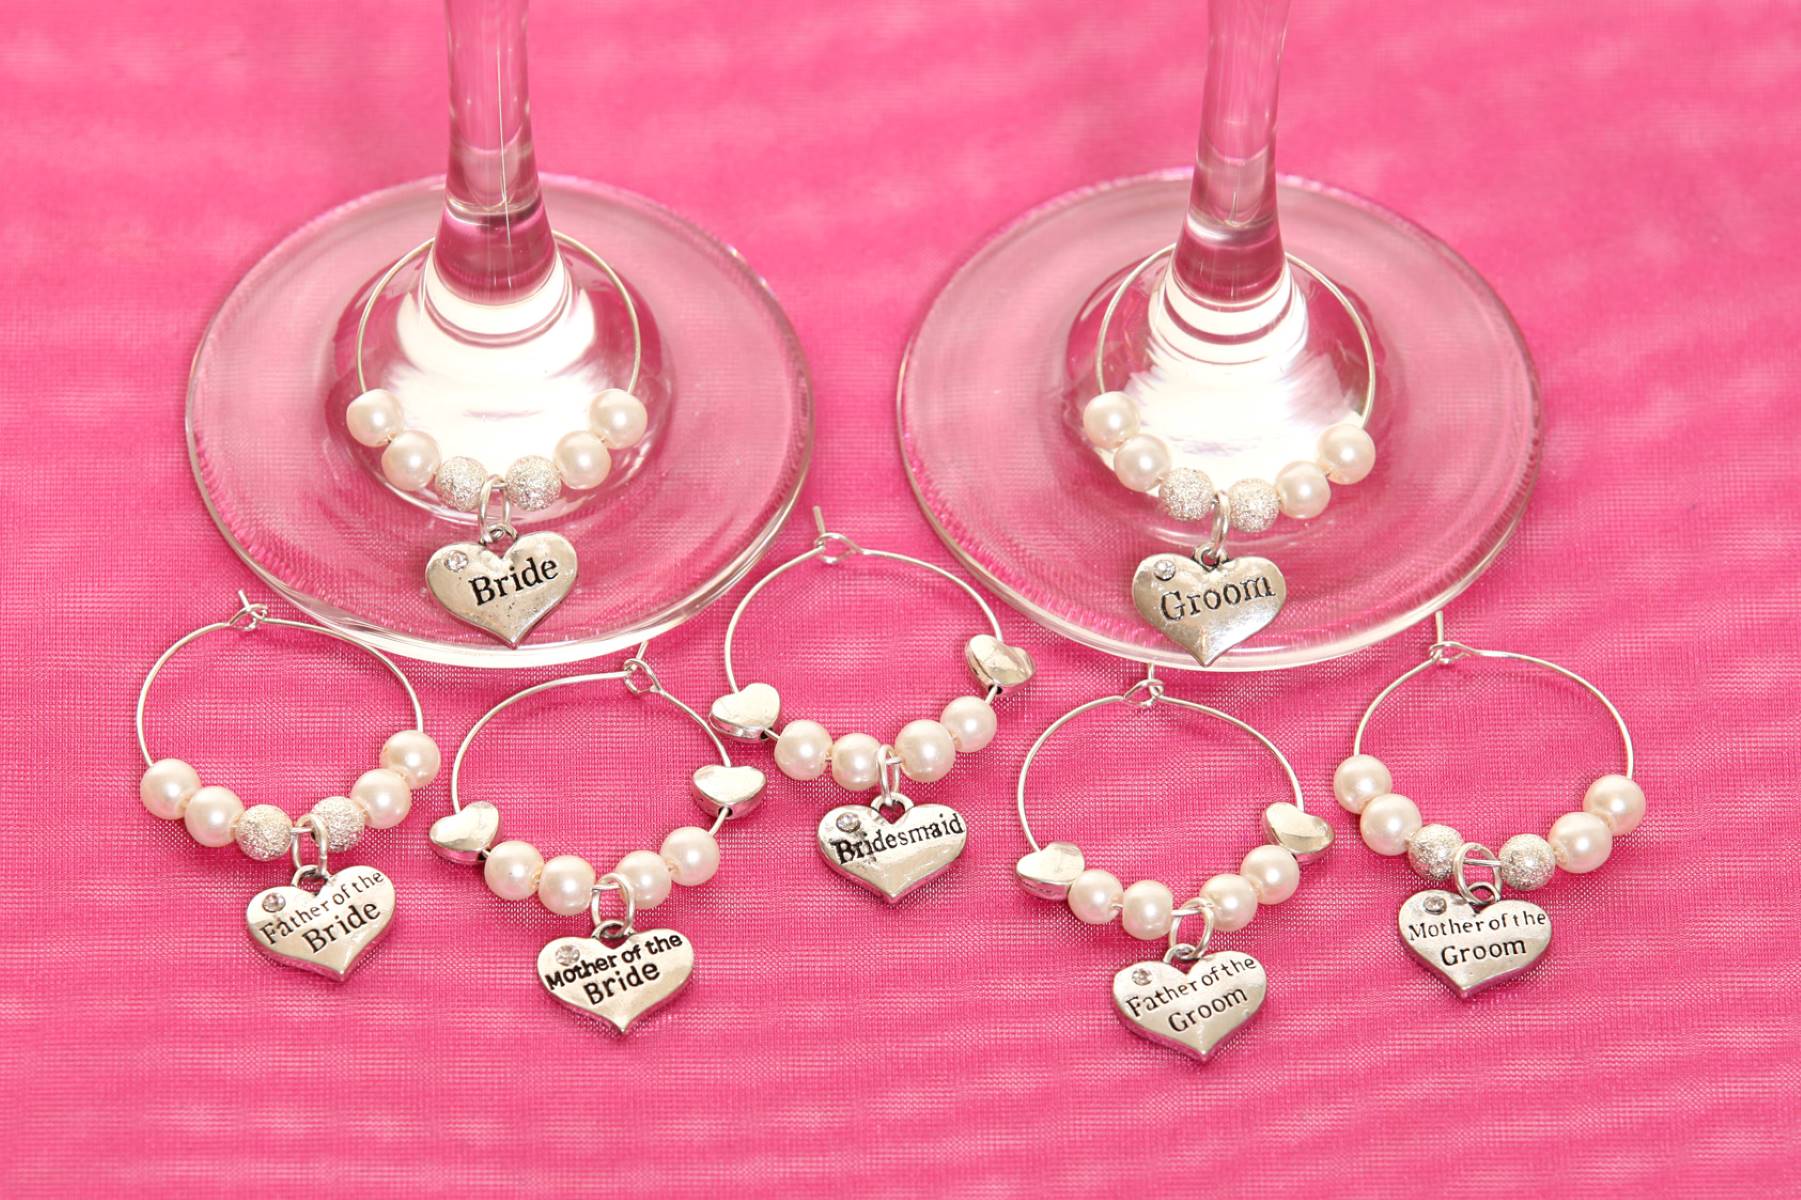
Consider adding decorative accents such as ribbons, charms, or small embellishments that complement your wedding theme. Attach a ribbon around the stem of each glass, tying it in a bow or knot for an elegant touch. You can also attach small charms that represent something meaningful to you or your bridal party.
If you’re feeling crafty, you can create custom tags or labels to attach to each wine glass. These tags can include the name of the bridal party member or a heartfelt message of appreciation. This personalization adds another layer of customization to the glasses.
If your wedding has a specific color scheme or theme, consider incorporating these elements into the final touches. Use colored twine, lace, or fabric to add a touch of style and cohesiveness to the overall design.
When adding final touches, it’s important to strike a balance between simplicity and elegance. Avoid overloading the glasses with too many decorations, as it can overpower the beauty of the vinyl decal and personalized details.
Take a step back and observe the glasses from different angles to ensure that the final touches add to their overall appeal. Make any adjustments or additions as needed until you are satisfied with the final look.
Once you have completed these final touches, it’s time to admire your beautiful bridal party wine glasses. These glasses are now ready to be gifted to your beloved bridal party members or displayed as a stunning addition to your wedding celebration.
Remember to handle the glasses with care to preserve the vinyl decals and any personalization you have added. Encourage your bridal party members to cherish these glasses as special keepsakes from your wedding day.
With the final touches complete, your bridal party wine glasses are a reflection of your creativity, love, and appreciation for your bridal party. They will surely be cherished and enjoyed for years to come.
Congratulations on successfully creating personalized and stunning bridal party wine glasses! Enjoy every moment as you share these unique and meaningful gifts with your loved ones.
As the article comes to an end, we hope that this step-by-step guide has been helpful to you, guiding you through each stage of making your own bridal party wine glasses. We wish you a wonderful and unforgettable wedding celebration!
Conclusion
Congratulations on completing your journey to create beautiful and personalized bridal party wine glasses! By following the step-by-step guide outlined in this article, you have not only showcased your creativity but also added a special touch to your wedding celebration.
These customized wine glasses serve as unique and meaningful gifts for your bridal party members. They will not only cherish these glasses on your special day but also be reminded of the love and appreciation you have for them every time they enjoy a glass of wine.
Throughout the process, you have learned how to gather the necessary supplies, clean the wine glasses thoroughly, prepare the design, apply the vinyl decals, remove excess vinyl, and add personal touches. Additionally, you had the option to bake the glasses for added durability and personalize them further with names or special messages.
By infusing your own creativity and personalization into each glass, you have created a lasting memento for your bridal party. These glasses will make a beautiful addition to your wedding day and serve as cherished keepsakes for years to come.
Remember to handle the glasses with care and encourage your bridal party members to do the same, ensuring the longevity of the vinyl decals and any personal touches you have added. With proper care, these glasses will continue to bring joy and fond memories of your wedding day.
We hope that this comprehensive guide has provided you with the knowledge and inspiration needed to create stunning bridal party wine glasses. May your wedding day be filled with love, happiness, and beautiful moments shared with your loved ones.
Now, armed with this newfound expertise, go forth and create gorgeous bridal party wine glasses that will dazzle your bridal party and make your special day even more memorable. Cheers to love, creativity, and unforgettable celebrations!
Frequently Asked Questions about How To Make Bridal Party Wine Glasses
Was this page helpful?
At Storables.com, we guarantee accurate and reliable information. Our content, validated by Expert Board Contributors, is crafted following stringent Editorial Policies. We're committed to providing you with well-researched, expert-backed insights for all your informational needs.


0 thoughts on “How To Make Bridal Party Wine Glasses”