Furniture
How To Make A Wine Glass Chandelier
Modified: August 17, 2024
Learn how to create a stunning wine glass chandelier to elevate your home decor. Find step-by-step instructions and unleash your creativity with this fun furniture DIY project.
(Many of the links in this article redirect to a specific reviewed product. Your purchase of these products through affiliate links helps to generate commission for Storables.com, at no extra cost. Learn more)
Introduction
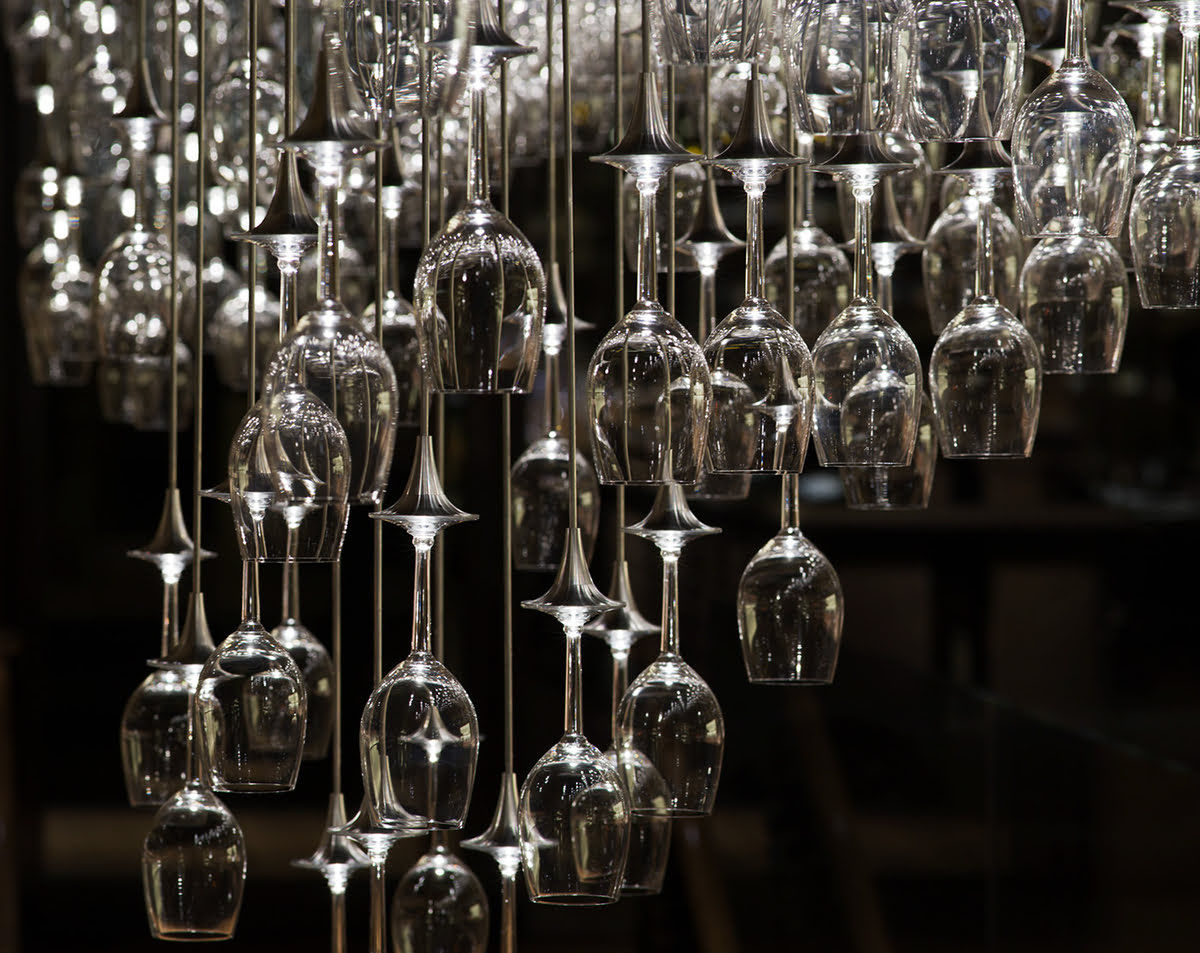
Are you looking for a unique and elegant way to illuminate your space? Look no further than a wine glass chandelier. This stunning DIY project combines the beauty of wine glasses with the functionality of a chandelier, creating a one-of-a-kind piece that will make a statement in any room.
Whether you’re a wine enthusiast or simply appreciate the artistic appeal of wine glasses, making a wine glass chandelier is a fun and rewarding project that allows you to showcase your creativity. Not only will you have a beautiful lighting fixture, but you’ll also have a conversation piece that adds a touch of sophistication to your home.
In this article, we’ll guide you through the step-by-step process of creating your own wine glass chandelier. From gathering the materials to adding the finishing touches, we’ll provide you with all the information you need to bring this unique project to life.
So, let’s get started on this exciting DIY adventure and create a stunning wine glass chandelier that will illuminate your space with elegance and charm.
Key Takeaways:
- Create a stunning wine glass chandelier to illuminate your space with elegance and charm. Follow the step-by-step guide to transform ordinary wine glasses into a mesmerizing centerpiece.
- Prioritize safety and creativity to craft a unique wine glass chandelier that adds luxury and sophistication to your home. Enjoy the rewarding DIY journey and revel in the glory of your creation!
Read more: How To Make Teacup Wine Glasses
Materials Needed
Before you embark on creating your wine glass chandelier, it’s important to gather all the necessary materials. Here’s a list of what you’ll need:
- A chandelier base or frame
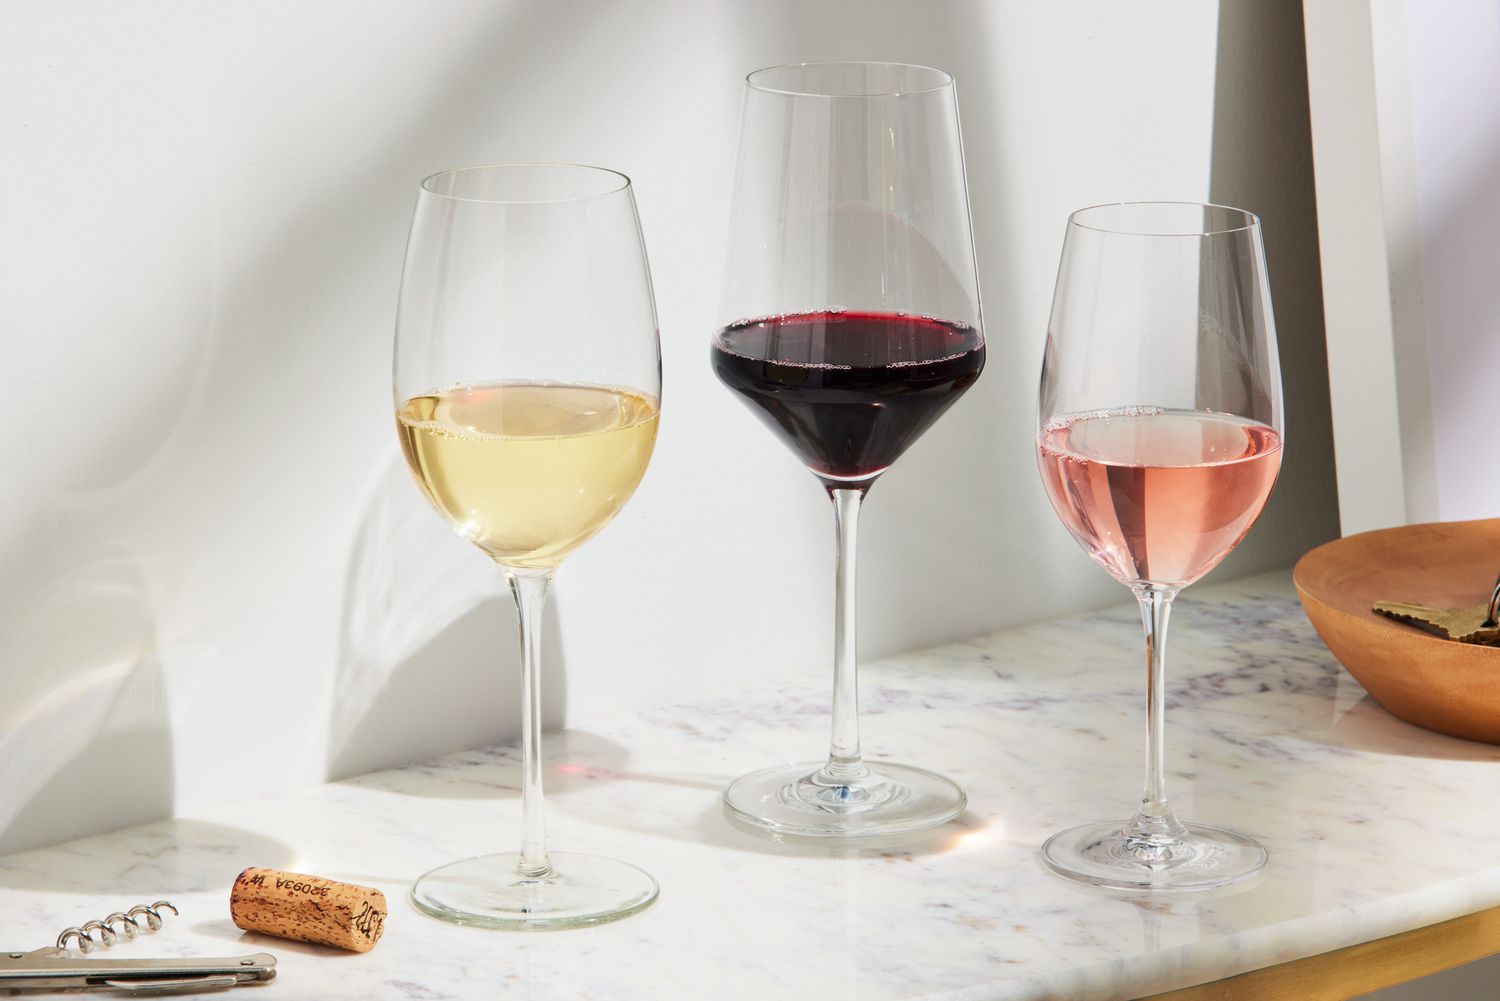
- Wine glasses (glass or crystal)
- Chandelier crystals or beads (optional)
- Wire cutters
- Adhesive or glue suitable for glass
- Electrical wire and socket
- Light bulbs
- Chain or wire for hanging
- Ceiling hook
- Measuring tape
- Safety goggles and gloves
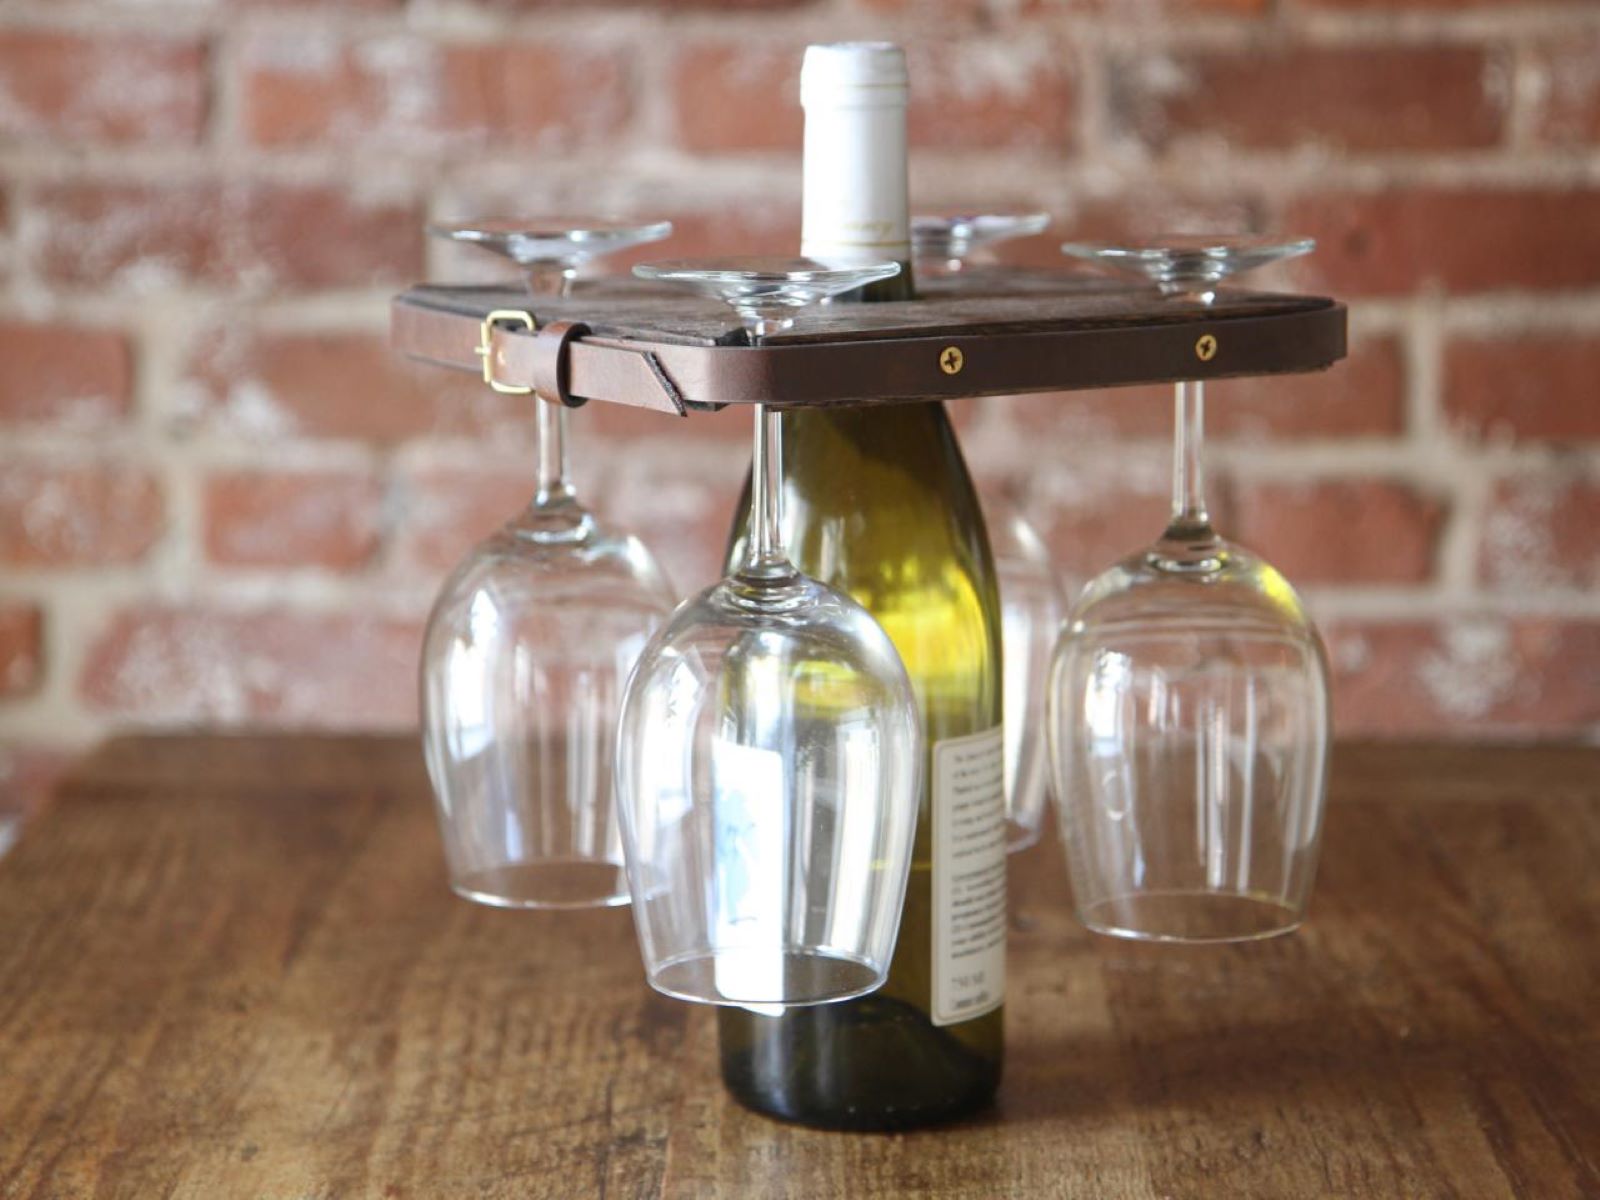
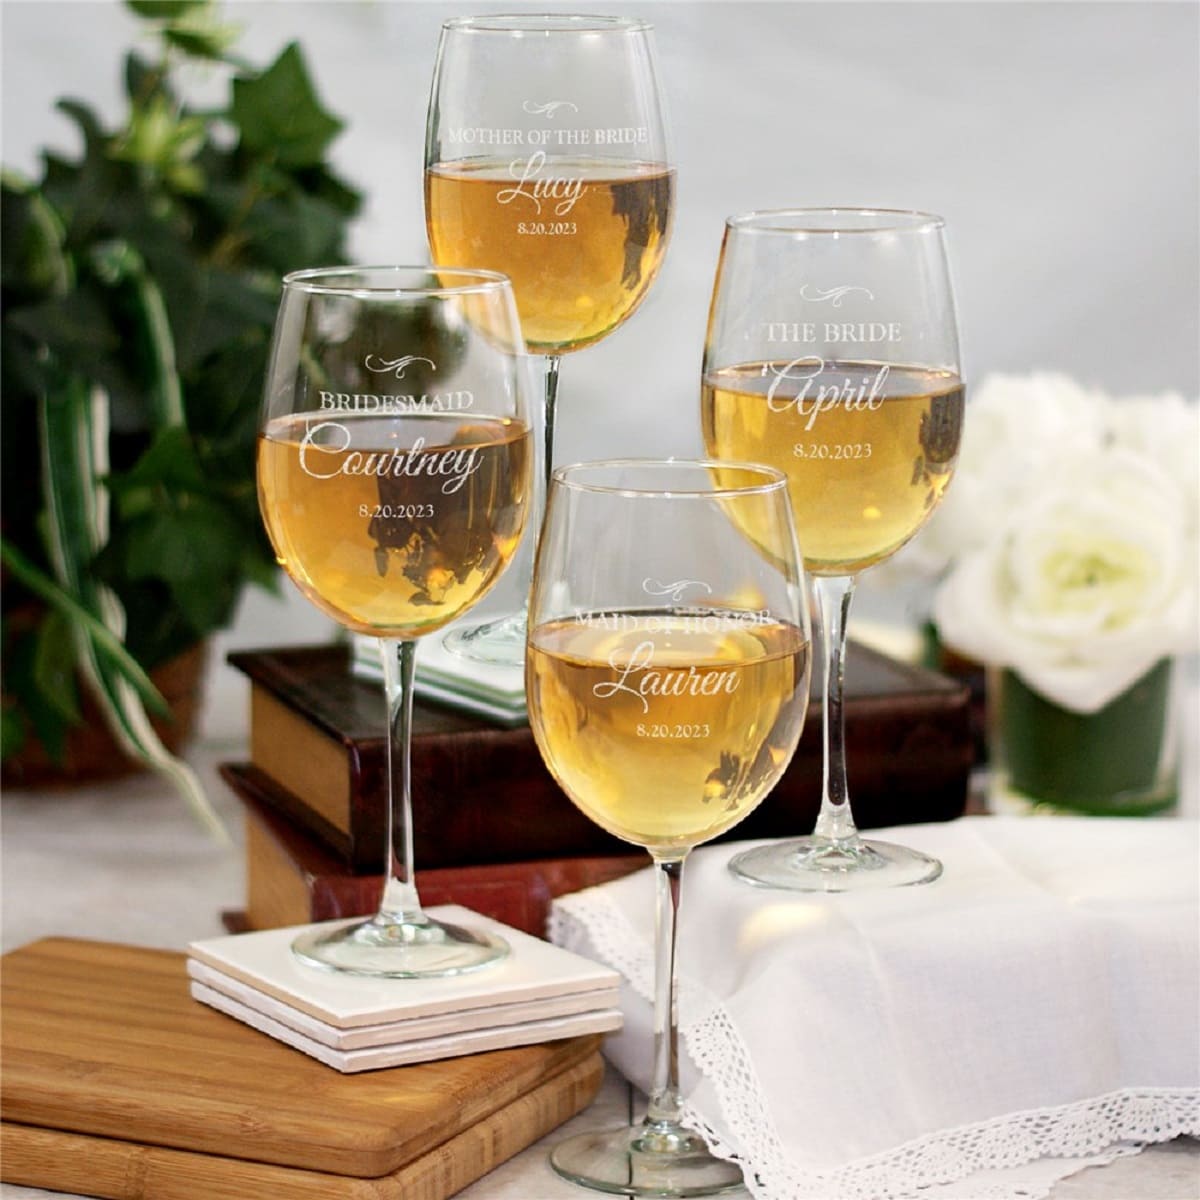
When choosing wine glasses for your chandelier, consider the style and size that will best suit your space. You can opt for stemless glasses for a modern twist or go for traditional wine glasses with stems for a more classic look.
The chandelier crystals or beads are optional but can add an extra touch of sparkle and elegance to your creation. Choose crystals that complement the shape and color of your wine glasses for a cohesive design.
Ensure you have wire cutters on hand to trim the wire or chains to the desired lengths and an adhesive or glue suitable for glass to securely attach the wine glasses to the chandelier base.
For the electrical components, you’ll need electrical wire, socket, and light bulbs. It’s crucial to ensure you have the correct voltage and wattage to safely light your chandelier. If you’re not confident with electrical work, consult a professional electrician to assist you.
Finally, you’ll need a chain or wire for hanging the chandelier from the ceiling, a ceiling hook to securely mount it, and a measuring tape to determine the desired height and placement.
Remember to wear safety goggles and gloves when handling glass and using tools to protect yourself from any potential accidents.
Now that you have all the necessary materials, let’s move on to the next step: preparing the wine glasses for the chandelier.
Step 1: Gather Wine Glasses
The first step in creating your wine glass chandelier is to gather the wine glasses that will be used for the project. Before you begin, ensure that you have enough wine glasses to fill the desired number of slots on your chandelier base.
You can choose to use either glass or crystal wine glasses, depending on your preference and budget. Both options will create a stunning chandelier, but crystal glasses may provide added sparkle and elegance.
When selecting the wine glasses, consider their shape and size. Opt for glasses with longer stems if you want a more classic and formal look. Alternatively, stemless wine glasses can be used for a modern and sleek design.
It’s important to note that the wine glasses should be sturdy enough to withstand the weight of hanging on the chandelier. Check each glass for any chips or cracks, as they can compromise the structural integrity of the chandelier.
If you don’t have enough wine glasses on hand, you can find affordable options at thrift stores, flea markets, or online marketplaces. Keep in mind that the sizes and shapes of the glasses may vary, which can add visual interest and uniqueness to your chandelier.
Once you have gathered all the wine glasses, wash them thoroughly with warm soapy water to remove any residue or dirt. Rinse them well and allow them to dry completely before proceeding to the next step.
Now that you have your wine glasses ready, we can move on to preparing them for attachment to the chandelier base.
Step 2: Prepare the Wine Glasses
Now that you have gathered all the wine glasses for your chandelier, it’s time to prepare them for attachment to the chandelier base. This step will ensure that the glasses are securely fastened and will remain in place once the chandelier is assembled. Here’s what you need to do:
- Carefully inspect each wine glass for any imperfections such as chips or cracks. Discard any glasses that are damaged, as they can compromise the structural integrity of the chandelier.
- If desired, you can give the wine glasses a thorough cleaning to remove any fingerprints or smudges. Use a lint-free cloth or a glass cleaner to achieve a crystal-clear finish.
- Depending on the design of your wine glasses, you may need to remove any stems or bases. This step is optional and depends on the aesthetic you want to achieve. Keep in mind that removing the stems or bases may affect the balance and stability of the chandelier.
- If you choose to remove the stems or bases, use wire cutters to carefully cut them off. Ensure that you wear safety goggles and gloves to protect yourself from any flying debris.
- Smooth out any rough edges with sandpaper or a glass file to ensure that the cut edge is even and safe to handle. Be cautious not to apply too much pressure, as it may lead to further damage or breakage.
By properly preparing the wine glasses, you will ensure that they are in optimal condition for attachment to the chandelier base. Additionally, removing the stems or bases can create a more modern and streamlined look, but be mindful of the overall balance and stability of the chandelier.
Once you have prepared the wine glasses, we can move on to the next step: attaching the wine glasses to the chandelier base.
Step 3: Attach the Wine Glasses to the Chandelier Base
Now that you have prepared the wine glasses, it’s time to attach them to the chandelier base. This step will bring your chandelier to life and create a visually stunning display. Here’s how you can do it:
- Position the chandelier base on a flat surface and determine the layout for the wine glasses. Consider the size and shape of the glasses and plan a symmetrical or asymmetrical arrangement, depending on your preference.
- Apply a small amount of adhesive or glass-specific glue to the base of each wine glass. Be sure to use a glue that is suitable for glass and that dries clear for a seamless finish.
- Carefully place the wine glasses onto the chandelier base, pressing them firmly to ensure a secure attachment. Ensure that there is enough space between the wine glasses to allow for proper illumination and airflow.
- If you’re using chandelier crystals or beads to add extra sparkle, attach them to the chandelier base in between the wine glasses. You can hang them from small hooks or simply attach them with adhesive or string.
- Once all the wine glasses and crystals are attached, allow the adhesive or glue to dry completely according to the manufacturer’s instructions. This may take several hours or overnight, so be patient and avoid disturbing the chandelier during this time.
When attaching the wine glasses, be careful not to apply excessive pressure that could cause them to crack or break. Take your time and ensure that each glass is securely attached to the chandelier base.
Once the adhesive or glue has dried, gently give the chandelier a slight shake to ensure that the wine glasses are firmly in place. If any glasses feel loose, reapply adhesive or glue to secure them properly.
Congratulations! You have successfully attached the wine glasses to the chandelier base. Now, let’s move on to the next step: hanging the chandelier.
When making a wine glass chandelier, be sure to measure and plan the layout of the glasses before drilling any holes. This will ensure a balanced and visually appealing final product.
Read more: How To Make Custom Wine Glasses
Step 4: Hang the Chandelier
With the wine glasses securely attached to the chandelier base, it’s time to hang your stunning creation. Hanging the chandelier will allow it to be properly showcased and illuminate your space with elegance. Follow these steps to hang the chandelier:
- Locate a suitable spot on the ceiling where you want to install the chandelier. Ensure that the area is clear of any obstructions and that there is a stable support structure, such as a ceiling joist or a ceiling hook.
- Using a measuring tape, determine the desired height at which you want the chandelier to hang. Mark the spot on the ceiling where the chandelier hook or chain will be attached.
- If using a ceiling hook, carefully install it into the marked spot on the ceiling following the manufacturer’s instructions. Ensure that the hook is securely fastened to support the weight of the chandelier.
- If using a chain to hang the chandelier, attach a length of chain to the chandelier base using pliers or hooks. Ensure that the chain is securely fastened and will support the weight of the chandelier.
- Hang the chandelier from the ceiling hook or chain, ensuring that it is level and centered in the desired location. Use a spirit level to check for balance and make any necessary adjustments.
- Securely fasten the chandelier to the ceiling hook or chain to ensure that it remains in place. Double-check that the chandelier is stable and doesn’t sway or move excessively.
When hanging the chandelier, it’s important to prioritize safety and ensure that it is securely mounted to avoid any accidents or damage. If you’re unsure about the installation process or if you’re dealing with a heavier chandelier, it’s recommended to consult a professional electrician or handyman for assistance.
Now that your wine glass chandelier is successfully hung, it’s time to add the finishing touches by incorporating lighting. Let’s move on to the next step: adding lighting to your chandelier.
Step 5: Add Lighting
Now that your wine glass chandelier is hanging beautifully, it’s time to add the lighting element to bring it to life. Adding the right lighting will not only illuminate the space but also enhance the visual appeal of your chandelier. Here’s what you need to do:
- Ensure that the power source is turned off before proceeding with any electrical work. This will prevent any potential accidents or electrical shocks.
- Take the electrical wire and socket and carefully feed the wire through the chandelier base, ensuring it is secure and won’t come loose. If needed, consult a professional electrician to ensure safe wiring.
- Connect the electrical wire to the socket, following the manufacturer’s instructions. Double-check all connections and ensure they are tight and secure.
- Insert the light bulbs into the sockets, being mindful of the recommended wattage and bulb type. Consider using LED bulbs for energy efficiency and longevity.
- Turn on the power source and test the lighting to ensure that it is working properly. Adjust the height and angle of the light bulbs if necessary to achieve the desired lighting effect.
- If desired, you can incorporate dimmer switches or remote controls to adjust the brightness and create different lighting moods.
- Ensure that the wiring is safely tucked away and hidden within the chandelier base, creating a clean and polished look.
When dealing with electrical work, it’s crucial to prioritize safety. If you’re not confident with electrical wiring, it’s best to consult a professional electrician to ensure a safe and proper installation.
Adding the right lighting to your wine glass chandelier will create a mesmerizing visual display and enhance the ambiance of your space. Now that the lighting is in place, let’s move on to the final step: adding the finishing touches.
Step 6: Final Touches
With the wine glass chandelier assembled and the lighting incorporated, it’s time to add the final touches to complete the look. These finishing touches will add a touch of style and finesse to your chandelier. Here’s what you can do:
- Inspect the chandelier for any visible glue residue or fingerprints. Use a clean cloth or a lint-free cloth to gently wipe away any imperfections, ensuring that the glasses and crystals are sparkling clean.
- Consider adding decorative elements, such as ribbon bows or floral accents, to the chandelier. These embellishments can enhance the overall aesthetic and complement your interior design style.
- Experiment with different lighting effects by placing colored light filters or shades on the bulbs. This can create a unique ambiance or match the color scheme of your space.
- Adorn the chandelier with additional decorative elements like faux vines, beads, or hanging ornaments. These accessories can further customize the look and add a personal touch to your chandelier.
- Step back and assess the overall arrangement of the wine glasses and crystals. Make any necessary adjustments to ensure balance and symmetry, and ensure that the chandelier is visually appealing from all angles.
- Lastly, turn on the chandelier and enjoy the stunning display of light and beauty in your space. Revel in the satisfaction of creating a unique and captivating wine glass chandelier.
By paying attention to these final touches, you can elevate the appearance of your wine glass chandelier and create a magnificent focal point in your home or any desired space.
Congratulations! You have successfully completed all the steps to make your own wine glass chandelier. Now, sit back, relax, and bask in the glory of your creation!
Remember to periodically clean and maintain your chandelier to keep it looking its best. Dust the wine glasses and crystals regularly and inspect for any signs of wear or damage. With proper care, your wine glass chandelier will continue to provide beauty and elegance for years to come.
Thank you for joining us on this DIY journey. We hope you have enjoyed creating your wine glass chandelier as much as we enjoyed guiding you through the process. Happy crafting!
Conclusion
When considering what to do with wine glasses that are no longer in use, creating a wine glass chandelier is a delightful and rewarding DIY project. This undertaking allows you to combine your love for wine with your creative spirit. From gathering the wine glasses to adding the finishing touches, this unique lighting fixture brings elegance and charm to any space.
Throughout the step-by-step process, you have learned how to prepare the wine glasses, attach them to the chandelier base, hang the chandelier, add lighting, and add the final touches. Each stage has brought you closer to completing your own masterpiece.
By incorporating your own personal style and creativity, you have transformed ordinary wine glasses into a stunning centerpiece that illuminates your space with beauty and sophistication. The combination of glass or crystal wine glasses, dazzling chandelier crystals, and carefully chosen lighting creates a truly mesmerizing effect.
Remember to always prioritize safety when handling glass, using tools, and working with electricity. If you’re uncertain about any step or if you’re dealing with complex electrical work, it’s best to seek assistance from a professional electrician.
Now, take a step back and marvel at your creation. Your wine glass chandelier is not only a functional lighting fixture but also a conversation piece that showcases your artistic flair. It brings a touch of elegance, sophistication, and a unique ambiance to your home.
We hope that this guide has inspired you to embark on your own DIY journey and create a wine glass chandelier that adds a touch of luxury to your living space. So gather your materials, let your creativity soar, and enjoy the mesmerizing beauty of your handcrafted wine glass chandelier.
Thank you for joining us, and happy crafting!
Frequently Asked Questions about How To Make A Wine Glass Chandelier
Was this page helpful?
At Storables.com, we guarantee accurate and reliable information. Our content, validated by Expert Board Contributors, is crafted following stringent Editorial Policies. We're committed to providing you with well-researched, expert-backed insights for all your informational needs.


0 thoughts on “How To Make A Wine Glass Chandelier”