Tableware
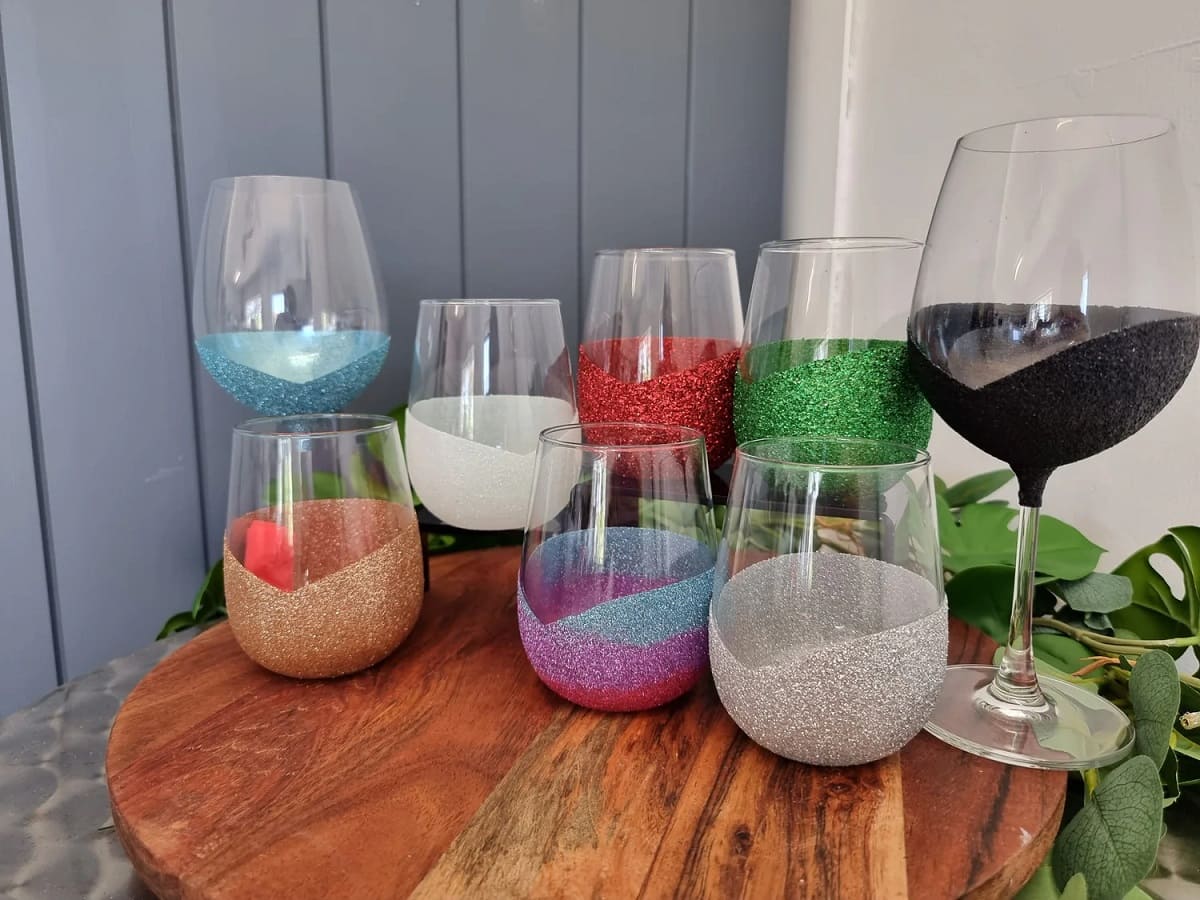
How To Make Beaded Wine Glasses
Modified: January 3, 2024
Discover the art of making stunning beaded wine glasses with our step-by-step guide. Elevate your tableware collection with these unique and elegant creations today.
(Many of the links in this article redirect to a specific reviewed product. Your purchase of these products through affiliate links helps to generate commission for Storables.com, at no extra cost. Learn more)
Introduction
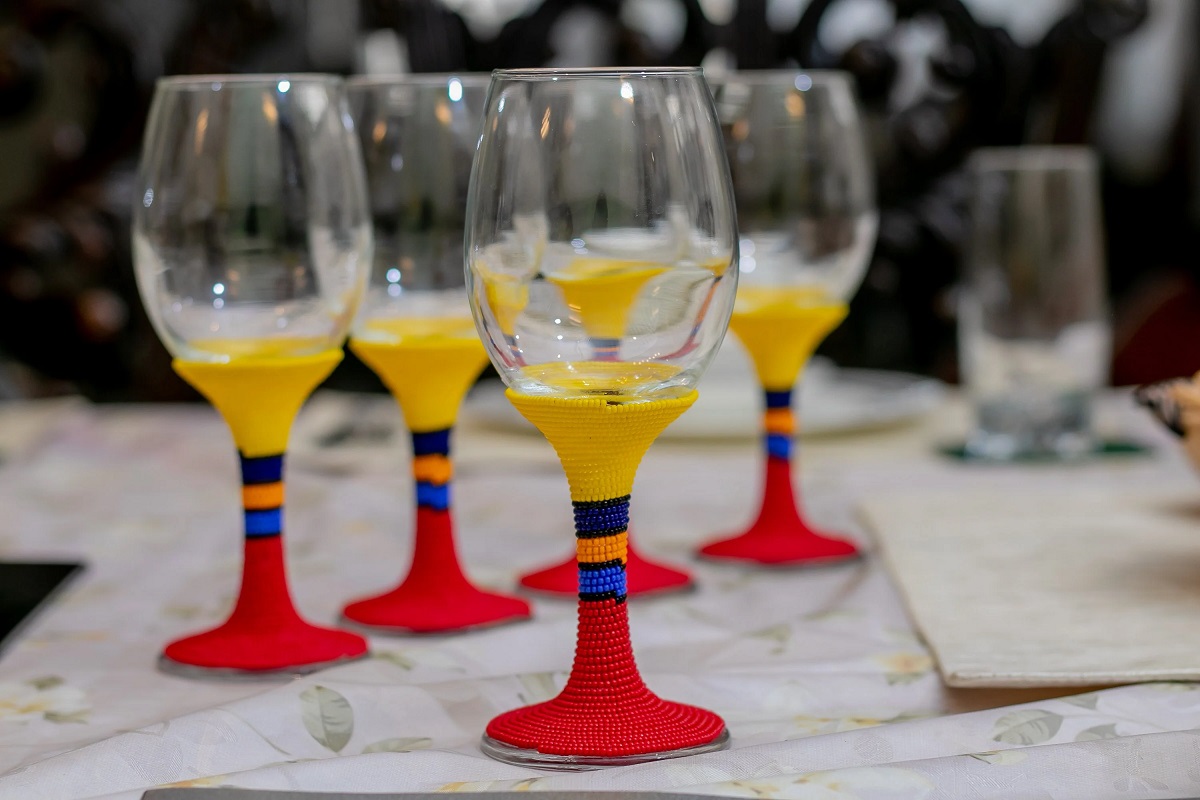
Are you looking for a creative and unique way to add elegance and charm to your tableware collection? How about making your own beaded wine glasses? With just a few materials and a little bit of creativity, you can transform plain wine glasses into stunning, personalized pieces that will impress your guests.
Beaded wine glasses make a perfect addition to special occasions like weddings, anniversaries, or even a romantic dinner for two. They also make great gifts for your loved ones or as a delightful addition to your own home decor. Whether you’re a beginner or an experienced crafter, making beaded wine glasses is a fun and rewarding DIY project that allows you to unleash your creativity.
In this article, we’ll guide you through the steps of making beaded wine glasses, from choosing the perfect beads to securing them in place. So gather your supplies, put on your crafting hat, and let’s get started!
Key Takeaways:
- Elevate your tableware collection by creating stunning beaded wine glasses, perfect for special occasions or as unique gifts. Unleash your creativity and showcase your personal style with this fun and rewarding DIY project.
- Transform plain wine glasses into eye-catching works of art with a variety of beads, colors, and textures. Impress your guests and add a touch of elegance to every dining experience with your personalized beaded wine glasses.
Read more: How To Make Glass Beads
Materials Needed
Before we dive into the step-by-step process of making beaded wine glasses, let’s gather all the materials you’ll need for this project. Here’s a list of the essentials:
- Plain wine glasses – You can choose any type of wine glass you prefer, whether it’s stemmed or stemless. Make sure they are clean and free from any residue.
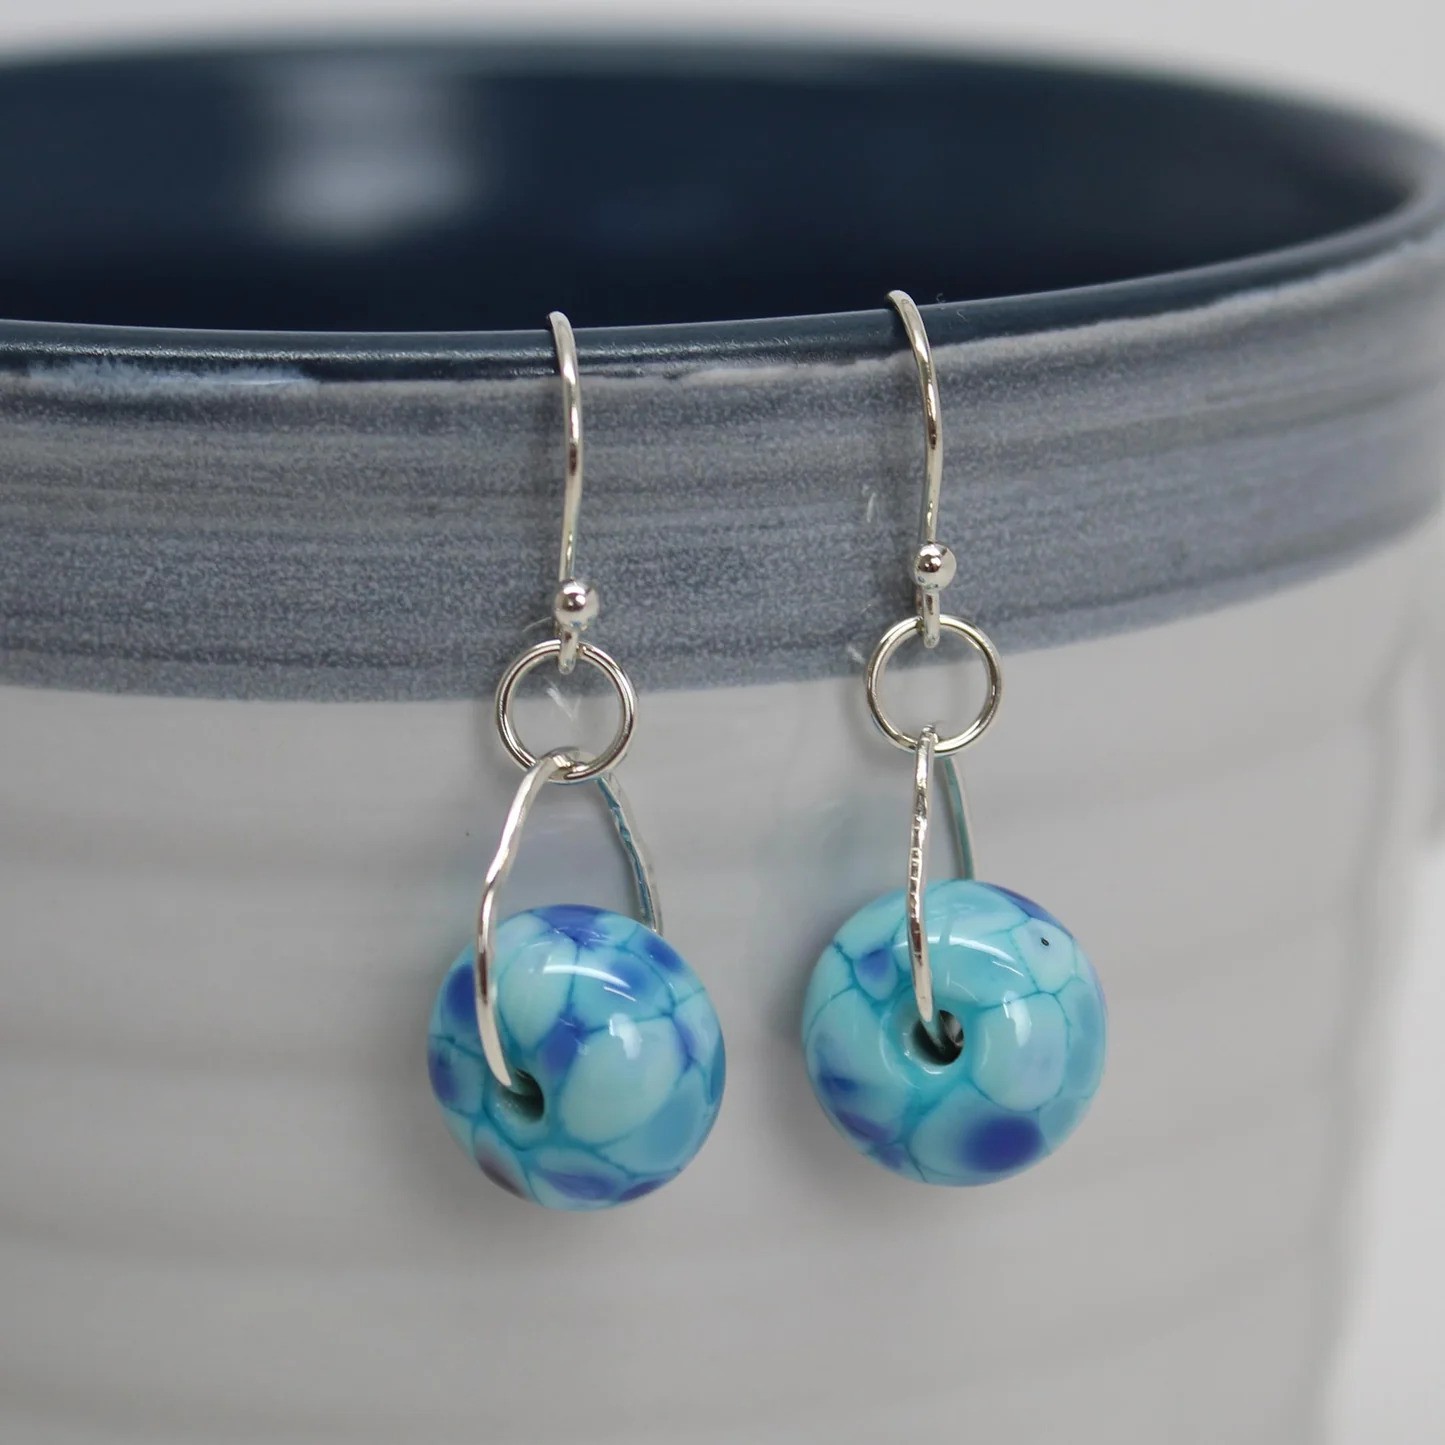
- Beads – The star of the show! Select a variety of beads in different colors, shapes, and sizes. You can opt for glass beads, crystal beads, or even seed beads. Get creative and mix and match to achieve your desired design.
- Adhesive – Choose a strong adhesive that is safe for glass, such as E6000 or a clear craft glue.
- Needle-nose pliers – These will come in handy for manipulating and arranging the beads.
- Toothpicks or skewers – Use these to apply the adhesive and position the beads accurately.
- Optional: Bead caps, charms, or pendants – If you want to add some extra flair to your wine glasses, consider incorporating bead caps, charms, or pendants into your design.
- Protective gloves – It’s always a good idea to protect your hands while working with adhesive.
- Old newspaper or a drop cloth – To protect your work surface from any potential spills or messes.
Now that you have all the necessary materials, it’s time to start beautifying your wine glasses with beads! Let’s move on to the step-by-step process.
Step 1: Choosing the Beads
The first step in making beaded wine glasses is selecting the beads that will adorn your glasses. Beads come in a wide range of colors, shapes, and sizes, allowing you to customize your design to fit your personal style and the occasion you’re preparing for.
Consider the following factors when choosing your beads:
- Color scheme: Decide on the color palette you want to work with. Choose beads that complement each other and the overall theme of your event or home decor.
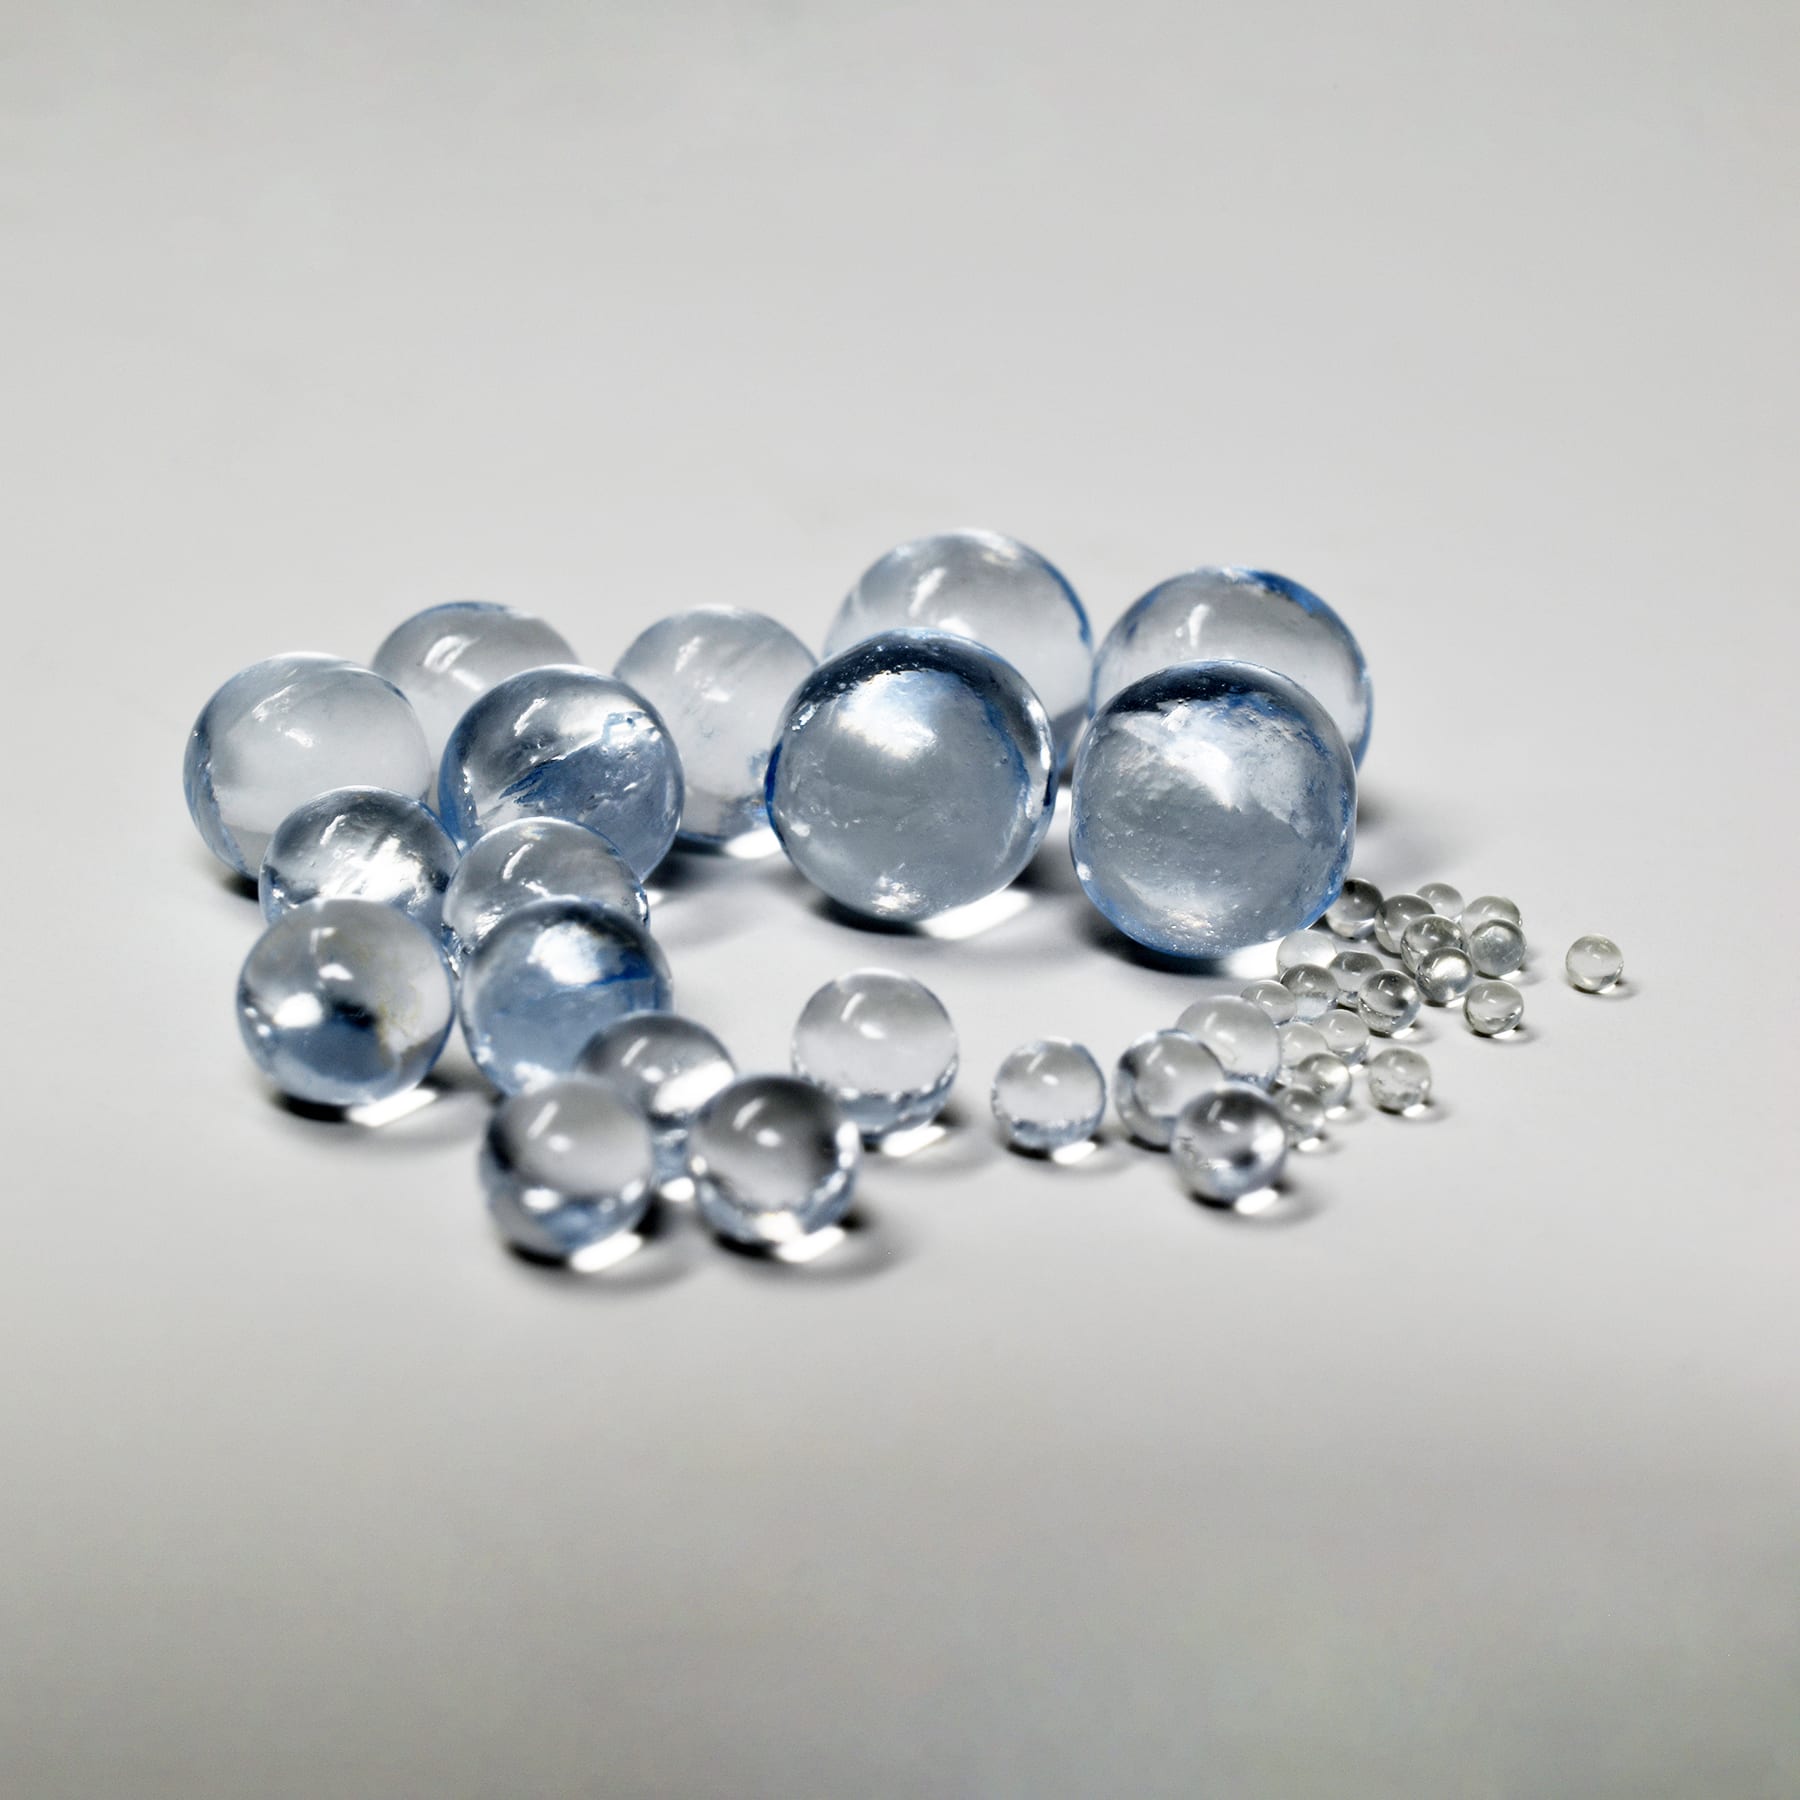
- Size variation: Mixing beads of different sizes adds depth and visual interest to the design. Select a few larger beads as focal points and fill in the spaces with smaller beads.
- Texture and finish: Beads come in various finishes like matte, shiny, or iridescent. Experiment with different textures to create a unique and captivating look.
- Theme or motif: If you have a particular theme or motif in mind, look for beads that align with it. For example, if you’re going for an ocean-themed party, opt for beads in shades of blues and greens to mimic the colors of the sea.
Take your time browsing through bead options at local craft stores or online shops. Don’t be afraid to mix and match different styles to find the perfect combination that resonates with your vision.
Once you have gathered your beads, lay them out on a flat surface to get a sense of how they look together. Play around with different arrangements and combinations until you find the arrangement that speaks to you.
Now that you have selected your beads, let’s move on to preparing the wine glasses in the next step.
Step 2: Preparing the Wine Glasses
Now that you have chosen the perfect beads for your design, it’s time to prepare the wine glasses for bead application. Here’s how to get started:
- Clean the wine glasses: Make sure the glasses are clean and free from any dust or residue. Wash them with warm, soapy water, and dry them thoroughly. This will ensure that the beads adhere properly.
- Protect the stem or base (if applicable): If you’re working with stemmed wine glasses, you may want to protect the stem from any adhesive or beads. You can easily do this by covering the stem with masking tape or painter’s tape. This will create a barrier and make the cleanup process easier later on.
- Lay out your workspace: Find a clean and spacious area to work on. Place old newspaper or a drop cloth to protect your work surface from any adhesive spills or scratches.
Once you have completed these steps, your wine glasses are ready to be transformed with beautiful beads. Let’s move on to the exciting part: applying the beads!
When making beaded wine glasses, use a strong adhesive specifically designed for glass and beads to ensure the beads stay in place and the glass remains safe for use.
Step 3: Applying the Beads
Now comes the fun part – applying the beads to your wine glasses. Here’s a step-by-step guide on how to do it:
- Prepare the adhesive: Follow the instructions on the adhesive packaging to ensure proper usage. Apply a small amount of adhesive to a flat surface, such as a piece of cardboard or a palette.
- Start with a small section: Begin by applying a thin line of adhesive along a small section of the wine glass, about an inch or two long.
- Place the beads: Use a toothpick or skewer to pick up the beads and place them onto the adhesive. Press them gently to ensure they adhere securely. You can create patterns or randomly arrange the beads, depending on your desired design.
- Work in small sections: Continue applying adhesive and placing beads in small sections around the wine glass. This will prevent the adhesive from drying out too quickly.
- Experiment with different placements: Feel free to experiment with different bead placements and patterns to create unique designs. You can create a mosaic-like pattern, arrange the beads in a spiral, or even create a gradient effect by using beads in different shades of the same color.
- Be mindful of the stem (if applicable): If you’re working with stemmed wine glasses, be careful not to apply beads too close to the stem, as they may interfere with holding the glass comfortably. Leave some space between the beads and the stem to ensure a comfortable grip.
As you work on applying the beads, take breaks to step back and assess your progress. This will help you make adjustments if needed and ensure that the overall design is balanced and visually appealing.
As you near the end of adding beads to the wine glass, make sure to leave some space at the top of the glass to allow for comfortable sipping without any interference from the beads.
Now that you have adorned your wine glass with beautiful beads, it’s time to move on to the next step: securing the beads in place.
Read more: How To Make Glass Bead Bracelets
Step 4: Securing the Beads
After applying the beads to your wine glasses, it’s important to secure them in place to ensure they stay put. Here’s how:
- Allow the adhesive to dry: Follow the instructions on your adhesive to determine the recommended drying time. It’s crucial to let the adhesive dry completely before handling the glasses to avoid any beads coming loose.
- Inspect the beads: Once the adhesive has dried, carefully examine the beads to ensure they are securely attached. If you notice any beads that are loose or not firmly adhered, add a small amount of adhesive to the problem areas and press the beads back in place.
- Apply additional coats (optional): If you want to further reinforce the beads, you can apply additional coats of adhesive over the beadwork. This will help ensure the beads stay in place even with regular use.
- Let the glasses cure: Set aside the wine glasses in a safe, undisturbed location to allow them to cure fully. This usually takes 24 to 48 hours, but be sure to check the drying time specified on the adhesive packaging.
During the curing process, avoid manipulating or using the glasses to prevent any accidental damage to the beadwork.
After the curing period, gently touch the beads to ensure they are secure and do not move or shift. If the beads feel loose, apply a tiny amount of adhesive to secure them again and allow them to dry for a few more hours.
Now that your beads are securely in place, it’s time to move on to the final step: drying and adding the finishing touches.
Step 5: Drying and Finishing Touches
Now that you have secured the beads on your wine glasses, the final step is to allow them to dry completely and add any desired finishing touches to enhance their appearance. Here’s what you need to do:
- Let the glasses air dry: Place the wine glasses in a well-ventilated area and allow them to air dry completely. This ensures that any residual moisture from the adhesive evaporates.
- Inspect the beadwork: Once the glasses are dry, inspect the beadwork to ensure everything is intact and properly secured. Gently touch each bead to ensure they are firmly attached.
- Add additional embellishments (optional): If you want to take your beaded wine glasses to the next level, consider adding additional embellishments like bead caps, charms, or pendants. You can attach them to the stem or around the base of the glass to add an extra touch of elegance.
- Clean up any excess adhesive: Take a close look at the glasses and gently scrape off any excess adhesive that may have seeped out between the beads. You can use a toothpick or a small craft knife for this purpose.
- Optional: Seal the beadwork (if desired): If you anticipate frequent use or want to ensure the longevity of the beadwork, you can apply a clear sealant over the beads. This will provide an extra layer of protection and help prevent the beads from coming loose.
Once you have completed these steps, your beaded wine glasses are ready to be displayed or used during your special occasion. They will add a touch of elegance and uniqueness to your table setting, impressing your guests and creating a memorable dining experience.
Remember to handle the beaded wine glasses with care, as excessive force or rough handling may cause the beads to loosen over time. It’s also best to hand wash the glasses gently to ensure the longevity of the beadwork.
Congratulations on completing your beaded wine glasses! Sit back, relax, and enjoy the beauty and charm these stunning creations bring to your table.
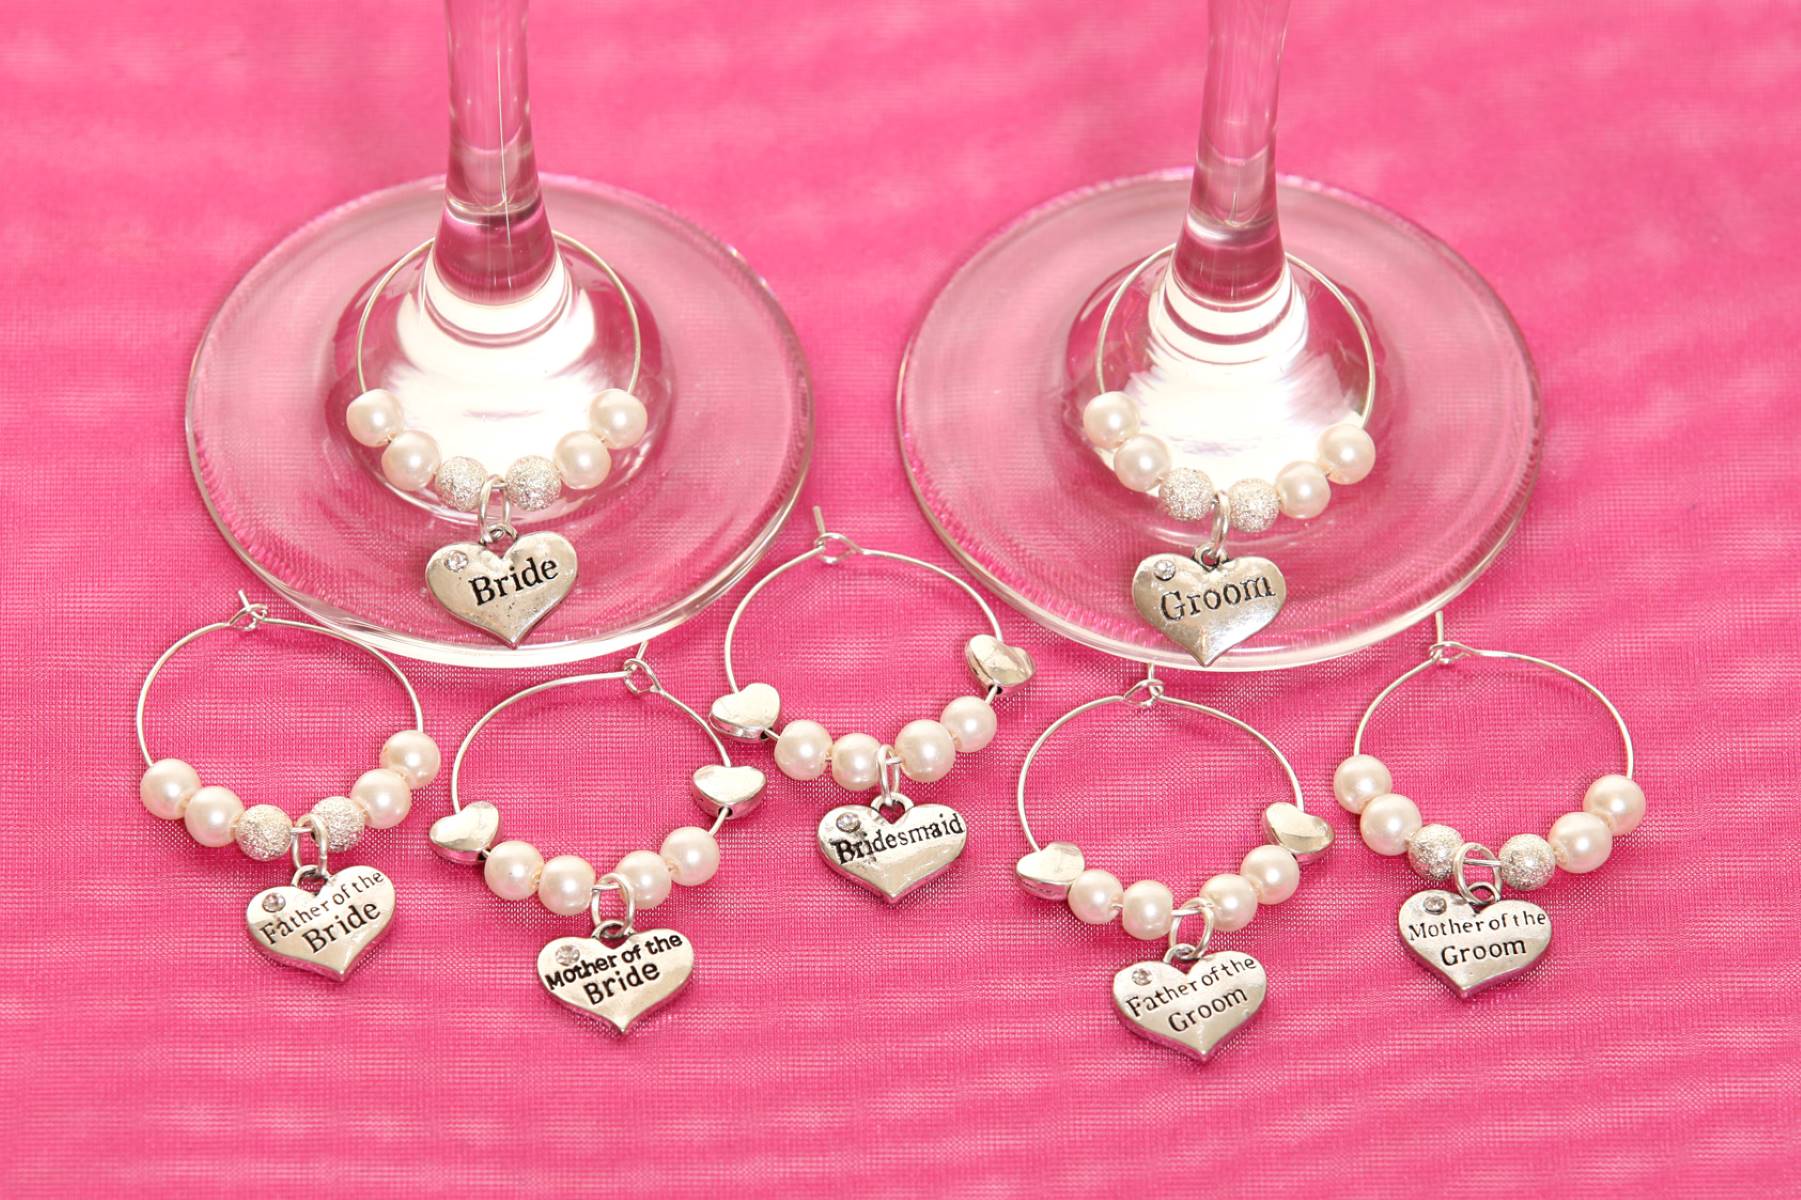
Pro tip: If you’re feeling extra creative, you can also try making matching beaded wine charms or a coordinating beaded wine bottle stopper to complement your wine glasses.
So go ahead and raise a glass to your creativity and craftsmanship! Cheers!
Conclusion
Creating beaded wine glasses is a fantastic way to add a touch of elegance and personalization to your tableware collection. It’s a fun and rewarding DIY project that allows you to unleash your creativity and showcase your unique style. By following the steps outlined in this article, you can transform plain wine glasses into stunning, eye-catching pieces that are sure to impress your guests.
The process begins with choosing the perfect beads that align with your desired color scheme, size variation, texture, and theme. With countless options available, you can mix and match beads to create a design that reflects your personal taste and the occasion at hand.
Preparing the wine glasses is an essential step that involves cleaning the glasses to ensure optimal adhesion. Additionally, protecting the stem or base (if applicable) helps to prevent any unwanted adhesive or beads from interfering with handling the glass.
Once the glasses are prepared, applying the beads is where your creativity shines. By working in small sections and experimenting with different placements, you can create stunning patterns and designs that truly make your wine glasses stand out.
After the beads are applied, securing them in place ensures that they remain firmly attached. Allowing the adhesive to dry completely and inspecting the beadwork for any loose beads will guarantee a durable and long-lasting result.
Finally, the drying process gives the beads the time they need to fully set, and any desired finishing touches or additional embellishments can be added to personalize the glasses further. Taking the time to clean up any excess adhesive and optionally sealing the beadwork with a clear sealant adds that extra touch of professionalism.
By following these steps, you’ll have beautiful beaded wine glasses that are not only functional but also works of art. Whether you’re hosting a special event or simply enjoying a quiet evening at home, these beaded wine glasses will add a touch of glamour and sophistication to every occasion.
So go ahead and set your table with your creative flair, as you create your own unique beaded wine glasses that will leave a lasting impression on your guests and bring joy to your dining experience. Cheers to your newfound tableware masterpiece!
Frequently Asked Questions about How To Make Beaded Wine Glasses
Was this page helpful?
At Storables.com, we guarantee accurate and reliable information. Our content, validated by Expert Board Contributors, is crafted following stringent Editorial Policies. We're committed to providing you with well-researched, expert-backed insights for all your informational needs.

0 thoughts on “How To Make Beaded Wine Glasses”