Home>Interior Design>How To Make A Burlap Wreath: 6 Easy Steps For Beginners
Interior Design
How To Make A Burlap Wreath: 6 Easy Steps For Beginners
Modified: September 1, 2024
Learn how to make a stunning burlap wreath with our simple step-by-step guide. Perfect for beginners. Enhance your interior design today!
(Many of the links in this article redirect to a specific reviewed product. Your purchase of these products through affiliate links helps to generate commission for Storables.com, at no extra cost. Learn more)
Introduction
When it comes to home decor, a well-crafted wreath can add a touch of warmth and personality to any space, whether it be on the front door or displayed indoors. If you’re looking for a creative and budget-friendly way to spruce up your home, learning how to make a burlap wreath is a fantastic option. Burlap wreaths are not only versatile and charming, but they are also relatively simple to create, making them perfect for beginners.
In this step-by-step guide, we will take you through the process of making a burlap wreath in six easy steps. But before we dive into the instructions, let’s explore why burlap is such a popular choice for wreath making.
Firstly, burlap, a coarse woven fabric made from natural fibers, provides a rustic and textured look that effortlessly complements various decor styles, from farmhouse to coastal. Secondly, burlap is sturdy and holds its shape well, making it an ideal material for wreaths that will withstand the test of time. Finally, burlap is readily available and affordable, making it a cost-effective option for those on a budget.
Now that we’ve highlighted the reasons why burlap is a fantastic choice for wreath making, let’s get started on creating our very own burlap wreath!
Key Takeaways:
- Create a charming burlap wreath with rustic flair using affordable materials and simple techniques, adding a personal touch to your home decor.
- Unleash your creativity and personalize your space by crafting a stunning burlap wreath, infusing your style and personality into every loop and embellishment.
Step 1: Gather Your Materials
Before diving into the process of making a burlap wreath, it’s essential to gather all the necessary materials. Here’s a list of what you’ll need:
- A wire wreath form: This will serve as the base for your wreath. You can find wire wreath forms at your local craft store or online.
- Burlap ribbon or fabric: Look for burlap ribbon or fabric in your desired color and width. You’ll need about 10-12 yards, depending on the size and fullness of your wreath.
- Floral wire or pipe cleaners: These will be used to secure the burlap to the wreath form. Floral wire is sturdy and easy to work with, while pipe cleaners add a pop of color.
- Scissors: Choose a pair of sharp scissors for cutting the burlap.
- Embellishments (optional): If you want to add a personal touch to your wreath, consider adding embellishments such as faux flowers, ribbon, or ornaments.
- Hot glue gun (optional): If you plan on adding embellishments, a hot glue gun can be helpful for securing them to the wreath.
Once you have gathered all the materials, you’re ready to move on to the next step.
Step 2: Cut the Burlap Strips
Now that you have all your materials ready, it’s time to cut the burlap into strips. The length and width of the strips will depend on your desired wreath size and fullness. Here’s how to do it:
- Start by measuring and cutting the burlap into strips. For a standard-sized wreath, cutting the burlap into 6-inch wide strips is a good starting point. You can adjust the width based on your preferences.
- To create the strips, make a small cut at one end of the burlap and tear along the length, following the grain of the fabric. This will give you a clean, straight edge.
- Continue tearing the burlap into strips until you have enough to cover the entire wreath form. You can estimate the number of strips needed by wrapping one around the form and adjusting as necessary.
Keep in mind that the more burlap strips you use, the fuller and fluffier your wreath will look. Don’t be afraid to cut extra strips, as you can always remove or trim them later if the wreath becomes too crowded.
Once you have cut all your burlap strips, you’re ready to move on to the next step of attaching them to the wreath form.
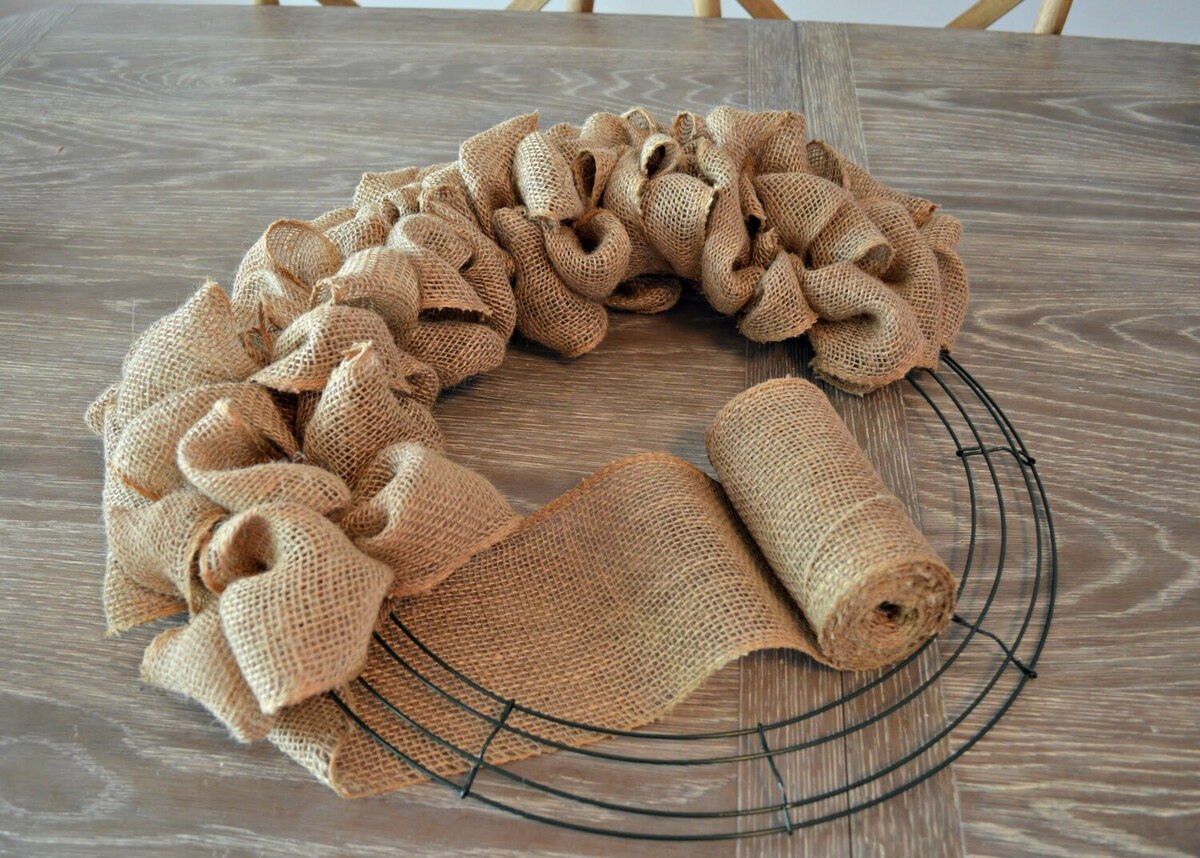
Step 3: Attach the Burlap to the Wreath Form
Now that you have your burlap strips ready, it’s time to start attaching them to the wreath form. Follow these simple steps:
- Take one burlap strip and fold it in half lengthwise, creating a loop. Place the loop behind the first two wires of the wreath form, bringing the ends of the strip to the front.
- Take the ends of the burlap strip and pull them through the loop, tightening it around the form. This will secure the burlap strip in place.
- Slide the loop down towards the outer edge of the wreath form, creating a smooth and even gather of the burlap.
- Repeat this process with another burlap strip, placing it directly next to the first one. Continue attaching the burlap strips, alternating between the inner and outer wires of the wreath form.
- As you add more burlap strips, push them close together to achieve a full and lush appearance. Make sure to cover the entire wreath form, leaving no gaps.
- Continue attaching the burlap strips until you reach the starting point. Secure the last strip tightly, ensuring that all the strips are securely attached to the wreath form.
Remember to adjust and fluff the burlap as you go along to create a uniform and balanced look. The process of attaching the burlap may require some trial and error, so don’t hesitate to adjust and rearrange the strips as needed to achieve your desired outcome.
Once you have attached all the burlap strips, it’s time to move on to the next step of creating the burlap loops.
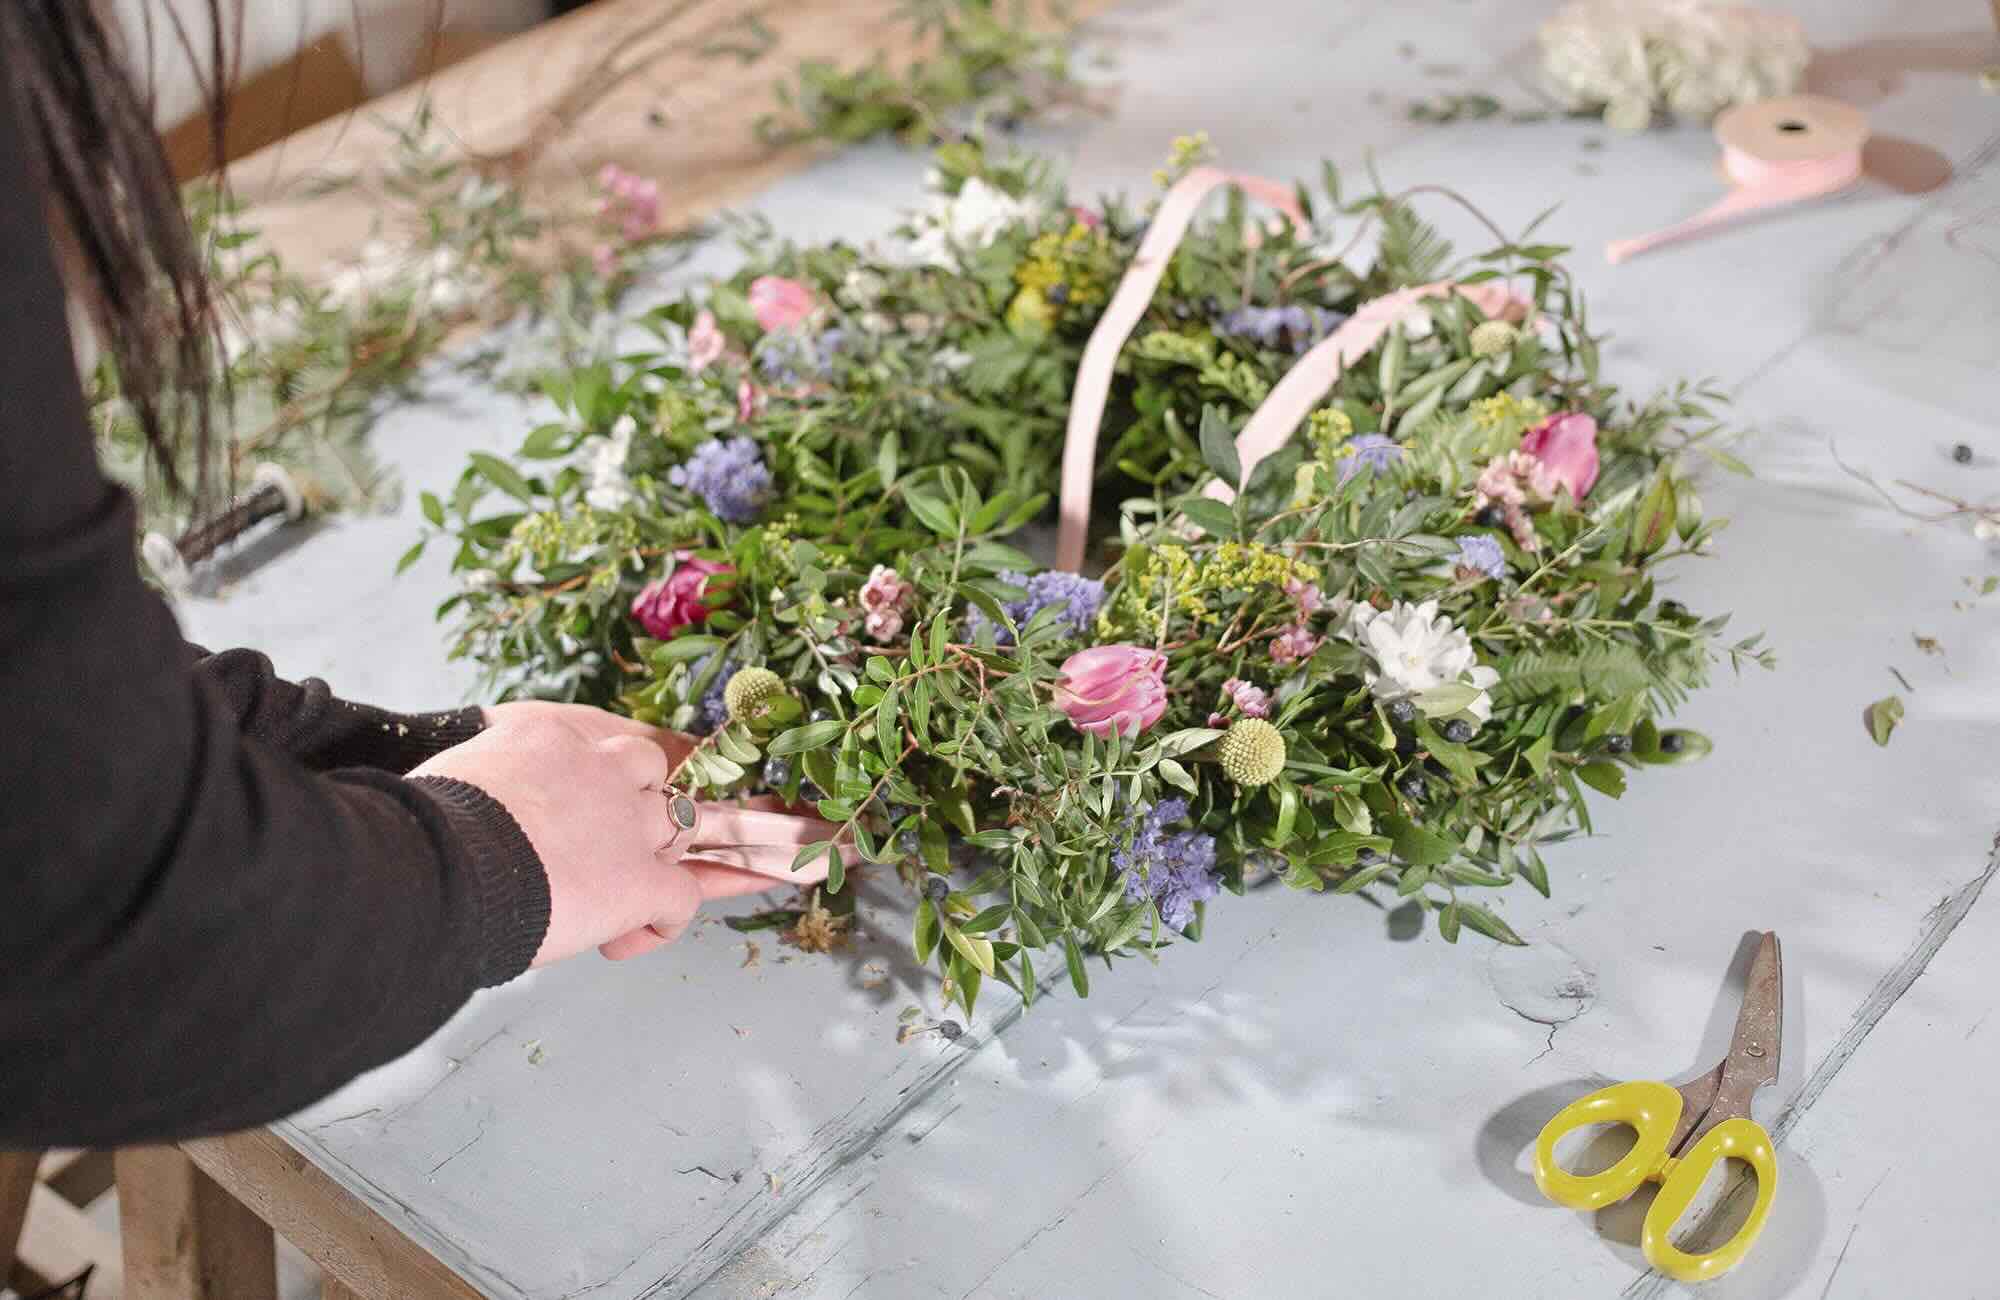
When making a burlap wreath, be sure to use a wire wreath frame to provide structure and stability. This will make the process easier for beginners.
Step 4: Create the Burlap Loops
Now that you have all the burlap securely attached to the wreath form, it’s time to create the loops that will give your wreath its signature look. Here’s how you can do it:
- Start with the first burlap strip that you attached to the wreath form. Take the loose end of the strip and fold it up towards the top of the wreath form, creating a loop.
- Hold the loop of burlap in place with one hand while using your other hand to fold the loose end of the strip back down towards the wreath form, creating a second loop.
- Hold the second loop in place and repeat the process, folding the burlap strip up and down to create additional loops. The size of the loops is up to your preference, but aim for consistency throughout the wreath.
- Continue creating loops with the first burlap strip until you reach the end. Repeat this process with the remaining burlap strips, ensuring that the loops are evenly distributed around the wreath.
- As you work your way around the wreath form, be mindful of keeping the loops facing the same direction for a neat and uniform appearance.
Creating the burlap loops can be a bit time-consuming, but it’s worth the effort for the beautiful end result. Take your time and enjoy the process as you bring your burlap wreath to life.
Once all the burlap strips have been looped, it’s time to move on to the next step of fluffing and shaping the burlap.
Step 5: Fluff and Shape the Burlap
Now that you have created the burlap loops, it’s time to fluff and shape them to give your wreath a full and visually appealing look. Here’s what you need to do:
- Starting from the innermost part of the wreath, gently pull and separate the burlap loops to create volume and dimension. Spread out the loops evenly and arrange them in a way that hides the wreath form.
- Continue working your way towards the outer edges of the wreath, fluffing and shaping the burlap loops as you go. Take your time to ensure that the loops are evenly distributed and have a uniform appearance.
- Pay attention to any areas that may look flattened or uneven, and adjust the burlap as necessary to achieve a balanced and cohesive look.
- Stand back and assess your wreath from different angles to make sure there are no visible gaps or areas that need further attention. If needed, gently tuck or adjust the burlap loops to create a more symmetrical appearance.
Don’t be afraid to get creative and experiment with different techniques to achieve the desired shape and fullness of your burlap wreath. Your wreath is unique to you, so trust your instincts and enjoy the process of bringing it to life.
Once you are satisfied with the shape and fluffiness of your burlap wreath, it’s time to move on to the final step: adding embellishments.
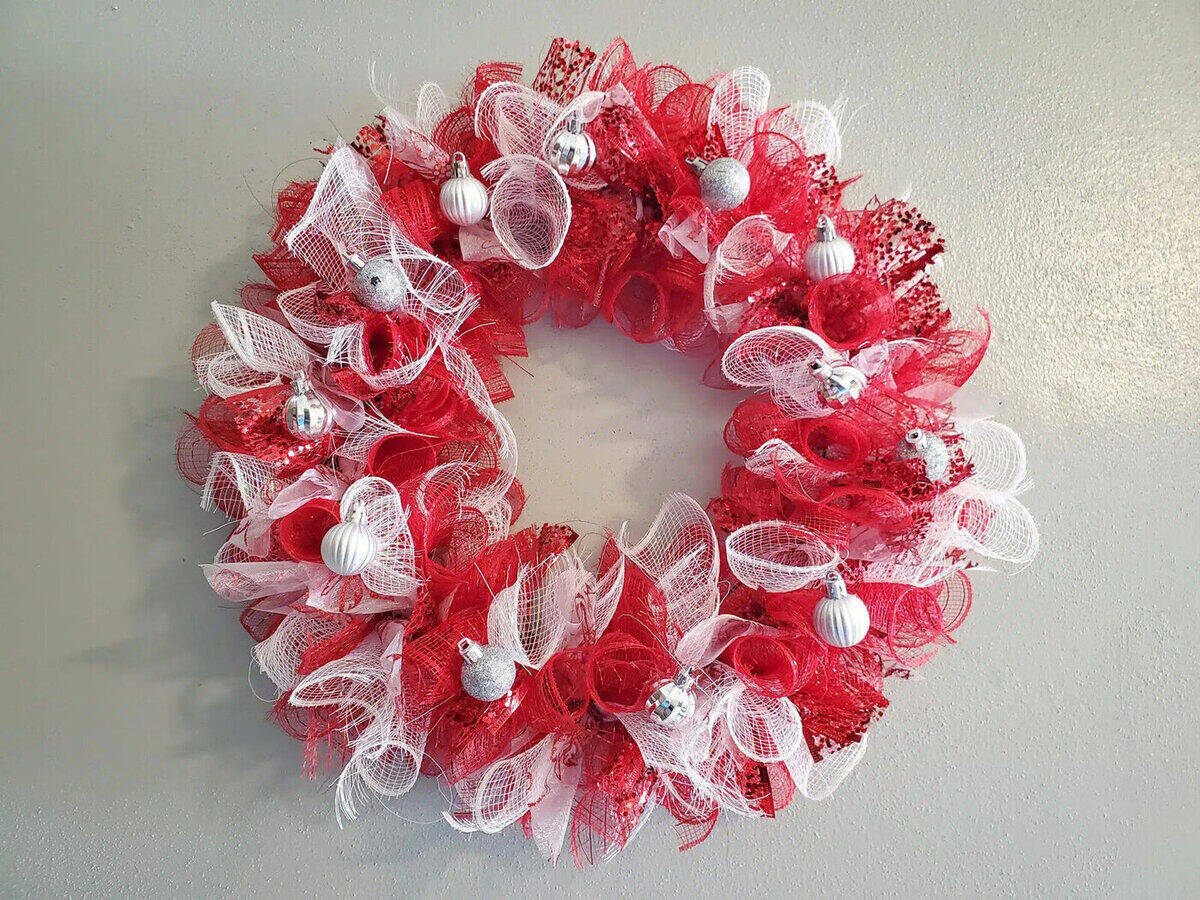
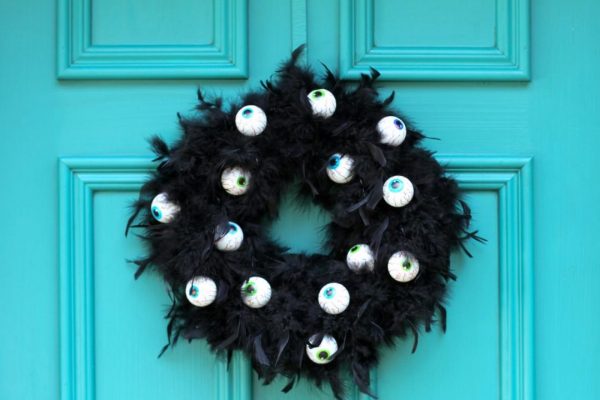
Step 6: Add Embellishments
Adding embellishments is an optional but delightful way to personalize your burlap wreath and make it truly unique. Here’s how you can enhance your wreath with some creative embellishments:
- Consider adding faux flowers or greenery to your wreath. Choose flowers that complement the color scheme and style of your wreath. You can attach them by using floral wire or a hot glue gun.
- Alternatively, you can use ribbons or bows to add a pop of color and texture. This can be done by either attaching the ribbons directly to the wreath form or tying them around the wreath in a bow.
- If you want to go for a seasonal theme, consider adding seasonal decorations such as small ornaments, pinecones, or miniature pumpkins, depending on the time of year.
- Get creative and think outside the box. You can personalize your burlap wreath by adding monogram letters, small trinkets, or even fairy lights for a whimsical touch.
- Place your embellishments strategically, spacing them out around the wreath to create a balanced and visually appealing design. Step back and assess the wreath as you add each embellishment to ensure they enhance the overall aesthetic.
The beauty of adding embellishments is that it allows you to infuse your own style and personality into the wreath. Get creative and have fun with it!
Once you are satisfied with the embellishments and the overall look of your burlap wreath, it’s time to hang it up and enjoy the fruits of your labor.
Congratulations! You have successfully created a stunning burlap wreath that will add charm and personality to your home. Feel proud of your accomplishment and don’t hesitate to showcase your wreath to friends and family.
Conclusion
Learning how to make a burlap wreath is a wonderful way to unleash your creativity and add a personal touch to your home decor. With just a few simple materials and some basic techniques, you can create a stunning wreath that reflects your style and enhances the ambiance of any space.
Throughout this step-by-step guide, we have covered everything you need to know to make a burlap wreath, from gathering the materials to fluffing the burlap and adding embellishments. Remember, the key to a beautiful burlap wreath lies in attention to detail and taking the time to shape and arrange the loops just right.
As you embark on your burlap wreath-making journey, don’t be afraid to explore different color schemes, patterns, and embellishments. Let your creativity shine through and experiment with various techniques to create a wreath that is uniquely yours.
Once your burlap wreath is complete, proudly display it on your front door or hang it inside your home to showcase your artistic skills. Be prepared for compliments and inquiries from admirers who will be amazed by your talent for crafting such a beautiful piece of decor.
So, gather your materials, follow the steps outlined in this guide, and get ready to impress yourself and others with your handmade burlap wreath. Enjoy the process, embrace your creativity, and have fun crafting a wreath that adds a touch of warmth and style to your home.
Frequently Asked Questions about How To Make A Burlap Wreath: 6 Easy Steps For Beginners
Was this page helpful?
At Storables.com, we guarantee accurate and reliable information. Our content, validated by Expert Board Contributors, is crafted following stringent Editorial Policies. We're committed to providing you with well-researched, expert-backed insights for all your informational needs.


0 thoughts on “How To Make A Burlap Wreath: 6 Easy Steps For Beginners”