Tableware
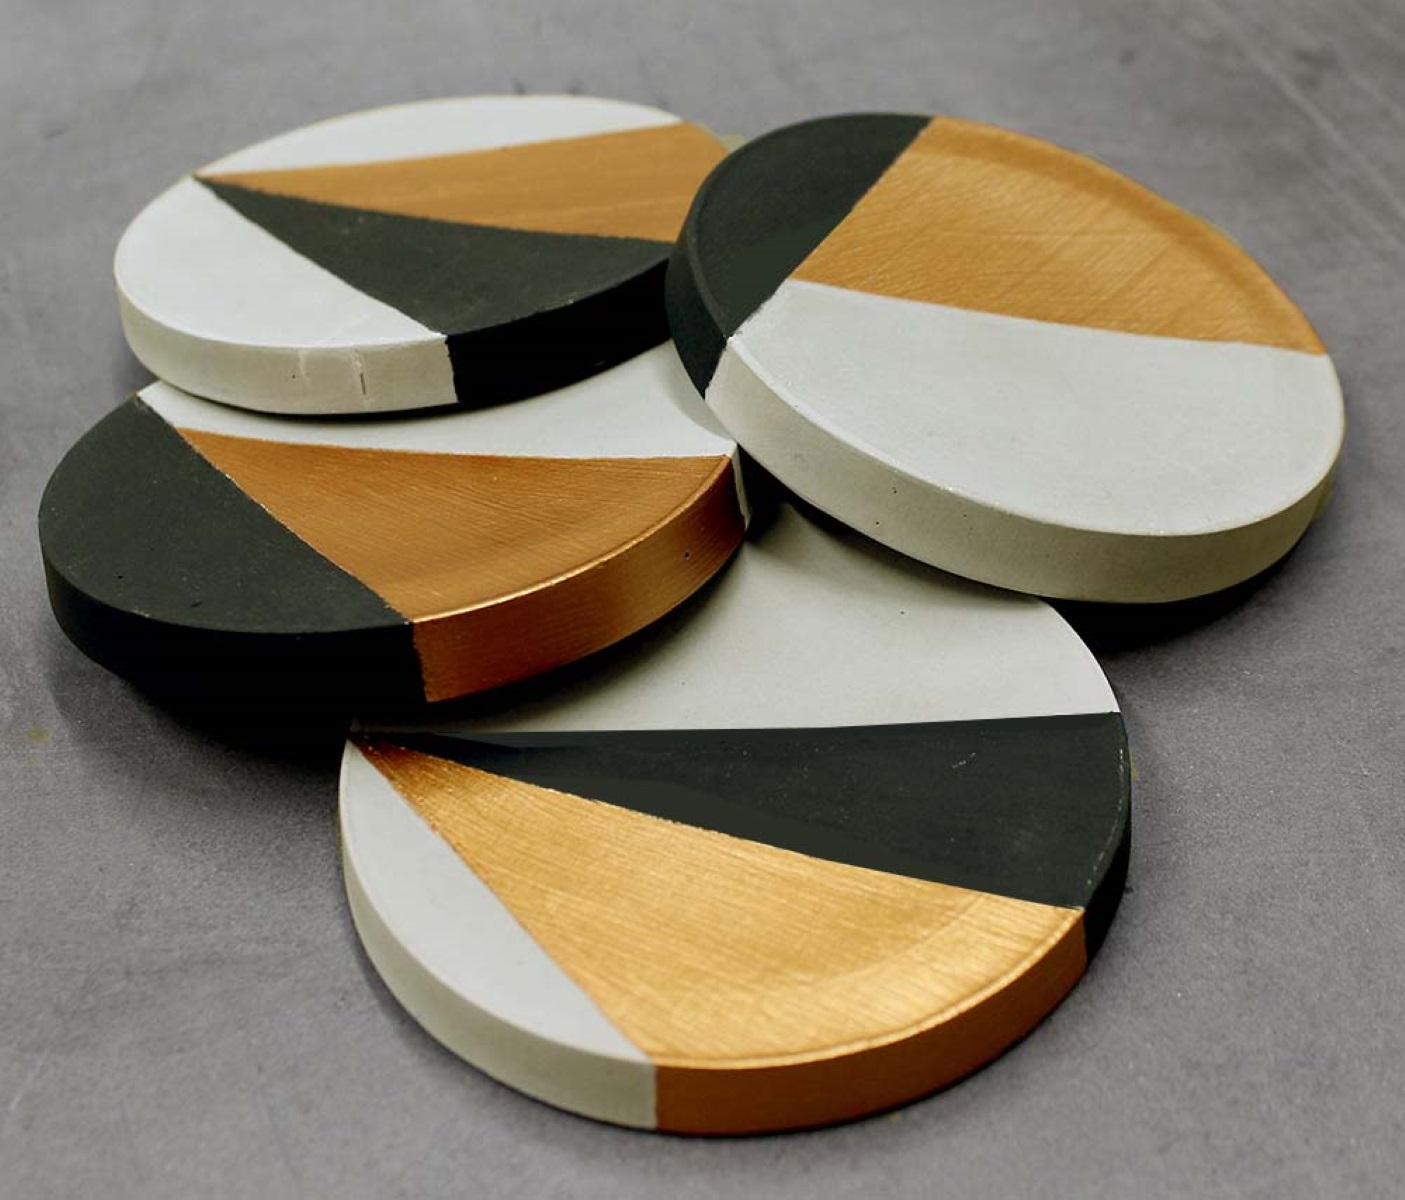
How To Make Concrete Coasters
Modified: January 9, 2024
Learn how to make beautiful concrete coasters, perfect for your tableware collection. Create unique and durable coasters that will impress your guests and add a touch of elegance to your dining experience.
(Many of the links in this article redirect to a specific reviewed product. Your purchase of these products through affiliate links helps to generate commission for Storables.com, at no extra cost. Learn more)
Introduction
Welcome to the wonderful world of concrete coaster making! If you’re looking for a creative and practical DIY project, making your own concrete coasters is the perfect choice. Not only are they functional in protecting your precious surfaces from water rings, but they also add a touch of modern elegance to your home or office decor.
In this step-by-step guide, we will walk you through the process of creating your own custom concrete coasters. Whether you’re a seasoned DIY enthusiast or a complete beginner, this project is sure to delight and inspire.
Before we dive in, let’s talk a little bit about the materials you’ll need to gather for this project. Don’t worry, it’s a short list and you may already have most of them on hand.
Key Takeaways:
- Create personalized concrete coasters using simple materials and step-by-step instructions. Add decorative elements for a unique touch and enjoy the satisfaction of crafting functional art pieces for your home or as thoughtful gifts.
- Master the art of concrete coaster making with patience and creativity. From preparation to finishing touches, embrace the DIY process and explore the endless possibilities of customizing your own stylish and practical coasters.
Read more: How To Make Bottle Cap Coasters
Materials Needed
Before you get started, gather the following materials:
- Concrete mix: Look for a high-quality concrete mix specifically designed for crafting. You can find it at your local hardware store or online.
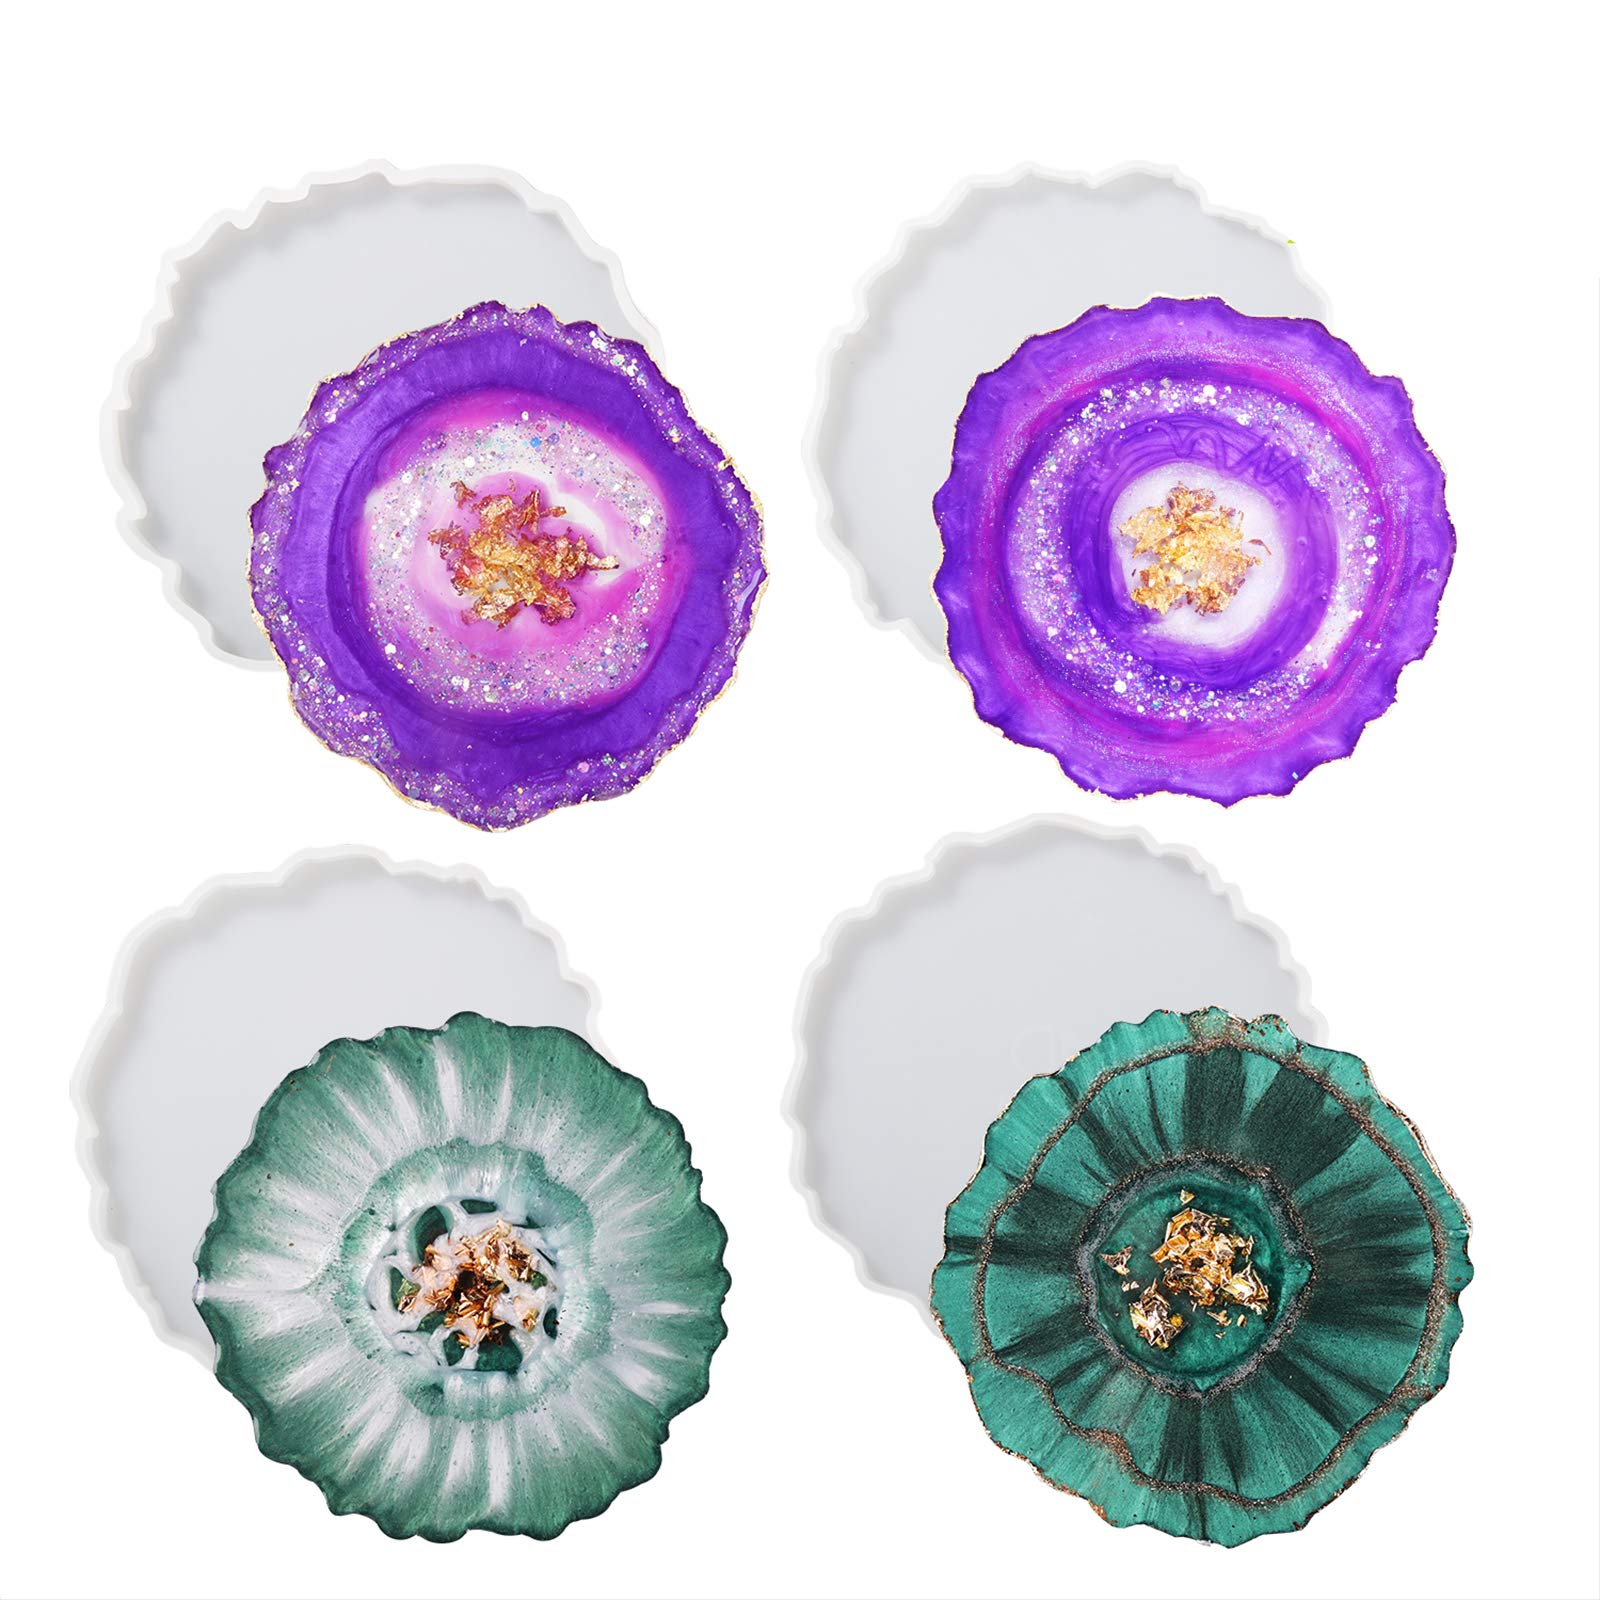
- Molds: You can use silicone molds specifically made for making coasters or get creative with unconventional molds such as silicone ice cube trays, candy molds, or even repurposed containers like small yogurt cups or bottle caps.
- Water: You’ll need water to mix with the concrete. It’s important to use clean, room temperature water.
- Mixing container: Use a sturdy plastic or metal container to mix the concrete.
- Mixing utensil: A mixing spoon or a small trowel will work perfectly fine for stirring the concrete mix and water together.
- Release agent (optional): If you’re using silicone molds, you can use a mold release agent to make it easier to demold the coasters later on. A light vegetable oil or cooking spray works well as a release agent.
- Protective gear: It’s always a good idea to wear gloves, eye protection, and a dust mask when working with concrete to protect yourself from any potential skin or respiratory irritation.
- Decorative elements (optional): If you want to add a personal touch to your coasters, you can consider adding decorative elements such as colored pigments, glitter, dried flowers, or even small decorative tiles.
- Sanding materials: To achieve a smooth finish, you’ll need sandpaper or a sanding block with various grits (ranging from coarse to fine).
- Sealer: To protect the coasters and enhance their durability, you’ll need a concrete sealer. Look for a sealer specifically designed for concrete crafts.
Now that you have all the necessary materials, let’s begin the coaster-making process!
Step 1: Preparation
Before starting the coaster-making process, it’s important to prepare your workspace and molds. Follow these steps to ensure a smooth and successful project:
- Clean and organize your workspace: Clear off a clean, flat surface where you can work comfortably. Make sure it’s well-ventilated and protected from any dust or debris.
- Prepare your molds: If you’re using silicone molds, you can skip this step as they are usually ready to use. However, if you’re using unconventional molds, such as yogurt cups or bottle caps, clean and dry them thoroughly before proceeding. You may need to apply a release agent to these molds to ensure easy demolding later on.
- Measure your concrete mix: Follow the instructions on the packaging of your chosen concrete mix to determine the appropriate amount of mix and water to use. Measure out the desired amount of mix and set it aside.
- Gather your mixing container and utensil: Grab a sturdy plastic or metal container to mix your concrete. Avoid using glass or disposable containers, as they may crack or bend under the pressure of mixing. Also, have a mixing spoon or small trowel ready to stir the mix and water together.
- Put on your protective gear: Before handling the concrete mix, put on your gloves, eye protection, and dust mask. This will ensure your safety and minimize any potential irritation.
With your workspace prepared and materials gathered, you’re now ready to move on to the next exciting step: mixing the concrete!
Step 2: Mixing the Concrete
Now that you have your workspace prepared and all the necessary materials at hand, it’s time to mix the concrete. Follow these steps to ensure a well-blended mixture:
- Add water to the mixing container: Start by pouring the appropriate amount of clean, room temperature water into your mixing container. Refer to the instructions on the concrete mix packaging for the recommended water-to-mix ratio.
- Add the concrete mix: Gradually add the concrete mix to the water in the mixing container. It’s important to add the mix slowly and in small increments to prevent clumping.
- Stir the mixture: Using your mixing spoon or small trowel, thoroughly stir the water and concrete mix together. Make sure to scrape the sides and bottom of the container to incorporate any dry mix that may have settled.
- Mix until smooth and lump-free: Continue stirring the mixture until you achieve a smooth, lump-free consistency. The mixture should resemble a thick pancake batter or yogurt-like texture.
During the mixing process, it’s important to be mindful of the consistency of the concrete. If the mixture is too dry and crumbly, add small amounts of water and mix again until you reach the desired consistency. On the other hand, if the mixture is too runny and watery, add a little more concrete mix to thicken it up.
Once the concrete mixture is well-blended and at the right consistency, you’re now ready to move on to the next step: pouring the mixture into molds.
Step 3: Pouring the Mixture
With your concrete mixture prepared and well-mixed, it’s time to pour it into your molds. Follow these steps to ensure a smooth and successful pouring process:
- Prepare your molds: Place your molds on a stable surface, making sure they are level and secure. If necessary, use tape or weights to hold them in place.
- Pour the mixture into the molds: Carefully pour the concrete mixture into each mold, filling them up to the desired thickness. It’s important to pour slowly and evenly to ensure that the mixture is distributed properly.
- Tap out air bubbles: Gently tap or shake the molds on the surface to release any trapped air bubbles in the concrete. This will help prevent any voids or imperfections in your coasters.
- Smooth the surface: Use a toothpick or small popsicle stick to level and smooth the surface of each coaster. This will help create a sleek finish.
Remember to work quickly but carefully during the pouring process, as the concrete will start to set within a relatively short time. Also, avoid overfilling the molds, as the excess concrete may spill over and create uneven edges or surfaces.
Once you have poured the mixture into all the molds and smoothed the surface, it’s time to move on to the optional step of adding decorative elements to your coasters.
Read more: How To Make Beach Resin Coasters
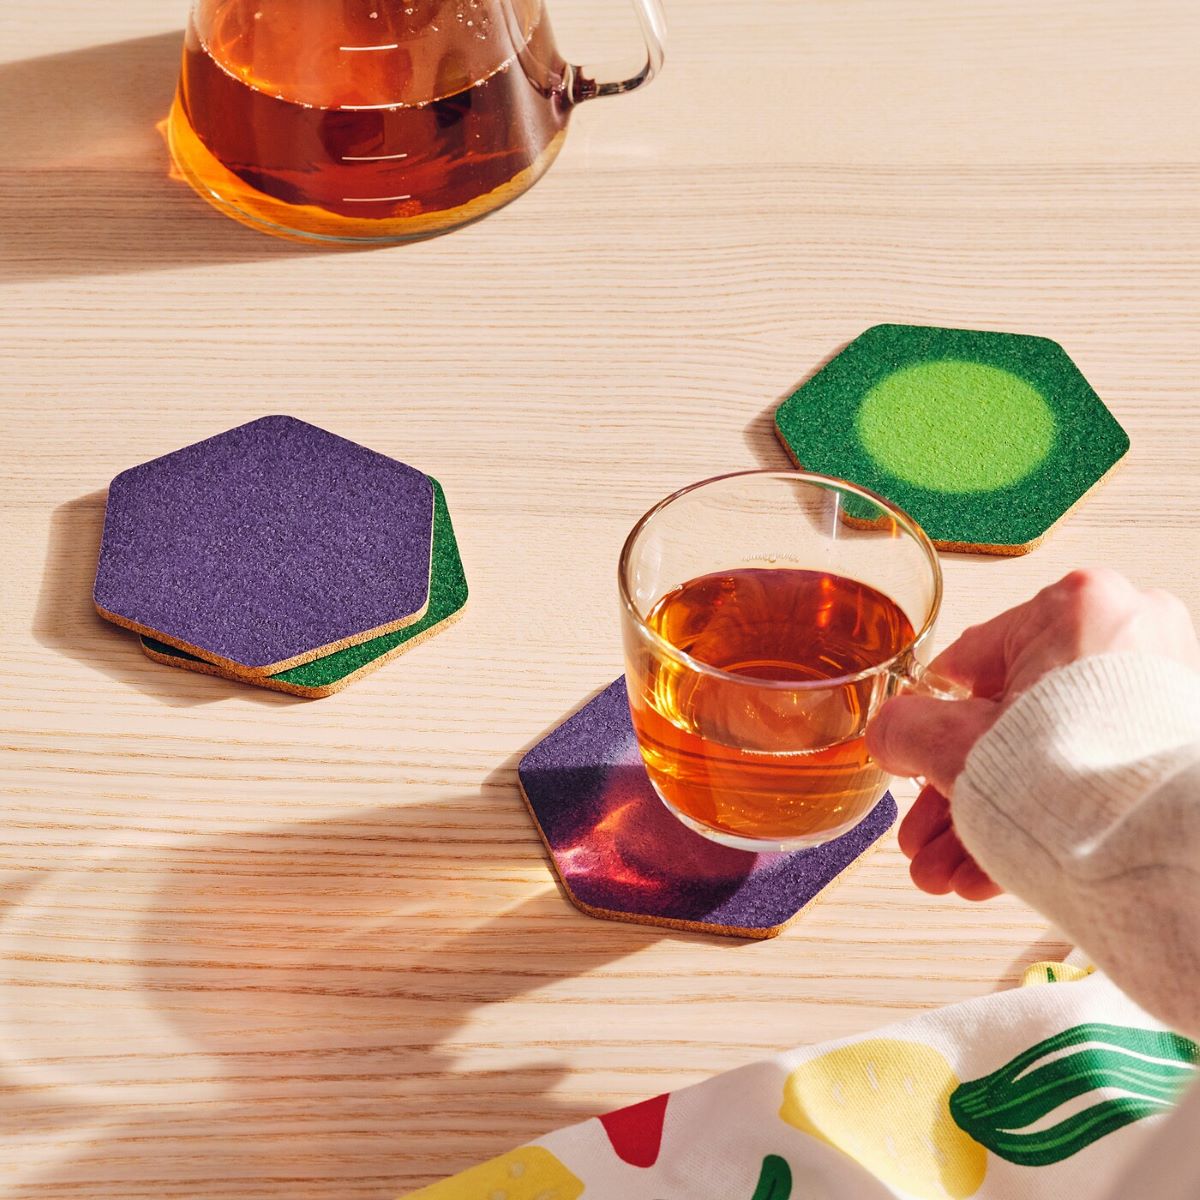
Step 4: Adding Decorative Elements (optional)
If you want to give your concrete coasters a unique and personalized touch, you can add decorative elements to them. From colored pigments to dried flowers, the possibilities are endless. Follow these steps to incorporate your chosen decorations:
- Select your decorative elements: Choose the decorative elements you want to include in your coasters. This can range from colored pigments, glitter, dried flowers, or even small decorative tiles.
- Prepare your decorations: If you are using colored pigments or glitter, mix them into a small portion of the concrete mixture in a separate container. For dried flowers or decorative tiles, arrange them directly in the molds.
- Pour the remaining concrete mixture: Pour the remaining concrete mixture into the molds, on top of the decorations. Make sure to evenly distribute the mixture to cover the decorations completely.
- Tap out air bubbles and smooth the surface: Follow the same steps mentioned in Step 3 to tap out any air bubbles and smooth the surface of the coasters.
Adding decorative elements to your coasters not only adds visual interest but also creates a unique and personalized aesthetic. Experiment with different combinations and arrangements to achieve the desired look.
Once you have added your decorative elements and ensured a smooth surface, it’s time to move on to the next step: removing any remaining air bubbles.
When making concrete coasters, be sure to use a high-quality concrete mix and add a sealer to protect the surface from water and stains.
Step 5: Removing Air Bubbles
After pouring the concrete mixture and adding any decorative elements, it’s important to remove any remaining air bubbles that may have formed. Follow these steps to ensure your coasters have a smooth and bubble-free surface:
- Tap the molds: Lightly tap the molds on the surface to encourage any trapped air bubbles to rise to the top.
- Use a toothpick or skewer: Gently run a toothpick or skewer through the mixture, popping any visible air bubbles you may see. Be careful not to disturb the decorative elements, if any.
- Use a heat gun or a handheld torch (optional): If you have a heat gun or a handheld torch, you can pass it over the surface of the coasters from a safe distance. The heat will cause any tiny air bubbles to rise and pop.
Removing air bubbles is an essential step to achieve a professional-looking finish on your concrete coasters. By taking the time to eliminate these bubbles, you’ll ensure that your coasters are as aesthetically pleasing as possible.
Once you’ve removed the air bubbles, it’s time to let the coasters cure and set. This brings us to the next step: curing the coasters.
Step 6: Curing the Coasters
Curing is an essential process that allows the concrete to fully harden and gain strength. Follow these steps to properly cure your coasters:
- Cover the molds: Place a plastic sheet or bag over the molds to create a seal and prevent moisture loss during the curing process. This will help promote even curing and prevent cracking.
- Allow the coasters to cure: Leave the coasters undisturbed in a dry and warm area for at least 24 to 48 hours. During this time, the concrete will slowly harden and reach its maximum strength.
- Check for dryness: After the initial curing period, carefully lift the plastic cover and check the coasters for any remaining moisture. They should be firm and dry to the touch. If they are still damp, cover them again and continue curing.
- Extend the curing time (optional): For optimal strength and durability, you can choose to extend the curing time up to a week or longer. This is especially recommended for thicker coasters or in humid climates.
Curing is a crucial step that should not be rushed. Properly cured coasters will be more resistant to moisture and have a longer lifespan. So, exercise patience during this process to achieve the best results.
Once the coasters are fully cured and dry, it’s time to demold them and move on to the final steps of the coaster-making process.
Step 7: Demolding the Coasters
After the curing process is complete, it’s time to demold your beautiful concrete coasters. Follow these steps to safely and successfully remove them from the molds:
- Gently remove the plastic cover: Carefully lift and remove the plastic sheet or bag covering the molds. Set it aside for later use if you plan to reuse the molds.
- Release the coasters from the molds: Depending on the type of molds you used, there are different methods to release the coasters. For silicone molds, simply flex the mold to loosen the coasters and carefully pop them out. If you used unconventional molds like yogurt cups or bottle caps, gently push on the bottom or squeeze the sides to release the coasters.
- Inspect for any imperfections: Once the coasters are demolded, examine them for any visible imperfections or rough edges. You can use sandpaper or a sanding block to smooth out any rough areas.
Remember to handle the demolding process with care to avoid damaging the coasters. It’s normal for the surface to have slight irregularities, as this adds to the handmade charm of the coasters.
With the coasters successfully demolded and inspected, it’s time to move on to the final steps: adding the finishing touches.
Read more: How To Make Macrame Coasters
Step 8: Finishing Touches
Now that your concrete coasters have been demolded and any imperfections have been addressed, it’s time to add the finishing touches. Follow these steps to enhance the appearance and durability of your coasters:
- Sand the edges: Use sandpaper or a sanding block to smooth out the edges of the coasters. This will give them a polished and professional look.
- Apply a concrete sealer: To protect the coasters and enhance their durability, apply a concrete sealer. Follow the instructions on the sealer packaging for the proper application technique.
- Allow the sealer to dry: After applying the sealer, allow it to dry completely according to the recommended curing time on the packaging. This will ensure that the sealer forms a strong protective layer.
- Inspect the coasters: Once the sealer has dried, give the coasters a final inspection. Check for any remaining imperfections or rough areas that may need additional sanding or touch-ups.
- Enjoy your handmade coasters! Once you’re satisfied with the appearance and quality of your coasters, it’s time to put them to use. Enjoy using them to protect your surfaces and add a touch of style to your home or office.
With the finishing touches complete, you can proudly display or give away your handmade concrete coasters. They make perfect gifts for family and friends and can serve as unique conversation starters.
Congratulations on completing your DIY concrete coaster project. Get ready to receive compliments on your creativity and craftsmanship!
Remember, the more you practice and experiment with different molds, colors, and decorations, the more you will refine your coaster-making skills. So have fun, be creative, and continue exploring the world of concrete crafting!
Now, go and enjoy your fabulous new coasters!
Conclusion
Creating your own concrete coasters is a rewarding and enjoyable DIY project that allows you to showcase your creativity while adding a touch of modern elegance to your home or office. By following the step-by-step process outlined above, you can master the art of making custom concrete coasters.
From gathering the necessary materials to demolding and adding the finishing touches, each step is important for achieving successful results. Remember to take your time, pay attention to detail, and enjoy the creative process along the way.
Concrete coasters offer both functionality and style. They protect your surfaces from water rings while adding a unique and personalized touch to your decor. Whether you choose to keep them for yourself or give them as thoughtful gifts, these handmade coasters are sure to impress.
Don’t be afraid to experiment with different molds, colors, and decorative elements to make the coasters truly your own. The journey of crafting concrete coasters is a continuous learning experience, and with each project, you’ll refine your skills and enhance your creative flair.
So, gather your materials, set up your workspace, and let your imagination flow as you embark on the wonderful world of concrete coaster making. Get ready to enjoy the satisfaction of creating functional art pieces that will be admired and used for years to come.
Now, it’s time to roll up your sleeves, let your creativity shine, and start making your very own set of concrete coasters. Happy crafting!
Frequently Asked Questions about How To Make Concrete Coasters
Was this page helpful?
At Storables.com, we guarantee accurate and reliable information. Our content, validated by Expert Board Contributors, is crafted following stringent Editorial Policies. We're committed to providing you with well-researched, expert-backed insights for all your informational needs.


0 thoughts on “How To Make Concrete Coasters”