Home>diy>Architecture & Design>How To Design Ductwork For A House
Architecture & Design
How To Design Ductwork For A House
Modified: August 28, 2024
Learn how to design efficient and functional ductwork for your house with our expert tips and guidelines in architecture design.
(Many of the links in this article redirect to a specific reviewed product. Your purchase of these products through affiliate links helps to generate commission for Storables.com, at no extra cost. Learn more)
Introduction
Welcome to the world of architecture design! In this comprehensive guide, we will delve into the intricate and essential aspect of designing ductwork for a house. Ductwork plays a crucial role in ensuring proper air circulation and comfort within a building, whether it’s a residential home or a commercial space.
When it comes to designing ductwork, there are several factors to consider, such as airflow requirements, duct sizing, material selection, layout planning, installation techniques, and duct sealing. A well-designed ductwork system will not only provide efficient heating and cooling but also minimize energy loss and ensure optimal indoor air quality.
Throughout this article, we will walk you through each step of the ductwork design process, providing valuable insights and tips along the way. Whether you are a homeowner looking to upgrade your HVAC system or an aspiring architect seeking to deepen your understanding of building systems, this guide is here to help you navigate the complexities of ductwork design.
So, let’s jump right in and explore the world of ductwork design, where creativity meets functionality, and where attention to detail ensures maximum comfort and energy efficiency. Ready? Let’s get started!
Key Takeaways:
- Proper ductwork design ensures efficient airflow distribution, optimal HVAC performance, and a comfortable indoor environment. Consider factors like airflow calculation, duct sizing, material selection, and layout planning for a successful design.
- Sealing and insulating ducts are crucial for minimizing air leakage, reducing energy loss, and maintaining indoor air quality. Regular maintenance and inspections ensure long-term efficiency and comfort in the building.
Read more: How To Remove HVAC Ductwork
Understanding Ductwork
Before we dive into the design process, it is crucial to have a clear understanding of what ductwork is and its role in a building’s HVAC (Heating, Ventilation, and Air Conditioning) system.
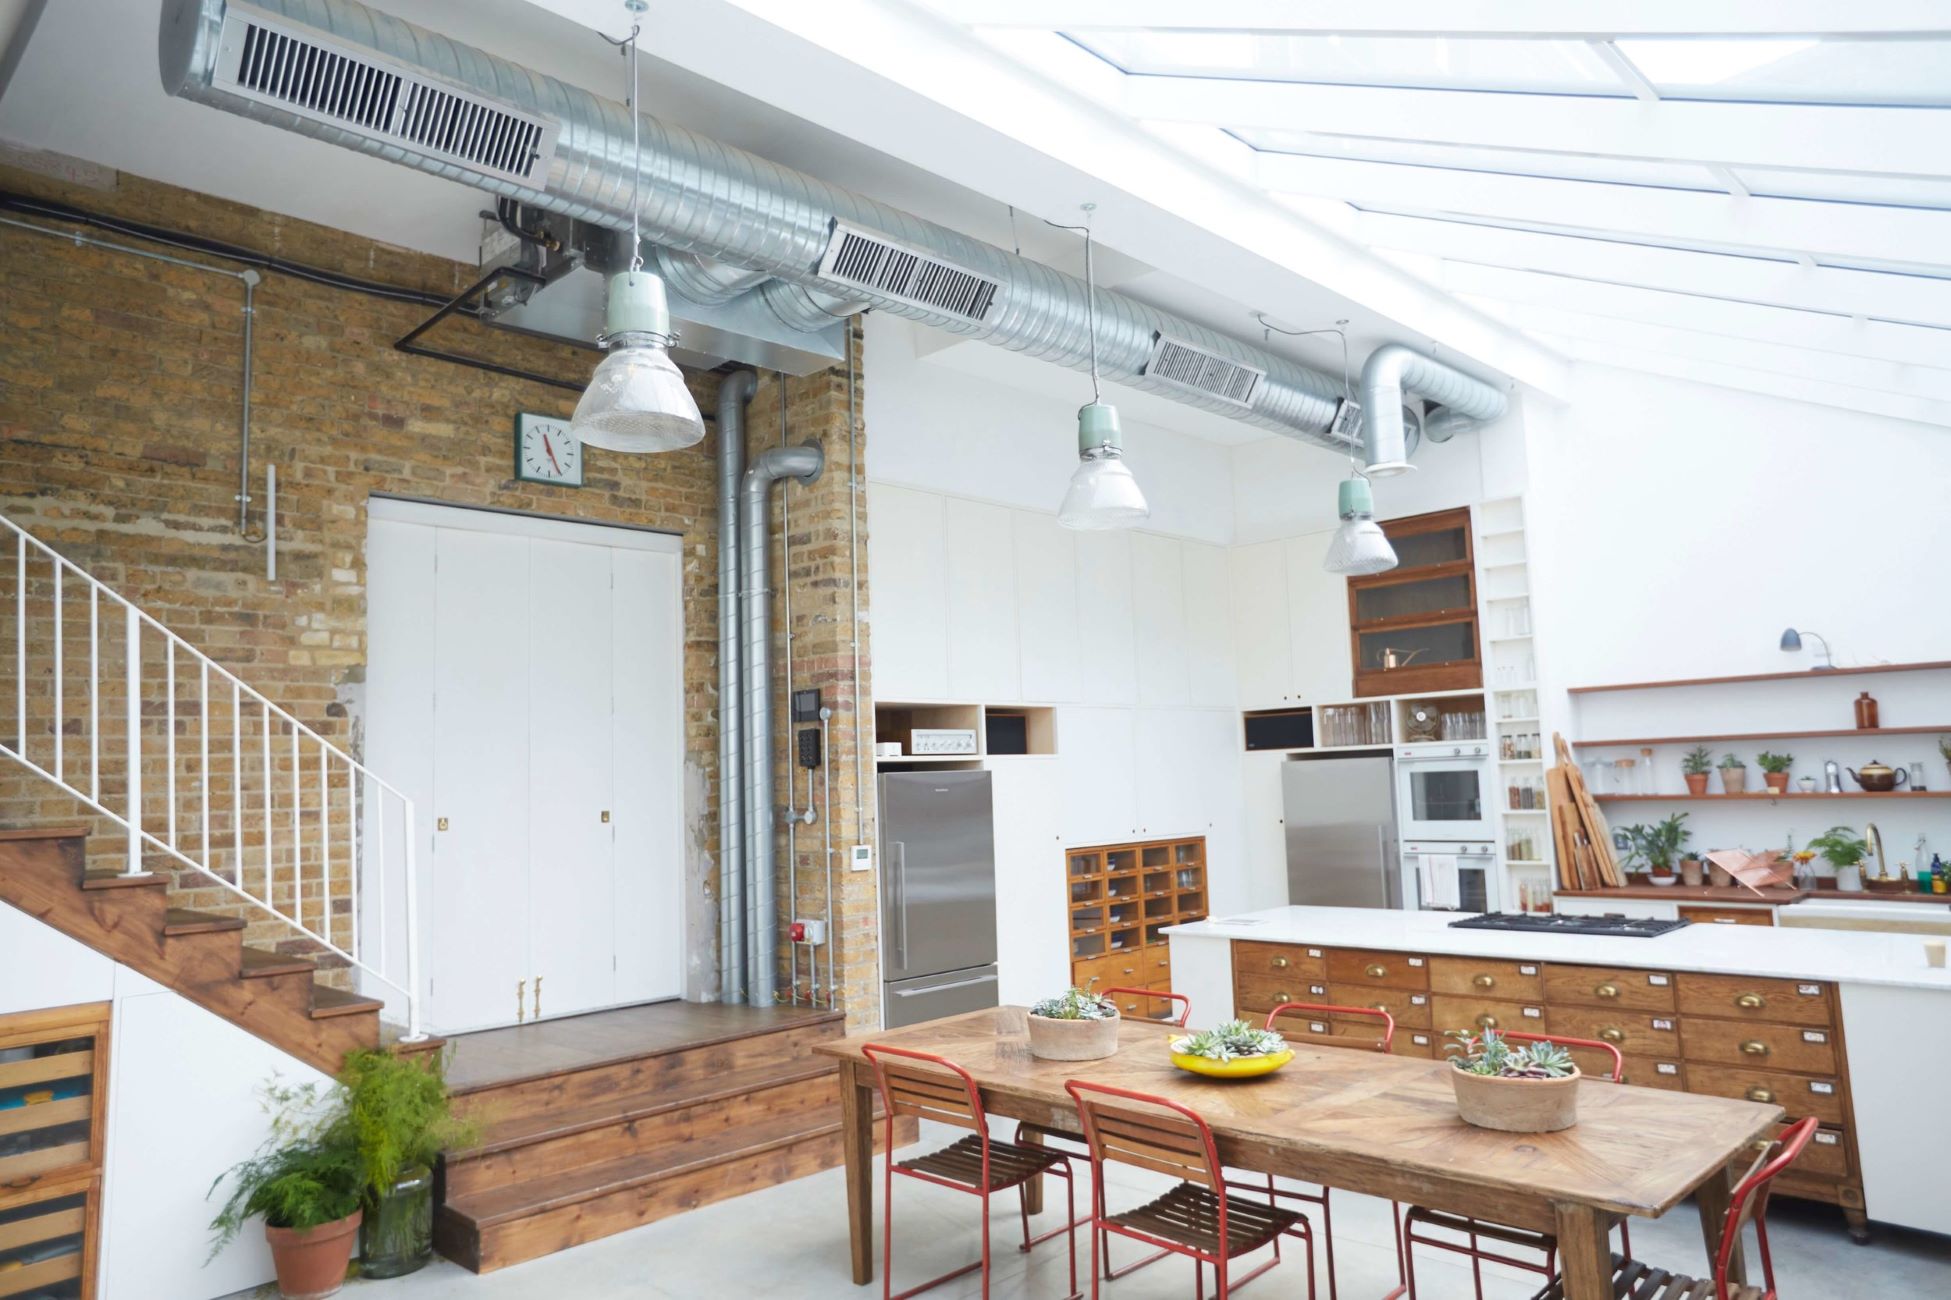
Ductwork refers to the network of pipes or channels that distribute conditioned air from the HVAC equipment to each room in a building. It also aids in removing stale air and maintaining a healthy indoor environment. Ducts come in various shapes and sizes, ranging from rectangular to round, and can be made from different materials, such as sheet metal, fiberglass, or flexible ducting.
The main functions of ductwork include:
- Airflow Distribution: Ducts carry cooled or heated air from the HVAC unit to different areas of the building, ensuring that each room receives adequate air supply for optimal comfort.
- Return Air Circulation: Ducts also facilitate the flow of return air from the rooms back to the HVAC unit, allowing for proper air exchange and temperature regulation.
- Air Filtration: Ductwork often includes air filters that remove dust, allergens, and pollutants from the circulating air, improving indoor air quality.
- Noise Reduction: Well-designed ductwork can help minimize noise transmission from the HVAC system, ensuring a quieter and more peaceful indoor environment.
Understanding the basics of ductwork is crucial for effective design. By taking into account factors such as airflow requirements, duct sizing, material selection, and layout planning, you can create a ductwork system that optimally meets the needs of the building occupants while ensuring energy efficiency and comfort.
Factors to Consider Before Designing Ductwork
Designing ductwork involves a systematic approach that takes into account various factors to ensure optimal performance and efficiency. Before embarking on the design process, it is important to consider the following factors:
1. Heating and Cooling Load:
The heating and cooling load of a building determines the amount of airflow required to maintain a comfortable indoor temperature. Factors such as the size of the rooms, insulation levels, windows, and the geographical location all impact the calculation of the heating and cooling load. Understanding these factors is crucial for designing ductwork that can effectively distribute the required airflow.
2. Space Availability:
The available space within the building will dictate the layout and configuration of the ductwork system. It is important to consider the architectural constraints, structural elements, and clearance requirements when planning the duct routes. Efficient use of space ensures that the ductwork can be installed without hindering the functionality or aesthetics of the building.
Read more: How To Install Ductwork For Range Hood
3. Budget and Energy Efficiency:
The budget allocated for the HVAC system and ductwork will influence the choice of materials, insulation, and overall design complexity. It is important to strike a balance between cost-effectiveness and energy efficiency. Investing in high-quality insulation and sealed ductwork can significantly reduce energy loss and improve system performance.
4. Building Codes and Regulations:
Compliance with building codes and regulations is paramount in ductwork design. These codes ensure the safety, performance, and quality of the HVAC system. Familiarize yourself with the local building codes and regulations to ensure that your ductwork design meets all the necessary requirements.
5. Future Maintenance and Accessibility:
Consider the accessibility of the ductwork for future maintenance and repairs. Design the system with access points, such as access panels, cleanouts, and inspection hatches, to facilitate easy maintenance and ensure longevity.
By considering these factors before commencing the design process, you will lay the foundation for a well-thought-out and efficient ductwork system that meets the specific needs of the building and its occupants.
Step 1: Calculating Required Airflow
In order to design an effective ductwork system, it is crucial to accurately determine the required airflow for each room or area in the building. The airflow calculation takes into consideration the heating and cooling load, room volume, and desired air changes per hour.
Read more: What Is HVAC Ductwork
1. Determine the Heating and Cooling Load:
Calculate the heating and cooling load for each room by considering factors such as room size, insulation levels, windows, and geographical location. This calculation helps determine the amount of airflow required to maintain the desired temperature.
2. Calculate Air Changes Per Hour:
Determine the desired number of air changes per hour for each room based on the specific occupancy and function of the space. For example, a living room may require fewer air changes compared to a kitchen or a bathroom. Use industry standards or guidelines to determine the appropriate number of air changes per hour for each room.
3. Calculate Room Airflow:
Calculate the required airflow for each room by multiplying the room volume (length x width x height) by the desired air changes per hour. This will give you the volume of air that needs to be supplied to the room within a given time frame.
4. Determine Total System Airflow:
Sum up the individual room airflow values to determine the total airflow required for the entire building. This total airflow will be the basis for designing the main trunk ducts and branch ducts that distribute air to different rooms.
Remember to account for future expansion or modifications when calculating the required airflow. It is always better to design for slightly higher airflow capacity to allow for any changes in the future.
By accurately calculating the required airflow, you ensure that the ductwork system can deliver the necessary amount of conditioned air to each room, maintaining comfort and efficiency throughout the building.
Read more: How To Run Ductwork In Basement
Step 2: Determining Duct Sizing
Once the required airflow has been calculated, the next step in designing ductwork is determining the appropriate duct size to ensure efficient airflow distribution. Proper duct sizing is crucial to avoid excessive air pressure loss and noise, and to maintain consistent airflow throughout the system.
1. Consider Velocity and Pressure:
The velocity and pressure of the air flowing through the ducts are essential factors to consider when determining duct size. Higher velocities may cause excessive noise and pressure drop, while lower velocities can lead to inadequate airflow. Use industry standards and guidelines to determine the recommended velocity and pressure values for different types of ductwork.
2. Calculate Duct Cross-Sectional Area:
Calculate the required cross-sectional area of the ducts based on the calculated airflow and recommended velocity. The formula for calculating the cross-sectional area is:
plaintext
Area = Airflow / Velocity
3. Choose Duct Shape and Size:
Consider the available space, constraints, and the required airflow when selecting the shape and size of the duct. Ducts can come in various shapes, including rectangular, round, or oval. Rectangular ducts are commonly used in buildings, while round ducts are preferable for longer runs or when a higher velocity is desired. Select the appropriate duct size based on the calculated cross-sectional area and consider any space restrictions.
Read more: How To Run HVAC Ductwork
4. Account for Pressure Drops:
Take into account pressure drops caused by fittings, turns, and transitions in the ductwork. These pressure drops can reduce the efficiency of the airflow distribution. Properly size ducts and select fittings that minimize pressure drops and maintain a smooth airflow path.
Keep in mind that duct sizing may require adjustments as the duct layout is developed. It is important to review and recalculate the duct sizes to ensure they meet the requirements of the system.
By carefully determining the appropriate duct size, you can maximize airflow efficiency, minimize pressure losses, and maintain optimal performance in the ductwork system.
Step 3: Choosing the Right Duct Material
Choosing the right duct material is crucial for the overall performance, durability, and energy efficiency of the ductwork system. Various materials are available, each with its own advantages and considerations. When selecting a duct material, it is important to consider factors such as cost, insulation properties, fire resistance, and compatibility with the HVAC system.
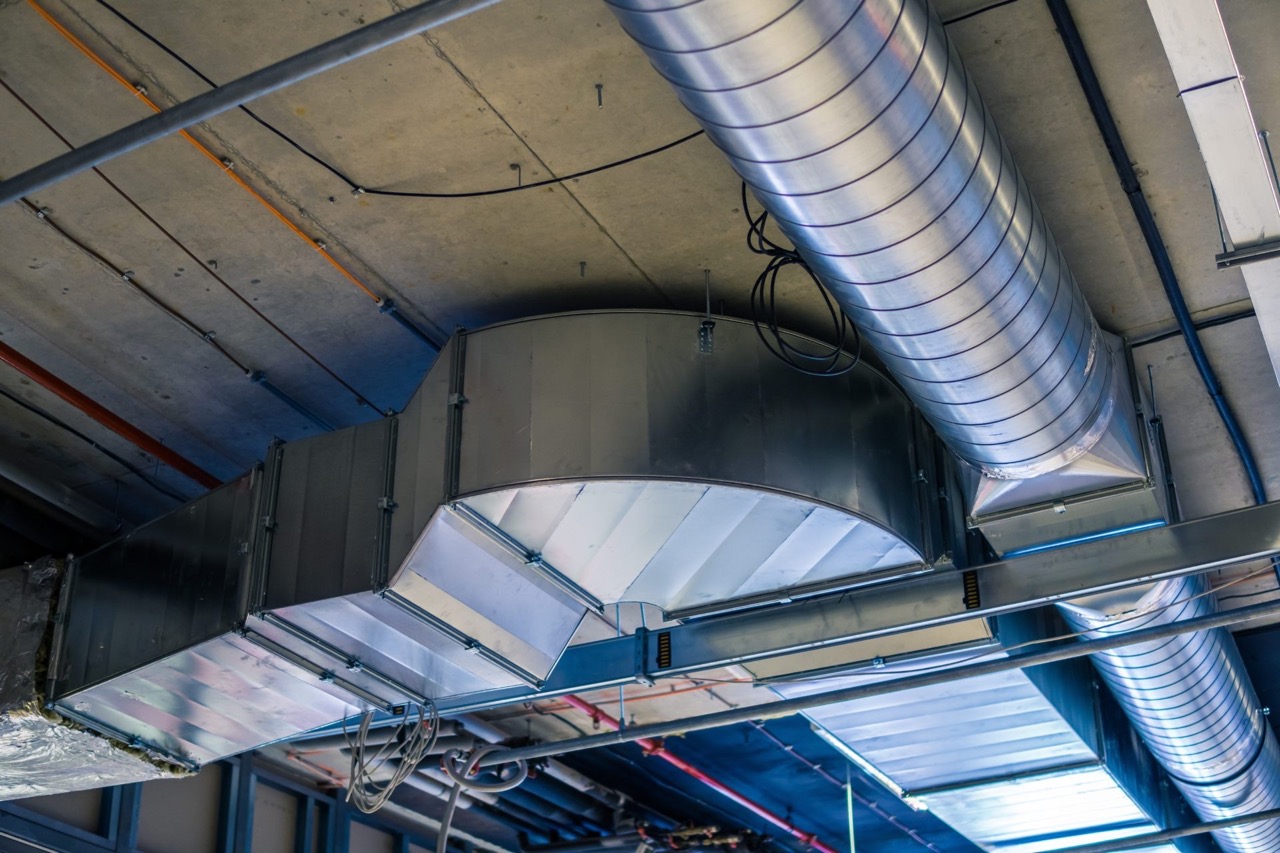
1. Sheet Metal:
Sheet metal, typically galvanized steel, is a popular choice for ductwork due to its durability and rigidity. It is resistant to damage, can handle higher pressures, and is fire-resistant. Sheet metal ducts are fabricated using ductwork design software or by skilled craftsmen. While it is a cost-effective option, sheet metal ductwork requires proper insulation to reduce heat loss or gain.
2. Fiberglass Duct Board:
Fiberglass duct boards are made from fiberglass insulation faced with an air barrier material. They are lightweight, easy to install, and provide good thermal and acoustic insulation. Fiberglass duct boards are suitable for both rectangular and round duct systems. However, they may require sealing to prevent air leaks and to maintain air quality.
Read more: How To Add A Porch To Your House
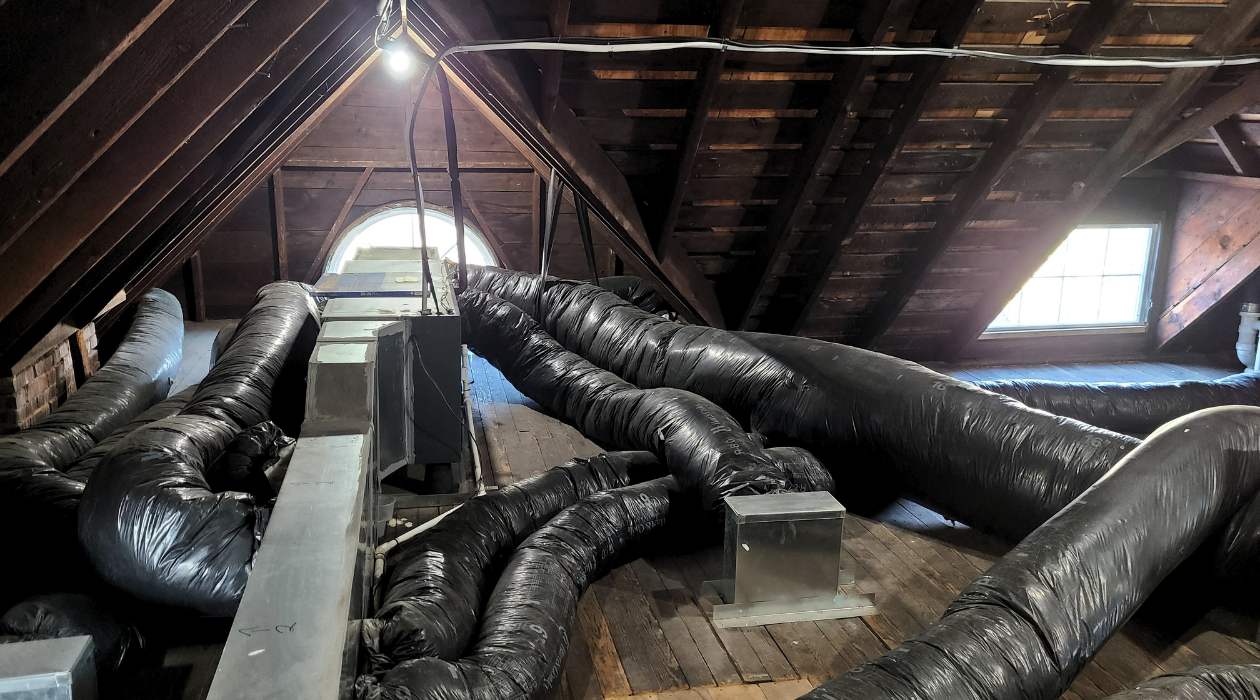
3. Flexible Ducting:
Flexible ducting, often made of a combination of plastic and metal, offers versatility and ease of installation. It is lightweight, flexible, and can be easily routed through tight spaces. Flexible ducting is commonly used in residential applications or in situations where there is limited space for rigid ductwork. However, it is important to ensure proper support and avoid sharp bends that can restrict airflow.
4. Duct Fabric:
Duct fabric, also known as fabric ductwork, is a newer option gaining popularity due to its cost-effectiveness, aesthetic appeal, and efficient air distribution. It is made of lightweight fabric material and offers customizability in terms of color and design. Fabric ducts are easy to install and can provide even distribution of air along the length of the duct. However, they may require periodic cleaning and maintenance to prevent dust accumulation.
5. Other Considerations:
When choosing a duct material, consider factors such as insulation properties, sound attenuation, and compatibility with the HVAC system. Insulation is crucial to minimize heat loss or gain in the ductwork system. Additionally, selecting materials that contribute to sound attenuation can help reduce noise transmission. Finally, ensure that the chosen material is compatible with the specific requirements of your HVAC system, such as air temperature and pressure.
By carefully considering the advantages and considerations of each duct material, you can select the right option that aligns with the specific needs of the project, providing durability, energy efficiency, and optimal performance for the ductwork system.
Step 4: Planning Duct Layout and Design
Planning the layout and design of the ductwork system is a critical step in ensuring efficient airflow distribution and optimal performance. The duct layout should take into account factors such as the building’s architectural constraints, available space, and the desired air distribution pattern. A well-planned layout will also facilitate easy installation, maintenance, and future modifications.
Read more: How To Design Stairs In A House
1. Study the Building Plans:
Begin by thoroughly analyzing the building’s architectural plans to gain a clear understanding of the space and any constraints that may impact the duct layout. Identify key areas where ducts need to be installed, such as the supply and return air locations, exhaust points, and any specific ventilation requirements.
2. Consider the HVAC Equipment Placement:
Determine the location of the HVAC equipment, such as the air handler or furnace, as it will influence the layout of the supply and return ducts. Ensure that the equipment is placed in an accessible area that allows for easy connection to the ductwork system.
3. Establish a Logical Flow:
Design the duct layout in a way that establishes a logical flow of the conditioned air from the HVAC system to each room. Minimize the number of twists, turns, and sharp bends to reduce airflow restrictions and pressure drop. Consider the most direct and efficient route for the ducts, taking into account any obstacles such as structural elements or plumbing.
4. Size the Branch and Trunk Ducts:
Size the branch and trunk ducts based on the calculated airflow volume for each room. Gradually increase the size of the ducts as they branch out from the main trunk line to maintain a balanced airflow distribution. Ensure that the size of the ducts matches the required airflow without causing excessive pressure drops or noise.
Read more: What Insulation Is The Best For Ductwork?
5. Space Allocation:
Allocate adequate space for the ductwork installation, considering both horizontal and vertical clearances. Provide access panels or hatches at appropriate locations for easy maintenance and cleaning. Take into account fire safety requirements and provide proper clearance around fire-rated assemblies.
6. Consider Zoning:
If the building requires different temperature zones or specific ventilation requirements for different areas, consider incorporating zoning into the duct layout. Use dampers and zone controls to regulate airflow to different zones or areas to maximize energy efficiency and occupant comfort.
By carefully planning the layout and design of the ductwork system, you will ensure proper airflow distribution, minimize pressure losses, and provide a functional and efficient HVAC system for the building.
Step 5: Installing Ductwork
Once the ductwork layout and design have been finalized, the next step is the actual installation of the ducts. Proper installation is crucial for ensuring optimal performance, air leakage prevention, and overall system efficiency. Here are some key steps to follow when installing ductwork:
1. Gather the Necessary Tools and Materials:
Before starting the installation, gather all the required tools and materials. These may include sheet metal screws, hangers, duct tape, mastic sealant, insulation, cutting tools, and measuring equipment. Having everything on hand will help streamline the installation process.
Read more: How To Attach Gable Porch Roof To House
2. Start with the Main Trunk Line:
Begin by installing the main trunk line, which carries the conditioned air from the HVAC equipment to the branch ducts. Use appropriate fittings to connect sections of ductwork and ensure airtight joints. Secure the trunk line to the building structure using hangers or supports.
3. Install Branch Ducts:
From the main trunk line, install the branch ducts that will supply air to individual rooms or areas. Use appropriate fittings, such as wye branches or reducers, to connect the branch ducts to the main trunk line. Ensure that the branch ducts are properly sized and securely fastened to avoid any air leakage or restriction of airflow.
4. Support and Secure the Ducts:
Proper support and securement of the ducts are essential to prevent sagging and to maintain the desired airflow. Use hangers or supports at appropriate intervals to hold the ductwork in place. Avoid excessive spans between supports to prevent duct deformation and ensure optimal performance.
5. Seal the Joints and Connections:
To prevent air leakage and maintain proper airflow, seal all joints and connections using duct tape, sheet metal screws, or mastic sealant. Pay close attention to areas where the ductwork meets fittings, registers, or air vents. Proper sealing is crucial for energy efficiency and maintaining indoor air quality.
Read more: How To Install Air Conditioning Ductwork
6. Insulate the Ductwork:
Depending on the specific requirements of the HVAC system and building, consider insulating the ductwork to minimize heat loss or gain. Insulation helps maintain the desired temperature of the conditioned air and improves energy efficiency. Choose insulation materials that are appropriate for the ductwork material and comply with local building codes.
7. Perform Air Balancing:
Once the ductwork is installed, it is important to perform air balancing to ensure that each room receives the appropriate amount of airflow. Adjust dampers or registers as necessary to achieve balanced airflow throughout the system. Fine-tuning the airflow will optimize comfort and system efficiency.
Proper installation of ductwork plays a vital role in the long-term performance and efficiency of the HVAC system. Following these steps will help ensure a well-connected, airtight ductwork system that provides reliable and efficient airflow to all areas of the building.
Step 6: Sealing and Insulating Ducts
Sealing and insulating the ductwork is a crucial step in ensuring optimal performance, energy efficiency, and indoor air quality. Properly sealed and insulated ducts minimize air leakage, prevent heat loss or gain, reduce condensation, and improve the overall efficiency of the HVAC system. Here are the key steps to seal and insulate ducts:
1. Identify Air Leaks:
Inspect the ductwork for any visible signs of air leaks, such as gaps, loose connections, or holes. Feel for air leaks by running your hand along the ducts while the HVAC system is operating. Common areas where leaks occur include joints, connections, and around registers or vents.
Read more: How To Fix Steep Stairs In Old House
2. Seal the Joints and Connections:
Use mastic sealant or metal tape specifically designed for ductwork to seal all joints, connections, and gaps in the ducts. Apply the sealant or tape generously, ensuring a continuous and airtight seal. Avoid using duct tape, as it may deteriorate over time and become ineffective.
3. Insulate the Ductwork:
Apply insulation to the ductwork to prevent heat transfer and reduce energy loss or gain. Choose insulation materials that meet local building codes and have appropriate R-values for the specific application. Common insulation materials for ductwork include fiberglass duct wrap, rigid foam board, or spray foam insulation.
4. Insulate Supply and Return Plenums:
Insulate the supply and return plenums, which are the large boxes that connect the HVAC equipment to the ductwork. Proper insulation of these plenums helps maintain the temperature of the conditioned air and reduces energy loss or gain in the system.
5. Install Vapor Barriers:
In humid climates or areas prone to condensation, consider installing vapor barriers along the exterior surfaces of the duct insulation. Vapor barriers prevent the formation of condensation on the ductwork, which can lead to moisture damage and compromise indoor air quality.
Read more: How To Build A Carport Attached To House
6. Perform a Leak Test:
After sealing and insulating the ductwork, perform a thorough leak test to ensure that all air leaks have been effectively sealed. This can be done using a duct leak testing device or by hiring a professional HVAC contractor to conduct a duct leakage test.
7. Regular Maintenance and Inspection:
Regularly inspect and maintain the sealed and insulated ductwork to ensure it remains in good condition. Clean the ducts as needed to remove any dirt, dust, or debris that may accumulate over time. Proper maintenance helps maximize the lifespan and efficiency of the ductwork system.
By properly sealing and insulating the ducts, you can minimize air leakage, improve energy efficiency, reduce operating costs, and enhance the overall comfort and indoor air quality of the building.
Conclusion
Designing ductwork for a house is a complex task that requires careful consideration, planning, and execution. A well-designed ductwork system ensures efficient airflow distribution, optimal performance of the HVAC system, and a comfortable indoor environment. By following the key steps outlined in this guide, you can create a ductwork system that meets the specific needs of the building and its occupants.
We began by understanding the importance of ductwork and the role it plays in HVAC systems. We explored factors to consider before designing ductwork, such as heating and cooling load, space availability, budget, and building codes. Calculating the required airflow and determining duct sizing are vital steps in ensuring effective and efficient airflow distribution throughout the building.
The choice of duct material is also critical, and options like sheet metal, fiberglass duct board, flexible ducting, and fabric ducts offer different benefits and considerations. Planning the layout and design of the ductwork system allows for proper airflow, accessibility, and zoning considerations. Furthermore, installing the ductwork requires attention to detail to ensure secure connections, proper support, and airtight seals.
Sealing and insulating the ducts are key to preventing air leaks, minimizing energy loss, and maintaining indoor air quality. Regular maintenance and inspections are essential to ensure the ductwork remains in good condition and operates optimally over time.
Designing ductwork requires a blend of architectural knowledge, HVAC expertise, and practical skills. By following the steps outlined in this guide, you can create a ductwork system that meets the highest standards of performance, efficiency, and indoor comfort.
Remember, it is essential to consult with experienced professionals, such as architects, engineers, and HVAC technicians, to ensure that your ductwork design fully complies with local building codes and industry standards. With careful planning and attention to detail, a well-designed ductwork system will provide years of reliable and efficient HVAC operation for your house.
Frequently Asked Questions about How To Design Ductwork For A House
Was this page helpful?
At Storables.com, we guarantee accurate and reliable information. Our content, validated by Expert Board Contributors, is crafted following stringent Editorial Policies. We're committed to providing you with well-researched, expert-backed insights for all your informational needs.


0 thoughts on “How To Design Ductwork For A House”