Home>diy>Architecture & Design>How To Scale In CAD
Architecture & Design
How To Scale In CAD
Modified: January 9, 2024
Learn how to scale your architectural designs using CAD software for precise measurements and accurate representations.
(Many of the links in this article redirect to a specific reviewed product. Your purchase of these products through affiliate links helps to generate commission for Storables.com, at no extra cost. Learn more)
Introduction
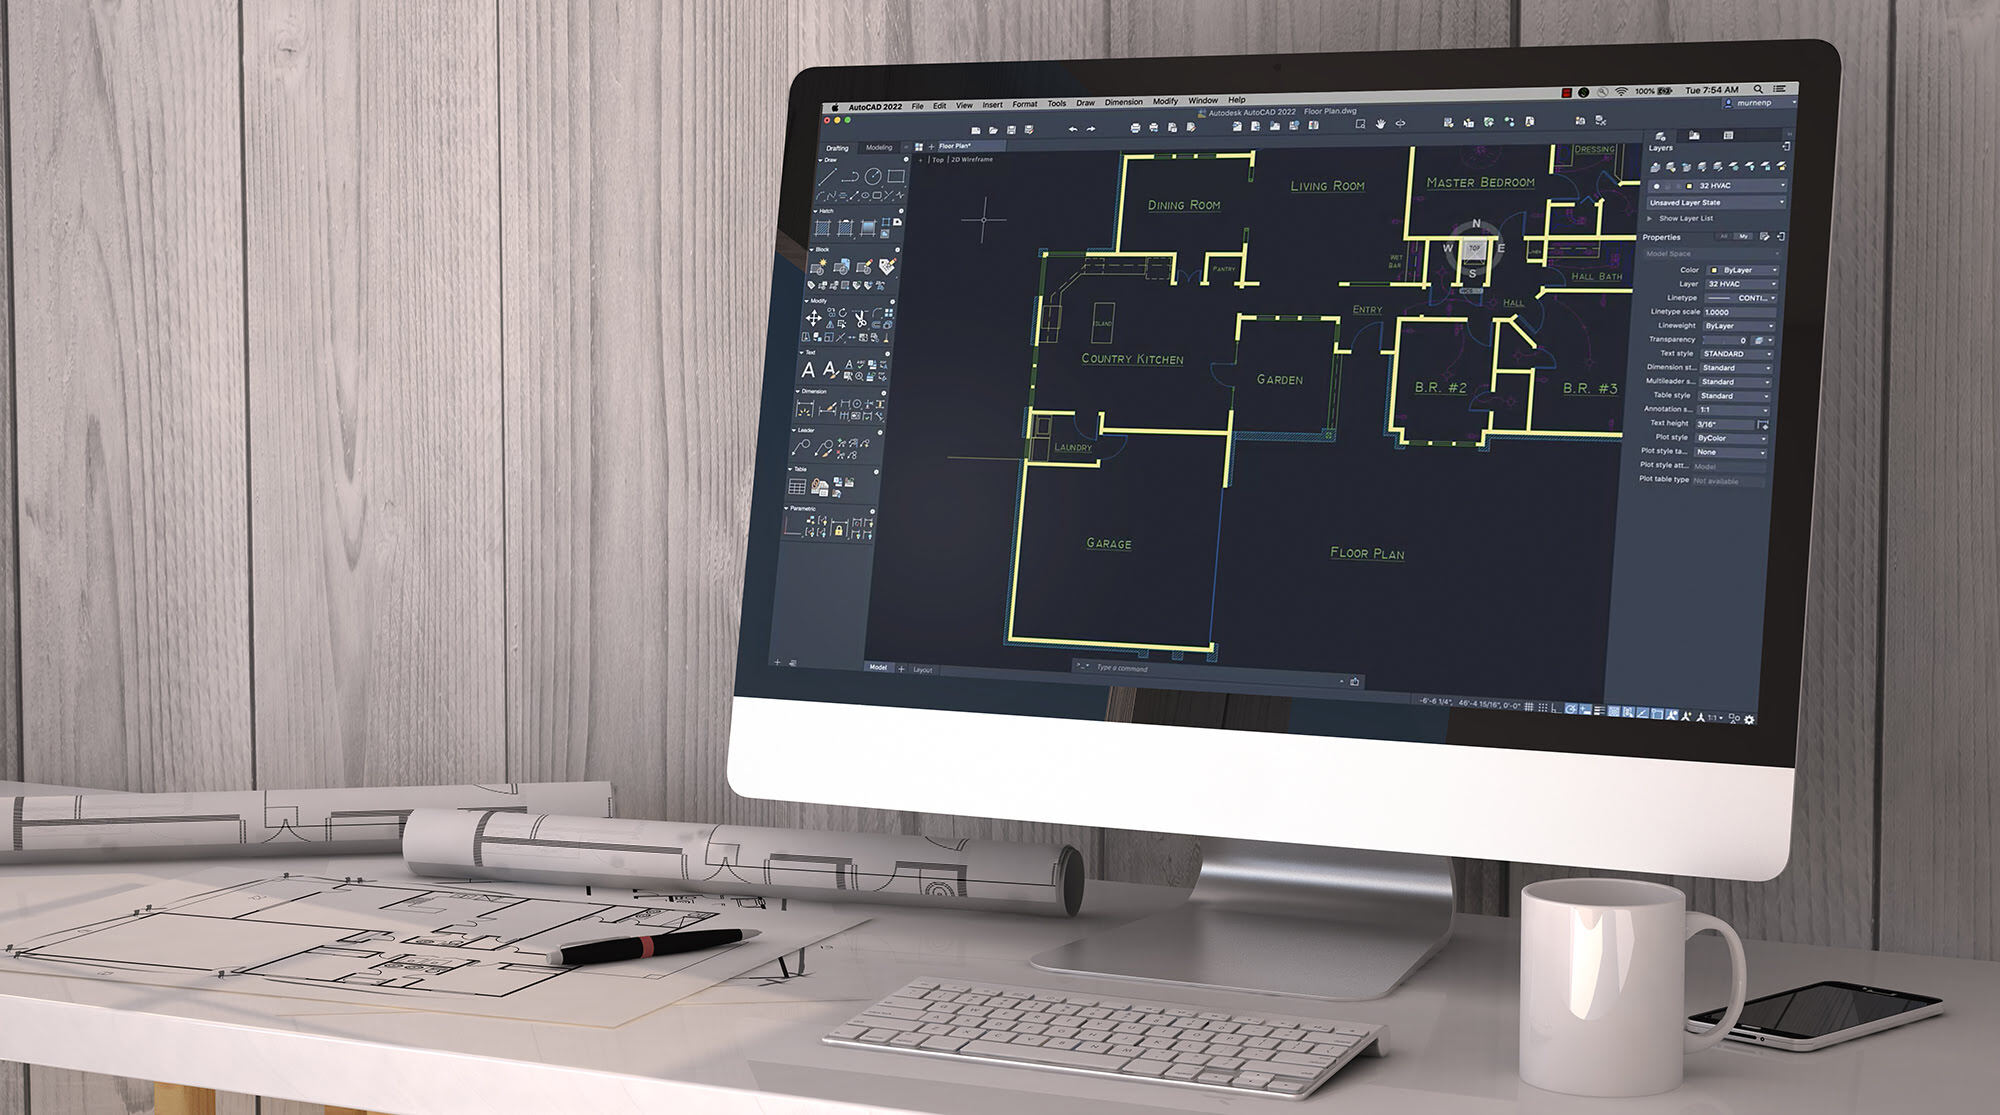
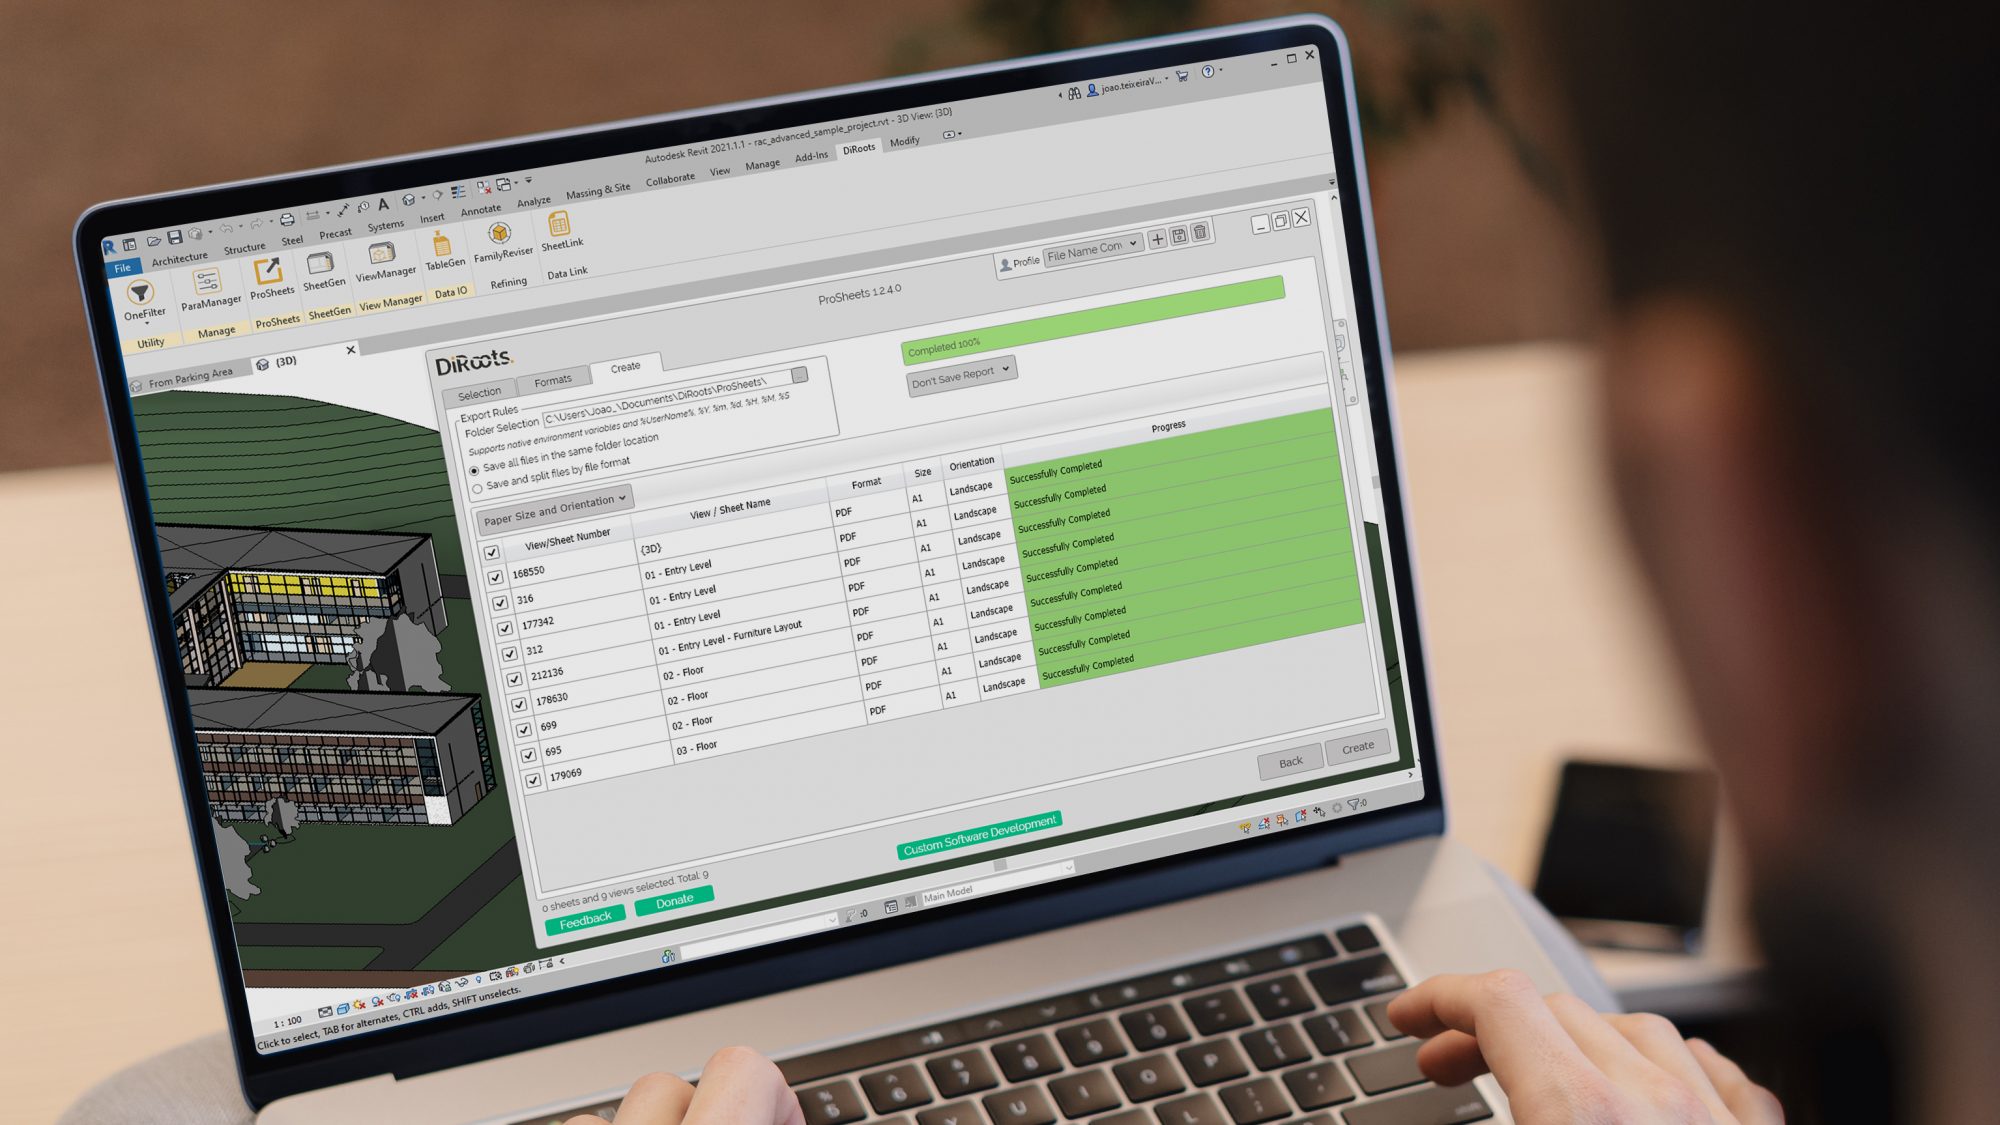
Welcome to the exciting world of CAD (Computer-Aided Design) where digital tools empower designers and architects to bring their visions to life. CAD has revolutionized the architecture and design fields, allowing for precise and accurate creations that were once only possible through manual drafting.
One essential aspect of CAD is scaling, which ensures that the dimensions and proportions of the design are accurately represented in the digital model. Scaling is a fundamental concept that every CAD user needs to understand in order to create accurate and professional designs.
In this article, we will delve into the intricacies of scaling in CAD, exploring its importance, the steps involved, common issues that may arise, and best practices to ensure a seamless scaling experience. Let’s dive in!
Key Takeaways:
- Scaling in CAD is crucial for accurate representation, design consistency, and efficient workflows. Understanding scaling methods and best practices ensures precise and professional results, empowering designers to bring their visions to life.
- By mastering the art of scaling in CAD, designers can create designs that seamlessly transition from the digital realm to the physical world. Embracing the power of scaling enables the accurate visualization and communication of design intent, fostering creativity and innovation.
Read more: How To Scale Construction Business
Understanding CAD Scaling
Scaling in CAD refers to the process of resizing a digital design while maintaining its proportionality. It involves adjusting the dimensions of objects, lines, and text to reflect the desired size and scale.
When working with CAD, it is crucial to understand that everything you create exists within a virtual workspace with predefined measurement units. These units can be set to metric (millimeters, centimeters, meters) or imperial (inches, feet, yards) measurements.
Scaling allows you to accurately represent the size of objects in your design, ensuring that they fit within the desired parameters. Whether you are creating architectural floor plans, engineering drawings, or product designs, scaling is essential for accurate visualization and communication.
In CAD, scaling operates on two different levels: model space and paper space. Model space refers to the virtual workspace where you create your design, while paper space refers to the layout of your design for printing or presentation purposes.
Understanding the relationship between model space and paper space is crucial for effective scaling. When you scale an object in model space, it affects its size in the digital representation. However, when you scale an object in paper space, it alters its size as it appears on the printed or final output.
To achieve accurate scaling in CAD, you need to be familiar with different scaling methods and the associated mathematical calculations. These methods include scaling by a specific factor, scaling by a reference distance, scaling using known dimensions, and scaling by percentage.
Having a solid understanding of these methods will allow you to resize your designs with precision, ensuring that the proportions are maintained and the output matches your desired scale.
In the next section, we will explore the importance of scaling in CAD and why it is crucial for creating accurate and high-quality designs.
Importance of Scaling in CAD
Scaling is a vital aspect of CAD that cannot be overlooked. It plays a significant role in ensuring the accuracy and integrity of your designs. Let’s explore the importance of scaling in CAD:
- Accurate Representation: Scaling allows you to accurately represent the size and proportions of objects in your design. Whether you’re creating architectural blueprints, intricate mechanical parts, or detailed product designs, accurate scaling ensures that your digital model reflects the real-world dimensions.
- Visualization and Communication: Scaling enables you to visualize your designs at the desired size, allowing you to assess how different elements fit together and how they will look in reality. It also enhances communication with clients, contractors, and stakeholders by providing a clear and accurate representation of the final product.
- Design Consistency: By scaling your objects uniformly, you ensure design consistency throughout your project. Consistent scaling maintains the relative sizes and proportions, creating a cohesive and visually appealing end result.
- Compatibility with Standards: Scaling is essential for adhering to industry standards and regulations. Many industries, such as architecture, engineering, and manufacturing, have specific guidelines for dimensions and scaling. By accurately scaling your designs, you ensure compliance with these standards, avoiding costly errors or rework.
- Efficient Workflows: Scaling allows you to work efficiently by utilizing standardized blocks, symbols, and templates. These elements can be scaled up or down as needed, saving you time and effort in creating custom designs from scratch for different sizes or applications.
- Design Flexibility: Scaling provides flexibility in design iterations and modifications. If you need to make changes or explore different options, scaling allows you to resize objects easily without affecting their proportions or the overall design.
- Realistic Visualization: Accurate scaling enhances the realism of your designs, providing a more immersive visualization experience. Whether it’s a realistic architectural walkthrough or a 3D product prototype, proper scaling brings your designs to life, helping clients and stakeholders make informed decisions.
Scaling is not just about adjusting the size of objects; it is about maintaining accuracy, adhering to industry standards, and effectively communicating your design intent. It is a crucial step in the CAD workflow that should be given the attention it deserves.
Next, we will explore the steps involved in scaling a design in CAD, helping you understand the practical aspects of this process.
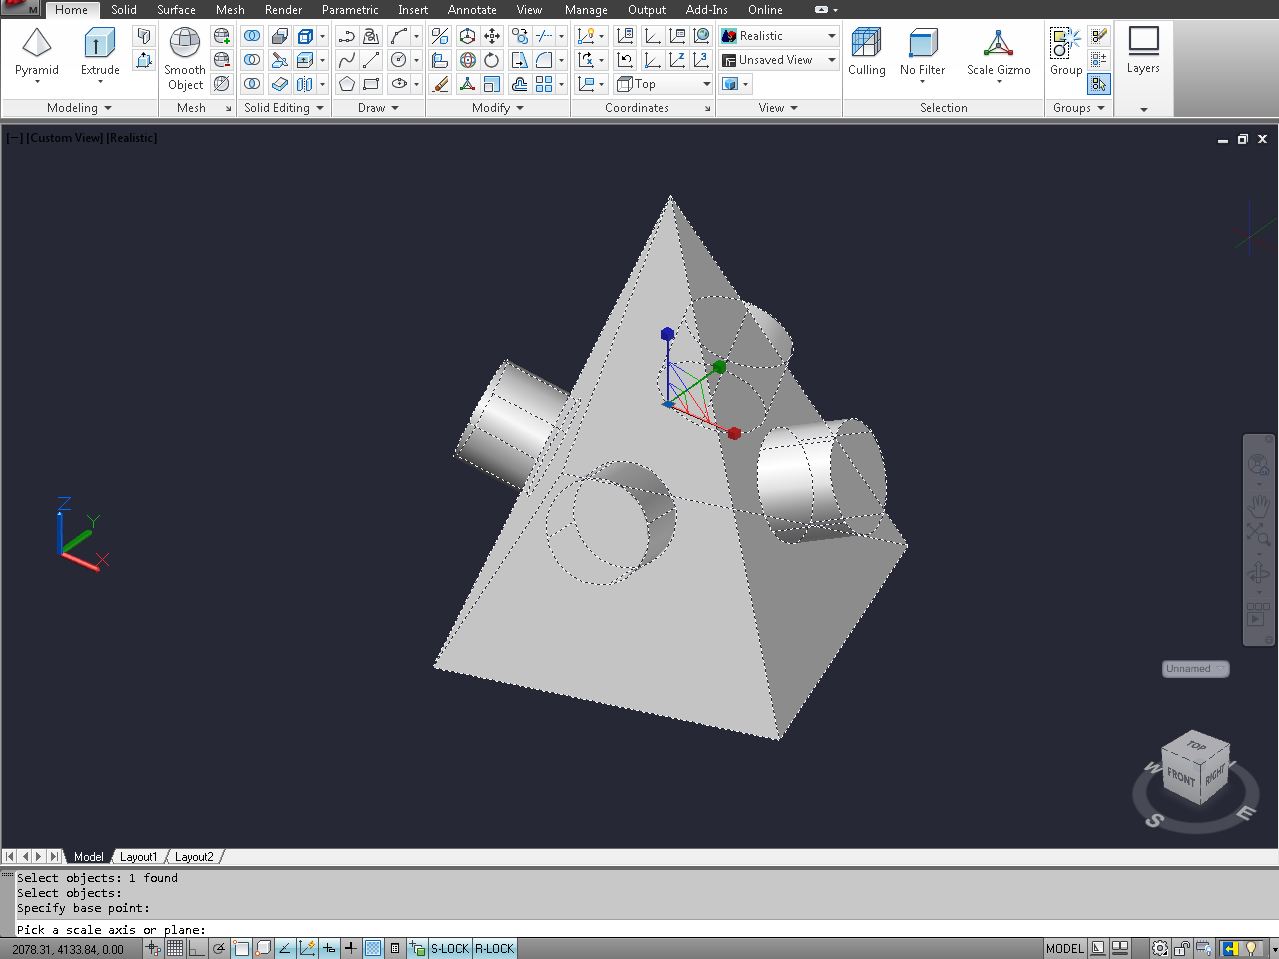
Steps for Scaling in CAD
Scaling a design in CAD involves a series of steps to ensure accurate resizing while maintaining proportionality. Let’s explore the typical steps involved in scaling a design:
- Understand the desired scale: Determine the desired scale for your design. This could be a ratio (e.g., 1:100) or a specific measurement (e.g., 1 inch equals 10 feet). Understanding the intended scale will guide your scaling process.
- Select the objects to scale: Identify the specific objects, lines, or text that you want to scale. This will depend on the nature of your design and the elements that require resizing.
- Choose a scaling method: Select the appropriate scaling method based on your design requirements. The methods include scaling by a specific factor, scaling by a reference distance, scaling using known dimensions, or scaling by percentage.
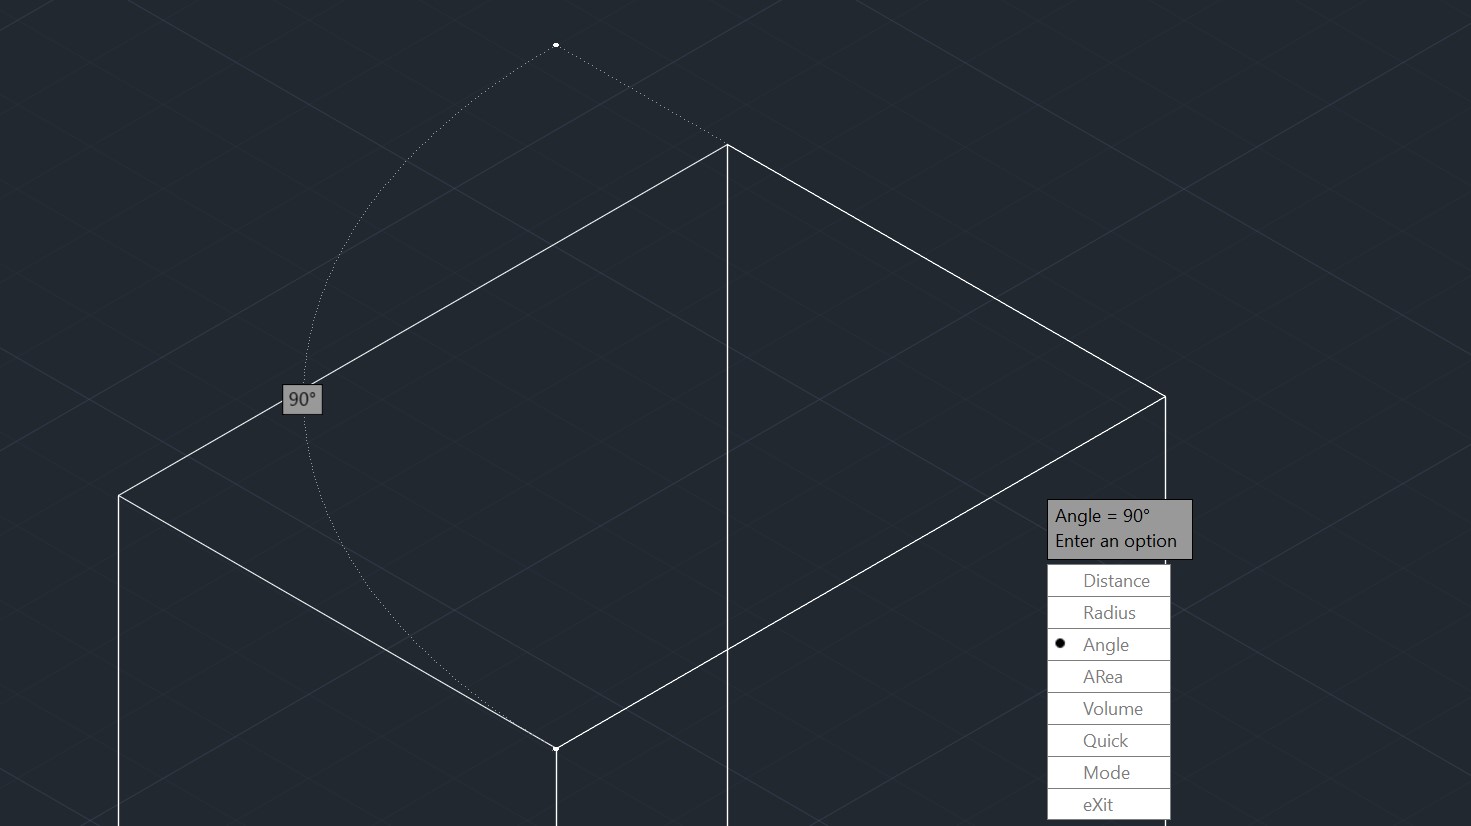
- Perform the scaling operation: Execute the scaling operation using the chosen method. This may involve entering mathematical calculations or using CAD tools and commands specific to the scaling method.
- Verify the results: After scaling, review the resized objects to ensure they match the desired proportions. Check for any distortions or anomalies that may have occurred during the scaling process.
- Adjust other elements: In some cases, scaling may require adjustments to other elements in your design. For example, if you scale a floor plan, you may need to resize furniture or other objects to maintain consistency.
- Update annotations and dimensions: If you have annotations or dimensions in your design, make sure to update them to reflect the new scaled values. This ensures that all measurements and references are accurate.
- Review and finalize: Carefully review the scaled design to ensure it meets your requirements and adheres to industry standards. Make any necessary tweaks or refinements before finalizing the design.
By following these steps, you can confidently scale your designs in CAD, ensuring accuracy, proportionality, and adherence to the desired scale.
In the next section, we will discuss different scaling methods you can utilize in CAD, allowing you to choose the most suitable approach for your design needs.
When scaling in CAD, always make sure to select the appropriate reference point for accurate scaling. This will ensure that your design maintains its proportions and dimensions.
Choosing a Scaling Method
When it comes to scaling in CAD, there are several methods you can utilize depending on your design requirements and preferences. Let’s explore some common scaling methods available:
- Scaling by a specific factor: This method involves multiplying or dividing all dimensions in your design by a specific factor. For example, if you want to double the size of your design, you would multiply all dimensions by 2. Conversely, if you want to halve the size, you would divide all dimensions by 2.
- Scaling by a reference distance: In this method, you select a known reference distance in your design that you want to scale. You specify the desired new length for the reference distance, and the rest of the design is scaled proportionally based on this reference. This method is useful when you have a specific dimension you want to maintain.
- Scaling using known dimensions: If you have known dimensions within your design, you can use them as a basis for scaling the entire design. By defining the known size in the design and specifying the desired new size, the remaining elements are scaled accordingly.
- Scaling by percentage: Scaling by percentage involves increasing or decreasing the size of your design by a specific percentage. For example, scaling up by 25% would increase all dimensions by a quarter, while scaling down by 50% would reduce all dimensions by half.
When choosing a scaling method, consider the nature of your design, the accuracy required, and any specific measurements or dimensions you need to maintain. Each scaling method has its advantages and may be more suitable for certain scenarios.
Additionally, you should also consider the scaling method’s compatibility with the CAD software you are using. Most CAD tools offer built-in scaling features and commands to simplify the scaling process. Familiarize yourself with the scaling options available in your CAD software and choose the method that best aligns with your design goals.
It’s worth noting that different CAD software may have slight variations in how scaling is handled. Therefore, refer to your software’s documentation or seek specific instructions on scaling within your chosen CAD tool.
Now that you are familiar with different scaling methods, let’s move on to the next section where we will discuss common scaling issues and provide strategies to resolve them.
Read more: How To Fix A Weight Scale
Common Scaling Issues and How to Resolve Them
While scaling is a crucial aspect of CAD, it can sometimes present challenges that need to be addressed. Here are some common scaling issues that may arise and strategies to resolve them:
- Distorted or skewed objects: Scaling can sometimes result in distorted or skewed objects that do not maintain their original proportions. To resolve this issue, ensure that you are using the correct scaling method and accurately inputting the scaling parameters. Additionally, double-check the reference points or dimensions used for scaling to ensure they are accurate.
- Mismatched dimensions: Inaccurate scaling may lead to mismatched dimensions, where objects or elements do not align correctly. To resolve this issue, carefully review and verify all dimensions in your design. Double-check that the scaling parameters, reference distances, and known dimensions are correctly inputted.
- Text and annotations not scaled: Scaling may exclude text and annotations, leaving them unchanged in size. To resolve this issue, use CAD tools or commands specifically designed for scaling text and annotations. Alternatively, you can manually adjust the size of the text and annotations to match the scaled design.
- Scaling irregular or complex shapes: Scaling irregular or complex shapes can be challenging, as they may not scale uniformly. One way to resolve this issue is to break down the shape into simpler components and scale them individually. Reassemble the scaled components to reconstruct the original shape, ensuring the proportions are maintained.
- Loss of resolution in raster images: When scaling designs that contain raster images, such as scanned drawings or photographs, you may experience a loss of resolution or pixelation. To mitigate this issue, use higher resolution images or consider converting the raster images to vector format, which can be scaled without any loss of quality.
To avoid these scaling issues, it is essential to double-check your inputs, use accurate reference points, and follow best practices for scaling in CAD. It is also recommended to keep a backup of your original unscaled design in case any issues arise during the scaling process.
If you encounter persistent scaling issues that you are unable to resolve, it may be beneficial to seek help from experienced CAD professionals or consult the CAD software’s technical support team for guidance.
Now that we have addressed common scaling issues, let’s move on to the best practices for scaling in CAD to ensure a smooth and accurate scaling process.
Best Practices for Scaling in CAD
Scaling in CAD requires precision and attention to detail. By following these best practices, you can ensure a smooth and accurate scaling process:
- Plan and communicate: Clearly define the desired scale and communicate it with stakeholders involved in the project. This helps set expectations and ensures everyone is aligned on the intended size and proportions.
- Make a copy: Before scaling your original design, make a copy or backup of the file. This allows you to preserve the unscaled version in case you need to refer back to it or make any modifications later on.
- Double-check your dimensions: Verify all dimensions in your design before and after scaling. Ensure that your reference distances and known dimensions are accurate and correctly inputted to maintain proportionality.
- Use reliable scaling methods: Choose the appropriate scaling method for your design needs, considering factors such as scaling by a specific factor, reference distance, known dimensions, or percentage. Use reliable scaling tools or commands provided by your CAD software for accurate scaling.
- Test and review: After scaling, carefully review the results to ensure that objects and elements maintain their proportions. Test the design at different scales to evaluate its visual appeal and functionality.
- Update annotations and dimensions: When scaling, don’t forget to update annotations, labels, and dimensions to reflect the new scaled values. This ensures accuracy and clarity throughout your design.
- Consider nested scaling: If your design contains nested components or groups, take into account their scaling requirements. Evaluate whether they should be scaled as a whole or individually to maintain their relative proportions.
- Check for overlaps and collisions: After scaling, review your design for any overlaps or collisions between objects. Make adjustments as necessary to ensure that all elements fit together seamlessly.
- Document your scaling process: Keep a record of your scaling decisions and the steps you followed. This documentation can serve as a reference for future projects and help troubleshoot any scaling issues that may arise.
- Seek expert guidance: If you are unsure about any aspect of scaling or encounter persistent issues, consider seeking guidance from experienced CAD professionals or consulting the technical support team of your CAD software. They can provide valuable insights and solutions tailored to your specific situation.
By adhering to these best practices, you can streamline your scaling process, minimize errors, and create designs that accurately reflect your intended size and proportions.
As we conclude this article, we hope that you now have a solid understanding of scaling in CAD and the importance it holds in creating accurate and high-quality designs. Incorporate these scaling practices into your workflow, and embrace the power of CAD to bring your visions to life.
Conclusion
Scaling is a fundamental aspect of CAD that ensures the accuracy, proportionality, and visual appeal of your designs. By understanding the principles and methods of scaling, you can create digital models that accurately represent real-world dimensions and satisfy industry standards.
In this article, we explored the importance of scaling in CAD, highlighting its role in accurate representation, visualization, design consistency, and adherence to standards. We also discussed the steps involved in scaling a design, choosing a scaling method, common scaling issues, and best practices to ensure a smooth and accurate scaling process.
Remember, scaling is not just about adjusting the size of objects; it is about maintaining accuracy, proportionality, and clear communication of design intent. By following best practices such as planning, verifying dimensions, using reliable scaling methods, and documenting your process, you can achieve precise and professional results.
However, if you encounter challenges or uncertainties during the scaling process, don’t hesitate to seek guidance from experienced CAD professionals or consult the technical support team of your CAD software. Their expertise can help you overcome any scaling issues and ensure the integrity of your designs.
In the rapidly evolving domain of CAD, scaling remains a crucial skill for designers, architects, and engineers. By mastering the art of scaling, you can confidently create designs that translate seamlessly from the digital realm to the physical world.
So, embrace the power of scaling in CAD, and let your creativity soar as you transform your ideas into remarkable designs. Happy scaling!
Frequently Asked Questions about How To Scale In CAD
Was this page helpful?
At Storables.com, we guarantee accurate and reliable information. Our content, validated by Expert Board Contributors, is crafted following stringent Editorial Policies. We're committed to providing you with well-researched, expert-backed insights for all your informational needs.


0 thoughts on “How To Scale In CAD”