Home>diy>Architecture & Design>How To Use CAD

Architecture & Design
How To Use CAD
Modified: January 9, 2024
Learn how to use CAD for architecture design and enhance your drafting skills. Follow our step-by-step guide and create stunning architectural designs with ease.
(Many of the links in this article redirect to a specific reviewed product. Your purchase of these products through affiliate links helps to generate commission for Storables.com, at no extra cost. Learn more)
Introduction
Welcome to the world of Computer-Aided Design (CAD), a powerful tool that has revolutionized the field of architecture and design. In today’s technologically driven world, CAD has become an essential part of the architectural and engineering industries, allowing professionals to create and visualize designs in a virtual environment before they are brought to life.
CAD software offers a wide range of tools and capabilities that simplify the design process, streamline collaboration, and enhance productivity. Whether you are an architect designing a new building, an engineer developing a mechanical component, or an interior designer creating a stunning space, CAD provides the flexibility and precision necessary to bring your ideas to fruition.
In this article, we will explore the fundamentals of CAD and guide you through the process of using CAD software effectively. We will cover everything from understanding the basics of CAD to creating intricate designs, modifying objects, working with layers, adding text and dimensions, applying colors and materials, utilizing CAD libraries, and exporting and sharing CAD files.
By the end of this article, you will have a solid understanding of CAD and the skills needed to navigate and utilize CAD software confidently. So, let’s dive in and unlock the potential of this remarkable technology.
Key Takeaways:
- Embrace the power of CAD to revolutionize architecture and design, creating intricate and realistic designs in a virtual environment with precision and creativity.
- Utilize CAD libraries to save time, maintain consistency, and gain design inspiration, while effectively exporting and sharing CAD files to collaborate and gather feedback from stakeholders.
Read more: Who Uses CAD
Understanding CAD
Before we start using CAD software, it’s essential to have a clear understanding of what CAD is and how it works. CAD, short for Computer-Aided Design, is a technology that allows designers and engineers to create, modify, and analyze virtual models of physical objects or environments.
CAD has transformed the design industry by providing a faster, more accurate, and more efficient way to create and visualize complex designs. It eliminates the need for traditional hand-drawn sketches and blueprints, saving designers valuable time and resources.
At its core, CAD software is based on a coordinate system that defines the three-dimensional space in which objects are created. Designers can use precise measurement tools and geometric constraints to ensure accuracy and consistency throughout their designs.
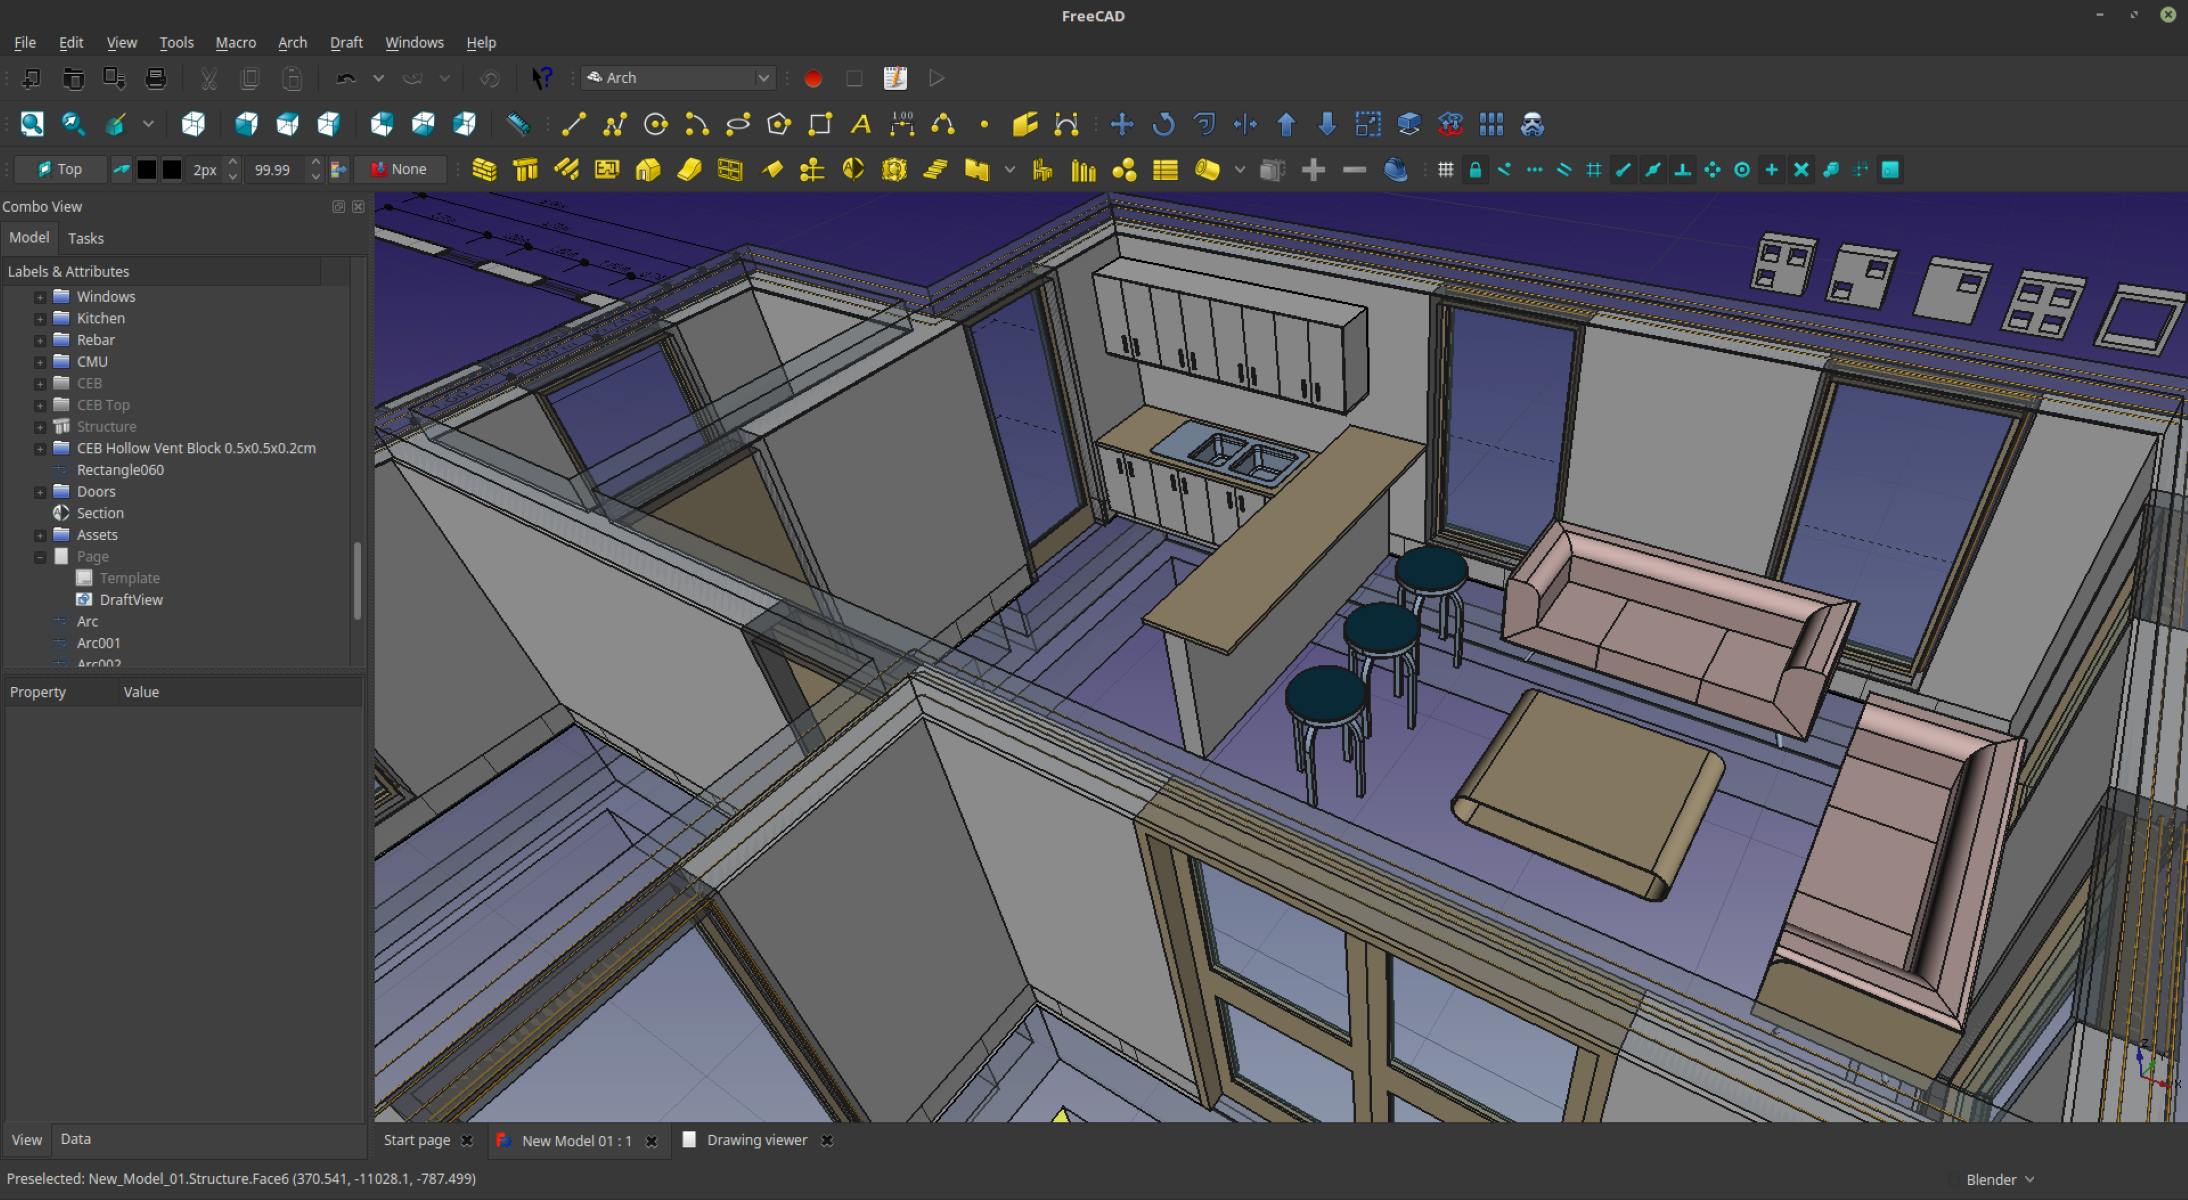
One of the key advantages of CAD is the ability to create 3D models. These models allow designers to visualize their concepts from various angles, providing a comprehensive understanding of the design before it’s brought to life.
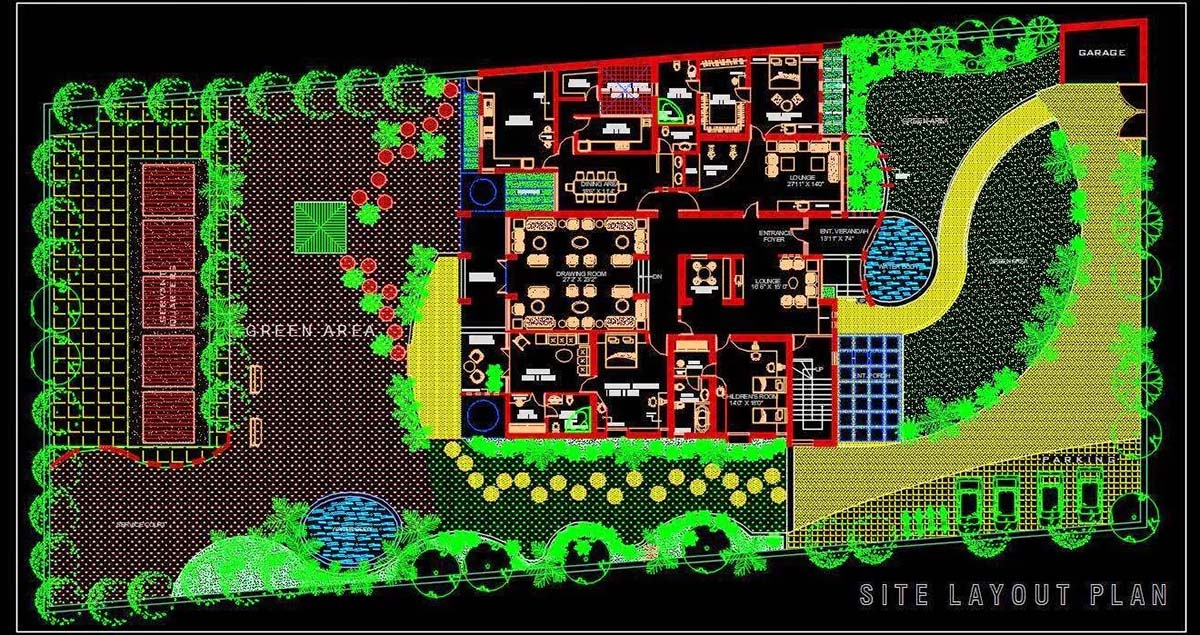
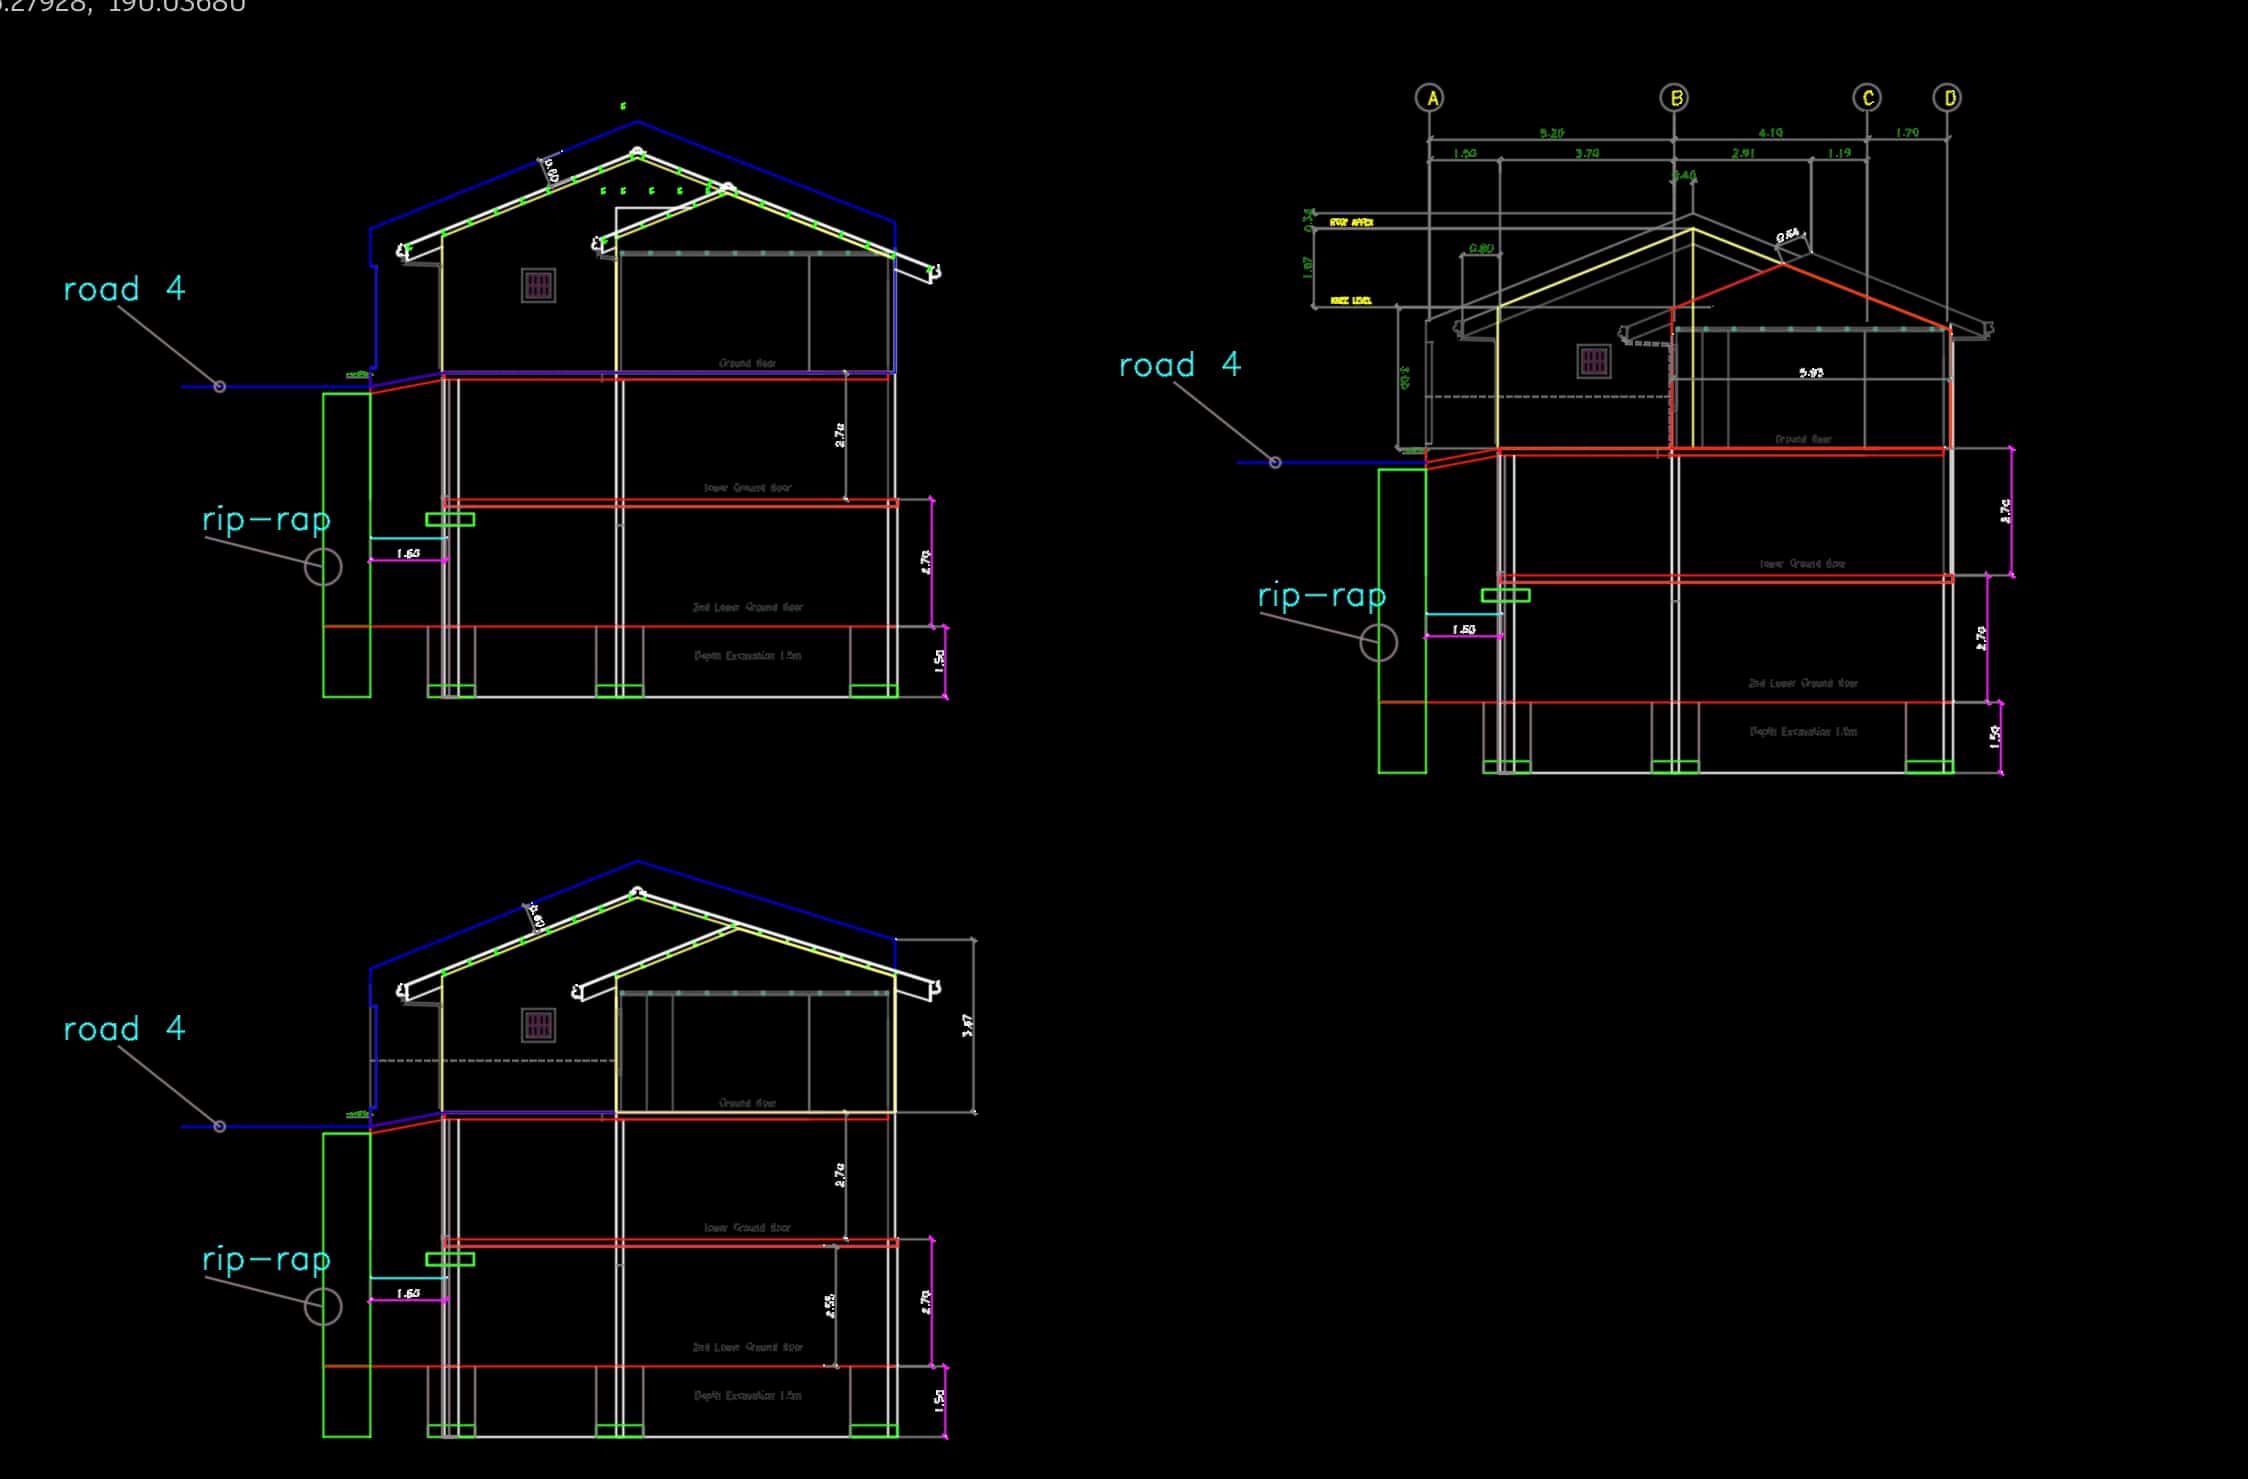
In addition to 3D modeling, CAD software also enables the creation of 2D drawings, such as plans, elevations, and sections. These 2D representations provide the necessary documentation for construction and manufacturing purposes.
CAD software is designed to be user-friendly, with intuitive interfaces and a range of tools to assist designers in their creative process. It allows for easy manipulation of objects, precise measurements, and the application of materials and textures.
Furthermore, CAD software facilitates collaboration among designers, architects, engineers, and other stakeholders. Designs can be easily shared, reviewed, and modified, ensuring that everyone involved is on the same page.
Overall, CAD is a powerful tool that enhances the design process in many industries. It enables designers to bring their ideas to life in a virtual environment, making it easier to experiment with different concepts, analyze structural integrity, and communicate design intent to clients and collaborators.
Now that we have a solid understanding of CAD, let’s move on to getting started with CAD software and exploring its capabilities.
Getting Started with CAD Software
Now that you have a basic understanding of CAD, it’s time to dive into the world of CAD software. There are various CAD software options available, each with its own unique features and user interface. In this section, we will guide you through the process of getting started with CAD software, regardless of the specific program you choose to use.
The first step in getting started with CAD software is to install the program on your computer. Most CAD software is available for download from the developer’s website. Ensure that your computer meets the minimum system requirements for the software to run smoothly.
Once the software is installed, launch it and familiarize yourself with the user interface. CAD software typically consists of a workspace where you can create and edit your designs. You will find various menus, toolbars, and panels that provide access to different tools and functions.
Before you start creating your design, it’s essential to set up the drawing settings. This includes defining the units of measurement, the drawing scale, and other parameters that will ensure the accuracy and precision of your design.
Next, familiarize yourself with the basic tools and commands in the software. These tools will vary depending on the software you are using, but common features include drawing lines, circles, rectangles, and other geometric shapes, as well as editing and modifying objects.
It’s also crucial to learn how to navigate the 3D environment in CAD software. This includes zooming in and out, panning, and rotating the view to navigate your design effectively.
As you progress, explore the advanced features of the software. These features may include 3D modeling tools, rendering capabilities, animation options, and simulation tools. Take the time to experiment with these features and understand how they can enhance your design process.
In addition to mastering the tools and commands, it’s beneficial to familiarize yourself with keyboard shortcuts. Keyboard shortcuts can significantly improve your productivity by allowing you to quickly access frequently used commands without having to navigate through menus.
Finally, always remember to save your work regularly. CAD software often has an autosave feature that can help prevent data loss in case of a system crash or power outage. Additionally, it’s a good practice to create backup copies of your files to ensure you have multiple versions available.
With these basic steps, you are now ready to start using CAD software effectively. Remember to take your time, practice regularly, and explore the different features and tools that the software offers. The more you familiarize yourself with the software, the more comfortable and proficient you will become in creating intricate and accurate designs.
In the next section, we will delve into the process of creating basic shapes and objects using CAD software. Stay tuned!
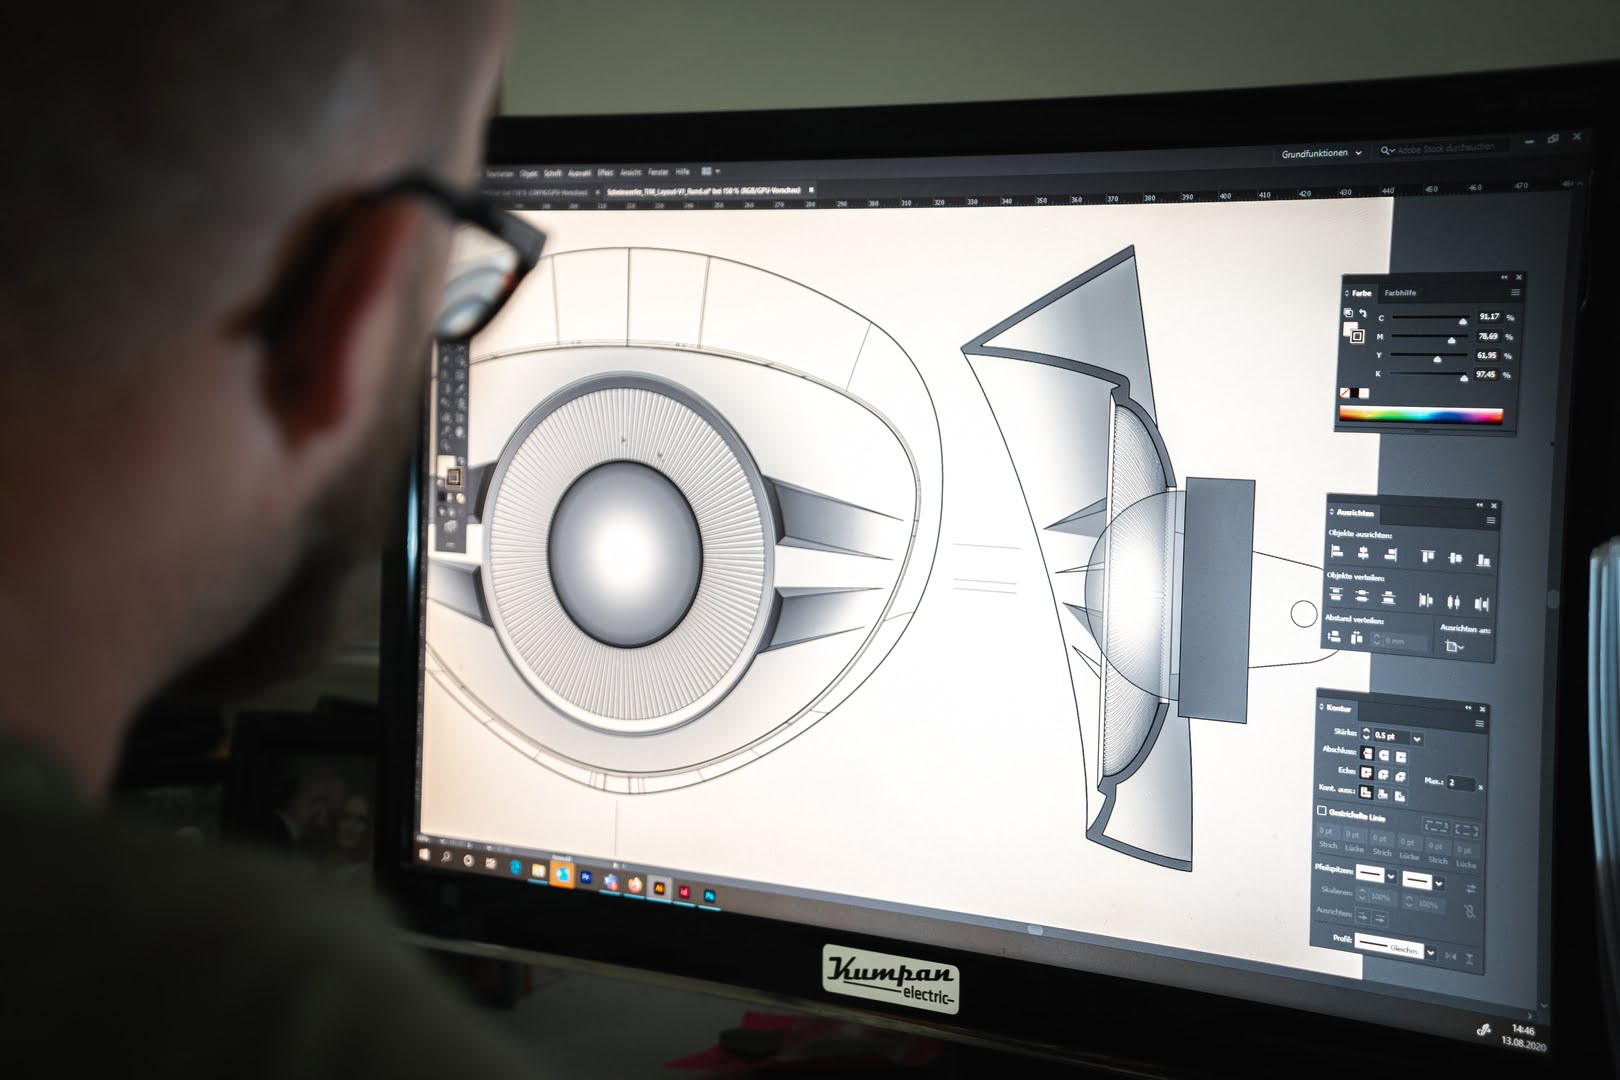
Creating Basic Shapes
One of the fundamental aspects of using CAD software is the ability to create basic shapes and objects. These shapes serve as building blocks for more complex designs and allow you to establish the foundation of your project. In this section, we will explore the process of creating basic shapes using CAD software.
The specific tools and commands for creating shapes may vary depending on the CAD software you are using. However, the general principles remain the same. Let’s start with some common shapes: lines, circles, rectangles, and polygons.
To create a line, select the line tool from the toolbar or menu and click on two points in the drawing area. The line will be created between these two points, allowing you to define its length and orientation. Some software also allows you to specify the line’s thickness and style.
Creating circles is just as straightforward. Select the circle tool and then click and drag in the drawing area to define the circle’s radius. Alternatively, you can specify its diameter or center point and radius.
Similarly, rectangles can be created by selecting the rectangle tool and then clicking and dragging to define the width and height of the rectangle. Again, you may have the option to specify the width and height numerically.
Polygons are shapes with more than four sides. To create a polygon, select the polygon tool and click on the drawing area to set the center point. Then, enter the number of sides you want the polygon to have and specify the radius or length of the sides.
In addition to these basic shapes, CAD software often offers tools for creating more complex shapes such as arcs, ellipses, and splines. Each shape may have different parameters and options for customization, allowing you to create intricate and precise designs.
Remember to use the snap and grid features in your CAD software to ensure accuracy and alignment when creating shapes. These features help you snap objects to specific points or align them with existing lines and shapes.
Once you have created the basic shapes, you can further edit and modify them using the software’s editing tools. This includes features such as trimming, extending, mirroring, and offsetting, allowing you to refine your designs to meet specific requirements.
By understanding how to create and manipulate basic shapes, you can lay the foundation for more complex designs in CAD software. Experiment with different shapes and explore the software’s capabilities to unleash your creativity and bring your ideas to life.
In the next section, we will delve into the process of editing and modifying objects in CAD software, allowing you to refine and customize your designs. So, let’s move on to the next step!
Editing and Modifying Objects
Now that you have created basic shapes in your CAD software, it’s time to learn how to edit and modify those objects to refine and customize your designs. CAD software offers a wide range of tools and commands to help you make precise adjustments to your objects. In this section, we will explore the process of editing and modifying objects in CAD software.
Before we dive into the specific editing commands, it’s important to understand the concept of object selection. CAD software allows you to select individual objects or multiple objects at once, depending on your needs. You can typically select objects by clicking on them or by using selection tools such as box selection or lasso selection.
Once you have selected an object, you can access various editing commands to modify its properties. Some common editing commands include:
- Move: This command allows you to move objects from one location to another by specifying a base point and a destination point.
- Rotate: With the rotate command, you can change the orientation of an object by specifying a base point and an angle.
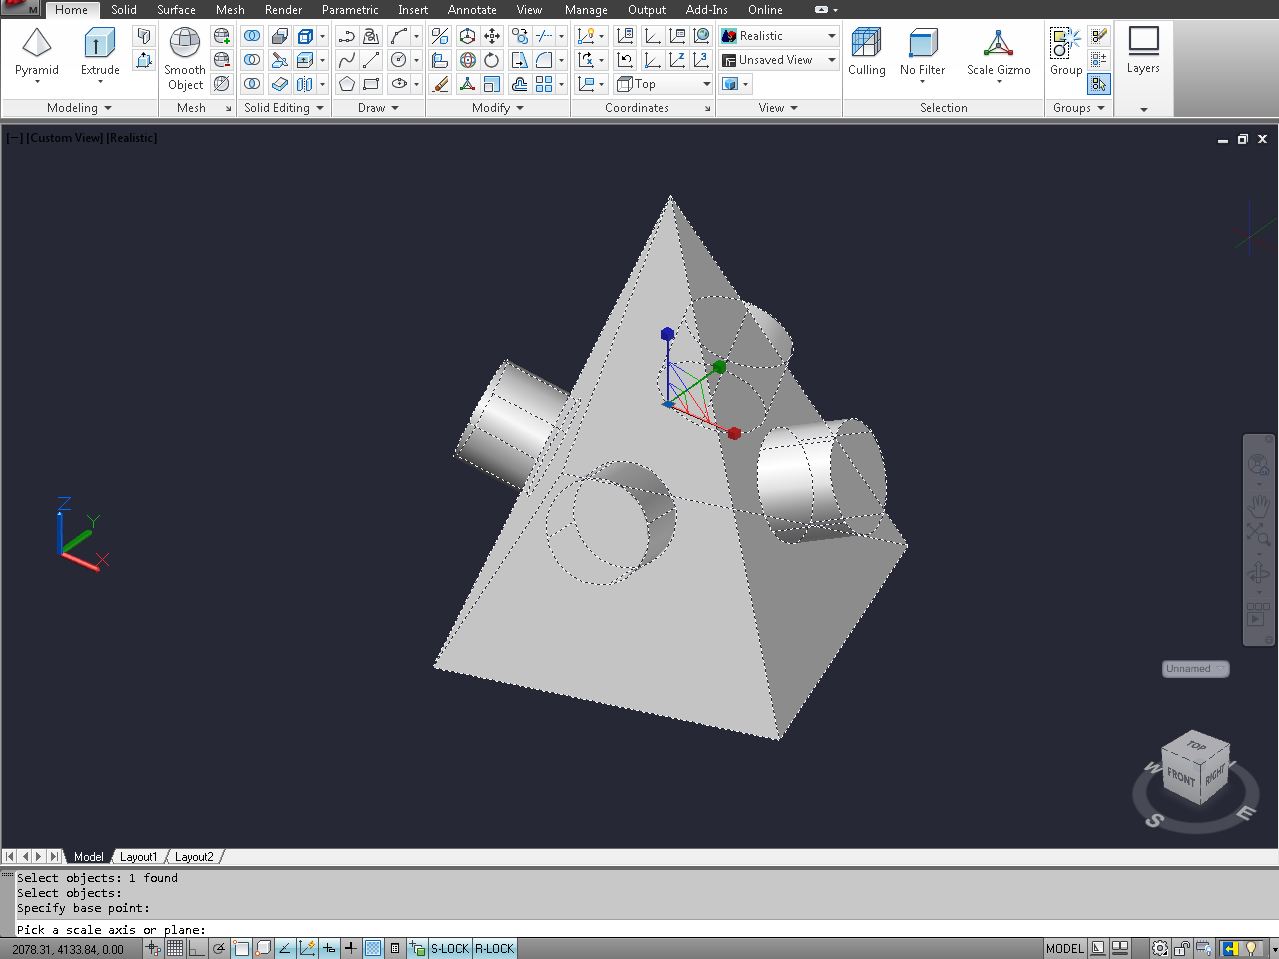
- Scale: Scaling allows you to resize objects proportionally either by specifying a base point and a scale factor or by selecting reference points to determine the scale.
- Stretch: The stretch command enables you to adjust the size of an object by selecting and stretching specific parts of it.
- Trim: Trimming allows you to remove segments of an object that are not needed, based on the cutting edges you define.
- Extend: With the extend command, you can lengthen or extend the lines or edges of an object to meet other objects or boundaries.
- Mirror: Mirroring creates a mirrored copy of an object by defining a mirror line or mirror plane.
- Fillet: Filleting is the process of rounding the corners or edges of an object to create smooth and visually pleasing transitions.
These are just a few examples of the editing commands available in CAD software. Depending on the software you are using, there may be additional commands and features that you can explore and use to modify your objects.
It’s important to note that CAD software often provides options for making both direct edits and parametric edits. Direct edits modify the object directly, while parametric edits are based on the parameters or constraints set during the creation process. Parametric edits allow you to make changes to objects that propagate throughout the entire design, ensuring consistency and efficiency.
Remember to save your work regularly as you make edits to avoid losing any progress. Additionally, take advantage of the software’s undo and redo functions to revert or redo edits if needed.
By mastering the editing and modifying commands in CAD software, you gain the ability to refine and customize your designs to meet specific requirements. Experiment with different editing commands and techniques to unlock the full potential of your CAD software.
In the next section, we will explore the concept of layers in CAD software and how they can help you organize and manage your designs effectively. So, let’s continue our CAD journey!
Read more: What Is CAD Used For
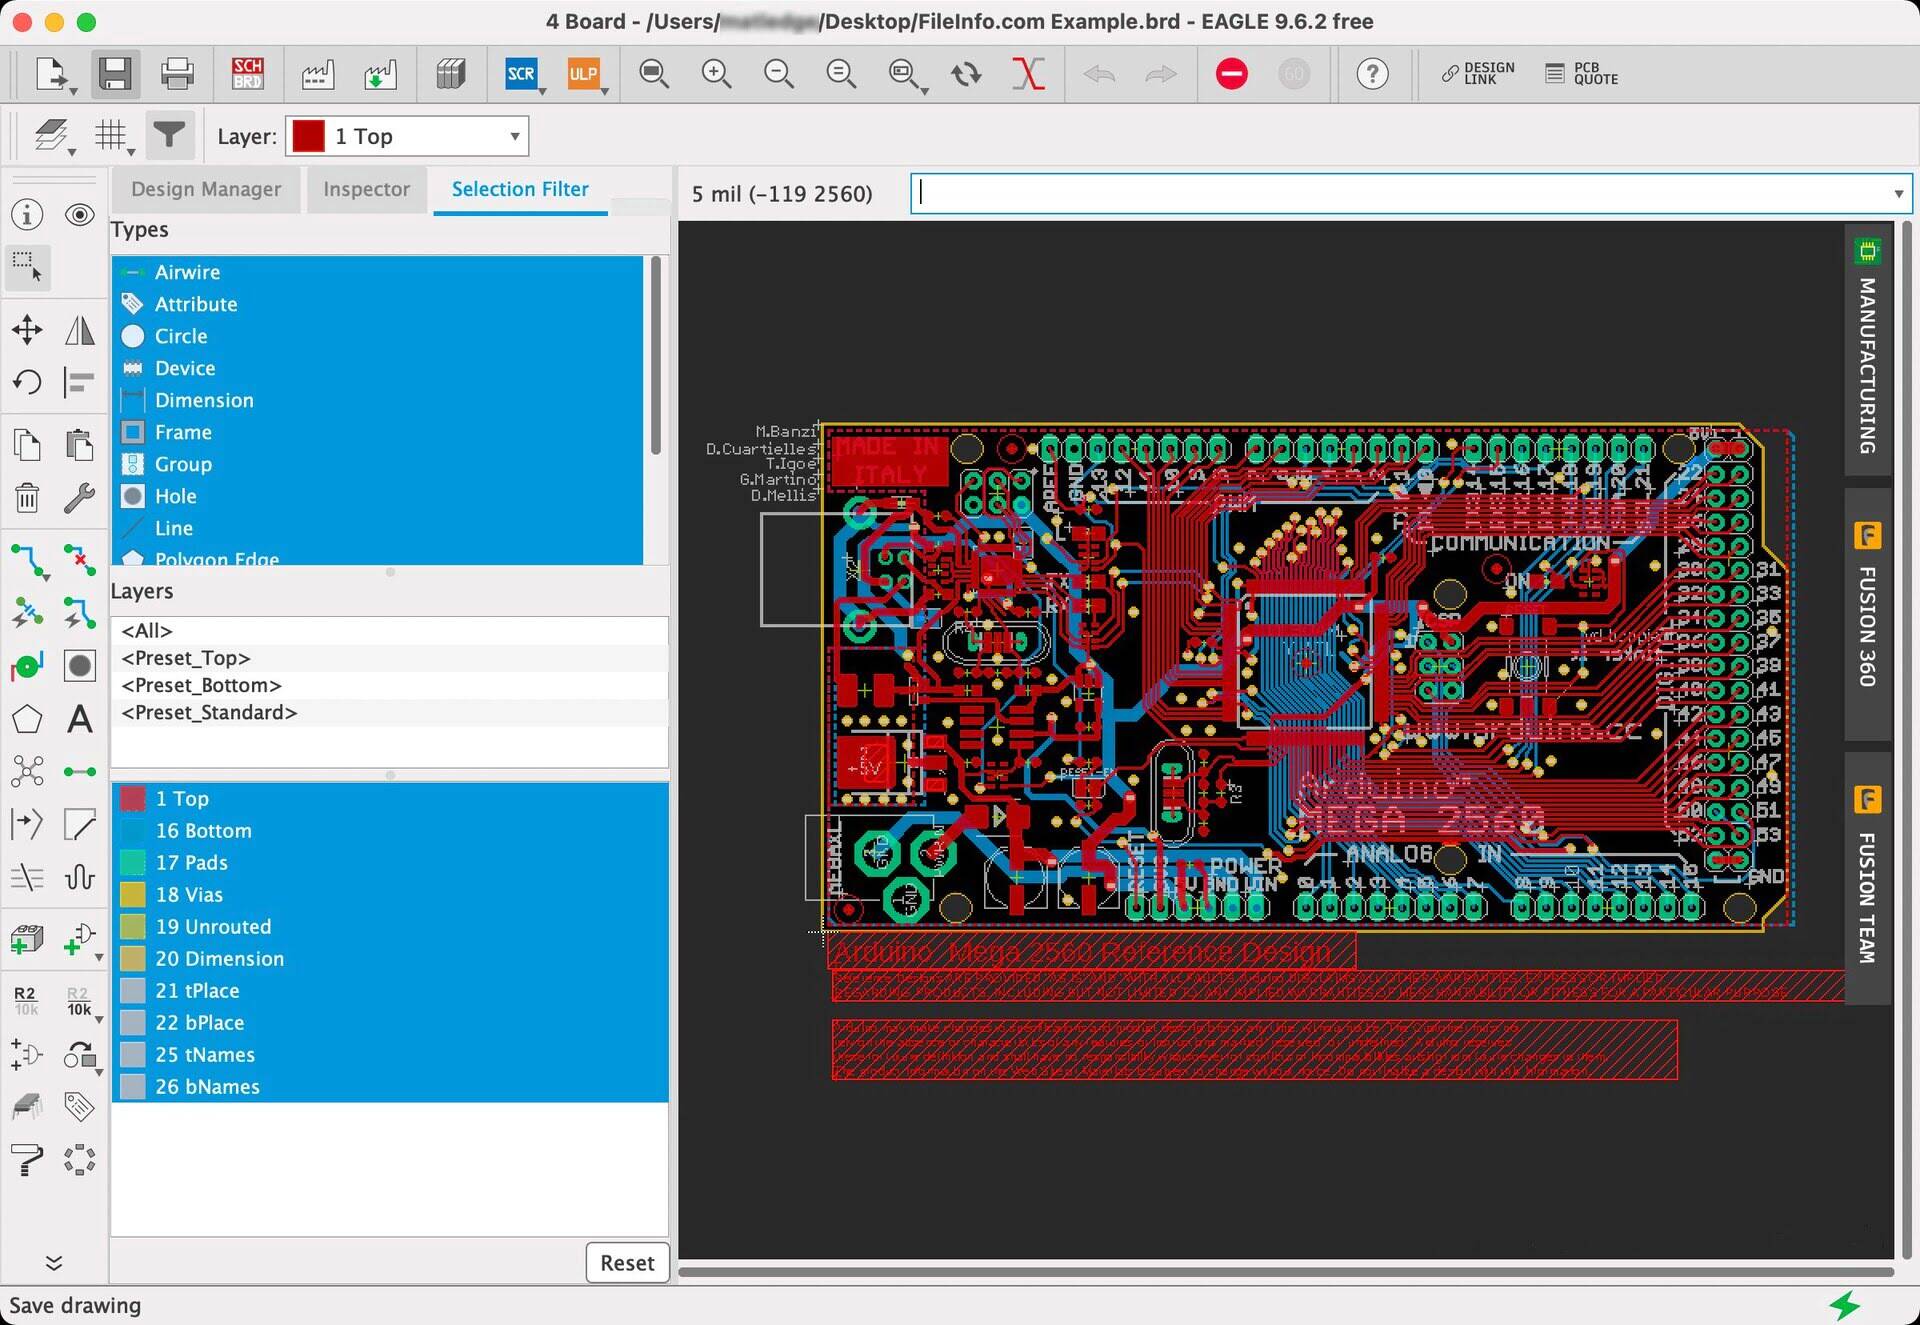
Working with Layers
In CAD software, layers are a powerful organizational tool that allows you to manage and control different elements of your design. Layers help you group related objects together, control their visibility, and apply specific properties to them. Understanding how to effectively work with layers in CAD software is essential for maintaining an organized and structured design workflow. In this section, we will explore the concept of layers and how to utilize them in your CAD projects.
Layers in CAD software work similar to transparent sheets placed on top of each other. Each layer can contain different objects or elements of your design. By organizing your objects into layers, you can control the visibility and properties of those objects collectively or individually.
Here are some key concepts to understand when working with layers:
- Create Layers: Most CAD software allows you to create new layers to organize your objects. You can name each layer and assign specific properties such as line color, line thickness, and line type.
- Assign Objects to Layers: After creating layers, you can assign objects to specific layers. This helps group related objects together and improves the organization of your design.
- Control Visibility: Layers allow you to control the visibility of objects. You can easily turn on or off the visibility of a particular layer, which can be helpful when you want to focus on specific parts of your design or simplify the view.
- Set Layer Properties: Each layer can have its own set of properties such as line color, line thickness, and line type. By assigning different properties to different layers, you can easily differentiate between elements in your design.
- Modify Layer Properties: CAD software provides the ability to modify layer properties at any time. You can change the line color, line thickness, or line type of a layer, and the changes will be reflected in all objects assigned to that layer.
- Organize Layer Order: The order of layers determines the visibility hierarchy. Objects on a higher layer will appear above objects on lower layers. Adjusting the layer order lets you control the appearance of your design.
Working with layers not only improves the organization of your design, but it also enhances productivity and collaboration. Layers allow you to easily isolate and modify specific elements, improve drawing performance, and simplify the sharing of your design with others.
As you work with layers, it’s important to establish a naming convention and consistent layer structure. This will make it easier to navigate your design and ensure that all team members understand the organization of the project.
By effectively utilizing layers in CAD software, you can enhance your design workflow, improve organization, and streamline collaboration with others. In the next section, we will explore how to add text and dimensions to your CAD drawings, providing essential information and annotations. So, let’s continue our CAD journey!
When using CAD, always start with accurate measurements and reference points to ensure precision in your designs. This will save time and reduce errors in the long run.
Adding Text and Dimensions
Text and dimensions play a crucial role in CAD drawings by providing essential information and annotations. Whether you need to label specific elements, add notes, or provide accurate measurements, the ability to add text and dimensions in CAD software is essential. In this section, we will explore how to effectively add text and dimensions to your CAD drawings.
Most CAD software provides specific tools and commands for adding text and dimensions. Here are the key steps to follow:
Adding Text:
- Select the text tool from the toolbar or menu.
- Click at the desired location in the drawing area to define the insertion point for your text.
- Enter the text content in the text editor window. You can adjust the font, size, and other formatting options as needed.
- Place the text in the desired position by specifying alignment options or dragging it to the desired location.
In addition to adding standard text, some CAD software also offers special text options such as multilines, text with leader lines, and text along a curve. Explore these options to enhance the presentation and clarity of your designs.
Adding Dimensions:
- Select the dimension tool from the toolbar or menu.
- Click on the start point and end point of the entity or object you wish to dimension.
- Position the dimension by specifying the location, alignment, and orientation.
- Edit the dimension properties such as tolerance, precision, and units to ensure accuracy.
Dimensions in CAD software are dynamic, meaning that if you modify the geometry of the object being dimensioned, the dimension will adjust automatically to reflect the changes. This is particularly useful when making design modifications or updates.
In addition to basic linear dimensions, CAD software offers various types of dimensions, including angular dimensions, radial dimensions, and diameter dimensions. Understanding and utilizing these different dimension types can provide comprehensive information about your design.
When adding text and dimensions, it’s important to keep them clear, legible, and consistent throughout your drawings. Choose appropriate text sizes, fonts, and formatting options to ensure readability, and maintain consistency in dimension styles and placement to create uniformity in your design documentation.
By effectively adding text and dimensions to your CAD drawings, you provide valuable information and annotations that improve the understanding and communication of your design intent. In the next section, we will explore how to apply colors and materials to your objects, bringing your design to life. So, let’s keep moving forward!
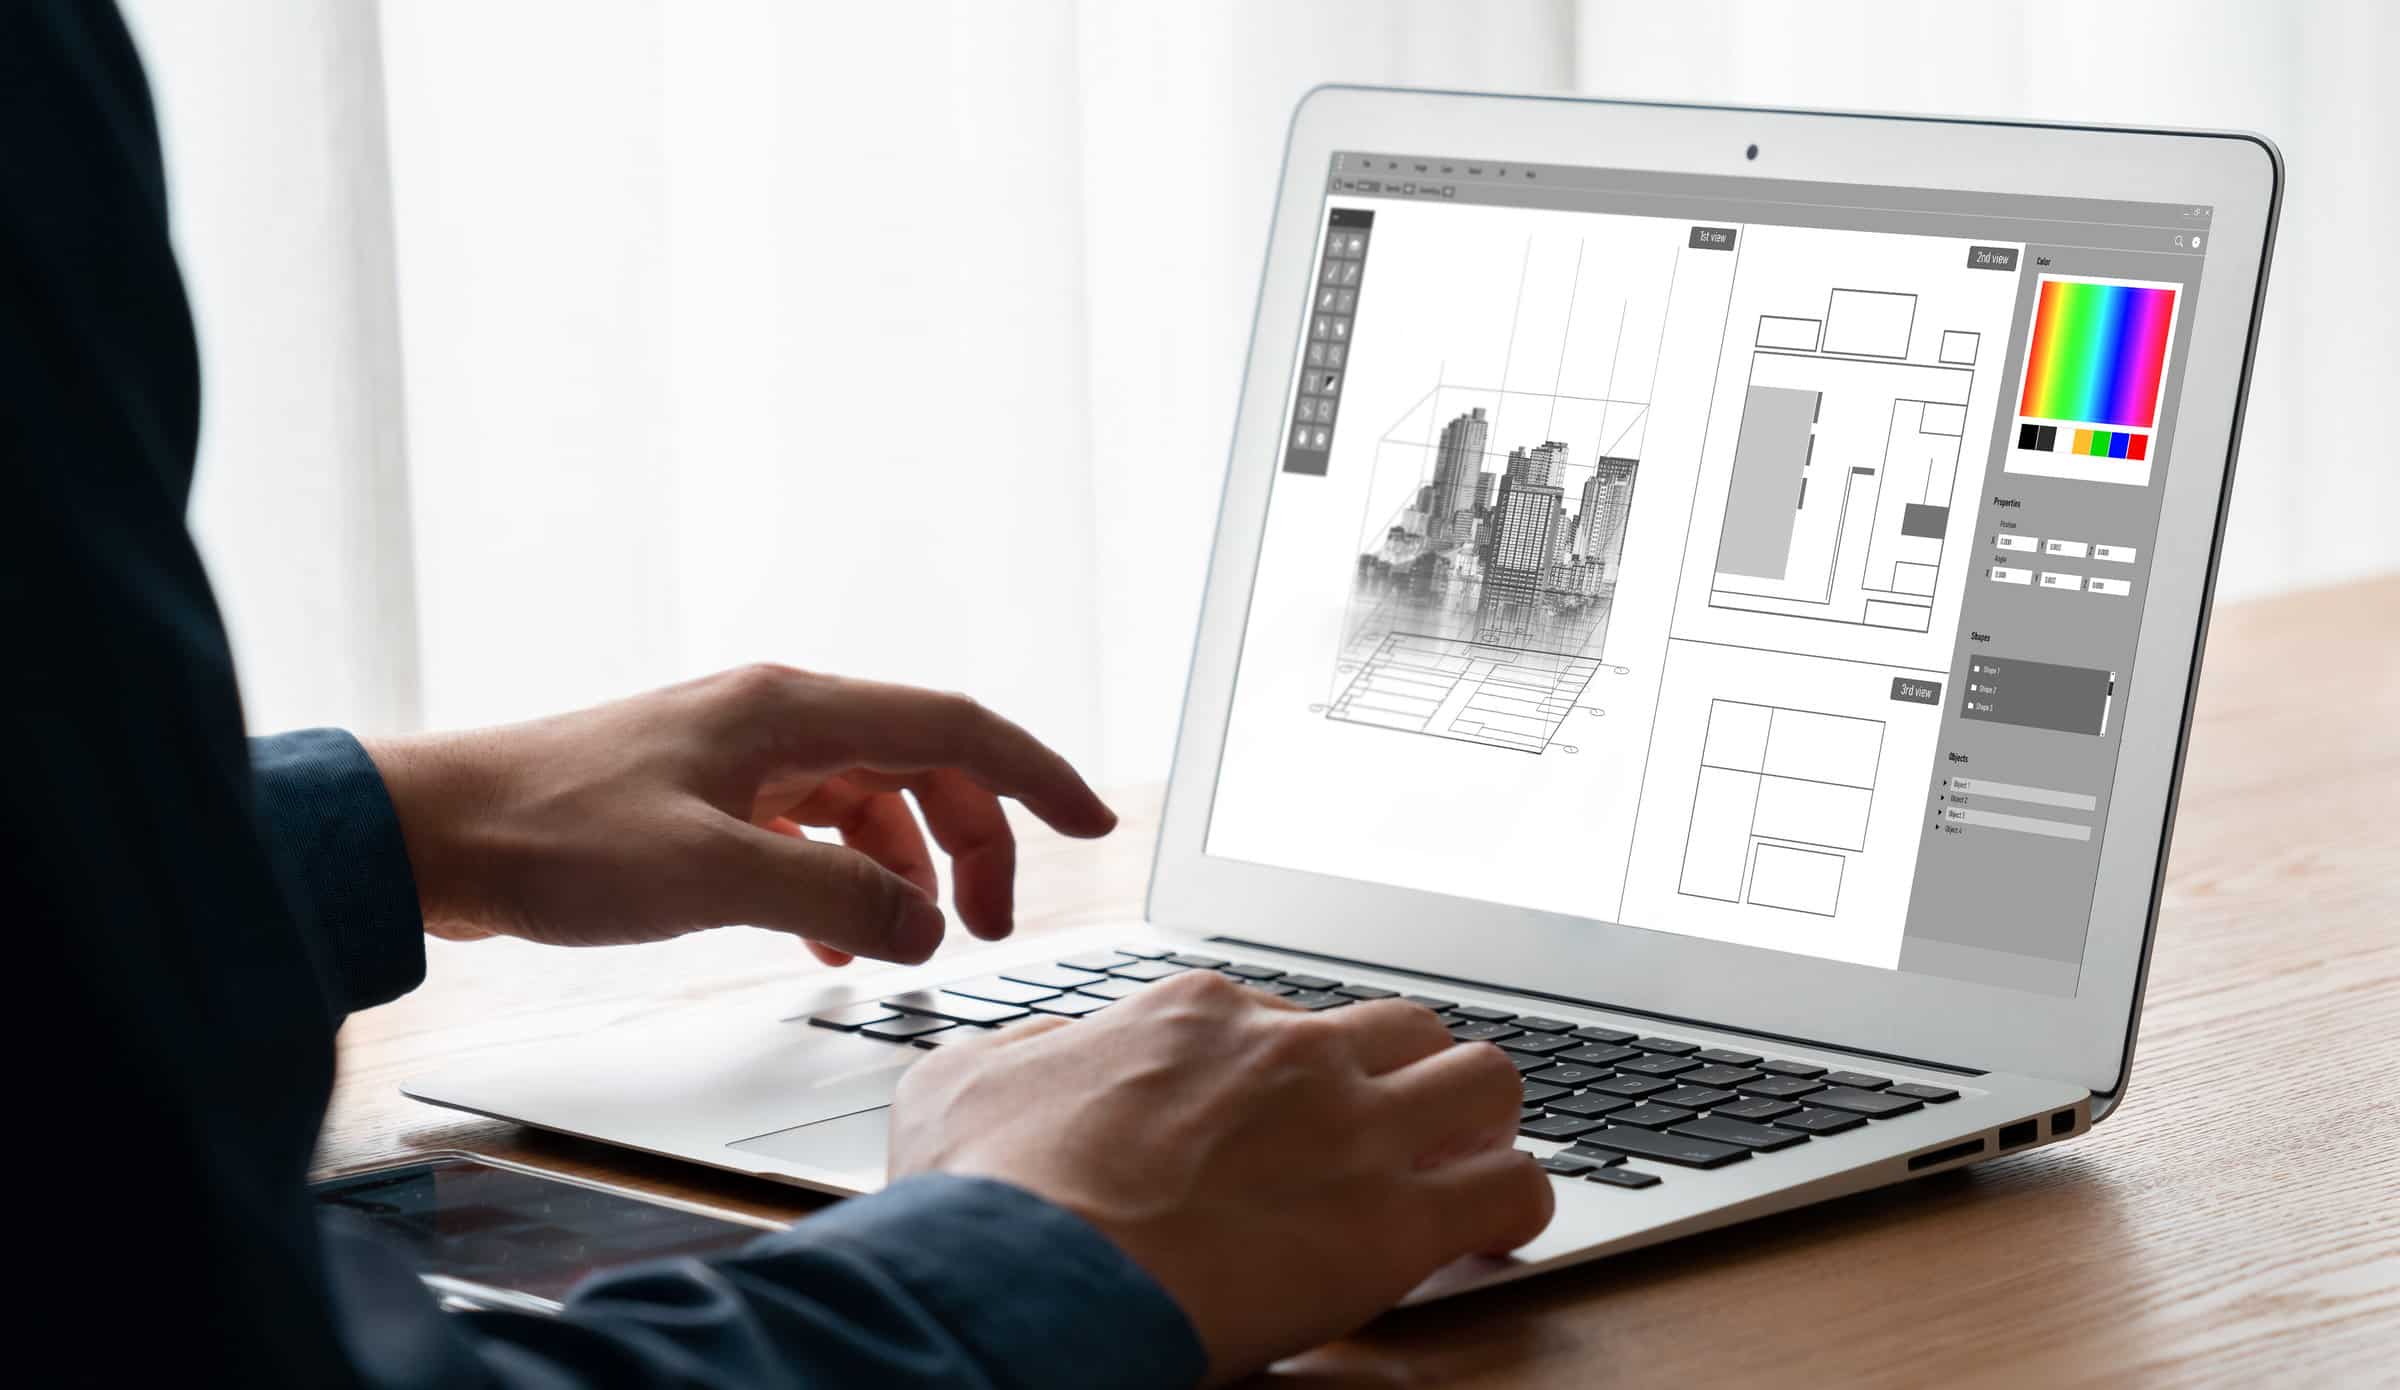
Applying Colors and Materials
One of the exciting features of CAD software is the ability to apply colors and materials to your objects, giving them a realistic and visually appealing appearance. By applying colors and materials, you can bring your design to life and enhance the visual communication of your ideas. In this section, we will explore how to effectively apply colors and materials in CAD software.
Most CAD software provides tools and options specifically designed for applying colors and materials to objects. Here are the key steps to follow:
- Select the object or objects you want to apply colors or materials to.
- Access the color or material tool from the toolbar or menu.
- Choose the desired color or material from the available options. Some software may offer a library of predefined colors and materials, while others allow you to create custom colors or import material textures.
- Apply the selected color or material to the objects. This can typically be done by clicking on the objects or selecting them from a designated panel.
When applying colors, consider the overall aesthetic and design intent. Use colors to highlight specific elements, create contrast, or convey specific meanings. Experiment with different color combinations to find the most visually appealing result.
When working with materials, consider the texture and surface properties of the objects. Apply materials such as wood, metal, glass, or concrete to create realistic representations of your design. Some software even allows you to adjust material properties such as reflectivity, transparency, and bump mapping to enhance the realism of your objects.
By applying colors and materials, you can not only improve the visual appeal of your design but also convey important information about the materials used and the intended look and feel of the project.
Furthermore, CAD software often provides the ability to visualize your design in different lighting conditions. You can simulate various lighting scenarios to see how different colors and materials behave under different lighting conditions, bringing an extra level of realism to your design.
Remember to consider the limitations of your output medium when applying colors and materials. If you will be printing your design or exporting it for presentations, ensure that the colors and materials are accurately represented in the final output.
By effectively applying colors and materials in CAD software, you can add visual depth and realism to your designs. In the next section, we will explore the concept of CAD libraries and how they can enhance your design process. So, let’s continue our CAD journey!
Using CAD Libraries
CAD libraries are a valuable resource that can greatly enhance your design process by providing access to a wide range of pre-made objects, components, and symbols. CAD libraries contain a collection of ready-to-use elements that can be easily incorporated into your designs, saving you time and effort in creating complex objects from scratch. In this section, we will explore the concept of CAD libraries and how they can benefit your design workflow.
CAD libraries are typically available within CAD software or can be downloaded from external sources. These libraries consist of a variety of 2D and 3D objects, including furniture, appliances, mechanical parts, electrical symbols, and more. Some CAD libraries are specific to certain industries, such as architecture or engineering, while others are more general-purpose.
Here are some key benefits of using CAD libraries:
- Time-Saving: By utilizing pre-made objects from CAD libraries, you can significantly reduce design time. Instead of creating objects from scratch, you can select and customize existing objects that closely match your design requirements. This allows you to focus more on the unique aspects of your design.
- Consistency: CAD libraries ensure consistency throughout your designs. The objects within the library are typically created with accurate dimensions and proportions, helping you maintain a consistent visual style and ensuring compatibility with other elements in your design. This is particularly useful when working on larger projects or collaborating with other designers.
- Design Inspiration: CAD libraries can provide design inspiration and guidance. By exploring the objects within the library, you can discover new design ideas, learn about industry standards, and gain insights into best practices for your specific field.
- Efficient Collaboration: When working on collaborative projects, CAD libraries facilitate easier collaboration and communication. All team members have access to the same set of objects, ensuring consistency and streamlining the design process. It also enables better communication with clients or stakeholders, as you can present your ideas using realistic and familiar objects.
- Expandable: CAD libraries are often expandable, allowing you to add new elements to the library or create your own custom objects. This enables you to build your own collection of frequently used elements, further enhancing your efficiency and workflow.
When using CAD libraries, it’s essential to ensure the objects are accurate, properly scaled, and meet your design requirements. Verify that the objects from the library align with industry standards and are compatible with the units of measurement used in your project.
As with any digital resource, it’s important to keep your CAD libraries organized. Create a logical folder structure and categorize objects based on their type or usage. This will make it easier to locate specific objects when needed and maintain an efficient design workflow.
By leveraging CAD libraries, you can benefit from time savings, improved consistency, and enhanced collaboration in your design projects. In the next section, we will explore how to export and share CAD files, allowing you to easily collaborate and communicate your designs with others. So, let’s continue our CAD journey!
Read more: How To Use CAD Software
Exporting and Sharing CAD Files
Once you have completed your CAD design, it’s time to share and collaborate with others. CAD software provides various methods for exporting and sharing your design files, ensuring seamless communication and collaboration with clients, colleagues, or manufacturers. In this section, we will explore how to export and share CAD files effectively.
The specific export options and file formats available will depend on the CAD software you are using. However, here are some common methods for exporting CAD files:
- Native File Format: Every CAD software has its native file format, which preserves all the design data and properties. Saving your design in the native file format ensures compatibility and allows others to open, edit, and work with the design in the original software.
- Industry Standard File Formats: CAD software typically offers the ability to export designs in industry-standard file formats such as DWG (AutoCAD Drawing), DXF (Drawing Exchange Format), or DWF (Design Web Format). These formats ensure compatibility with other CAD software and viewers.
- PDF: Exporting your CAD design as a PDF (Portable Document Format) is a common practice when sharing designs for review or presentation purposes. PDF files retain the visual appearance of the design and can be viewed and printed easily, making them widely accessible.
- Image Formats: Another option for sharing CAD designs is exporting them as image files, such as JPEG or PNG. Image files are easy to share, and they can be inserted into presentations, documents, or websites for visual reference.
- 3D Formats: If your design is in 3D, you can export it as a 3D file format, such as STL (Standard Tessellation Language) or OBJ (Object File Format). These formats are commonly used for 3D printing or importing into other 3D modeling software.
When exporting CAD files, it’s important to consider the intended use and requirements of the recipient. Ensure that the exported file format retains the necessary information and properties of the design. It may be helpful to include additional documentation, such as drawings or notes, to provide further context and instructions.
When sharing CAD files, you have several options:
- Email: You can send the exported file as an attachment via email. This method is suitable for small file sizes or when sharing with a limited number of recipients.
- Cloud Storage: Uploading the file to a cloud storage service, such as Dropbox or Google Drive, allows you to share a link with others. This method is convenient for larger file sizes or when collaborating with multiple people.
- Project Collaboration Tools: Collaborative platforms, such as Autodesk BIM 360 or Trimble Connect, provide dedicated environments for sharing and collaborating on CAD designs. These platforms offer version control, markup capabilities, and real-time collaboration features.
- Client Viewing Software: Some CAD software allows you to publish your designs to a client viewing software, where clients can interact with the design without needing the CAD software itself. This provides an immersive and user-friendly way for clients to view and review your design.
Before sharing your CAD files, ensure that you have checked and reviewed the design for any errors or issues. Double-check that all referenced files and external dependencies are included or properly linked to the main file.
By effectively exporting and sharing CAD files, you can facilitate collaboration, gather feedback, and ensure that your designs reach the intended audience. In the final section, we will conclude our CAD journey with a summary and key takeaways. So, let’s wrap up our exploration of CAD!
Conclusion
CAD has revolutionized the field of architecture and design, empowering professionals to create intricate and realistic designs in a virtual environment. By understanding the fundamentals of CAD and effectively utilizing CAD software, designers can bring their ideas to life with precision and creativity.
We began our journey by familiarizing ourselves with CAD and its powerful capabilities. From there, we explored how to get started with CAD software, creating basic shapes, editing and modifying objects, working with layers, adding text and dimensions, applying colors and materials, utilizing CAD libraries, and finally exporting and sharing CAD files.
Throughout our exploration, we discovered that CAD software offers a user-friendly interface, a plethora of tools and commands, and the ability to enhance efficiencies and streamline the design process.
By utilizing CAD libraries, designers can save time and maintain consistency in their designs. These libraries offer a vast collection of pre-made objects and components, providing inspiration and a solid foundation for design projects.
Exporting and sharing CAD files are essential steps in collaborating with clients, colleagues, and manufacturers. By choosing appropriate file formats and sharing methods, designers can effectively communicate their designs and gather feedback from stakeholders.
In conclusion, CAD technology has transformed the architecture and design industries, empowering designers and engineers to create innovative and precise designs. By mastering CAD software, designers can unlock a world of possibilities, ensuring productivity, accuracy, and effective collaboration throughout the design process.
So, embrace the power of CAD, immerse yourself in the creative process, and continue exploring the endless potential it offers. Happy designing!
Frequently Asked Questions about How To Use CAD
Was this page helpful?
At Storables.com, we guarantee accurate and reliable information. Our content, validated by Expert Board Contributors, is crafted following stringent Editorial Policies. We're committed to providing you with well-researched, expert-backed insights for all your informational needs.


0 thoughts on “How To Use CAD”