Home>diy>Building & Construction>How To Build A Pier Foundation

Building & Construction
How To Build A Pier Foundation
Modified: December 7, 2023
Learn the step-by-step process of building a pier foundation for your construction project. Find expert tips and techniques for building construction.
(Many of the links in this article redirect to a specific reviewed product. Your purchase of these products through affiliate links helps to generate commission for Storables.com, at no extra cost. Learn more)
Introduction
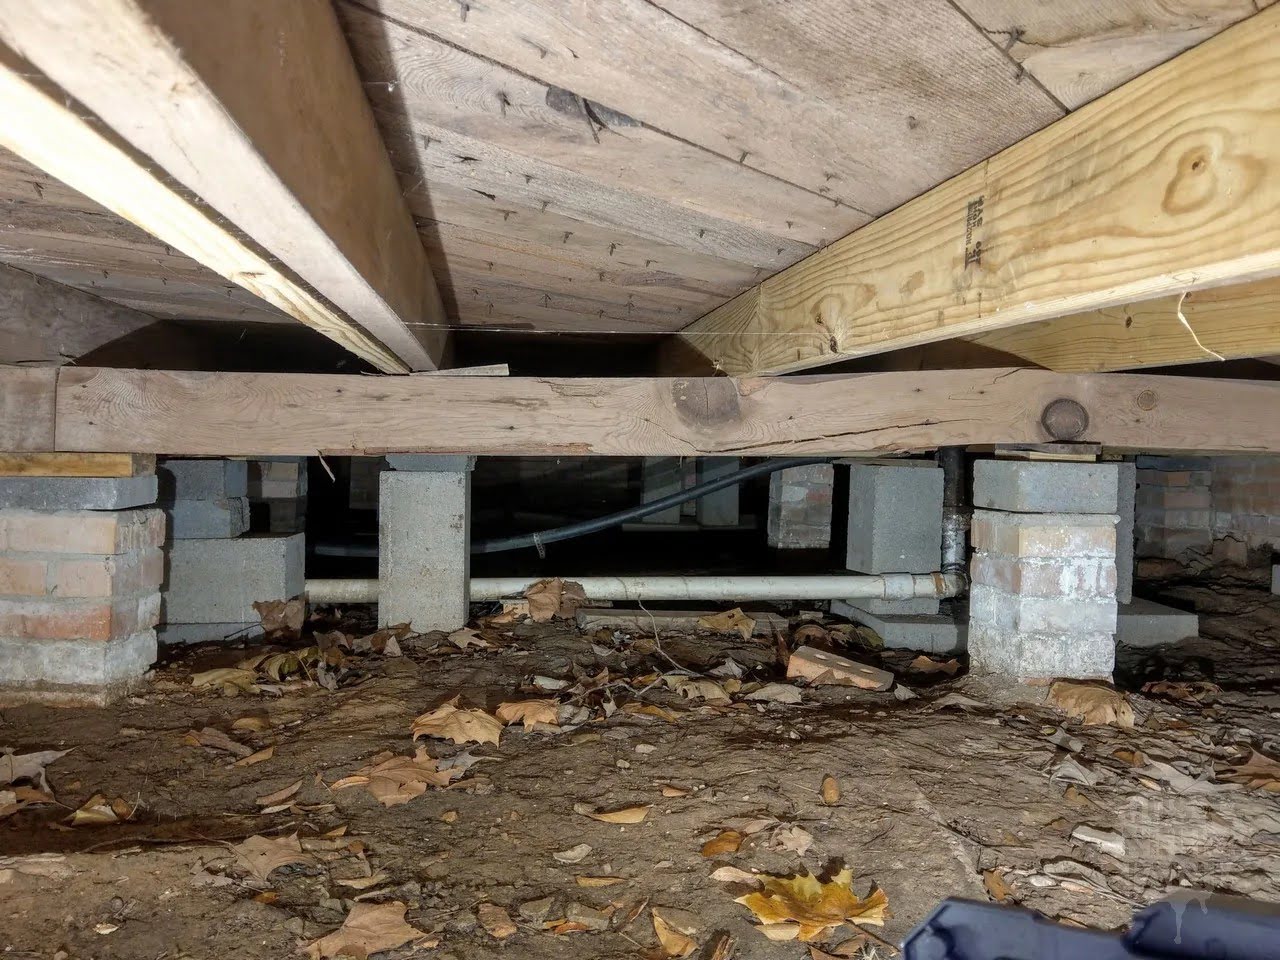
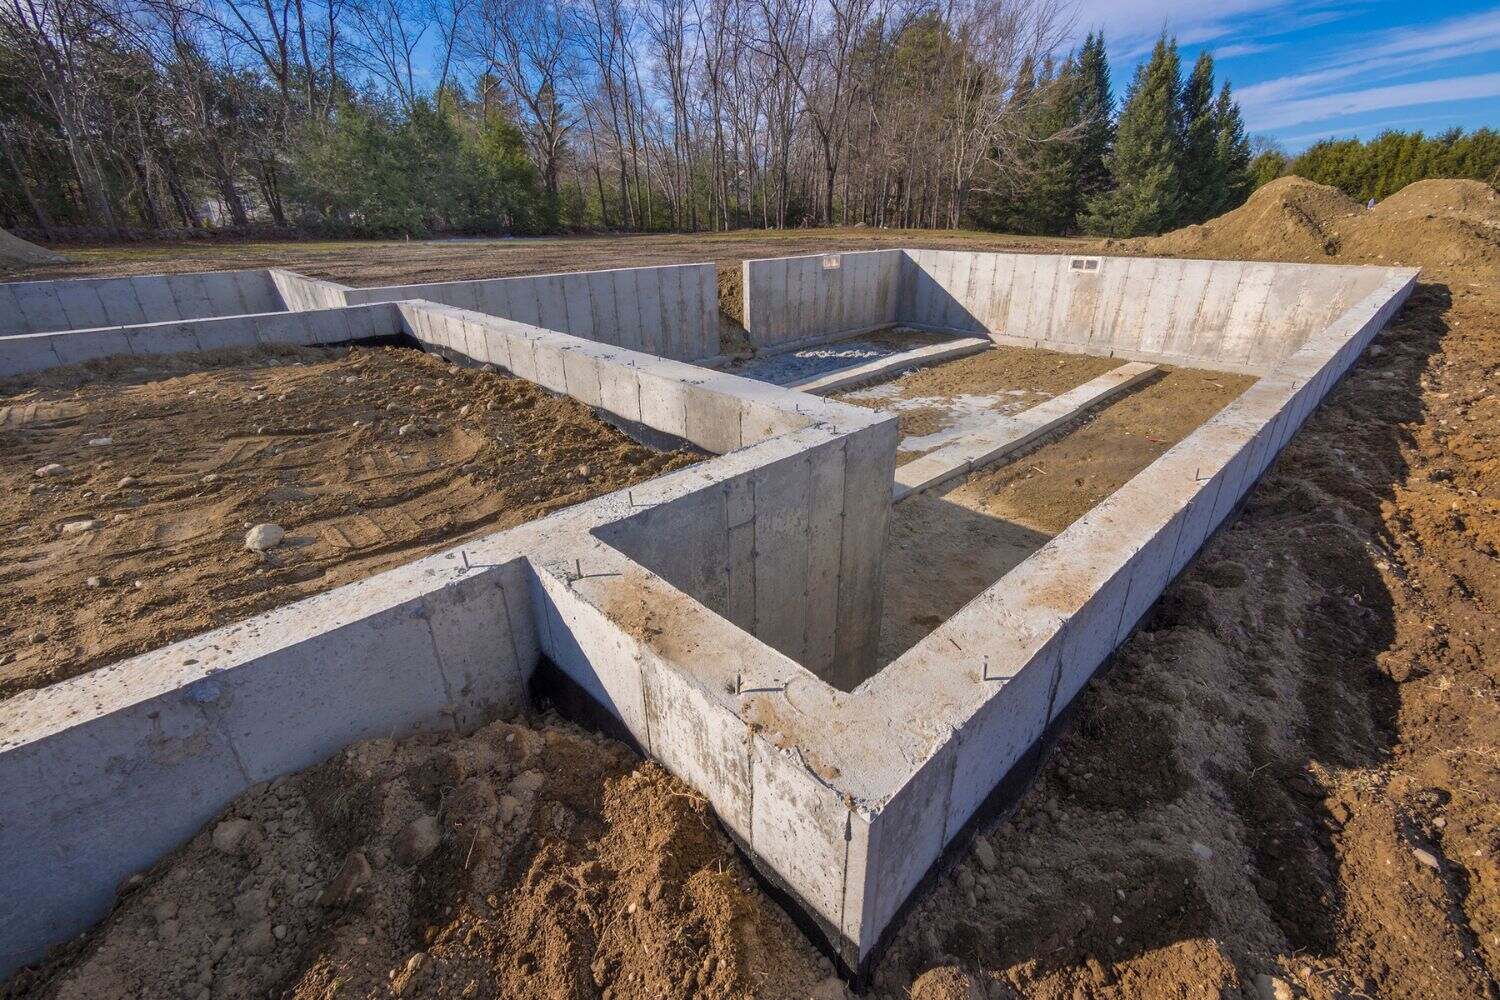
Building construction is a complex process that requires careful planning and execution. One key aspect of construction is the foundation, which provides stability and support to the entire structure. Among the various types of foundations, a pier foundation is a popular choice for buildings constructed on unstable or uneven ground.
A pier foundation consists of individual piers that are strategically placed to distribute the weight of the structure to load-bearing soil or bedrock. This type of foundation is ideal for areas prone to flooding, expansive soils, or locations with high water tables.
In this article, we will guide you through the step-by-step process of building a pier foundation. We will discuss the materials and tools needed, as well as each stage of the construction process. By following this guide, you will be equipped with the knowledge to tackle your own pier foundation project with confidence.
Key Takeaways:
- Building a pier foundation involves meticulous site preparation, accurate layout marking, precise hole digging, and proper pouring and curing of concrete. Attention to detail at each step ensures a stable and durable foundation.
- Securing support beams, leveling the foundation, and adding bracing and cross beams are essential for enhancing the stability and strength of a pier foundation. Attention to finishing touches such as waterproofing and insulation further ensures a reliable foundation for the building.
Read more: How To Build Pier And Beam Foundation
Materials and Tools Needed
Before you begin building a pier foundation, it is important to gather all the necessary materials and tools. Here is a list of what you will need:
- Sonotubes or concrete form tubes
- Concrete mix
- Rebar or reinforcing mesh
- Gravel
- Footings
- Support beams
- Leveling tools
- Shovel
- Wheelbarrow
- Tape measure
- Hammer
- Drill
- Pliers
- Bracing material
- Saw
- Safety goggles
- Gloves
- Protective clothing
Make sure to gather all the materials and tools before starting the construction process. This will ensure smooth progress and prevent any delays or interruptions.
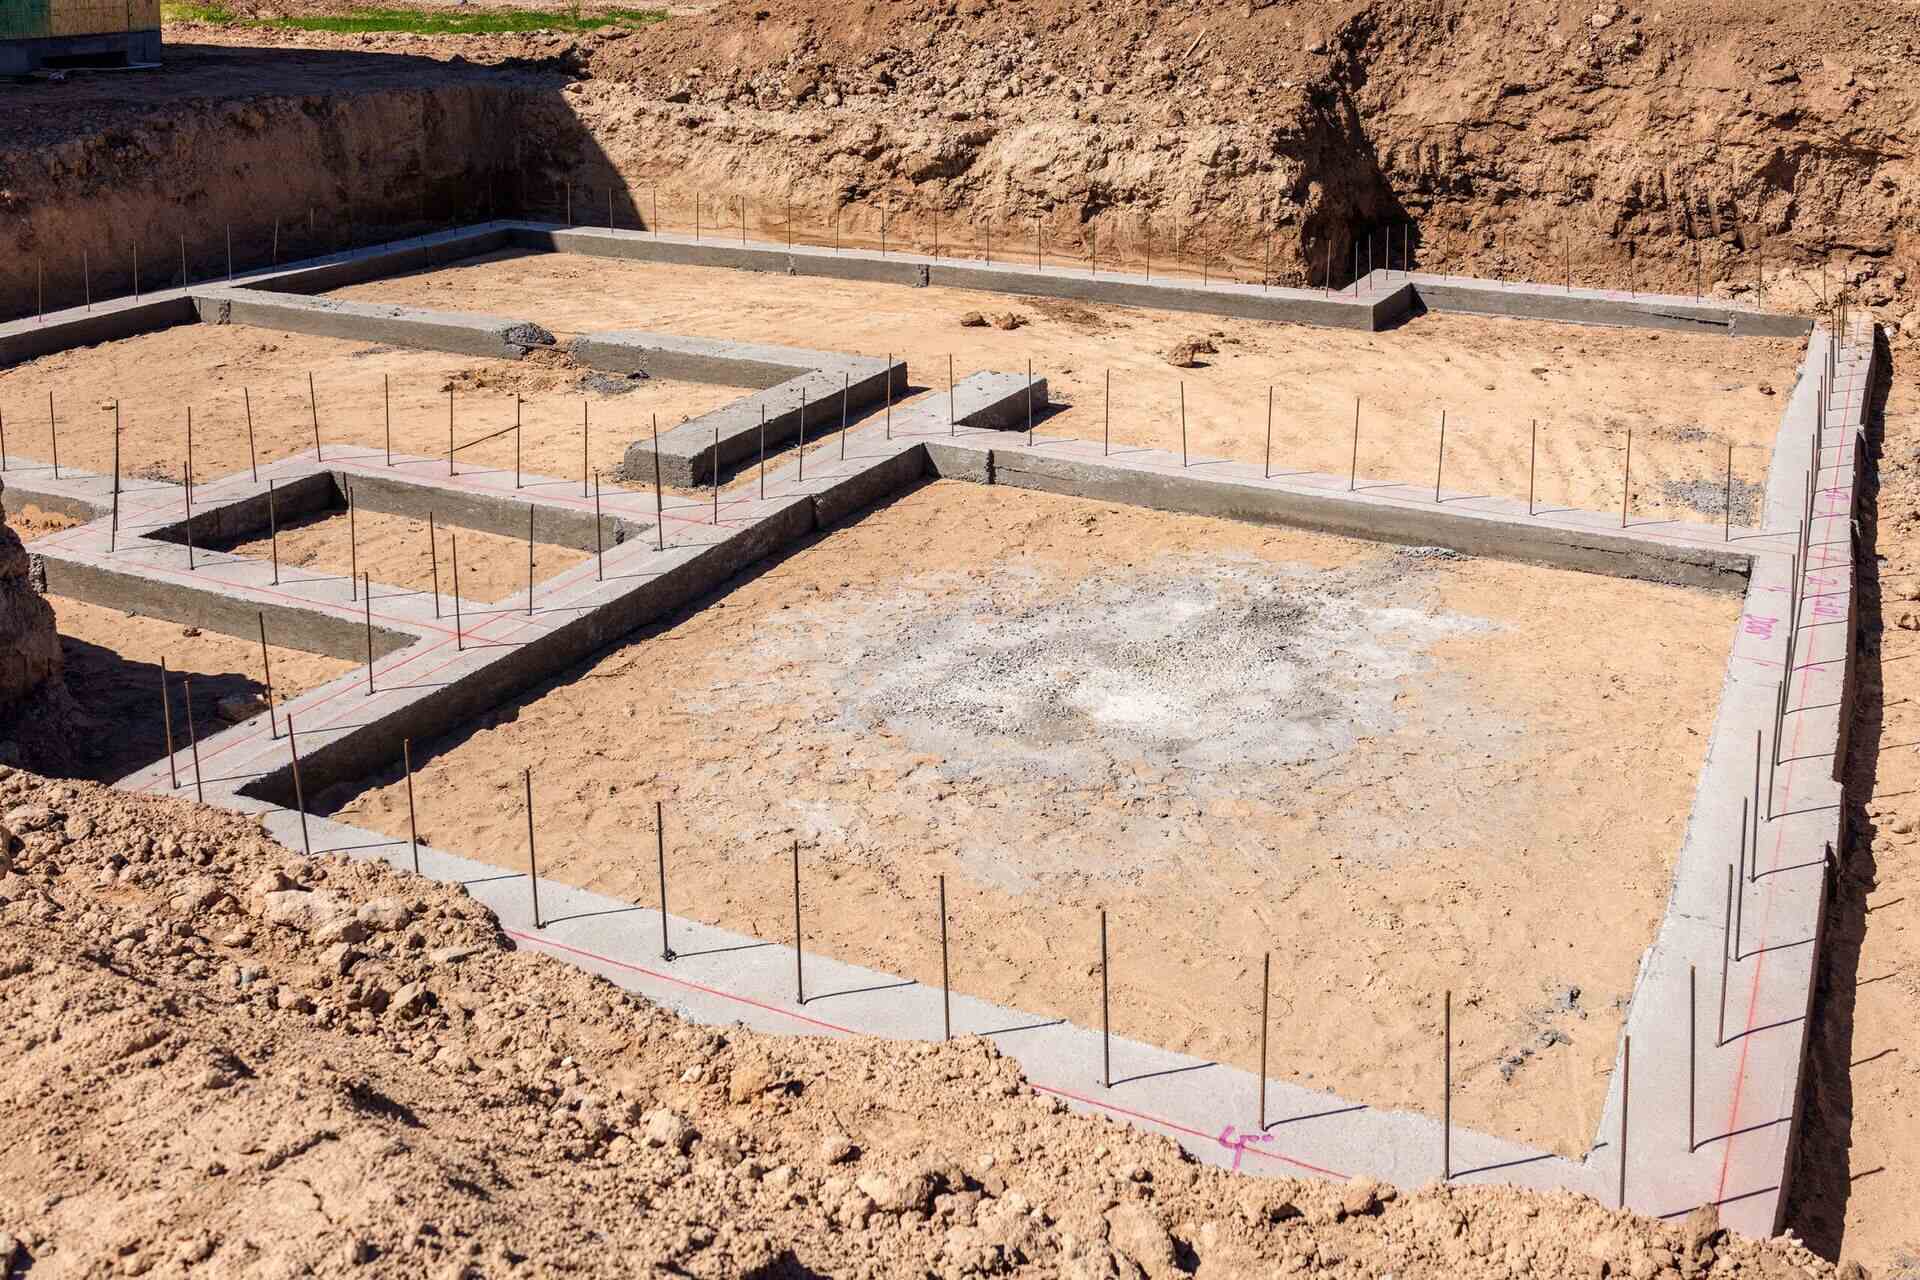
Step 1: Site Preparation
The first step in building a pier foundation is preparing the site. Here’s what you need to do:
- Clear the area: Remove any vegetation, debris, or obstacles from the construction site. This will provide a clear and level surface for the foundation.
- Check for utilities: Before digging, check for the presence of underground utilities such as water pipes, electrical lines, or gas lines. Contact your local utility companies to mark the locations to prevent any accidents or damage during the excavation process.
- Excavate the area: Use a shovel or excavator to dig holes where each pier will be located. The depth and diameter of the holes will depend on the specific requirements of your structure and the soil conditions. Refer to your engineering plans or consult a professional for guidance.
- Level the ground: Use a level tool to ensure the excavated area is flat and even. This will help in achieving a stable and uniform foundation.
- Compact the soil: Use a compactor or tamper to firmly compact the soil at the bottom of the holes. This will provide a solid base for the piers.
By thoroughly preparing the construction site, you will create a solid foundation for the pier installation process. This will contribute to the overall stability and longevity of your building.
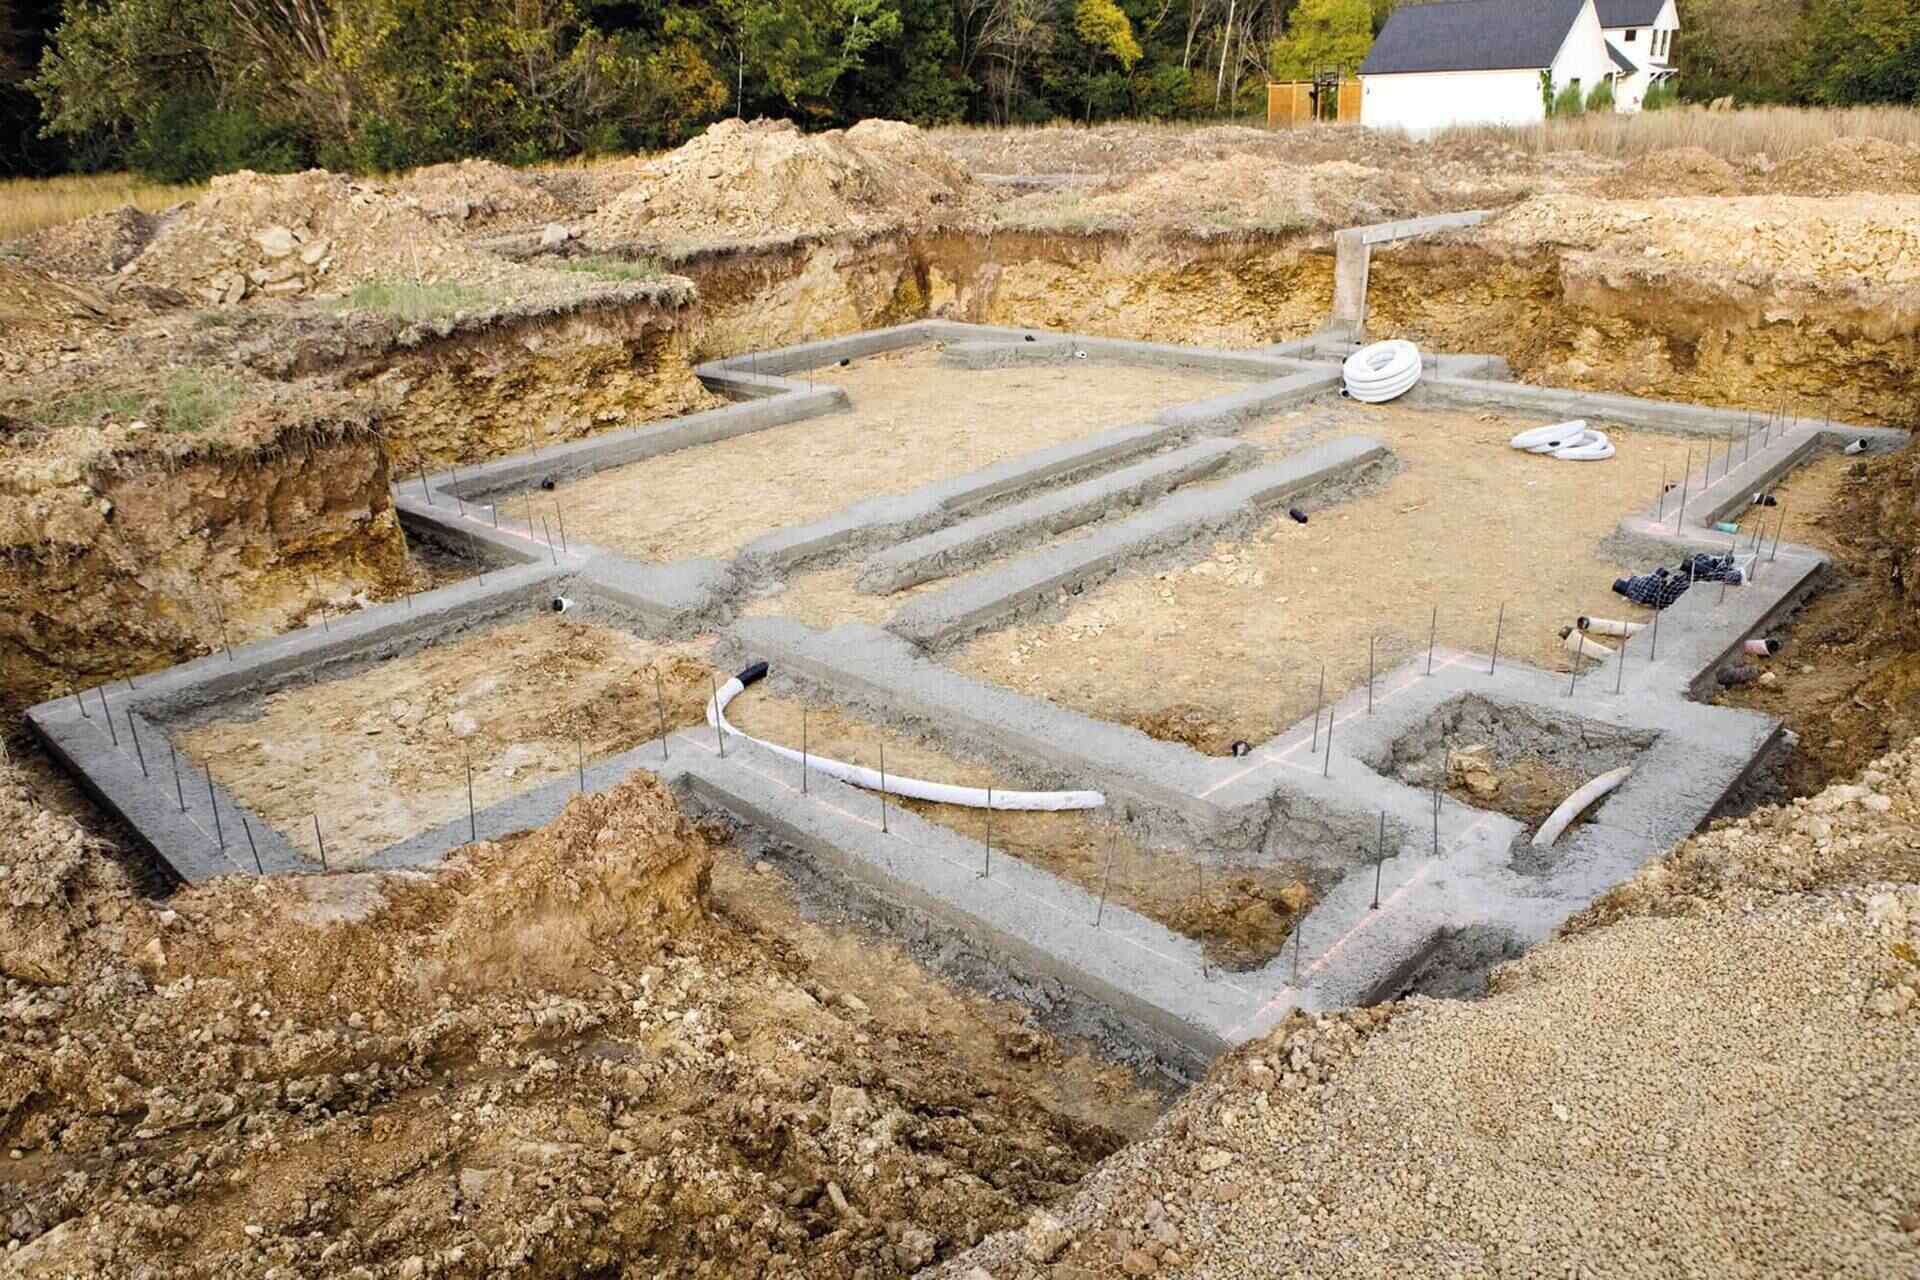
Step 2: Marking the Foundation Layout
Once the site preparation is complete, the next step is to mark the layout of your pier foundation. This involves determining the exact placement of each pier. Here’s how to do it:
- Refer to your building plans: Review your construction blueprints to identify the locations and dimensions of each pier. This will ensure accuracy and consistency throughout the process.
- Measure and mark the locations: Use a tape measure and stakes to mark the center points of each pier hole. Measure the distance between each pier, ensuring it matches the required spacing outlined in your building plans.
- Use a string or chalk line: Connect the marked stakes with a string or use a chalk line to create clear lines that represent the outer edges of the foundation. This will serve as a visual guide for digging the holes and installing the piers.
- Double-check the layout: Before proceeding to the next step, double-check the accuracy of your layout by measuring the distances between each pier and verifying that the lines are straight and aligned with the building plans.
Accurate marking of the foundation layout is crucial for ensuring the stability and structural integrity of your pier foundation. Take your time during this step to avoid any errors that can affect the rest of the construction process.
Step 3: Digging the Holes
With the foundation layout marked, it’s time to start digging the holes for the piers. Here’s how you can do it:
- Start with the first hole: Begin by digging the first hole according to the marked center point on the site. Use a shovel or an excavator to carefully remove the soil.
- Pay attention to depth: Dig the hole to the specified depth outlined in your building plans or as advised by a structural engineer. This depth will depend on factors such as the soil composition, load-bearing capacity, and the height of the structure.
- Maintain consistent diameter: Ensure that the hole has a consistent diameter throughout its depth. This will allow for proper placement of the Sonotubes or concrete form tubes.
- Repeat for remaining holes: Move on to the next hole and repeat the digging process. Use the marked stakes and string/chalk lines as references to maintain accurate spacing and alignment.
- Inspect the holes: After digging each hole, carefully inspect them for proper depth and diameter. Remove any loose soil or debris from the holes to ensure a clean and solid foundation.
It’s important to take your time and be precise while digging the holes. The accuracy of the hole dimensions and placement will directly impact the stability and performance of the pier foundation.
Read more: How Many Piers For Shed Foundation
Step 4: Inserting Sonotubes
Once the holes are dug, the next step is to insert Sonotubes or concrete form tubes into each hole. These tubes will create the molds for the piers. Here’s how to proceed:
- Measure and cut the Sonotubes: Measure the height of each pier and cut the Sonotubes to the appropriate length. It’s essential to ensure that the tubes are long enough to reach the desired height of the piers.
- Place the Sonotubes in the holes: Carefully lower the Sonotubes into each hole, ensuring they are centered and aligned with the marked layout. Use a level to ensure the tubes are vertical and plumb.
- Secure the Sonotubes: Use wooden stakes or supports to hold the Sonotubes in place. This will prevent them from shifting or collapsing during the concrete pouring process. Make sure the tubes are stable and level.
- Seal the bottom of the Sonotubes: To prevent the concrete from leaking or seeping out of the bottom, seal the bottom of the Sonotubes using tape or a waterproofing compound.
By inserting Sonotubes into the holes, you create a temporary formwork that will define the shape and size of the piers. These tubes provide a smooth surface for pouring the concrete and ensure consistent dimensions throughout the pier construction.
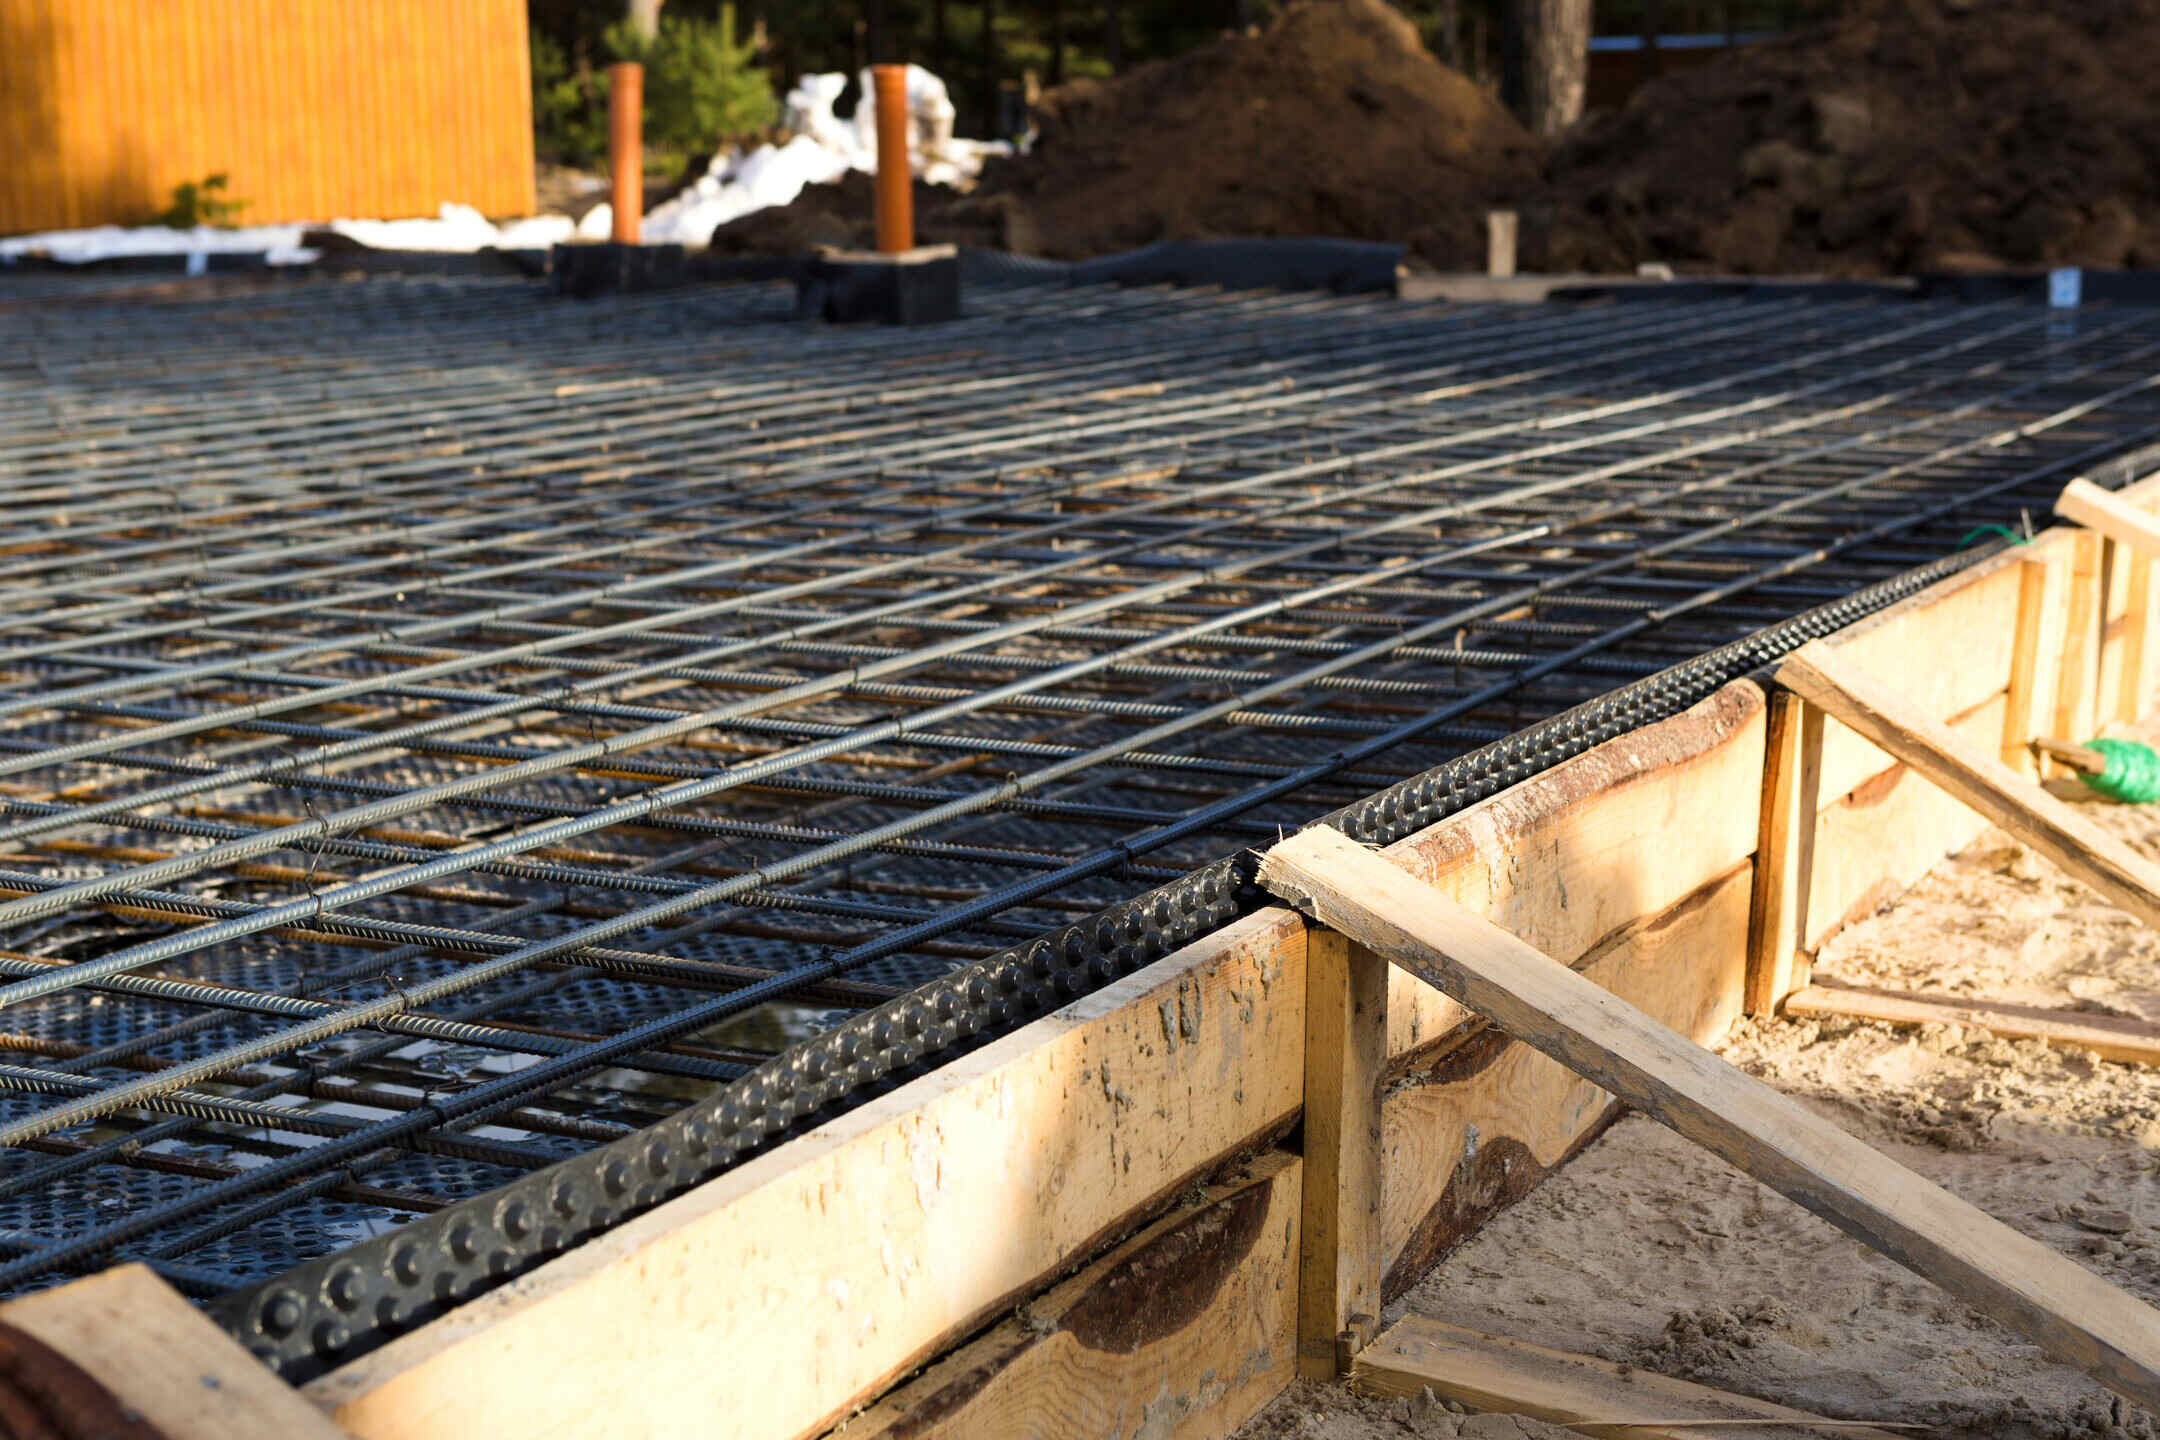
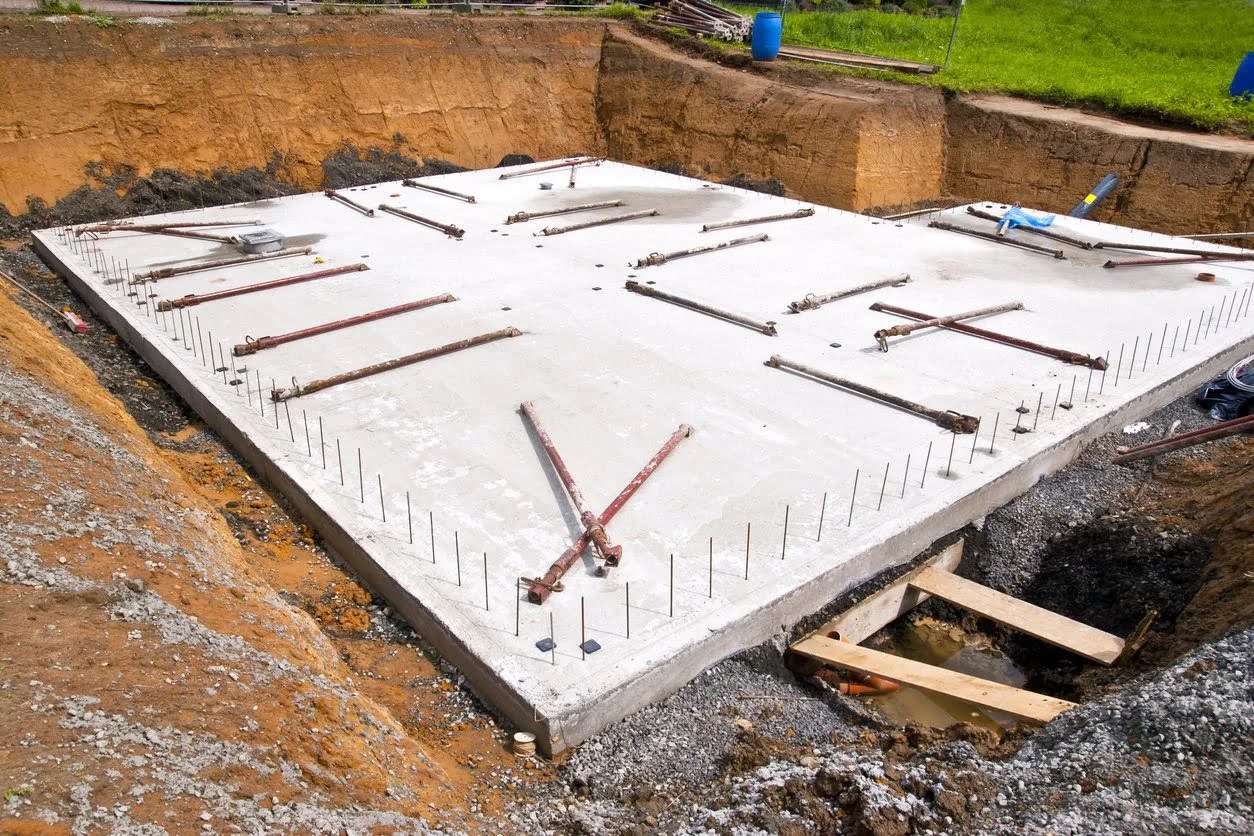
Step 5: Pouring Concrete into Sonotubes
After the Sonotubes are securely in place, it’s time to pour the concrete into each tube to form the piers. Follow these steps to ensure a successful pour:
- Prepare the concrete mix: Follow the manufacturer’s instructions to mix the concrete. Use the appropriate ratio of cement, sand, and aggregate, and add water gradually until you achieve a workable consistency.
- Start pouring the concrete: Begin pouring the concrete into the first Sonotube, filling it up gradually. Use a shovel or a wheelbarrow to transfer the concrete into the tube, being careful not to spill any outside the tube.
- Consolidate the concrete: Use a rod or a vibrator to consolidate the concrete and remove any air pockets. This will ensure the strength and integrity of the piers. Continue pouring and consolidating until each Sonotube is filled to the desired height.
- Smooth the surface: Use a trowel to level and smooth the surface of the poured concrete. This will create a neat and even finish.
- Cure the concrete: Allow the concrete to cure and harden according to the manufacturer’s instructions. This usually involves keeping the concrete moist and protected from extreme weather conditions for a specified period.
Proper pouring and curing of the concrete is crucial for the strength and stability of the piers. Following these steps will ensure that the piers are solid, durable, and capable of supporting the weight of the building.
When building a pier foundation, make sure to properly compact the soil before pouring concrete to ensure a stable and durable foundation.
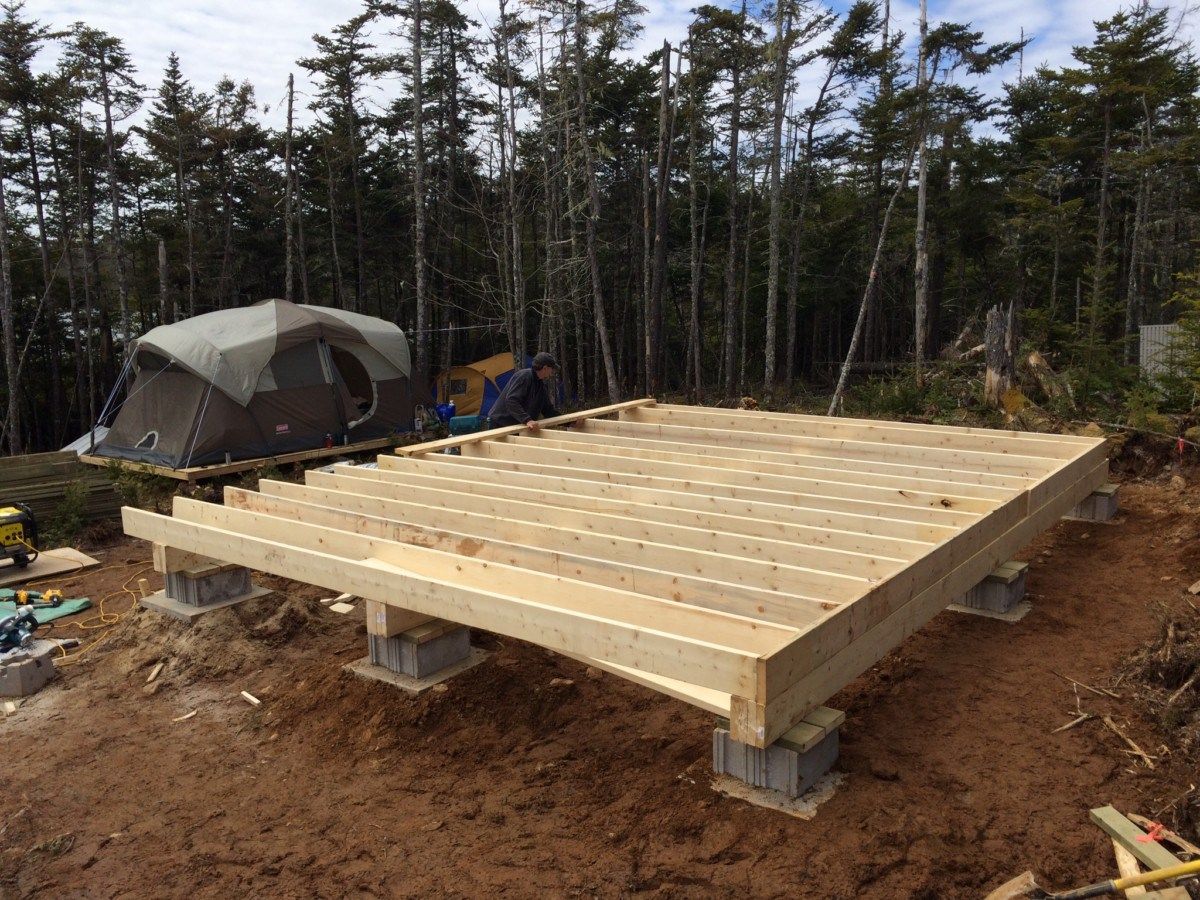
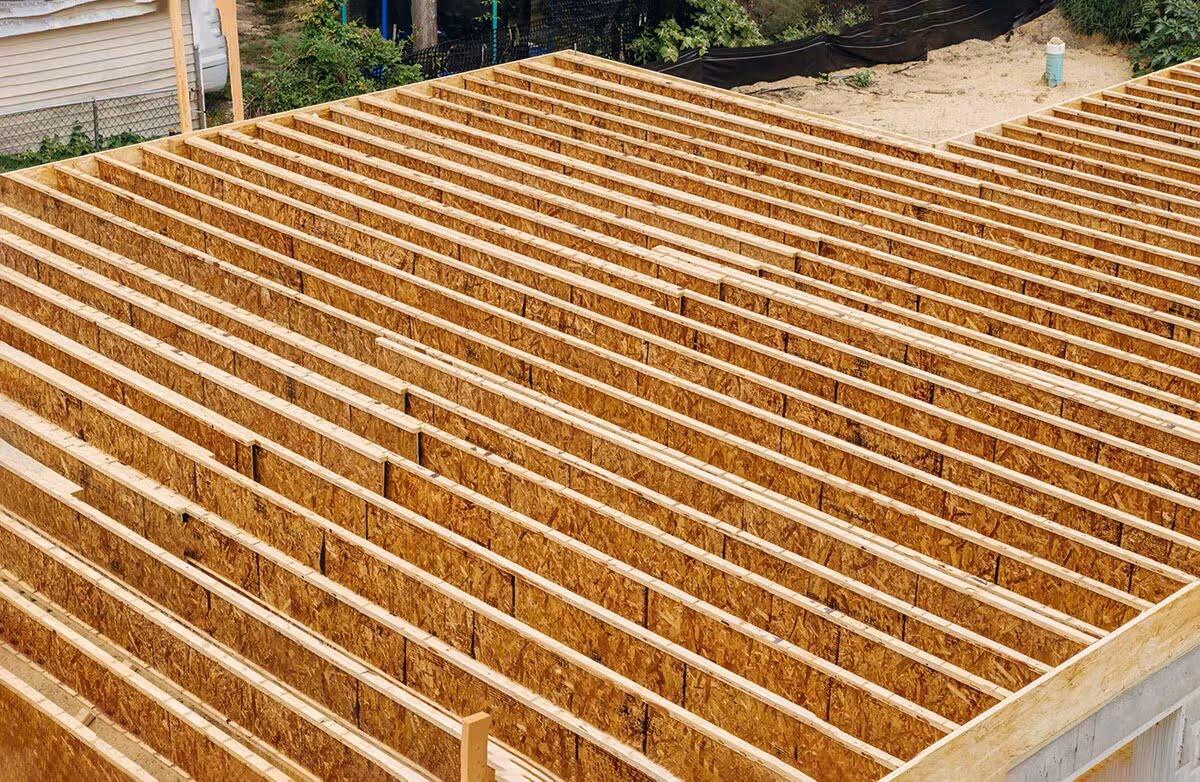
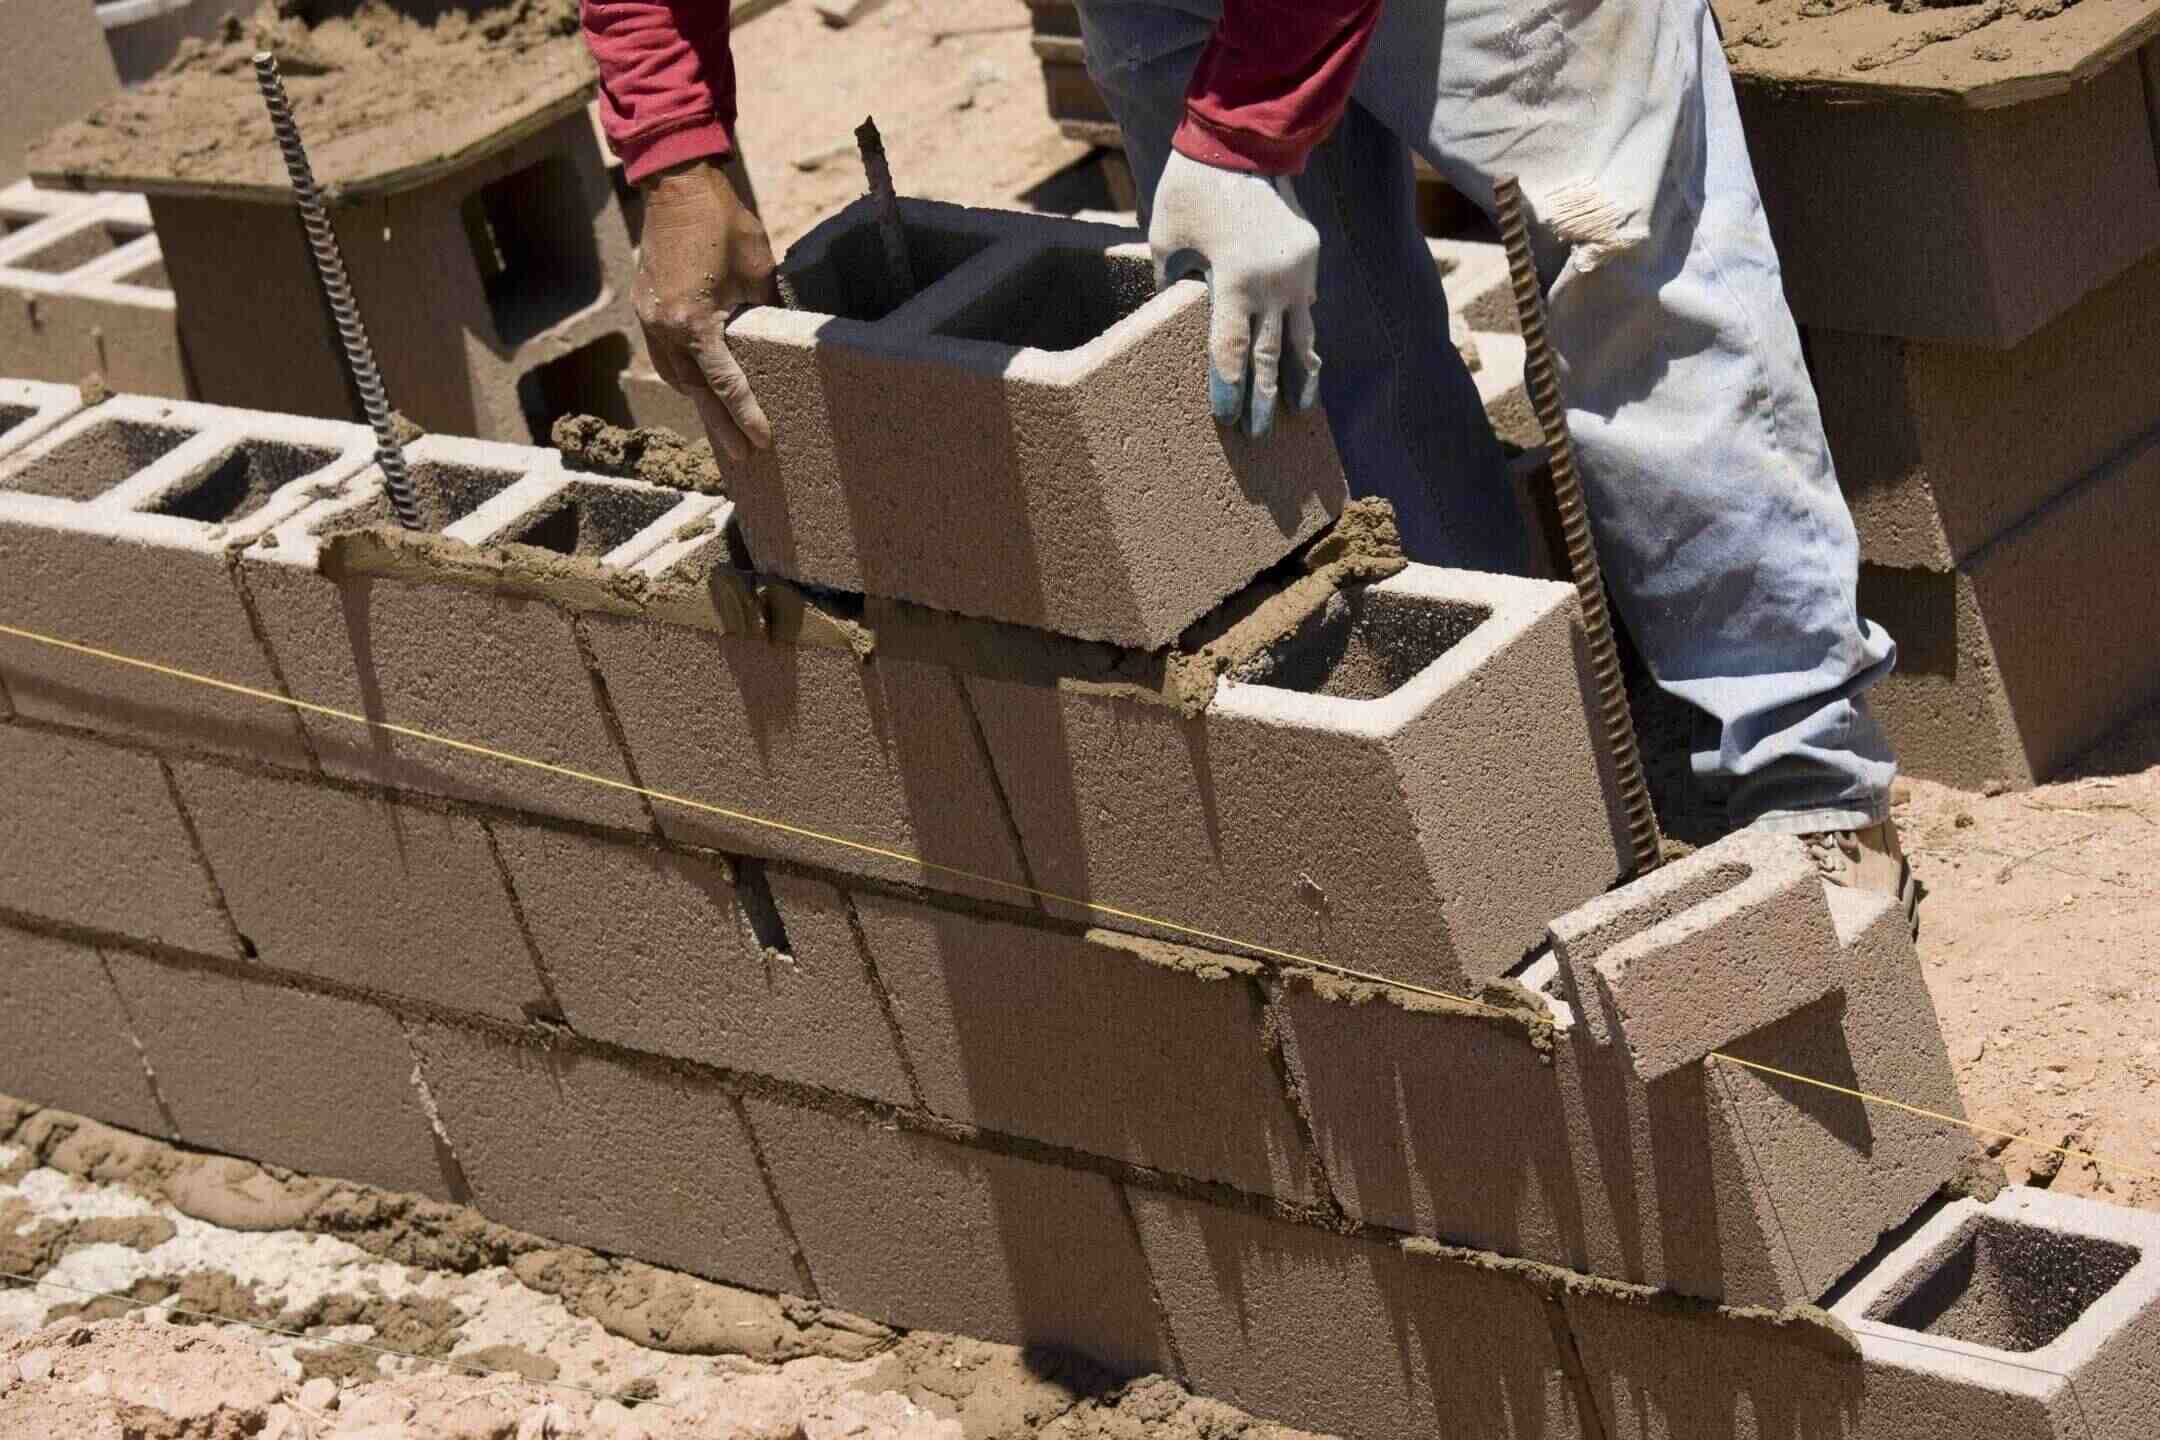
Step 6: Installing Footings and Support Beams
With the piers in place, it’s time to install the footings and support beams that will provide additional stability and distribute the load across the foundation. Follow these steps to properly install the footings and support beams:
- Measure and cut the footings: Measure the distance between each pier and cut the footings to the appropriate length. These footings will rest on top of the piers and serve as a base for the support beams.
- Place the footings: Carefully place the footings on top of the piers, ensuring they are centered and aligned with the piers. Use a level to ensure the footings are level and flat.
- Attach the support beams: Place the support beams on top of the footings, perpendicular to the direction of the building. Use brackets, anchors, or bolts to secure the support beams to the footings.
- Check for levelness: Use a level to ensure that the support beams are level and aligned. Make any necessary adjustments to achieve a level and balanced foundation.
- Consider additional support: Depending on the size and load requirements of the structure, you may need to install additional support beams or braces to enhance the stability of the foundation.
The installation of footings and support beams is crucial for the overall strength and stability of the pier foundation. Take the time to ensure proper alignment, levelness, and secure attachment to guarantee a solid and reliable foundation for your building.
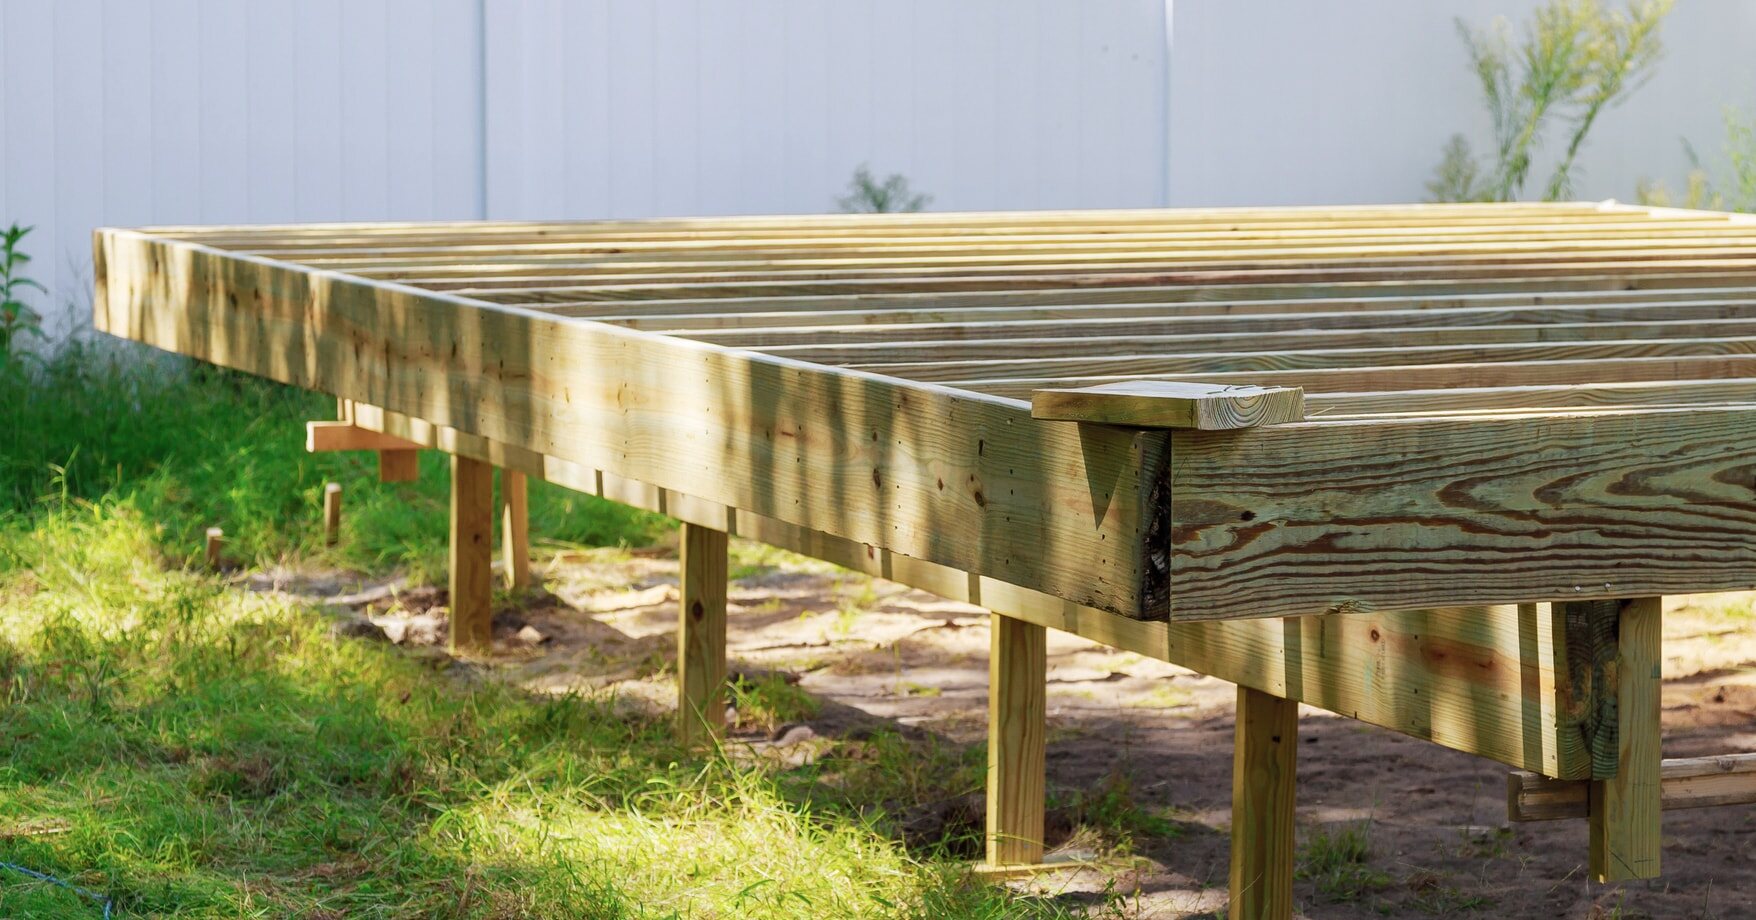
Step 7: Securing the Support Beams
Once the support beams are in place, the next step is to secure them to ensure the stability and integrity of the foundation. Follow these steps to properly secure the support beams:
- Use brackets or fasteners: Depending on the design of the support beams and the type of construction, you may need to use brackets or specialized fasteners to secure the support beams to the piers. Make sure to use the appropriate brackets or fasteners recommended for your specific project.
- Align and fasten the brackets: Align the brackets with the support beams and piers, ensuring a snug fit. Use screws, bolts, or nails to fasten the brackets securely. Make sure to follow the manufacturer’s instructions for proper installation.
- Tighten the fasteners: Once the brackets are in place, use a wrench or screwdriver to tighten the fasteners. This will ensure that the support beams are firmly and securely attached to the piers.
- Check for stability: After securing the support beams, check for any signs of movement or instability. Gently apply pressure to the beams and observe if there is any give or shifting. If necessary, recheck the alignment and fastening of the brackets to ensure a solid connection.
Properly securing the support beams is essential for the overall stability and strength of the foundation. Take the time to ensure a secure and reliable connection, as it will play a crucial role in the long-term performance of your building.
Read more: How To Repair Pier And Beam Foundation
Step 8: Leveling the Foundation
Ensuring that the foundation is level is crucial for the proper functioning of the structure and the distribution of weight. Follow these steps to level the foundation:
- Use a leveling tool: Use a spirit level or laser level to check the levelness of the foundation. Place the level on top of the support beams and check for any discrepancies.
- Adjust the support beams: If the foundation is not level, use shims or adjustable supports to make necessary adjustments to the height of the support beams. This will help in achieving a level foundation.
- Recheck the level: After making adjustments, recheck the levelness of the foundation. Continue to adjust as needed until the foundation is perfectly level.
- Ensure stability: Along with levelness, ensure that the foundation is stable and there are no signs of movement or shifting. This can be achieved by inspecting the connections between the support beams and the piers and reinforcing them if necessary.
A level foundation is essential for the long-term stability and structural integrity of the building. Take the time to meticulously level the foundation, as it will have a significant impact on the overall performance and lifespan of the structure.
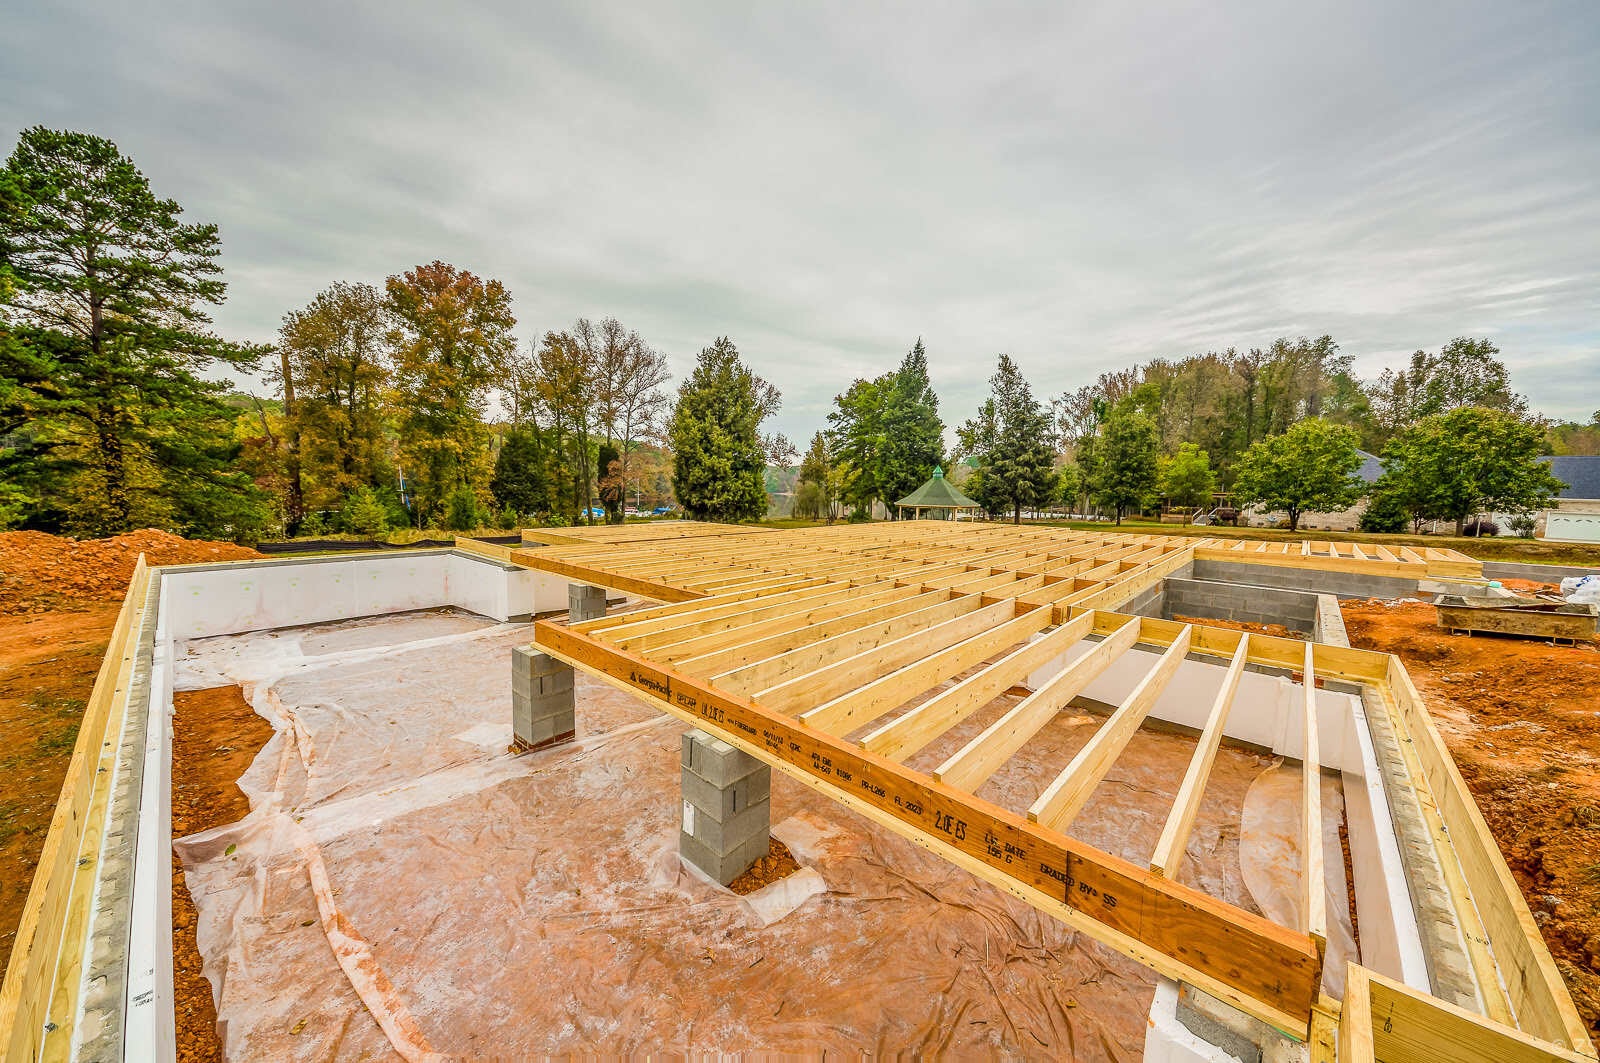
Step 9: Adding Bracing and Cross Beams
In order to reinforce the stability and strength of the pier foundation, it is important to add bracing and cross beams. Follow these steps to properly install bracing and cross beams:
- Identify the areas needing bracing: Assess the structure and identify areas that may benefit from additional bracing. These are typically areas where there is an increased load or potential for lateral movement.
- Measure and cut the bracing material: Measure the distance between the support beams or other points of attachment for the bracing. Cut the bracing material to the appropriate length, ensuring a tight and secure fit.
- Attach the bracing: Use brackets or hardware designed for bracing purposes, follow the manufacturer’s instructions to attach the bracing to the support beams. Ensure that the bracing is aligned correctly and securely fastened.
- Install cross beams: Determine the appropriate locations for cross beams that will help distribute the load across the support beams. Measure and cut the cross beams to the required length and attach them securely to the support beams.
- Double-check the installation: Once the bracing and cross beams are installed, double-check the alignment, stability, and overall strength. Make any necessary adjustments or improvements as needed.
Properly adding bracing and cross beams will enhance the structural integrity of the pier foundation, providing additional support and resistance against lateral forces. This will ensure the stability and durability of the overall building structure.
Step 10: Finishing Touches
With the main construction of the pier foundation complete, it’s time to focus on the finishing touches to ensure a durable and long-lasting foundation. Here are some key steps to consider:
- Inspect for any gaps or cracks: Carefully examine the foundation for any gaps or cracks that may have formed during the construction process. Fill in any voids with appropriate filler material and seal any cracks with a high-quality sealant to prevent moisture infiltration.
- Apply waterproofing: To protect the foundation from water damage, consider applying a waterproofing membrane or coating. This will help to keep the foundation dry and prevent moisture-related issues in the future.
- Consider insulation: If the building will have below-grade areas, such as basements or crawl spaces, consider adding insulation to the foundation walls to improve energy efficiency and temperature regulation.
- Perform final leveling: Check the levelness of the foundation once again and make any minor adjustments if needed. It’s important to ensure that the foundation is completely level before proceeding with the construction of the superstructure.
- Prepare for the superstructure: If you’re planning to build upon the foundation immediately, ensure that it is ready for the next stage of construction. Clear any debris, ensure proper drainage is in place, and make any necessary preparations for the superstructure installation.
These finishing touches will enhance the overall quality and functionality of the pier foundation, preparing it for the successful construction of the building above. Take the time to address these details to ensure a solid and reliable foundation for your structure.
Conclusion
Building a pier foundation requires careful planning, attention to detail, and a solid understanding of the construction process. By following the step-by-step guide outlined in this article, you can create a strong and reliable foundation for your building.
From site preparation to pouring concrete, installing support beams, and adding finishing touches, each step plays a crucial role in ensuring the stability and longevity of the foundation. By properly executing each stage, you can minimize the risk of structural issues and create a solid base for your building.
Remember to consult relevant building codes and regulations, as well as seek input from professionals, such as engineers or contractors, to ensure that your pier foundation is designed and constructed according to industry standards.
A well-built pier foundation not only provides stability and support to your structure but also protects it from common issues such as settling, soil movement, and moisture damage. It is an investment that will give you peace of mind and a strong foundation for years to come.
So, whether you are constructing a new building or undertaking a foundation renovation, use this guide as a valuable resource to assist you in building a dependable and durable pier foundation.
Frequently Asked Questions about How To Build A Pier Foundation
Was this page helpful?
At Storables.com, we guarantee accurate and reliable information. Our content, validated by Expert Board Contributors, is crafted following stringent Editorial Policies. We're committed to providing you with well-researched, expert-backed insights for all your informational needs.

0 thoughts on “How To Build A Pier Foundation”