Home>diy>Building & Construction>How To Build A Wood Foundation
Building & Construction
How To Build A Wood Foundation
Modified: May 6, 2024
Learn the step-by-step process of building a wood foundation for your construction project. Our guide provides expert tips and techniques for successful building construction.
(Many of the links in this article redirect to a specific reviewed product. Your purchase of these products through affiliate links helps to generate commission for Storables.com, at no extra cost. Learn more)
Introduction
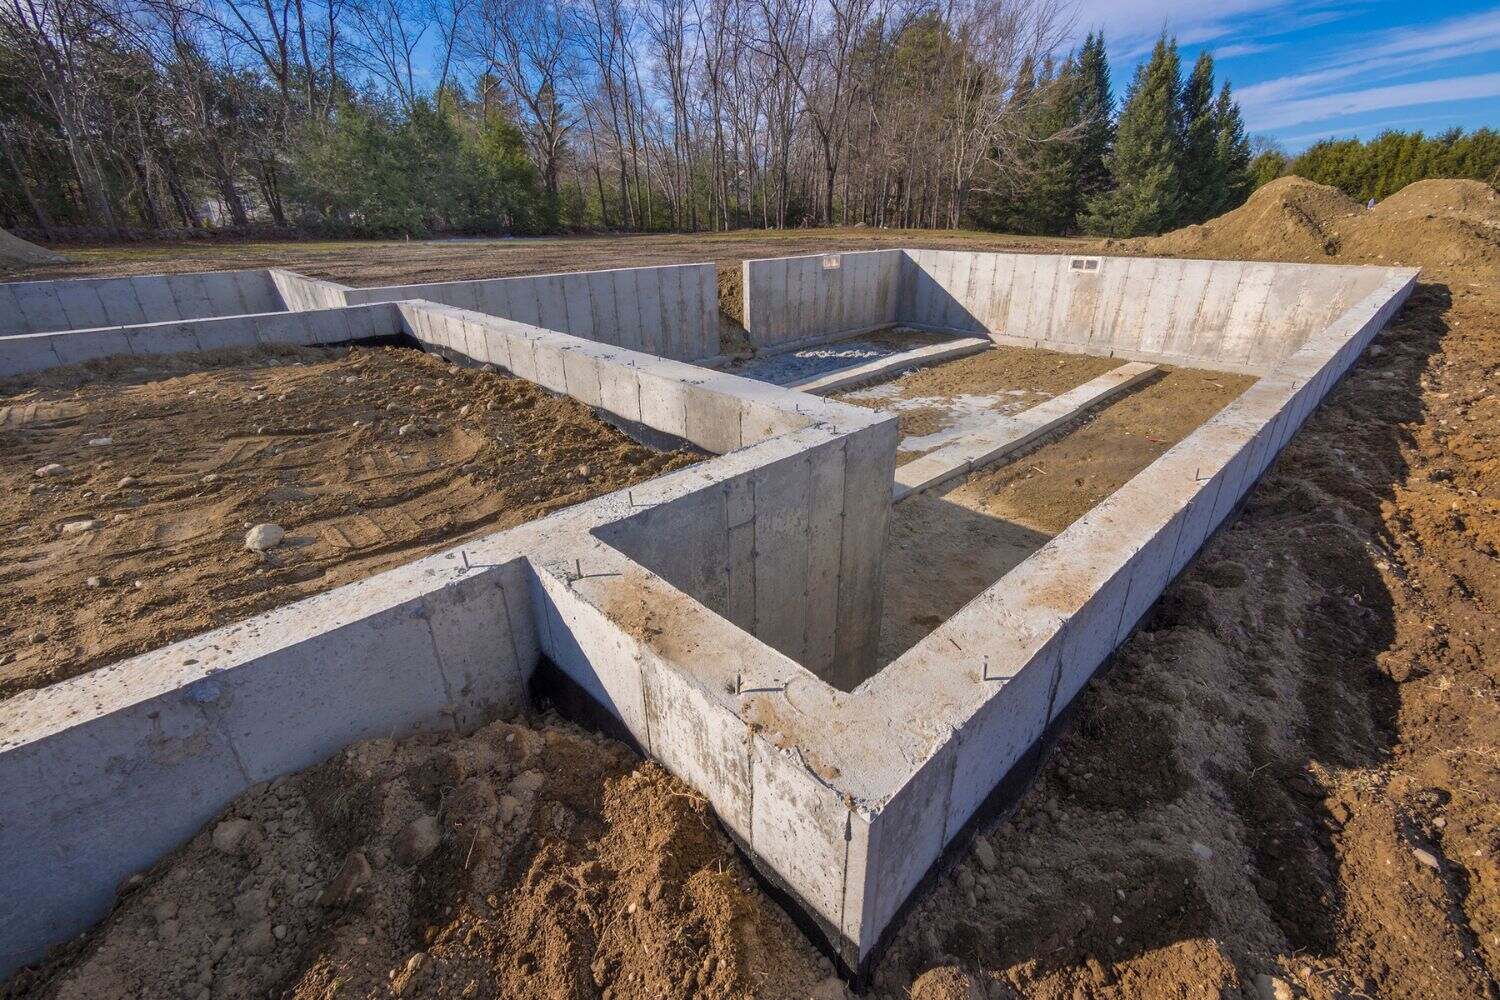
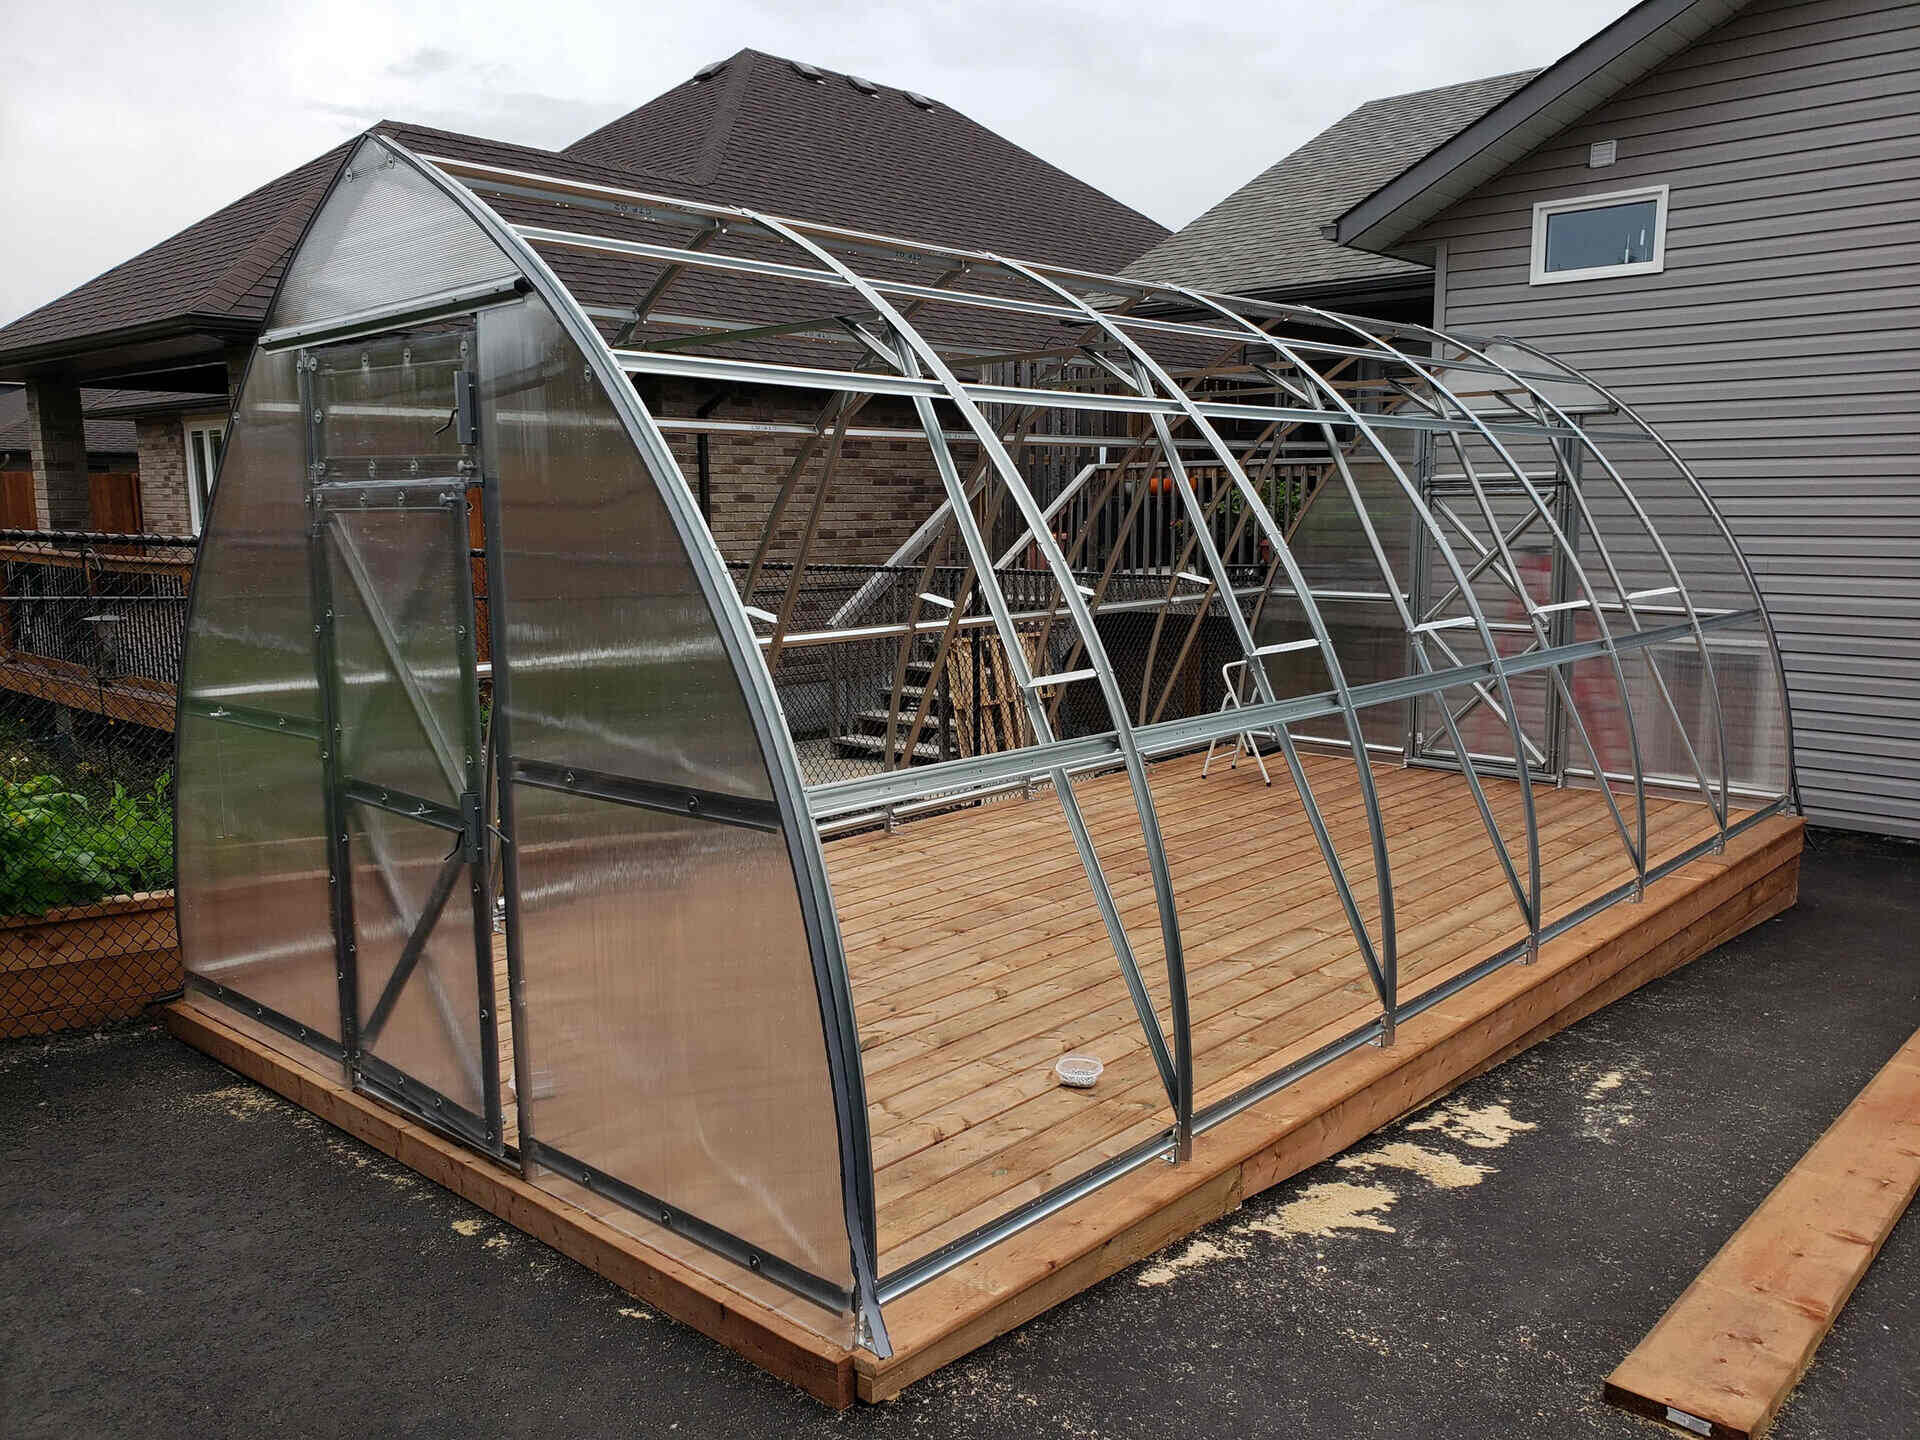
Building a wood foundation is an essential part of any construction project. A sturdy and reliable foundation provides the necessary support and stability for the entire structure. Whether you are constructing a shed, a deck, or even a small house, a well-built wood foundation is crucial to the structural integrity of the building.
While there are various types of foundations available, such as concrete or stone, a wood foundation offers several advantages. It is cost-effective, easy to construct, and provides excellent insulation properties. Additionally, wood foundations are more flexible, making them ideal for regions with unstable soil conditions.
In this article, we will walk you through the step-by-step process of building a wood foundation. We will guide you on the materials needed, site preparation, and the actual construction process. By following these instructions, you will be equipped with the knowledge and skills necessary to build a solid and reliable wood foundation.
Before we dive into the construction process, it is important to note that building codes and regulations may vary depending on your location. Therefore, it is crucial to consult with local authorities or a professional builder to ensure that you comply with all the necessary requirements.
Now, let’s gather our materials and get started building your wood foundation!
Key Takeaways:
- Building a wood foundation is a cost-effective and versatile option for construction projects. Proper site preparation, accurate measurements, and secure assembly are essential for a sturdy and reliable foundation.
- Consult local building codes and regulations, gather the necessary materials, and follow the step-by-step process to ensure a well-built wood foundation. Attention to detail and proper securing are crucial for long-term stability.
Read more: How To Build A Wood Foundation For A Shed
Materials Needed
Before you begin constructing your wood foundation, it’s important to gather all the necessary materials. Here is a list of the items you will need:
- Pressure-treated lumber: This type of wood is resistant to rot and decay, making it ideal for foundation construction. Choose lumber that is suitable for ground contact.
- Concrete mix: You will need this for setting the anchor posts in the ground.
- Gravel: For creating a stable base for your foundation.
- Anchor post brackets: These brackets will secure the anchor posts to the foundation panels.
- Screws or nails: Use these to attach the foundation panels, beams, and support braces.
- Tape measure: For accurate measurements during the construction process.
- Level: To ensure that your foundation is perfectly level.
- Shovel or excavator: For digging the holes and preparing the site.
- Hammer: Use it for driving nails or securing brackets.
- Circular saw or miter saw: For cutting the lumber to the desired lengths.
- Safety equipment: Don’t forget to wear gloves, safety goggles, and a dust mask while working.
It’s a good idea to double-check your materials list before starting the construction to ensure you have everything you need. This will help you avoid unnecessary delays during the building process.
Once you have gathered all the materials, you are ready to move on to the next step: site preparation.
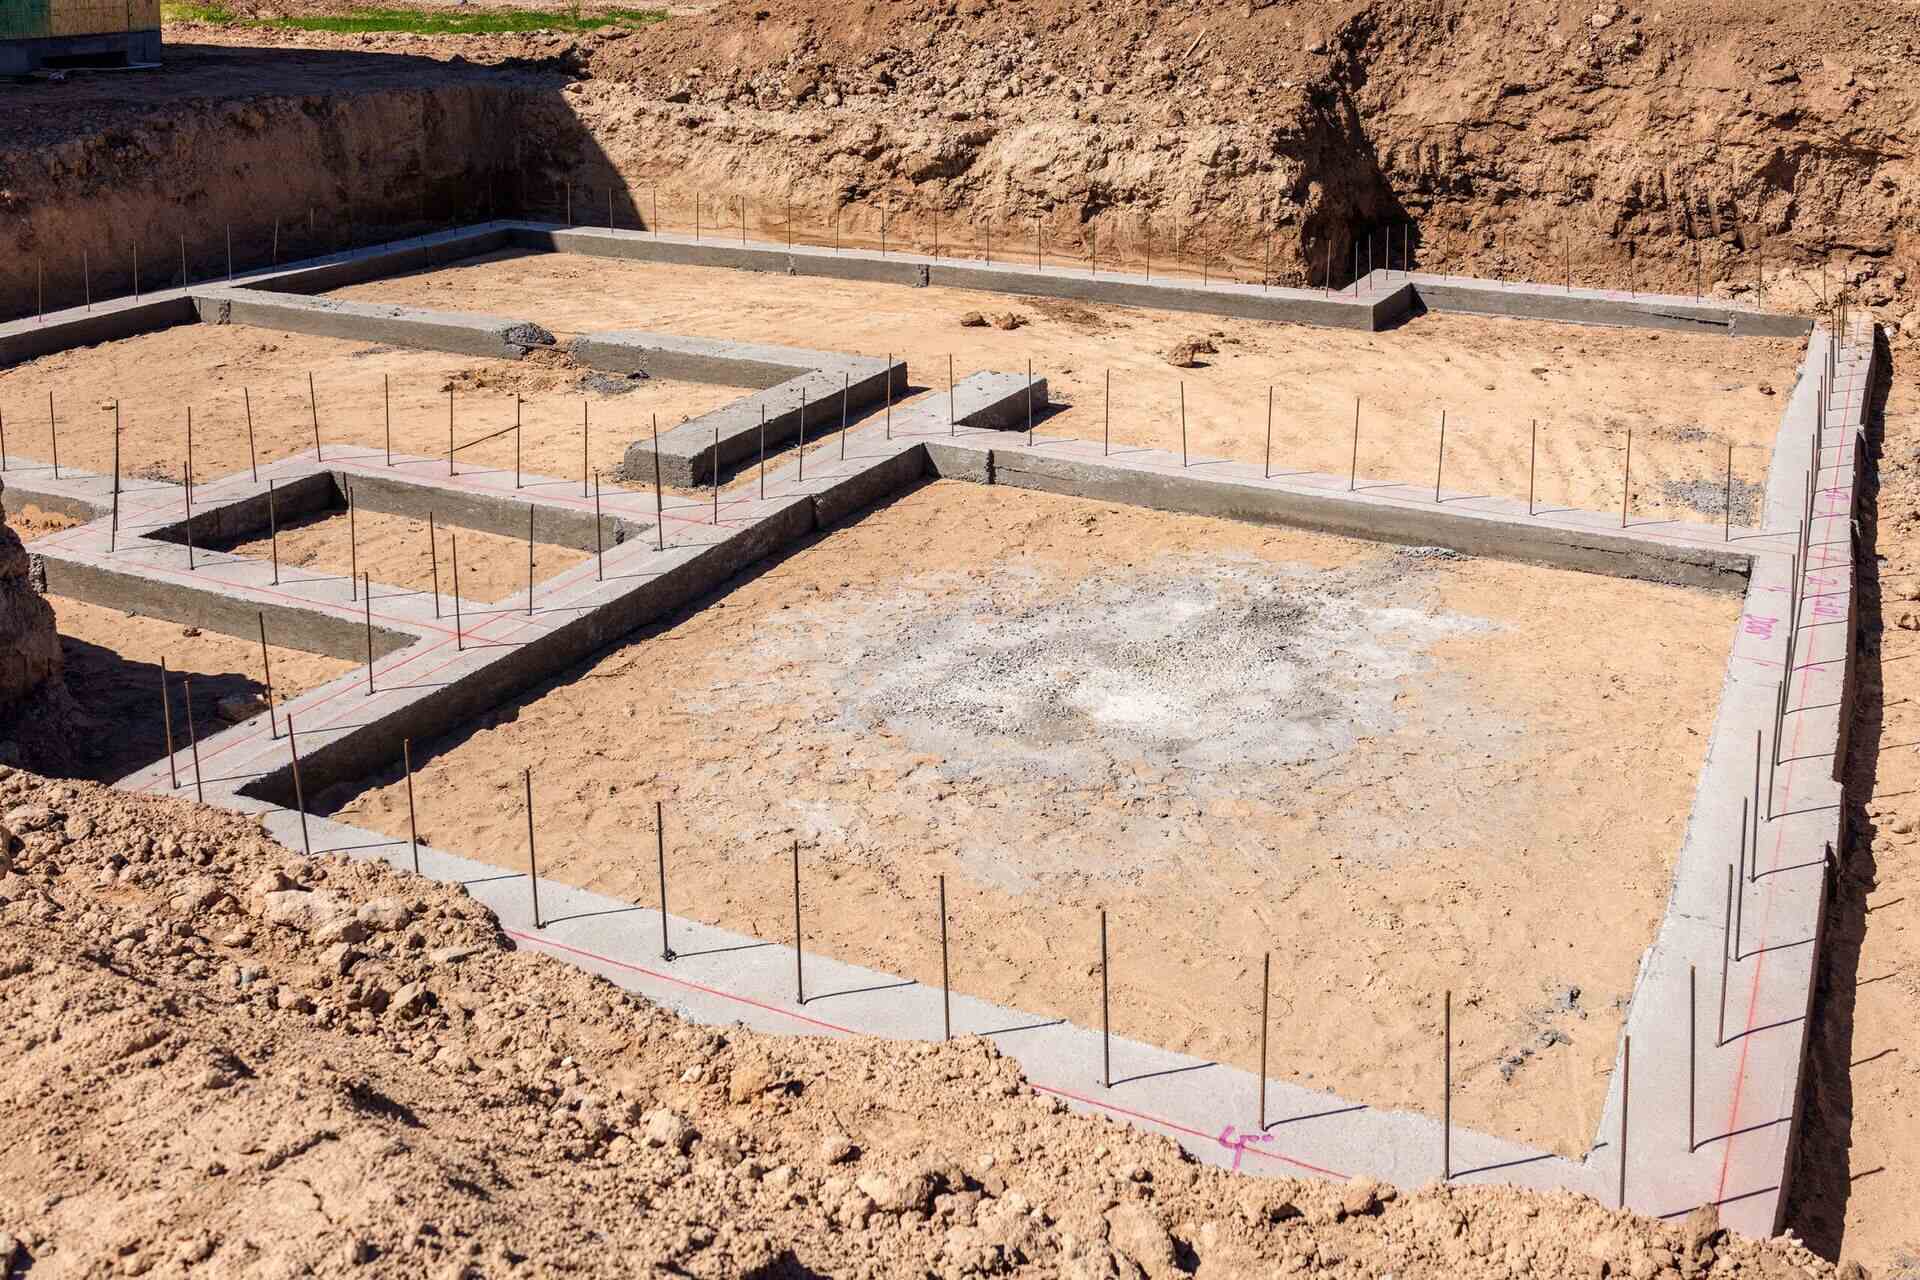
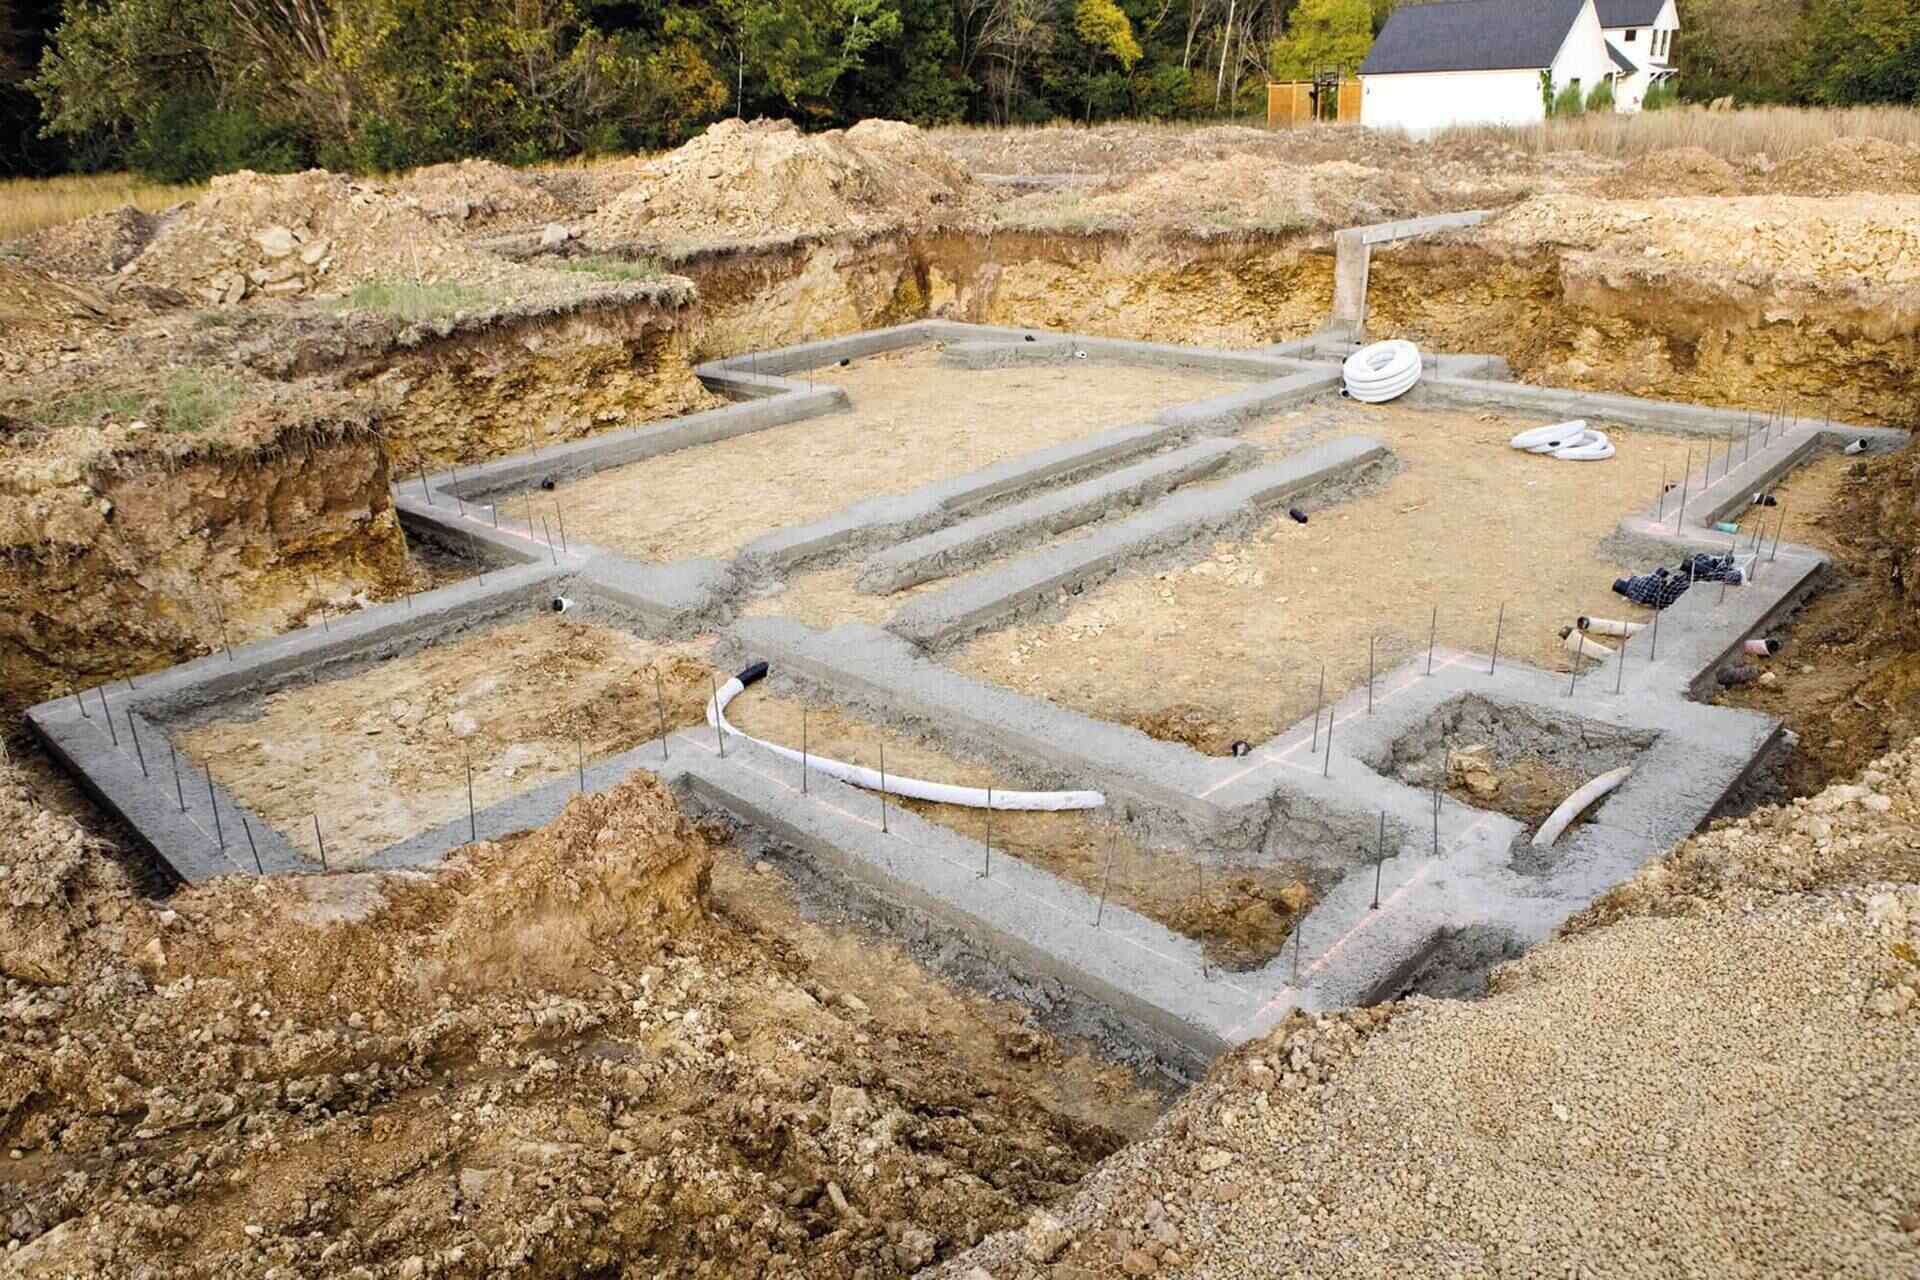
Step 1: Site Preparation
Before constructing the wood foundation, it is essential to properly prepare the site. Follow these steps to ensure a solid and level foundation:
- Survey the area: Start by surveying the area where you plan to build your foundation. Remove any obstacles such as rocks, debris, or vegetation that may hinder the construction process.
- Check for level ground: Make sure the ground is relatively level. If there are any uneven or sloping areas, you may need to level them using a shovel or an excavator.
- Mark the perimeter: Use stakes and string to mark the perimeter of your foundation. This will give you a clear visual guide and help you maintain the correct dimensions while constructing the foundation.
- Consider drainage: Evaluate the site’s drainage requirements. Ensure that the foundation is positioned in a way that water flows away from the structure to prevent any water damage or pooling.
- Check building codes: Before proceeding, check local building codes and regulations to ensure compliance. This step is crucial as it may dictate specific requirements for the foundation depth and the materials to be used.
By properly preparing the site, you create a solid base for your wood foundation. This step is essential for the longevity and stability of your construction project. Once the site is ready, you can move on to marking and measuring for the foundation construction.
Step 2: Marking and Measuring
After preparing the site for construction, the next step is to accurately mark and measure the dimensions of your wood foundation. This will ensure that your foundation is properly aligned and meets your specific requirements. Follow these steps to mark and measure:
- Refer to your building plans: If you have architectural drawings or plans for the structure you’re building, use them as a guide for marking and measuring the foundation. The plans will provide you with the necessary dimensions and layout.
- Start at the corners: Begin by measuring and marking the corners of your foundation. Use a tape measure to ensure your measurements are precise.
- Check for squareness: Once you have marked the corner measurements, check for squareness by measuring diagonally from corner to corner. The measurements should be equal, indicating that your foundation is square.
- Mark the anchor post locations: Refer to your building plans to determine the spacing and locations of the anchor posts. Mark these spots accordingly along the perimeter of your foundation. This will provide support and stability for your structure.
- Double-check measurements: Before proceeding, double-check all your measurements to ensure accuracy. Remember, precision is key to a well-constructed foundation.
By marking and measuring accurately, you lay the foundation for a properly aligned and structurally sound wood foundation. This step sets the stage for the next phases of construction, such as clearing the area and digging holes for the anchor posts.
Now that your foundation is marked and measured, we can move on to the next step: clearing the area.
Step 3: Clearing the Area
Clearing the area is a crucial step in preparing for the construction of your wood foundation. By removing any obstructions and debris, you create a clean and unobstructed space for the foundation to be built. Follow these steps to effectively clear the area:
- Remove vegetation: Clear any grass, weeds, or other vegetation from the designated area. Use a shovel or a grass trimmer to cut through the vegetation and remove it completely.
- Clear rocks and debris: Remove any rocks, stones, or debris that may be present in the area. These objects can interfere with the construction process and compromise the stability of the foundation.
- Level the ground: Ensure that the ground is level and free from any uneven bumps or depressions. Use a shovel or a rake to level the surface, removing any excess soil or filling any low areas.
- Dispose of waste: Properly dispose of all the cleared vegetation, rocks, and debris. You can either bag them for disposal or use them for other landscaping purposes if applicable.
Clearing the area allows for a smooth and unobstructed construction process. It is essential to take the time to properly clear the site to ensure the best possible outcome for your wood foundation.
Now that the area is clear, we can move on to the next step: leveling the ground.
Read more: How To Build A Basement Foundation
Step 4: Leveling the Ground
Leveling the ground is a crucial step in building a solid and stable wood foundation. A level surface ensures that your foundation will be even and properly supported. Follow these steps to level the ground:
- Start with a reference point: Choose a reference point on your cleared site. This could be a corner or a specific marker that you can use as a guide throughout the leveling process.
- Use a level: Place a level on the reference point and adjust the ground by adding or removing soil until the bubble in the level is centered. This will indicate that the ground is level at that point.
- Continue leveling: Move the level to different areas of the site, using the reference point as a guide. Adjust the ground as needed until the entire area is level.
- Check for slope: In addition to being level, you should also ensure that the site has sufficient slope for proper drainage. The ground should slope away from the structure at a rate of 1/4 inch per foot. Use a level or a measuring device to confirm the slope.
- Pack and compact the soil: Once the ground is level, use a tamper or a heavy object to pack and compact the soil. This will provide a stable base for the foundation.
Leveling the ground is essential for the stability and longevity of your wood foundation. A level surface ensures that weight is distributed evenly, reducing the risk of structural issues in the future.
With the ground properly leveled, we can now move on to the next step: digging holes for the anchor posts.
Step 5: Digging Holes
Once the ground is properly leveled, the next step in building a wood foundation is to dig holes for the anchor posts. The anchor posts will provide support and stability for the foundation. Follow these steps to dig the holes:
- Refer to your building plans: Consult your building plans to determine the precise locations and depths of the anchor post holes. Measure and mark these spots on the leveled ground.
- Use appropriate tools: Depending on the size and depth of the holes, you may need a post hole digger, an auger, or a shovel. Select the appropriate tools for the job.
- Start digging: Begin digging the holes at the marked locations. Ensure that the holes are wide enough to accommodate the anchor posts and deep enough to reach below the frost line. The frost line depth will depend on your geographical location.
- Check for consistency: As you dig, check the depth and consistency of the holes. They should be deep enough to provide stable support for the foundation panels.
- Remove excess soil: Once the holes are dug to the desired depth, remove any excess soil or debris from the holes. This will ensure a clean and secure fit for the anchor posts.
Properly digging the anchor post holes is crucial for the stability and integrity of your wood foundation. Take the time to ensure that the holes are accurately measured and dug to the appropriate depth.
With the anchor post holes dug, we can now move on to the next step: setting the anchor posts.
When building a wood foundation, make sure to use pressure-treated lumber to prevent rot and decay. Also, ensure the foundation is level and properly anchored to the ground for stability.
Step 6: Setting the Anchor Posts
Once the holes for the anchor posts are dug, the next step in building a wood foundation is to set the anchor posts. The anchor posts provide support and stability for the foundation panels. Follow these steps to properly set the anchor posts:
- Place the anchor post brackets: Attach the anchor post brackets to the anchor posts according to the manufacturer’s instructions. These brackets will secure the anchor posts to the foundation panels.
- Position the anchor posts: Carefully place the anchor posts into the respective holes. Make sure they are aligned vertically and sit securely in the holes.
- Check for plumb: Use a level to ensure that the anchor posts are plumb, meaning they are perfectly vertical. Adjust the posts as necessary to achieve proper alignment.
- Secure the anchor posts: Once the anchor posts are in position and plumb, secure them in place using concrete mix. Follow the manufacturer’s instructions for mixing and pouring the concrete, ensuring that it completely fills the holes around the anchor posts.
- Allow the concrete to cure: Give the concrete time to cure and harden according to the manufacturer’s instructions. This is usually a few days, but it may vary depending on the specific concrete mix used.
Setting the anchor posts correctly is crucial for the stability and strength of your wood foundation. Take the time to ensure that the posts are securely set and aligned properly.
With the anchor posts set, we can now move on to the next step: installing the foundation panels.
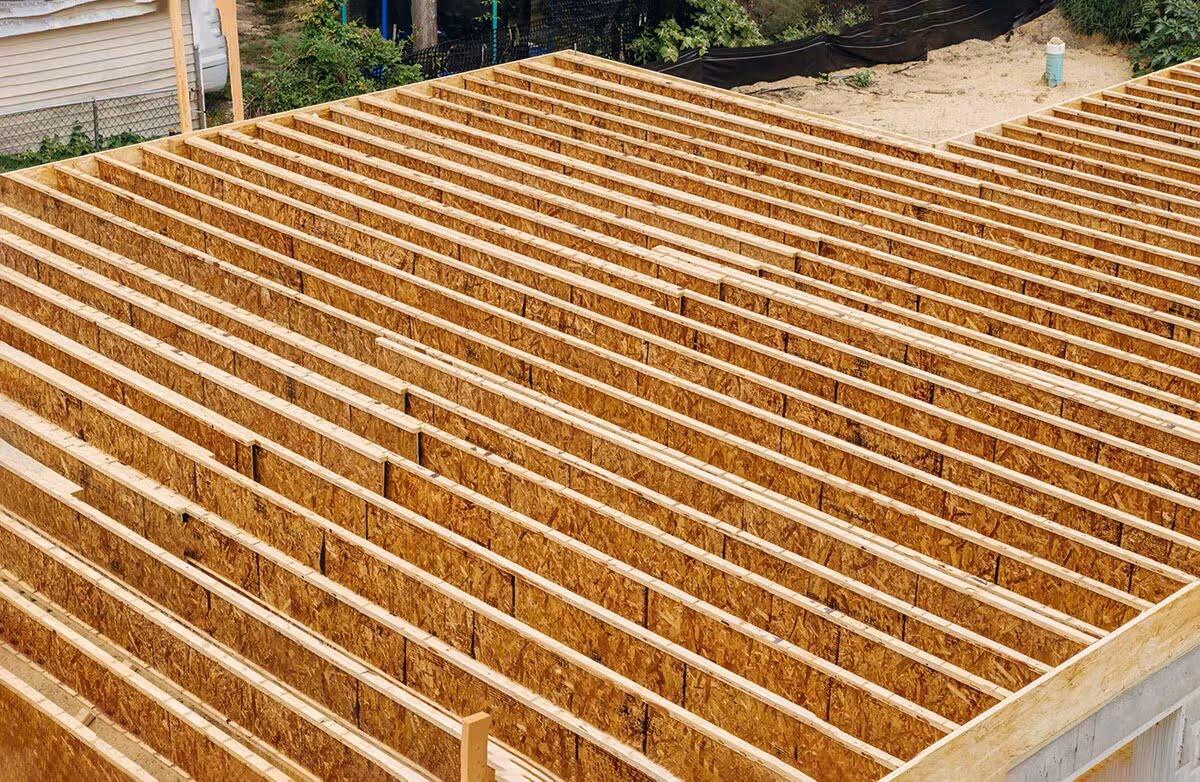
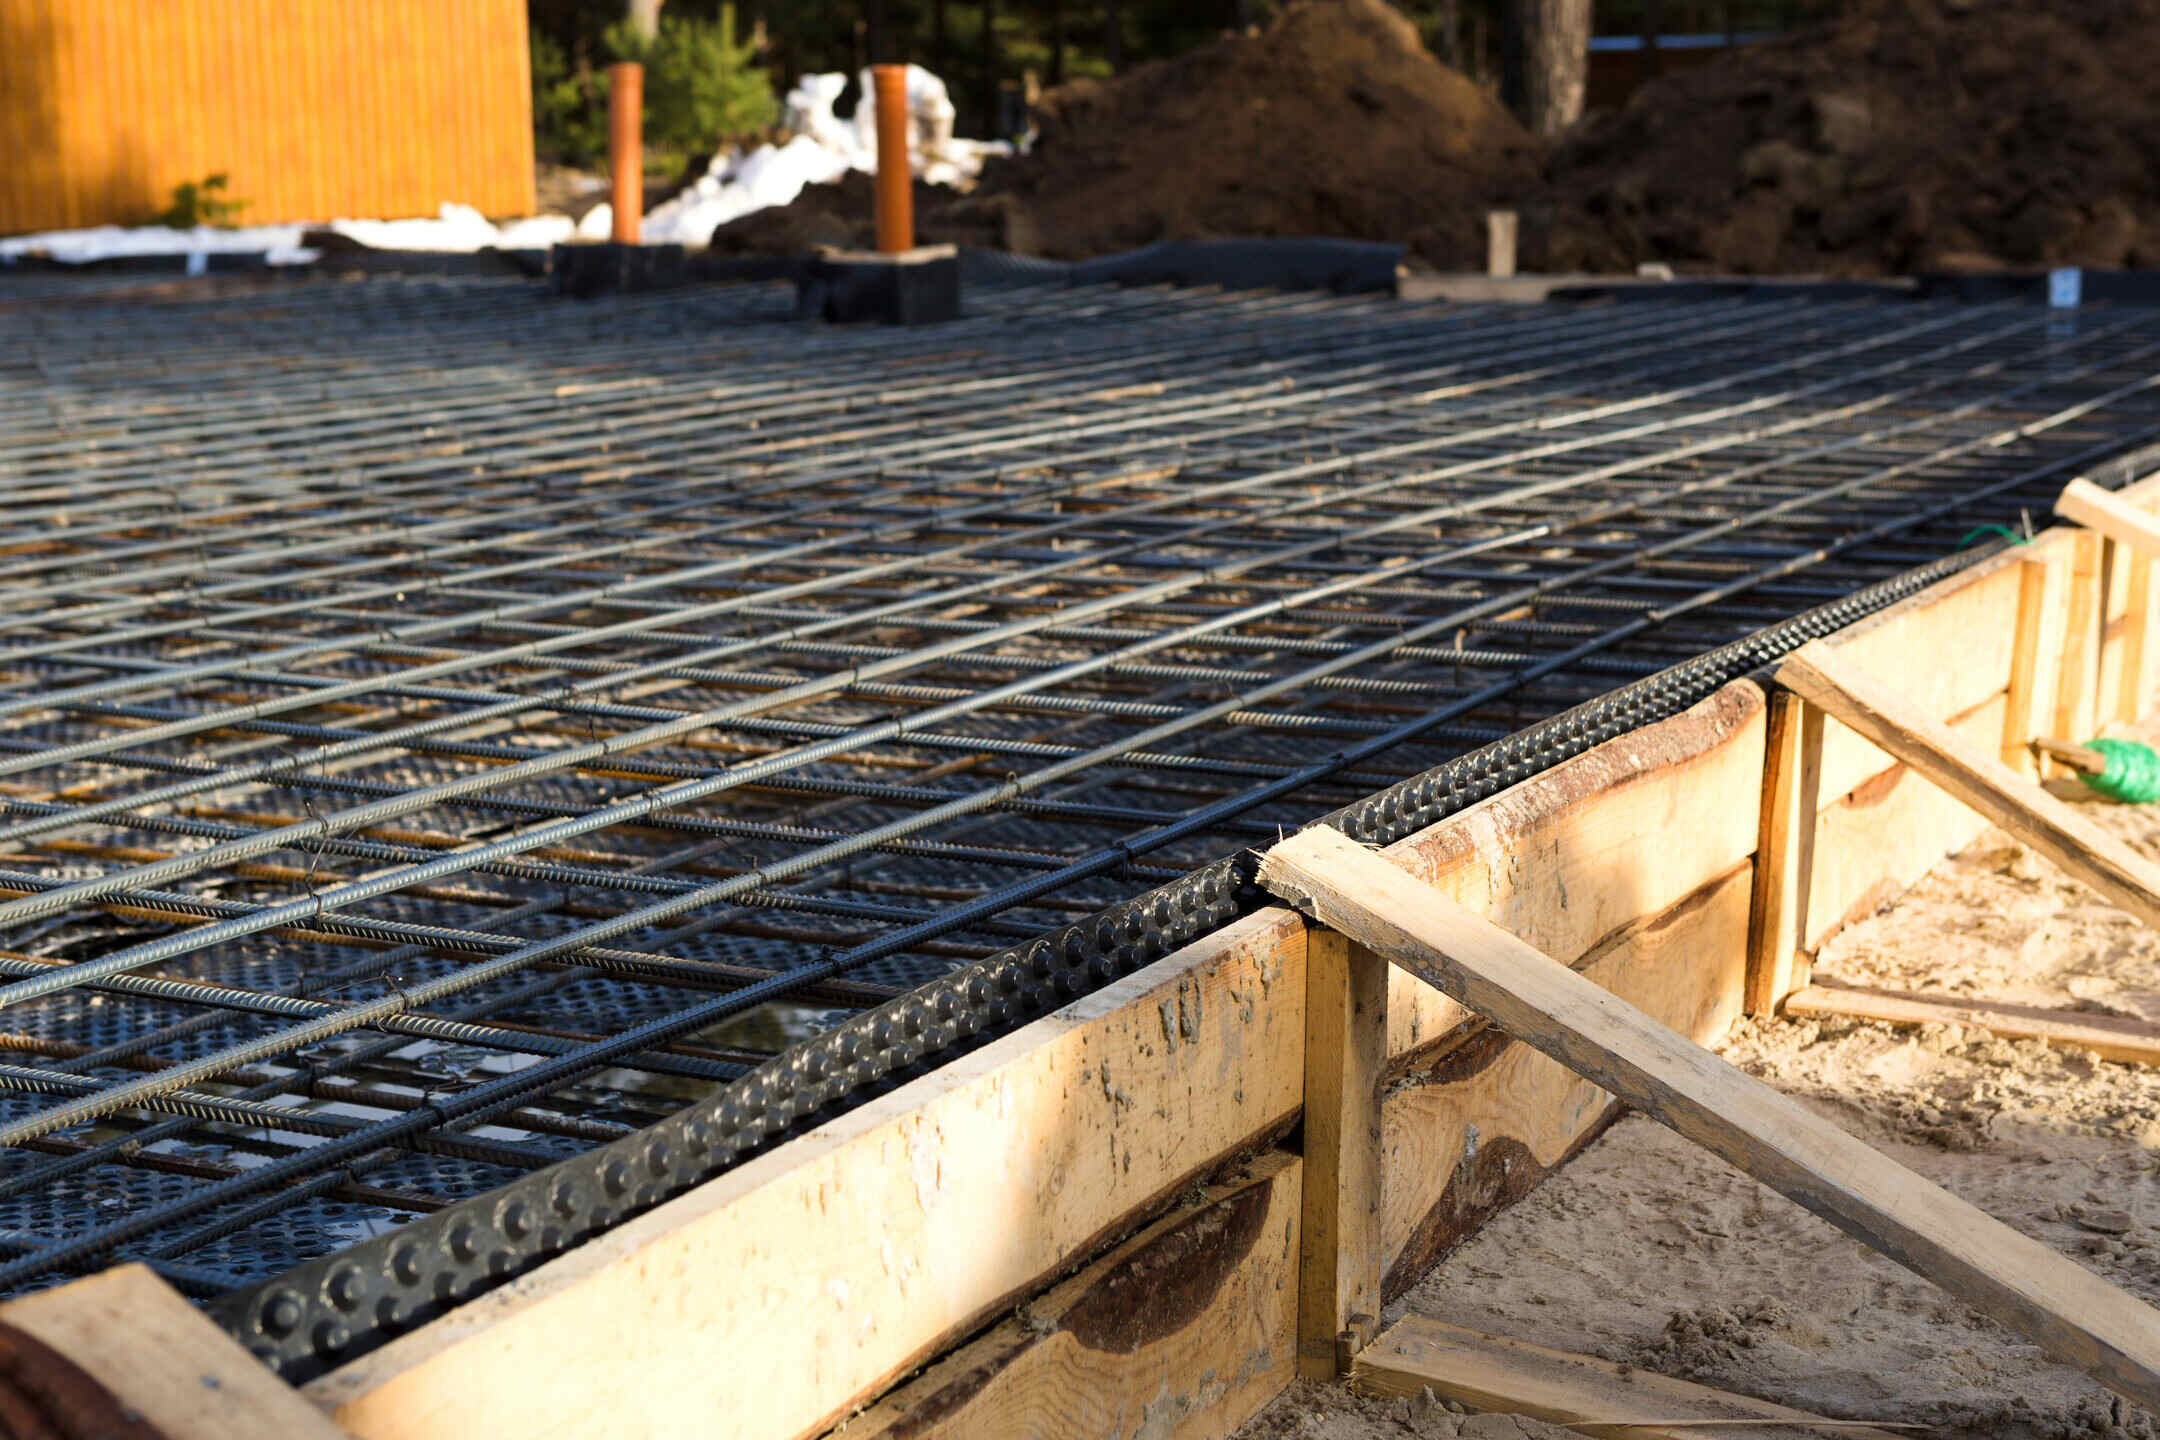
Step 7: Installing the Foundation Panels
After setting the anchor posts, the next step in building a wood foundation is to install the foundation panels. The foundation panels will provide the base for your structure. Follow these steps to properly install the foundation panels:
- Measure and cut the foundation panels: Measure the distance between the anchor posts to determine the size of the foundation panels. Use a saw to cut the panels to the appropriate length.
- Secure the foundation panels: Attach the foundation panels to the anchor post brackets using screws or nails. Make sure the panels are level and tightly secured to the brackets.
- Check for alignment: Use a level to verify that the foundation panels are horizontally level and vertically aligned. Make any necessary adjustments to ensure proper alignment.
- Secure the joints: If you have multiple foundation panels, secure the joints where they meet using additional screws or nails. This will ensure stability and prevent any movement between the panels.
Installing the foundation panels accurately is crucial for the stability and durability of your wood foundation. Take the time to ensure that the panels are securely attached and properly aligned.
With the foundation panels installed, we can now move on to the next step: attaching the beams.
Read more: How To Build A Cabin Foundation
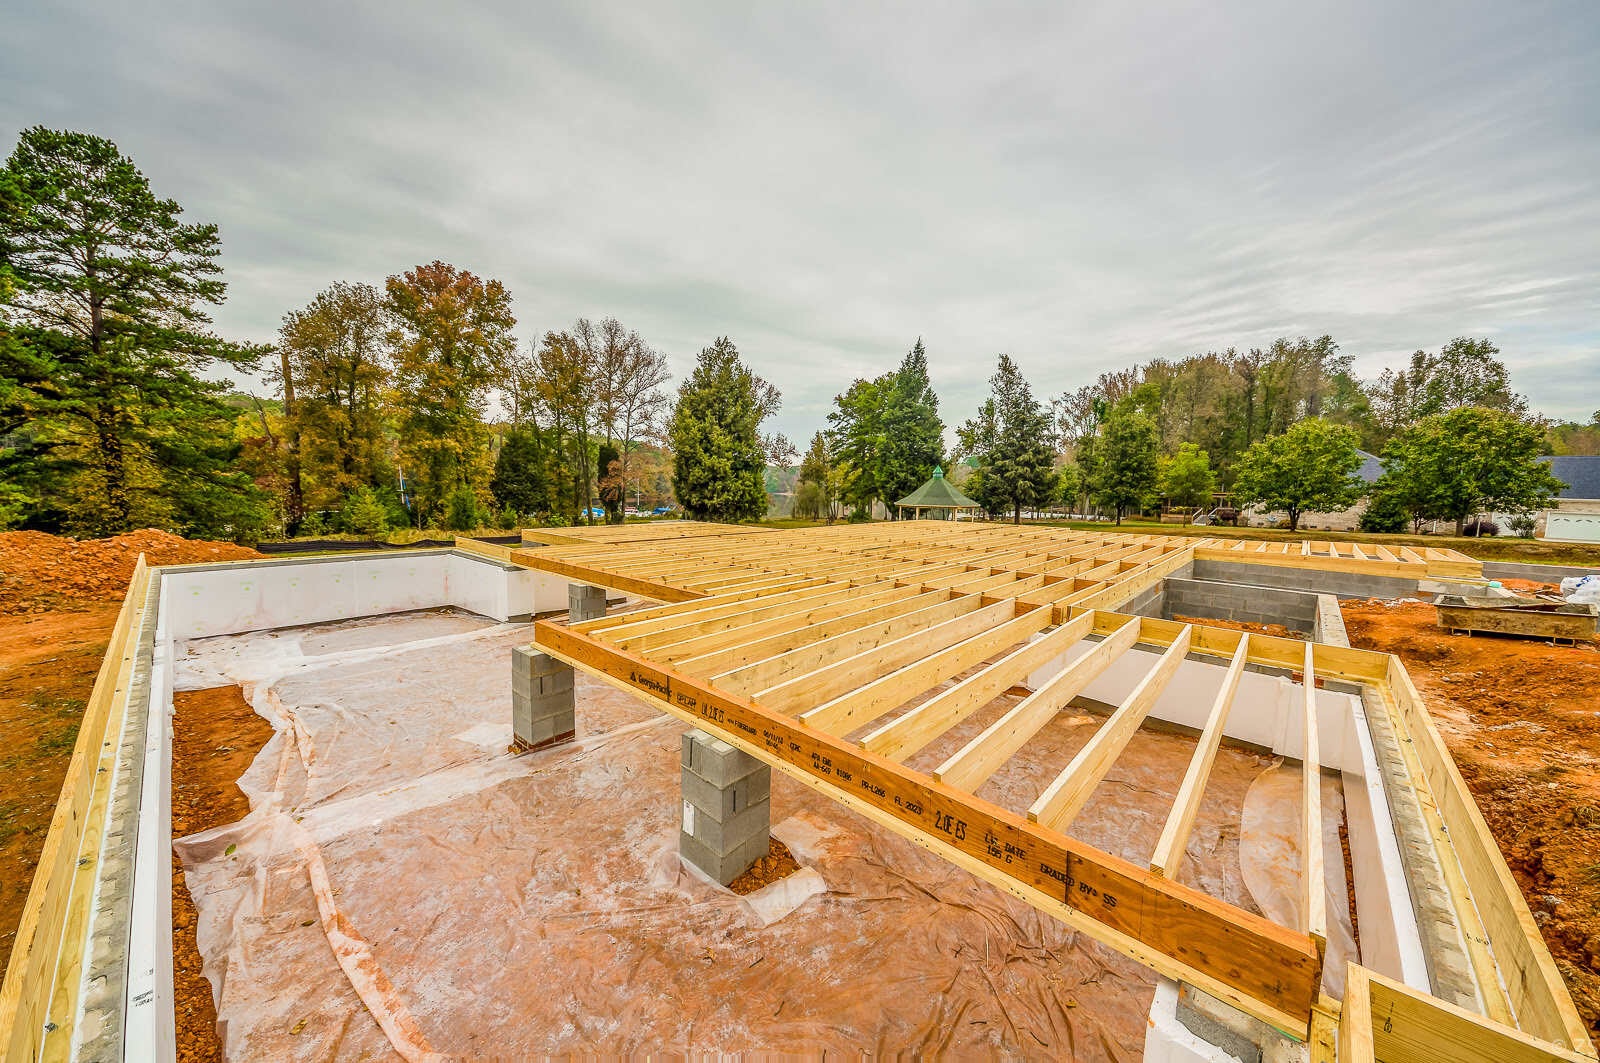
Step 8: Attaching the Beams
After installing the foundation panels, the next step in building a wood foundation is to attach the beams. Beams provide additional support and stability for the structure. Follow these steps to properly attach the beams:
- Select the appropriate beams: Choose pressure-treated lumber beams that are the correct size and length for your specific foundation design. Make sure the beams are resistant to rot and decay.
- Position the beams: Place the beams horizontally on top of the foundation panels. Align them parallel to each other and perpendicular to the anchor posts.
- Attach the beams to the anchor posts: Use brackets, screws, or nails to secure the beams to the anchor posts. Make sure the beams are tightly fastened and level.
- Secure the beams to each other: If you have multiple beams, secure them together using additional brackets, screws, or nails. This will ensure that they are securely connected and provide maximum stability.
- Check for level and alignment: Use a level to verify that the beams are horizontally level and aligned with the foundation panels. Make any necessary adjustments to ensure proper alignment.
Attaching the beams accurately is essential for the structural integrity of your wood foundation. Take the time to ensure that the beams are securely attached and properly aligned.
With the beams securely attached, we can now move on to the next step: adding support braces.
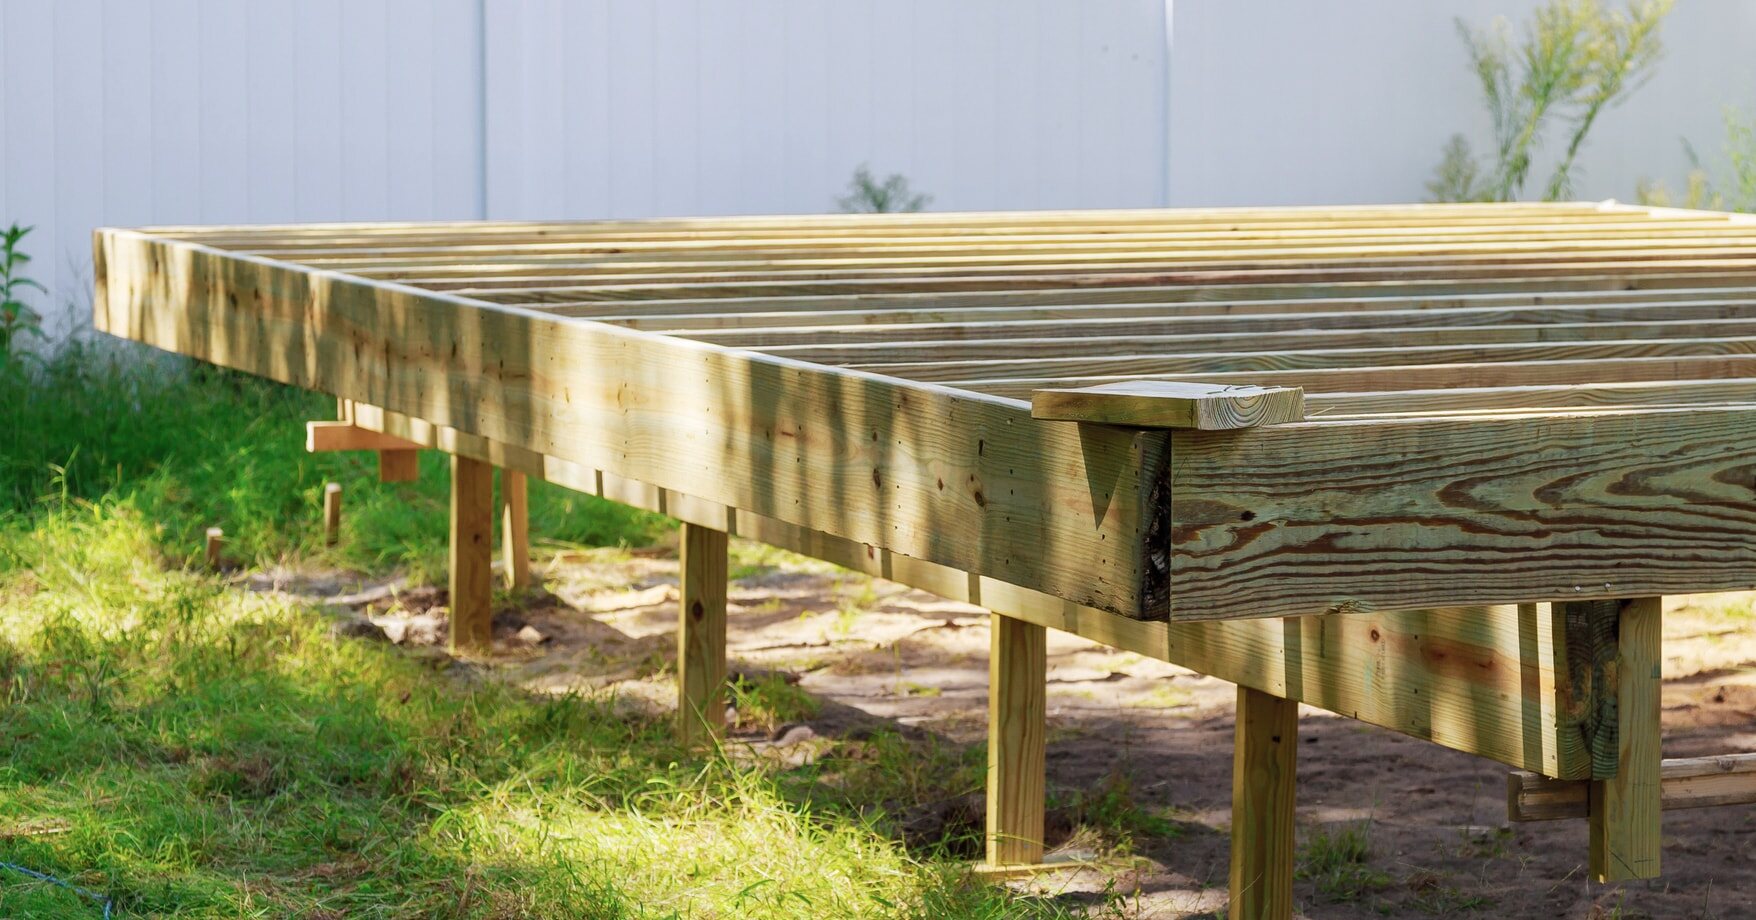
Step 9: Adding Support Braces
After attaching the beams, the next step in building a wood foundation is to add support braces. Support braces provide added strength and stability to the foundation. Follow these steps to properly add support braces:
- Select the appropriate support braces: Choose pressure-treated lumber or metal braces that are the correct size and length for your foundation design. Make sure they are sturdy and durable.
- Position the support braces: Place the support braces diagonally between the beams and the anchor posts. Position them in a way that provides support and prevents any swaying or movement of the foundation.
- Secure the support braces: Use screws or nails to attach the support braces to the beams and anchor posts. Make sure they are tightly fastened and provide adequate support.
- Check for proper positioning: Verify that the support braces are positioned at 45-degree angles, forming triangles with the beams and anchor posts. This triangular configuration adds stability to the foundation.
- Examine the stability: Shake the foundation gently to ensure that it is solid and stable. Make any necessary adjustments or tighten any loose components.
Adding support braces is crucial for enhancing the strength and reliability of your wood foundation. Take the time to ensure that the support braces are securely attached and properly positioned.
With the support braces in place, we can now move on to the final step: securing the foundation.
Step 10: Securing the Foundation
After completing all the previous steps, the final step in building a wood foundation is to secure it. Properly securing the foundation ensures that it remains stable and intact, providing a solid base for your structure. Follow these steps to securely fasten the foundation:
- Check for stability: Inspect the entire foundation to ensure that all components are securely in place and there is no wobbling or movement. If you notice any instability, tighten the screws or nails to secure the connections.
- Examine the joints and connections: Pay close attention to the joints and connections between the foundation panels, beams, and support braces. Make sure they are securely fastened and there are no gaps or loose parts.
- Reinforce weak areas: If you identify any weak areas during the inspection, reinforce them by adding additional screws, nails, or brackets. This will strengthen the foundation and prevent any potential issues in the future.
- Protect against moisture: Apply a waterproofing sealant or paint to the foundation to protect it against moisture and weathering. This extra layer of protection will help prolong the lifespan of your wood foundation.
- Final inspection: Conduct a final inspection of the entire foundation to double-check for stability, security, and proper alignment. This will give you peace of mind knowing that your wood foundation is ready for the next phase of your construction project.
Securing the foundation ensures its stability and longevity. Taking the time to properly fasten and reinforce the components will provide a solid and reliable base for your structure.
Congratulations! You have successfully completed all the steps to build a wood foundation. With a strong and stable foundation in place, you can proceed with confidence to the next stages of your construction project.
Remember to always follow local building codes and regulations to ensure compliance and safety throughout the construction process. Happy building!
Conclusion
Building a wood foundation is a crucial part of any construction project, providing the necessary support and stability for the entire structure. By following the step-by-step process outlined in this article, you now have the knowledge and skills to build a solid and reliable wood foundation.
We began by discussing the advantages of a wood foundation, such as cost-effectiveness, ease of construction, and excellent insulation properties. We then delved into the materials needed, including pressure-treated lumber, concrete mix, anchor post brackets, and more.
Throughout the construction process, we covered essential steps such as site preparation, marking and measuring, clearing the area, leveling the ground, digging holes, setting anchor posts, installing foundation panels, attaching beams, adding support braces, and finally, securing the foundation.
By meticulously following each step and paying attention to detail, you can ensure the stability, strength, and longevity of your wood foundation. Additionally, it is important to consult local building codes and regulations to ensure compliance and safety.
Remember to take the time to properly measure, level, and secure each component of the foundation. This will provide a solid base for your structure and contribute to the overall success of your construction project.
With a well-built wood foundation, you can move forward confidently with the rest of your construction journey, knowing that you have established a reliable and sturdy base for your structure.
Thank you for joining us on this wood foundation building journey. Happy building!
Now that you've mastered building a wood foundation, why stop there? Keep those skills sharp and find out what else you can create with wood. Dive into our latest piece on the finest woodworking projects set to be all the rage in the upcoming year. Whether you're looking to enhance your home or craft unique gifts, this guide is packed with inspiration and practical advice to get you sawing, sanding, and celebrating your woodworking creations. Don't miss out; check out our detailed guide now!
Frequently Asked Questions about How To Build A Wood Foundation
Was this page helpful?
At Storables.com, we guarantee accurate and reliable information. Our content, validated by Expert Board Contributors, is crafted following stringent Editorial Policies. We're committed to providing you with well-researched, expert-backed insights for all your informational needs.

0 thoughts on “How To Build A Wood Foundation”