Home>Gardening & Outdoor>Outdoor Structures>How To Build A Foundation For A Tool Shed
Outdoor Structures
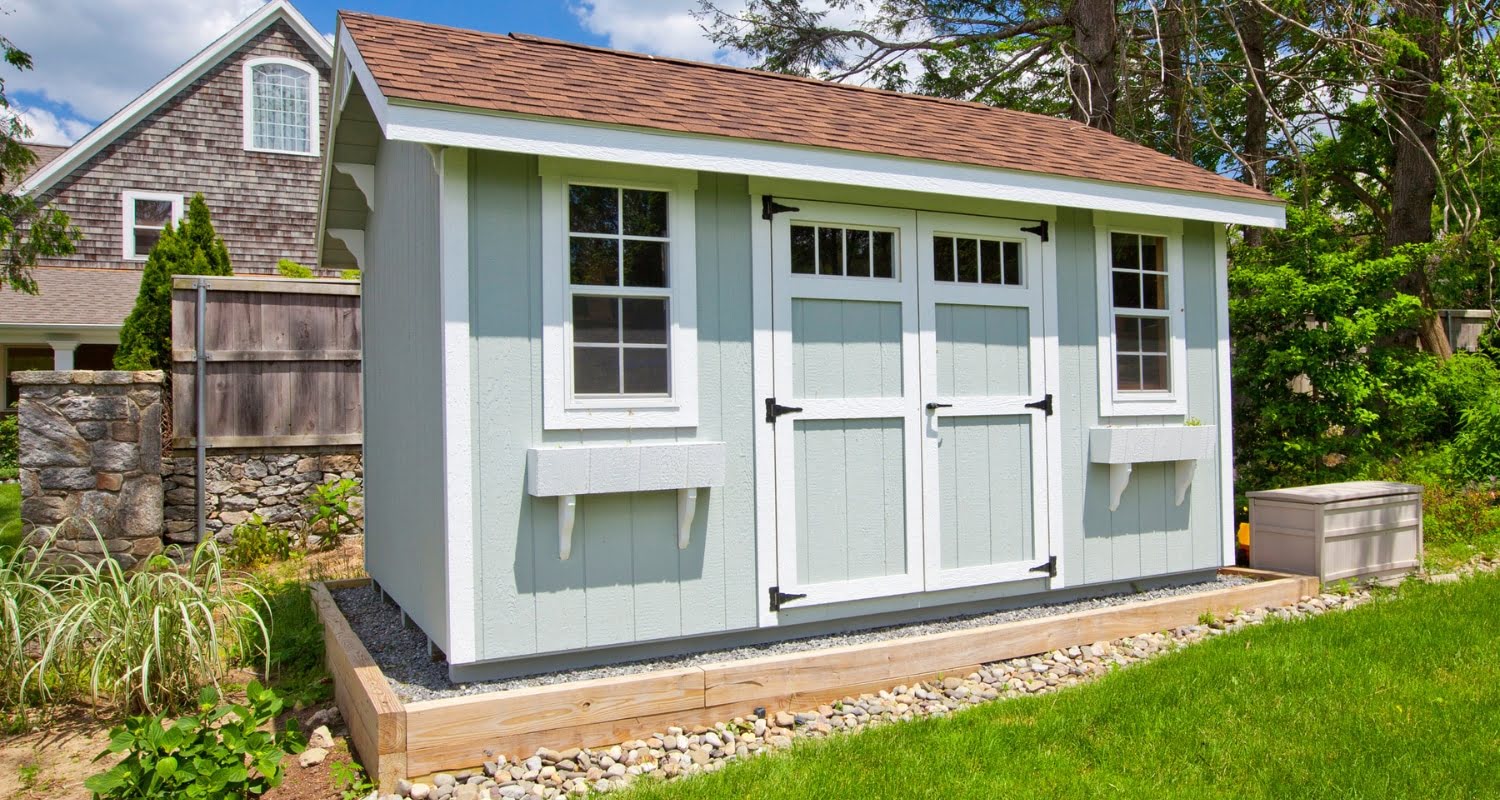
How To Build A Foundation For A Tool Shed
Modified: January 3, 2024
Learn how to build a sturdy foundation for your outdoor tool shed with our comprehensive guide. Ensure the longevity and stability of your outdoor structures.
(Many of the links in this article redirect to a specific reviewed product. Your purchase of these products through affiliate links helps to generate commission for Storables.com, at no extra cost. Learn more)
Introduction
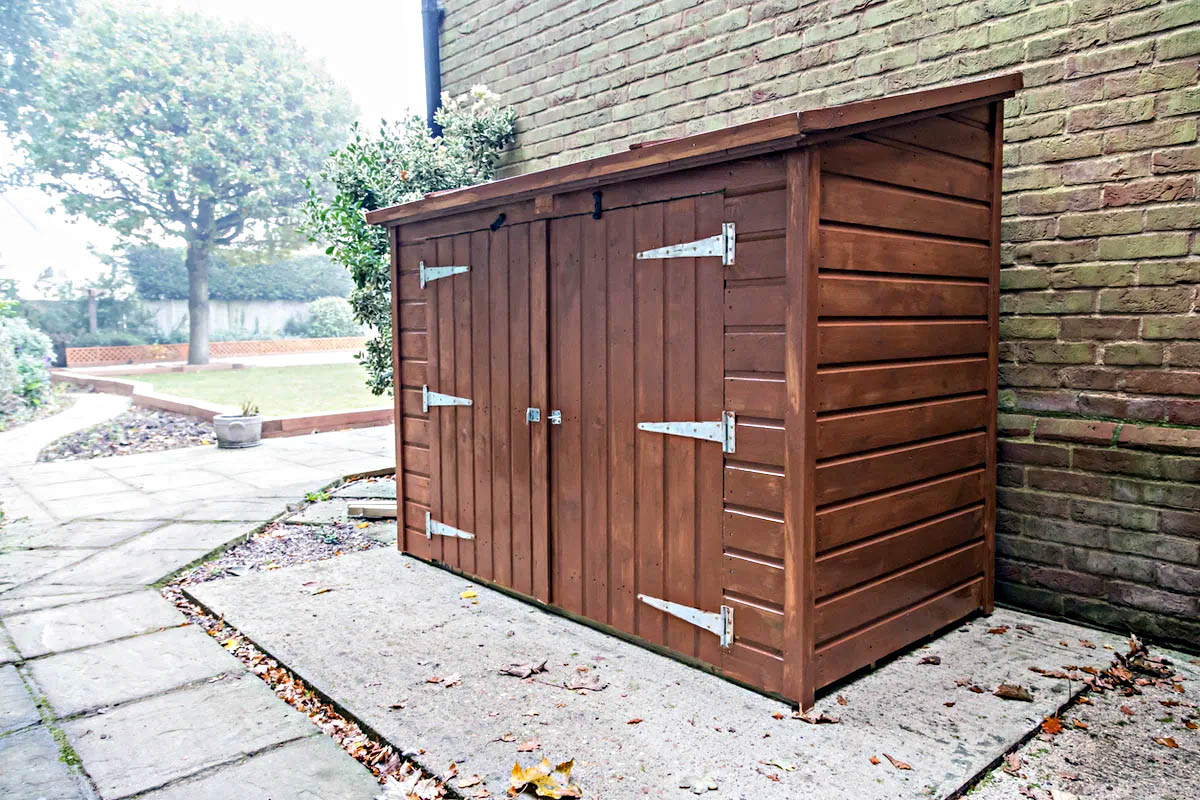
Building a tool shed can be a rewarding and practical addition to your outdoor space. Not only does it provide a dedicated area for storing and organizing your tools and equipment, but it also offers a valuable workspace for DIY projects and hobbies. One of the critical components of constructing a tool shed is laying a solid foundation. A well-built foundation ensures the stability and longevity of the structure, safeguarding it against shifting soil and inclement weather conditions.
In this comprehensive guide, we will walk you through the essential steps to build a sturdy foundation for your tool shed. Whether you are a seasoned DIY enthusiast or a novice builder, this article will equip you with the knowledge and confidence to tackle this crucial aspect of shed construction. From selecting the ideal location to leveling and finishing the foundation, we will cover each phase in detail, providing valuable insights and practical tips to help you achieve a successful outcome.
So, roll up your sleeves and get ready to embark on this fulfilling journey of creating a solid base for your tool shed. With careful planning, the right materials, and a willingness to learn, you can lay the groundwork for a durable and reliable structure that will serve you well for years to come. Let's dive into the first step: choosing the perfect location for your tool shed's foundation.
Key Takeaways:
- Choosing the right location for your tool shed is crucial. Consider accessibility, terrain, sunlight exposure, drainage, and property boundaries to ensure a convenient and durable foundation.
- Gathering the right materials and tools, preparing the ground, and building a solid foundation are essential steps in creating a reliable and long-lasting base for your tool shed.
Read more: How To Build A Gravel Foundation For A Shed
Step 1: Choose the Location
Before diving into the physical construction of the foundation, it’s crucial to carefully select the location for your tool shed. The ideal placement can significantly impact the functionality and longevity of your shed. Here are some essential factors to consider when choosing the location:
- Accessibility: Determine how easily you can access the shed from your home and yard. It’s essential to position the shed in a convenient spot, allowing you to retrieve tools and equipment without hassle.
- Ground Terrain: Assess the terrain of the chosen area. Look for a relatively flat and level surface to simplify the foundation construction process. If the ground is uneven, you may need to perform additional leveling before proceeding.
- Sunlight Exposure: Consider the sun’s path throughout the day and the shed’s potential exposure to sunlight. Adequate sunlight can help prevent moisture buildup and promote a healthier environment inside the shed.
- Drainage: Evaluate the area’s drainage capabilities to prevent water accumulation around the shed. Avoid low-lying areas that are prone to flooding, as excess moisture can compromise the foundation and the shed’s contents.
- Property Boundaries: Check local regulations and property boundaries to ensure compliance with zoning laws and neighborly considerations. It’s essential to position the shed within your property lines and maintain a respectful distance from neighboring structures.
Once you’ve carefully assessed these factors, you can confidently designate the optimal location for your tool shed. With the location secured, you’re ready to move on to the next phase: gathering the necessary materials and tools for the foundation construction.
Step 2: Gather Materials and Tools
With the location for your tool shed identified, it’s time to gather the essential materials and tools needed to construct a sturdy foundation. Here’s a comprehensive list of items you’ll likely need:
Materials:
- Concrete Blocks or Pavers: These will form the primary support for the shed’s foundation. Ensure that the blocks or pavers are durable and capable of withstanding the shed’s weight.
- Gravel: A layer of gravel will help with drainage and provide a stable base for the foundation. Opt for high-quality, compactable gravel to ensure proper support.
- Lumber or Steel Beams: These will be used as skids or runners to support the shed floor. Choose pressure-treated lumber or corrosion-resistant steel beams for longevity.
- Anchor Bolts or Post Brackets: These components will secure the shed’s floor framing to the foundation, preventing shifting or movement over time.
- Hardware and Fasteners: Stock up on nails, screws, and other fasteners required for assembling the foundation components.
Tools:
- Shovel: For digging and leveling the ground in preparation for the foundation.
- Tape Measure: Essential for accurately measuring the shed’s dimensions and ensuring precise placement of the foundation components.
- Level: To confirm that the foundation components are aligned and evenly positioned.
- Wheelbarrow: Useful for transporting gravel and other materials to the construction site.
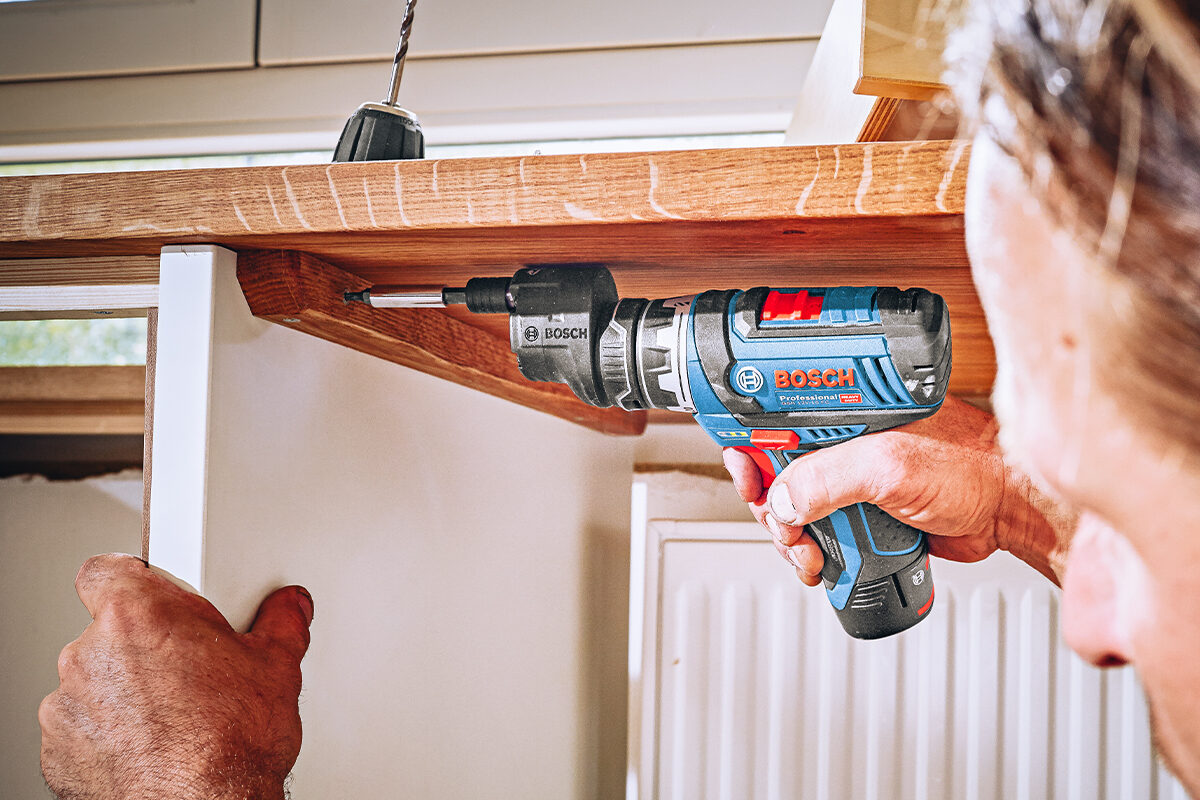
- Hammer, Screwdriver, and Drill: Basic hand and power tools for assembling the foundation components and securing fasteners.
By procuring these materials and tools, you’ll be well-prepared to commence the construction of a robust foundation for your tool shed. With everything in hand, you can proceed to the next step: preparing the ground for the foundation installation.
Read more: How To Build A Wood Foundation For A Shed
Step 3: Prepare the Ground
Before laying the foundation for your tool shed, it’s essential to properly prepare the ground to ensure a stable and level base. Follow these steps to prepare the ground effectively:
- Clear the Area: Remove any vegetation, debris, or obstacles from the designated shed location. This includes rocks, roots, and any other items that could hinder the foundation’s stability.
- Mark the Perimeter: Use stakes and string to outline the perimeter of the shed’s foundation. This will provide a clear visual guide for excavating and leveling the ground.
- Excavate the Site: Using a shovel, excavate the marked area to the required depth, accounting for the thickness of the gravel and base materials. Aim for a level excavation to facilitate a uniform foundation installation.
- Compact the Soil: After excavation, compact the soil using a hand tamper or plate compactor to create a firm and stable base for the foundation. This step is crucial for preventing ground settlement over time.
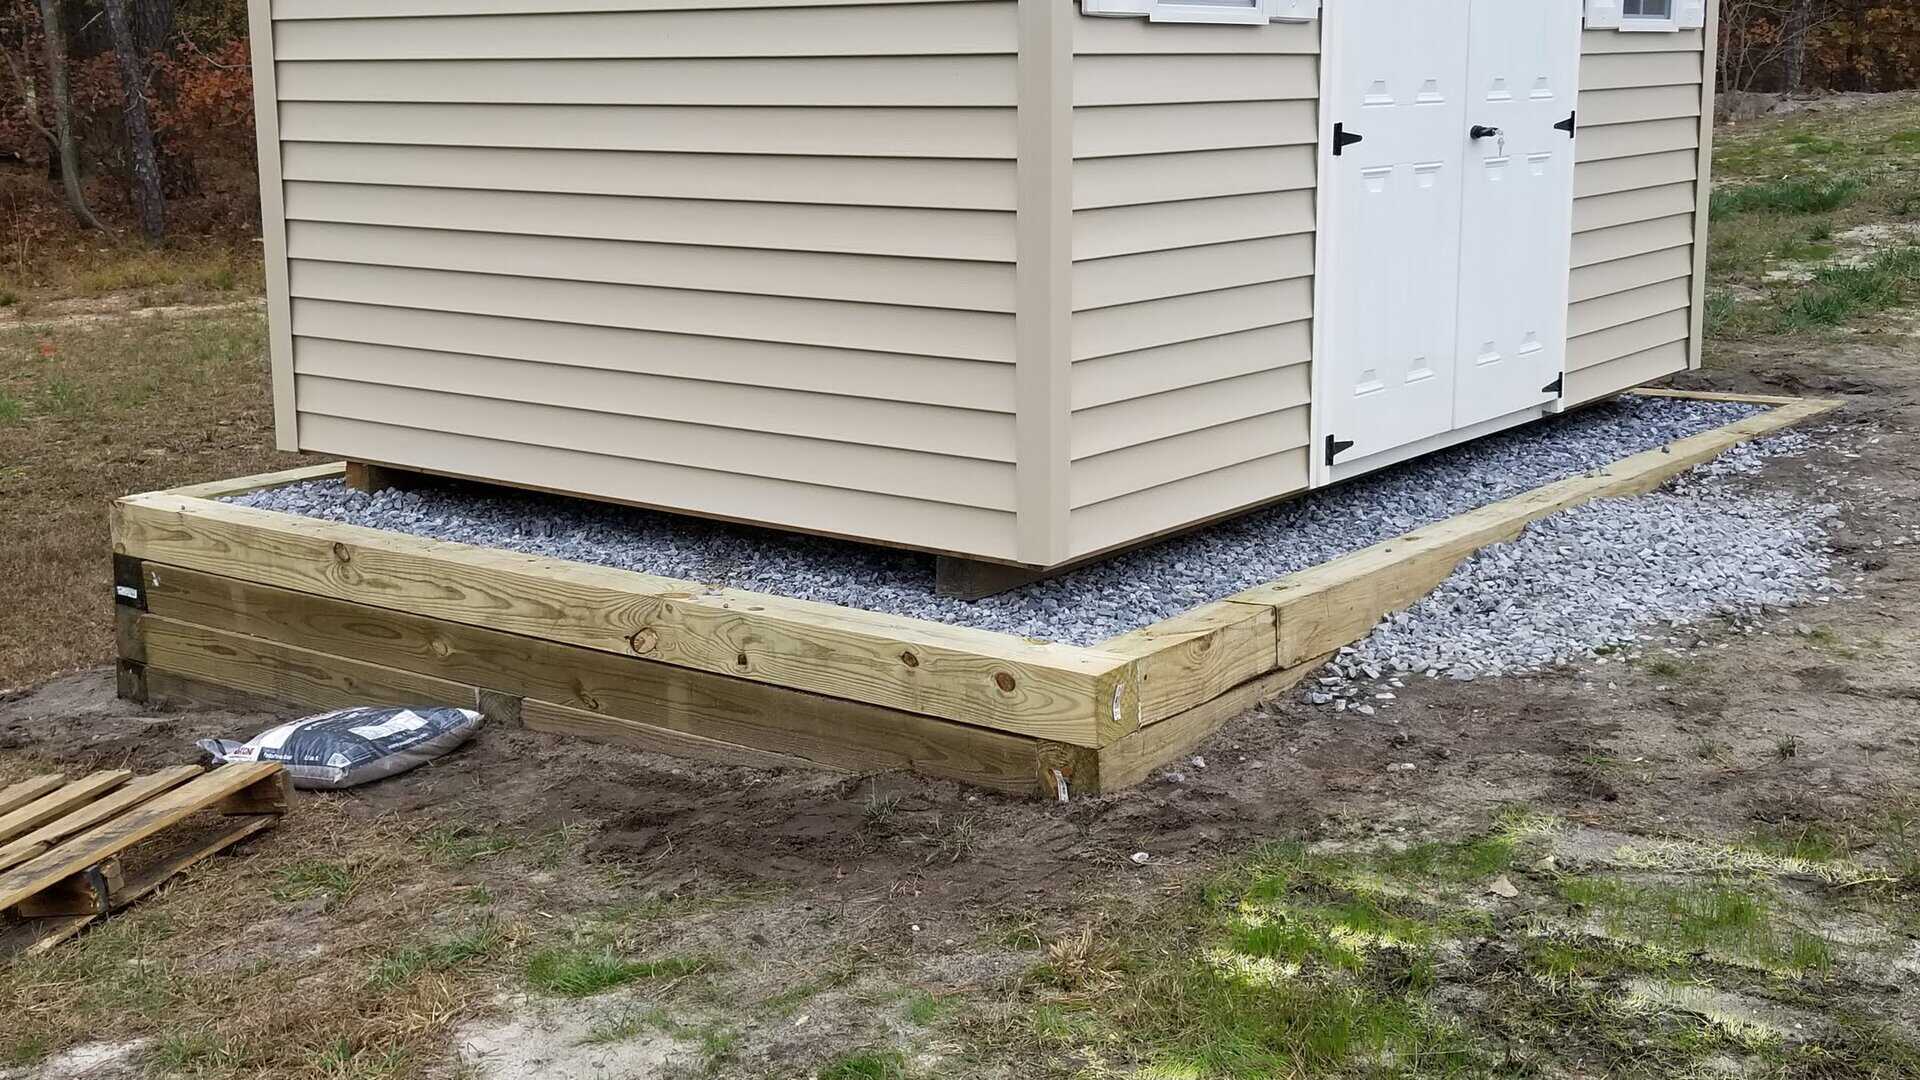
- Add a Layer of Gravel: Spread a layer of gravel evenly across the excavated area. The gravel will aid in drainage and provide a solid, level surface for the foundation components.
By meticulously preparing the ground according to these steps, you’ll establish a reliable foundation base that promotes structural integrity and long-term durability. With the ground meticulously prepared, you’re now ready to move on to the exciting phase of building the foundation for your tool shed.
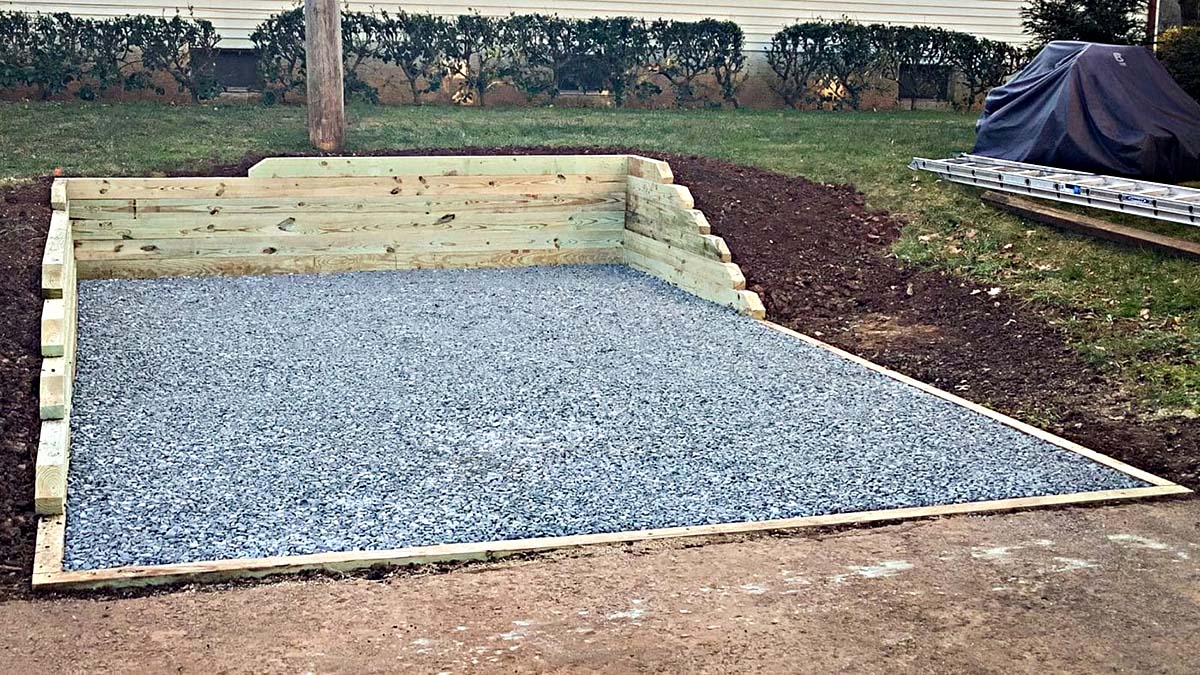
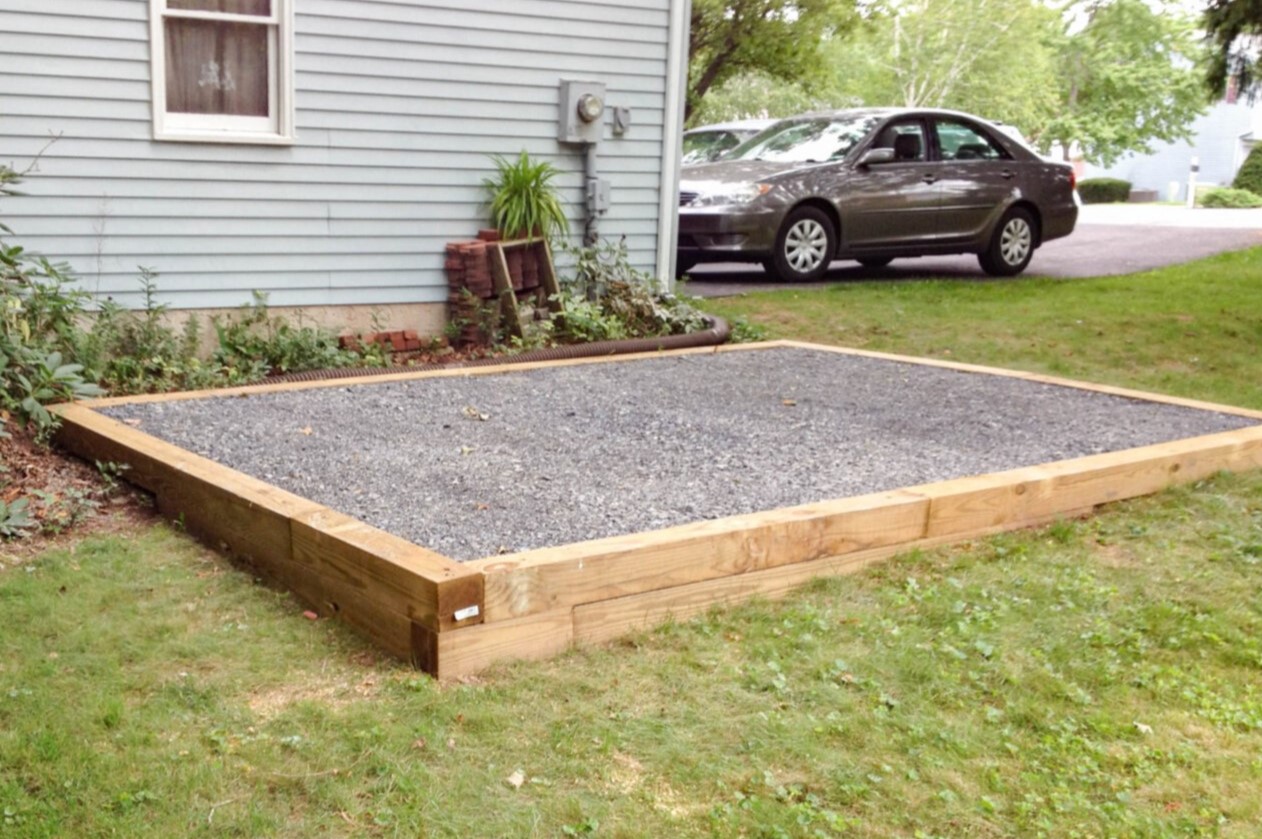
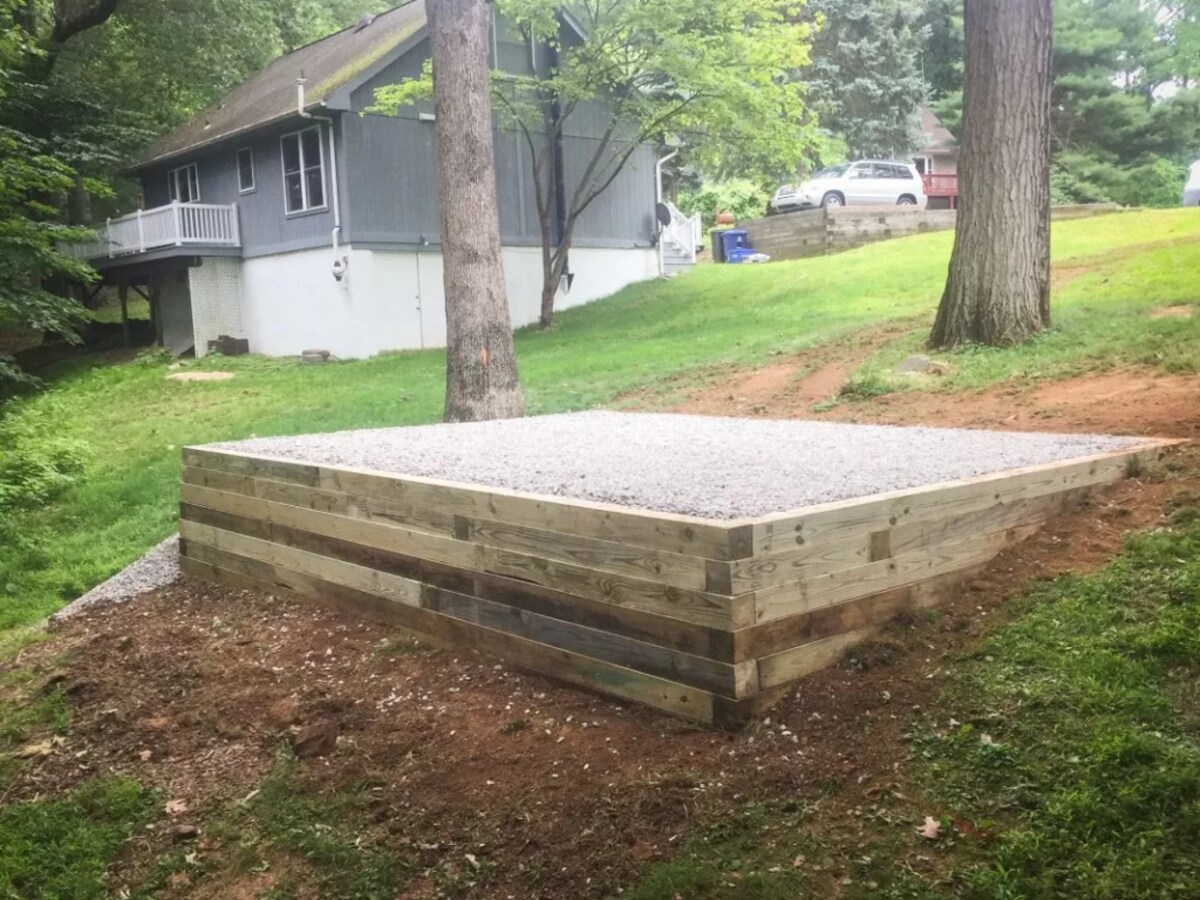
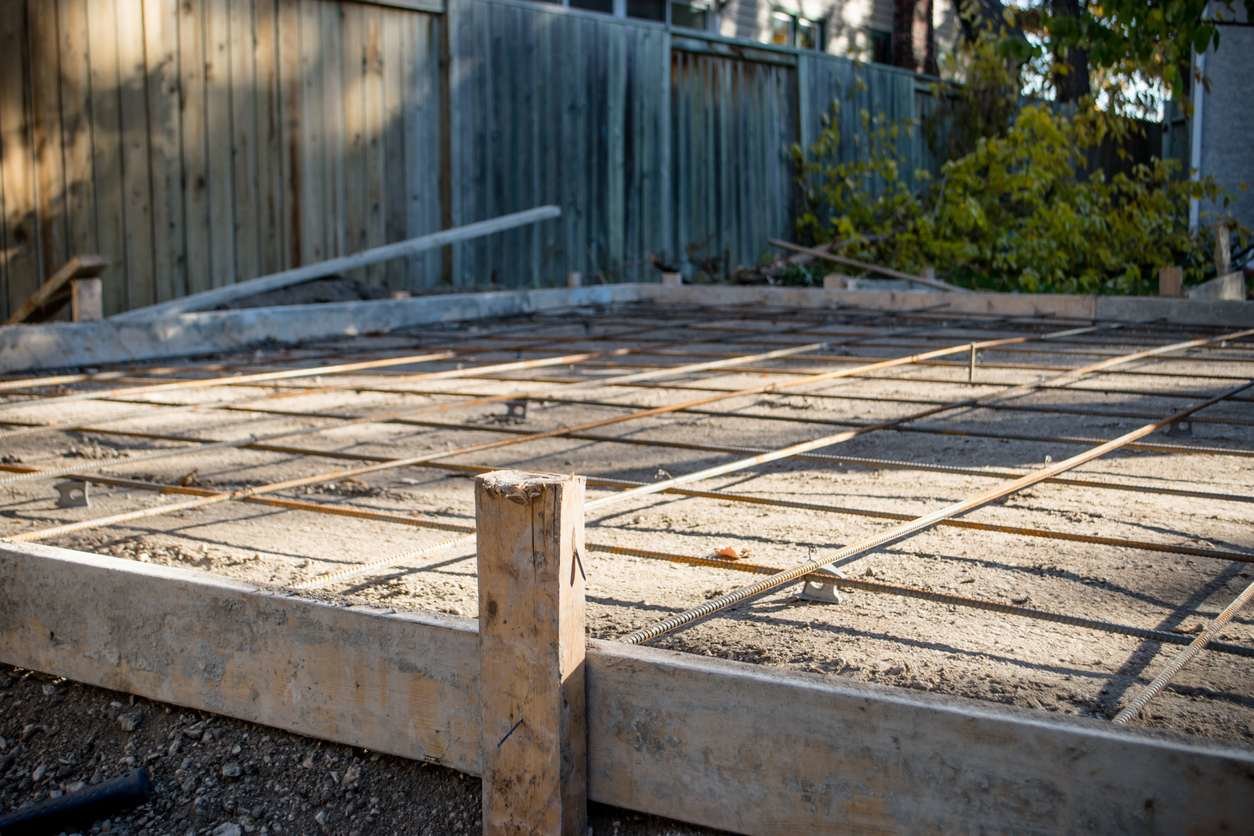
Step 4: Build the Foundation
Building the foundation for your tool shed is a pivotal phase that demands precision and attention to detail. Follow these essential steps to construct a solid and reliable foundation:
- Position the Concrete Blocks or Pavers: Place the concrete blocks or pavers at strategic intervals along the perimeter of the shed’s base. Ensure that they are aligned and leveled, as they will serve as the primary support for the shed’s structure.
- Install the Skids or Runners: Position the pressure-treated lumber or steel beams (skids or runners) on top of the concrete blocks or pavers. These components will support the shed’s floor and distribute the weight evenly across the foundation.
- Secure the Floor Framing: Use anchor bolts or post brackets to securely attach the shed’s floor framing to the skids or runners. This step is crucial for stabilizing the shed and preventing movement due to external forces.
- Assemble Additional Supports: Depending on the shed’s size and design, you may need to add additional supports or bracing to reinforce the foundation’s structural integrity. Follow the shed manufacturer’s recommendations for optimal support.
- Check for Alignment and Leveling: Use a level to ensure that the foundation components are properly aligned and leveled. Adjust the positioning as needed to achieve uniformity and stability across the entire foundation.
By meticulously following these steps, you’ll establish a robust and well-constructed foundation that forms the backbone of your tool shed. With the foundation in place, you’re now ready to proceed to the next crucial phase: leveling and finishing the foundation to ensure its readiness for the shed’s installation.
Before building a tool shed, make sure to level the ground and lay a solid foundation using concrete blocks or a gravel base to prevent shifting and water damage.
Step 5: Level and Finish the Foundation
Once the foundation components are in position, it’s essential to focus on leveling and finishing to ensure a solid and stable base for your tool shed. Follow these key steps to complete this phase effectively:
- Verify the Overall Levelness: Use a long, straight board or a laser level to check the overall levelness of the foundation. This step is crucial for identifying any areas that require adjustments to achieve a uniformly level surface.
- Fill Any Gaps: If gaps or voids are present between the foundation components, fill them with suitable shimming material to create a seamless and uniform surface. This will help prevent potential shifting or instability in the future.
- Apply a Protective Coating: Consider applying a protective coating or sealant to the foundation components, especially if they are made of wood. This additional layer of protection can safeguard the foundation against moisture and prolong its lifespan.
- Double-Check Alignment and Stability: Reassess the alignment and stability of the entire foundation structure. Confirm that all components are securely in place and capable of supporting the shed’s weight without compromise.
- Clear the Surrounding Area: Remove any debris, tools, or construction materials from the vicinity of the foundation. Keeping the area clear will facilitate the subsequent steps of shed installation and ensure a safe and organized workspace.
By meticulously leveling and finishing the foundation, you’ll establish a reliable and resilient base for your tool shed, setting the stage for the shed’s assembly and utilization. With the foundation now leveled and finished, you’re poised to embark on the exciting journey of erecting your tool shed and bringing your outdoor storage and workspace vision to life.
Conclusion
Congratulations on completing the foundational groundwork for your tool shed! By meticulously following the steps outlined in this guide, you’ve laid the groundwork for a durable, reliable, and functional outdoor structure. The foundation you’ve constructed will serve as the sturdy base upon which your tool shed will stand, providing a secure and stable environment for storing tools, equipment, and pursuing DIY projects.
As you reflect on the journey from choosing the ideal location to leveling and finishing the foundation, it’s important to recognize the value of careful planning, attention to detail, and the satisfaction that comes with hands-on construction. Your commitment to building a solid foundation sets the stage for the successful completion of your tool shed project.
Looking ahead, the foundation you’ve created will support the entire structure, ensuring its resilience against the elements and the test of time. With a stable base in place, you can proceed with confidence, knowing that your tool shed is anchored in a well-constructed and reliable foundation.
As you move forward with the next phases of your tool shed project, remember the dedication and effort you’ve invested in establishing a strong foundation. Embrace the journey ahead with enthusiasm, and revel in the anticipation of bringing your tool shed to fruition. Whether it’s organizing your tools, pursuing DIY endeavors, or simply enjoying a dedicated outdoor workspace, your tool shed will stand as a testament to your craftsmanship and determination.
With the foundation solidified, you’re now ready to embark on the exciting stages of shed assembly, customization, and utilization. As you progress, may your tool shed become a cherished space where creativity, productivity, and practicality converge, enriching your outdoor living experience.
Thank you for entrusting us with guiding you through the foundational phase of your tool shed project. We wish you continued success and fulfillment as you bring your vision of a functional and resilient outdoor structure to life.
Frequently Asked Questions about How To Build A Foundation For A Tool Shed
Was this page helpful?
At Storables.com, we guarantee accurate and reliable information. Our content, validated by Expert Board Contributors, is crafted following stringent Editorial Policies. We're committed to providing you with well-researched, expert-backed insights for all your informational needs.


0 thoughts on “How To Build A Foundation For A Tool Shed”