
Articles
How To Test Water Pump
Modified: February 22, 2024
Learn how to test your water pump with these informative articles. Discover step-by-step guides, troubleshooting tips, and common issues to ensure optimal functionality.
(Many of the links in this article redirect to a specific reviewed product. Your purchase of these products through affiliate links helps to generate commission for Storables.com, at no extra cost. Learn more)
Introduction
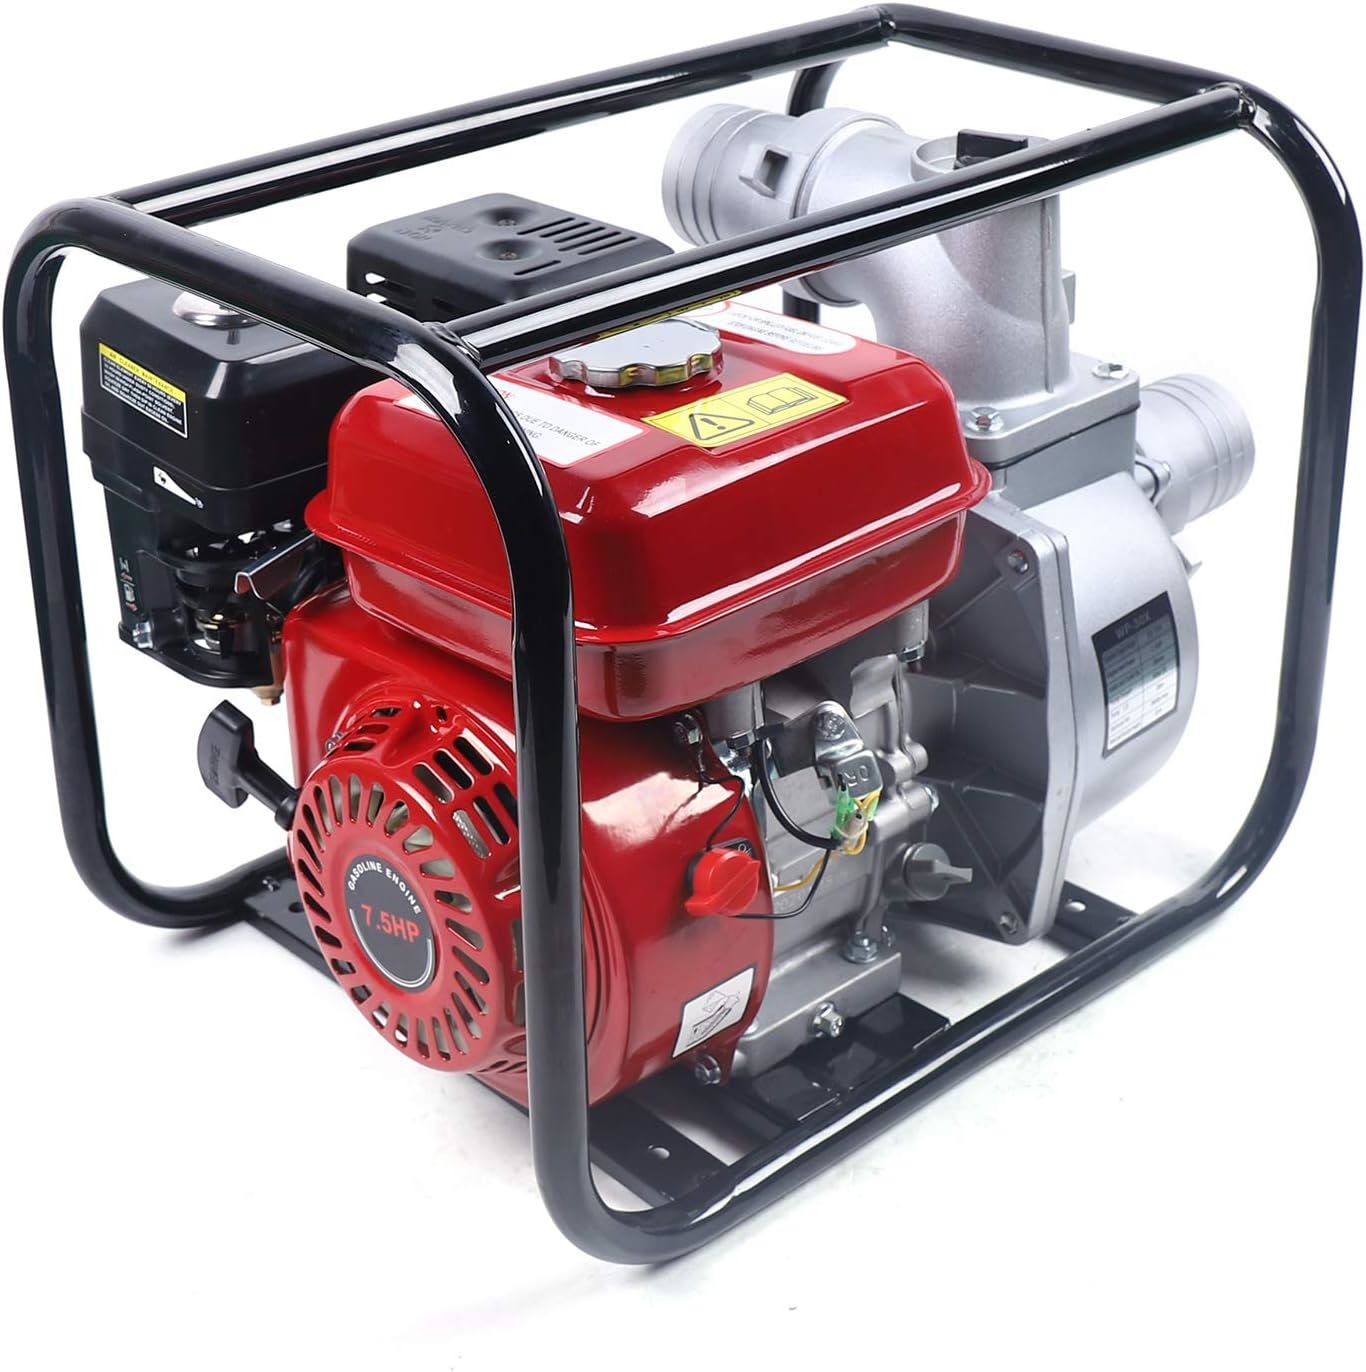
Water pumps play a crucial role in various industries and applications, from household plumbing systems to large-scale irrigation projects. These pumps are responsible for circulating and distributing water efficiently, making them essential components of many systems. However, like any mechanical equipment, water pumps can experience issues over time, leading to decreased performance and potential malfunctions.
Testing a water pump is an important step in troubleshooting and diagnosing any potential problems. By conducting a thorough examination, you can identify issues early on and take the necessary steps to resolve them, preventing further damage and costly repairs. In this article, we will guide you through the process of testing a water pump, providing you with the knowledge and techniques to determine its functionality.
In order to test a water pump effectively, it is important to understand how these devices work and familiarize yourself with the signs of a faulty pump. Additionally, you will need to gather the necessary tools and materials to perform the tests accurately. By following the step-by-step instructions outlined in this article, you will gain the confidence and expertise to conduct a comprehensive evaluation of your water pump.
Remember, it is important to prioritize safety throughout the testing process. Always wear appropriate protective gear and follow the manufacturer’s instructions when working with water pumps. Now, let us dive into the details of how to test a water pump and ensure its optimal performance.
Key Takeaways:
- Regular testing of your water pump is crucial for identifying issues early, ensuring optimal performance, and preventing costly repairs. Prioritize safety, follow the step-by-step process, and consult professionals if needed.
- By inspecting components, testing for leakages, and measuring pressure output, you can gather valuable insights into your water pump’s health. Interpret the results, take necessary actions, and establish a regular maintenance routine for long-term efficiency.
Read more: How To Test Swimming Pool Water
Overview of Water Pumps
Before we delve into the testing process, let’s take a moment to understand the basics of water pumps. A water pump is a mechanical device designed to move water from one location to another. They are commonly used in a wide range of applications, including residential plumbing systems, agricultural irrigation, swimming pools, and industrial processes.
Water pumps operate by creating pressure and increasing the flow of water through a system. The two most common types of water pumps are centrifugal pumps and positive displacement pumps.
Centrifugal pumps are the most widely used type of water pump. They work by converting rotational energy from an electric motor into kinetic energy, which then increases the velocity and pressure of the water. These pumps consist of an impeller, which spins at high speeds, creating a centrifugal force that propels the water outwards. The water is then directed through a discharge outlet to its desired location.
Positive displacement pumps, on the other hand, use a different mechanism to move water. These pumps operate by trapping a specific volume of water in a chamber and then forcibly displacing it to create flow. They are often used in applications that require precise flow rates and can handle high pressures.
It is important to note that water pumps can vary in size, capacity, and power. The specific type of water pump you have will determine the testing methods and techniques required. Therefore, it is crucial to consult the manufacturer’s documentation or seek professional advice to ensure you are conducting the appropriate tests for your specific pump.
Now that we have a general understanding of water pumps, let us explore the common signs that indicate a faulty pump, helping you identify whether testing is necessary.
Signs of a Faulty Water Pump
Recognizing the signs of a faulty water pump is crucial in determining whether testing is necessary. Ignoring these signs can lead to further damage to your pump or even affect the entire system it is connected to. Here are some common indicators that your water pump may be experiencing issues:
- Leakage: Visible leaks around the pump or excessive water pooling can indicate a problem with the pump’s seals or gaskets. Leakage can lead to a decrease in water pressure and inefficient operation.
- Decreased Flow or Pressure: If you notice a significant drop in water flow or pressure, it may be an indication of a malfunctioning water pump. This can be caused by worn-out impellers, clogged pipes, or a failing motor.
- Noise and Vibration: Unusual noises such as grinding, rattling, or squealing coming from the pump may suggest internal damage or misalignment. Excessive vibrations can also occur if the pump is not securely mounted.
- Overheating: If the water pump’s motor feels hot to the touch or if the pump consistently shuts off due to overheating, it is a sign that the pump is not effectively circulating coolant or that the motor is malfunctioning.
- Faulty Temperature Control: Inadequate temperature control within a system can point to a water pump problem. Fluctuations in temperature or an inability to maintain a desired temperature may be a result of a faulty pump.
- Excessive Power Consumption: A sudden increase in energy consumption by the pump may indicate that it is not operating at optimal efficiency. This can be due to various issues, including mechanical wear and tear or electrical problems.
If you notice any of these signs, it is crucial to address them promptly. Testing your water pump can help identify the specific issue and guide you in taking the necessary actions for repair or replacement. In the next section, we will explore the tools and materials needed to conduct accurate tests on your water pump.
Tools and Materials Needed for Testing
Before you begin testing your water pump, it is essential to gather the necessary tools and materials to ensure accurate and reliable results. Here’s a list of items you will need:
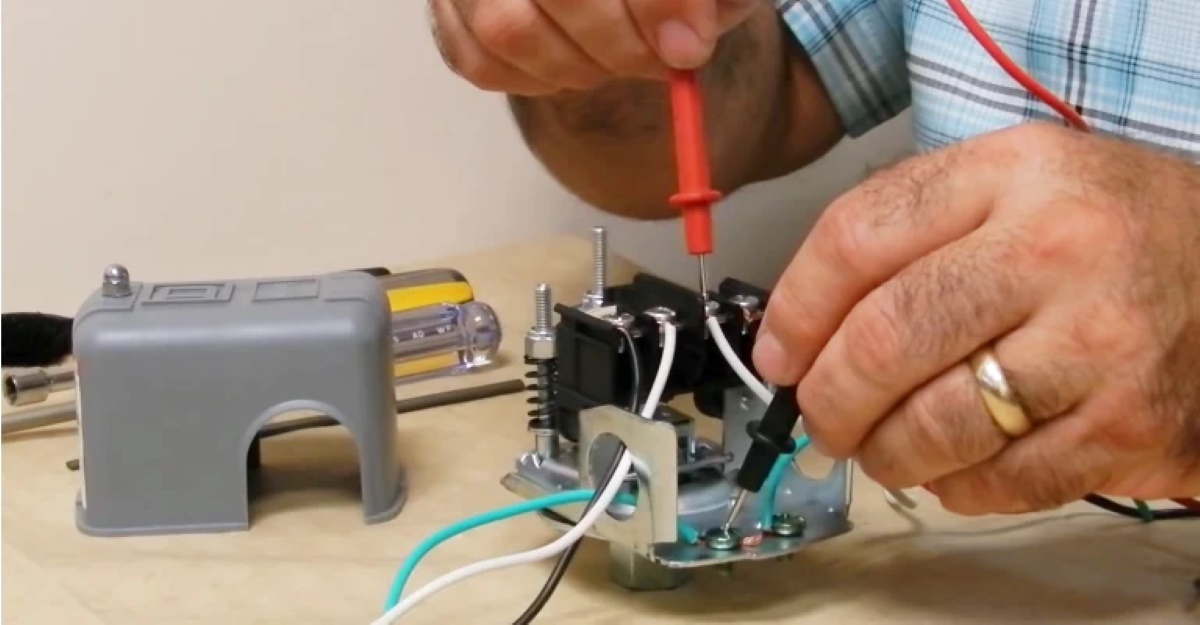
- Multimeter: A digital or analog multimeter is a versatile tool used to measure voltage, current, and resistance. It is crucial for testing the electrical components of the water pump, such as the motor and wiring.
- Pressure Gauge: A pressure gauge allows you to measure the pressure output of the water pump. This is important in determining if the pump is functioning at its intended capacity.
- Thermometer: A thermometer helps you monitor the temperature of the water being circulated by the pump. This is particularly useful in assessing the pump’s ability to maintain an optimal temperature within a system.
- Flashlight: A flashlight will come in handy when inspecting the pump’s components in dark and hard-to-reach areas.
- Wrenches and Screwdrivers: These basic hand tools are necessary for removing protective covers, accessing the pump’s internals, and making adjustments as needed.
- Safety Gear: Always prioritize safety when working with water pumps. Wear protective gear, such as gloves, goggles, and ear protection, to prevent accidents and minimize the risk of injury.
- Infrared Thermometer: An infrared thermometer allows you to measure temperature without direct contact. This is useful for checking the temperature of the motor and other components without risking burns.
- Bucket or Container: A container to collect water is necessary if you need to check for leaks or test the flow rate of the pump.
Make sure to have these tools and materials readily available before you begin the testing process. This will ensure that you have everything you need to carry out a thorough and accurate evaluation of your water pump. In the next section, we will cover the step-by-step process of testing your water pump.
Step 1: Safety Precautions
Before you start testing your water pump, it is essential to prioritize safety. Working with mechanical and electrical components can be hazardous if proper precautions are not taken. Follow these safety guidelines to ensure a safe testing process:
- Turn off the Power: Before you begin any work on the water pump, disconnect the power supply to prevent any electrical accidents. This can be done by shutting off the circuit breaker or unplugging the pump.
- Wear Protective Gear: Always wear appropriate protective gear, such as gloves, goggles or safety glasses, and ear protection. This will help safeguard against potential injuries from sharp or hot components, as well as protect your eyes and ears from any debris or noise.
- Allow the Pump to Cool Down: If the water pump has been running recently, give it enough time to cool down before you begin testing. Touching hot components can cause burns or other injuries.
- Inspect for Leaks: Before you start testing, visually inspect the pump and its surroundings for any signs of leaks. If you notice any dripping water, pooling, or moisture, address the issue before proceeding with the tests.
- Follow Manufacturer’s Instructions: It is important to read and understand the manufacturer’s instructions and guidelines specific to your water pump model. This will ensure that you follow the correct testing procedures and avoid any potential risks associated with your particular pump.
- Work in a Well-Ventilated Area: If you are working in an enclosed space, make sure there is proper ventilation to prevent the build-up of fumes or gases. This will help maintain a safe working environment.
- Take Precautions for Hot Surfaces: Components of the water pump, such as the motor or pipes, can become hot during operation. Use caution when touching or working near these surfaces to avoid burns.
By following these safety precautions, you can minimize the risks associated with testing your water pump. Remember, if you are uncertain about any aspect of the testing process or encounter any issues, it is always recommended to seek professional assistance. Now that you have taken the necessary safety measures, you are ready to move on to the next step: checking the belt and pulley.
Read more: How To Test Thermocouple On Water Heater
Step 2: Checking the Belt and Pulley
The belt and pulley system in a water pump is responsible for transferring power from the motor to the impeller, allowing the pump to function properly. In this step, we will inspect the belt and pulley for any signs of wear or misalignment. Follow these steps:
- Visually Inspect the Belt: Start by visually inspecting the belt for any signs of fraying, cracking, or glazing. These are indications that the belt may be worn out and in need of replacement. Additionally, check for proper tension by pressing down on the belt with your finger. It should have a little give, but not be loose or overly tight.
- Check the Pulley Alignment: Next, examine the alignment of the pulleys. They should be parallel and in a straight line. If you notice any misalignment, it can cause the belt to wear unevenly or slip, affecting the pump’s performance. Adjust the pulleys if necessary, ensuring they are properly aligned.
- Tighten or Replace the Belt: If the belt is loose, use an appropriate wrench or tool to adjust the tension. Refer to the manufacturer’s guidelines for the correct tension measurements. If the belt is damaged or worn out, it is recommended to replace it with a new one.
- Lubricate the Pulley: Apply a small amount of lubricant to the pulley if it appears dry or shows signs of friction. Make sure to use a lubricant compatible with the pump and follow the manufacturer’s recommendations. This will help reduce unwanted noise and ensure smooth operation.
Checking the belt and pulley is essential in ensuring that the power transmission between the motor and the impeller is efficient and reliable. Any issues with the belt or pulley can greatly affect the pump’s performance. Once you have completed this step, proceed to the next step: testing for leakages.
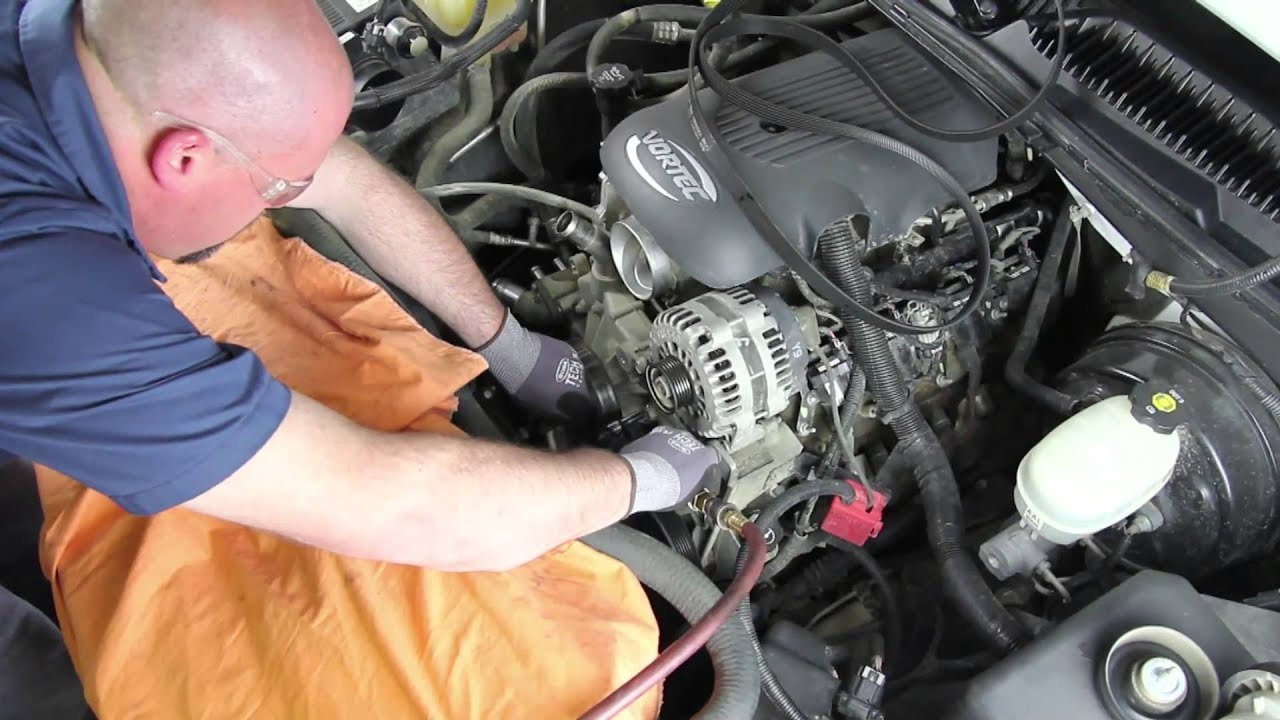
When testing a water pump, check for leaks, listen for unusual noises, and monitor the temperature gauge for any signs of overheating. Also, inspect the drive belt for wear and tear.
Step 3: Testing for Leakages
Water pump leakages can lead to inefficiencies and potential damage to your system. In this step, we will test for any leaks in the water pump. Follow these steps:
- Inspect the Pump Casing: Start by visually inspecting the pump casing for any visible signs of leakage. Look for wet spots, drips, or water stains around the pump. Pay close attention to the seals, gaskets, and connections, as these are common areas for leaks to occur.
- Check the Weep Hole: Some pumps have a weep hole designed to release water when the pump seal is defective. Inspect the weep hole for any water presence. If you notice water coming from the weep hole, it is an indication of a faulty seal that needs to be replaced.
- Perform a Pressure Test: To further investigate potential leaks, you can perform a pressure test. Use a pressure gauge and attach it to the pump’s discharge outlet. Slowly increase the pressure and observe if there is a drop in pressure or any signs of leakage. This can help pinpoint the location of the leak and guide you in repairing or replacing the necessary components.
- Inspect Seals and Gaskets: Carefully inspect the seals and gaskets around the pump. Look for any cracks, damage, or wear that may be causing leaks. Replace any faulty seals or gaskets to ensure a proper seal and prevent future leakages.
- Check Connections: Examine the connections between the pump and the pipes or hoses. Ensure that they are tight and secure. Loose connections can result in water leakage. Tighten any loose fittings or replace damaged connectors as needed.
Testing for leakages is vital for identifying and resolving potential issues with your water pump. Addressing leaks promptly can prevent water damage, conserve water, and optimize the pump’s performance. Once you have completed this step, proceed to the next step: inspecting the coolant flow.
Step 4: Inspecting the Coolant Flow
Proper coolant flow is essential for the efficient operation of a water pump. In this step, we will inspect the coolant flow to ensure it is adequate. Follow these steps:
- Check the Coolant Reservoir: Begin by examining the coolant reservoir. Ensure that it is filled to the appropriate level as indicated by the manufacturer’s guidelines. A low or empty coolant reservoir can result in insufficient coolant flow, leading to overheating or pump failure.
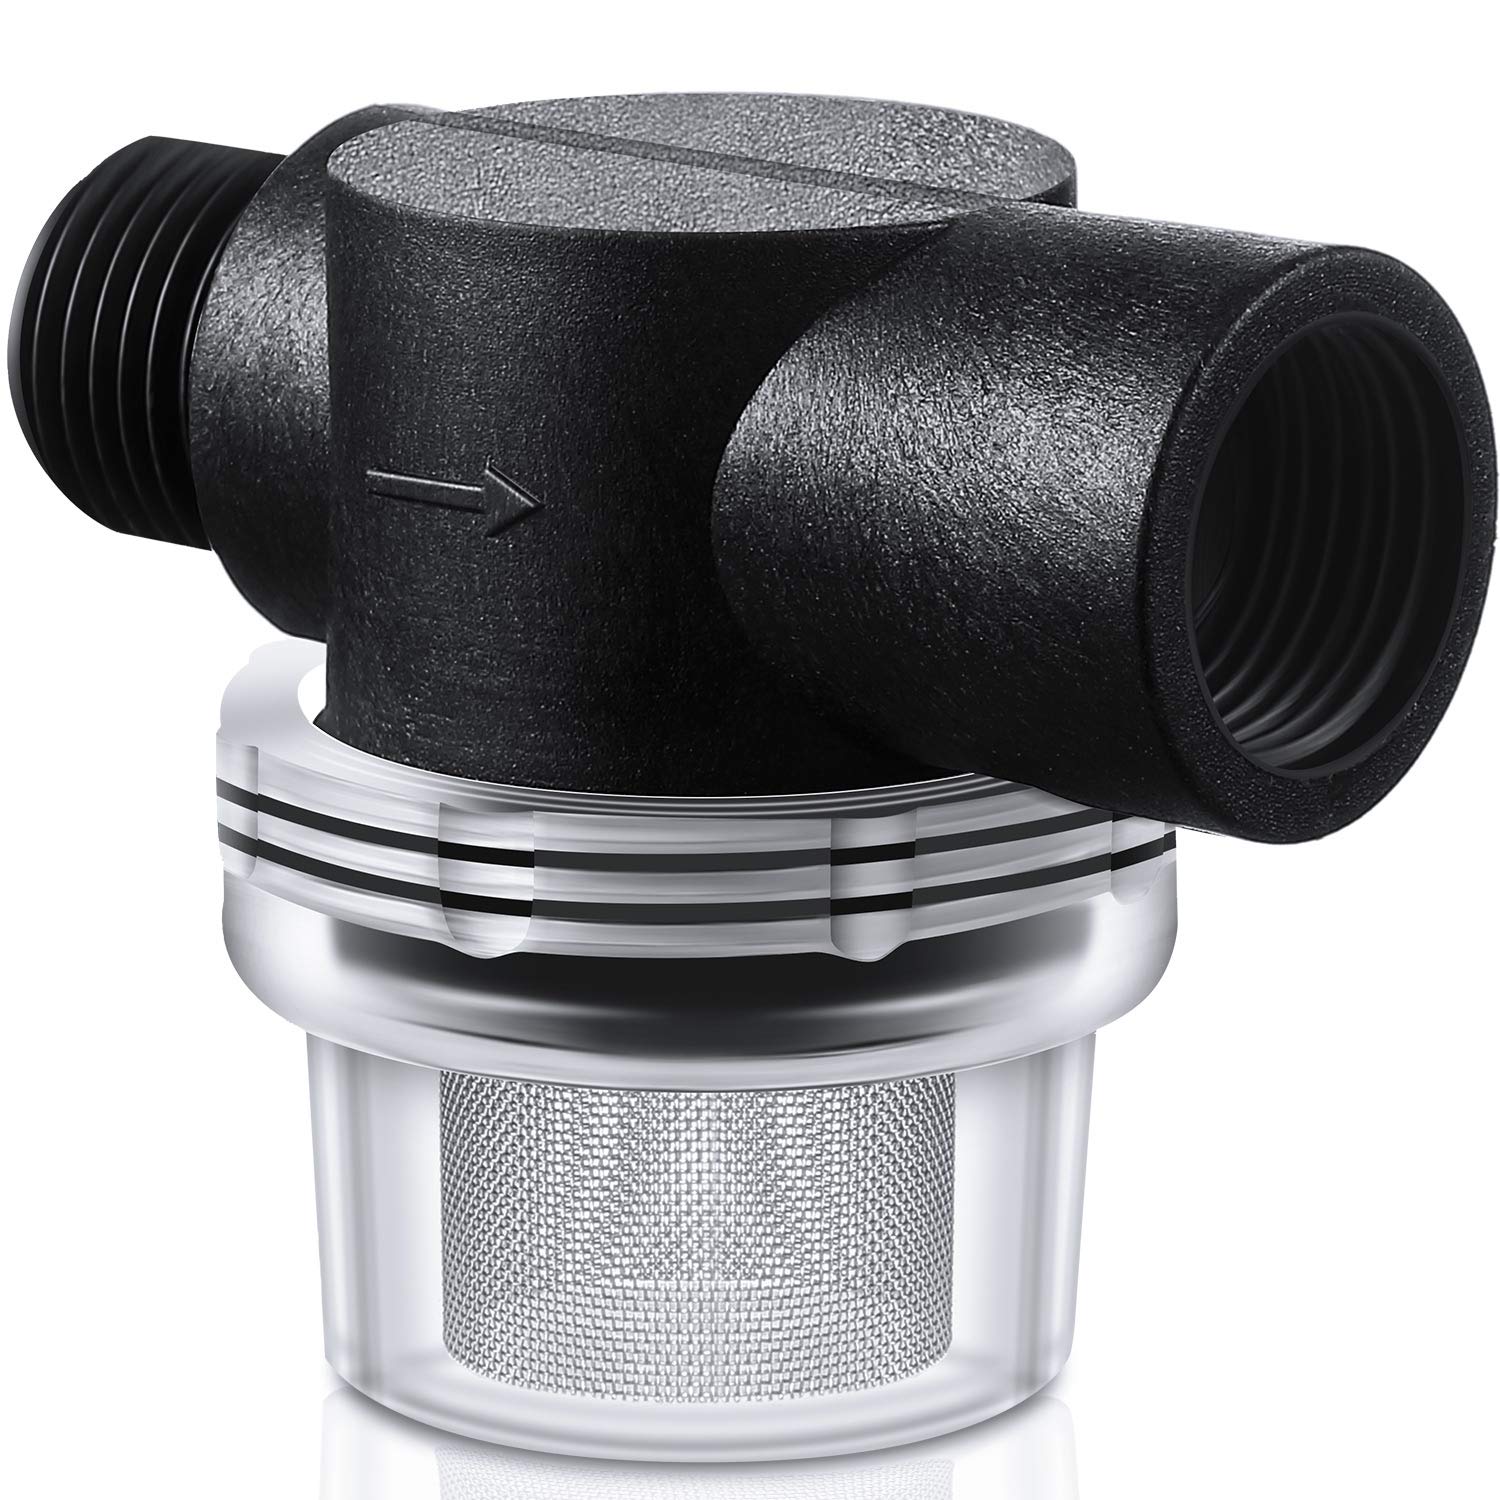
- Inspect Hoses and Pipes: Examine the hoses and pipes connected to the water pump. Look for any signs of damage, such as cracks or leaks, that may be obstructing the flow of coolant. Replace any damaged hoses or pipes as necessary.
- Observe Coolant Flow:
- Start the pump and observe the coolant flow through the system. Look for consistent and steady movement of the coolant. Irregular flow or stagnation could indicate blockages or restrictions in the system.
- Ensure that the coolant flows in the correct direction as indicated by the pump’s arrow or the manufacturer’s instructions. Reversing the flow can negatively impact the pump’s performance.
- If you notice any air bubbles in the coolant flow, it could indicate a potential air pocket in the system. Bleed the air out of the system to ensure smooth and efficient coolant circulation.
- Pay attention to any unusual noises, vibrations, or fluctuating coolant flow patterns, as these may indicate underlying issues that need to be addressed.
Inspecting the coolant flow gives you valuable insights into the health of your water pump and the overall cooling system. A proper and consistent flow of coolant is necessary to prevent overheating and ensure optimal pump performance. Once you have completed this step, proceed to the next step: measuring the pump’s pressure output.
Step 5: Measuring the Pump’s Pressure Output
Measuring the pressure output of a water pump is crucial in determining its effectiveness and performance. In this step, we will guide you through the process of measuring the pump’s pressure output. Follow these steps:
- Attach the Pressure Gauge: Start by attaching a pressure gauge to the discharge outlet of the water pump. Make sure it is securely connected and properly sealed to prevent any leaks.
- Start the Pump: Turn on the water pump and allow it to run for a few minutes until it reaches a stable operating condition.
- Observe the Pressure Reading: Monitor the pressure gauge and note the pressure reading. The specific pressure range will depend on the type of water pump and its intended application. Refer to the manufacturer’s guidelines or specifications for the expected operating pressure values.
- Compare with the Recommended Pressure: Compare the measured pressure with the recommended pressure range for your specific water pump. If the measured pressure falls significantly below or exceeds the recommended range, it may indicate a problem with the pump that needs to be addressed.
- Repeated Measurements: It is a good practice to take multiple pressure readings at different operating conditions to ensure consistency and accuracy. This can help identify any fluctuations in the pressure output.
Measuring the pump’s pressure output provides valuable information about its efficiency and performance. Any significant deviations from the recommended pressure range may indicate issues such as clogged pipes, worn-out impellers, or motor problems. If you notice any discrepancies, consult a professional or refer to the manufacturer’s guidelines for further troubleshooting or repair. Once you have completed this step, proceed to the next step: assessing the pump’s noise and vibration.
Read more: How To Lubricate A Water Pump
Step 6: Assessing the Pump’s Noise and Vibration
Noise and vibration can be indicators of underlying issues with your water pump. In this step, we will guide you through the process of assessing the pump’s noise and vibration levels. Follow these steps:
- Listen for Unusual Noises: Start by running the water pump and carefully listen for any unusual noises. Pay attention to sounds such as grinding, rattling, squealing, or excessive mechanical noise. These may be signs of internal damage or misalignment.
- Observe Vibration Levels: While the pump is running, feel for excessive vibrations by placing your hand on the pump’s body or base. Excessive vibrations can indicate a problem with the motor, impellers, or mounting. If you detect noticeable vibrations, it may be necessary to investigate further or seek professional assistance.
- Inspect Mounting and Alignment: Check the mounting and alignment of the water pump. Ensure that it is securely mounted and properly aligned with the system. Loose or misaligned pumps can result in increased noise and vibrations. Adjust and tighten the mounting as needed.
- Examine the Impellers: If possible, inspect the pump’s impellers visually. Look for any signs of damage, such as bent or worn-out fins. Damaged impellers can cause imbalanced rotation and contribute to excessive noise and vibration.
- Lubricate Moving Parts: Apply lubricant to any moving parts of the pump if recommended by the manufacturer. This can help reduce friction and minimize noise and vibration. Make sure to use the appropriate lubricant for your specific pump type.
Assessing the noise and vibration levels of your water pump is essential in identifying potential issues that may affect its performance and longevity. If you notice any significant or concerning noise or vibration, consider contacting a professional for further evaluation and maintenance. Once you have completed this step, proceed to the next step: interpreting the test results.
Step 7: Interpreting the Test Results
After completing all the tests on your water pump, it is time to interpret the results and determine the next course of action. Here are some key points to consider when interpreting the test results:
- Compare Results with Manufacturer’s Guidelines: Refer to the manufacturer’s guidelines or specifications to compare your test results with the recommended values. This will help you determine if your water pump is operating within acceptable parameters.
- Identify Any Deviations: Take note of any significant deviations from the expected results. This could include low pressure output, excessive noise or vibration, leaks, or any other abnormalities observed during the tests.
- Pinpoint the Root Cause: Analyze the test results and consider the signs of a faulty water pump that were initially identified. Try to identify the root cause of the issues you observed during the testing process. This will guide you in determining the necessary repairs or replacements.
- Consult a Professional: If you are unsure about the test results or if you have identified major issues with your water pump, it is recommended to consult a professional. An experienced technician can provide expert advice and assistance in resolving any complex or severe problems with your pump.
- Take Action for Repairs or Replacements: Based on the interpretation of the test results and professional guidance, decide on the appropriate actions to take. This might involve repairing specific components, replacing damaged parts, or even considering a complete replacement of the water pump.
- Maintain Regular Maintenance: Regardless of the test results, it is crucial to establish a regular maintenance routine for your water pump. Follow the manufacturer’s recommended maintenance schedule to ensure the long-term durability and efficiency of your pump.
Interpreting the test results will give you valuable insights into the condition of your water pump and guide you in making informed decisions about necessary repairs or replacements. By taking appropriate actions based on the test results, you can ensure the optimal functioning of your water pump and prolong its lifespan. Remember to prioritize regular maintenance to prevent future issues and to keep your system running smoothly.
Conclusion
Testing your water pump is a critical step in ensuring its optimal performance and identifying any underlying issues. By following the step-by-step process outlined in this article, you can effectively evaluate the functionality of your water pump and take appropriate actions for maintenance or repair.
Throughout the testing process, it is important to prioritize safety and wear the necessary protective gear. Always refer to the manufacturer’s guidelines and recommendations specific to your water pump model to ensure accurate and reliable testing results.
By inspecting the belt and pulley, checking for leakages, inspecting coolant flow, measuring pressure output, assessing noise and vibration levels, and interpreting the test results, you can gather valuable information about the health of your water pump.
If you encounter any significant issues or if you are unsure about the test results, do not hesitate to consult a professional. They can provide expert advice and assistance in troubleshooting and resolving complex or severe problems with your water pump.
Remember to establish a regular maintenance routine for your water pump. This includes checking for leaks, inspecting and adjusting the belt and pulley, monitoring coolant flow, and ensuring proper functioning of the pump. Regular maintenance will help prolong the life of your water pump and prevent costly repairs in the future.
In conclusion, testing your water pump is an important maintenance task that should not be overlooked. By being proactive and conducting regular tests, you can ensure the optimal performance of your water pump and avoid unexpected breakdowns. So take the time to test your water pump, identify any issues, and address them promptly to keep your system running smoothly.
Frequently Asked Questions about How To Test Water Pump
Was this page helpful?
At Storables.com, we guarantee accurate and reliable information. Our content, validated by Expert Board Contributors, is crafted following stringent Editorial Policies. We're committed to providing you with well-researched, expert-backed insights for all your informational needs.


0 thoughts on “How To Test Water Pump”