Home>Energy>Home Insulation & Ventilation>How Do You Replace Weather Stripping On The Bottom Of A Door
Home Insulation & Ventilation
How Do You Replace Weather Stripping On The Bottom Of A Door
Modified: January 4, 2024
Learn how to replace weather stripping on the bottom of a door to improve home insulation and ventilation. Follow these steps for a more energy-efficient home.
(Many of the links in this article redirect to a specific reviewed product. Your purchase of these products through affiliate links helps to generate commission for Storables.com, at no extra cost. Learn more)
Introduction
Welcome to the world of home insulation and ventilation, where the quest for energy efficiency meets the desire for comfort and cost savings. Today, we embark on a journey to explore the essential art of replacing weather stripping on the bottom of a door. As we delve into this topic, we'll uncover the importance of weather stripping, the tools and materials required for the task, and the step-by-step process of removing and installing new weather stripping.
Weather stripping plays a crucial role in maintaining the thermal efficiency of a home. It acts as a barrier against drafts, moisture, and outside air, ensuring that the indoor environment remains comfortable while minimizing energy loss. Over time, weather stripping can wear out, leading to decreased effectiveness and potential energy waste. By learning how to replace weather stripping on the bottom of a door, you can contribute to a more energy-efficient and comfortable living space.
Throughout this guide, we will address the practical aspects of this maintenance task, providing clear instructions and insights to empower you to tackle the project with confidence. Whether you're a seasoned DIY enthusiast or a homeowner looking to enhance your knowledge of home maintenance, this guide will equip you with the skills and understanding needed to carry out this essential task.
So, let's roll up our sleeves, gather our tools, and embark on this journey to replace weather stripping on the bottom of a door. Get ready to breathe new life into your home's insulation and take a step towards a more energy-efficient and comfortable living environment.
Key Takeaways:
- Replacing weather stripping on a door is crucial for energy efficiency and comfort. It prevents drafts, moisture, and noise, contributing to a cozy and cost-effective home environment.
- By learning to replace weather stripping, you can enhance your home’s insulation and save on energy costs. It’s a DIY task that leads to a more comfortable living space.
Understanding Weather Stripping
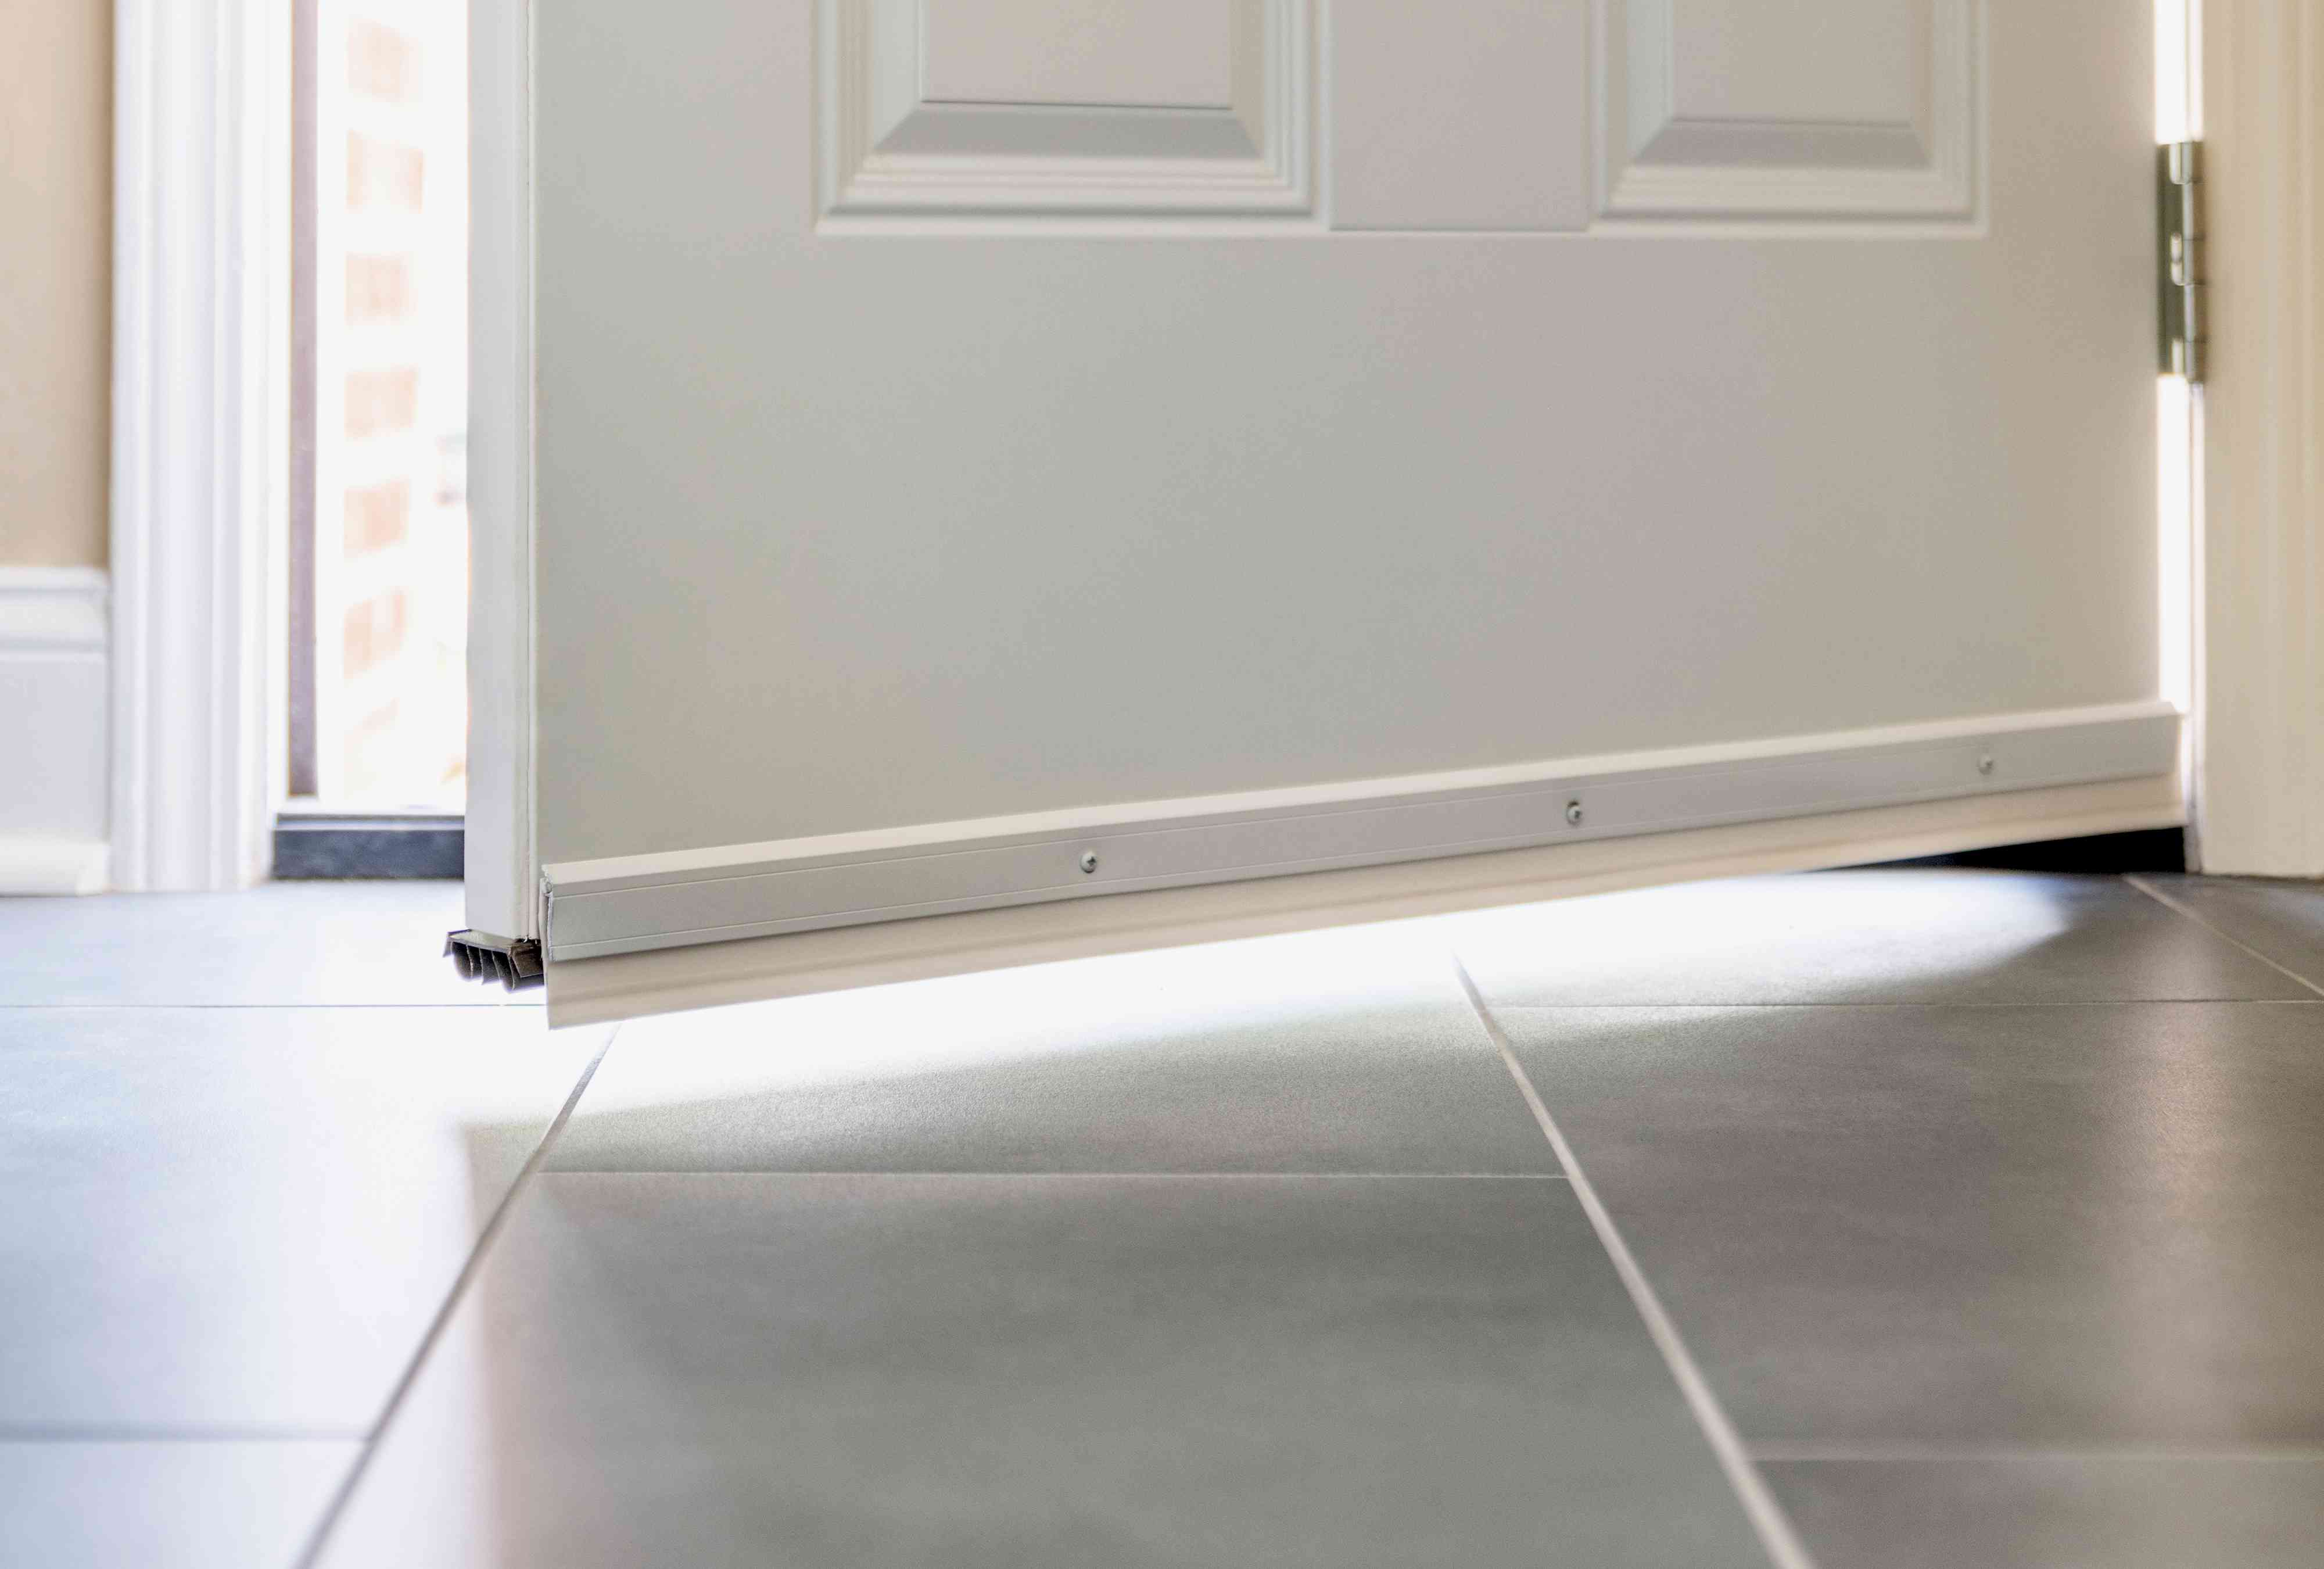
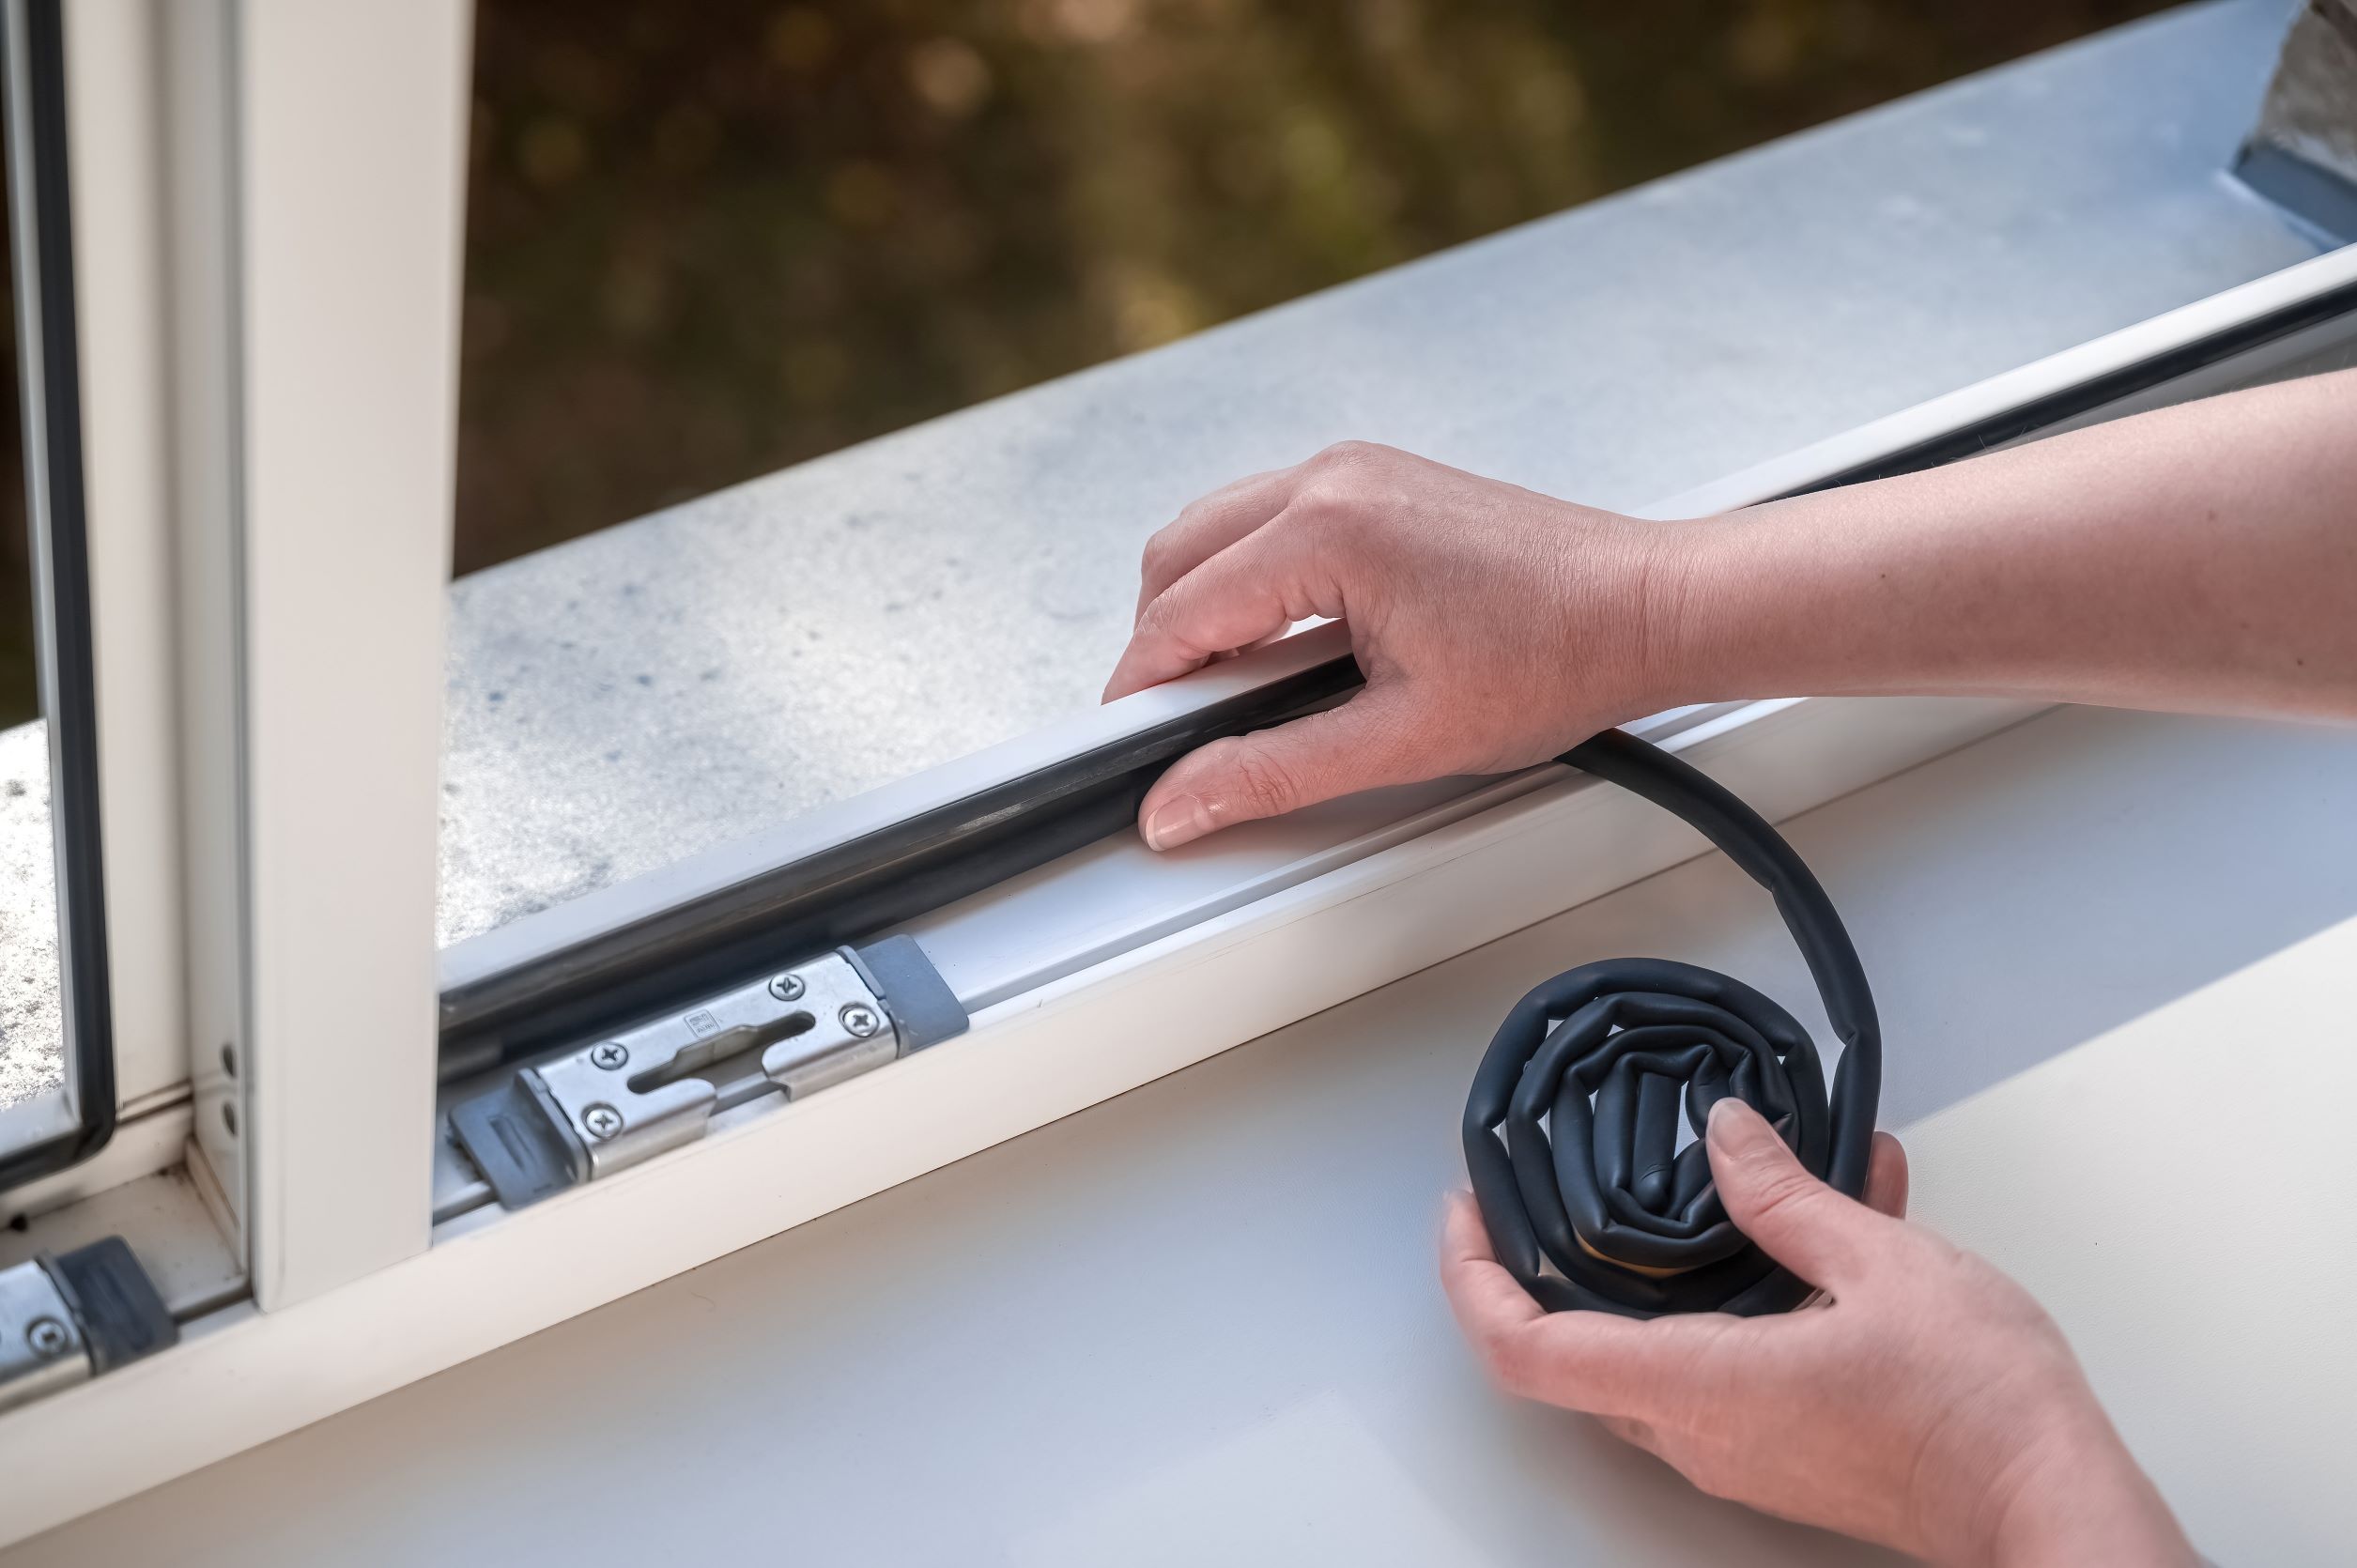
Weather stripping is a vital component of a home’s insulation system, serving as a barrier to prevent air and moisture from infiltrating the interior. It is commonly found around doors and windows, sealing the gaps between stationary and moving parts. The weather stripping located at the bottom of a door, often referred to as a door sweep, is especially important as it helps prevent drafts and moisture from entering the home.
When it comes to energy efficiency, weather stripping plays a significant role. By effectively sealing gaps and preventing air leakage, it contributes to maintaining a consistent indoor temperature, reducing the workload on heating and cooling systems, and ultimately lowering energy costs. In addition to energy efficiency, weather stripping also helps in noise reduction, keeping out dust and insects, and preventing moisture infiltration that can lead to mold and mildew issues.
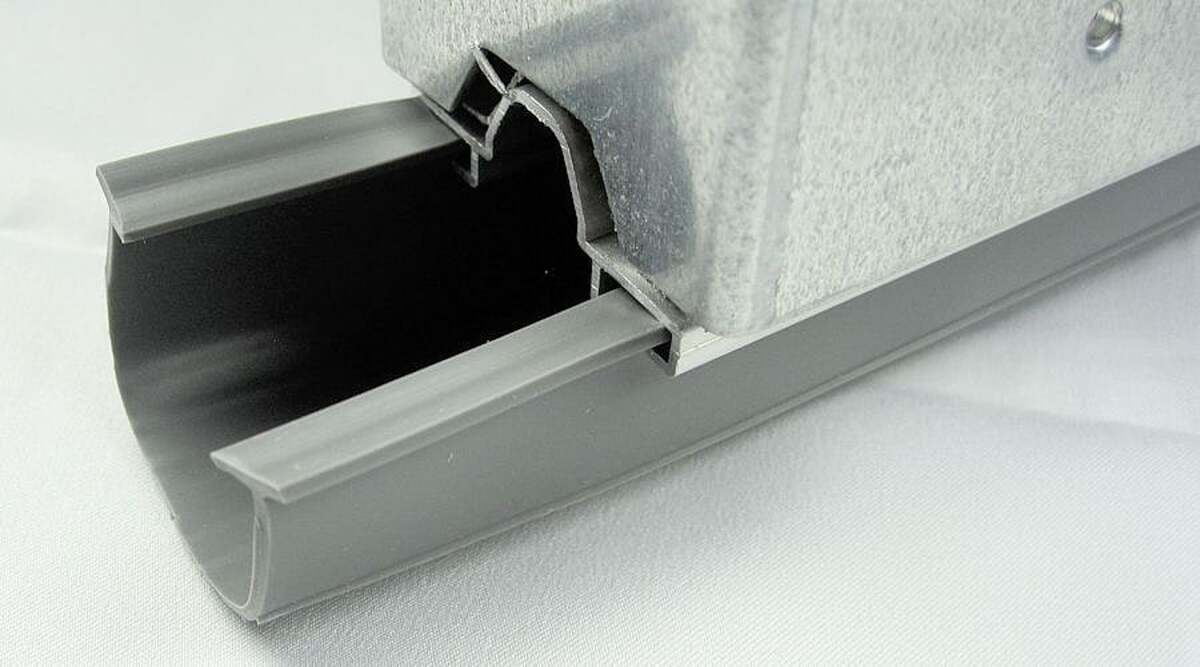
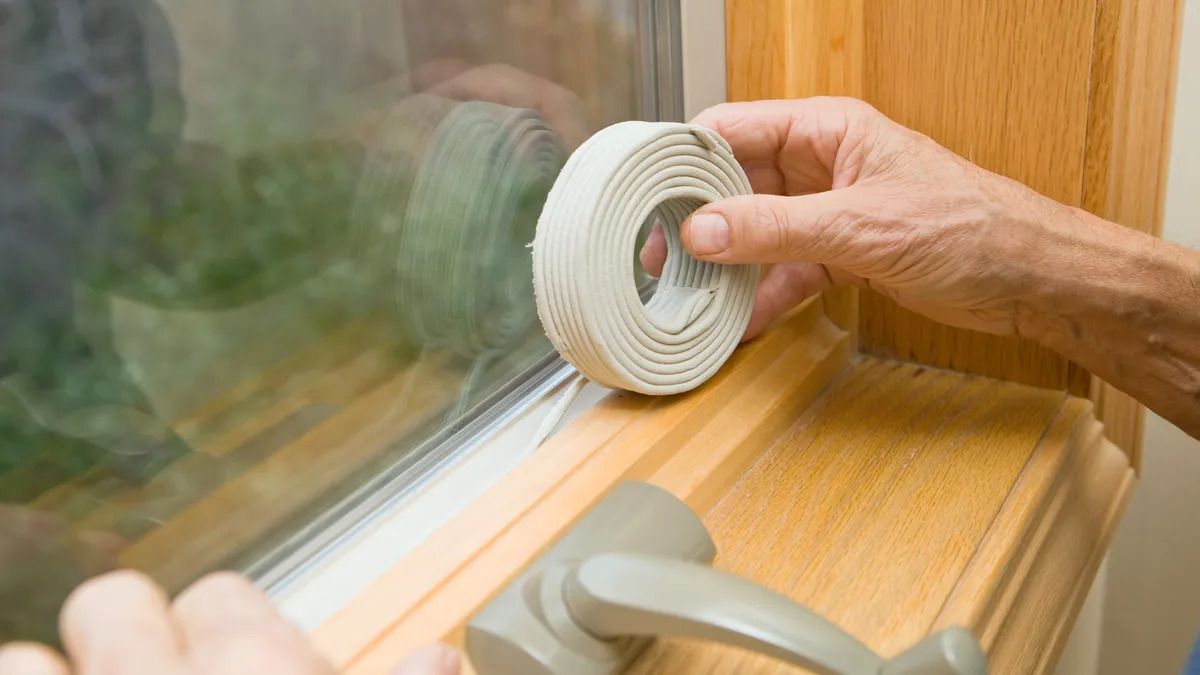
Understanding the different types of weather stripping is crucial for selecting the right replacement. Common materials used for weather stripping include felt, foam, rubber, and vinyl. Each material offers unique benefits in terms of durability, flexibility, and sealing properties. For the bottom of a door, door sweeps made of rubber or vinyl are popular choices due to their resilience and ability to form a tight seal with the floor surface.
When inspecting weather stripping for replacement, look for signs of wear and tear such as fraying, compression, or brittleness. These indicators suggest that the weather stripping has lost its effectiveness and needs to be replaced to maintain optimal insulation and sealing performance.
By gaining a deeper understanding of the role and importance of weather stripping, you’ll be better equipped to assess its condition and make informed decisions when it comes to replacement. With this knowledge in hand, you can confidently proceed to the next steps of acquiring the necessary tools and materials for the replacement process.
Tools and Materials Needed
Before diving into the process of replacing weather stripping on the bottom of a door, it’s essential to gather the necessary tools and materials to ensure a smooth and efficient workflow. Here’s a comprehensive list of what you’ll need:
Tools:
- Measuring tape: Used to accurately measure the dimensions of the door for selecting the appropriate replacement weather stripping.
- Screwdriver: Depending on the type of fasteners used to secure the existing weather stripping, a screwdriver will be needed for their removal.
- Utility knife: Essential for cutting and trimming the new weather stripping to fit the door's dimensions.
- Flat pry bar: Helpful for gently removing the old weather stripping without damaging the door or its frame.
- Hammer: If the existing weather stripping is secured with nails, a hammer will be necessary for their extraction.
- Power drill (optional): In some cases, the existing weather stripping may be fastened with screws, requiring a power drill for efficient removal.
- Safety glasses and gloves: To protect your eyes and hands during the removal and installation process.
Materials:
- New weather stripping: Select a door sweep made of rubber or vinyl, ensuring it matches the width and length of the door. Consider opting for a high-quality, durable weather stripping to maximize its effectiveness and longevity.
- Screws or nails (if not included with the new weather stripping): To secure the replacement weather stripping in place.
- Cleaner and rag: Before installing the new weather stripping, it's beneficial to clean the door's bottom surface to ensure a proper seal and adhesion.
- Adhesive (if applicable): Depending on the type of weather stripping chosen, adhesive may be required for secure attachment to the door.
By ensuring you have the necessary tools and materials on hand, you’ll be well-prepared to tackle the task of replacing the weather stripping on the bottom of a door. With everything in place, you can proceed with confidence, knowing that you have everything needed to complete the project effectively and efficiently.
Removing the Old Weather Stripping
As you embark on the journey of replacing the weather stripping on the bottom of a door, the first step involves removing the existing weather stripping. This process requires careful attention to avoid damaging the door or its frame. Here’s a step-by-step guide to effectively remove the old weather stripping:
1. Assess the Fastening Method:
Before beginning the removal process, examine how the existing weather stripping is secured to the door. It may be attached with screws, nails, or adhesives. Understanding the fastening method will guide you in selecting the appropriate tools for removal.
2. Loosen and Remove Fasteners:
If the weather stripping is fastened with screws, carefully unscrew and remove them using a screwdriver or power drill. For nails, use a hammer and flat pry bar to gently pry them out, taking care not to splinter the door or its frame.
3. Detach Adhered Weather Stripping:
In the case of adhesive-attached weather stripping, use a utility knife to carefully cut through the adhesive and detach the weather stripping from the door. Exercise caution to avoid damaging the door’s surface during this process.
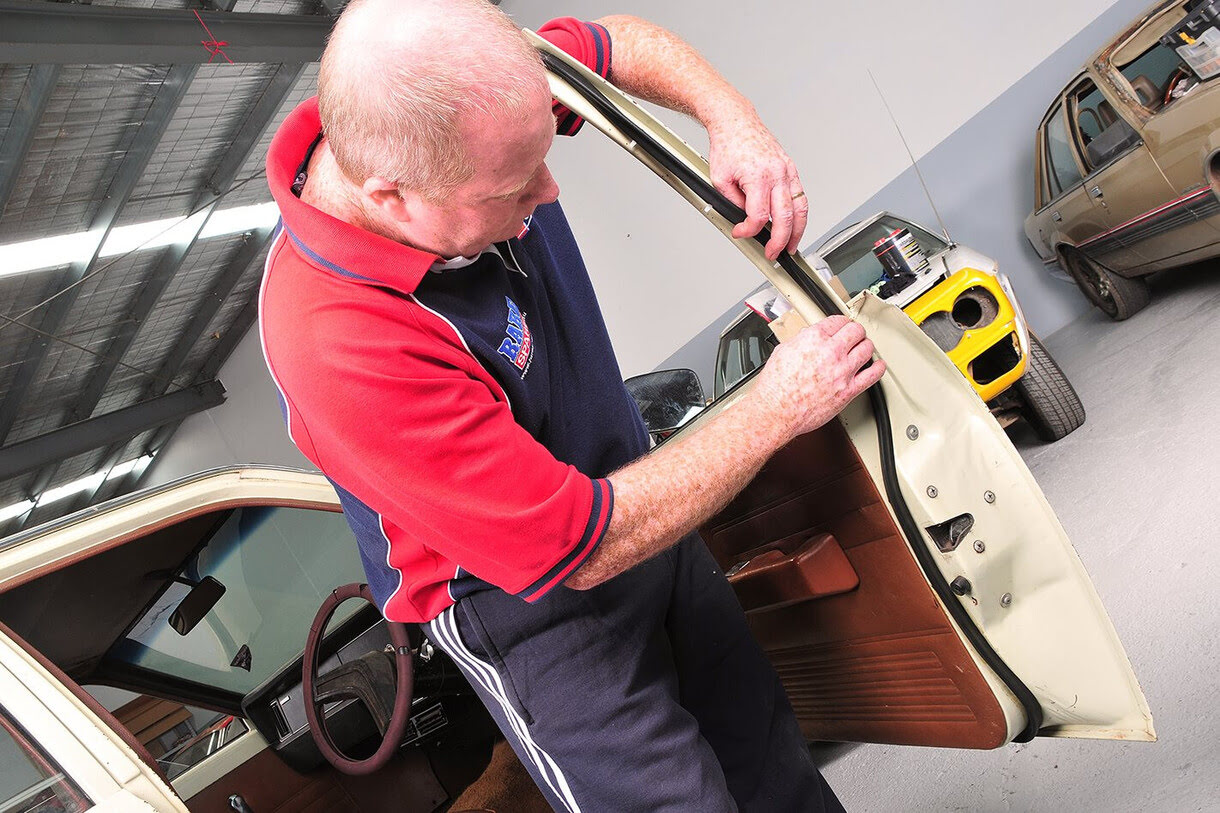
4. Gently Remove the Weather Stripping:
Once the fasteners or adhesive have been dealt with, gently pull or pry the old weather stripping away from the door. Utilize a flat pry bar to ease the stripping off, ensuring that any remaining adhesive or fastener remnants are also removed from the door’s surface.
5. Clean the Door’s Surface:
After removing the old weather stripping, take a moment to clean the door’s bottom surface. Use a cleaner and rag to remove any adhesive residue, dirt, or debris, ensuring a smooth and clean surface for the installation of the new weather stripping.
By following these steps, you’ll successfully remove the old weather stripping, preparing the door for the installation of new, efficient weather sealing. With the old weather stripping removed and the door’s surface cleaned, you’re now ready to proceed with the installation of the replacement weather stripping, bringing renewed insulation and energy efficiency to your home.
Installing the New Weather Stripping
With the old weather stripping successfully removed, it’s time to proceed with the installation of the new weather stripping on the bottom of the door. This process involves precise measurements, secure attachment, and attention to detail to ensure optimal sealing and insulation. Here’s a comprehensive guide to installing the new weather stripping:
1. Measure and Cut the New Weather Stripping:
Using a measuring tape, determine the exact width of the door to ensure the replacement weather stripping matches its dimensions. If necessary, trim the new weather stripping to fit the door’s width using a utility knife, ensuring a precise and snug fit.
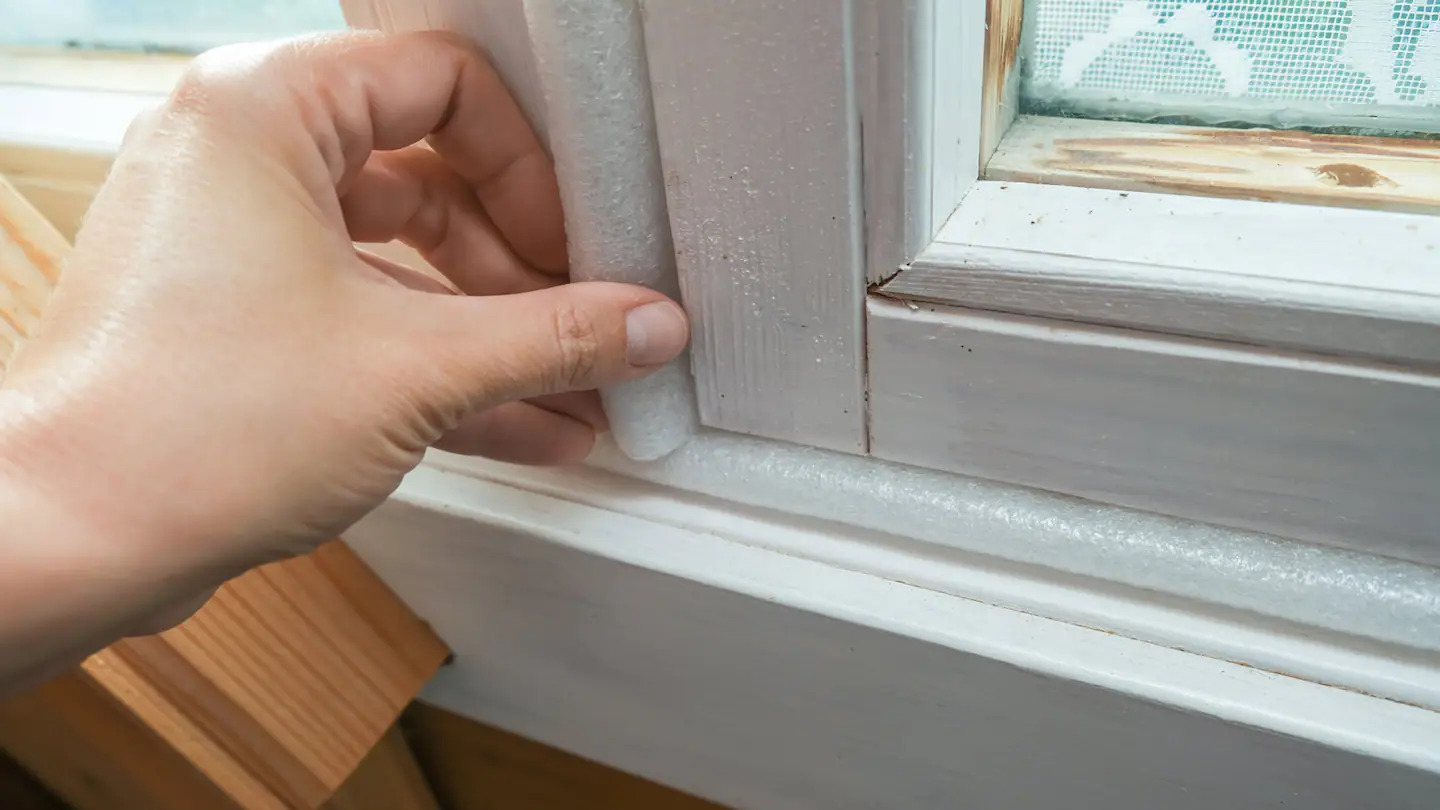
2. Position the Weather Stripping:
Carefully align the new weather stripping along the bottom edge of the door, ensuring that it extends across the entire width. The weather stripping should make contact with the floor to create a tight seal, preventing drafts and moisture from entering the interior.
3. Secure the Weather Stripping:
Depending on the type of replacement weather stripping, it may come with pre-drilled holes for screws or require adhesive for attachment. If screws are needed, use a screwdriver or power drill to secure the weather stripping in place. For adhesive attachment, apply the adhesive as directed and firmly press the weather stripping onto the door’s surface, ensuring a strong bond.
4. Test the Door’s Movement:
After securing the new weather stripping, open and close the door to ensure that it moves smoothly without any obstruction from the weather stripping. Make any necessary adjustments to the positioning or length of the weather stripping to allow for unimpeded door movement while maintaining a secure seal.
5. Ensure a Tight Seal:
Close the door and inspect the contact between the weather stripping and the floor. The seal should be snug, with no gaps that could compromise its effectiveness. If gaps are present, consider adjusting the positioning of the weather stripping or opting for a thicker replacement to achieve a secure seal.
By following these steps, you’ll effectively install the new weather stripping on the bottom of the door, enhancing the insulation and energy efficiency of your home. With the replacement weather stripping in place, you can look forward to a draft-free, well-sealed door that contributes to a more comfortable and energy-efficient living environment.
Read more: How Often To Replace Weather Stripping
Testing and Adjusting the Door
After installing the new weather stripping on the bottom of the door, it’s crucial to conduct thorough testing and make any necessary adjustments to ensure that the door operates smoothly while maintaining an effective seal. Testing and fine-tuning the door’s movement and the integrity of the weather stripping will contribute to the overall success of the replacement process. Here’s a detailed guide to testing and adjusting the door:
1. Open and Close the Door:
Begin by opening and closing the door several times to assess its movement and the interaction with the newly installed weather stripping. Pay attention to any resistance, unusual sounds, or difficulty in operation, as these may indicate the need for adjustments.
2. Check for Proper Sealing:
Close the door and inspect the contact between the new weather stripping and the floor. Ensure that the seal is tight and uniform along the entire length of the door, leaving no gaps that could compromise its effectiveness in preventing drafts and moisture infiltration.
3. Verify Insulation and Soundproofing:
While the door is closed, take note of any changes in the indoor environment, such as reduced drafts, improved temperature retention, and decreased external noise. These are indicators of the new weather stripping’s effectiveness in enhancing insulation and soundproofing.
4. Make Necessary Adjustments:
If the door exhibits resistance or the weather stripping does not create a secure seal, consider making adjustments. This may involve repositioning the weather stripping, trimming it to achieve a better fit, or opting for a thicker or more flexible replacement to enhance the seal.
5. Re-test the Door:
After making adjustments, repeat the process of opening and closing the door to assess the impact of the changes. Verify that the door operates smoothly and that the weather stripping maintains a secure seal without impeding the door’s movement.
By thoroughly testing the door and making necessary adjustments, you’ll ensure that the new weather stripping effectively contributes to energy efficiency, insulation, and overall comfort in your home. A well-sealed and properly functioning door enhances the living environment, providing a draft-free and energy-efficient entryway that contributes to a more comfortable and sustainable home.
Conclusion
Congratulations on successfully completing the journey of replacing weather stripping on the bottom of a door! By embarking on this endeavor, you have taken a proactive step toward enhancing the energy efficiency, insulation, and comfort of your home. Through careful removal of the old weather stripping and precise installation of the new, you have contributed to a more sustainable and well-insulated living environment.
As you reflect on this accomplishment, it’s important to recognize the impact of your efforts. The new weather stripping serves as a barrier against drafts, moisture, and external elements, contributing to reduced energy consumption, improved temperature control, and enhanced soundproofing. By maintaining a secure seal at the bottom of the door, the weather stripping plays a crucial role in creating a comfortable and energy-efficient indoor space.
Furthermore, the knowledge and skills gained from this experience empower you to take proactive measures in maintaining and improving your home’s insulation and energy efficiency. Understanding the role of weather stripping, selecting the appropriate tools and materials, and executing the removal and installation process demonstrate your commitment to creating a sustainable and comfortable living environment.
As you enjoy the benefits of the newly installed weather stripping, take pride in the positive impact it has on your home. Reduced energy costs, improved thermal comfort, and a quieter indoor environment are among the many advantages of a well-sealed door. Your dedication to this maintenance task contributes to a more sustainable and efficient home, aligning with the principles of environmental responsibility and energy conservation.
With the completion of this project, you’ve not only enhanced the insulation and comfort of your home but also gained valuable knowledge and skills that can be applied to future maintenance and improvement endeavors. Your proactive approach to home maintenance exemplifies a commitment to creating a living space that prioritizes sustainability, efficiency, and comfort.
As you continue your journey in home maintenance and improvement, may the knowledge and experiences gained from this project serve as a foundation for future endeavors. Your dedication to creating a sustainable and comfortable living environment is a testament to your commitment to a more energy-efficient and environmentally conscious lifestyle.
With the new weather stripping in place, your home is now equipped with enhanced insulation and protection against external elements, contributing to a more comfortable and sustainable living space for you and your family.
Frequently Asked Questions about How Do You Replace Weather Stripping On The Bottom Of A Door
Was this page helpful?
At Storables.com, we guarantee accurate and reliable information. Our content, validated by Expert Board Contributors, is crafted following stringent Editorial Policies. We're committed to providing you with well-researched, expert-backed insights for all your informational needs.


0 thoughts on “How Do You Replace Weather Stripping On The Bottom Of A Door”