Home>Furniture & Design>Bathroom Accessories>How Do You Remove A Bathtub Stopper
Bathroom Accessories
How Do You Remove A Bathtub Stopper
Modified: March 22, 2024
Learn how to remove a bathtub stopper easily with our step-by-step guide. Find out the best tools and methods for removing bathroom accessories.
(Many of the links in this article redirect to a specific reviewed product. Your purchase of these products through affiliate links helps to generate commission for Storables.com, at no extra cost. Learn more)
Introduction
Removing a bathtub stopper may seem like a daunting task, but with the right knowledge and tools, it can be a straightforward process. Whether you're dealing with a lift-and-turn, push-and-pull, or toe-touch stopper, understanding the specific removal techniques for each type is essential. By familiarizing yourself with the intricacies of these stoppers, you can confidently tackle this common bathroom maintenance task.
Bathtub stoppers serve a crucial function in controlling the flow of water and preventing it from draining out of the tub. Over time, these stoppers may become clogged with debris or experience mechanical issues, necessitating their removal for cleaning or replacement. By learning the proper removal methods for different types of stoppers, you can effectively address any issues that may arise, ensuring the optimal functionality of your bathtub.
In the following sections, we will delve into the various types of bathtub stoppers, the tools and materials needed for their removal, and step-by-step instructions for removing each type. Whether you're a seasoned DIY enthusiast or a homeowner looking to tackle a simple bathroom maintenance task, understanding how to remove a bathtub stopper is a valuable skill that can save you time and money in the long run. So, let's dive into the world of bathtub stoppers and equip ourselves with the knowledge needed to handle this common household chore with confidence.
Key Takeaways:
- Removing a bathtub stopper is easy with the right tools and know-how. Whether it’s a lift-and-turn, push-and-pull, or toe-touch stopper, understanding the specific removal techniques for each type is essential for a successful maintenance process.
- By familiarizing yourself with the intricacies of different stopper types and having the right tools and materials readily available, you can confidently tackle the removal process, address any maintenance needs, and restore the efficiency of your bathtub drains.
Read more: How To Remove A Bathtub Stopper
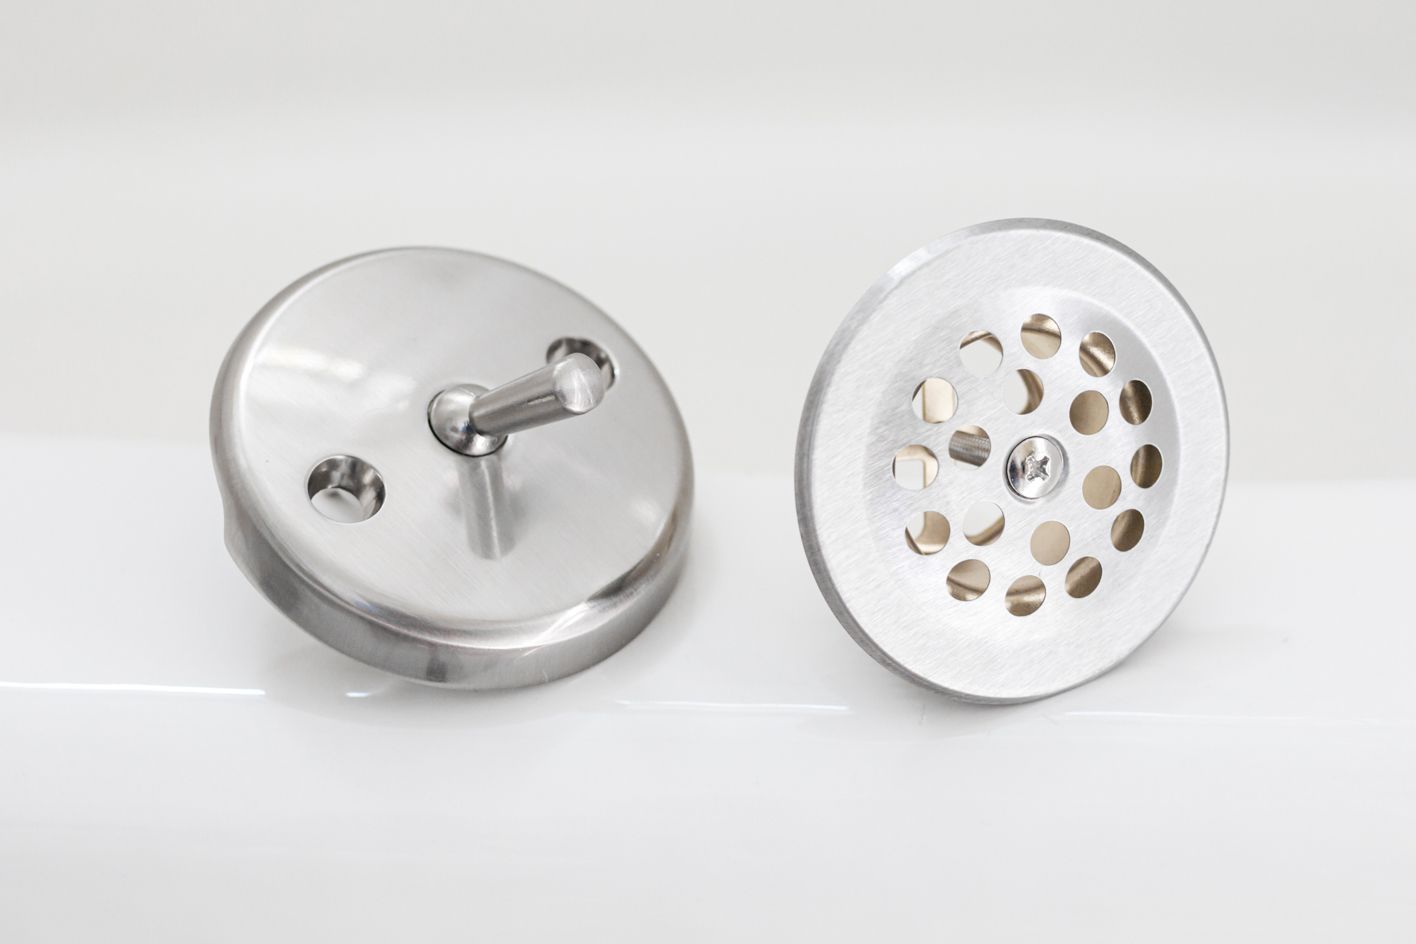
Types of Bathtub Stoppers
Bathtub stoppers come in various designs, each serving the essential function of controlling the water flow in the tub. Understanding the specific type of stopper in your bathtub is crucial for effectively removing it. Here are the common types of bathtub stoppers:
-
Lift-and-Turn Stopper: This type of stopper features a knob on top that can be lifted and turned to open or close the drain. When the knob is in the closed position, it creates a seal to hold water in the tub. Lift-and-turn stoppers are recognizable by their prominent knob, which is often adorned with a decorative cap.
-
Push-and-Pull Stopper: Push-and-pull stoppers are operated by pushing or pulling the stopper to open or close the drain. They are characterized by a knob or handle that is integrated into the stopper itself. When the stopper is in the closed position, it forms a seal to retain water in the bathtub.
-
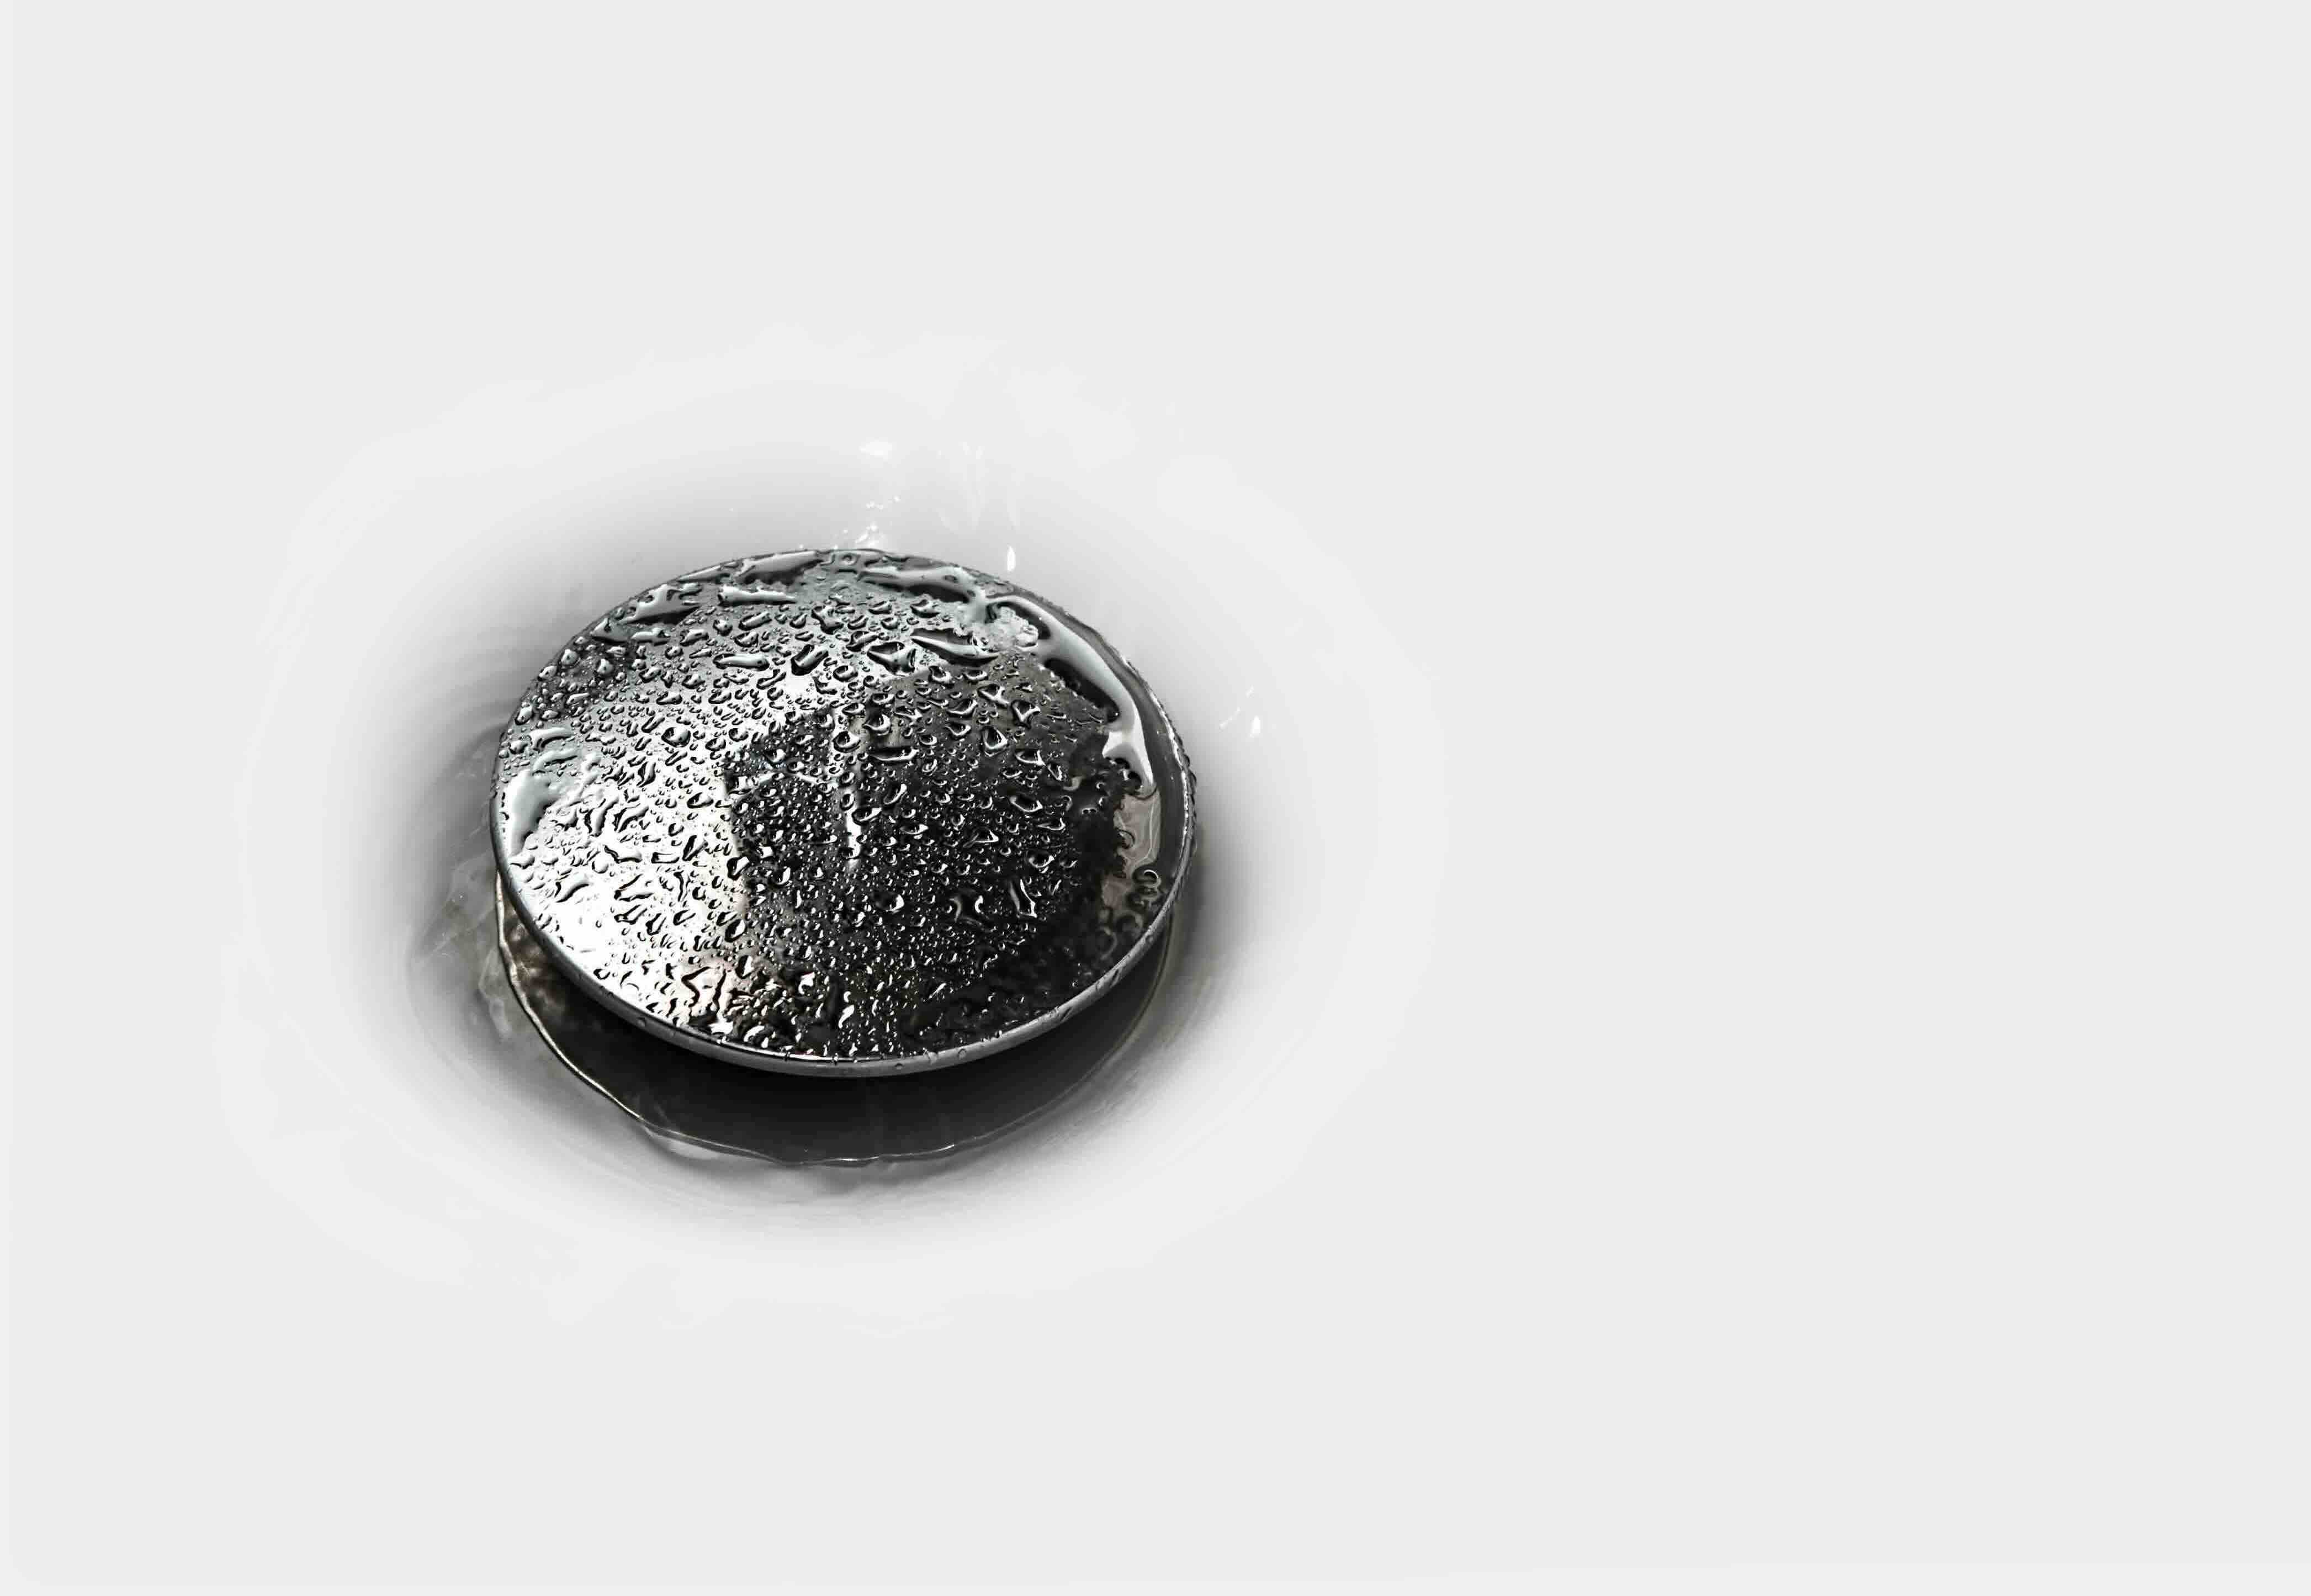
Toe-Touch Stopper: This type of stopper is operated by pressing it with your toe to open or close the drain. Toe-touch stoppers are designed for convenience, allowing users to control the water flow without using their hands. They are identifiable by their flat, disk-like appearance and are often found in modern bathtub designs.
-
Pop-Up Stopper: Pop-up stoppers are commonly found in modern bathtubs and are operated by a lever or knob on the overflow cover. When the lever is activated, the stopper pops up to close the drain, and pushing it down opens the drain. These stoppers are often paired with a trip lever mechanism for easy operation.
Understanding the specific type of stopper in your bathtub is the first step towards successfully removing it. Each type requires a unique approach for removal, and being able to identify the stopper type will guide you in selecting the appropriate removal method. Whether you have a lift-and-turn, push-and-pull, toe-touch, or pop-up stopper, knowing the intricacies of each type will empower you to maintain your bathtub with confidence.
Tools and Materials Needed
When it comes to removing a bathtub stopper, having the right tools and materials at your disposal is essential for a smooth and successful process. Here's a comprehensive list of the items you'll need to effectively tackle the task of removing various types of bathtub stoppers:
Tools:
- Flathead Screwdriver: A flathead screwdriver is a versatile tool that can be used to pry off decorative caps, unscrew screws, and manipulate certain types of stoppers.
- Phillips Screwdriver: If your stopper is secured with Phillips head screws, having a Phillips screwdriver on hand is crucial for their removal.
- Adjustable Pliers: Adjustable pliers, also known as channel-lock pliers, can be useful for gripping and turning certain types of stoppers during the removal process.
- Needle-Nose Pliers: These pliers are handy for reaching into tight spaces and manipulating small components, such as retaining clips or pins, that may be present in some stopper designs.
- Allen Wrench (Hex Key): If your stopper is secured with an Allen screw, having the appropriate-sized Allen wrench is necessary for loosening and removing it.
- Tub Drain Key: For some types of stoppers, a tub drain key may be required to loosen and remove the drain flange, allowing access to the stopper assembly.
Materials:
- Rubber Gloves: Wearing rubber gloves can protect your hands from dirt, grime, and any cleaning solutions you may use during the removal process.
- Cleaning Solution: Depending on the condition of your stopper and drain, you may need a mild cleaning solution to remove any accumulated debris or residue.
- Replacement Gaskets or Washers: If you're planning to clean or replace the stopper assembly, having replacement gaskets or washers on hand can ensure a proper seal upon reinstallation.
- Plumber's Putty: Plumber's putty may be necessary for resealing the drain flange or stopper assembly to prevent water leakage after reinstallation.
By ensuring that you have these tools and materials readily available, you'll be well-prepared to tackle the removal of your bathtub stopper with confidence. Whether you're addressing a lift-and-turn, push-and-pull, toe-touch, or pop-up stopper, having the right equipment at your disposal is the first step towards a successful removal process.
Read more: How To Remove A Stuck Bathtub Stopper
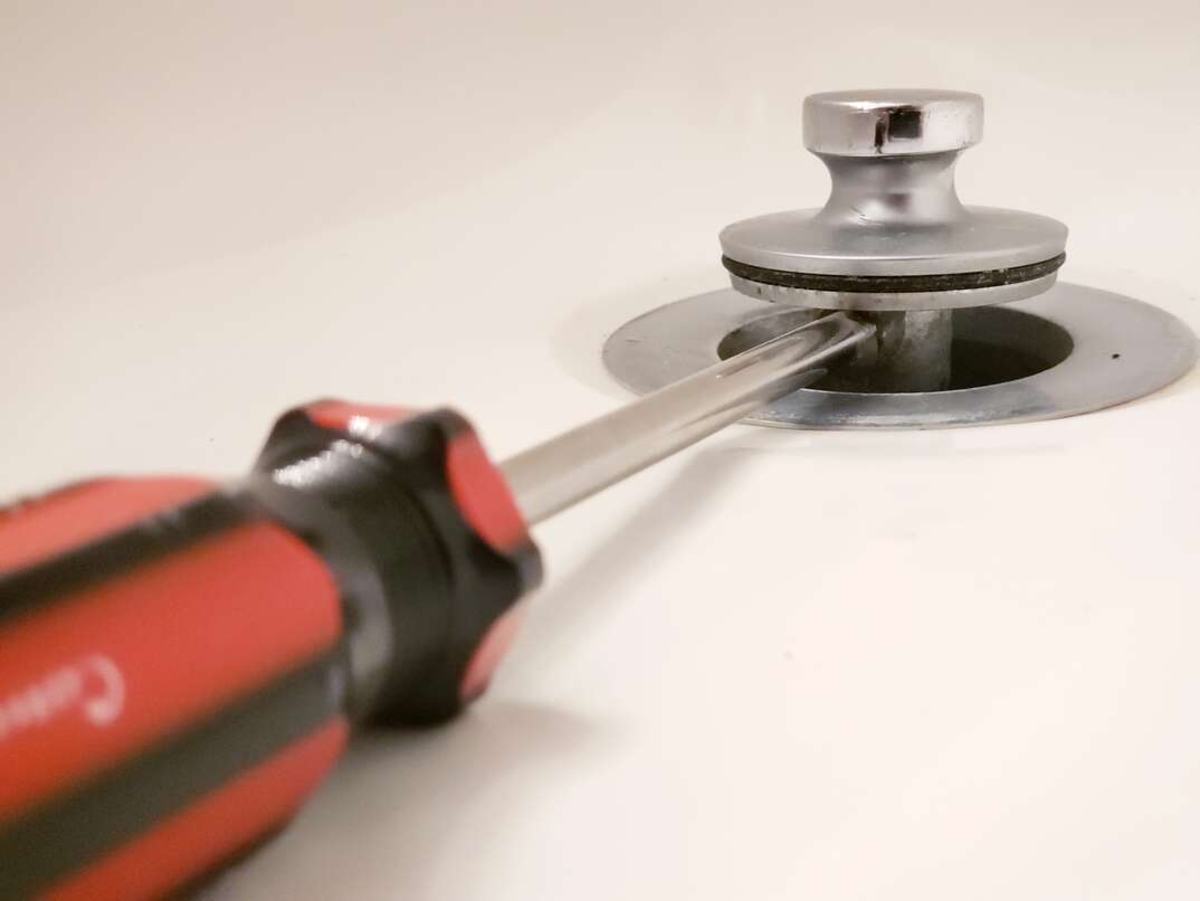
Removing a Lift-and-Turn Stopper
Removing a lift-and-turn stopper requires a systematic approach to ensure a smooth and hassle-free process. Here's a detailed guide on how to remove a lift-and-turn stopper from your bathtub:
Step 1: Identify the Stopper Assembly
Begin by locating the lift-and-turn stopper assembly in your bathtub drain. The stopper is typically situated inside the drain and is connected to the drain linkage mechanism. It is essential to familiarize yourself with the appearance and operation of the lift-and-turn stopper before proceeding with its removal.
Step 2: Access the Stopper Assembly
In most cases, the lift-and-turn stopper is secured by a screw located underneath the stopper cap. Use a flathead screwdriver to carefully pry off the decorative cap covering the screw. Once the screw is exposed, use the appropriate screwdriver to loosen and remove it, allowing the stopper to be lifted out of the drain.
Step 3: Lift and Remove the Stopper
With the screw removed, grasp the knob of the lift-and-turn stopper and lift it out of the drain. The stopper should come out easily once the screw is disengaged. Be mindful of any attached components, such as the drain linkage, and ensure that they are carefully disengaged from the stopper as it is lifted out.
Read more: How Do You Remove The Drain From A Bathtub?
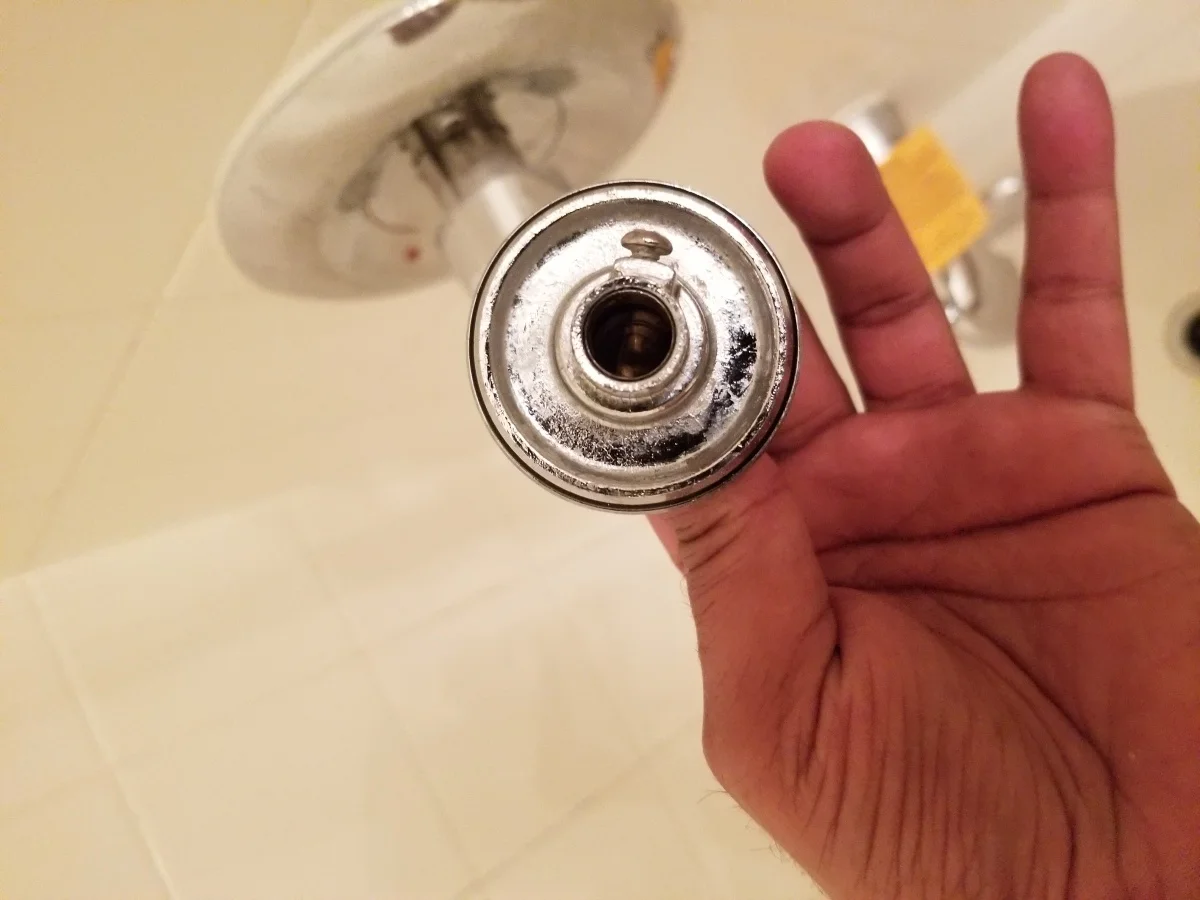
Step 4: Clean and Inspect the Stopper
Once the lift-and-turn stopper is removed, take the opportunity to clean and inspect it for any debris or buildup that may be affecting its functionality. Use a mild cleaning solution and a brush to remove any accumulated grime, and inspect the stopper for any signs of damage or wear that may warrant replacement.
Step 5: Reassemble or Replace
After cleaning and inspecting the lift-and-turn stopper, you can choose to reassemble it and reinstall it in the drain if it is in good condition. Alternatively, if the stopper shows signs of significant wear or damage, consider replacing it with a new one to ensure optimal performance.
By following these step-by-step instructions, you can confidently remove a lift-and-turn stopper from your bathtub, address any maintenance needs, and restore the functionality of your bathtub drain. Understanding the specific removal process for a lift-and-turn stopper empowers you to maintain your bathtub with ease and efficiency.
Removing a Push-and-Pull Stopper
Removing a push-and-pull stopper from your bathtub involves a series of precise steps to ensure a successful removal process. Here's a comprehensive guide on how to remove a push-and-pull stopper with ease and confidence.
Step 1: Locate the Stopper Assembly
Begin by identifying the push-and-pull stopper assembly in your bathtub drain. The stopper is typically situated inside the drain and is connected to the drain linkage mechanism. Take a moment to familiarize yourself with the appearance and operation of the push-and-pull stopper before proceeding with its removal.
Read more: How To Replace Stopper In A Bathtub
Step 2: Access the Stopper Mechanism
In most cases, the push-and-pull stopper is secured by a screw located underneath the stopper cap or within the overflow cover. Use a flathead screwdriver to carefully pry off the decorative cap covering the screw. Once the screw is exposed, use the appropriate screwdriver to loosen and remove it, allowing the stopper to be disengaged from the drain linkage.
Step 3: Disengage the Stopper
With the screw removed, carefully lift the push-and-pull stopper out of the drain. Depending on the design, you may need to rotate or maneuver the stopper to disengage it from the drain linkage. Take care to avoid forcing the stopper, and ensure that any attached components, such as the drain linkage, are disengaged from the stopper as it is lifted out.
Read more: How Do You Remove The Drain From A Bathtub?
Step 4: Clean and Inspect the Stopper
Once the push-and-pull stopper is removed, take the opportunity to clean and inspect it for any debris or buildup that may be affecting its functionality. Use a mild cleaning solution and a brush to remove any accumulated grime, and inspect the stopper for signs of wear or damage that may necessitate replacement.
Step 5: Reassemble or Replace
After cleaning and inspecting the push-and-pull stopper, you can choose to reassemble it and reinstall it in the drain if it is in good condition. If the stopper shows signs of significant wear or damage, consider replacing it with a new one to ensure optimal performance and water-tight sealing.
By following these detailed steps, you can confidently remove a push-and-pull stopper from your bathtub, address any maintenance needs, and restore the functionality of your bathtub drain. Understanding the specific removal process for a push-and-pull stopper empowers you to maintain your bathtub with ease and efficiency.
Read more: How To Stop Bathtub Without Stopper
Removing a Toe-Touch Stopper
Removing a toe-touch stopper from your bathtub involves a specific set of steps to ensure a smooth and efficient removal process. Here's a comprehensive guide on how to remove a toe-touch stopper with confidence and precision.
Step 1: Identify the Stopper Assembly
Begin by locating the toe-touch stopper assembly in your bathtub drain. The toe-touch stopper is typically situated inside the drain and is operated by pressing it with your toe to open or close the drain. Take a moment to familiarize yourself with the appearance and operation of the toe-touch stopper before proceeding with its removal.
Read more: How To Replace Stopper In A Bathtub
Step 2: Access the Stopper Mechanism
In most cases, the toe-touch stopper is connected to the drain linkage mechanism and may be secured by a retaining screw or clip. To access the stopper mechanism, you may need to remove the overflow cover, which is often held in place by screws. Use a screwdriver to carefully remove the screws and lift off the overflow cover to access the stopper assembly.
Step 3: Disengage the Stopper
Once the stopper mechanism is accessible, carefully disengage the toe-touch stopper from the drain linkage. Depending on the design, you may need to manipulate the stopper assembly to release it from the linkage. Take care to avoid forcing the stopper and ensure that any attached components, such as the drain linkage, are disengaged from the stopper as it is removed.
Read more: How Do You Remove The Drain From A Bathtub?
Step 4: Clean and Inspect the Stopper
After removing the toe-touch stopper, take the opportunity to clean and inspect it for any debris or buildup that may be affecting its functionality. Use a mild cleaning solution and a brush to remove any accumulated grime, and inspect the stopper for signs of wear or damage that may require attention.
Step 5: Reassemble or Replace
Once the toe-touch stopper is cleaned and inspected, you can choose to reassemble it and reinstall it in the drain if it is in good condition. If the stopper shows signs of significant wear or damage, consider replacing it with a new one to ensure optimal performance and a reliable water-tight seal.
By following these detailed steps, you can confidently remove a toe-touch stopper from your bathtub, address any maintenance needs, and restore the functionality of your bathtub drain. Understanding the specific removal process for a toe-touch stopper empowers you to maintain your bathtub with ease and efficiency.
Conclusion
In conclusion, knowing how to remove a bathtub stopper is a valuable skill that empowers homeowners to address common maintenance tasks and ensure the optimal functionality of their bathtubs. Whether dealing with a lift-and-turn, push-and-pull, or toe-touch stopper, understanding the specific removal techniques for each type is essential for a successful maintenance process.
By familiarizing oneself with the intricacies of different stopper types, individuals can confidently tackle the removal process, address any maintenance needs, and restore the efficiency of their bathtub drains. The ability to identify the specific type of stopper in a bathtub and select the appropriate removal method is the first step towards a seamless maintenance experience.
Furthermore, having the right tools and materials readily available is crucial for a smooth and hassle-free removal process. From flathead screwdrivers and pliers to cleaning solutions and replacement gaskets, being well-equipped ensures that individuals can address stopper removal with confidence and efficiency.
Additionally, the step-by-step instructions provided for removing lift-and-turn, push-and-pull, and toe-touch stoppers offer a clear and systematic approach to handling each type. By following these detailed guidelines, individuals can navigate the removal process with ease, clean and inspect the stoppers, and make informed decisions regarding reassembly or replacement.
Ultimately, the knowledge and skills gained from understanding how to remove bathtub stoppers empower homeowners to take proactive steps in maintaining their bathroom fixtures. By addressing stopper maintenance in a timely and effective manner, individuals can prolong the lifespan of their bathtub components, prevent potential issues, and ensure a pleasant bathing experience for years to come.
In essence, the ability to remove bathtub stoppers is not only a practical skill but also a means of fostering a sense of self-sufficiency and confidence in handling common household maintenance tasks. With the insights and guidance provided, individuals can approach stopper removal with the assurance of a job well done, contributing to the overall upkeep and functionality of their bathrooms.
Frequently Asked Questions about How Do You Remove A Bathtub Stopper
Was this page helpful?
At Storables.com, we guarantee accurate and reliable information. Our content, validated by Expert Board Contributors, is crafted following stringent Editorial Policies. We're committed to providing you with well-researched, expert-backed insights for all your informational needs.


0 thoughts on “How Do You Remove A Bathtub Stopper”