Home>Furniture & Design>Bathroom Accessories>How To Remove A Bathtub Stopper
Bathroom Accessories
How To Remove A Bathtub Stopper
Modified: March 22, 2024
Learn how to remove a bathtub stopper and upgrade your bathroom accessories with our step-by-step guide. Say goodbye to old, worn-out stoppers!
(Many of the links in this article redirect to a specific reviewed product. Your purchase of these products through affiliate links helps to generate commission for Storables.com, at no extra cost. Learn more)
Introduction
When it comes to maintaining a functional and inviting bathroom, paying attention to even the smallest details can make a significant difference. One such detail that often goes unnoticed until it becomes a nuisance is the bathtub stopper. Over time, these stoppers can become clogged, damaged, or simply outdated, prompting the need for removal and potential replacement. Whether you're looking to upgrade your bathtub stopper or simply need to clean it thoroughly, understanding the process of removing different types of stoppers is essential.
In this comprehensive guide, we will explore the various types of bathtub stoppers and provide step-by-step instructions for removing each type. By the end of this article, you will have the knowledge and confidence to tackle this common bathroom maintenance task with ease. Additionally, we will share valuable tips for cleaning and maintaining your bathtub stopper, ensuring that it continues to function optimally for years to come.
So, if you've ever found yourself struggling with a stubborn bathtub stopper or simply want to learn more about maintaining this essential bathroom fixture, you've come to the right place. Let's dive into the world of bathtub stoppers and equip ourselves with the know-how to keep our bathrooms in top-notch condition.
Key Takeaways:
- Regular cleaning and maintenance of bathtub stoppers is crucial for a hassle-free bathing experience. By understanding the different types and removal methods, homeowners can keep their bathrooms functional and inviting.
- By incorporating simple cleaning and maintenance tips, homeowners can prevent clogs, leaks, and deterioration of bathtub stoppers. This proactive approach ensures a smoothly functioning and enjoyable bathing environment.
Read more: How To Remove A Stuck Bathtub Stopper
Tools and Materials Needed
Before embarking on the task of removing a bathtub stopper, it's essential to gather the necessary tools and materials to ensure a smooth and efficient process. Here's a comprehensive list of items you'll need:
Tools:
- Flathead Screwdriver: This versatile tool is essential for prying off the stopper and accessing the underlying components.
- Adjustable Pliers: These will come in handy for gripping and turning certain types of stoppers, such as lift-and-turn and push-pull stoppers.
- Allen Wrench (Hex Key): If you have a bathtub stopper with a set screw, an Allen wrench will be necessary for loosening and removing the screw.
- Plumbers' Putty Knife: This tool is useful for removing old putty or silicone sealant around the stopper assembly.
- Needle-Nose Pliers: These are helpful for reaching and manipulating small parts within the stopper assembly.
Materials:
- Rubber Gloves: Protect your hands from grime, debris, and cleaning solutions by wearing rubber gloves.
- Cleaning Solution: Depending on the condition of the stopper and drain, you may need a mild cleaning solution or a specialized cleaner to remove accumulated grime and debris.
- Replacement Gaskets or Washers: If you're planning to reinstall the same stopper, it's a good idea to have replacement gaskets or washers on hand to ensure a proper seal.
- Plumbers' Putty or Silicone Sealant: If your stopper is sealed with putty or silicone, you may need to replace the sealant during reinstallation.
By ensuring that you have these tools and materials at your disposal, you'll be well-prepared to tackle the task of removing and, if necessary, replacing your bathtub stopper. With the right equipment on hand, you can proceed with confidence, knowing that you have everything you need to complete the job effectively and efficiently.
Types of Bathtub Stoppers
Bathtub stoppers come in various designs, each serving the purpose of sealing the drain to allow the tub to fill with water. Understanding the different types of bathtub stoppers is crucial when it comes to removing and maintaining them. Here are the common types of bathtub stoppers:
-
Toe-Touch Bathtub Stopper: This type of stopper is operated by pressing it with your toe to open or close the drain. It is a simple and convenient design, often found in modern tubs.
-
Push-Pull Bathtub Stopper: As the name suggests, this stopper is controlled by pushing or pulling it to open or close the drain. It features a knob or handle that can be maneuvered to adjust the stopper position.
-
Lift-and-Turn Bathtub Stopper: This stopper requires lifting and then turning it to open or close the drain. It typically has a knob or top that is lifted and twisted to operate the stopper mechanism.
-
Pop-Up Bathtub Stopper: Commonly found in older tubs, the pop-up stopper is controlled by a lever or knob on the overflow cover. When engaged, it creates a watertight seal by popping up and blocking the drain.
Each type of bathtub stopper has its unique mechanism for opening and closing the drain, and they may require different removal methods based on their design. By identifying the specific type of stopper in your bathtub, you can proceed with the removal process more effectively, ensuring that you handle the stopper with the appropriate method and care.
Understanding the nuances of each stopper type allows for a targeted approach when it comes to maintenance, repair, or replacement. With this knowledge in hand, you'll be better equipped to address any issues related to your bathtub stopper, ensuring that your bathing experience remains hassle-free and enjoyable.
Read more: How Do You Remove A Bathtub Stopper
Removing a Toe-Touch Bathtub Stopper
Removing a toe-touch bathtub stopper is a relatively straightforward process that can be accomplished with minimal tools and effort. This type of stopper is commonly found in modern tubs and is operated by simply pressing it with your toe to open or close the drain. To remove a toe-touch bathtub stopper, follow these step-by-step instructions:
-
Identify the Stopper Type: Before proceeding, it's important to confirm that you have a toe-touch bathtub stopper. This can be done by visually inspecting the stopper and its operation. If pressing the stopper with your toe opens or closes the drain, it is indeed a toe-touch stopper.
-
Access the Stopper Assembly: Look for the access panel underneath the bathtub, which provides entry to the stopper assembly. This panel is often located on the wall opposite the faucet end of the tub. Use a screwdriver to remove the screws securing the panel and set it aside.
-
Disconnect the Stopper: Once the stopper assembly is accessible, you will see the linkage and plunger mechanism connected to the toe-touch stopper. Carefully disconnect the linkage by unscrewing the connecting rod from the plunger or by releasing the spring clip that attaches the linkage to the plunger.
-
Remove the Stopper: With the linkage disconnected, the toe-touch stopper can be lifted out of the drain. Simply grasp the stopper and pull it upward to free it from the drain opening. If the stopper is sealed with silicone or putty, gently twist and rock it to break the seal before lifting it out.
-
Clean and Inspect: Once the stopper is removed, take the opportunity to clean the components and inspect them for any signs of damage or wear. Remove any accumulated debris or hair from the stopper and linkage, and check for any corrosion or deterioration that may require attention.
By following these steps, you can successfully remove a toe-touch bathtub stopper and gain access to the drain for cleaning, maintenance, or potential replacement. With the stopper removed, you'll have the opportunity to address any issues affecting the drain and ensure that your bathtub continues to function optimally.
Remember to keep track of the removed components and any associated hardware to facilitate reinstallation or replacement if needed. With the toe-touch stopper removed, you can proceed with cleaning the drain and addressing any underlying issues, ultimately contributing to a more enjoyable and hassle-free bathing experience.
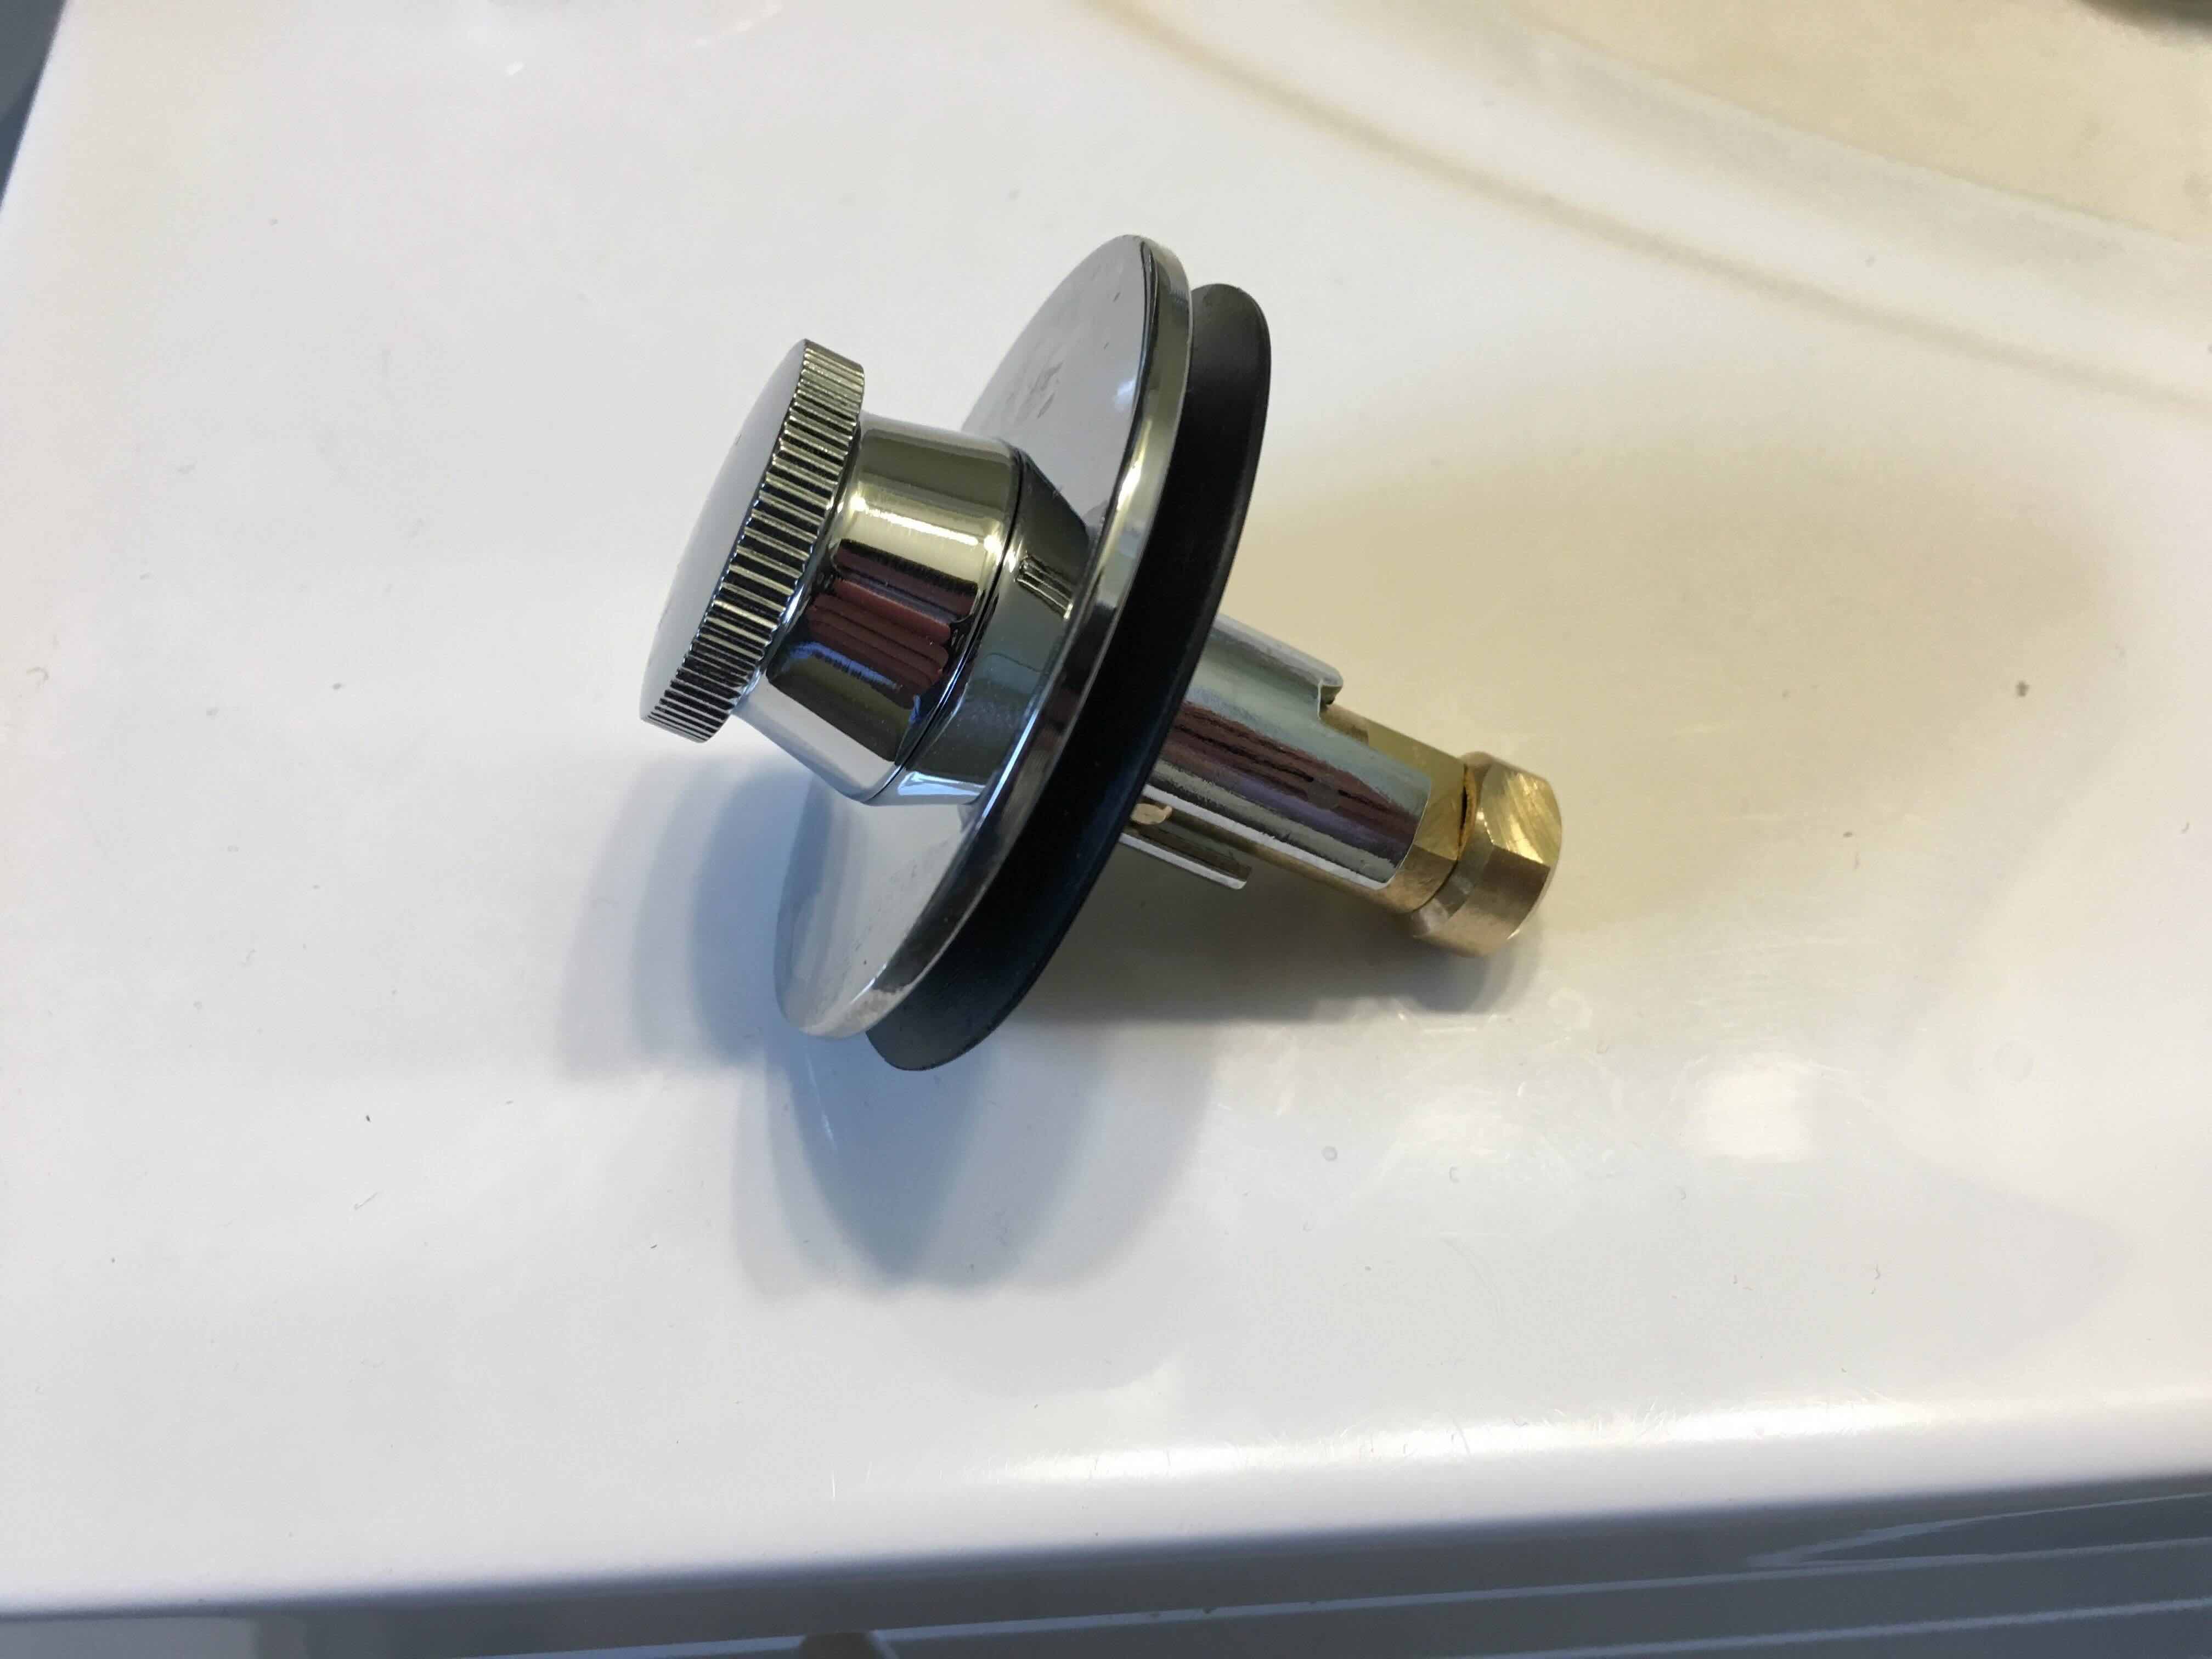
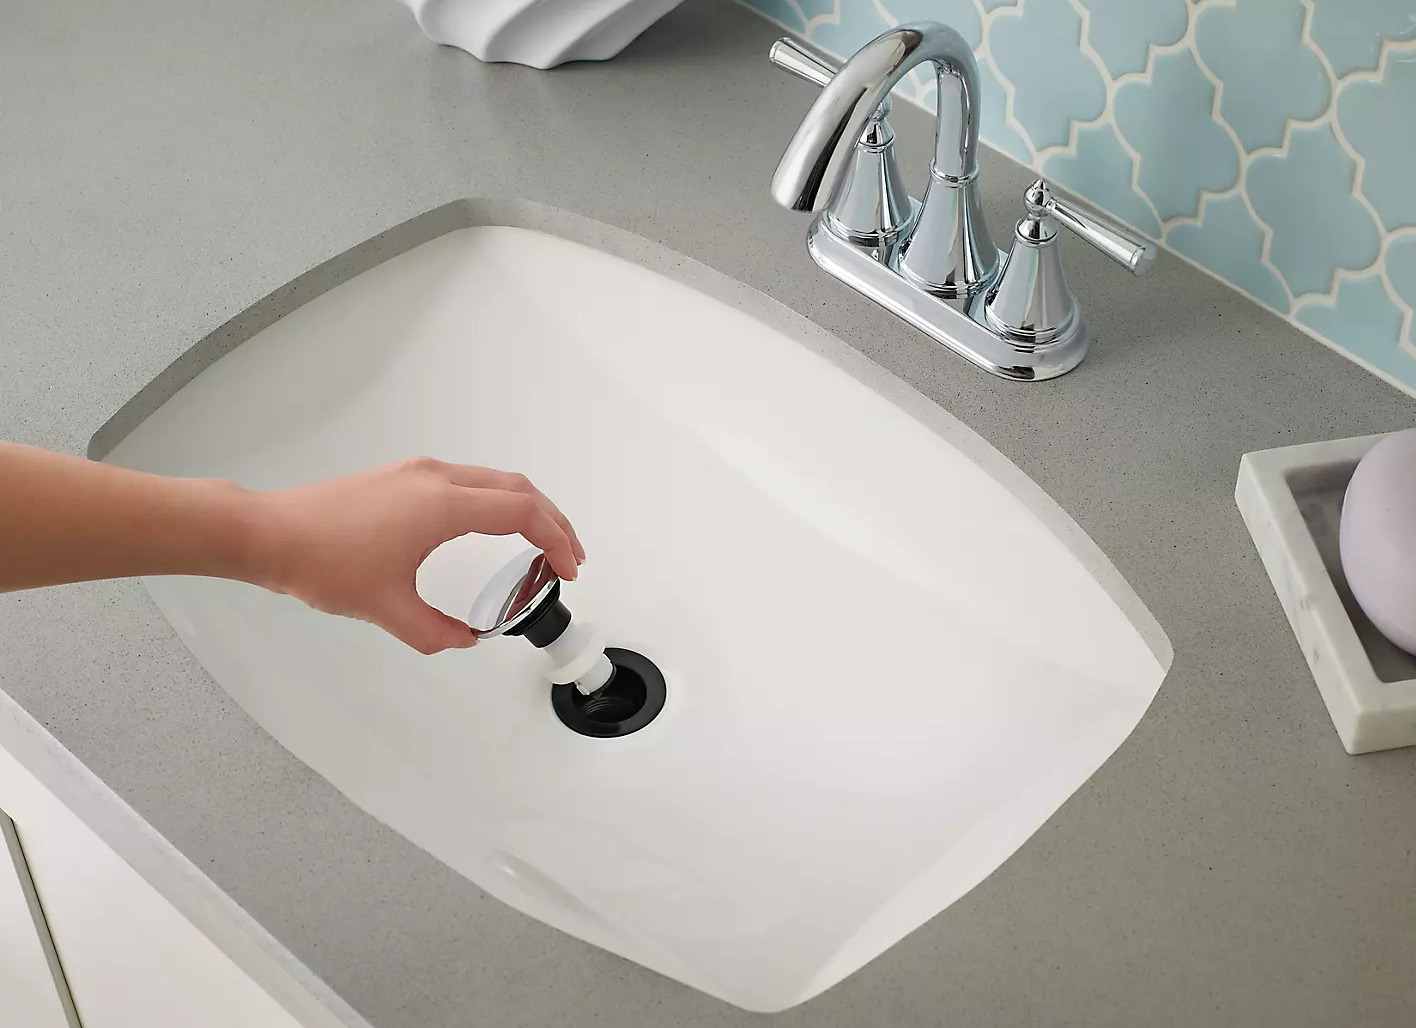
Removing a Push-Pull Bathtub Stopper
Removing a push-pull bathtub stopper is a task that can be accomplished with a few simple steps, allowing you to access the drain for cleaning or potential replacement. This type of stopper features a knob or handle that can be maneuvered to open or close the drain, making it a common fixture in many bathrooms. To remove a push-pull bathtub stopper, follow these step-by-step instructions:
-
Identify the Stopper Type: Begin by confirming that you have a push-pull bathtub stopper. This can be done by examining the stopper and its operation. If the stopper is controlled by pushing or pulling a knob or handle to open or close the drain, it is indeed a push-pull stopper.
-
Access the Stopper Assembly: Locate the access panel underneath the bathtub, typically positioned on the wall opposite the faucet end of the tub. Use a screwdriver to remove the screws securing the panel and set it aside. This will provide access to the stopper assembly.
-
Loosen the Set Screw: If your push-pull stopper is secured with a set screw, use an Allen wrench (hex key) to loosen and remove the set screw. This will release the knob or handle from the stopper assembly, allowing you to proceed with the removal process.
-
Unscrew the Stopper: With the set screw removed, you can now unscrew the knob or handle from the stopper assembly. This will expose the linkage and plunger mechanism connected to the stopper.
-
Disconnect the Linkage: Carefully disconnect the linkage by unscrewing the connecting rod from the plunger or by releasing the spring clip that attaches the linkage to the plunger. This will free the stopper assembly from the drain mechanism.
-
Remove the Stopper: Once the linkage is disconnected, the push-pull stopper can be lifted out of the drain. Simply grasp the stopper and pull it upward to free it from the drain opening. If the stopper is sealed with silicone or putty, gently twist and rock it to break the seal before lifting it out.
-
Clean and Inspect: After removing the stopper, take the opportunity to clean the components and inspect them for any signs of damage or wear. Remove any accumulated debris or hair from the stopper and linkage, and check for any corrosion or deterioration that may require attention.
By following these steps, you can successfully remove a push-pull bathtub stopper and gain access to the drain for cleaning, maintenance, or potential replacement. With the stopper removed, you'll have the opportunity to address any issues affecting the drain and ensure that your bathtub continues to function optimally. Remember to keep track of the removed components and any associated hardware to facilitate reinstallation or replacement if needed. With the push-pull stopper removed, you can proceed with cleaning the drain and addressing any underlying issues, ultimately contributing to a more enjoyable and hassle-free bathing experience.
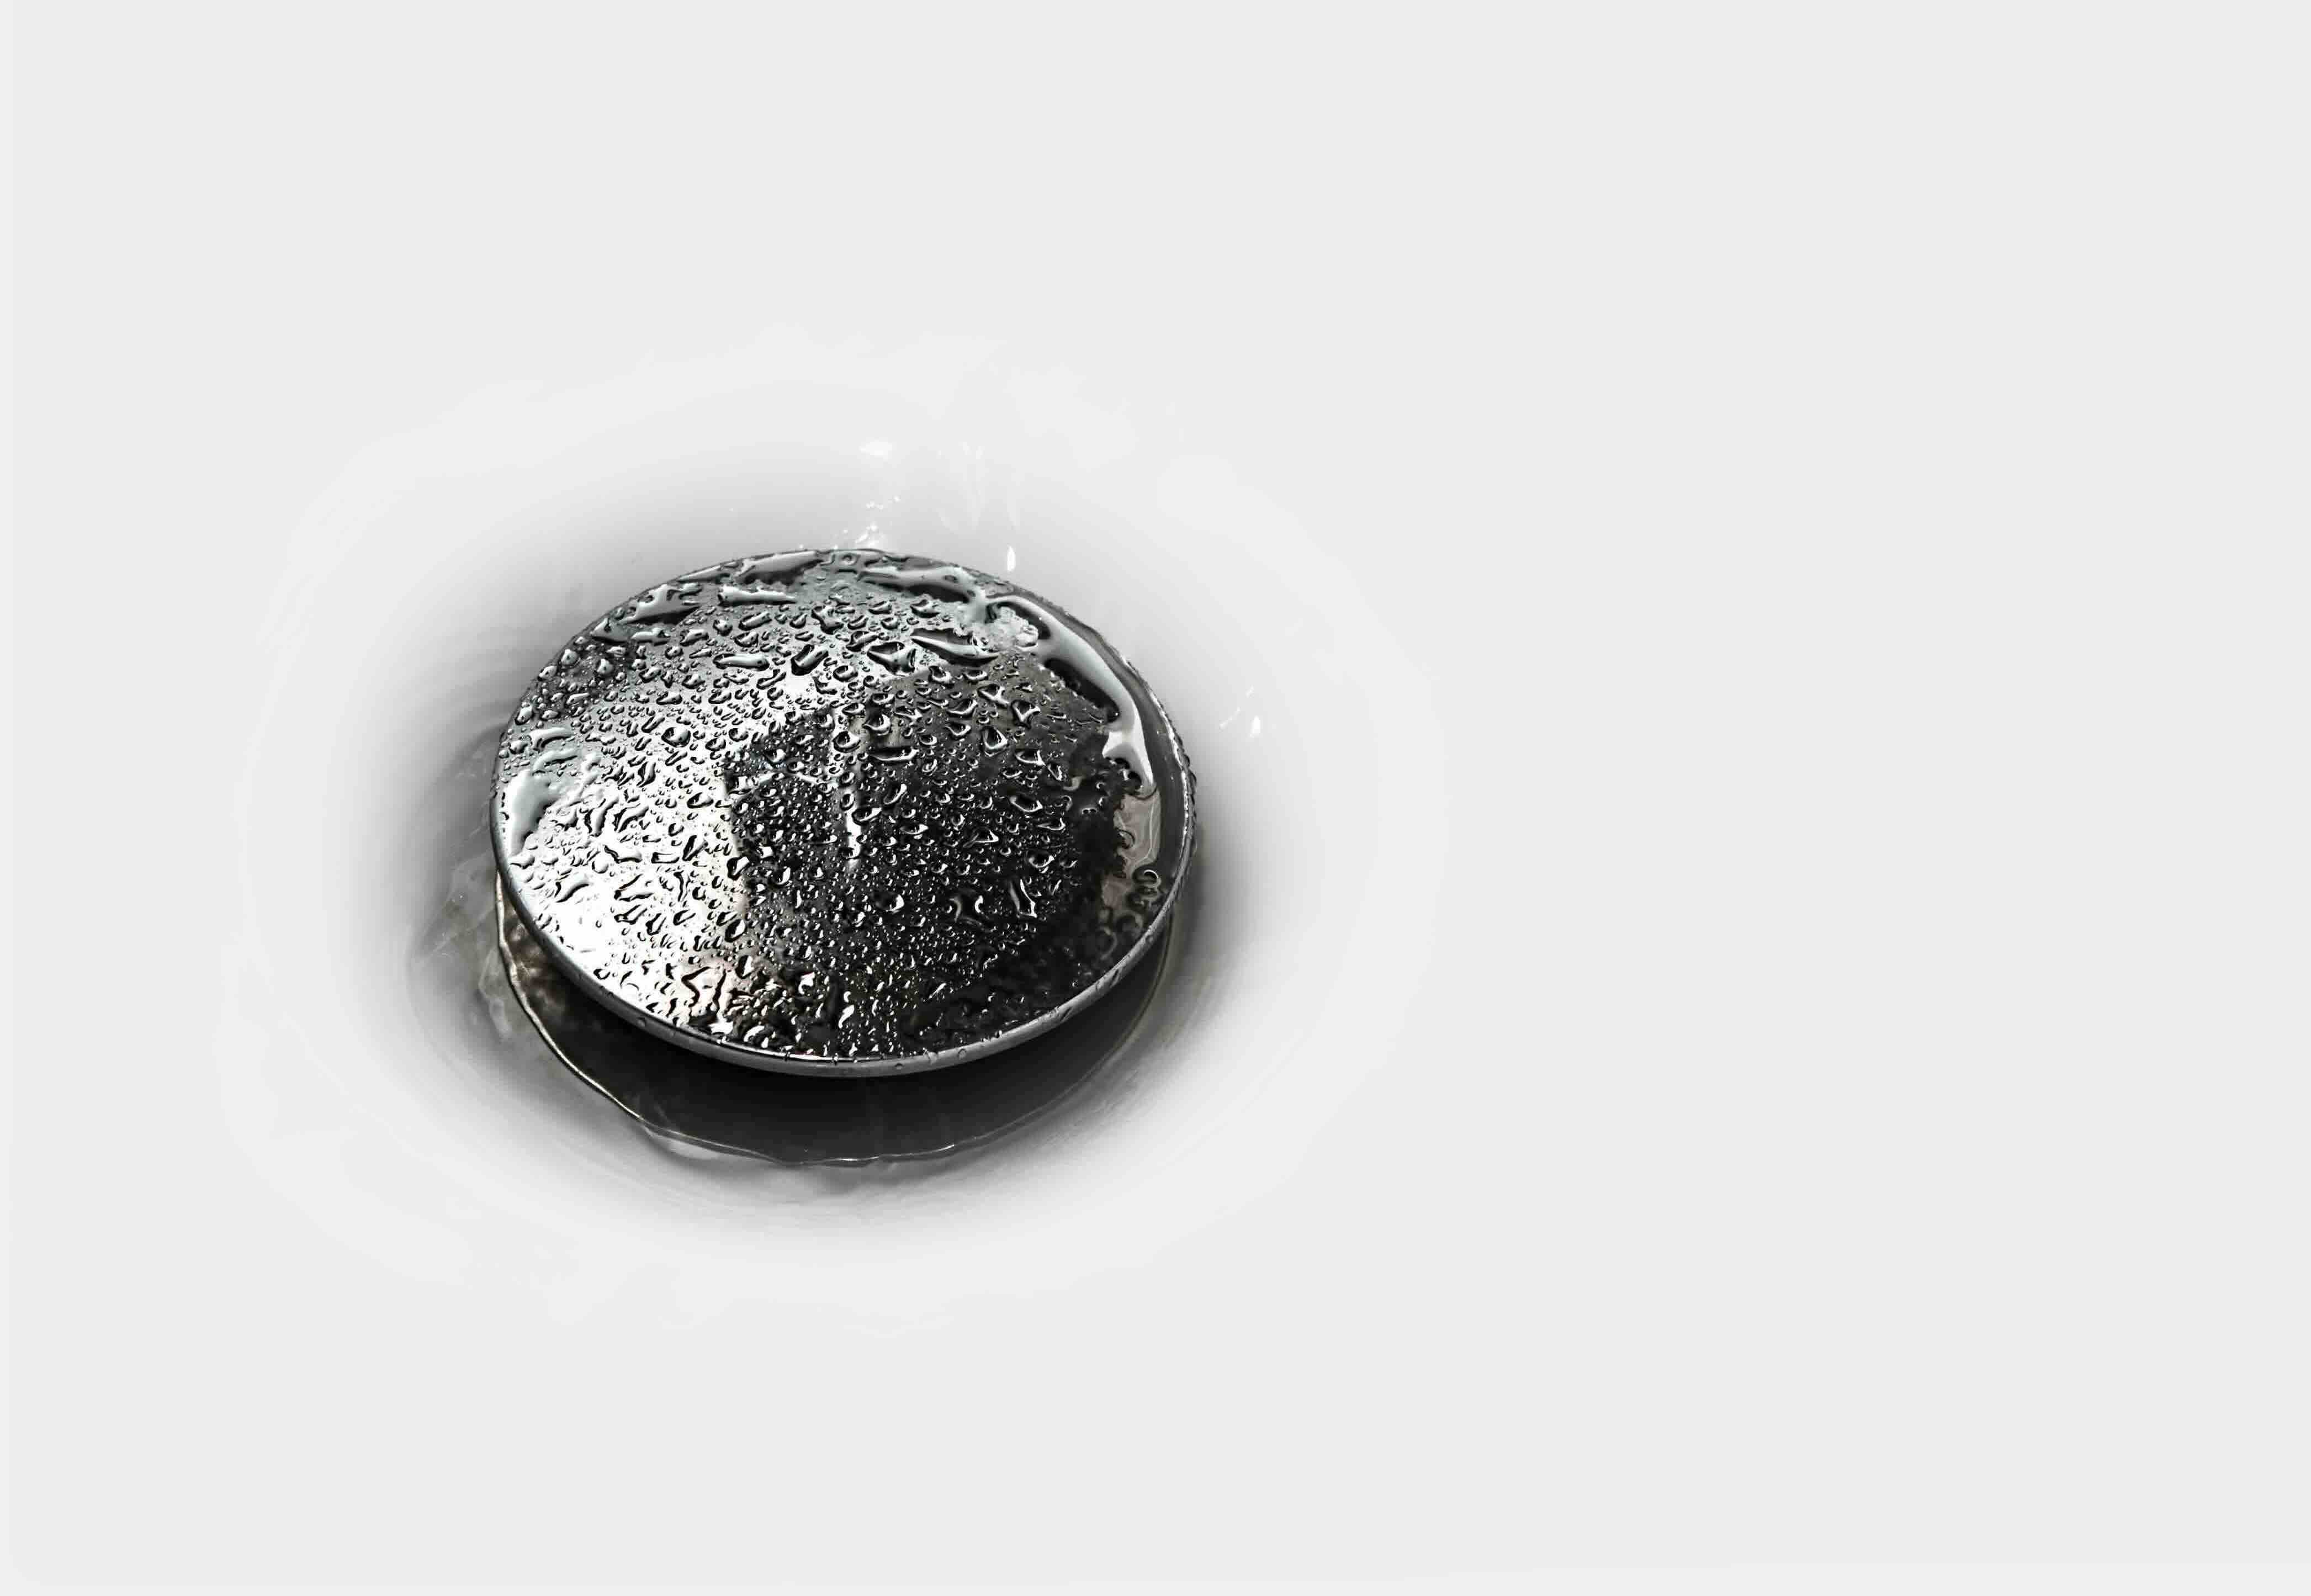
Removing a Lift-and-Turn Bathtub Stopper
Removing a lift-and-turn bathtub stopper is a task that requires a systematic approach to access the drain for cleaning, maintenance, or potential replacement. This type of stopper features a knob or top that is lifted and twisted to open or close the drain, making it a common fixture in many bathrooms. To remove a lift-and-turn bathtub stopper, follow these step-by-step instructions:
-
Identify the Stopper Type: Begin by confirming that you have a lift-and-turn bathtub stopper. This can be done by examining the stopper and its operation. If the stopper requires lifting and then turning a knob or top to open or close the drain, it is indeed a lift-and-turn stopper.
-
Access the Stopper Assembly: Locate the access panel underneath the bathtub, typically positioned on the wall opposite the faucet end of the tub. Use a screwdriver to remove the screws securing the panel and set it aside. This will provide access to the stopper assembly.
-
Lift and Twist the Stopper: With the access panel removed, you will see the lift-and-turn stopper assembly. To remove the stopper, lift it upward and simultaneously twist it counterclockwise. This action will unscrew the stopper from the drain mechanism.
-
Inspect and Clean the Stopper: Once the stopper is removed, take the opportunity to inspect it for any signs of damage or wear. Remove any accumulated debris or hair from the stopper and its components. Additionally, check for any corrosion or deterioration that may require attention.
-
Clean the Drain: With the stopper removed, it's an ideal time to clean the drain thoroughly. Use a mild cleaning solution and a brush to remove any built-up grime, hair, or soap scum from the drain and surrounding areas. This will help maintain optimal drainage and prevent potential clogs.
By following these steps, you can successfully remove a lift-and-turn bathtub stopper and gain access to the drain for cleaning, maintenance, or potential replacement. With the stopper removed, you'll have the opportunity to address any issues affecting the drain and ensure that your bathtub continues to function optimally. Remember to keep track of the removed components and any associated hardware to facilitate reinstallation or replacement if needed. With the lift-and-turn stopper removed, you can proceed with cleaning the drain and addressing any underlying issues, ultimately contributing to a more enjoyable and hassle-free bathing experience.
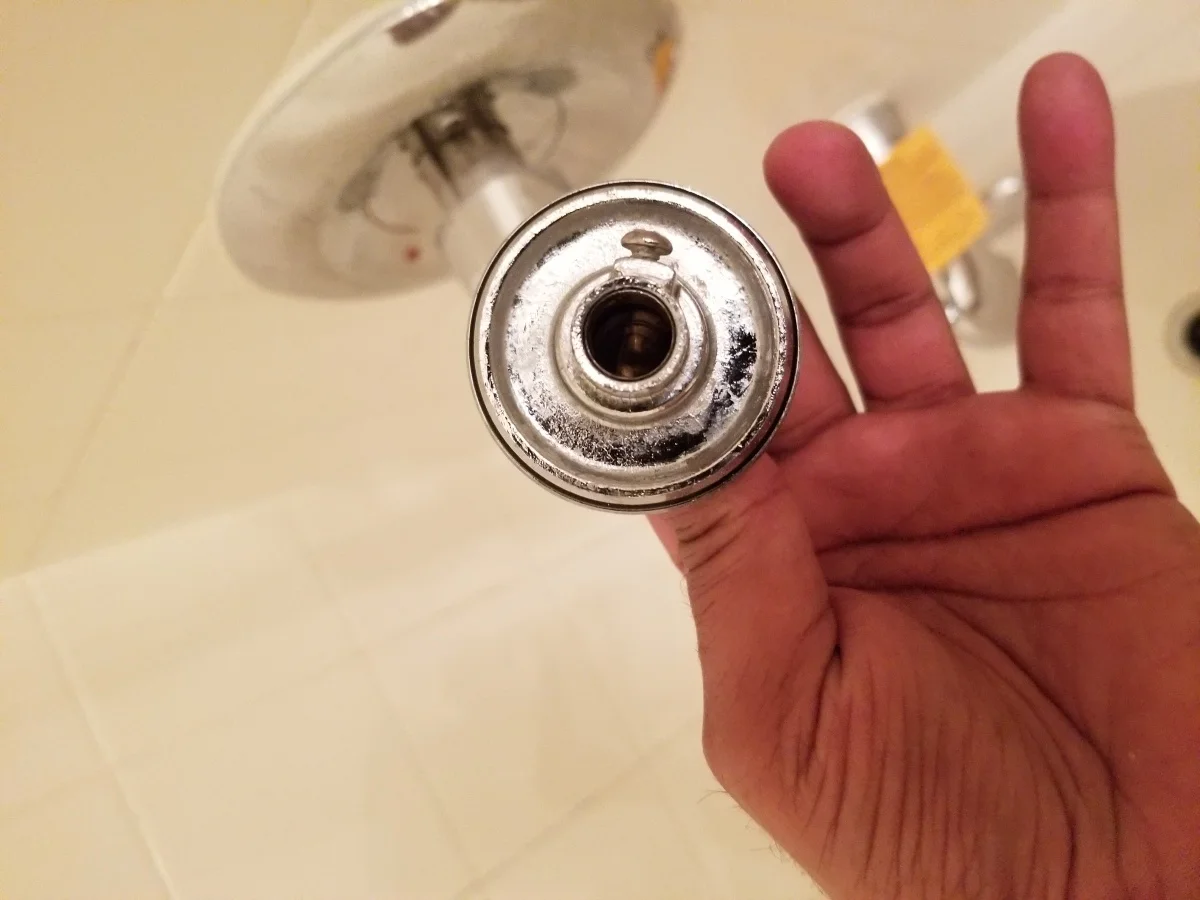
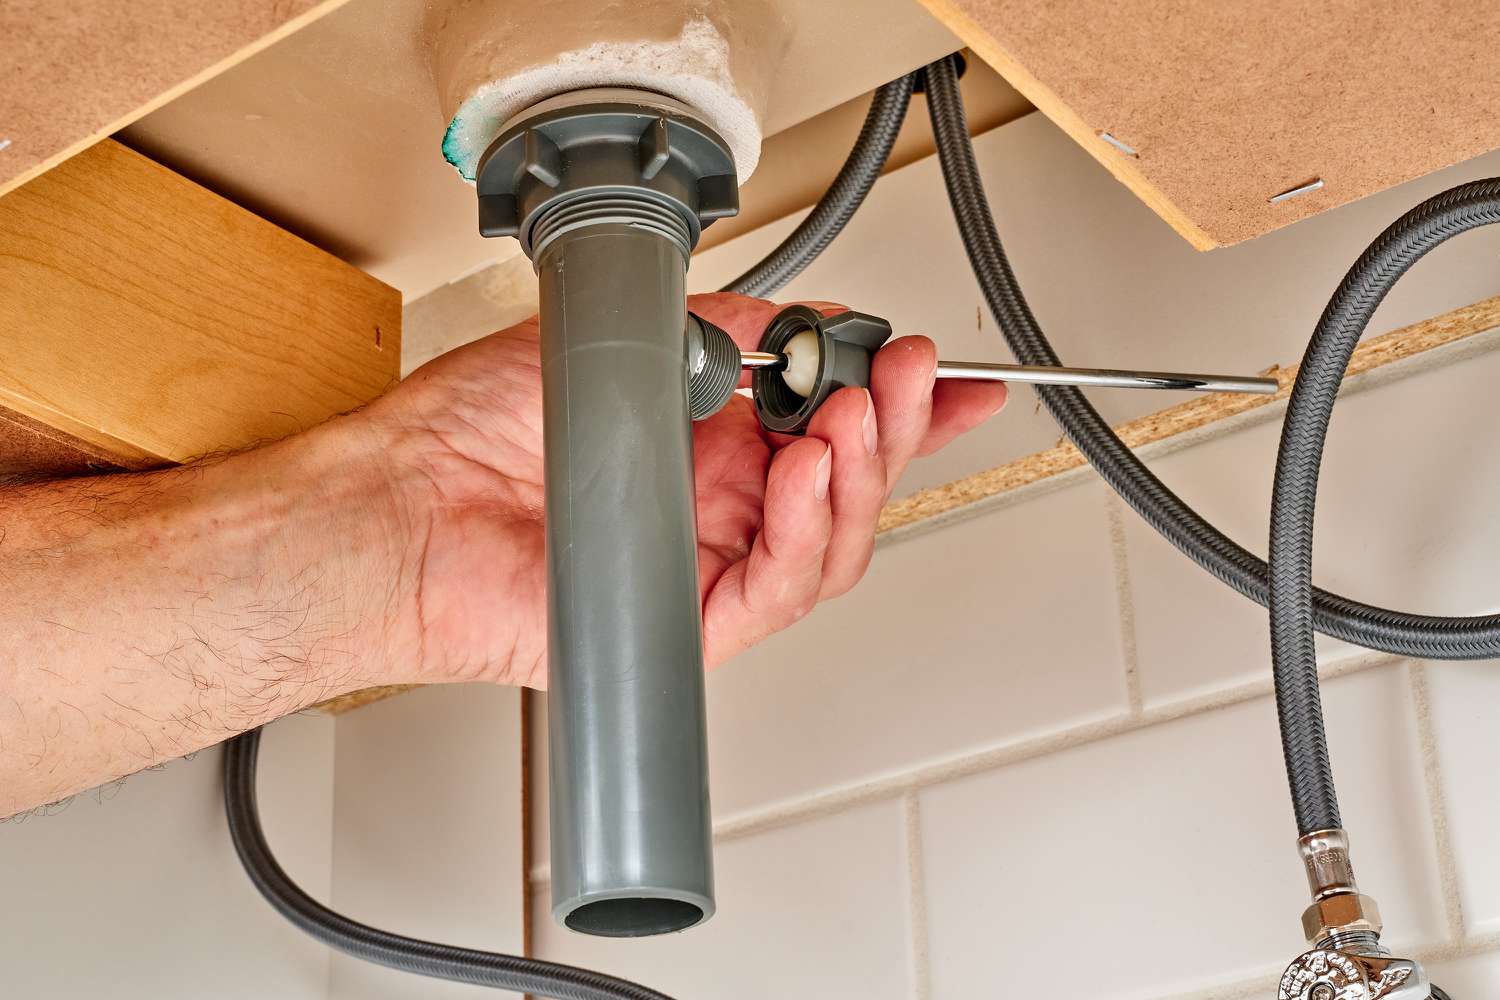
To remove a bathtub stopper, locate the setscrew underneath the stopper and unscrew it using a screwdriver. Once the setscrew is removed, you can then lift the stopper out of the drain.
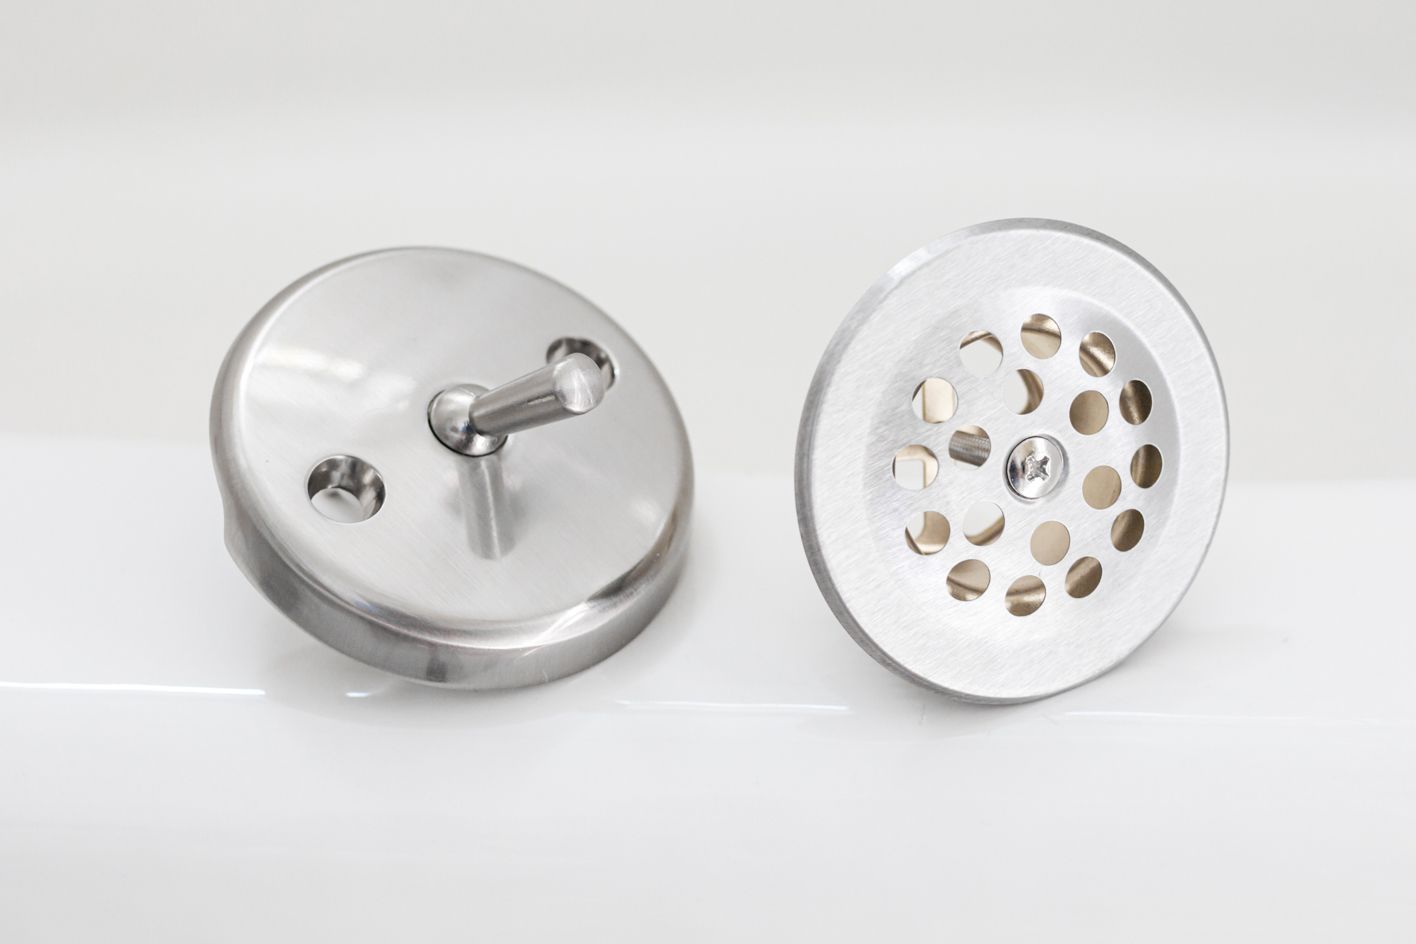
Removing a Pop-Up Bathtub Stopper
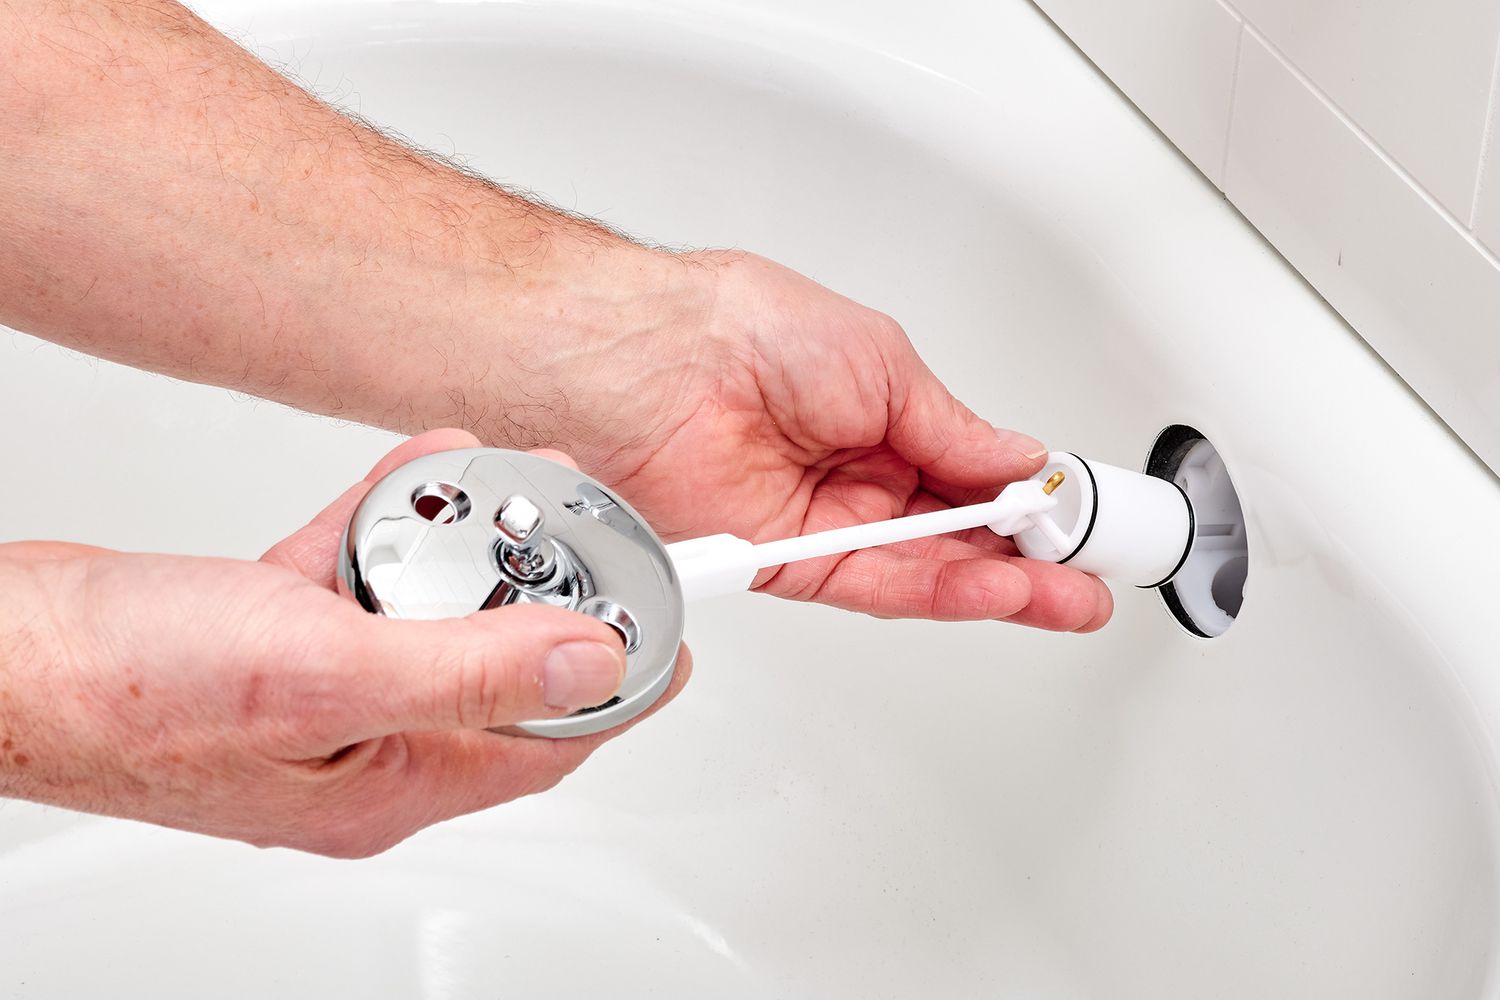
Removing a pop-up bathtub stopper is a task that requires attention to detail and a systematic approach to access the drain for cleaning, maintenance, or potential replacement. This type of stopper is commonly found in older tubs and is controlled by a lever or knob on the overflow cover. When engaged, it creates a watertight seal by popping up and blocking the drain. To remove a pop-up bathtub stopper, follow these step-by-step instructions:
-
Identify the Stopper Type: Begin by confirming that you have a pop-up bathtub stopper. This can be done by examining the stopper and its operation. If the stopper is controlled by a lever or knob on the overflow cover and creates a seal by popping up, it is indeed a pop-up stopper.
-
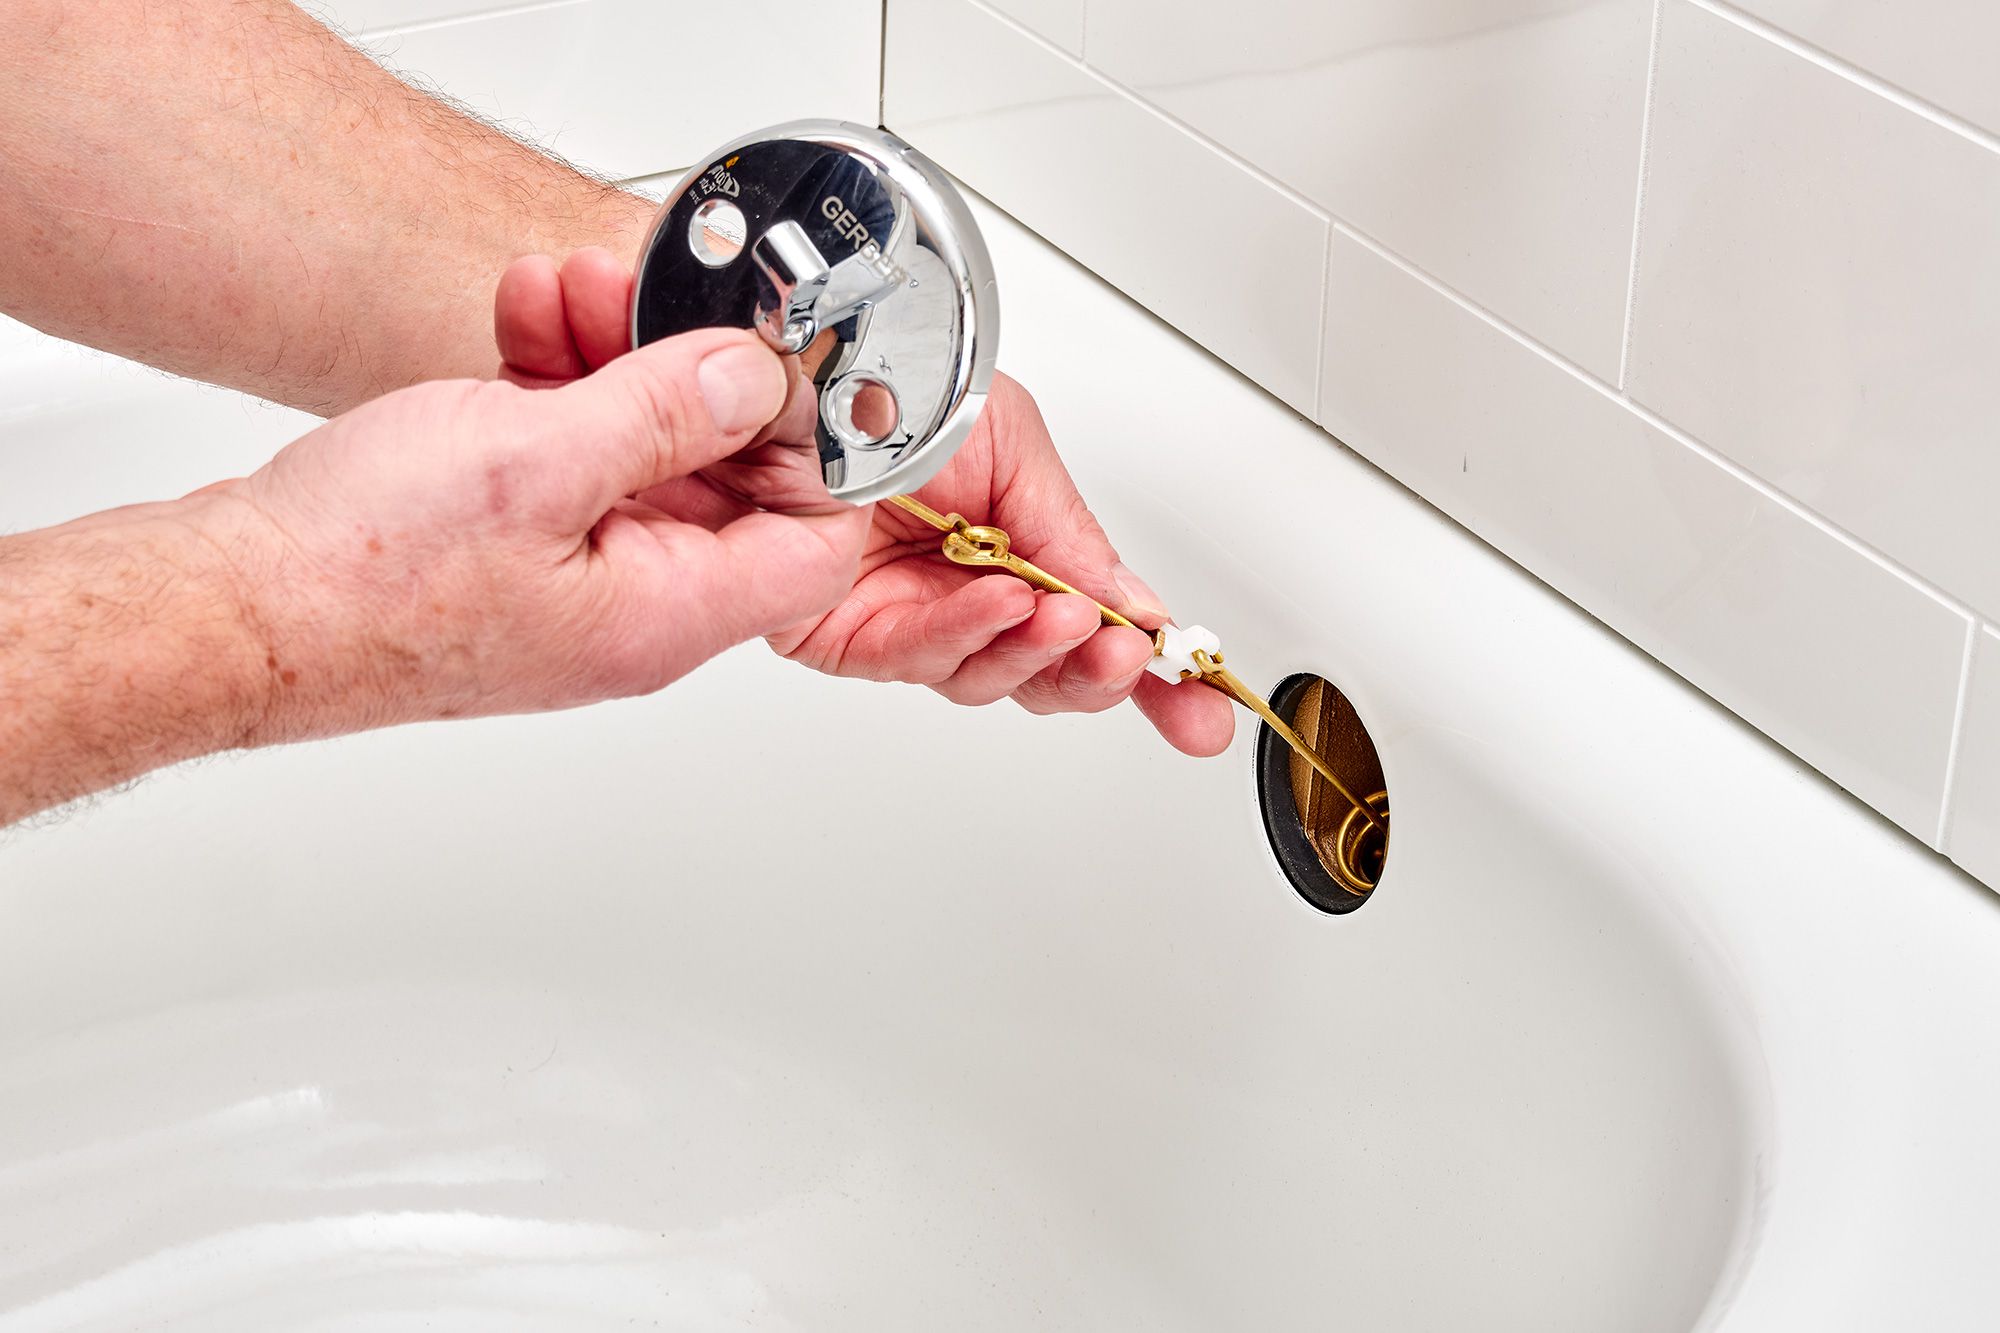
Access the Overflow Cover: The first step in removing a pop-up stopper is accessing the overflow cover, which houses the linkage and plunger mechanism connected to the stopper. Locate the screws securing the overflow cover and use a screwdriver to remove them. Once the screws are removed, carefully lift the cover off to reveal the stopper assembly.
-
Disconnect the Linkage: With the overflow cover removed, you will see the linkage and plunger mechanism connected to the pop-up stopper. Carefully disconnect the linkage by unscrewing the connecting rod from the plunger or by releasing the spring clip that attaches the linkage to the plunger. This will free the stopper assembly from the drain mechanism.
-
Remove the Stopper: Once the linkage is disconnected, the pop-up stopper can be lifted out of the drain. Simply grasp the stopper and pull it upward to free it from the drain opening. If the stopper is sealed with silicone or putty, gently twist and rock it to break the seal before lifting it out.
-
Clean and Inspect: After removing the stopper, take the opportunity to clean the components and inspect them for any signs of damage or wear. Remove any accumulated debris or hair from the stopper and linkage, and check for any corrosion or deterioration that may require attention.
By following these steps, you can successfully remove a pop-up bathtub stopper and gain access to the drain for cleaning, maintenance, or potential replacement. With the stopper removed, you'll have the opportunity to address any issues affecting the drain and ensure that your bathtub continues to function optimally. Remember to keep track of the removed components and any associated hardware to facilitate reinstallation or replacement if needed. With the pop-up stopper removed, you can proceed with cleaning the drain and addressing any underlying issues, ultimately contributing to a more enjoyable and hassle-free bathing experience.
Read more: How To Replace Stopper In A Bathtub
Cleaning and Maintenance Tips
Proper cleaning and maintenance of your bathtub stopper are essential for ensuring optimal functionality and prolonging its lifespan. By incorporating regular cleaning and maintenance practices into your bathroom care routine, you can prevent clogs, corrosion, and other issues that may compromise the performance of your bathtub stopper. Here are some valuable tips to keep your bathtub stopper in top condition:
-
Regular Cleaning: It's important to clean your bathtub stopper regularly to prevent the accumulation of hair, soap scum, and debris that can obstruct the drain and impede water flow. Use a mild cleaning solution and a brush to scrub the stopper and its components, ensuring that all surfaces are free from buildup.
-
Inspect for Damage: Periodically inspect the stopper and its associated components for signs of damage, wear, or corrosion. Look for any cracks, rust, or deterioration that may affect the stopper's performance. Addressing minor issues early can prevent more significant problems down the line.
-
Clear Drain Obstructions: If you notice slow drainage or water pooling around the stopper, it may indicate a partial obstruction in the drain. Use a drain snake or a plunger to clear any blockages and restore proper water flow. This proactive approach can prevent more severe clogs from developing.
-
Lubricate Moving Parts: For lift-and-turn and push-pull stoppers, applying a small amount of silicone-based lubricant to the moving parts can help maintain smooth operation. This simple step can prevent sticking or binding, ensuring that the stopper functions as intended.
-
Replace Worn Gaskets or Washers: If you observe leaks around the stopper or notice water seeping into the overflow opening, it may indicate worn gaskets or washers. Replace these components as needed to maintain a watertight seal and prevent water damage.
-
Address Sealant Issues: If your stopper is sealed with plumbers' putty or silicone sealant, periodically check the seal for any signs of deterioration or cracking. Reapply sealant as necessary to prevent water leakage around the stopper assembly.
-
Preventative Maintenance: Consider using a hair catcher or strainer in your bathtub drain to prevent hair and debris from entering the stopper assembly. This simple addition can significantly reduce the likelihood of clogs and blockages.
By incorporating these cleaning and maintenance tips into your bathroom care routine, you can ensure that your bathtub stopper remains in optimal condition, contributing to a smoothly functioning and enjoyable bathing experience. Regular attention to these details can help you avoid potential issues and extend the longevity of your bathtub stopper, ultimately contributing to the overall well-being of your bathroom.
Conclusion
In conclusion, the proper maintenance and occasional removal of bathtub stoppers are essential for ensuring a functional and hygienic bathing environment. By understanding the various types of bathtub stoppers and the specific removal methods for each, homeowners can confidently address issues related to clogs, leaks, and general wear and tear. Whether it's a toe-touch, push-pull, lift-and-turn, or pop-up stopper, the removal process can be approached with the right tools and a systematic approach.
Furthermore, the cleaning and maintenance tips provided offer valuable insights into preserving the optimal performance of bathtub stoppers. Regular cleaning, inspection for damage, and addressing sealant issues are crucial steps in preventing potential problems and maintaining a seamless bathing experience. By incorporating these practices into a routine bathroom care regimen, homeowners can prolong the lifespan of their bathtub stoppers and prevent costly repairs or replacements.
Ultimately, the ability to remove and maintain bathtub stoppers empowers homeowners to take proactive measures in preserving the functionality and aesthetics of their bathrooms. By staying informed and proactive, individuals can ensure that their bathing experience remains hassle-free and enjoyable, free from the inconveniences of clogged or malfunctioning stoppers.
In essence, the knowledge and skills gained from understanding the intricacies of bathtub stoppers and their maintenance contribute to a well-maintained and inviting bathroom environment. With the right tools, techniques, and a proactive mindset, homeowners can tackle the task of removing and maintaining bathtub stoppers with confidence, ultimately enhancing the overall quality of their home life.
Frequently Asked Questions about How To Remove A Bathtub Stopper
Was this page helpful?
At Storables.com, we guarantee accurate and reliable information. Our content, validated by Expert Board Contributors, is crafted following stringent Editorial Policies. We're committed to providing you with well-researched, expert-backed insights for all your informational needs.
0 thoughts on “How To Remove A Bathtub Stopper”