Home>Furniture & Design>Bathroom Accessories>How To Remove An Old Bathtub?
Bathroom Accessories
How To Remove An Old Bathtub?
Modified: March 2, 2024
Learn how to remove an old bathtub and update your bathroom accessories with our step-by-step guide. Transform your space with ease.
(Many of the links in this article redirect to a specific reviewed product. Your purchase of these products through affiliate links helps to generate commission for Storables.com, at no extra cost. Learn more)
Introduction
Removing an old bathtub can be a challenging yet rewarding home improvement project. Whether you're looking to upgrade to a new, stylish bathtub or need to replace a worn-out unit, understanding the process of removing an old bathtub is essential. By following the right steps and using the proper tools, you can successfully remove the old bathtub and prepare the space for a fresh installation.
This comprehensive guide will walk you through the step-by-step process of removing an old bathtub, providing you with the knowledge and confidence to tackle this project. From gathering the necessary tools and materials to disconnecting the plumbing and removing the bathtub surround or tile, each step is crucial in ensuring a smooth and efficient removal process.
As you embark on this endeavor, it's important to approach the task with patience and attention to detail. While removing an old bathtub may seem daunting at first, with the right guidance and a methodical approach, you can accomplish this project with ease. Additionally, by familiarizing yourself with the process, you'll be better equipped to address any unexpected challenges that may arise during the removal process.
Whether you're a seasoned DIY enthusiast or a homeowner looking to take on a new project, this guide will equip you with the knowledge and insights needed to successfully remove an old bathtub. By the end of this journey, you'll be ready to clean up the space and prepare for the installation of a new bathtub, bringing a fresh and revitalized look to your bathroom.
Now, let's dive into the step-by-step process of removing an old bathtub, starting with gathering the necessary tools and materials.
Key Takeaways:
- Removing an old bathtub requires gathering tools, turning off the water supply, disconnecting plumbing, removing the surround or tile, and finally, disposing of the old bathtub. It’s a meticulous process that sets the stage for a fresh bathroom upgrade.
- Thoroughly clean up the space and prepare for the installation of the new bathtub. Address plumbing and electrical considerations, inspect the substrate, plan for waterproofing, measure and confirm fit, and finalize installation plans. This sets the stage for a successful and gratifying bathroom renovation project.
Read more: How To Remove An Old Bathtub Spout
Step 1: Gather the necessary tools and materials
Before embarking on the task of removing an old bathtub, it's essential to gather the necessary tools and materials to ensure a smooth and efficient process. Here's a comprehensive list of items you'll need:
Tools:
- Screwdriver Set: A set of screwdrivers, including both flathead and Phillips head, will be essential for removing screws and fasteners.
- Adjustable Wrench: This versatile tool will come in handy for disconnecting plumbing fixtures and fittings.
- Utility Knife: Use a sharp utility knife to cut through caulk and sealant around the bathtub and its surround.
- Pry Bar: A sturdy pry bar will aid in removing the old bathtub surround or tile.
- Hammer: A hammer will be useful for tapping and loosening stubborn components during the removal process.
- Pliers: Have a pair of pliers on hand for gripping and turning nuts and bolts during plumbing disconnection.
- Safety Glasses and Gloves: Always prioritize safety by wearing protective glasses and gloves to shield your eyes and hands from debris and sharp edges.
Materials:
- Plumber's Putty: This sealing material will be necessary for resealing plumbing fixtures during the installation of the new bathtub.
- Caulk: Acquire a high-quality caulk for sealing gaps and joints once the new bathtub is in place.
- Drop Cloth or Tarp: Protect the surrounding area from dust and debris by laying down a drop cloth or tarp.
- Bucket: Keep a bucket handy for collecting any water remaining in the plumbing lines.
- Trash Bags: Dispose of old caulk, sealant, and any debris in sturdy trash bags for easy cleanup.
- Cleaning Supplies: Have cleaning supplies ready to tidy up the area after the old bathtub is removed.
By ensuring that you have all the necessary tools and materials at your disposal, you'll be well-prepared to tackle the task of removing an old bathtub. With these items in hand, you can proceed to the next steps with confidence, knowing that you have everything you need to complete the project efficiently and effectively.
Step 2: Turn off the water supply
Before proceeding with the removal of the old bathtub, it is crucial to turn off the water supply to the bathroom. This step is essential for ensuring a safe and controlled environment as you disconnect the plumbing fixtures connected to the bathtub.
Locate the main water shut-off valve for your bathroom. In most cases, this valve is situated near the water meter or where the main water line enters your home. Once you've identified the shut-off valve, turn it clockwise to shut off the water supply to the bathroom. It's important to verify that the water is completely turned off by opening a faucet in the bathroom and ensuring that no water flows out.
After confirming that the water supply is shut off, relieve any remaining pressure in the plumbing lines by opening the faucets in the bathroom and allowing any trapped water to drain out. This step is crucial for minimizing the risk of water leakage and ensuring a safer environment for the subsequent plumbing disconnection.
By turning off the water supply and relieving the pressure in the plumbing lines, you create a controlled and safe environment for the next steps in removing the old bathtub. This proactive measure not only safeguards against potential water damage but also sets the stage for a smooth and efficient removal process.
With the water supply turned off and the pressure relieved, you're now ready to proceed to the next step of disconnecting the plumbing fixtures connected to the old bathtub. This careful and methodical approach ensures that you can tackle each phase of the removal process with confidence and precision, setting the stage for a successful transition to the subsequent steps.
By following these steps, you'll be well-prepared to navigate the process of turning off the water supply as part of removing an old bathtub. This foundational step lays the groundwork for a safe and controlled environment, setting the stage for a seamless transition to the subsequent phases of the removal process.
Read more: How To Remove Old Bathtub Stickers
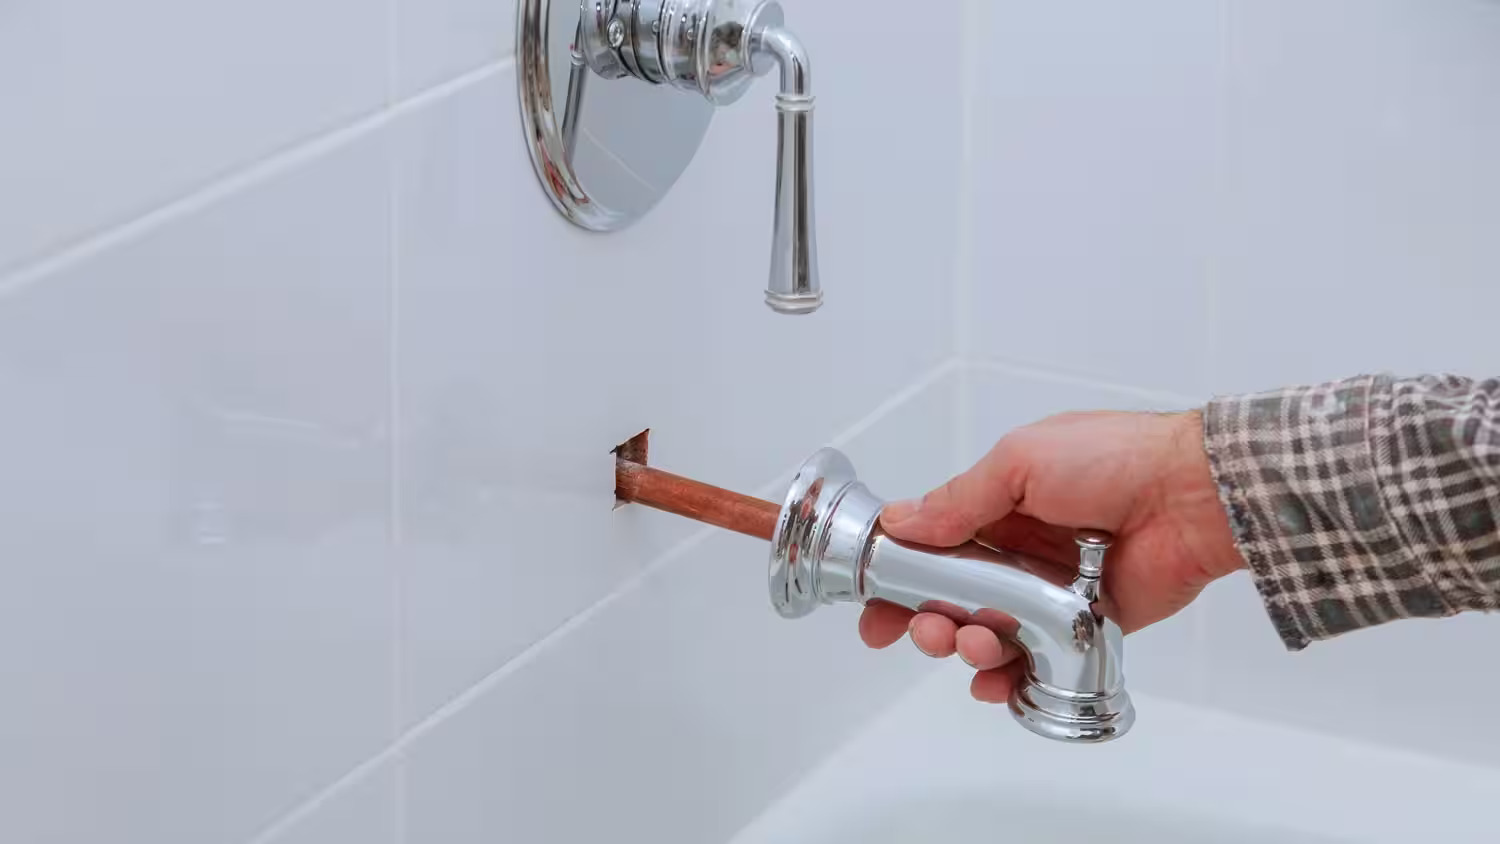
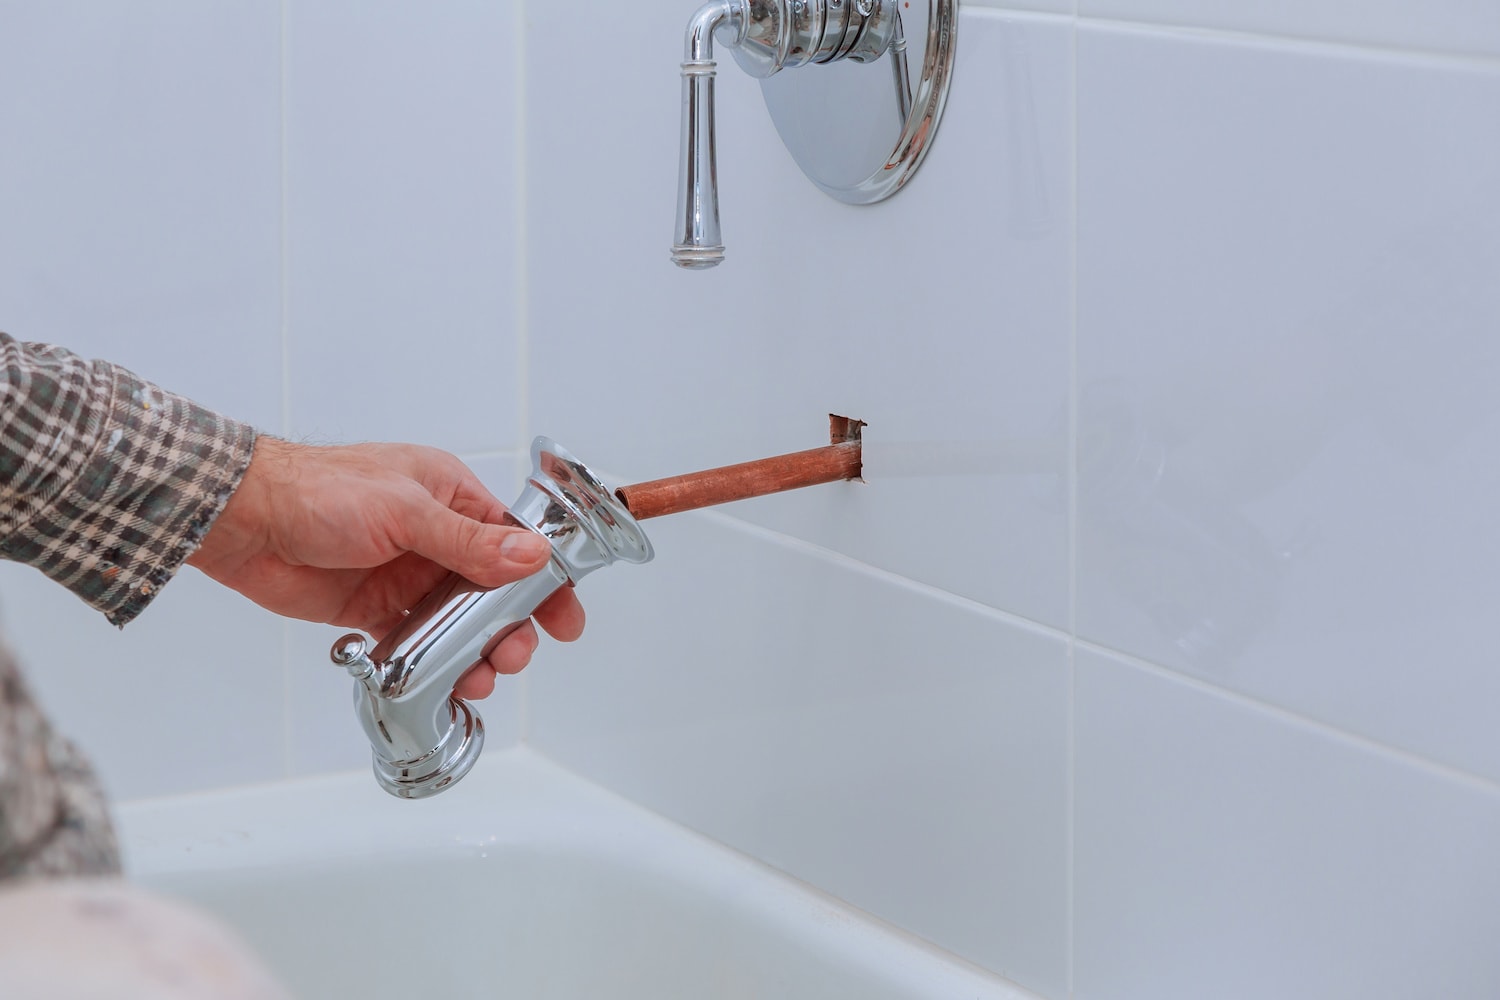
Step 3: Disconnect the plumbing
With the water supply turned off and the pressure relieved, the next crucial step in removing an old bathtub is disconnecting the plumbing fixtures connected to the bathtub. This process involves carefully disconnecting the water supply lines, drain, and any other plumbing connections to free the bathtub from its plumbing attachments.
-
Water Supply Lines: Using an adjustable wrench, carefully disconnect the water supply lines connected to the bathtub's faucet handles. Ensure that any residual water in the lines is collected in a bucket to prevent spills and water damage.
-
Drain: Locate the bathtub's drain and remove the overflow cover plate. Next, use a screwdriver to remove the screws securing the drain cover. Once the cover is removed, use pliers to disconnect the drain linkage and any remaining components, such as the P-trap, that connect the bathtub drain to the main plumbing system.
-
Additional Plumbing Connections: Depending on the specific setup of your bathtub, there may be additional plumbing connections, such as a showerhead or other fixtures. Carefully disconnect these connections using the appropriate tools, ensuring that any water or debris is contained and safely disposed of.
By methodically disconnecting the plumbing fixtures connected to the old bathtub, you pave the way for a seamless and efficient removal process. This careful approach not only ensures that the bathtub is freed from its plumbing attachments but also minimizes the risk of damage to the surrounding area and plumbing infrastructure.
As you progress through the process of disconnecting the plumbing, it's essential to exercise caution and attention to detail. By following these steps, you'll be well-equipped to navigate the intricacies of disconnecting the plumbing fixtures, setting the stage for the subsequent phases of removing the old bathtub.
With the plumbing successfully disconnected, you're now ready to proceed to the next steps in the removal process, bringing you closer to the completion of this home improvement project.
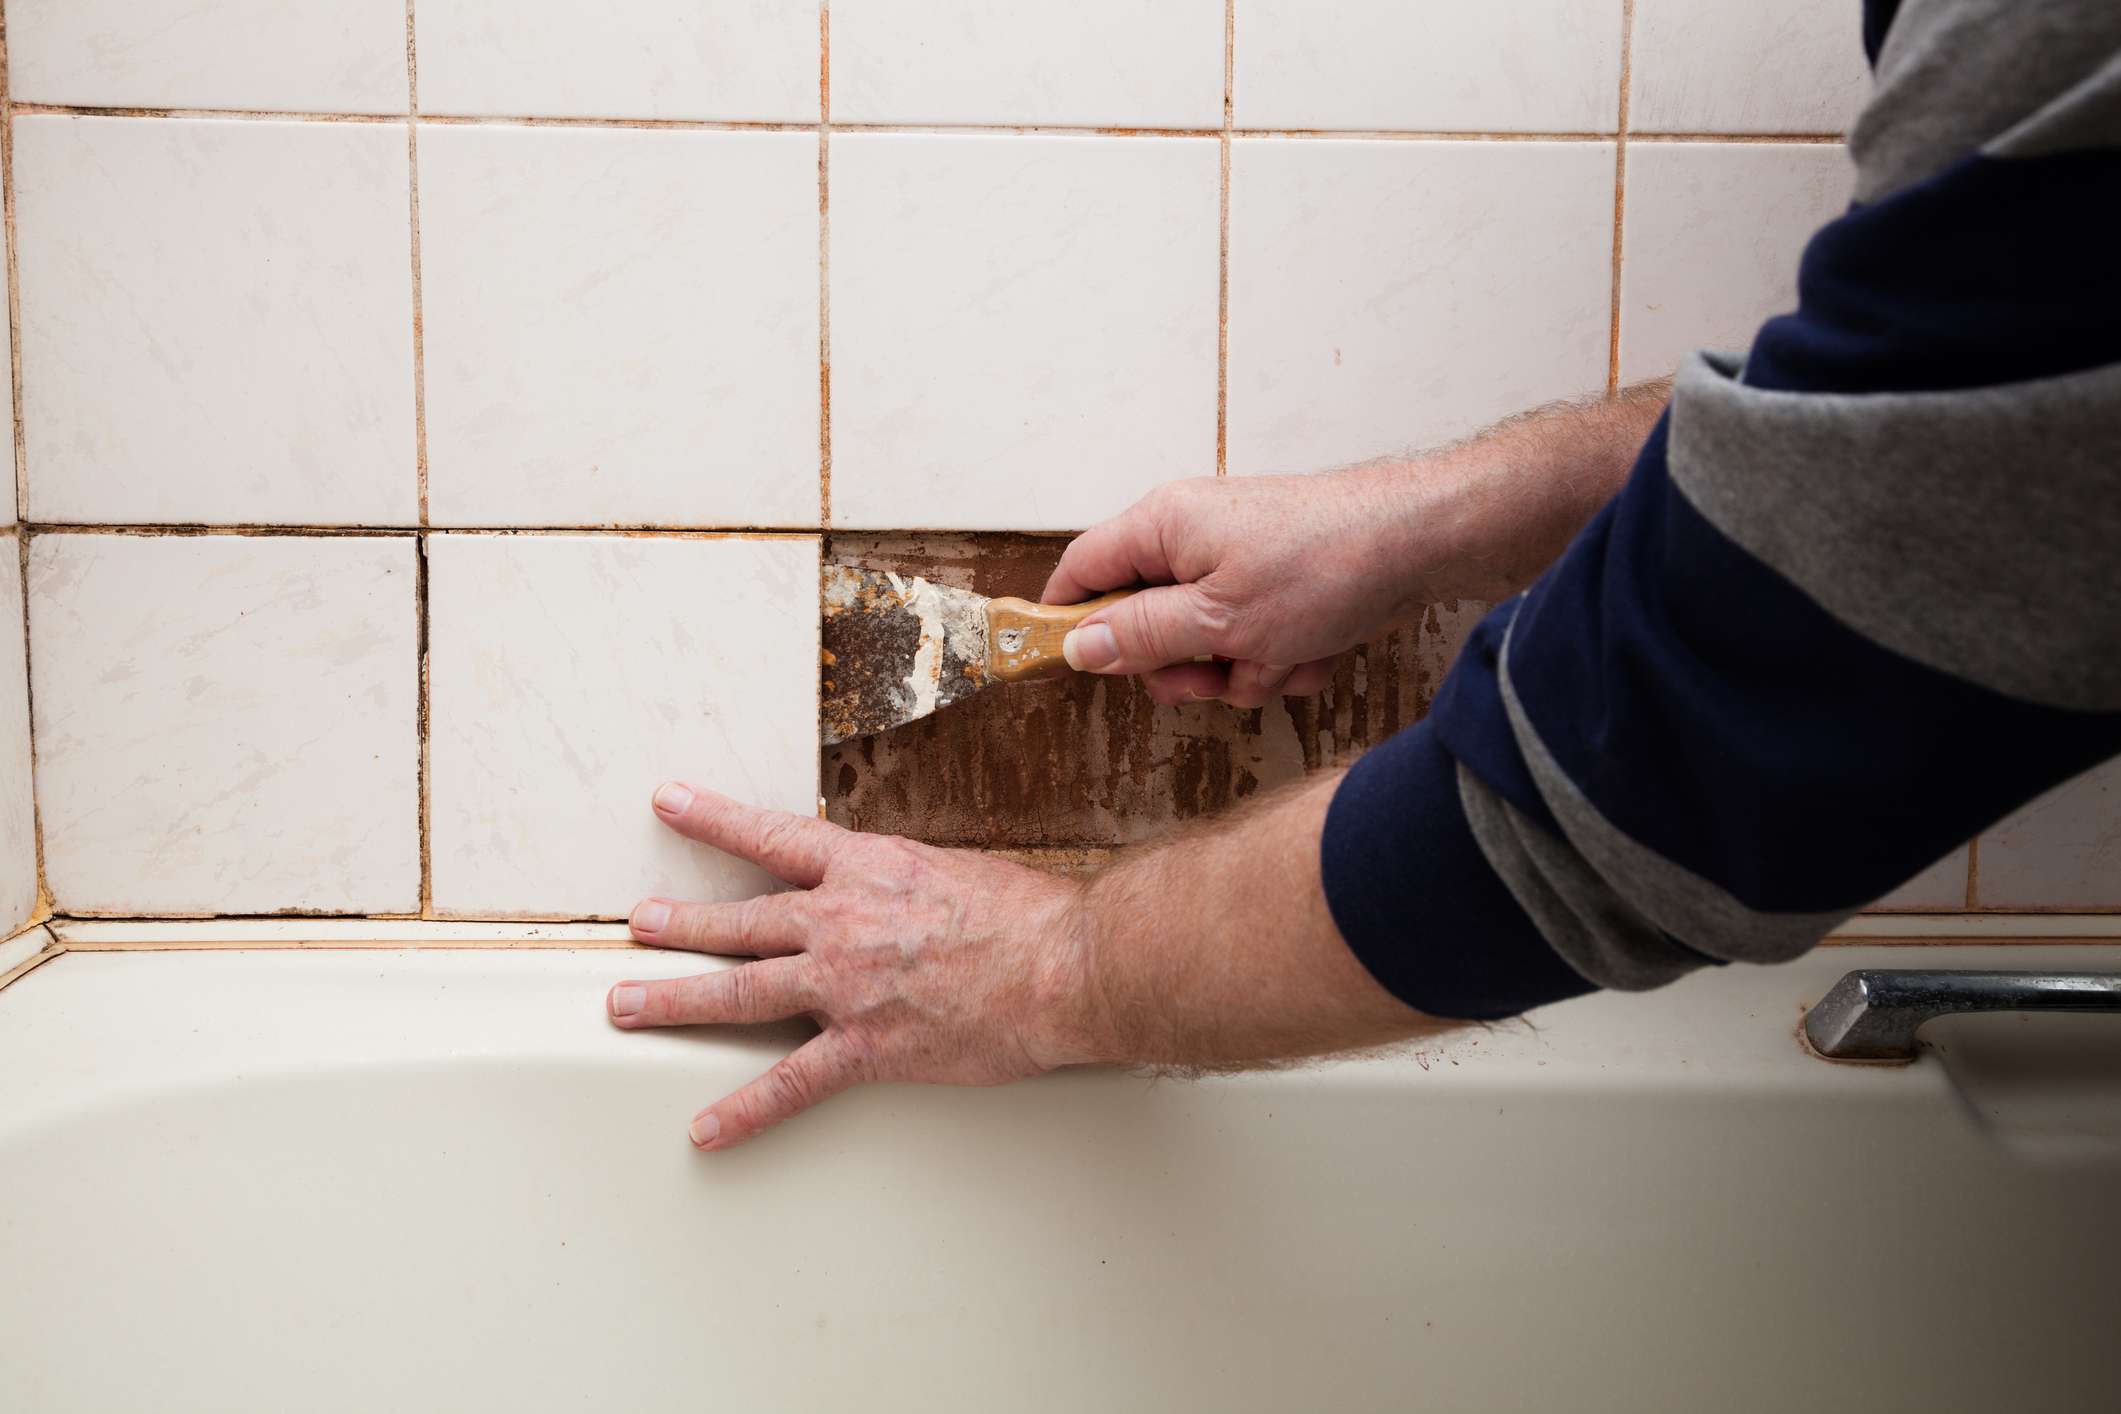
Step 4: Remove the bathtub surround or tile
Removing the bathtub surround or tile is a pivotal step in the process of replacing an old bathtub. Whether your bathtub is encased in a surround or tiled, the removal of these components requires careful attention and precision. Here's a detailed guide on how to effectively remove the bathtub surround or tile:
Assess the Surround or Tile
Before initiating the removal process, carefully inspect the bathtub surround or tile to identify any fasteners, adhesives, or sealants holding them in place. Look for screws, nails, or adhesive residue that may need to be addressed during the removal.
Remove Fixtures and Trim
If the bathtub surround features fixtures such as faucets, handles, or trim, carefully remove these components using the appropriate tools. Use a screwdriver to detach any screws or fasteners securing the fixtures in place. Additionally, if there is trim or molding around the surround, carefully pry it away using a pry bar or putty knife.
Read more: How To Remove Old Caulking From Bathtub
Loosen and Remove Surround or Tile
For a surround secured with adhesive or sealant, use a utility knife to carefully cut through the caulk or sealant along the edges of the surround. This will help loosen the surround and make it easier to remove. If the surround is tiled, use a hammer and chisel to carefully break and remove the tiles, taking care to avoid damaging the underlying wall.
Detach Surround Panels
If the surround consists of multiple panels, carefully detach each panel from the wall. Use a pry bar to gently pry the panels away from the wall, taking care not to damage the surrounding drywall or substrate. Work methodically, starting from one end and gradually working your way across the entire surround.
Clean and Prepare the Area
Once the surround or tile has been completely removed, take the time to clean up the area. Remove any remaining adhesive, sealant, or debris from the walls and surrounding area. This will ensure a clean and smooth surface for the subsequent steps of removing the old bathtub and preparing for the installation of the new unit.
By following these detailed steps, you can effectively remove the bathtub surround or tile, setting the stage for the seamless transition to the next phases of the removal process. This careful and methodical approach ensures that the surrounding area is prepared for the subsequent steps, bringing you closer to the successful completion of this home improvement project.
Step 5: Remove the bathtub
With the necessary preparations and preliminary steps completed, the pivotal moment arrives to remove the old bathtub from its position. This process requires careful attention to detail and a methodical approach to ensure a smooth and efficient removal. Here's a detailed guide on how to effectively remove the bathtub:
-
Assess the Bathtub: Before initiating the removal process, carefully inspect the bathtub and its surroundings to identify any fasteners, supports, or connections securing it in place. Look for screws, nails, or adhesive residue that may need to be addressed during the removal.
-
Disconnect the Drain: Using a wrench, carefully disconnect the bathtub drain from the main plumbing system. Ensure that any residual water in the drain is collected in a bucket to prevent spills and water damage.
-
Detach the Bathtub: With the drain disconnected and any surrounding fixtures removed, it's time to detach the bathtub from its position. Enlist the help of others if the bathtub is heavy or unwieldy. Carefully lift and maneuver the bathtub to free it from its alcove or platform.
-
Clear the Path: As you remove the bathtub, ensure that the path to the exit is clear and free of obstacles. This will facilitate the safe and efficient removal of the old bathtub from the bathroom.
-
Dispose of the Old Bathtub: Once the bathtub is successfully removed from the bathroom, consider the most appropriate method of disposal. Depending on local regulations and the condition of the old bathtub, options may include recycling, donation, or arranging for proper disposal through waste management services.
By following these detailed steps, you can effectively remove the old bathtub, marking a significant milestone in the overall process of upgrading or replacing your bathroom fixtures. This careful and methodical approach ensures that the removal is carried out safely and efficiently, setting the stage for the subsequent phases of preparing for the installation of the new bathtub.
With the old bathtub successfully removed, you're now ready to proceed to the final steps of cleaning up the space and preparing for the installation of the new bathtub, bringing you closer to the successful completion of this home improvement project.
Read more: How To Remove An Old Cast Iron Bathtub
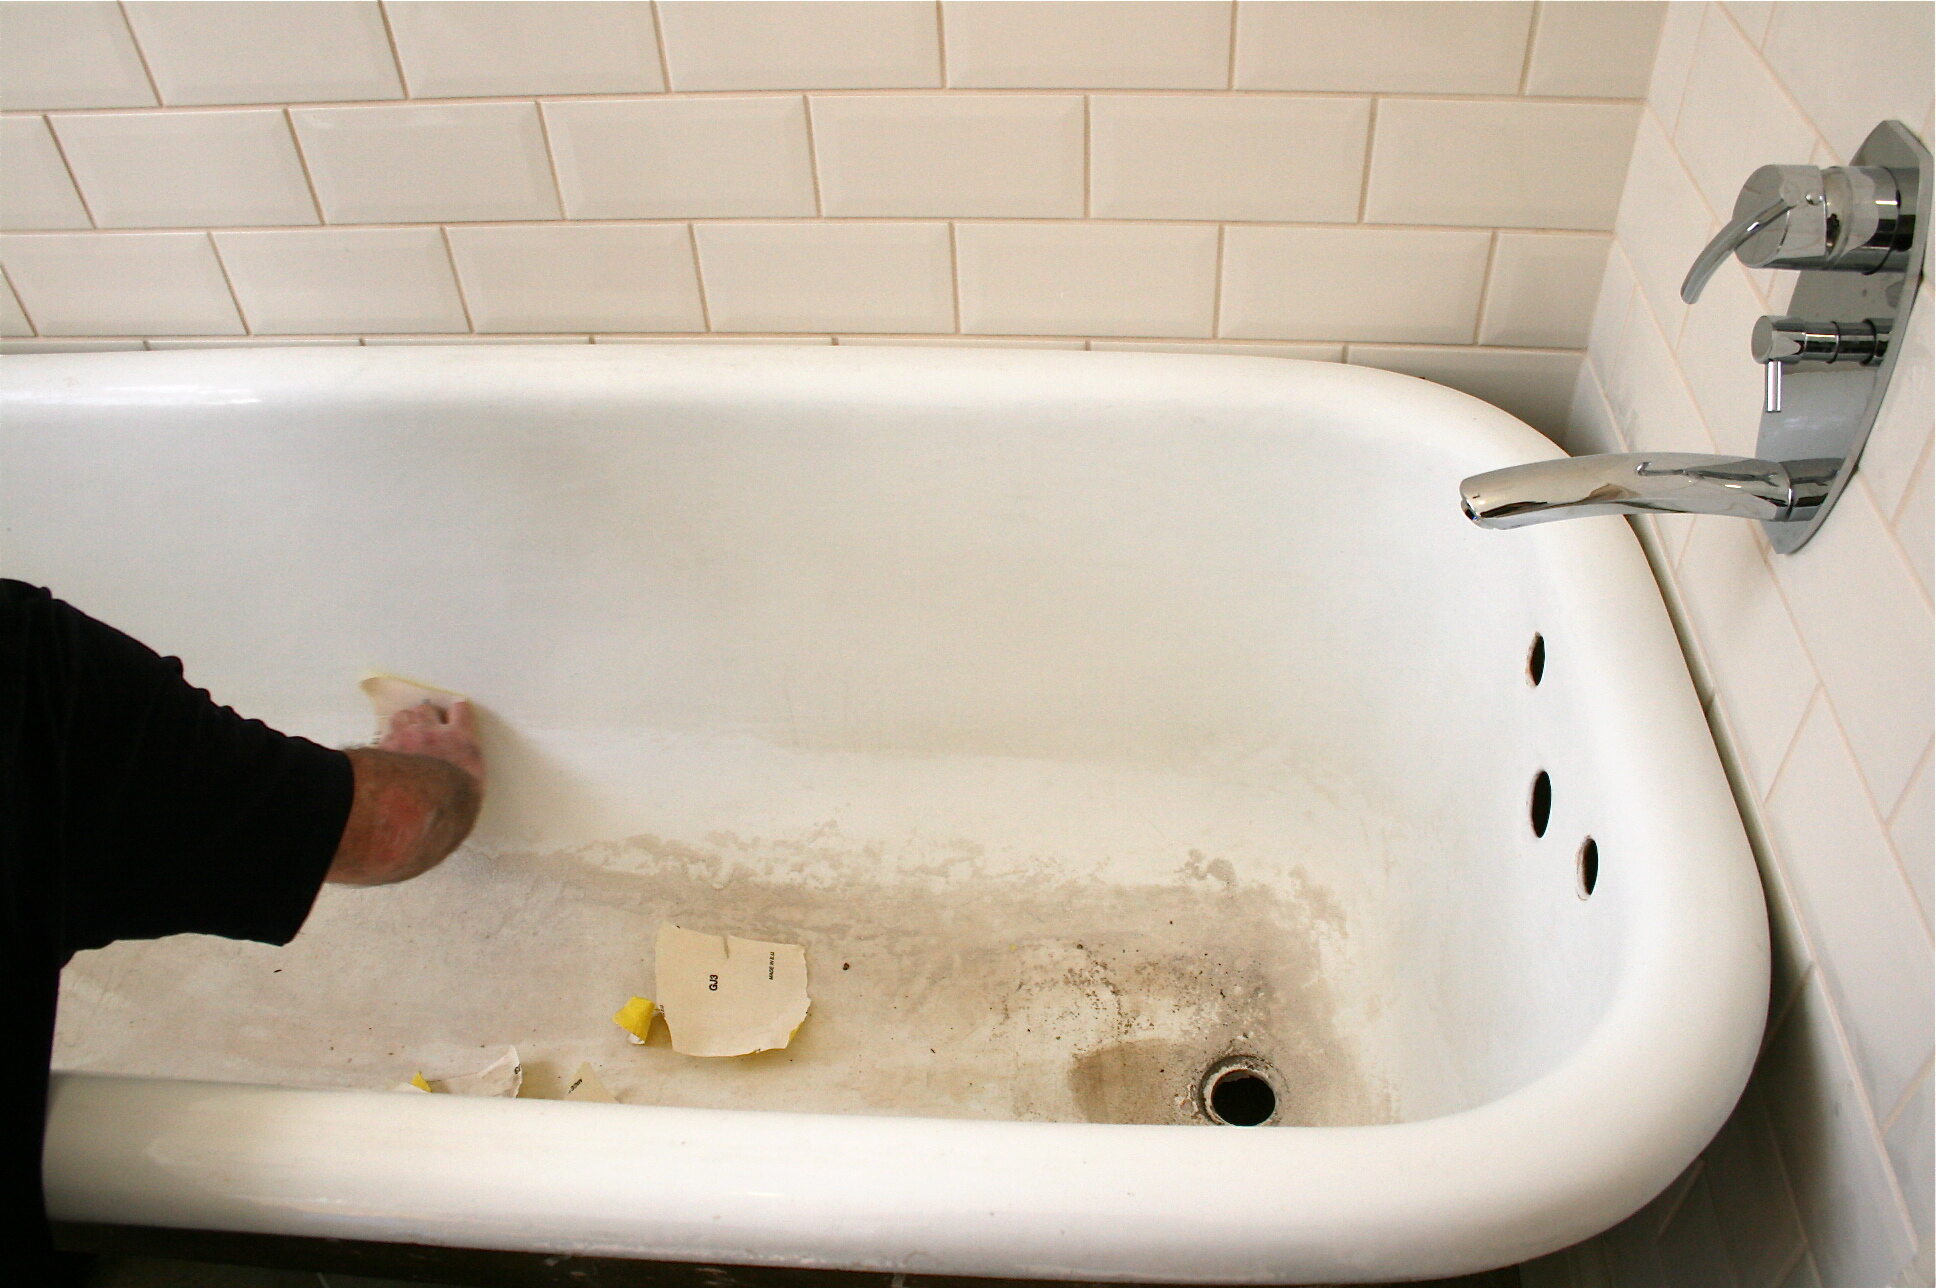
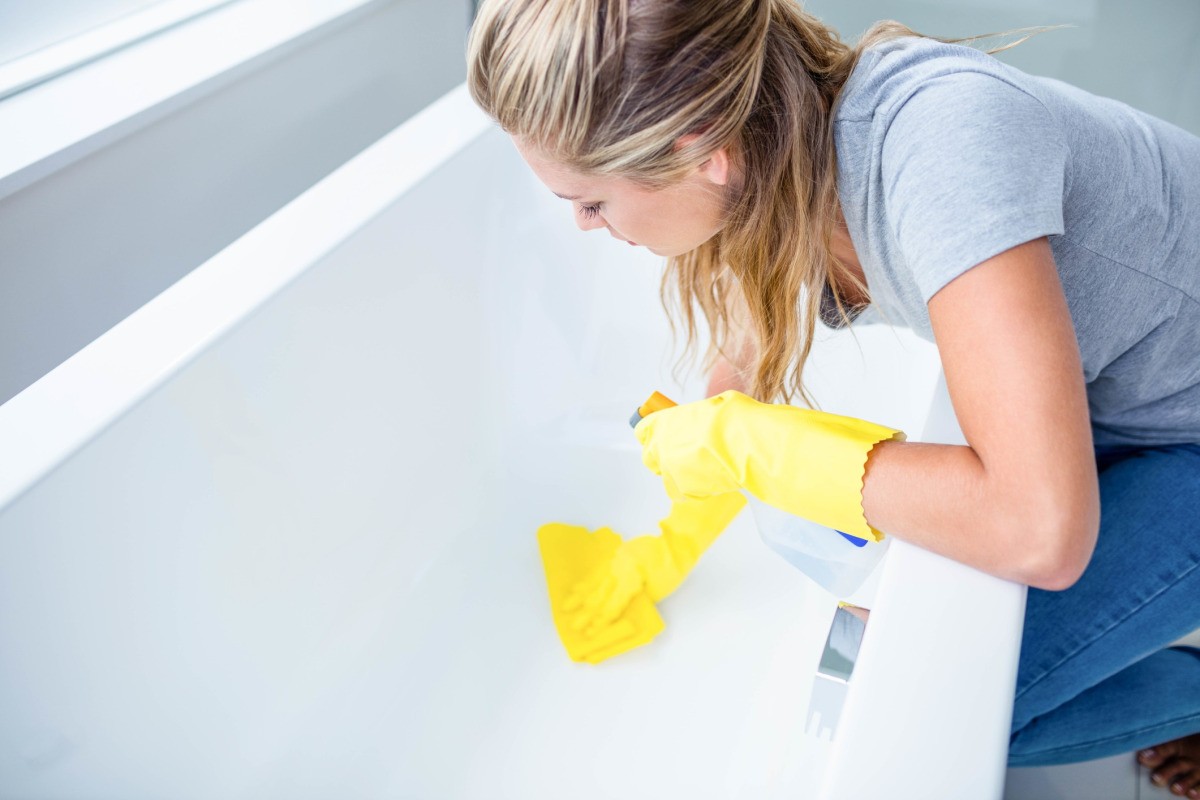
Step 6: Clean up and prepare for installation of the new bathtub
With the old bathtub successfully removed, the final phase of the process involves thorough cleanup and meticulous preparation for the installation of the new bathtub. This critical step sets the stage for a seamless transition to the next chapter of your bathroom renovation journey.
Clean the Surrounding Area
Begin by clearing the area of any debris, dust, and remnants left behind from the removal process. Use a vacuum cleaner or broom to thoroughly sweep the floor and surrounding surfaces, ensuring that the space is clean and free of any obstructions. Additionally, wipe down the walls and floor to remove any residual dust or grime, creating a clean canvas for the installation of the new bathtub.
Address Plumbing and Electrical Considerations
Take this opportunity to inspect the plumbing and electrical connections in the vicinity of the bathtub installation area. Ensure that the plumbing fixtures and connections are in good condition, free of leaks, and properly aligned for the forthcoming installation. If any electrical components are present, such as lighting fixtures or outlets, verify their functionality and address any necessary maintenance or adjustments.
Prepare the Substrate
Inspect the substrate, which may consist of the wall studs and floor joists, to ensure that they are structurally sound and free of damage. Address any issues such as water damage, rot, or deterioration, and make any necessary repairs or reinforcements to provide a stable and secure foundation for the new bathtub installation.
Read more: How To Dispose Of An Old Bathtub
Plan for Waterproofing and Sealing
Consider the waterproofing and sealing requirements for the installation area, especially if the new bathtub will be set in a tiled alcove or surround. Verify that the waterproofing membrane, if applicable, is intact and in good condition. Additionally, ensure that the sealing materials, such as caulk and plumber's putty, are readily available for the installation process.
Measure and Confirm Fit
Before proceeding with the installation, take precise measurements of the installation area to confirm that the new bathtub will fit seamlessly into the designated space. Verify the dimensions of the bathtub and compare them to the available space, accounting for any necessary adjustments or modifications to ensure a perfect fit.
Finalize Installation Plans
Review the installation instructions and guidelines provided by the manufacturer of the new bathtub. Familiarize yourself with the recommended installation process, including any specific requirements or considerations. Prepare the necessary tools and materials as outlined in the installation instructions, ensuring that everything is readily accessible for a smooth and efficient installation process.
By meticulously cleaning up the space and diligently preparing for the installation of the new bathtub, you are laying the groundwork for a successful and gratifying culmination of your bathroom renovation project. This meticulous attention to detail and proactive preparation will ensure that the installation process proceeds seamlessly, bringing you closer to the realization of your vision for a revitalized and rejuvenated bathroom space.
Frequently Asked Questions about How To Remove An Old Bathtub?
Was this page helpful?
At Storables.com, we guarantee accurate and reliable information. Our content, validated by Expert Board Contributors, is crafted following stringent Editorial Policies. We're committed to providing you with well-researched, expert-backed insights for all your informational needs.
0 thoughts on “How To Remove An Old Bathtub?”