Home>Furniture & Design>Bathroom Accessories>How To Remove A Bathtub Handle
Bathroom Accessories
How To Remove A Bathtub Handle
Modified: March 25, 2024
Learn how to easily remove a bathtub handle and upgrade your bathroom accessories with our step-by-step guide. Say goodbye to old fixtures and hello to a fresh new look!
(Many of the links in this article redirect to a specific reviewed product. Your purchase of these products through affiliate links helps to generate commission for Storables.com, at no extra cost. Learn more)
Introduction
Removing a bathtub handle may seem like a daunting task, but with the right tools and a clear understanding of the process, it can be a manageable DIY project. Whether you're looking to replace a worn-out handle or repair a faulty one, knowing how to remove a bathtub handle is a valuable skill for any homeowner. By following a few simple steps, you can successfully disassemble the handle and address any underlying issues that may be affecting your bathtub's functionality.
Understanding the inner workings of your bathtub handle can provide insight into potential problems and help you make informed decisions about repairs or replacements. By taking the time to familiarize yourself with the process of removing a bathtub handle, you can save time and money by avoiding unnecessary professional assistance.
In this guide, we will walk you through the step-by-step process of removing a bathtub handle, providing you with the knowledge and confidence to tackle this task on your own. From turning off the water supply to carefully removing the handle, each step is crucial to ensuring a smooth and successful removal process. By the end of this guide, you will have the necessary skills to address common bathtub handle issues and make informed decisions about the next steps in maintaining your bathroom accessories.
Now, let's gather the essential tools and materials needed for this project and dive into the process of removing a bathtub handle. With a little patience and attention to detail, you can master this DIY task and keep your bathroom in top-notch condition.
Key Takeaways:
- Mastering the removal of a bathtub handle empowers homeowners to address common issues and make informed decisions about repairs or replacements, contributing to the overall maintenance of bathroom accessories.
- By turning off the water supply and following step-by-step instructions, individuals can confidently disassemble the handle, assess its condition, and decide on the best course of action for maintaining their bathtub handle.
Read more: How To Change Bathtub Faucet Handle
Tools and Materials Needed
Before embarking on the task of removing a bathtub handle, it's essential to gather the necessary tools and materials to ensure a smooth and efficient process. Here's a comprehensive list of items you'll need for this DIY project:
Tools:
-
Screwdriver Set: A set of screwdrivers, including both flathead and Phillips head varieties, will be essential for removing the screws that secure the handle in place. Ensure that the screwdrivers are appropriately sized to fit the screws on your specific bathtub handle.
-
Adjustable Wrench: This versatile tool will come in handy for loosening and removing the retaining nut that secures the handle to the valve stem. An adjustable wrench allows you to customize the jaw size to fit the nut, providing a secure grip for effective removal.
-
Needle-Nose Pliers: These long, narrow pliers are useful for reaching into tight spaces and gripping small components. They can be particularly helpful for extracting any retaining clips or pins that may be securing the handle in place.
-
Allen Wrench Set: If your bathtub handle is secured with set screws, an Allen wrench set will be necessary for loosening and removing these screws. Ensure that you have a range of sizes to accommodate different handle designs.
-
Plumber's Grease: Applying plumber's grease to the valve stem threads and other components can help prevent corrosion and make future maintenance easier. This lubricant will aid in the smooth operation of the handle and prolong the lifespan of the internal mechanisms.
Materials:
-
Replacement Parts (if applicable): If you are planning to replace the bathtub handle, ensure that you have the new handle and any accompanying components ready for installation. This may include a new handle, screws, washers, and other hardware specific to your bathtub model.
-
Clean Cloth: Having a clean cloth or rag on hand will allow you to wipe down the valve stem and surrounding areas, removing any accumulated grime or debris. Keeping the work area clean is essential for preventing contamination of the internal components.
-
Bucket or Container: Before beginning the removal process, it's advisable to have a bucket or container available to catch any water that may drain from the plumbing system. This will help prevent water damage and maintain a tidy work environment.
By ensuring that you have these tools and materials at your disposal, you'll be well-prepared to tackle the task of removing a bathtub handle with confidence and efficiency. With the right equipment in hand, you can proceed to the next steps of the removal process, knowing that you have everything you need to complete the job effectively.
Step 1: Turn Off the Water Supply
Before beginning the process of removing a bathtub handle, it is crucial to turn off the water supply to the bathtub. This step is essential for ensuring a safe and controlled environment during the handle removal process. By shutting off the water supply, you can prevent any unexpected water flow and minimize the risk of leaks or water damage.
To turn off the water supply, locate the shut-off valves connected to the bathtub's plumbing system. These valves are typically found near the bathtub or within the vicinity of the bathroom. In some cases, the shut-off valves may be located in a nearby utility room or basement. Once you have identified the valves, follow these steps to turn off the water supply:
-
Locate the Shut-Off Valves: Inspect the area around the bathtub to find the shut-off valves. These valves are often positioned on the water pipes leading to the bathtub, and they may have handles that can be turned to control the water flow.
-
Turn the Valves Clockwise: Using your hand or an appropriate tool, such as a wrench, turn the shut-off valve handles clockwise to close them. This action will stop the flow of water to the bathtub, effectively isolating the plumbing system from the main water supply.
-
Verify Water Shut-Off: After turning the shut-off valves, test the water supply by attempting to turn on the bathtub faucet. If the water flow has ceased, the shut-off valves have successfully stopped the water supply. This verification step is crucial for ensuring that no water remains in the plumbing system before proceeding with the handle removal.
By following these steps to turn off the water supply, you can create a safe and controlled environment for removing the bathtub handle. This precautionary measure helps prevent water-related mishaps and allows you to focus on the task at hand without the risk of unexpected water flow. With the water supply turned off, you are ready to proceed to the next steps of removing the bathtub handle with confidence and peace of mind.
Read more: How To Remove A Toilet Handle
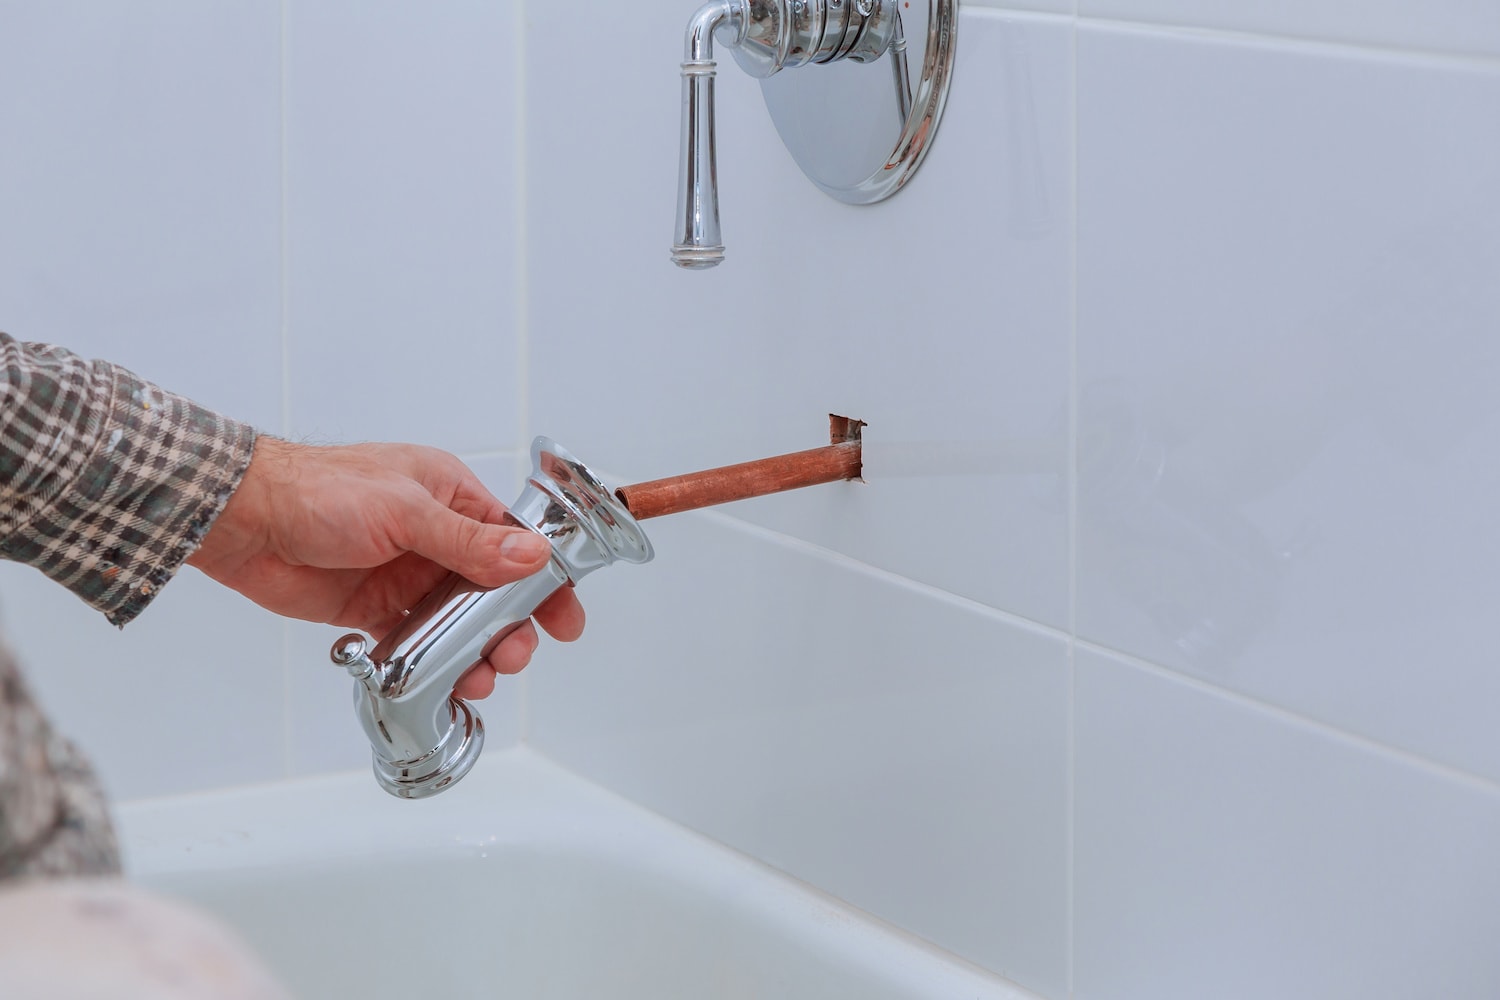
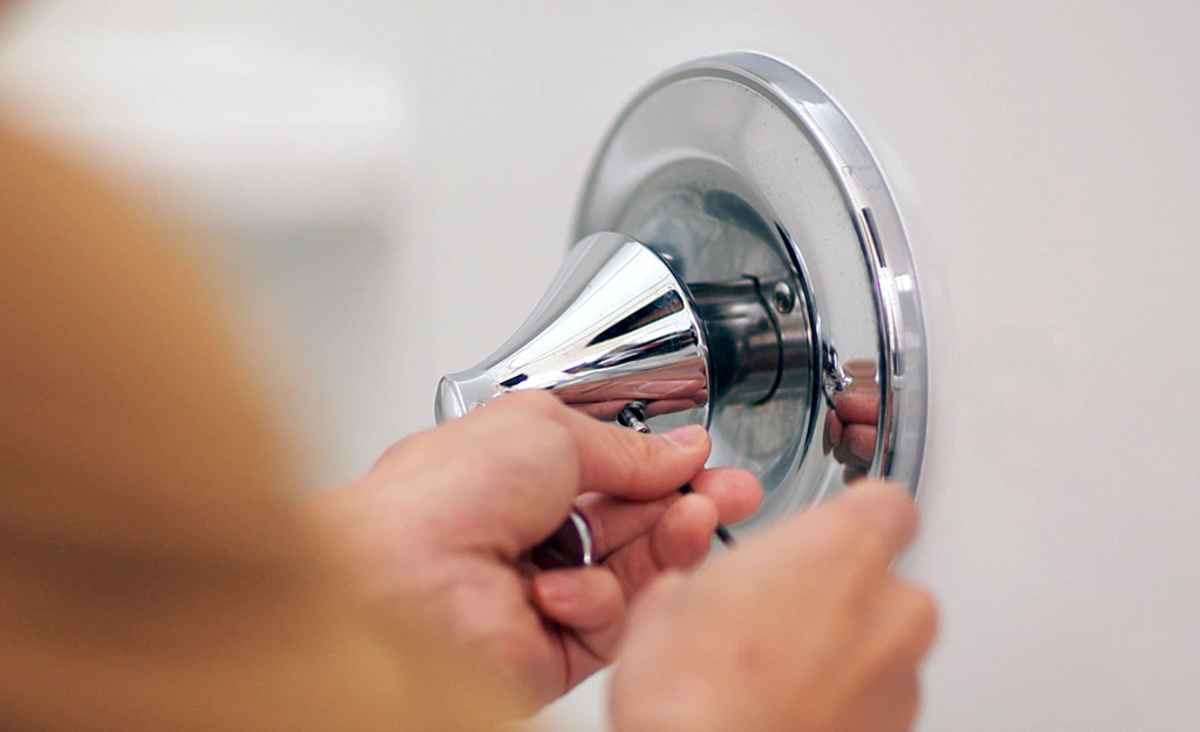
Step 2: Remove the Handle Cover
With the water supply safely turned off, you can now focus on removing the handle cover to access the internal components of the bathtub handle. The handle cover, also known as the escutcheon, is the decorative plate that conceals the handle's attachment to the wall or fixture. Removing the handle cover is a crucial step in gaining access to the fasteners and components that secure the handle in place. Here's a detailed guide on how to remove the handle cover effectively:
-
Inspect the Handle Cover: Begin by closely examining the handle cover to identify the method of attachment. Some handle covers are secured with visible screws, while others may feature a snap-on or threaded design. Understanding how the cover is affixed to the wall or fixture will guide you in selecting the appropriate approach for removal.
-
Locate and Remove Screws: If the handle cover is held in place by screws, use a suitable screwdriver to carefully remove them. Ensure that you keep the screws in a secure location to prevent misplacement. Once the screws are removed, gently pull the handle cover away from the wall to expose the handle and valve assembly.
-
Release Snap-On Covers: For handle covers that feature a snap-on design, use a flathead screwdriver or a similar tool to carefully pry the cover away from the wall. Start at one edge of the cover and work your way around, applying gentle pressure to release the snap-on tabs. Take care not to exert excessive force to avoid damaging the cover or surrounding surfaces.
-
Unscrew Threaded Covers: In the case of threaded handle covers, carefully rotate the cover counterclockwise to loosen it from the wall or fixture. Once the cover is sufficiently loosened, gently pull it away to reveal the handle and underlying components.
-
Inspect and Clean: After removing the handle cover, take a moment to inspect the exposed area for any signs of corrosion, buildup, or damage. Use a clean cloth to wipe down the exposed surfaces, removing any accumulated grime or debris. This step prepares the area for further inspection and handle removal.
By following these steps to remove the handle cover, you can effectively expose the handle and valve assembly, setting the stage for the subsequent steps in the removal process. With the handle cover removed, you are one step closer to addressing any issues with the bathtub handle and taking the necessary measures to restore its functionality.
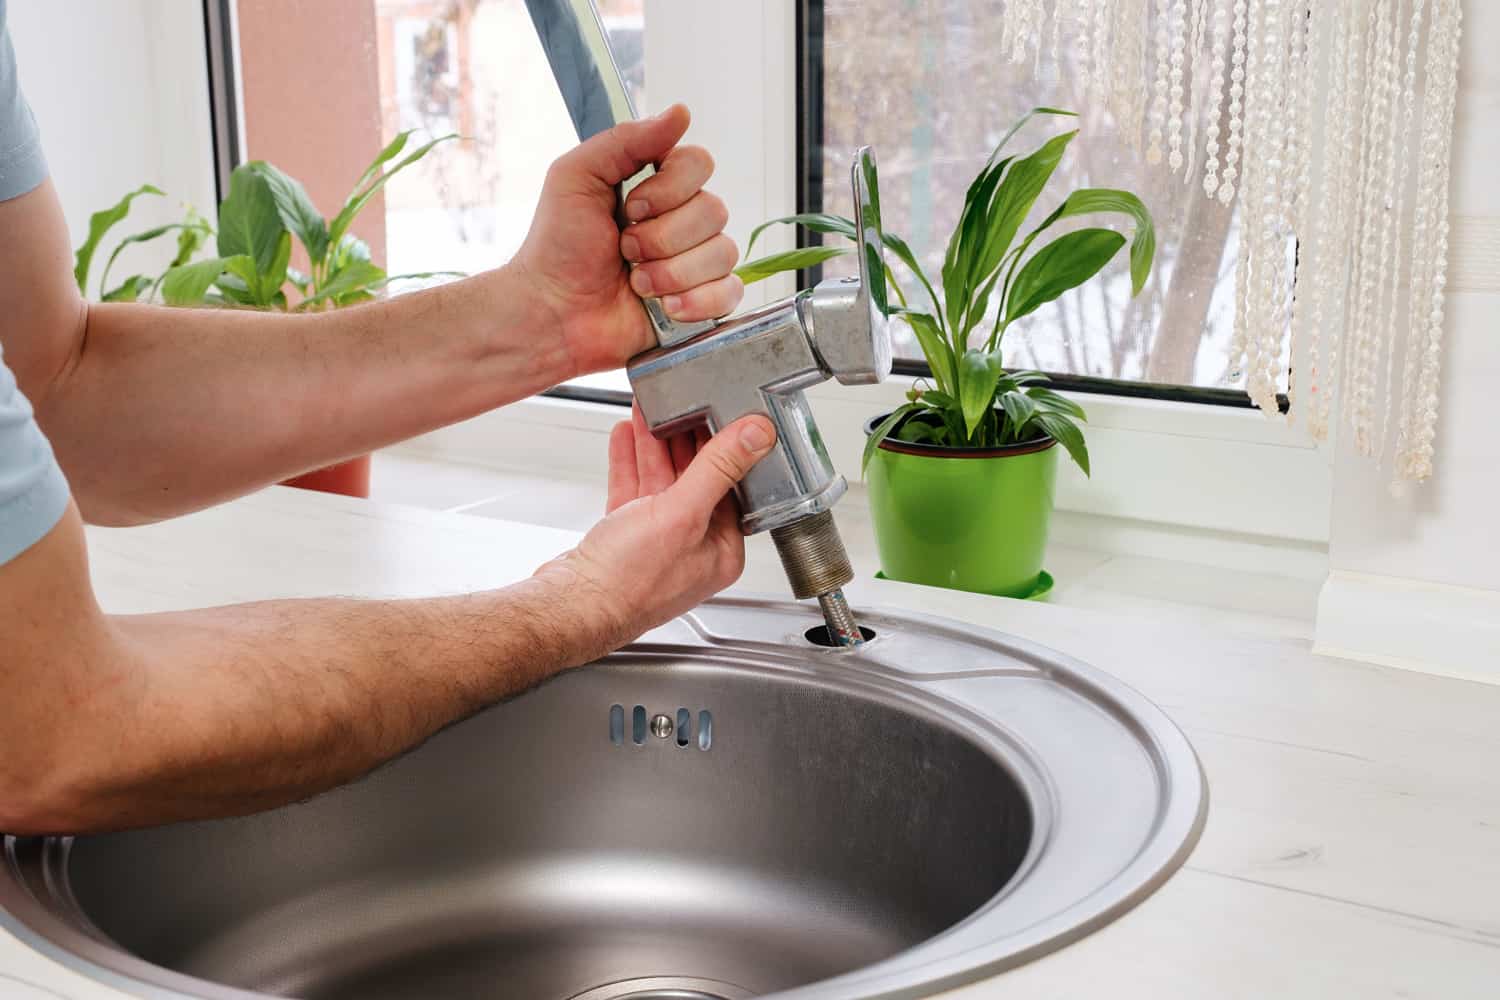
Step 3: Loosen the Handle Screw
With the handle cover successfully removed, the next critical step in the process of removing a bathtub handle is to loosen the handle screw. This screw secures the handle to the valve stem, and loosening it is essential for disengaging the handle from the internal components. Here's a detailed guide on how to effectively loosen the handle screw:
-
Identify the Handle Screw: Within the exposed handle assembly, locate the screw that secures the handle to the valve stem. Depending on the handle design, the screw may be positioned on the side of the handle or concealed beneath a decorative cap. Take a moment to inspect the handle and identify the location of the screw.
-
Select the Appropriate Tool: Once the handle screw is located, choose the appropriate tool for loosening it. If the screw features a standard head, such as a Phillips or flathead, select the corresponding screwdriver from your set. In the case of an Allen screw, ensure that you have the correct size of Allen wrench to fit the screw.
-
Loosen the Screw: Using the selected tool, carefully insert it into the screw head and apply gentle but firm pressure in a counterclockwise direction. It's important to maintain a steady grip on the screwdriver or wrench to prevent slipping and potential damage to the screw head. If the screw is resistant to loosening, consider applying a small amount of penetrating oil to facilitate the process.
-
Handle Removal: As the handle screw is loosened, you will reach a point where the handle becomes detached from the valve stem. Once the screw is sufficiently loosened, carefully lift the handle away from the wall or fixture, exposing the valve assembly and any remaining components.
-
Inspect the Valve Stem: With the handle removed, take a moment to inspect the valve stem for any signs of wear, corrosion, or damage. This visual inspection can provide valuable insight into the condition of the internal components and guide your decision-making regarding repairs or replacements.
By following these steps to loosen the handle screw, you can effectively disengage the handle from the valve stem, paving the way for further assessment and potential repairs. With the handle removed, you are one step closer to addressing any underlying issues and making informed decisions about the next steps in maintaining your bathtub handle.
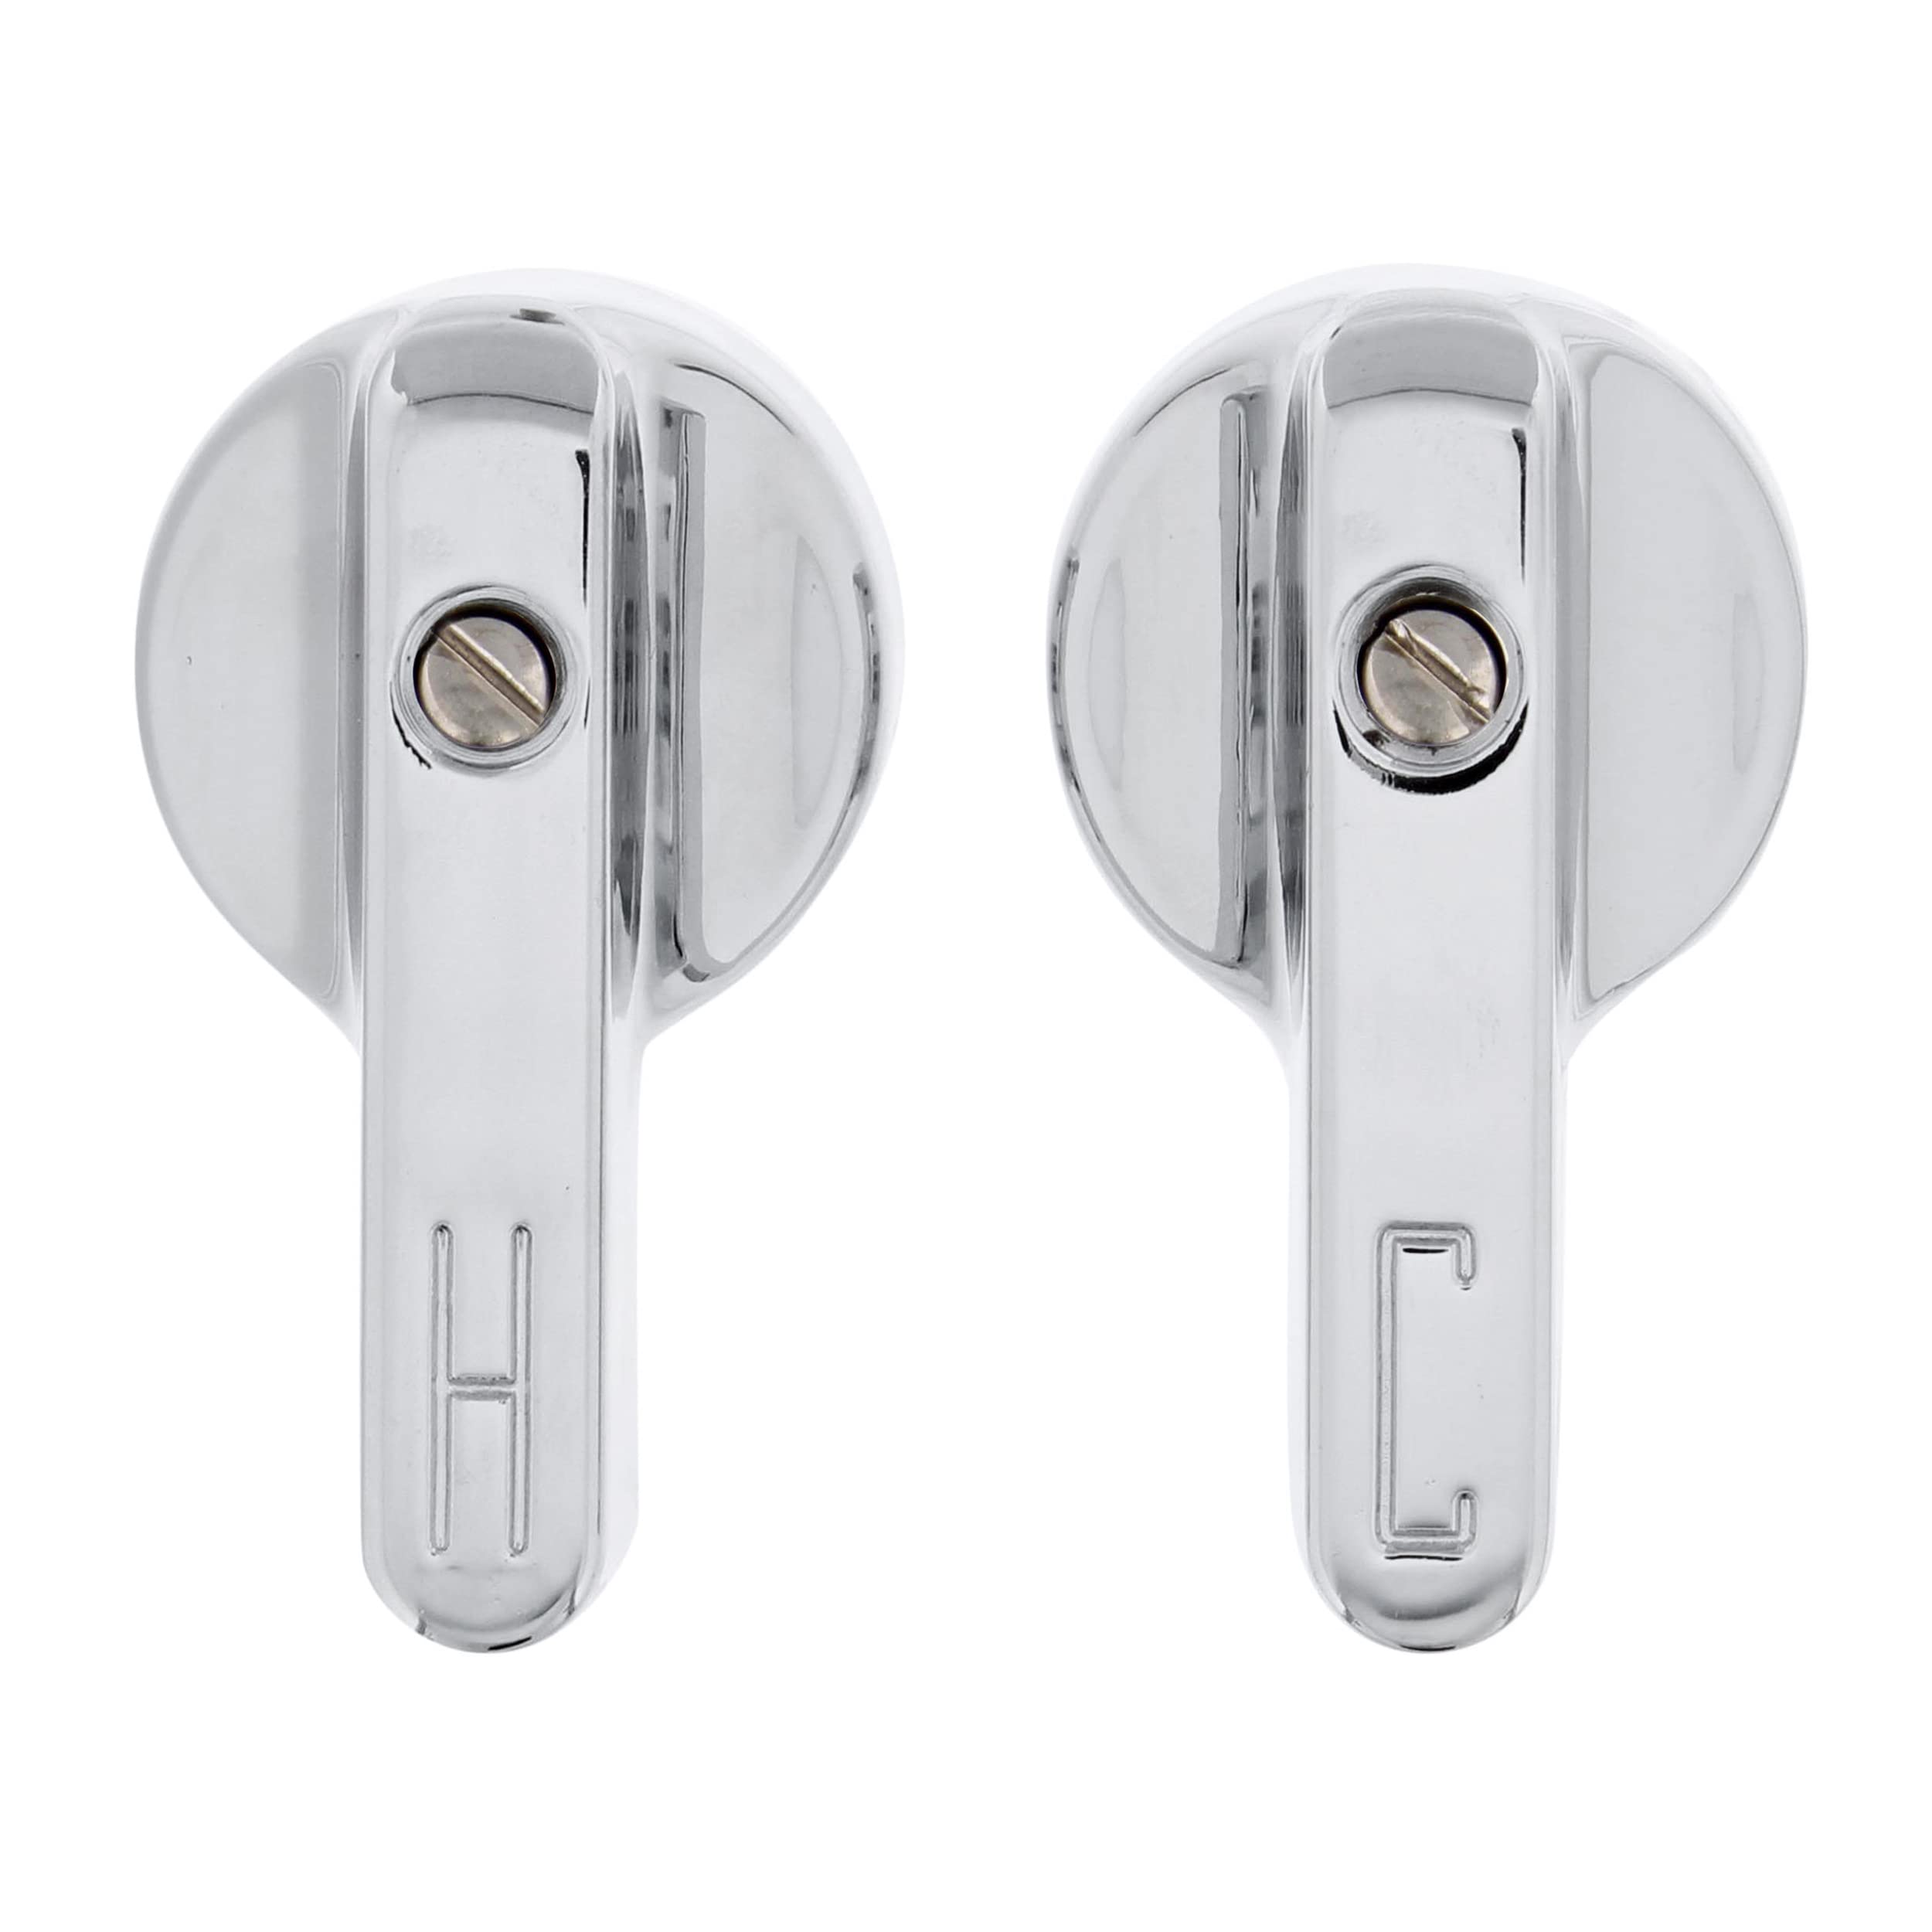
Step 4: Remove the Handle
With the handle screw successfully loosened and the handle detached from the valve stem, the next crucial step in the process of removing a bathtub handle is the complete removal of the handle from the valve assembly. This step requires careful attention to detail and a methodical approach to ensure the safe extraction of the handle and any accompanying components. Here's a detailed guide on how to effectively remove the handle from the valve assembly:
-
Handle Removal: Once the handle is detached from the valve stem, carefully lift it away from the wall or fixture. Depending on the design of the handle, it may slide off the valve stem or require a gentle twisting motion to release it completely. Take care to support the handle as you remove it to prevent any sudden movements that could cause damage to the surrounding area.
-
Inspect Handle Components: As the handle is removed, take a moment to inspect the internal components, including any washers, spacers, or decorative elements that may be present. These components play a crucial role in the handle's functionality and overall aesthetic, and it's essential to keep them organized and intact for reassembly or replacement.
-
Note Component Orientation: If the handle components are not uniform in shape or size, take note of their orientation and arrangement as they are removed. This step is particularly important for components that have specific positioning requirements, such as asymmetrical washers or spacers. Keeping track of the component orientation will facilitate a smooth reassembly process.
-
Set Aside Components: Once the handle and accompanying components are removed, place them in a secure location, such as a small container or tray, to prevent misplacement. Keeping the components organized and together will streamline the reassembly process and minimize the risk of losing essential parts.
-
Inspect Valve Assembly: With the handle removed, take a moment to inspect the exposed valve assembly for any signs of wear, damage, or buildup. This visual inspection can provide valuable insights into the condition of the internal components and guide your decision-making regarding repairs or replacements.
By following these steps to remove the handle from the valve assembly, you can effectively disassemble the handle and gain access to the underlying components for further assessment and potential maintenance. With the handle successfully removed, you are well-positioned to address any issues and make informed decisions about the next steps in maintaining your bathtub handle.
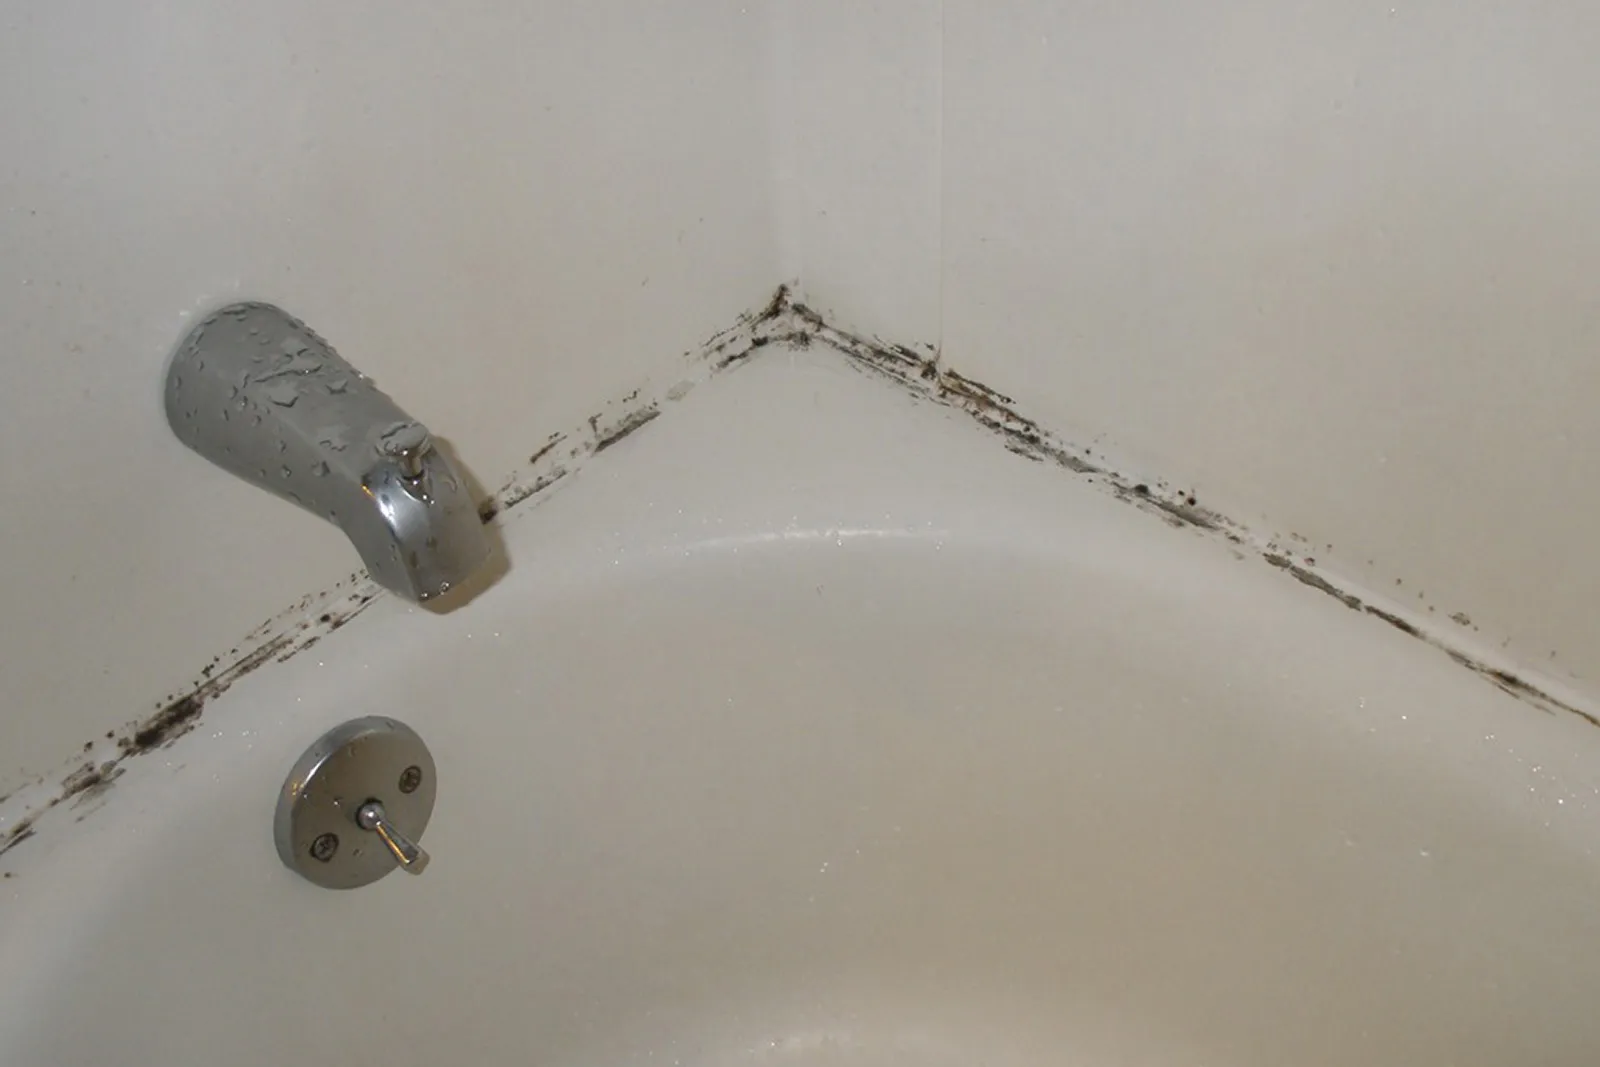
Step 5: Replace or Repair the Handle
After successfully removing the bathtub handle, you are now presented with the opportunity to assess its condition and determine whether replacement or repair is the most suitable course of action. This step involves a thorough evaluation of the handle's components, the valve assembly, and any underlying issues that may have contributed to the need for removal. Here's a detailed guide on how to approach the decision to replace or repair the bathtub handle:
Read more: How To Baby Proof Bathtub Handles
Assess Handle Condition
Begin by closely examining the removed handle and its accompanying components. Look for signs of wear, corrosion, or damage that may have compromised the handle's functionality. Pay particular attention to any cracks, fractures, or excessive wear on the handle itself, as these issues can impact its performance and longevity.
Evaluate Valve Assembly
Inspect the exposed valve assembly for any indications of wear, leaks, or malfunction. Check for mineral deposits, corrosion, or irregularities that may have affected the handle's operation. A thorough assessment of the valve assembly can provide valuable insights into potential underlying issues that need to be addressed.
Consider Replacement Options
If the handle or its components show significant wear or damage that compromises their functionality, replacing the entire handle assembly may be the most effective solution. Look for replacement handles that are compatible with your bathtub model and ensure that they come with the necessary hardware for installation.
Explore Repair Possibilities
In cases where the handle components exhibit minor wear or damage, exploring repair options may be a viable alternative to replacement. This may involve cleaning, lubricating, or replacing specific components such as washers, spacers, or O-rings to restore the handle's functionality.
Read more: How To Remove Sink Faucet Handle
Consult Professional Assistance
If you encounter challenges in assessing the handle's condition or identifying the underlying issues, consider seeking professional assistance from a plumber or a knowledgeable hardware store representative. Their expertise can provide valuable guidance in determining the most appropriate course of action for handling the bathtub handle.
Make Informed Decisions
Based on your assessment of the handle's condition and the valve assembly, make informed decisions regarding replacement or repair. Consider factors such as cost, availability of replacement parts, and the overall condition of the bathtub to determine the most practical and effective approach.
By carefully evaluating the handle's condition and considering the available options for replacement or repair, you can make informed decisions that align with your maintenance goals and ensure the optimal functionality of your bathtub handle. Whether opting for a replacement or pursuing repair solutions, this step empowers you to take proactive measures in maintaining your bathroom accessories.
Conclusion
In conclusion, mastering the process of removing a bathtub handle equips homeowners with the knowledge and confidence to address common issues that may arise with this essential bathroom fixture. By following the step-by-step guide outlined in this article, individuals can navigate the removal process with precision and efficiency, ultimately contributing to the overall maintenance and functionality of their bathroom accessories.
The journey of removing a bathtub handle begins with the essential step of turning off the water supply, ensuring a safe and controlled environment for the subsequent tasks. This precautionary measure sets the stage for a seamless removal process, minimizing the risk of water-related mishaps and allowing individuals to focus on the task at hand.
The subsequent steps, including removing the handle cover, loosening the handle screw, and extracting the handle from the valve assembly, provide a comprehensive understanding of the inner workings of the bathtub handle. These steps empower individuals to gain access to the internal components, assess their condition, and make informed decisions about potential repairs or replacements.
The pivotal decision-making process regarding the repair or replacement of the bathtub handle marks a crucial juncture in the maintenance journey. By carefully evaluating the condition of the handle and the underlying valve assembly, individuals can weigh the available options and determine the most practical and effective approach to ensure the optimal functionality of their bathroom fixture.
Ultimately, the ability to remove a bathtub handle proficiently contributes to a proactive approach to home maintenance, empowering individuals to address issues promptly and make informed decisions about the upkeep of their bathroom accessories. By mastering this essential skill, homeowners can enhance their confidence in handling common household tasks and contribute to the overall well-being of their living spaces.
In embracing the process of removing a bathtub handle, individuals not only gain practical expertise but also cultivate a sense of empowerment in maintaining their living environment. This DIY endeavor underscores the value of knowledge, preparation, and attention to detail, serving as a testament to the proactive mindset that drives effective home maintenance practices.
Frequently Asked Questions about How To Remove A Bathtub Handle
Was this page helpful?
At Storables.com, we guarantee accurate and reliable information. Our content, validated by Expert Board Contributors, is crafted following stringent Editorial Policies. We're committed to providing you with well-researched, expert-backed insights for all your informational needs.


0 thoughts on “How To Remove A Bathtub Handle”