Home>Furniture & Design>Bathroom Accessories>How To Build A Wooden Bathtub
Bathroom Accessories
How To Build A Wooden Bathtub
Modified: March 24, 2024
Discover how to create a unique wooden bathtub for your bathroom with our expert tips and bathroom accessories. Enhance your space with a touch of natural elegance.
(Many of the links in this article redirect to a specific reviewed product. Your purchase of these products through affiliate links helps to generate commission for Storables.com, at no extra cost. Learn more)
Introduction
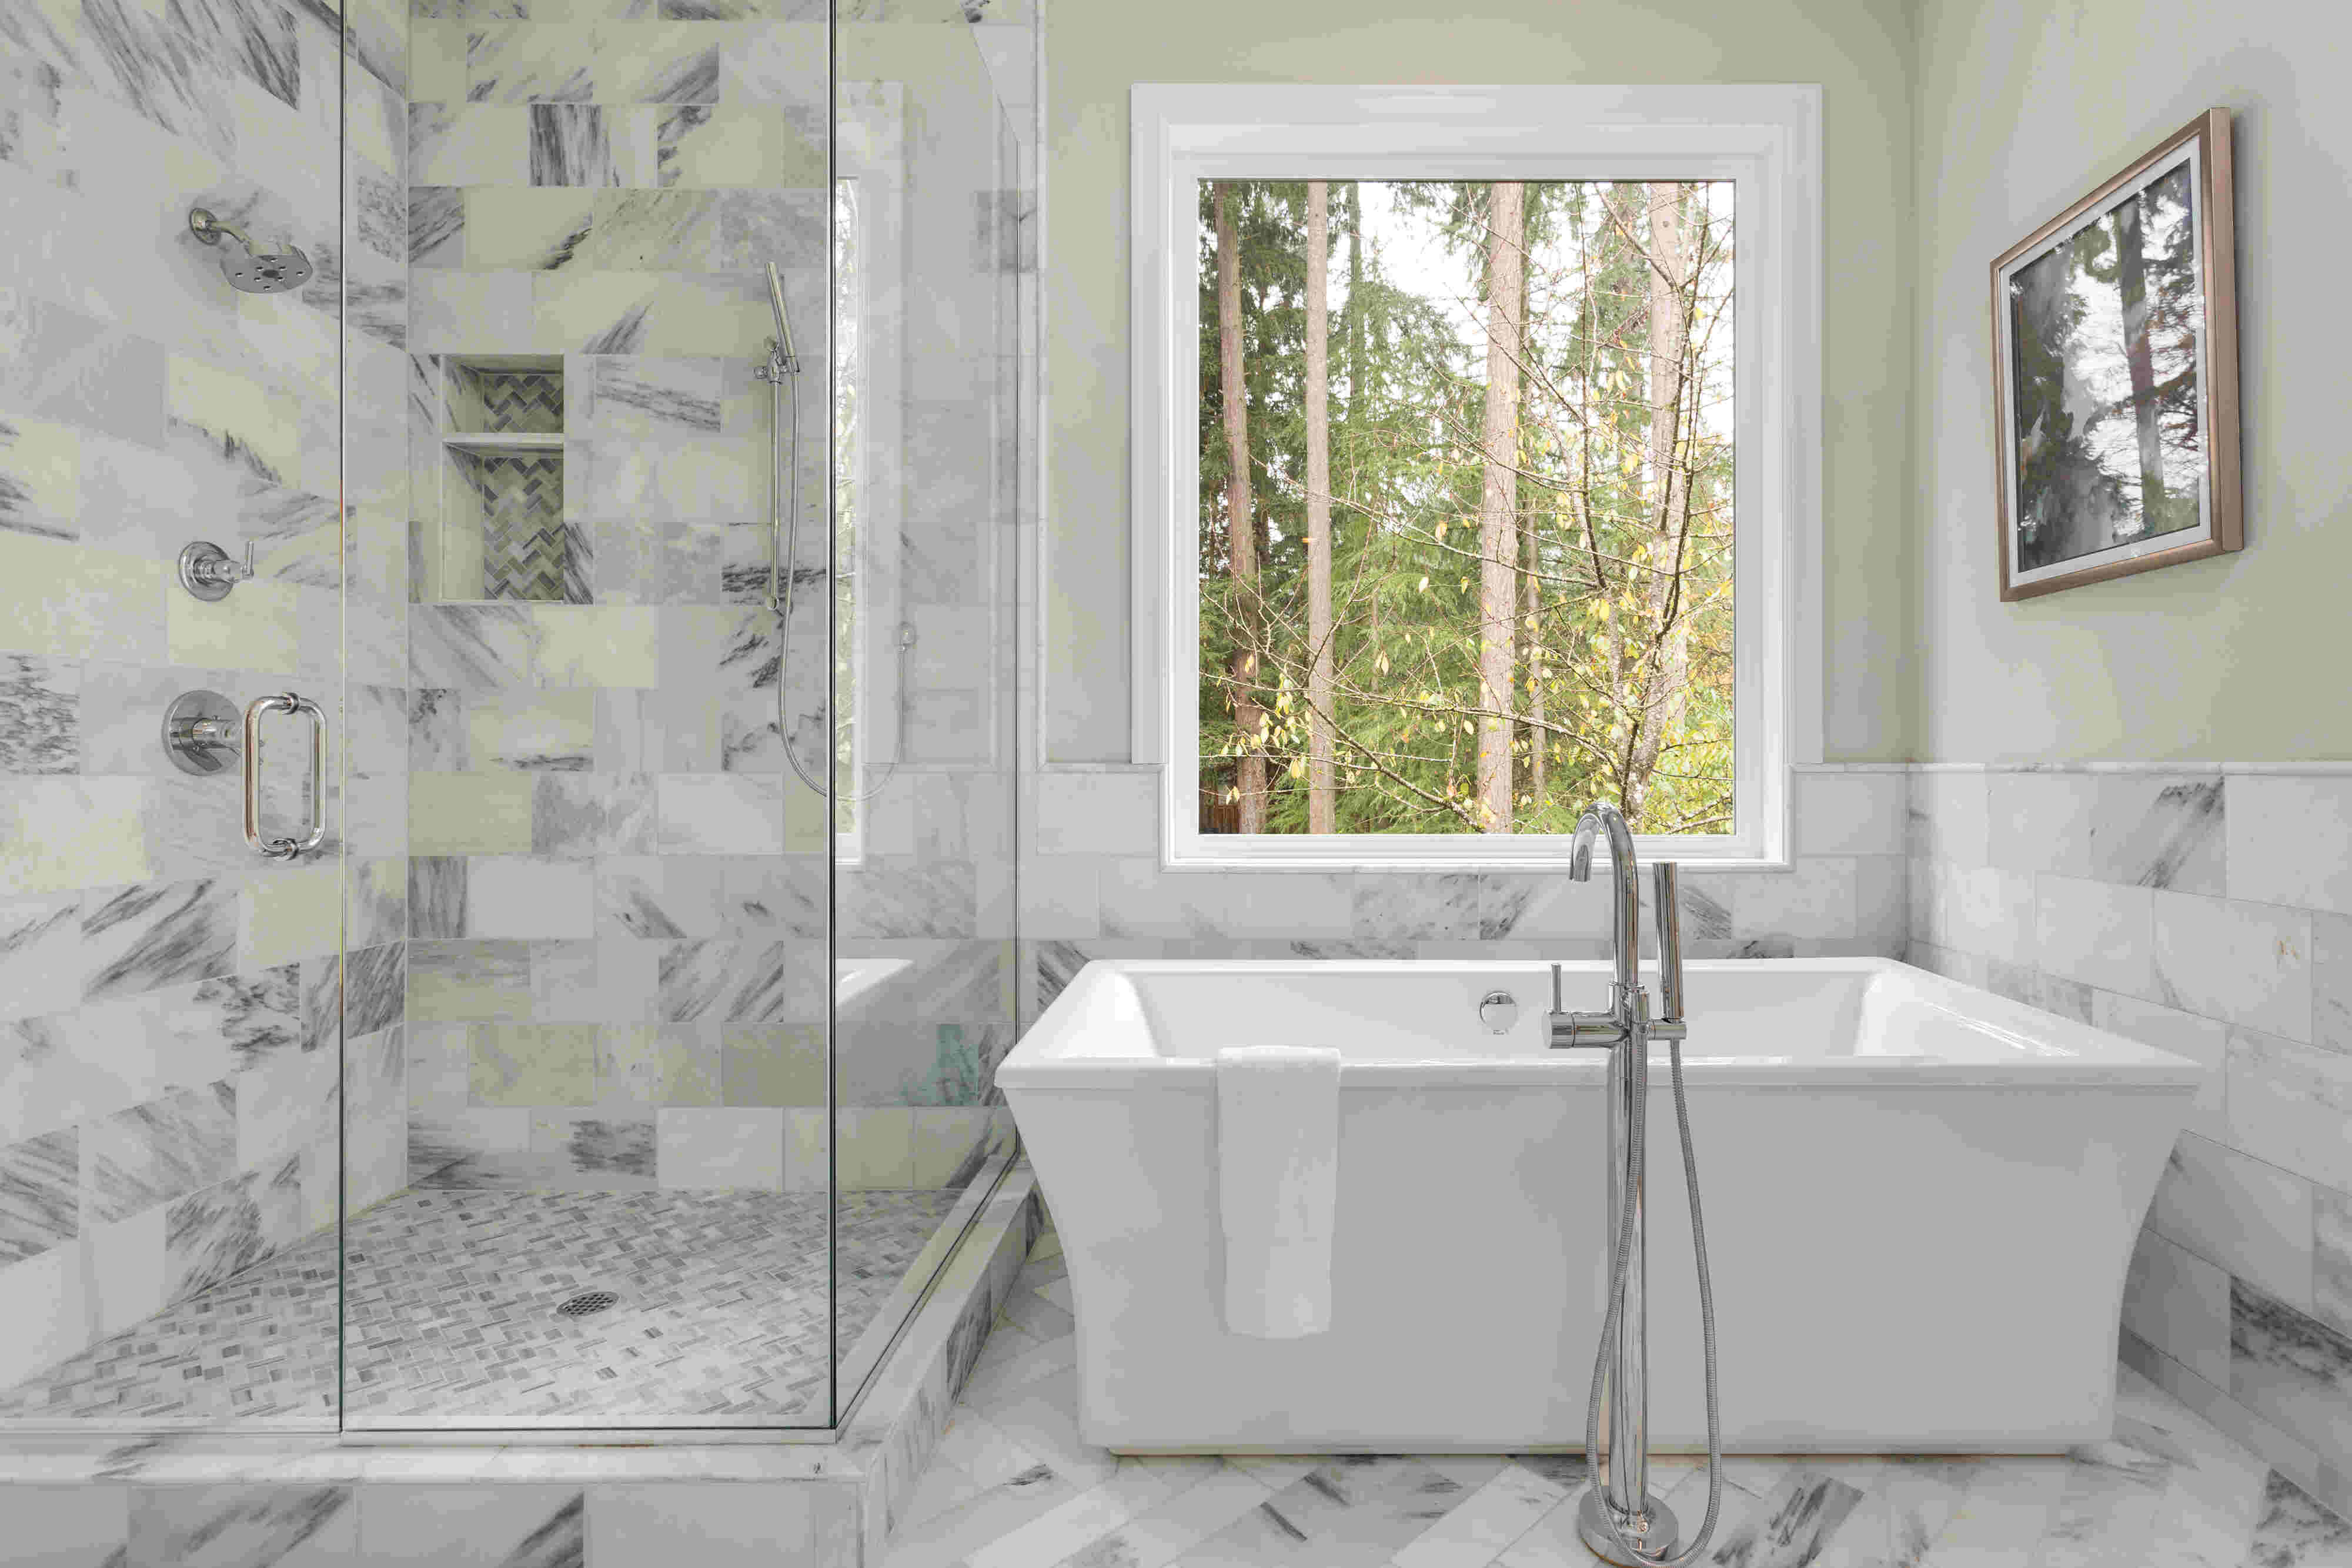
Building a wooden bathtub is a rewarding and creative project that can add a touch of natural elegance to any bathroom. The allure of a wooden bathtub lies in its unique aesthetic appeal and the warmth it brings to the space. Crafting a wooden bathtub from scratch allows for customization and personalization, making it a truly bespoke addition to your home.
In this comprehensive guide, we will walk through the step-by-step process of creating a wooden bathtub, from gathering the necessary materials and tools to the final touches and finishing. Whether you are a seasoned woodworker or a passionate DIY enthusiast, this project offers an opportunity to showcase your skills and creativity while adding a distinctive feature to your bathroom.
The process of building a wooden bathtub involves careful planning, precise measurements, and attention to detail. It is a project that requires patience and dedication, but the end result is a stunning and functional centerpiece that can elevate the ambiance of any bathroom.
As we delve into each step of the construction process, we will explore the essential techniques and considerations for creating a durable and visually appealing wooden bathtub. From selecting the right type of wood to waterproofing and sealing, every aspect of the construction process will be covered in detail.
Whether you envision a sleek and modern wooden bathtub or a rustic, handcrafted piece, this guide will provide the knowledge and inspiration needed to bring your vision to life. By following these steps and incorporating your own creative touches, you can embark on a fulfilling journey of craftsmanship and design, culminating in the realization of a stunning wooden bathtub that reflects your unique style and passion for woodworking.
Key Takeaways:
- Building a wooden bathtub requires careful planning, precise measurements, and attention to detail. It’s a rewarding project that combines craftsmanship and creativity to create a stunning and functional centerpiece for any bathroom.
- The construction process involves gathering high-quality materials, designing the bathtub, cutting and assembling wooden panels, waterproofing and sealing, installing fixtures, and adding final touches. It’s a labor of love that celebrates the warmth and character of wood.
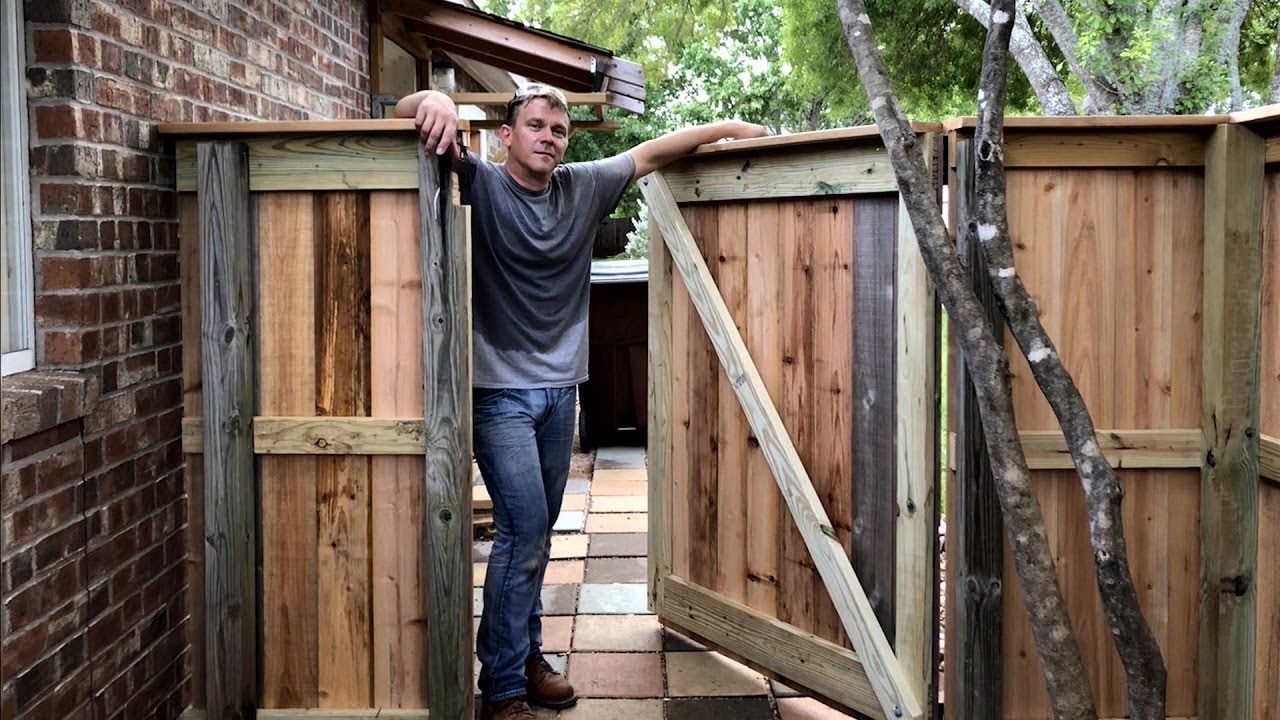
Read more: How To Build A Wooden Fence
Step 1: Gather Materials and Tools
Before embarking on the construction of a wooden bathtub, it is essential to gather the necessary materials and tools to ensure a smooth and efficient building process. The selection of high-quality materials and the use of precise tools are crucial for achieving a durable and visually appealing end result.
Materials
- Wood: Choose a durable and water-resistant wood species such as teak, cedar, or redwood. These woods are known for their natural resistance to moisture and decay, making them ideal for constructing a wooden bathtub.
- Waterproofing Sealant: Select a high-quality waterproofing sealant specifically designed for wooden surfaces. This sealant will protect the wood from water damage and ensure the longevity of the bathtub.
- Bathtub Fixtures: Acquire the necessary fixtures such as a drain, overflow, and any additional hardware required for the bathtub installation.
- Sandpaper and Wood Finish: Invest in fine-grit sandpaper for smoothing the wood surfaces and a suitable wood finish to enhance the natural beauty of the chosen wood species.
Tools
- Circular Saw or Table Saw: A reliable saw for cutting the wooden panels to the required dimensions with precision.
- Clamps: Essential for securing the wooden panels during the assembly process, ensuring accurate alignment and stability.
- Drill and Bits: A power drill and appropriate drill bits for creating holes for the bathtub fixtures and hardware installation.
- Measuring Tape and Square: Accurate measurements and precise angles are crucial in the construction of a wooden bathtub, making these tools indispensable.
- Paintbrushes or Rollers: For applying the waterproofing sealant and wood finish, ensuring thorough coverage and protection.
By gathering these materials and tools, you will lay a solid foundation for the construction of a wooden bathtub. The careful selection of high-quality materials and the use of precise tools will contribute to the successful realization of a beautifully crafted and functional wooden bathtub.
Step 2: Design and Plan
Designing and planning are pivotal stages in the construction of a wooden bathtub, setting the framework for the entire project. This step involves translating your vision into a tangible plan, considering the dimensions, style, and functional aspects of the bathtub.
Read more: How To Build Wooden Ladder
Conceptualization
Begin by conceptualizing the design of the wooden bathtub. Consider the overall aesthetic you wish to achieve, whether it's a sleek, contemporary look or a more rustic and organic feel. Take into account the existing decor of your bathroom to ensure that the wooden bathtub complements the space harmoniously.
Dimensions and Layout
Accurate measurements are crucial in designing the bathtub. Determine the dimensions based on the available space in your bathroom and the desired capacity of the bathtub. Consider the ergonomics and comfort of the design, ensuring that the dimensions allow for a relaxing bathing experience.
Style and Features
Decide on the style and features of the bathtub, such as the shape of the tub, the positioning of the fixtures, and any additional elements like built-in shelving or seating. The style should align with your personal preferences and the overall design theme of your bathroom.
Material Selection
Choose the type of wood that best suits your design and functional requirements. Consider the durability, water resistance, and aesthetic appeal of different wood species. Each type of wood has its unique characteristics, and selecting the right one is essential for the longevity and visual impact of the bathtub.
Read more: How To Build A Bathtub
Technical Drawings
Create detailed technical drawings or blueprints that illustrate the design, dimensions, and construction details of the wooden bathtub. These drawings serve as a guide for the construction process, ensuring that each component is fabricated and assembled accurately.
Considerations for Water and Drainage
Incorporate considerations for water and drainage systems into the design. Ensure that the bathtub's structure accommodates the necessary plumbing elements and that the design allows for efficient drainage and maintenance.
By meticulously designing and planning the wooden bathtub, you lay the groundwork for a successful and gratifying construction process. This stage sets the tone for the subsequent steps, guiding the fabrication and assembly of the bathtub with precision and clarity.
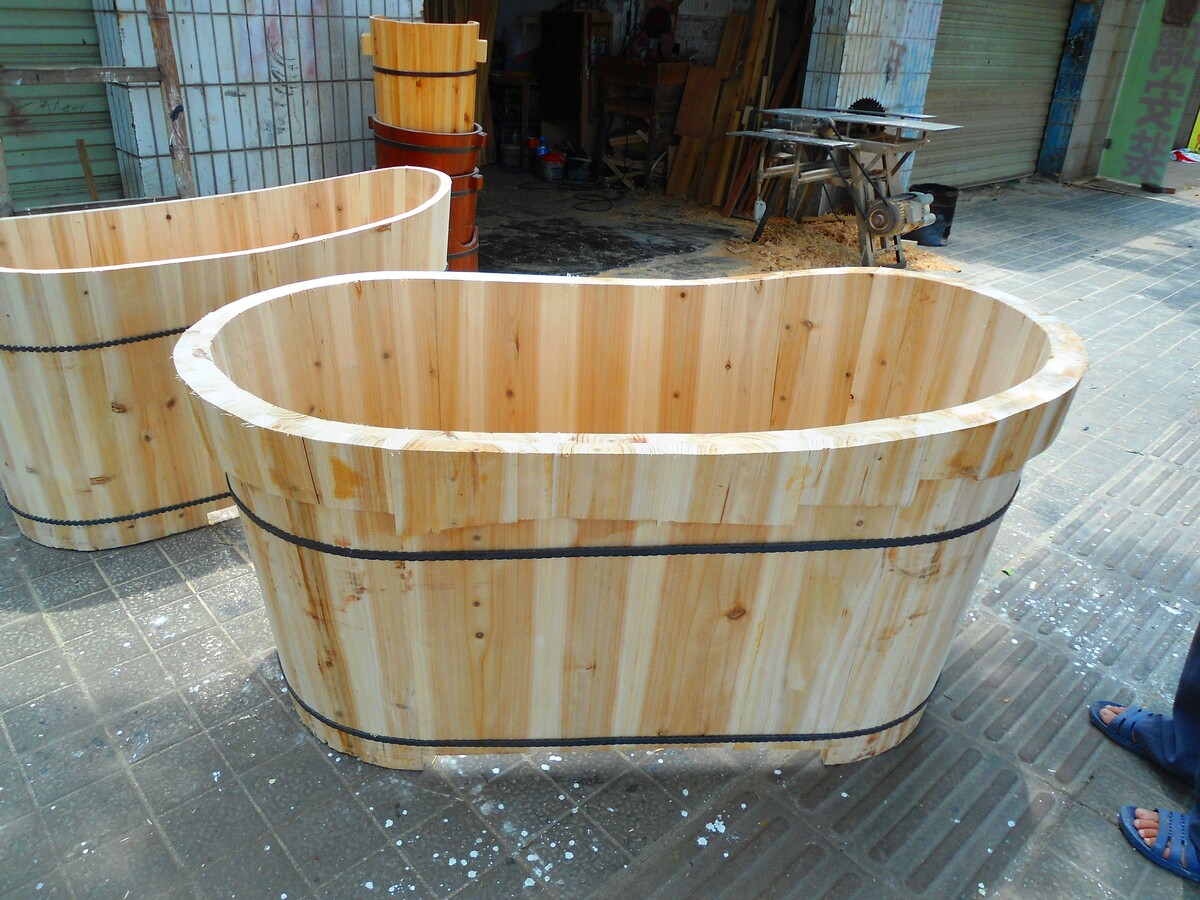
Step 3: Cut and Assemble the Wooden Panels
Once the design and planning phase is complete, the next crucial step in building a wooden bathtub is the precise cutting and assembly of the wooden panels. This stage requires meticulous attention to detail and the use of accurate measurements to ensure that the wooden bathtub takes shape according to the envisioned design.
Cutting the Wooden Panels
Begin by carefully measuring and marking the wooden panels according to the dimensions outlined in the design plan. Use a reliable circular saw or table saw to make precise cuts, ensuring that the panels are uniform in size and shape. It is essential to exercise caution and precision during the cutting process to achieve seamless joints and a cohesive overall structure.
Read more: How To Build A Wooden Bed Frame
Dry-Fitting and Alignment
After cutting the wooden panels, perform a dry-fit assembly to assess the alignment and fit of the components. This step allows for any necessary adjustments to be made before proceeding to the final assembly. Utilize clamps to hold the panels in place during the dry-fitting process, ensuring that the components align accurately and form the desired shape of the bathtub.
Joinery and Assembly Techniques
Select appropriate joinery techniques based on the design of the bathtub, such as dado joints, rabbet joints, or tongue and groove joints. These techniques contribute to the structural integrity of the bathtub, creating strong and durable connections between the wooden panels. Employ precise woodworking skills to execute the chosen joinery methods, ensuring that the assembly is robust and stable.
Waterproofing Considerations
Before the final assembly, it is essential to address waterproofing considerations. Apply a high-quality waterproofing sealant to the interior surfaces of the wooden panels, ensuring comprehensive coverage to protect the wood from moisture and potential water damage. This proactive measure is crucial for enhancing the longevity of the wooden bathtub and maintaining its pristine condition over time.
Final Assembly
Once the wooden panels are cut, aligned, and prepared with waterproofing sealant, proceed with the final assembly of the bathtub. Utilize clamps to secure the panels in place, ensuring tight and secure joints. Exercise patience and precision during this stage, as the cohesive assembly of the wooden panels is pivotal in creating a structurally sound and visually appealing bathtub.
By meticulously cutting and assembling the wooden panels, you lay the foundation for a well-constructed and durable wooden bathtub. This stage requires a combination of woodworking expertise, attention to detail, and a commitment to precision, culminating in the realization of a beautifully crafted centerpiece for your bathroom.
Read more: How To Build Outdoor Wooden Table
Step 4: Waterproofing and Sealing
Waterproofing and sealing are critical steps in the construction of a wooden bathtub, ensuring its longevity and resistance to moisture-related issues. Proper waterproofing not only protects the wood from water damage but also contributes to the overall durability and maintenance of the bathtub.
Selecting the Right Sealant
Choosing a high-quality waterproofing sealant specifically designed for wooden surfaces is paramount. Look for sealants that offer excellent water resistance and are formulated to withstand the conditions present in a bathroom environment. It is essential to select a sealant that is non-toxic and safe for use in contact with water, ensuring that it meets the necessary health and safety standards.
Surface Preparation
Before applying the waterproofing sealant, thorough surface preparation is crucial. Begin by sanding the interior surfaces of the wooden panels to achieve a smooth and uniform texture. Remove any rough spots or imperfections that may compromise the effectiveness of the sealant. The goal is to create a clean and receptive surface for the sealant to adhere to, promoting optimal protection against moisture.
Application of Sealant
Apply the waterproofing sealant to the interior surfaces of the wooden bathtub using a brush or roller. Ensure comprehensive coverage, paying particular attention to seams, joints, and areas prone to water exposure. Multiple coats may be necessary to achieve the desired level of protection. Allow each coat to dry thoroughly according to the manufacturer's instructions before applying subsequent layers.
Read more: How To Build A Wooden Picnic Table
Sealant Curing and Testing
After the application of the sealant, allow sufficient time for curing as per the manufacturer's recommendations. Once the sealant has cured, perform a thorough inspection to ensure that all surfaces are effectively sealed and protected. Conduct a water test by lightly sprinkling water onto the sealed surfaces and observing the water bead and repel, indicating successful waterproofing.
Maintenance and Inspection
Regular maintenance and inspection of the waterproofed surfaces are essential for preserving the integrity of the wooden bathtub. Periodically check for any signs of wear or damage to the sealant, and promptly address any areas requiring touch-up or reapplication. By maintaining the waterproofing integrity, you can prolong the lifespan of the wooden bathtub and uphold its pristine condition over time.
By meticulously waterproofing and sealing the wooden bathtub, you fortify its resistance to moisture and safeguard its structural integrity. This proactive measure ensures that the bathtub remains a resilient and enduring fixture in your bathroom, capable of withstanding the rigors of daily use while exuding timeless elegance and natural beauty.
Step 5: Install the Bathtub Fixtures
The installation of bathtub fixtures is a pivotal stage in the construction of a wooden bathtub, as it transforms the wooden structure into a fully functional and inviting bathing space. This step involves integrating essential hardware and components that contribute to the usability and aesthetic appeal of the bathtub, enhancing its overall functionality and visual allure.
Drain and Overflow Installation
Begin by installing the drain and overflow components, ensuring precise alignment and secure connections. Position the drain assembly at the designated location on the bathtub floor, aligning it with the pre-determined plumbing outlet. Secure the drain in place, ensuring a watertight seal to prevent leaks. Similarly, install the overflow assembly, positioning it at the appropriate height on the bathtub wall to facilitate efficient water drainage.
Read more: How To Build A Wooden Garage Door
Fixture Mounting and Sealing
Mount the necessary fixtures such as the faucet, handles, and any additional hardware required for the bathtub. Carefully position and secure these fixtures, ensuring proper alignment and functionality. Utilize appropriate sealing materials and techniques to prevent water leakage around the fixtures, promoting a watertight and durable installation.
Plumbing Integration
Integrate the bathtub fixtures with the existing plumbing system, ensuring seamless connectivity and functionality. Verify the proper alignment of the plumbing connections, and conduct thorough testing to confirm the absence of leaks or irregularities. Attention to detail during the plumbing integration process is essential for ensuring the reliable operation of the bathtub fixtures.
Quality Assurance and Testing
Upon completing the installation of the bathtub fixtures, conduct comprehensive quality assurance checks and testing procedures. Verify the functionality of the drain, overflow, and all installed fixtures, ensuring that they operate smoothly and efficiently. Perform water flow tests to confirm proper drainage and evaluate the overall performance of the installed components.
Finishing Touches
Once the bathtub fixtures are successfully installed and tested, attend to the finishing touches that enhance the visual appeal and functionality of the wooden bathtub. Apply a suitable wood finish to the exterior surfaces, accentuating the natural beauty of the wood and providing protection against environmental factors. Ensure that all exposed hardware and connections are meticulously finished, contributing to the overall refinement of the bathtub's appearance.
By meticulously installing the bathtub fixtures, you elevate the wooden bathtub from a structural framework to a fully realized and functional centerpiece of your bathroom. This stage represents the culmination of meticulous planning and precise execution, resulting in a beautifully crafted and fully operational wooden bathtub that embodies timeless elegance and practicality.
Read more: How Build A Wooden Tool Chest
Step 6: Final Touches and Finishing
The final touches and finishing stage of building a wooden bathtub encompass a series of meticulous steps aimed at refining the aesthetic appeal, ensuring structural integrity, and enhancing the overall functionality of the bathtub. This phase represents the culmination of craftsmanship and attention to detail, elevating the wooden bathtub to a polished and inviting centerpiece within the bathroom space.
Sanding and Smoothing
Commence the final touches by meticulously sanding and smoothing the exterior surfaces of the wooden bathtub. Employ fine-grit sandpaper to achieve a velvety-smooth texture, eliminating any imperfections and irregularities. This process not only enhances the tactile appeal of the bathtub but also prepares the wood for the application of a protective finish.
Application of Wood Finish
Select a high-quality wood finish that complements the chosen wood species and aligns with the desired aesthetic of the bathtub. Apply the wood finish evenly to the exterior surfaces, accentuating the natural grain and color variations of the wood. The wood finish serves as a protective layer, shielding the bathtub from moisture, UV exposure, and everyday wear, while enriching its visual allure.
Polishing and Buffing
After the application of the wood finish, engage in the meticulous process of polishing and buffing the bathtub's exterior. Utilize a soft cloth or buffing pad to achieve a lustrous sheen, enhancing the inherent beauty of the wood. This step contributes to the refinement of the bathtub's appearance, creating a captivating visual impact and a tactile sensation that exudes sophistication.
Read more: How To Build A Wooden High Chair
Hardware and Fittings
Pay meticulous attention to the hardware and fittings of the bathtub, ensuring that all components are impeccably installed and aligned. Verify the functionality of handles, faucets, and any additional fixtures, addressing any adjustments or refinements as necessary. The seamless integration of hardware adds a touch of functionality and elegance to the wooden bathtub, enhancing its usability and visual appeal.
Quality Inspection
Conduct a comprehensive quality inspection, meticulously examining every aspect of the wooden bathtub to ensure that it meets the highest standards of craftsmanship and durability. Verify the structural integrity, waterproofing efficacy, and overall finish of the bathtub, addressing any minor imperfections or inconsistencies to achieve a flawless result.
Final Presentation
Upon completing the final touches and finishing, present the wooden bathtub as a stunning and functional masterpiece within the bathroom space. Admire the seamless integration of craftsmanship and design, reveling in the timeless elegance and natural beauty of the wooden bathtub. Its presence serves as a testament to the artistry and dedication invested in its creation, enriching the ambiance of the bathroom with a captivating focal point.
In essence, the final touches and finishing stage encapsulates the essence of craftsmanship and attention to detail, culminating in the realization of a wooden bathtub that embodies sophistication, functionality, and enduring beauty.
Conclusion
In conclusion, the construction of a wooden bathtub is a labor of love that combines craftsmanship, creativity, and practicality to produce a stunning and functional centerpiece for any bathroom. Each step of the process, from gathering materials and designing the bathtub to the meticulous assembly and finishing touches, contributes to the creation of a bespoke and enduring fixture that embodies timeless elegance and natural beauty.
The journey of building a wooden bathtub is a testament to the artistry and dedication of the craftsman, as well as a celebration of the inherent warmth and character of wood as a material. The careful selection of high-quality wood species, the precise cutting and assembly of panels, and the thorough waterproofing and sealing process all play a pivotal role in ensuring the longevity and resilience of the wooden bathtub.
Furthermore, the integration of bathtub fixtures, the application of a protective wood finish, and the meticulous attention to detail during the final touches elevate the wooden bathtub to a level of refinement and functionality that transcends its utilitarian purpose. The seamless fusion of form and function results in a captivating and inviting bathing space that exudes sophistication and charm.
Ultimately, the wooden bathtub stands as a testament to the harmonious coexistence of nature and craftsmanship, enriching the bathroom environment with its organic allure and timeless appeal. It serves as a tangible expression of the artisan's vision and skill, offering a unique and personalized bathing experience that resonates with the inherent beauty of natural materials.
In essence, the construction of a wooden bathtub is a deeply rewarding endeavor that invites individuals to immerse themselves in the art of woodworking while creating a functional work of art. It represents a harmonious blend of creativity, practicality, and aesthetic sensibility, culminating in the realization of a captivating and enduring fixture that enriches the home environment with its distinctive charm and allure.
Frequently Asked Questions about How To Build A Wooden Bathtub
Was this page helpful?
At Storables.com, we guarantee accurate and reliable information. Our content, validated by Expert Board Contributors, is crafted following stringent Editorial Policies. We're committed to providing you with well-researched, expert-backed insights for all your informational needs.
0 thoughts on “How To Build A Wooden Bathtub”