Home>Furniture & Design>Bathroom Accessories>How To Insulate A Bathroom Exhaust Fan
Bathroom Accessories
How To Insulate A Bathroom Exhaust Fan
Modified: November 2, 2024
Learn how to properly insulate your bathroom exhaust fan to improve energy efficiency and prevent moisture issues. Find out the best insulation options for bathroom accessories.
(Many of the links in this article redirect to a specific reviewed product. Your purchase of these products through affiliate links helps to generate commission for Storables.com, at no extra cost. Learn more)
Introduction
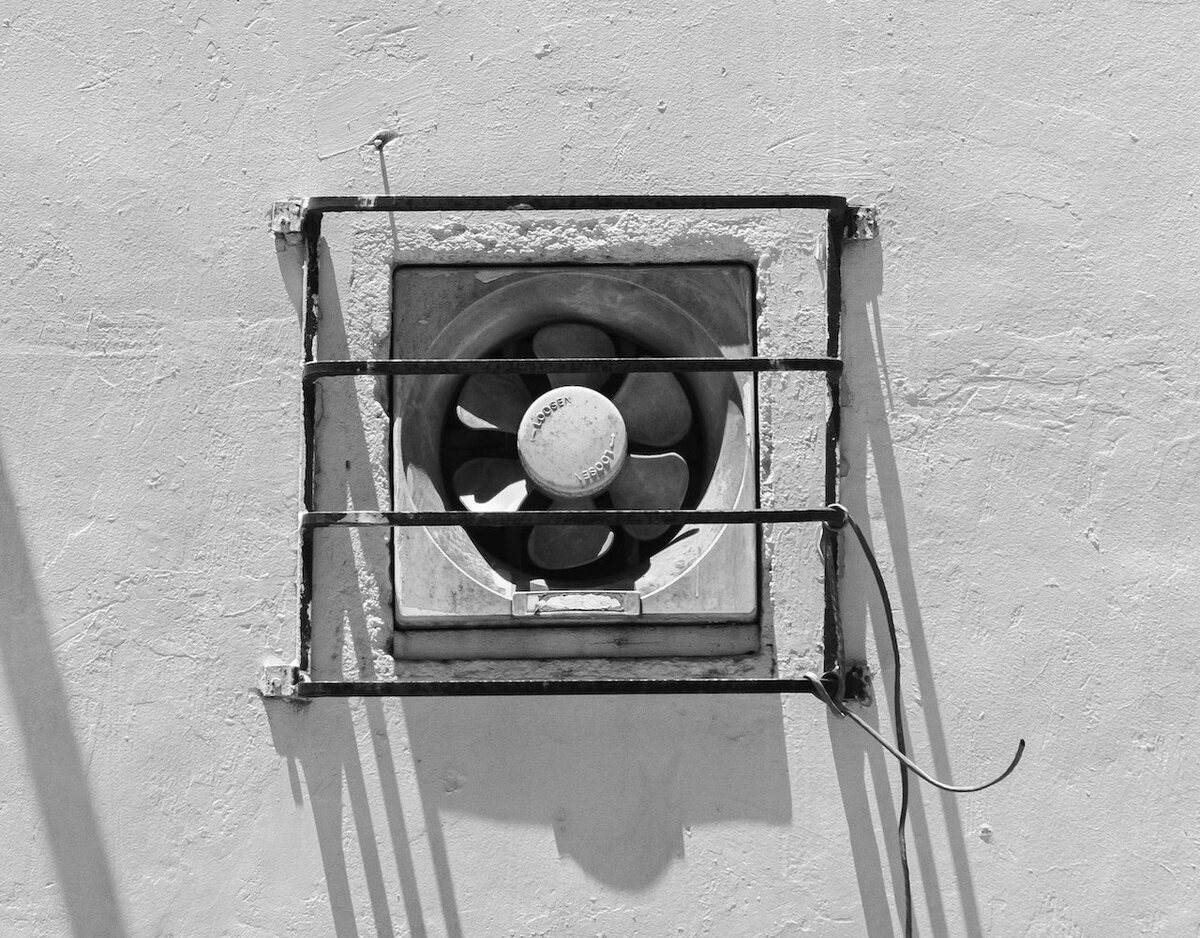
Insulating a bathroom exhaust fan is a crucial yet often overlooked task that can significantly improve the energy efficiency and comfort of your home. By properly insulating the fan, you can prevent heat loss during the colder months and minimize the entry of hot, humid air during the warmer seasons. This not only helps in maintaining a comfortable indoor environment but also contributes to reducing energy costs.
A well-insulated bathroom exhaust fan can also prevent condensation and moisture buildup, which are common culprits for mold and mildew growth. By taking the time to insulate your bathroom exhaust fan, you can mitigate these issues and ensure a healthier living space for you and your family.
In this comprehensive guide, we will walk you through the step-by-step process of insulating your bathroom exhaust fan. From turning off the power to reattaching the cover, each step is essential in ensuring a safe and effective insulation installation. Whether you're a seasoned DIY enthusiast or a novice homeowner looking to tackle a new project, this guide will equip you with the knowledge and confidence to complete the task with ease.
So, grab your tools and let's get started on insulating your bathroom exhaust fan to create a more energy-efficient and comfortable home environment.
Key Takeaways:
- Keep your bathroom comfortable and energy-efficient by insulating the exhaust fan. It prevents heat loss, reduces energy costs, and promotes a healthier living space by preventing mold and mildew growth.
- Insulating your bathroom exhaust fan is a DIY project that enhances energy efficiency, indoor air quality, and overall comfort. Follow the step-by-step guide for a more sustainable home environment.
Read more: How To Fix Bathroom Exhaust Fan
Step 1: Turn off the Power
Before beginning any work on your bathroom exhaust fan, it is crucial to ensure your safety by turning off the power supply to the fan. This step is essential to prevent the risk of electric shock or injury while working on the unit.
-
Locate the Circuit Breaker: Start by identifying the circuit breaker that controls the power supply to your bathroom exhaust fan. In most homes, the circuit breaker panel is located in the basement, utility room, or garage. Once you have located the panel, open the door to reveal the circuit breakers inside.
-
Identify the Correct Breaker: Look for the breaker labeled "bathroom" or "exhaust fan" and switch it to the "off" position. If the breakers are not labeled, you may need to test each one by turning off the switch and checking if the power to the fan has been cut.
-
Verify the Power is Off: After switching off the breaker, it's important to double-check that the power to the fan has been successfully turned off. You can do this by attempting to turn on the fan switch in the bathroom. If the fan does not operate, you can be confident that the power has been effectively disconnected.
-
Use a Voltage Tester (Optional): For an added layer of safety, consider using a voltage tester to confirm that there is no electrical current running to the fan. This tool can provide peace of mind by indicating whether the wires are truly free of electricity.
By following these steps to turn off the power, you can create a safe working environment for insulating your bathroom exhaust fan. Always prioritize safety when working with electrical components, and never proceed with the next steps until you are certain that the power supply to the fan has been completely shut off.
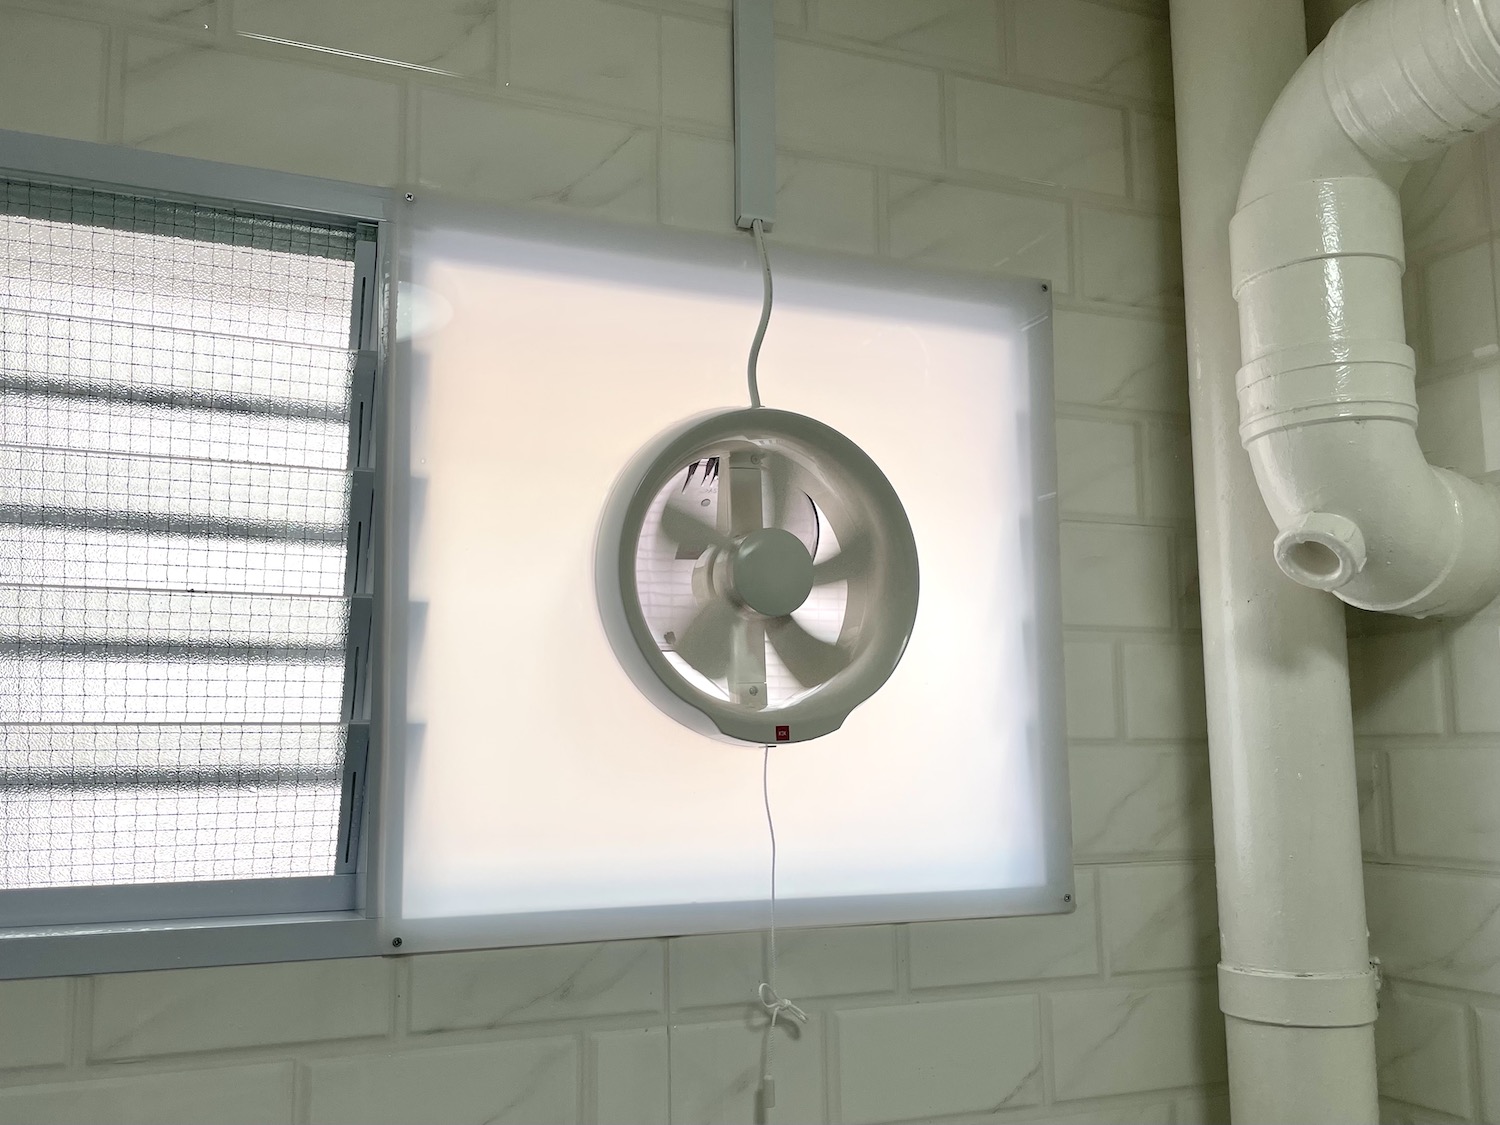
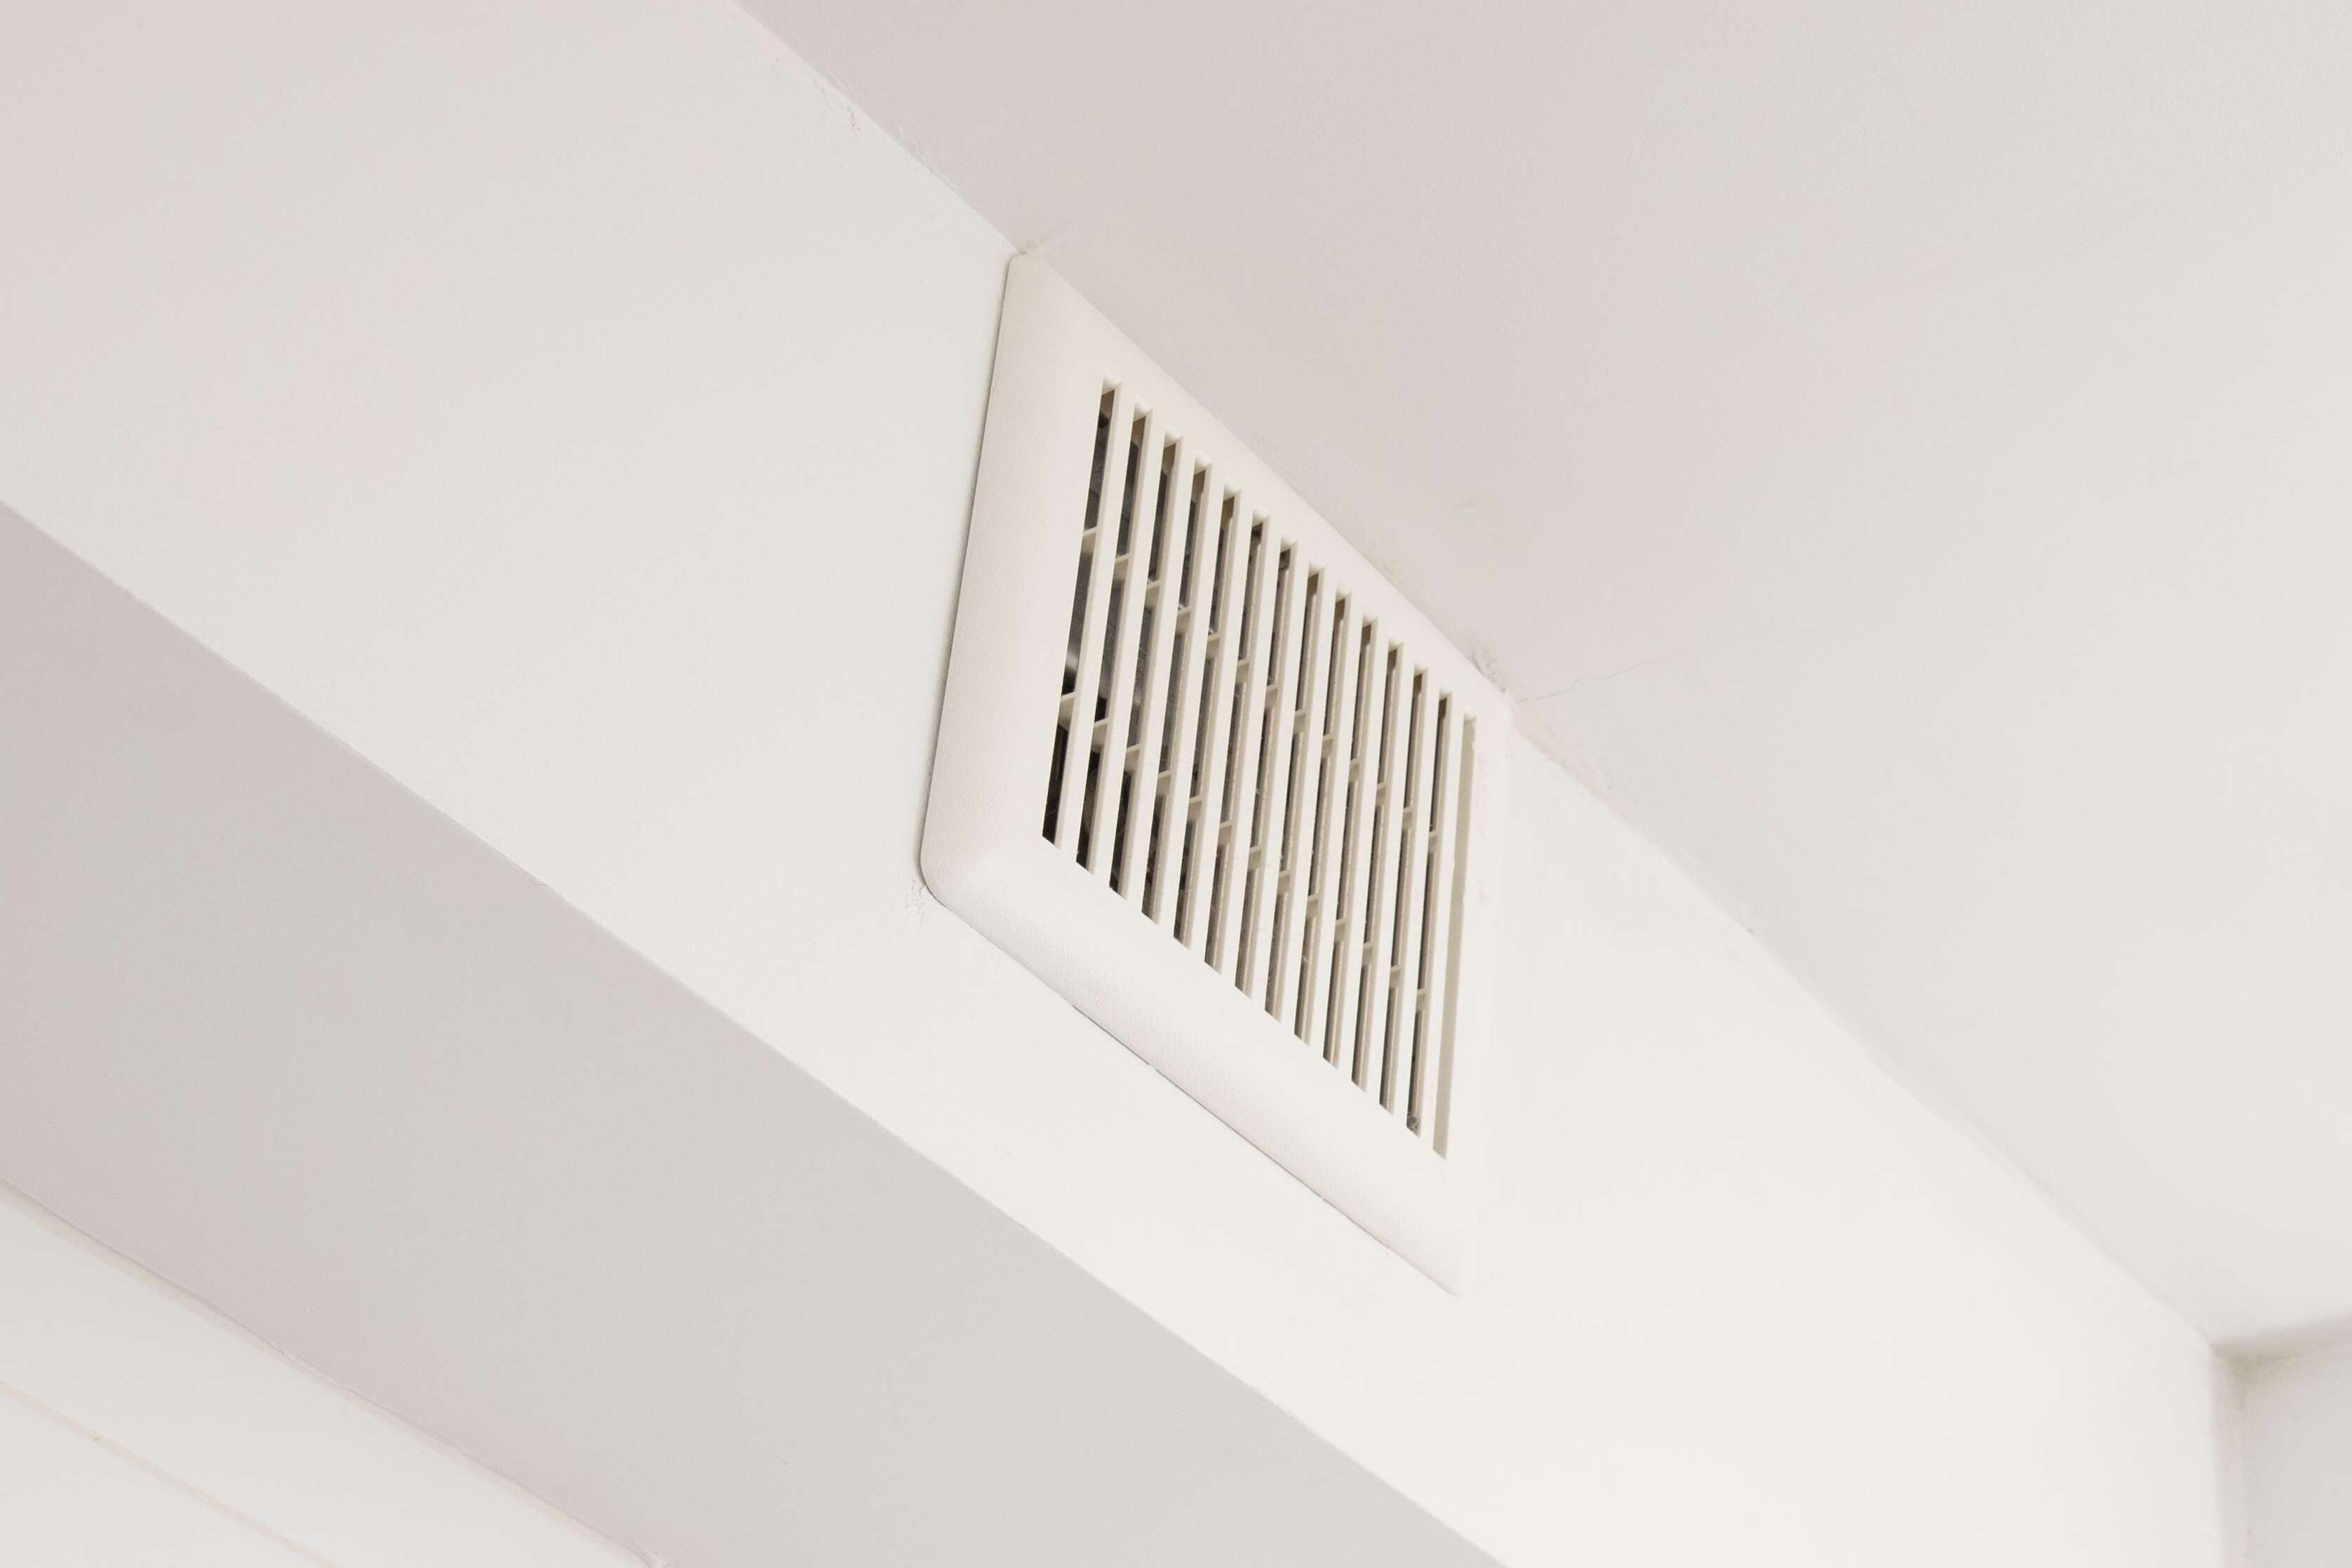
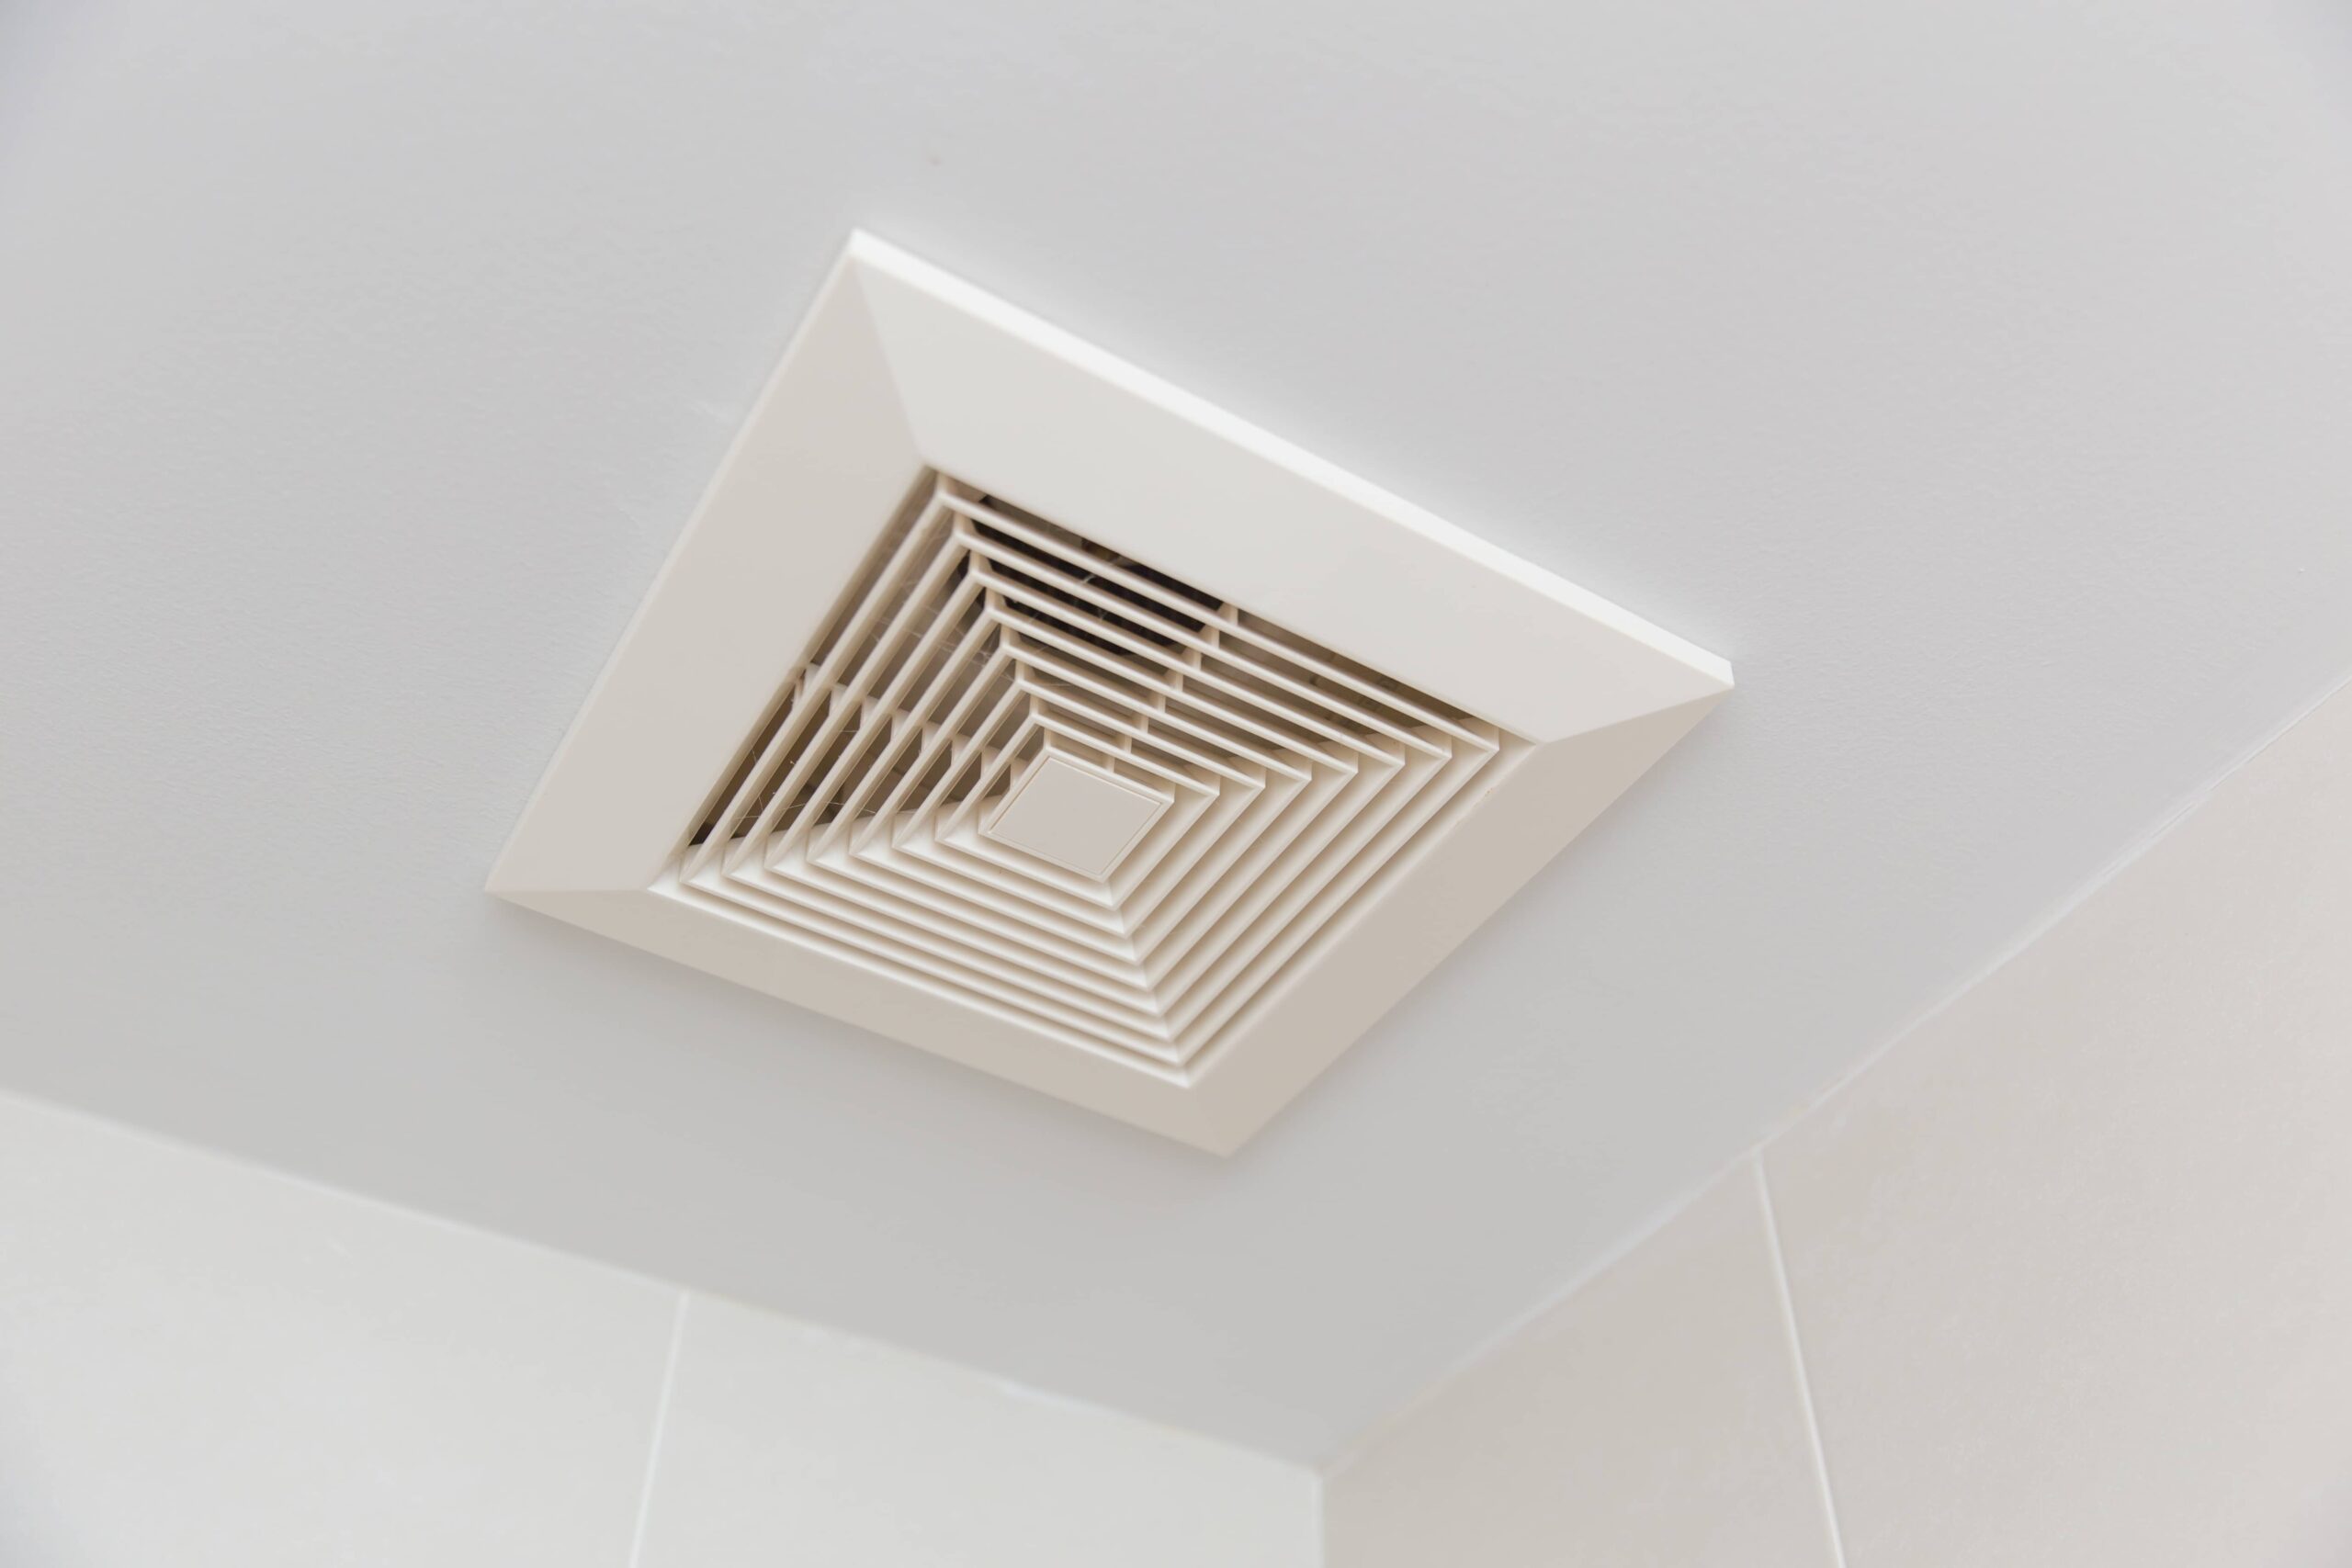
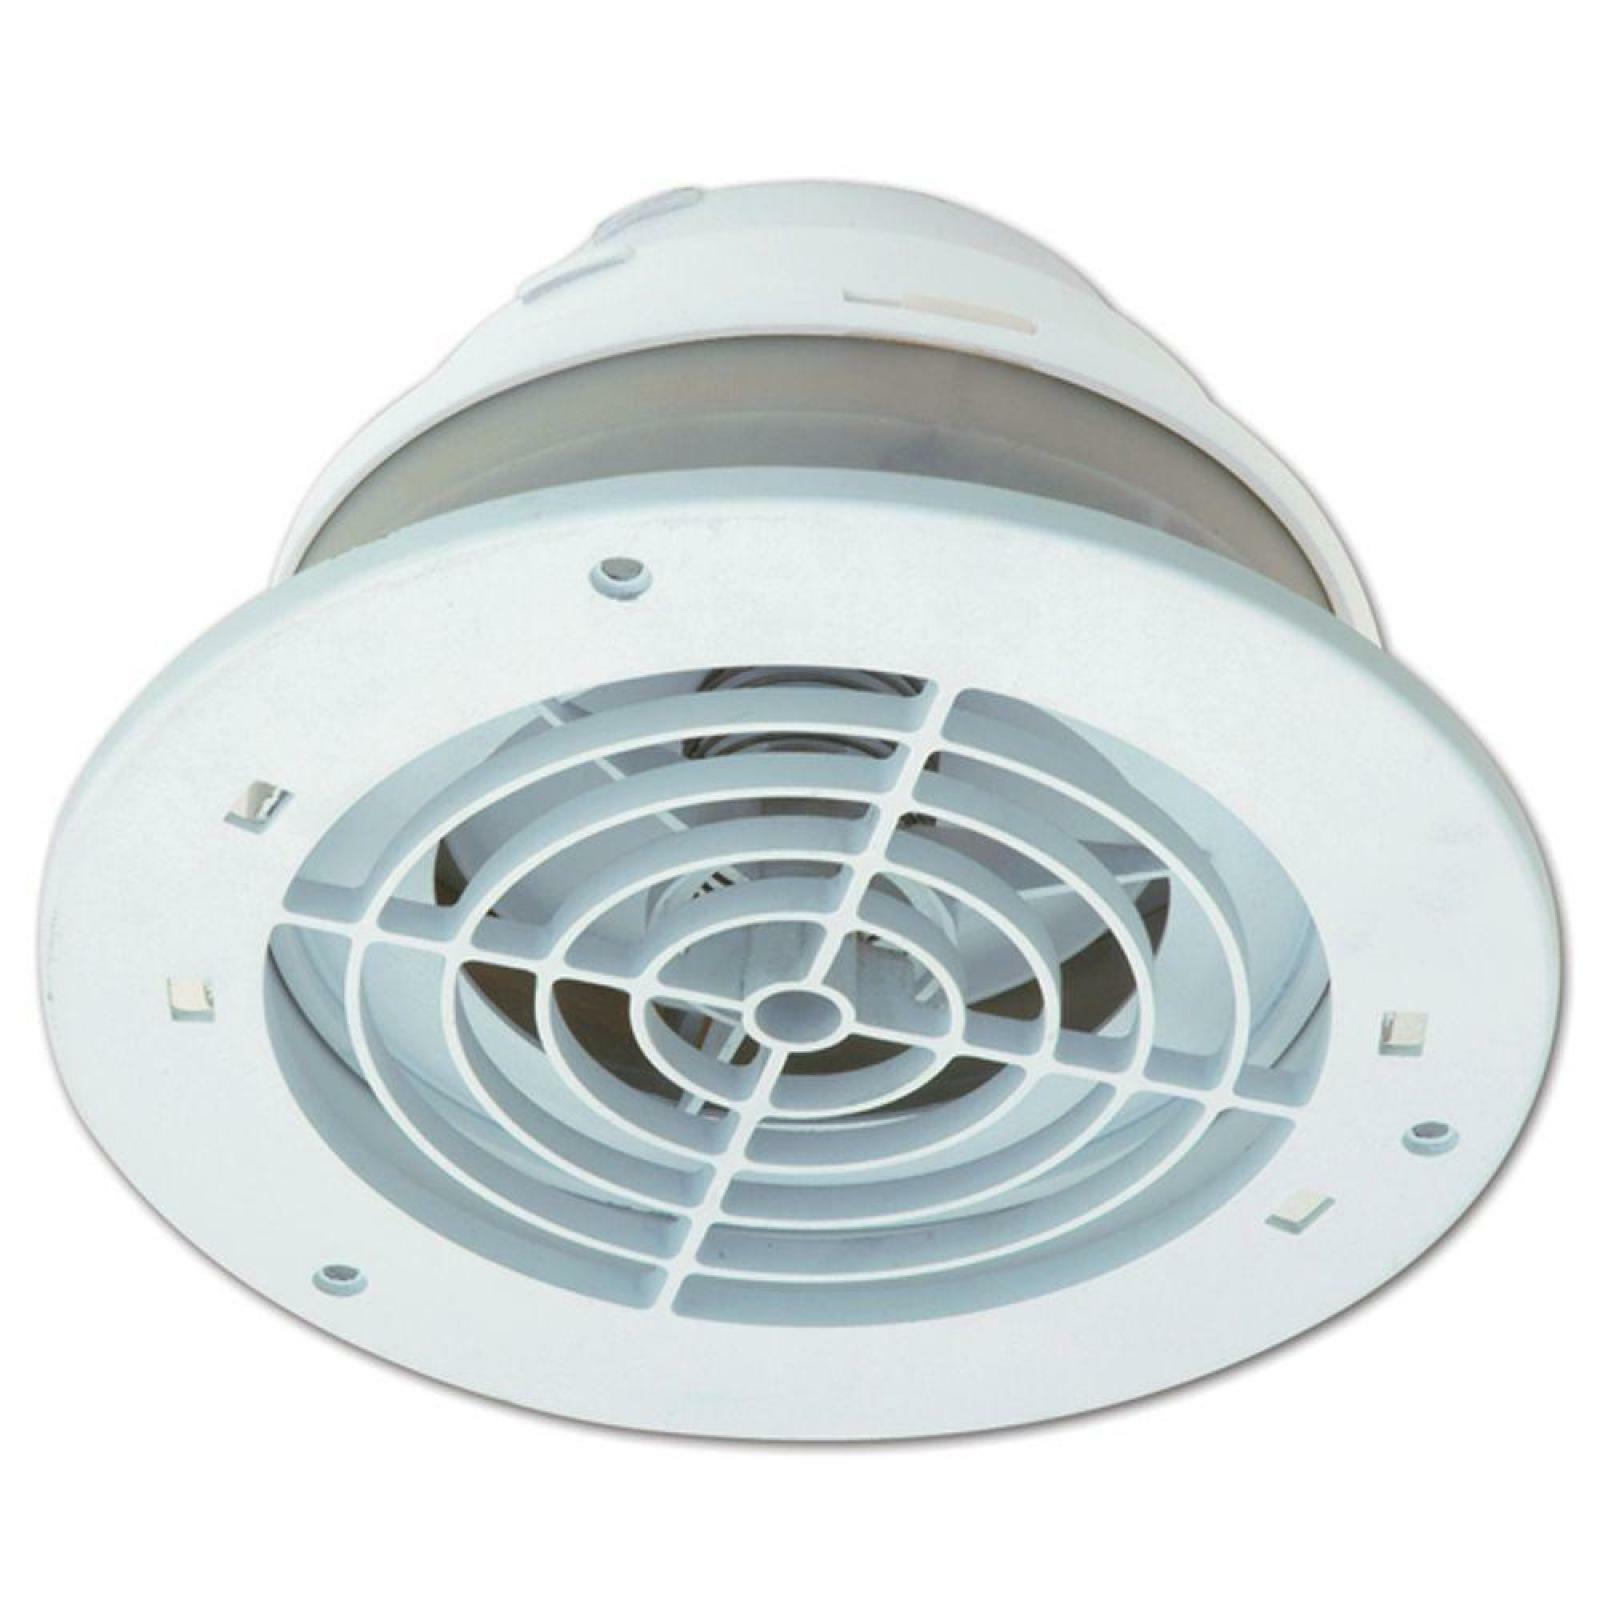
Step 2: Remove the Cover
Removing the cover of your bathroom exhaust fan is the next crucial step in the insulation process. This step allows you to access the internal components of the fan and prepare the unit for insulation installation. Here's a detailed guide on how to safely remove the cover of your bathroom exhaust fan:
-
Switch Off the Fan: Before proceeding, ensure that the bathroom exhaust fan is turned off. This can typically be done by flipping the switch located near the fan or using the control panel in your bathroom.
-
Identify the Fastening Mechanism: Most bathroom exhaust fan covers are secured in place using either screws or spring clips. Inspect the cover to determine the type of fastening mechanism used.
-
Unscrew the Cover (If Applicable): If your fan cover is held in place by screws, use a screwdriver to carefully remove the screws. Place the screws in a secure location to prevent misplacement.
-
Release Spring Clips (If Applicable): For fan covers secured with spring clips, gently press or squeeze the clips to release them from the fan housing. Take care not to apply excessive force to avoid damaging the clips.
-
Remove the Cover: Once the fastening mechanism has been disengaged, carefully lift the cover away from the fan housing. Be mindful of any electrical connections or wiring that may be attached to the cover, and ensure that these are not strained or damaged during removal.
-
Set Aside the Cover: Place the cover in a safe and easily accessible location. Inspect the interior of the fan housing to check for any accumulated dust or debris that may need to be cleaned before proceeding with the insulation installation.
By following these steps, you can safely remove the cover of your bathroom exhaust fan, setting the stage for the subsequent tasks involved in insulating the unit. With the cover removed, you can proceed to the next steps with confidence, knowing that you have prepared the fan for the insulation process.
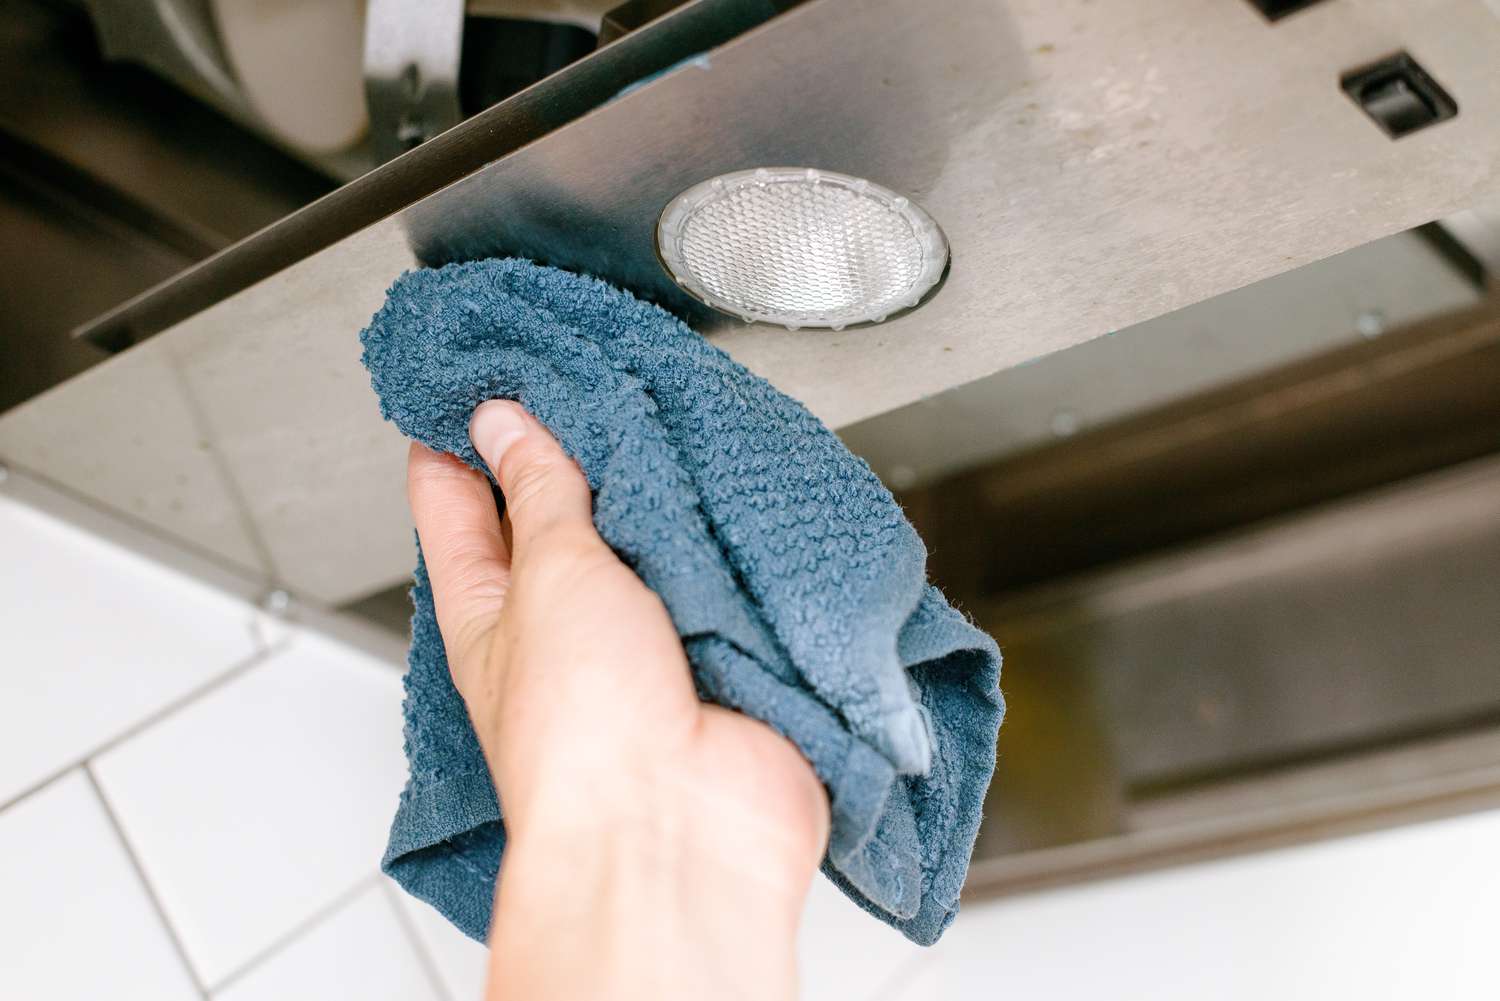
Step 3: Clean the Fan and Duct
Once the cover of your bathroom exhaust fan has been removed, it's essential to take the time to thoroughly clean both the fan and the duct. Over time, dust, dirt, and other airborne particles can accumulate within the fan housing and duct, potentially hindering the unit's performance and efficiency. By cleaning these components before proceeding with the insulation installation, you can ensure that your bathroom exhaust fan operates optimally and maintains good indoor air quality.
Here's a detailed guide on how to clean the fan and duct of your bathroom exhaust fan:
-
Inspect the Fan Blades: Begin by visually inspecting the fan blades for any visible dust or debris buildup. If the blades appear dirty, use a soft-bristled brush or a vacuum cleaner with a brush attachment to gently remove the accumulated particles. Take care not to apply excessive pressure to the blades to avoid causing damage.
-
Clean the Fan Housing: Using a damp cloth or a mild cleaning solution, carefully wipe the interior surfaces of the fan housing to remove any dirt or grime. Pay close attention to areas where dust tends to accumulate, such as around the motor and electrical components. Ensure that the fan housing is completely dry before proceeding to the next step.
-
Clear the Duct: Inspect the duct connected to the bathroom exhaust fan for any obstructions or buildup. If accessible, use a vacuum cleaner with a long, narrow attachment to remove dust and debris from the duct. Alternatively, a duct cleaning brush can be used to dislodge and extract accumulated particles.
-
Check the Vent Outlet: If possible, inspect the vent outlet or exhaust duct termination point outside your home. Clear away any leaves, debris, or obstructions that may be obstructing the airflow. Ensuring that the vent outlet is unobstructed is essential for maintaining proper ventilation and preventing potential airflow restrictions.
-
Inspect and Replace Filters (If Applicable): If your bathroom exhaust fan is equipped with a filter, check its condition and replace it if necessary. Clean filters help to maintain efficient airflow and prevent the recirculation of airborne contaminants.
By thoroughly cleaning the fan and duct of your bathroom exhaust fan, you can optimize its performance and prepare it for the insulation installation. This step not only contributes to the overall efficiency of the fan but also promotes better indoor air quality within your home. With the fan and duct cleaned, you are now ready to proceed with the next phase of insulating your bathroom exhaust fan.
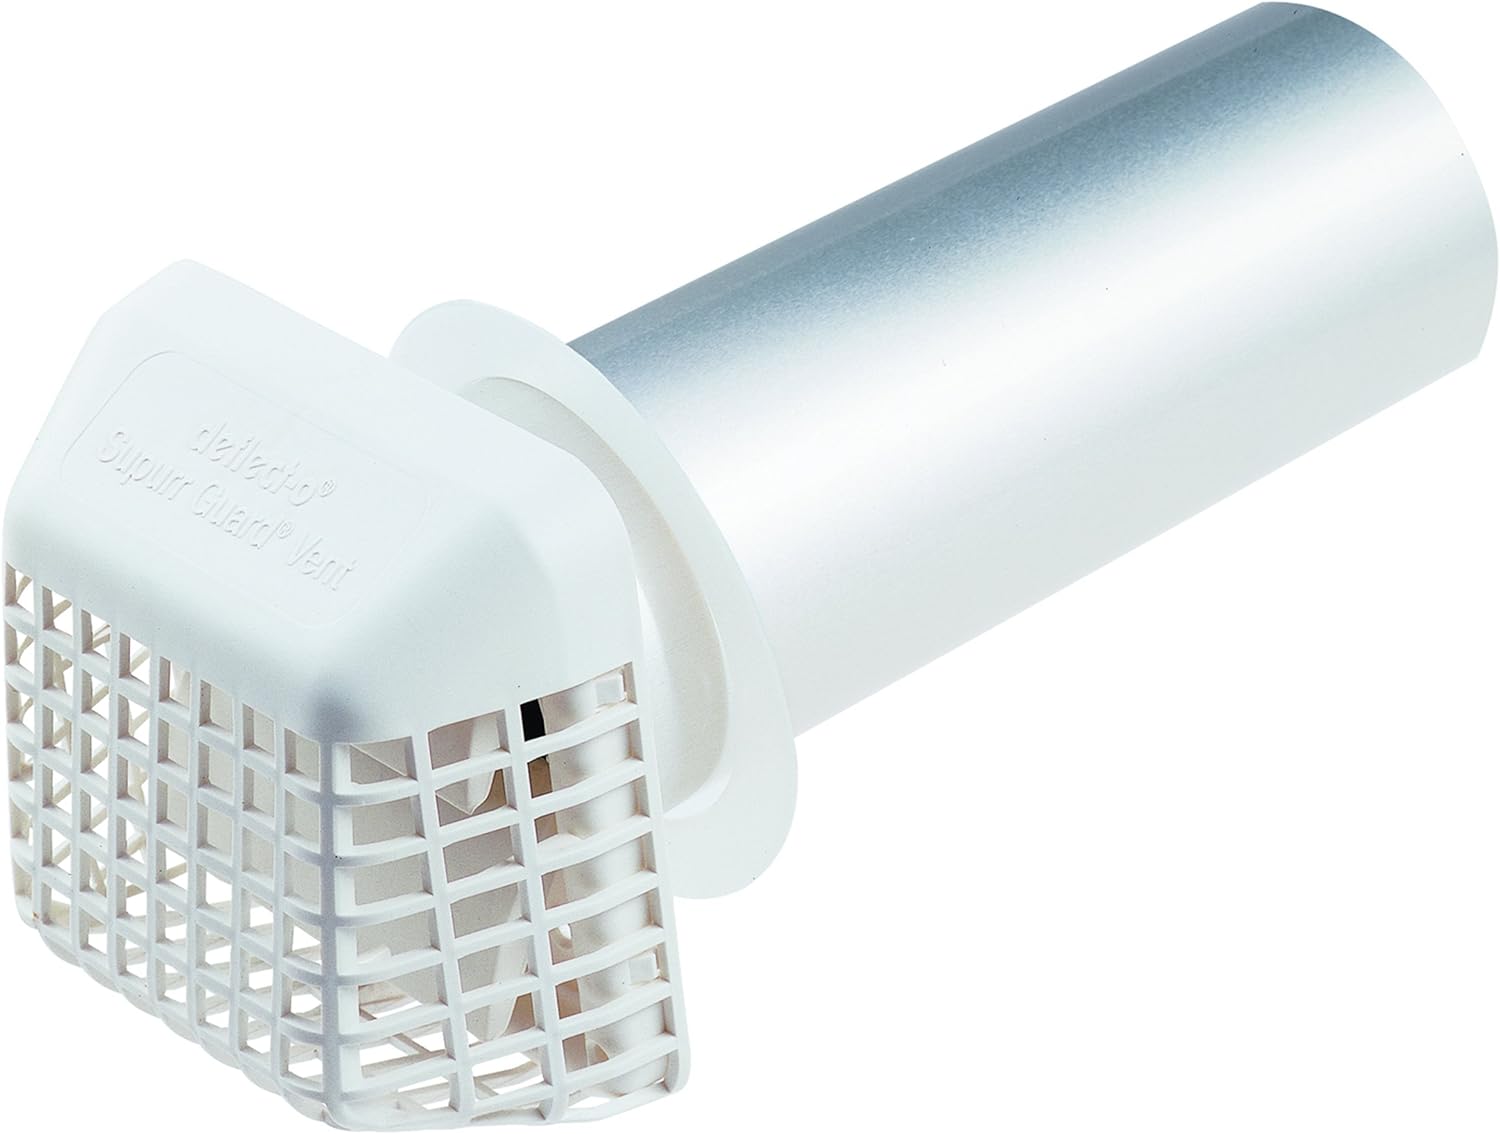
Make sure to use a vent hood with a damper to prevent cold air from coming in. Use insulated ducting to prevent condensation and mold. Seal any gaps with caulk or foil tape.
Step 4: Install Insulation
With the fan and duct cleaned, you are now ready to proceed with the crucial step of installing insulation in your bathroom exhaust fan. Insulating the fan housing and ductwork is essential for enhancing energy efficiency, preventing heat loss, and minimizing the entry of hot, humid air into your home. Here's a detailed guide on how to effectively install insulation in your bathroom exhaust fan:
-
Select the Right Insulation Material: When insulating your bathroom exhaust fan, it's important to choose the appropriate insulation material. Opt for insulation specifically designed for use in HVAC systems, such as fiberglass or foam board insulation. Ensure that the insulation material is non-combustible and suitable for the high-temperature environment within the fan housing.
-
Measure and Cut the Insulation: Begin by measuring the dimensions of the fan housing and ductwork to determine the required size of the insulation pieces. Use a utility knife or insulation cutting tool to carefully cut the insulation material to fit the specific dimensions of the fan housing and duct. Precision is key to ensuring a snug and effective insulation installation.
-
Place the Insulation in the Fan Housing: Gently insert the cut insulation pieces into the fan housing, ensuring a proper fit without compressing the material excessively. The insulation should cover the interior surfaces of the fan housing, including the sides and the top, to create a thermal barrier that prevents heat transfer.
-
Insulate the Ductwork: Similarly, apply the cut insulation pieces to the ductwork connected to the bathroom exhaust fan. Wrap the insulation around the exterior of the duct, securing it in place with insulation tape or metal foil tape. Pay attention to sealing any gaps or seams to prevent air leakage and maximize the insulation's effectiveness.
-
Secure the Insulation: Use adhesive or tape designed for insulation applications to secure the insulation in place within the fan housing and ductwork. Ensure that the insulation remains firmly in position and does not obstruct the operation of the fan or impede airflow.
-
Inspect for Proper Coverage: After installing the insulation, visually inspect the fan housing and ductwork to confirm that all interior surfaces are adequately covered. Check for any gaps or areas where insulation may be lacking, and address these areas as needed to achieve comprehensive coverage.
By following these steps, you can effectively install insulation in your bathroom exhaust fan, contributing to improved energy efficiency and thermal performance. Proper insulation helps to maintain a comfortable indoor environment while reducing energy costs and promoting sustainable living. With the insulation in place, you are now prepared to move on to the next phase of the fan insulation process.
Read more: What Is An Exhaust Fan
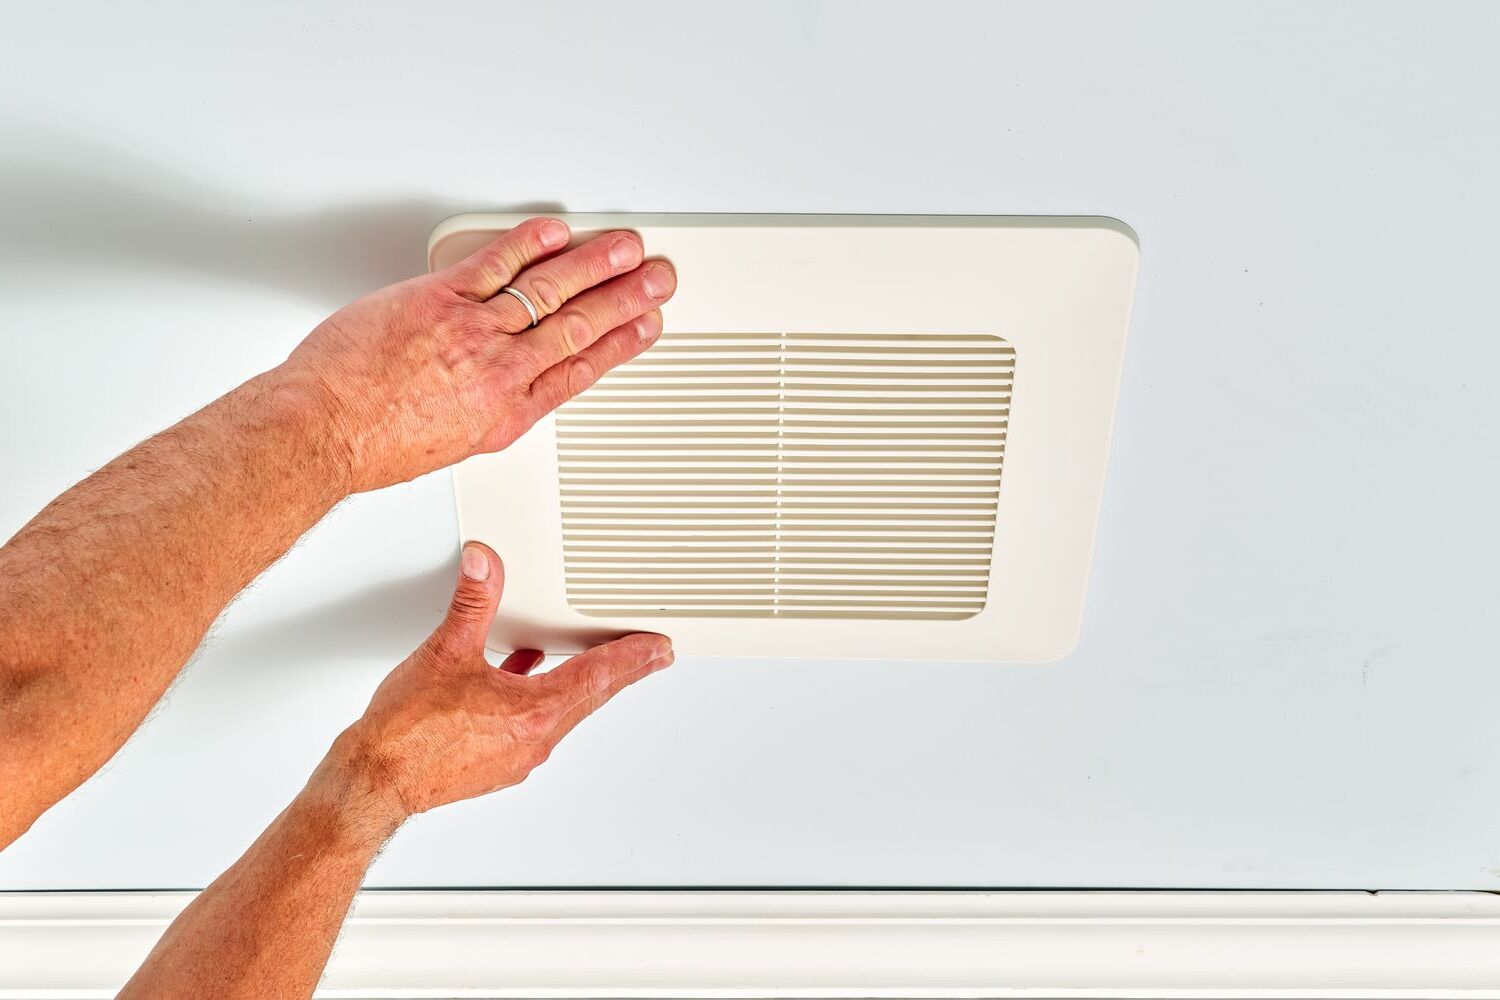
Step 5: Reattach the Cover
After successfully installing insulation in your bathroom exhaust fan, the next crucial step is to reattach the cover securely. Properly securing the cover ensures that the fan operates efficiently and safely while maintaining the integrity of the insulation. Here's a detailed guide on how to reattach the cover of your bathroom exhaust fan:
-
Position the Cover: Carefully align the cover with the fan housing, ensuring that it sits flush and level. Take note of any alignment markers or guides that may aid in positioning the cover correctly.
-
Engage the Fastening Mechanism: If your fan cover is secured with screws, carefully reinsert and tighten the screws using a screwdriver. Ensure that the cover is firmly held in place without being overtightened, which could potentially damage the cover or the fan housing. For covers secured with spring clips, gently press the cover against the fan housing to engage the clips, ensuring a secure fit.
-
Verify Stability: Once the cover is reattached, gently test its stability by applying light pressure to different areas. The cover should remain securely in place without any wobbling or shifting. This step is crucial for ensuring that the cover does not dislodge during the fan's operation.
-
Check Electrical Connections (If Applicable): If your bathroom exhaust fan cover includes a light or other electrical components, ensure that any wiring or connections are properly reattached and secured. Take care to follow the manufacturer's instructions for reattaching electrical components to avoid any potential hazards.
-
Inspect for Proper Sealing: After reattaching the cover, visually inspect the perimeter to ensure that it forms a tight seal with the fan housing. A proper seal helps to prevent air leakage and maintain the insulation's effectiveness. Address any gaps or misalignments to achieve a secure and airtight fit.
-
Test the Cover: Before proceeding, test the cover by gently activating the fan to ensure that it operates smoothly and without any unusual noises or vibrations. This step allows you to confirm that the cover is securely reattached and does not interfere with the fan's performance.
By following these steps, you can effectively reattach the cover of your bathroom exhaust fan, completing the insulation installation process. A securely attached cover not only safeguards the fan's internal components but also ensures that the insulation remains intact and functional. With the cover reattached, your bathroom exhaust fan is now ready for the final phase of the insulation installation process.
Step 6: Turn on the Power and Test the Fan
With the insulation installation and cover reattachment completed, the final step involves restoring power to the bathroom exhaust fan and conducting a thorough test to ensure its proper functionality. This critical phase allows you to verify that the fan operates smoothly and effectively following the insulation process. Here's a detailed guide on how to safely turn on the power and test your bathroom exhaust fan:
-
Restore the Power: Return to the circuit breaker panel and locate the breaker that controls the power supply to the bathroom exhaust fan. Switch the breaker to the "on" position to restore electrical power to the fan. Take note of any indicators or sounds that may signal the reconnection of power.
-
Activate the Fan: Return to the bathroom and activate the fan by flipping the switch or using the control panel. Observe the fan's operation closely, paying attention to its startup sound, speed, and overall performance. A properly functioning fan should start smoothly and operate without unusual noises or vibrations.
-
Check Airflow: Stand near the fan's vent outlet and feel for the airflow. A well-functioning bathroom exhaust fan should expel air consistently and effectively, helping to remove moisture and odors from the bathroom. Verify that the airflow is strong and steady, indicating that the fan is operating as intended.
-
Listen for Abnormal Sounds: While the fan is running, listen for any abnormal sounds such as rattling, scraping, or clicking noises. Unusual sounds may indicate issues with the fan's motor, blades, or other internal components, requiring further inspection and potential maintenance.
-
Inspect the Cover and Surroundings: During the fan test, visually inspect the reattached cover and its surroundings for any signs of movement, vibration, or air leakage. Ensure that the cover remains securely in place and forms a tight seal with the fan housing, maintaining the integrity of the insulation.
-
Monitor for Proper Operation: Allow the fan to run for a few minutes to monitor its continuous operation. Observe its performance and ensure that it effectively removes moisture and odors from the bathroom, contributing to improved indoor air quality.
By following these steps, you can safely turn on the power and thoroughly test your bathroom exhaust fan following the insulation installation. A successful test confirms that the fan operates optimally and efficiently, providing effective ventilation and contributing to a healthier home environment. With the fan tested and confirmed to be in good working condition, you have completed the insulation process, ensuring that your bathroom exhaust fan is now equipped to deliver enhanced energy efficiency and performance.
Conclusion
In conclusion, insulating your bathroom exhaust fan is a valuable investment in enhancing the energy efficiency, comfort, and indoor air quality of your home. By following the step-by-step process outlined in this guide, you have taken a proactive approach to improving the performance of your bathroom exhaust fan while contributing to a more sustainable living environment.
The insulation installation process, beginning with the crucial step of turning off the power to ensure safety, has equipped your bathroom exhaust fan to effectively minimize heat loss during colder months and prevent the intrusion of hot, humid air during warmer seasons. This not only promotes a more comfortable indoor environment but also contributes to reducing energy costs and overall household energy consumption.
Through the meticulous cleaning of the fan and duct, you have optimized the operational efficiency of the bathroom exhaust fan, ensuring that it functions at its best following the insulation installation. By removing accumulated dust and debris, you have not only improved the fan's performance but also contributed to maintaining good indoor air quality within your home.
The careful selection and installation of insulation materials within the fan housing and ductwork have created a thermal barrier that prevents heat transfer and promotes energy conservation. This step is essential for maintaining a consistent indoor temperature and reducing the workload on heating and cooling systems, ultimately leading to long-term energy savings.
By reattaching the cover securely and conducting a thorough test of the fan's operation, you have ensured that the insulation remains intact and functional, contributing to the fan's overall efficiency and performance. The successful completion of the insulation installation process positions your bathroom exhaust fan to operate optimally, effectively removing moisture and odors from the bathroom while maintaining a comfortable and healthy indoor environment.
In embracing the task of insulating your bathroom exhaust fan, you have not only enhanced the functionality of the fan but also made a meaningful contribution to sustainable living. Your proactive approach to improving energy efficiency and indoor air quality aligns with the principles of responsible homeownership and environmental stewardship.
By insulating your bathroom exhaust fan, you have taken a significant step towards creating a more energy-efficient, comfortable, and sustainable home environment for you and your family. Your commitment to enhancing the performance of your bathroom exhaust fan reflects a dedication to responsible living and a desire to contribute to a healthier, more sustainable future.
Frequently Asked Questions about How To Insulate A Bathroom Exhaust Fan
Was this page helpful?
At Storables.com, we guarantee accurate and reliable information. Our content, validated by Expert Board Contributors, is crafted following stringent Editorial Policies. We're committed to providing you with well-researched, expert-backed insights for all your informational needs.


0 thoughts on “How To Insulate A Bathroom Exhaust Fan”