Home>Furniture & Design>Bathroom Accessories>How To Remove Old Bathtub Stickers

Bathroom Accessories
How To Remove Old Bathtub Stickers
Published: February 20, 2024
Learn how to safely remove old bathtub stickers and update your bathroom accessories with our step-by-step guide. Say goodbye to outdated decals and hello to a fresh, modern look!
(Many of the links in this article redirect to a specific reviewed product. Your purchase of these products through affiliate links helps to generate commission for Storables.com, at no extra cost. Learn more)
Introduction
Removing old bathtub stickers can be a challenging task, especially if they have been in place for a long time. Over time, these stickers can become unsightly, worn out, or simply no longer serve their purpose. Whether you're looking to refresh the appearance of your bathtub or simply want to get rid of the outdated stickers, it's essential to approach the removal process with the right techniques and tools.
In this comprehensive guide, we will walk you through the step-by-step process of removing old bathtub stickers effectively. By following these instructions, you can restore your bathtub to its former glory and create a clean, inviting space for relaxation and rejuvenation. With the right materials and a systematic approach, you can tackle this task with confidence and achieve professional-looking results.
So, roll up your sleeves and get ready to bid farewell to those stubborn bathtub stickers. With a little patience and the proper guidance, you'll soon have a smooth, sticker-free surface that revitalizes the overall look of your bathroom. Let's dive into the process and equip you with the knowledge and skills needed to tackle this project like a pro.
Key Takeaways:
- Say goodbye to old bathtub stickers by gathering the right tools and preparing the surface. With patience and the right technique, you can remove them effectively and create a clean, inviting space for relaxation and rejuvenation.
- Clean the bathtub thoroughly after sticker removal to ensure a polished finish. Use rubbing alcohol, gentle wiping, and meticulous drying to leave the surface pristine and ready for potential reapplication of new stickers or other decorative elements.
Read more: How To Remove An Old Bathtub?
Step 1: Gather the necessary materials
Before embarking on the task of removing old bathtub stickers, it's crucial to gather the essential materials to ensure a smooth and efficient process. Here's a comprehensive list of items you'll need:
-
Adhesive Remover: Select a high-quality adhesive remover specifically designed for use on bathtubs. Look for a product that is safe for the bathtub surface and effectively breaks down the adhesive without causing damage.
-
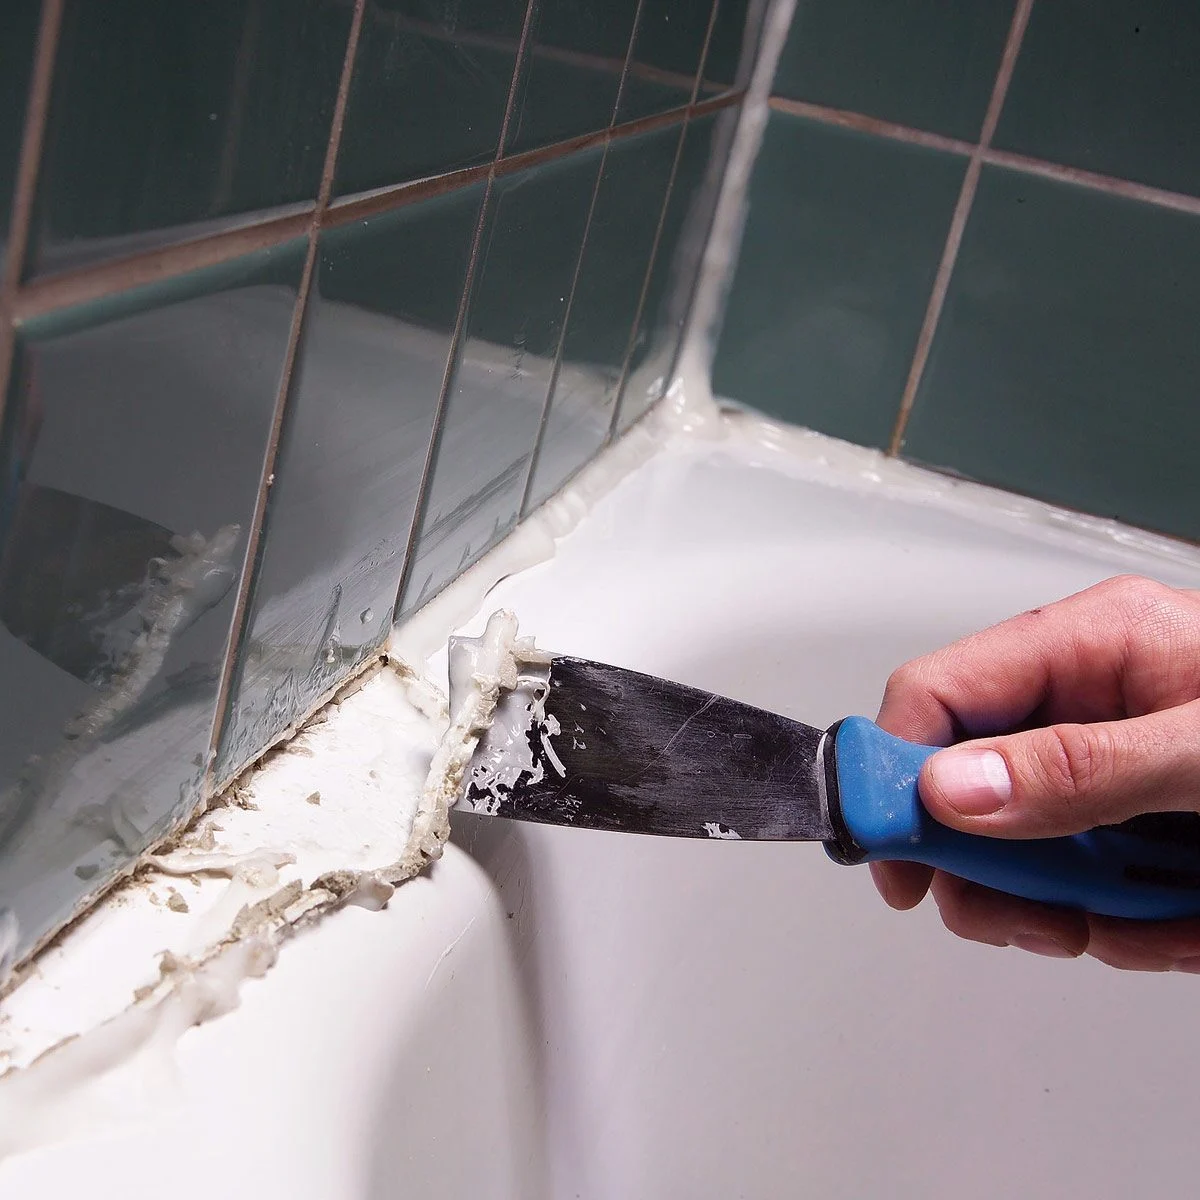
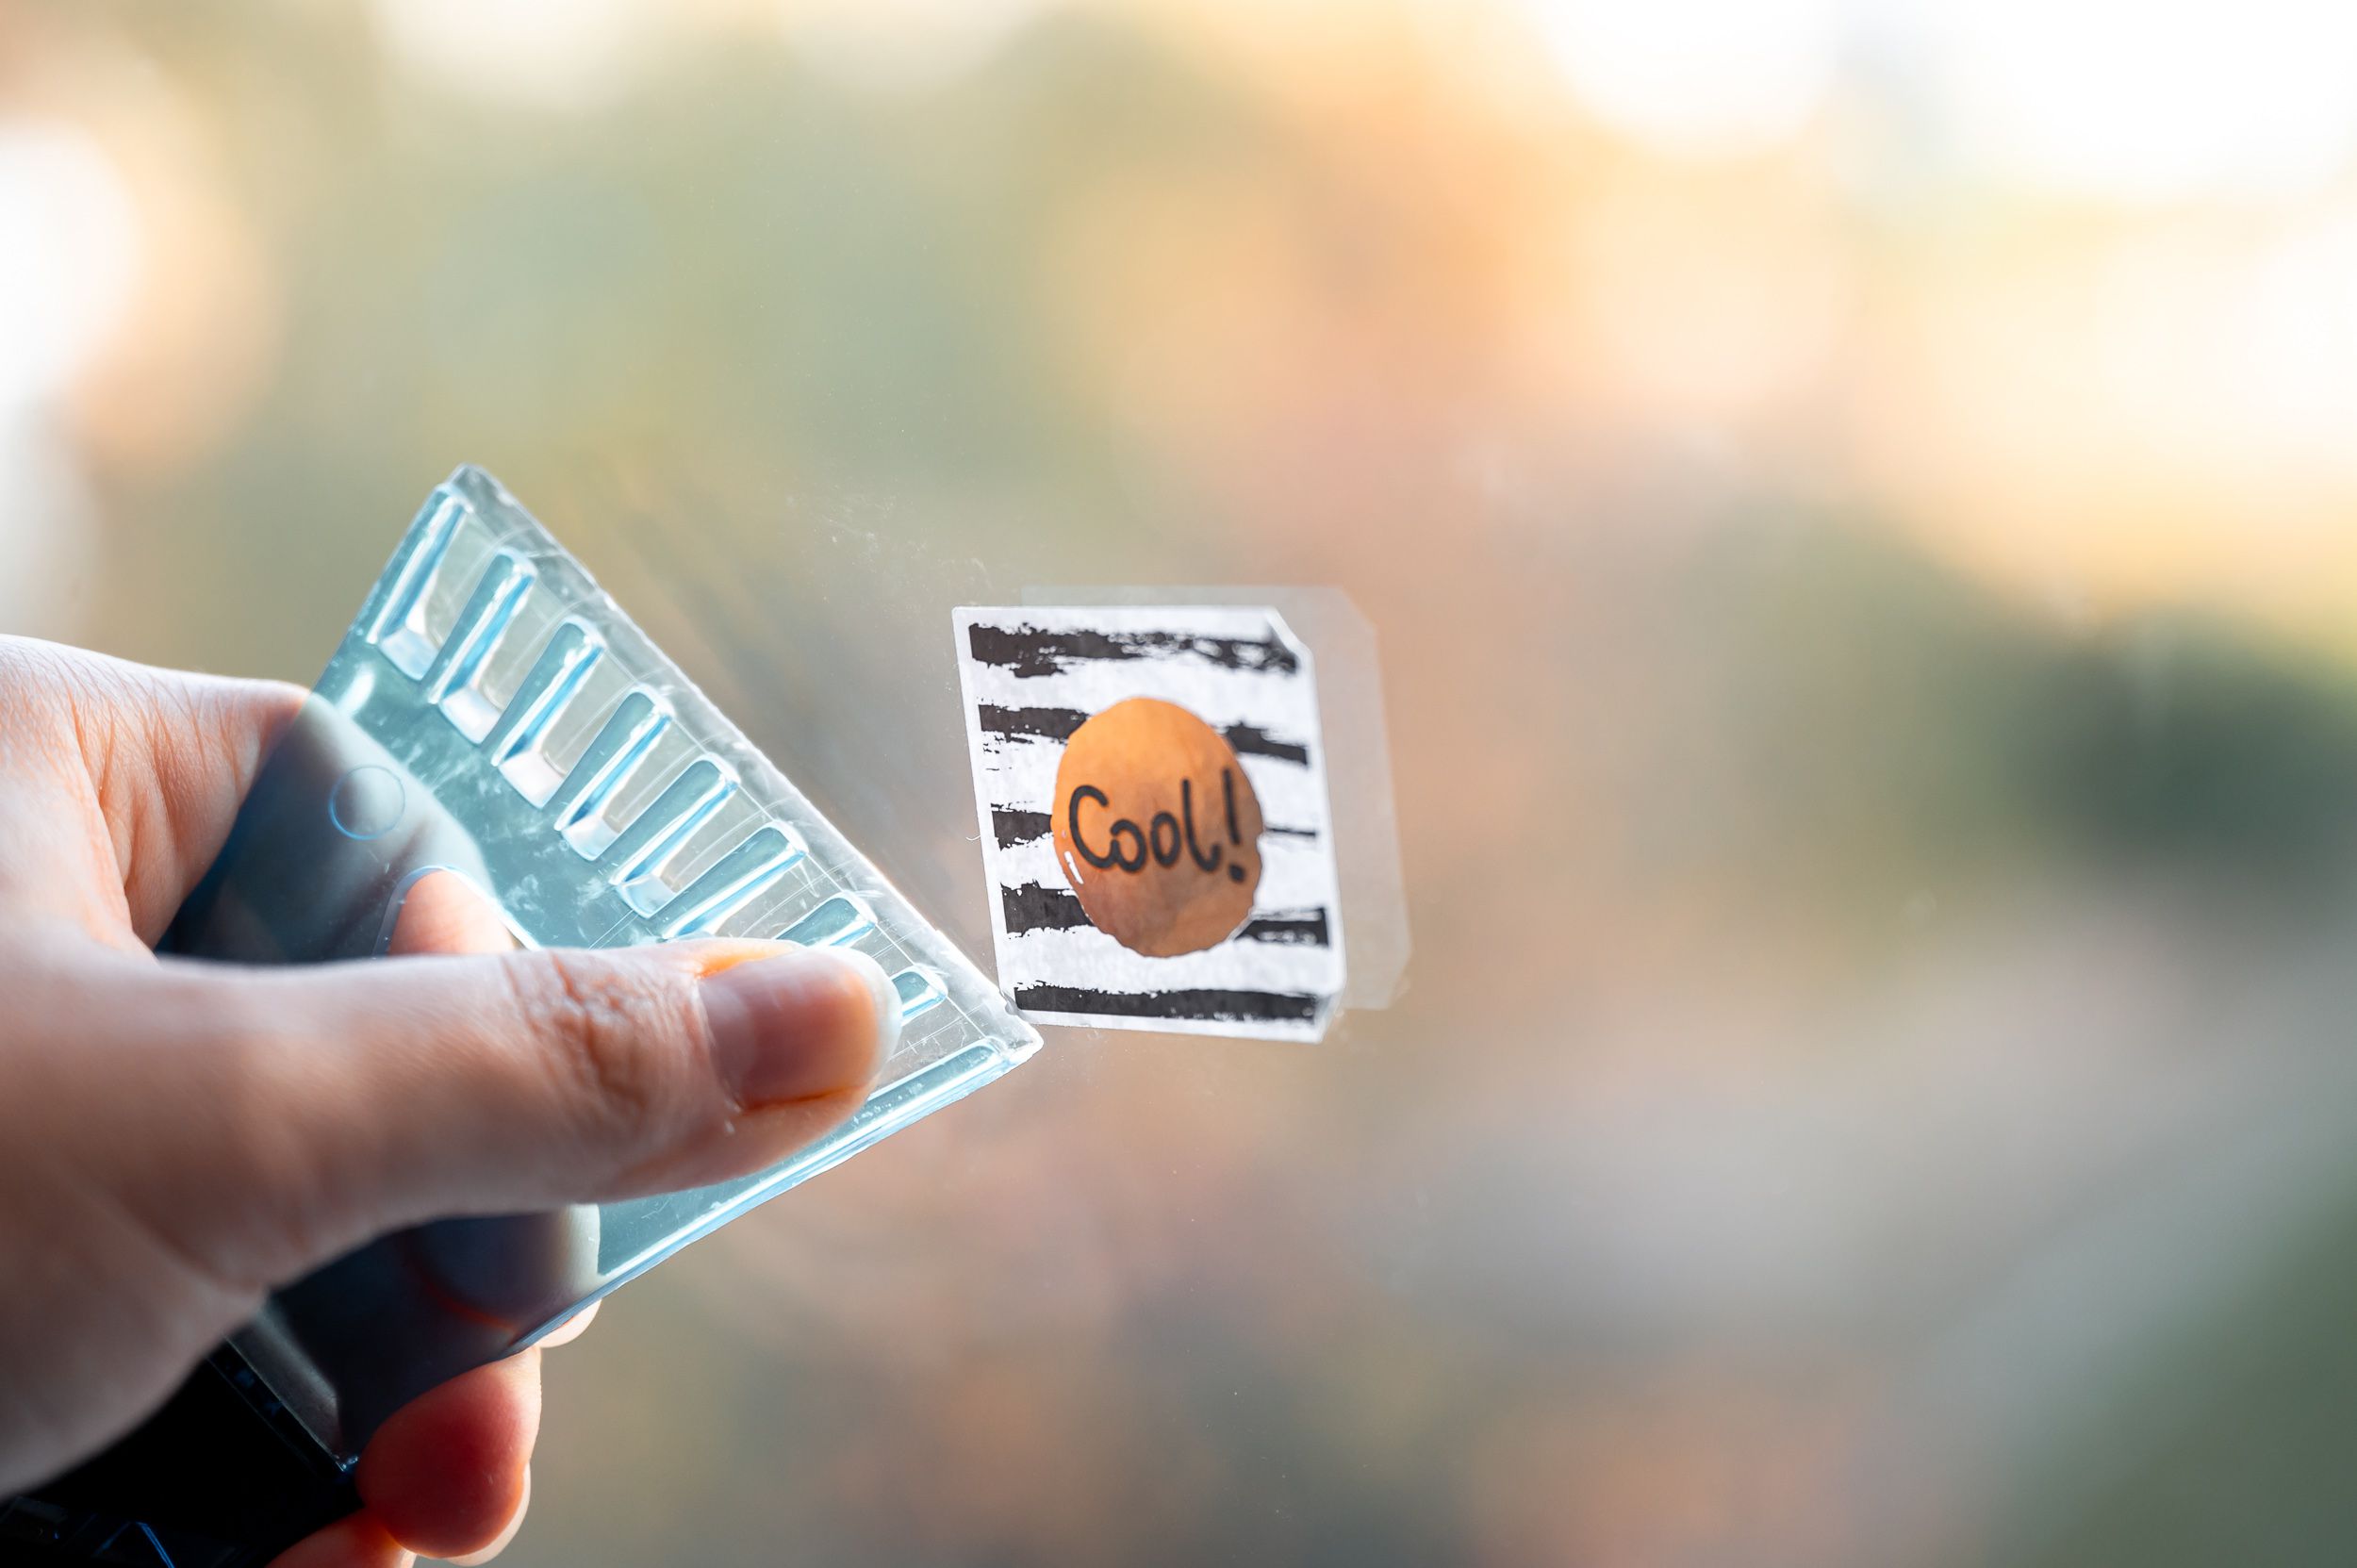
Plastic Scraper or Putty Knife: A plastic scraper or putty knife is essential for gently lifting the edges of the stickers and removing them from the bathtub surface. Opt for a plastic tool to avoid scratching or damaging the bathtub.
-
Rubbing Alcohol: This common household item is excellent for removing any residual adhesive after the stickers have been peeled off. It helps dissolve and lift the remaining adhesive, leaving the bathtub surface clean and smooth.
-
Microfiber Cloth or Soft Sponge: Choose a soft, non-abrasive cloth or sponge to apply the adhesive remover and clean the bathtub surface. Microfiber cloths are particularly effective for gentle yet thorough cleaning.
-
Protective Gloves: It's important to protect your hands during the sticker removal process. Wear a pair of protective gloves to shield your skin from the adhesive remover and any potential sharp edges while using the scraper.
-
Ventilation: Ensure proper ventilation in the bathroom by opening windows or using a fan. Some adhesive removers may emit strong fumes, so adequate ventilation is essential for a comfortable and safe working environment.
-
Safety Glasses: While working with adhesive remover and using a scraper, it's advisable to wear safety glasses to protect your eyes from any splashes or debris.
-
Old Towels or Rags: Keep a few old towels or rags handy to wipe away excess adhesive remover and to protect the surrounding area from any drips or spills.
By gathering these essential materials, you'll be well-prepared to tackle the task of removing old bathtub stickers effectively and safely. With the right tools at your disposal, you can proceed to the next steps with confidence, knowing that you have everything you need to achieve a successful sticker removal process.
Step 2: Prepare the bathtub surface
Before diving into the actual removal of the old bathtub stickers, it's crucial to prepare the bathtub surface to ensure that the process goes smoothly and effectively. Proper preparation sets the stage for successful sticker removal and minimizes the risk of damaging the bathtub surface. Here's a detailed guide on how to prepare the bathtub surface for the sticker removal process:
Clean the Surface:
Begin by thoroughly cleaning the bathtub surface to remove any dirt, soap scum, or residue that may have accumulated around the stickers. Use a mild bathroom cleaner or a mixture of warm water and gentle dish soap to clean the area. A soft sponge or microfiber cloth can be used to gently scrub the surface, ensuring that it is free from any debris that could interfere with the sticker removal process.
Dry the Surface:
After cleaning the bathtub surface, it's essential to ensure that it is completely dry before proceeding further. Use a clean, dry towel or cloth to thoroughly dry the area around the stickers. Removing stickers from a dry surface makes the adhesive removal process more effective and prevents the stickers from becoming soggy or difficult to handle.
Read more: How To Remove An Old Bathtub Spout
Test a Small Area:
Before applying the adhesive remover to the entire sticker, it's advisable to conduct a small test in an inconspicuous area of the bathtub. This allows you to assess how the surface reacts to the adhesive remover and ensures that it does not cause any damage or discoloration. Apply a small amount of the adhesive remover to the test area and observe its effects for a few minutes before proceeding.
Protect Surrounding Surfaces:
To prevent any accidental damage or spills during the sticker removal process, it's important to protect the surrounding surfaces of the bathtub. Place old towels or rags along the edges of the bathtub to catch any drips or spills that may occur while applying the adhesive remover. This precaution helps maintain the cleanliness of the bathroom and prevents the adhesive remover from coming into contact with other surfaces.
By following these preparatory steps, you'll create an optimal environment for removing the old bathtub stickers without causing any harm to the bathtub surface. Proper preparation sets the stage for a successful sticker removal process and ensures that the subsequent steps can be carried out with precision and efficiency.
Step 3: Apply the adhesive remover
Once the bathtub surface is thoroughly prepared, it's time to apply the adhesive remover to begin the process of loosening and dissolving the old bathtub stickers. The adhesive remover plays a crucial role in breaking down the adhesive bond, making it easier to peel off the stickers without causing damage to the bathtub surface. Here's a detailed guide on how to effectively apply the adhesive remover:
-
Read the Instructions: Before applying the adhesive remover, carefully read the manufacturer's instructions and safety guidelines provided on the product packaging. Understanding the recommended application method and any safety precautions is essential for a successful and safe sticker removal process.
-
Apply the Adhesive Remover: Using a soft, non-abrasive cloth or sponge, apply a generous amount of the adhesive remover directly onto the old bathtub stickers. Ensure that the adhesive remover thoroughly saturates the stickers, allowing it to penetrate and weaken the adhesive bond. It's important to apply the remover evenly and cover the entire surface of each sticker for optimal effectiveness.
-
Allow Dwell Time: After applying the adhesive remover, allow it to dwell on the stickers for the recommended amount of time specified by the manufacturer. This dwell time allows the remover to work its magic, breaking down the adhesive and making the stickers easier to remove. Be patient and allow the product to do its job before proceeding to the next step.
-
Monitor the Progress: While the adhesive remover is at work, keep an eye on the stickers to observe how the adhesive is reacting to the product. You may notice the stickers starting to lift or become softer as the remover penetrates the adhesive. This visual indication signals that the adhesive remover is effectively loosening the stickers from the bathtub surface.
-
Reapply if Necessary: For stubborn or particularly old stickers, you may need to reapply the adhesive remover to ensure thorough penetration and effective loosening of the adhesive. If certain areas of the stickers appear resistant to removal, applying an additional layer of the remover can further facilitate the process.
By following these steps, you can effectively apply the adhesive remover to initiate the breakdown of the old bathtub stickers' adhesive bond. This crucial step sets the stage for the subsequent removal of the stickers, allowing for a smoother and more efficient process. With the adhesive remover at work, the stickers are on their way to being ready for easy and damage-free removal from the bathtub surface.
Step 4: Remove the stickers
With the adhesive remover having effectively loosened the old bathtub stickers from the surface, it's time to proceed with the careful and precise removal process. This step requires patience and attention to detail to ensure that the stickers are lifted off without leaving behind any residue or causing damage to the bathtub surface. Here's a detailed guide on how to remove the stickers effectively:
-
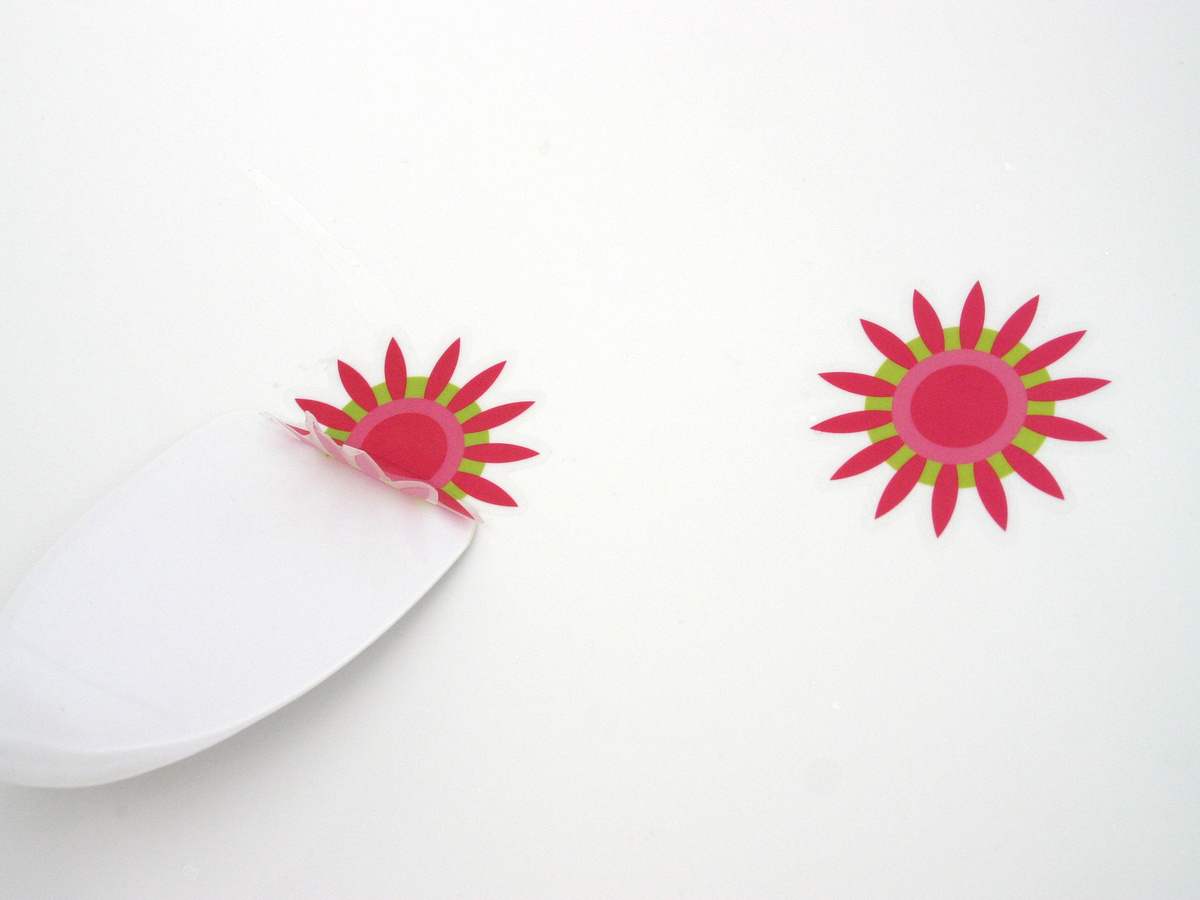
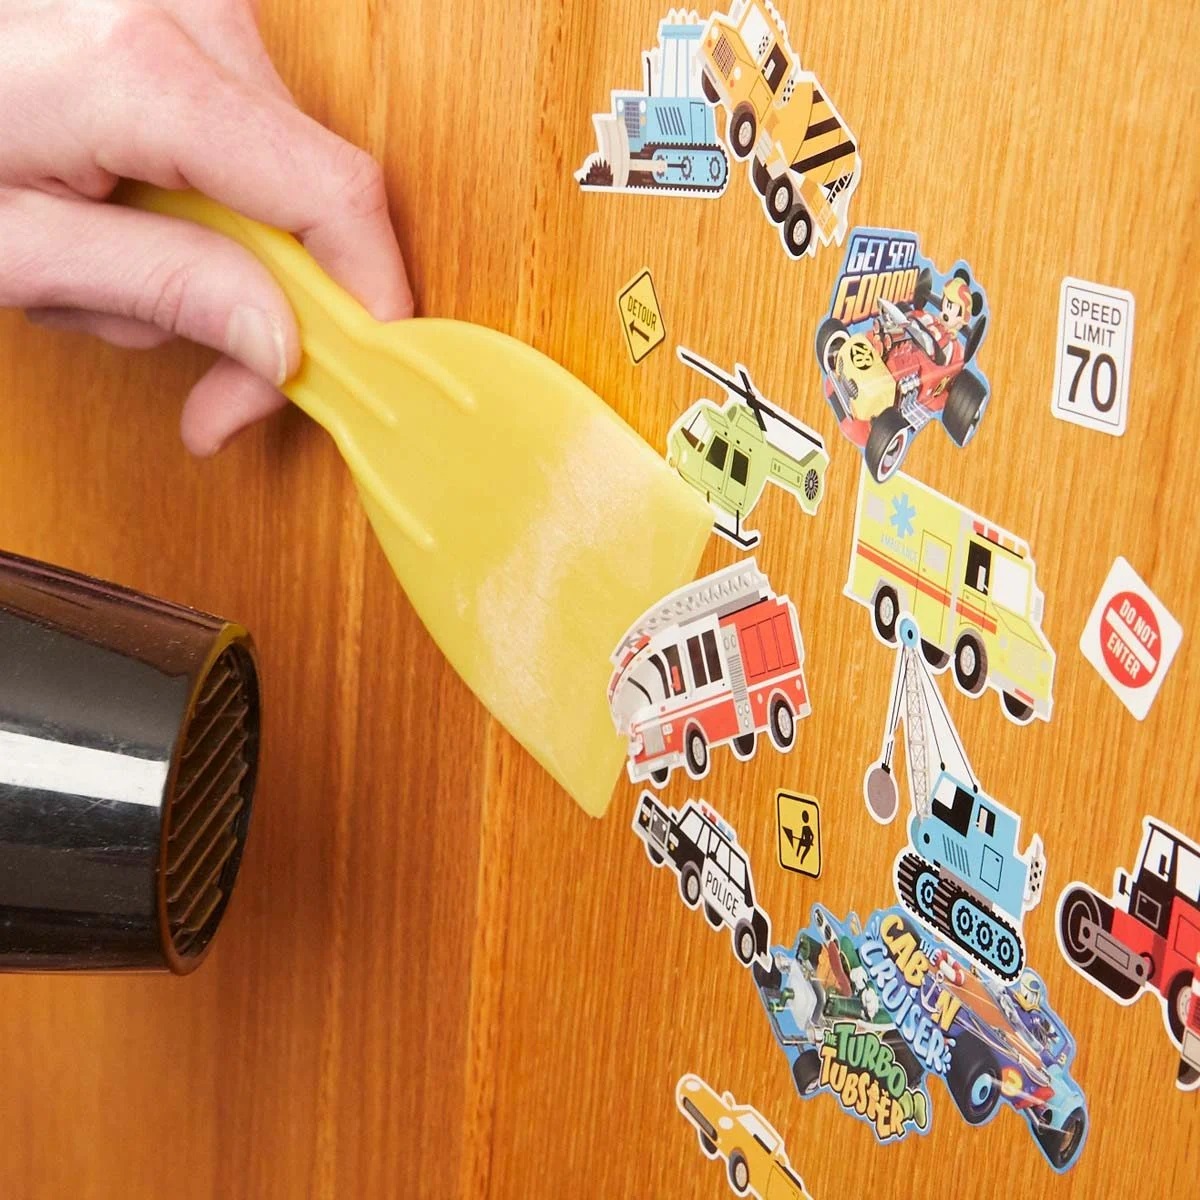
Use a Plastic Scraper or Putty Knife: Begin by gently sliding a plastic scraper or putty knife under the edges of the stickers. The goal is to lift the stickers gradually, avoiding any sudden or forceful movements that could potentially damage the bathtub surface. Work methodically, starting from one edge of the sticker and gradually moving across its length to loosen it from the surface.
-
Peel Off the Stickers: Once the edges of the stickers are lifted, carefully peel them off the bathtub surface. Take your time and ensure a steady, even motion to prevent the stickers from tearing or leaving behind adhesive residue. If any resistance is encountered, apply a small amount of additional adhesive remover to the stubborn areas and allow it to further weaken the adhesive bond.
-
Dispose of the Stickers: As the stickers are successfully removed, place them in a disposable bag or trash receptacle to keep the work area clean and organized. Proper disposal of the old stickers prevents any accidental reattachment or spreading of adhesive residue in the bathroom.
-
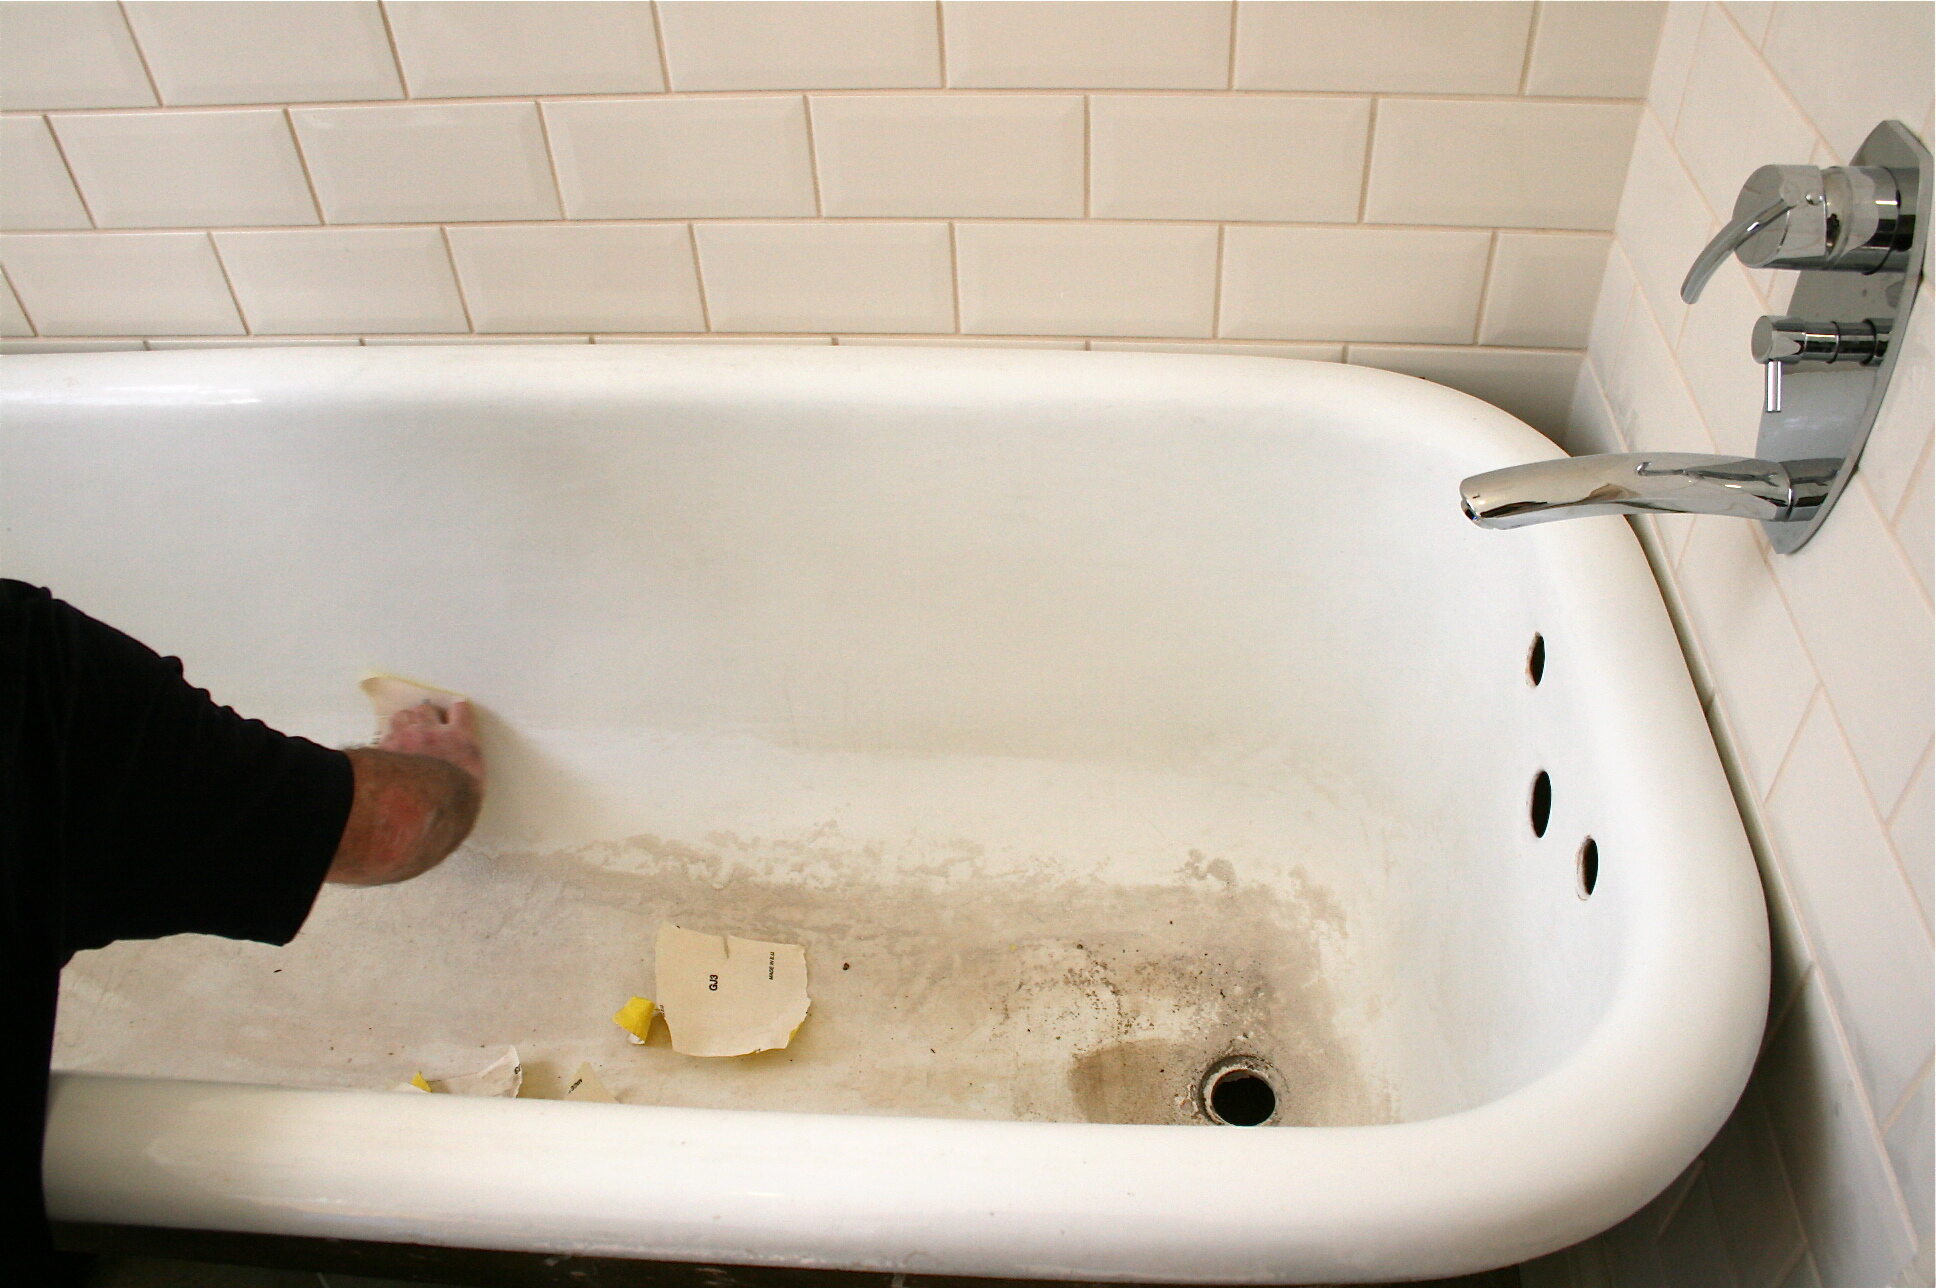
Inspect for Residual Adhesive: After removing the stickers, inspect the bathtub surface for any remaining adhesive residue. If any sticky patches are observed, use a clean cloth or sponge dampened with rubbing alcohol to gently dab and lift the residual adhesive. Avoid harsh scrubbing or abrasive materials that could scratch the bathtub surface.
-
Repeat the Process if Needed: For larger or more stubborn stickers, repeat the process of applying the adhesive remover and carefully peeling off the stickers. Patience and persistence are key to achieving a clean and adhesive-free bathtub surface.
By following these steps, you can effectively remove the old bathtub stickers without causing any damage to the surface. The careful and methodical approach ensures that the stickers are lifted off cleanly, leaving behind a smooth and rejuvenated bathtub ready for the next step of the cleaning process.
Step 5: Clean the bathtub
After successfully removing the old bathtub stickers, it's essential to thoroughly clean the bathtub to eliminate any remaining adhesive residue and ensure a pristine, polished finish. Cleaning the bathtub not only enhances its appearance but also prepares the surface for potential reapplication of new stickers or other decorative elements. Here's a detailed guide on how to effectively clean the bathtub after sticker removal:
1. Apply Rubbing Alcohol:
Begin by dampening a clean microfiber cloth or soft sponge with rubbing alcohol. Gently dab the cloth or sponge onto any areas where adhesive residue remains on the bathtub surface. The rubbing alcohol helps dissolve and lift the residual adhesive, making it easier to remove without damaging the bathtub's finish.
2. Thoroughly Wipe the Surface:
With the rubbing alcohol applied, carefully wipe the entire bathtub surface to ensure that any remaining adhesive residue is effectively removed. Use gentle, circular motions to lift and absorb the adhesive residue, periodically rinsing the cloth or sponge as needed to prevent spreading the residue.
3. Rinse with Warm Water:
Once the adhesive residue has been lifted, rinse the bathtub surface with warm water to remove any traces of rubbing alcohol and residual adhesive. Use a clean, damp cloth to thoroughly rinse and wipe the surface, ensuring that it is free from any cleaning agents or residue.
Read more: How To Remove Non-Slip Stickers From Bathtub
4. Dry the Surface:
After rinsing, use a dry microfiber cloth or towel to carefully dry the bathtub surface. Ensuring that the surface is completely dry prevents water spots and maintains the cleanliness of the bathtub. Pay attention to any crevices or edges where water may accumulate, ensuring that these areas are thoroughly dried.
5. Inspect for Residue:
Take a close look at the bathtub surface to confirm that all adhesive residue has been effectively removed. If any stubborn residue persists, repeat the process of applying rubbing alcohol and gently wiping the affected areas until the surface is completely clean and smooth.
6. Final Inspection:
Once the bathtub surface is clean and dry, perform a final inspection to ensure that it is free from any residue or blemishes. Run your fingers across the surface to detect any remaining stickiness or irregularities, addressing any lingering residue with additional cleaning as needed.
By following these steps, you can effectively clean the bathtub after removing the old stickers, leaving the surface smooth, pristine, and ready for the next phase of your bathroom enhancement project. Whether you're planning to leave the bathtub sticker-free or considering the application of new decorative elements, a thoroughly cleaned surface sets the stage for a refreshed and inviting bathroom space.
Conclusion
In conclusion, the process of removing old bathtub stickers requires careful preparation, the right tools, and a systematic approach to ensure a successful outcome. By following the step-by-step guide outlined in this comprehensive article, you can effectively rejuvenate your bathtub and create a clean, inviting space for relaxation and rejuvenation.
The initial step of gathering the necessary materials sets the stage for a smooth and efficient sticker removal process. From selecting a high-quality adhesive remover to ensuring proper ventilation and protective gear, having the right tools at your disposal is essential for achieving professional-looking results.
Preparing the bathtub surface is a critical step that cannot be overlooked. Thoroughly cleaning the surface, ensuring it is dry, and conducting a small test area are vital preparatory measures that contribute to the overall success of the sticker removal process. Additionally, protecting the surrounding surfaces helps maintain a clean and organized work environment.
The application of the adhesive remover marks a pivotal stage in the sticker removal process. By following the manufacturer's instructions and allowing the remover to dwell on the stickers, you can effectively weaken the adhesive bond, making the subsequent removal process more manageable.
Carefully removing the stickers from the bathtub surface requires patience and attention to detail. Using a plastic scraper or putty knife to lift the edges of the stickers and peeling them off gradually ensures that the surface remains undamaged. Thoroughly inspecting for any residual adhesive and repeating the process if necessary guarantees a clean and smooth bathtub surface.
Finally, cleaning the bathtub after sticker removal is essential for achieving a polished finish. The use of rubbing alcohol, thorough wiping, rinsing with warm water, and meticulous drying ensure that the bathtub surface is free from any adhesive residue, leaving it pristine and ready for potential reapplication of new stickers or other decorative elements.
By following these comprehensive steps, you can bid farewell to the old bathtub stickers and revitalize your bathroom space. Whether you're aiming for a sticker-free bathtub or considering new decorative options, the knowledge and skills acquired from this guide empower you to tackle the sticker removal process with confidence and achieve professional-quality results.
Frequently Asked Questions about How To Remove Old Bathtub Stickers
Was this page helpful?
At Storables.com, we guarantee accurate and reliable information. Our content, validated by Expert Board Contributors, is crafted following stringent Editorial Policies. We're committed to providing you with well-researched, expert-backed insights for all your informational needs.

0 thoughts on “How To Remove Old Bathtub Stickers”