Home>Furniture & Design>Bathroom Accessories>How To Scrape Caulk From A Bathtub

Bathroom Accessories
How To Scrape Caulk From A Bathtub
Modified: April 22, 2024
Learn the best techniques for safely removing caulk from your bathtub and refreshing your bathroom accessories. Follow our step-by-step guide for a smooth and successful process.
(Many of the links in this article redirect to a specific reviewed product. Your purchase of these products through affiliate links helps to generate commission for Storables.com, at no extra cost. Learn more)
Introduction
Removing old and worn-out caulk from a bathtub is a crucial step in maintaining a clean and hygienic bathroom. Over time, caulk can become discolored, cracked, or moldy, detracting from the overall appearance of the bathtub and compromising its functionality. Whether you're preparing to recaulk the bathtub or simply aiming to refresh its appearance, knowing how to effectively scrape caulk is essential.
This process requires patience, attention to detail, and the right tools and materials. By following a systematic approach, you can achieve a smooth and clean surface, ready for a fresh application of caulk. In this guide, we will walk through the step-by-step process of scraping caulk from a bathtub, providing valuable insights and tips to ensure a successful outcome.
As we delve into this task, it's important to emphasize the significance of safety and precision. Working with sharp tools and chemical agents demands caution and focus. Additionally, taking the time to thoroughly prepare the bathtub and understand the properties of the caulk will contribute to a more efficient and effective caulk removal process.
By the end of this guide, you will have gained the knowledge and confidence to tackle caulk removal with ease, enabling you to maintain a pristine and inviting bathtub in your home. Let's embark on this journey to revitalize your bathtub and elevate the overall appeal of your bathroom space.
Key Takeaways:
- Say goodbye to old caulk! Use the right tools and patience to scrape it off, then clean the bathtub for a fresh, inviting look.
- Soften, scrape, and clean for a pristine bathtub. With safety and precision, you can revitalize your bathroom space with ease.
Read more: How To Remove Silicone Caulk From Bathtub
Tools and materials needed
Before embarking on the task of scraping caulk from a bathtub, it's essential to gather the necessary tools and materials to ensure a smooth and efficient process. Here's a comprehensive list of items you'll need:
Tools:
-
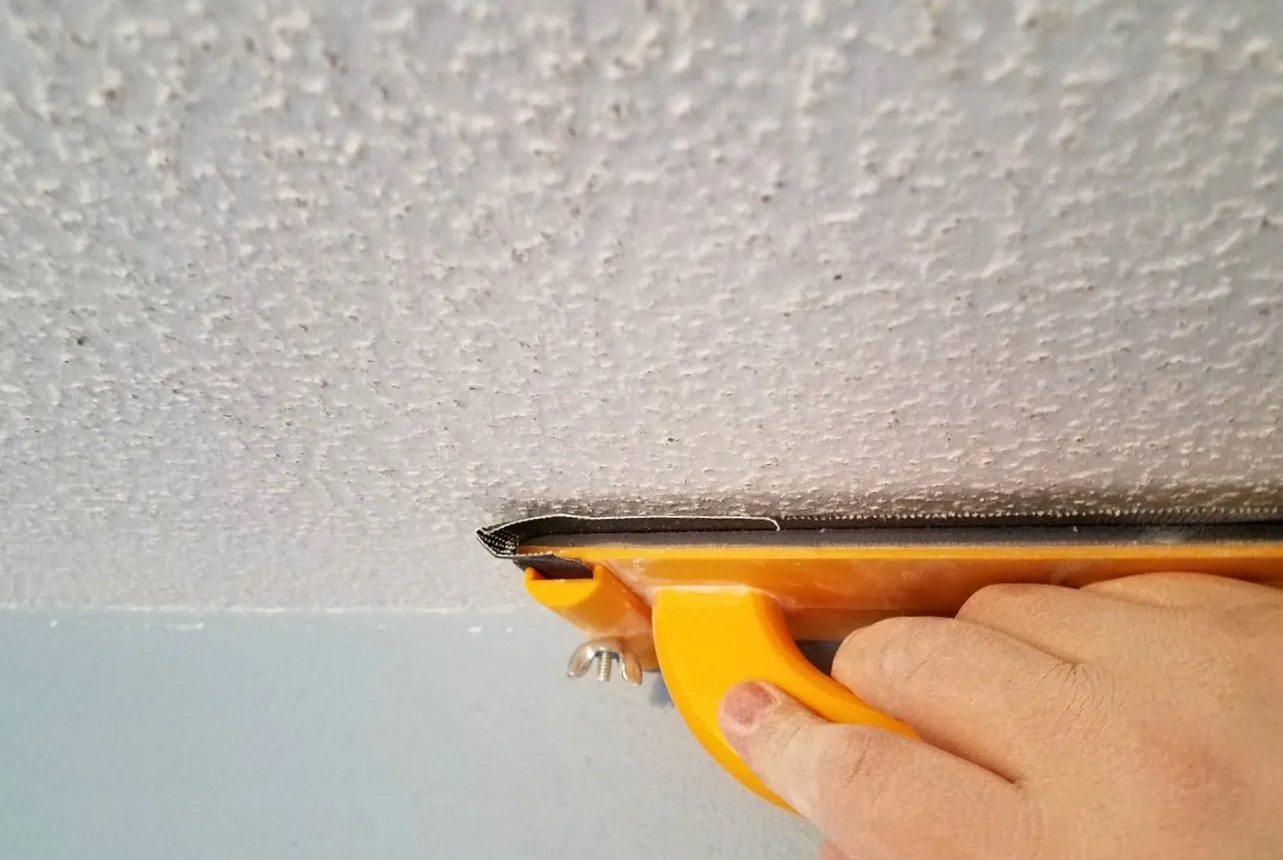
Caulk removal tool: This specialized tool, often featuring a sharp, angled edge, is designed to effectively scrape and remove old caulk from various surfaces. It helps in achieving precision and minimizing damage to the bathtub surface.
-
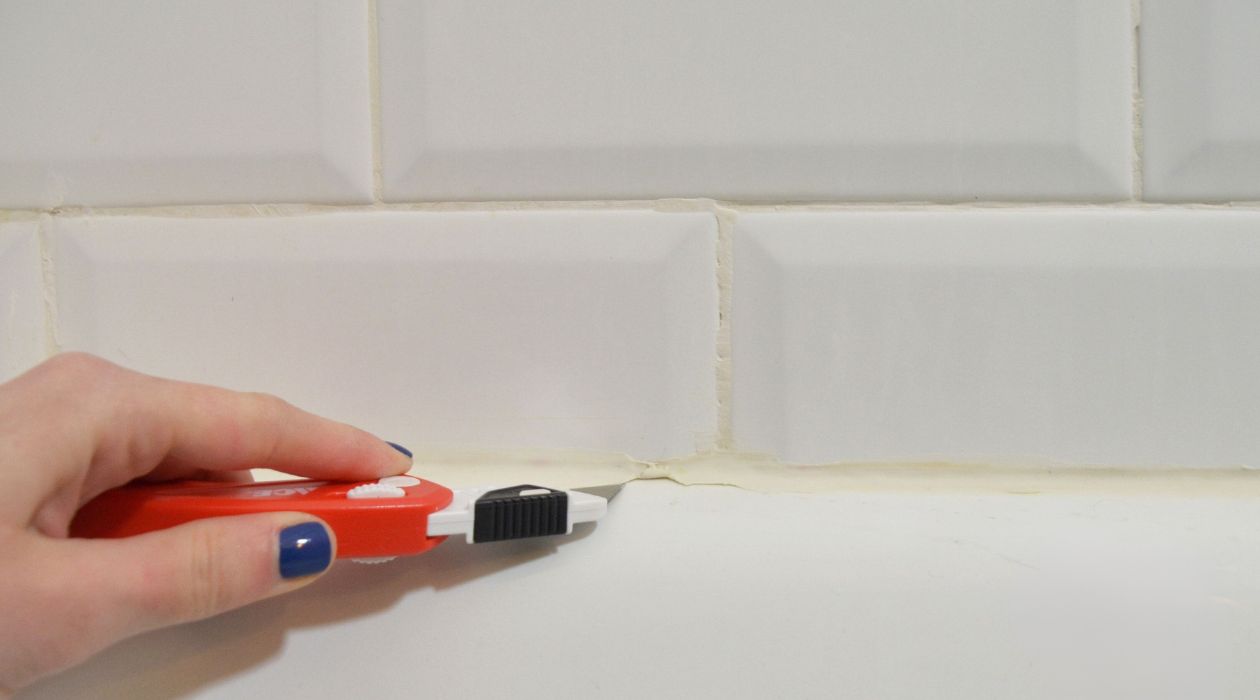
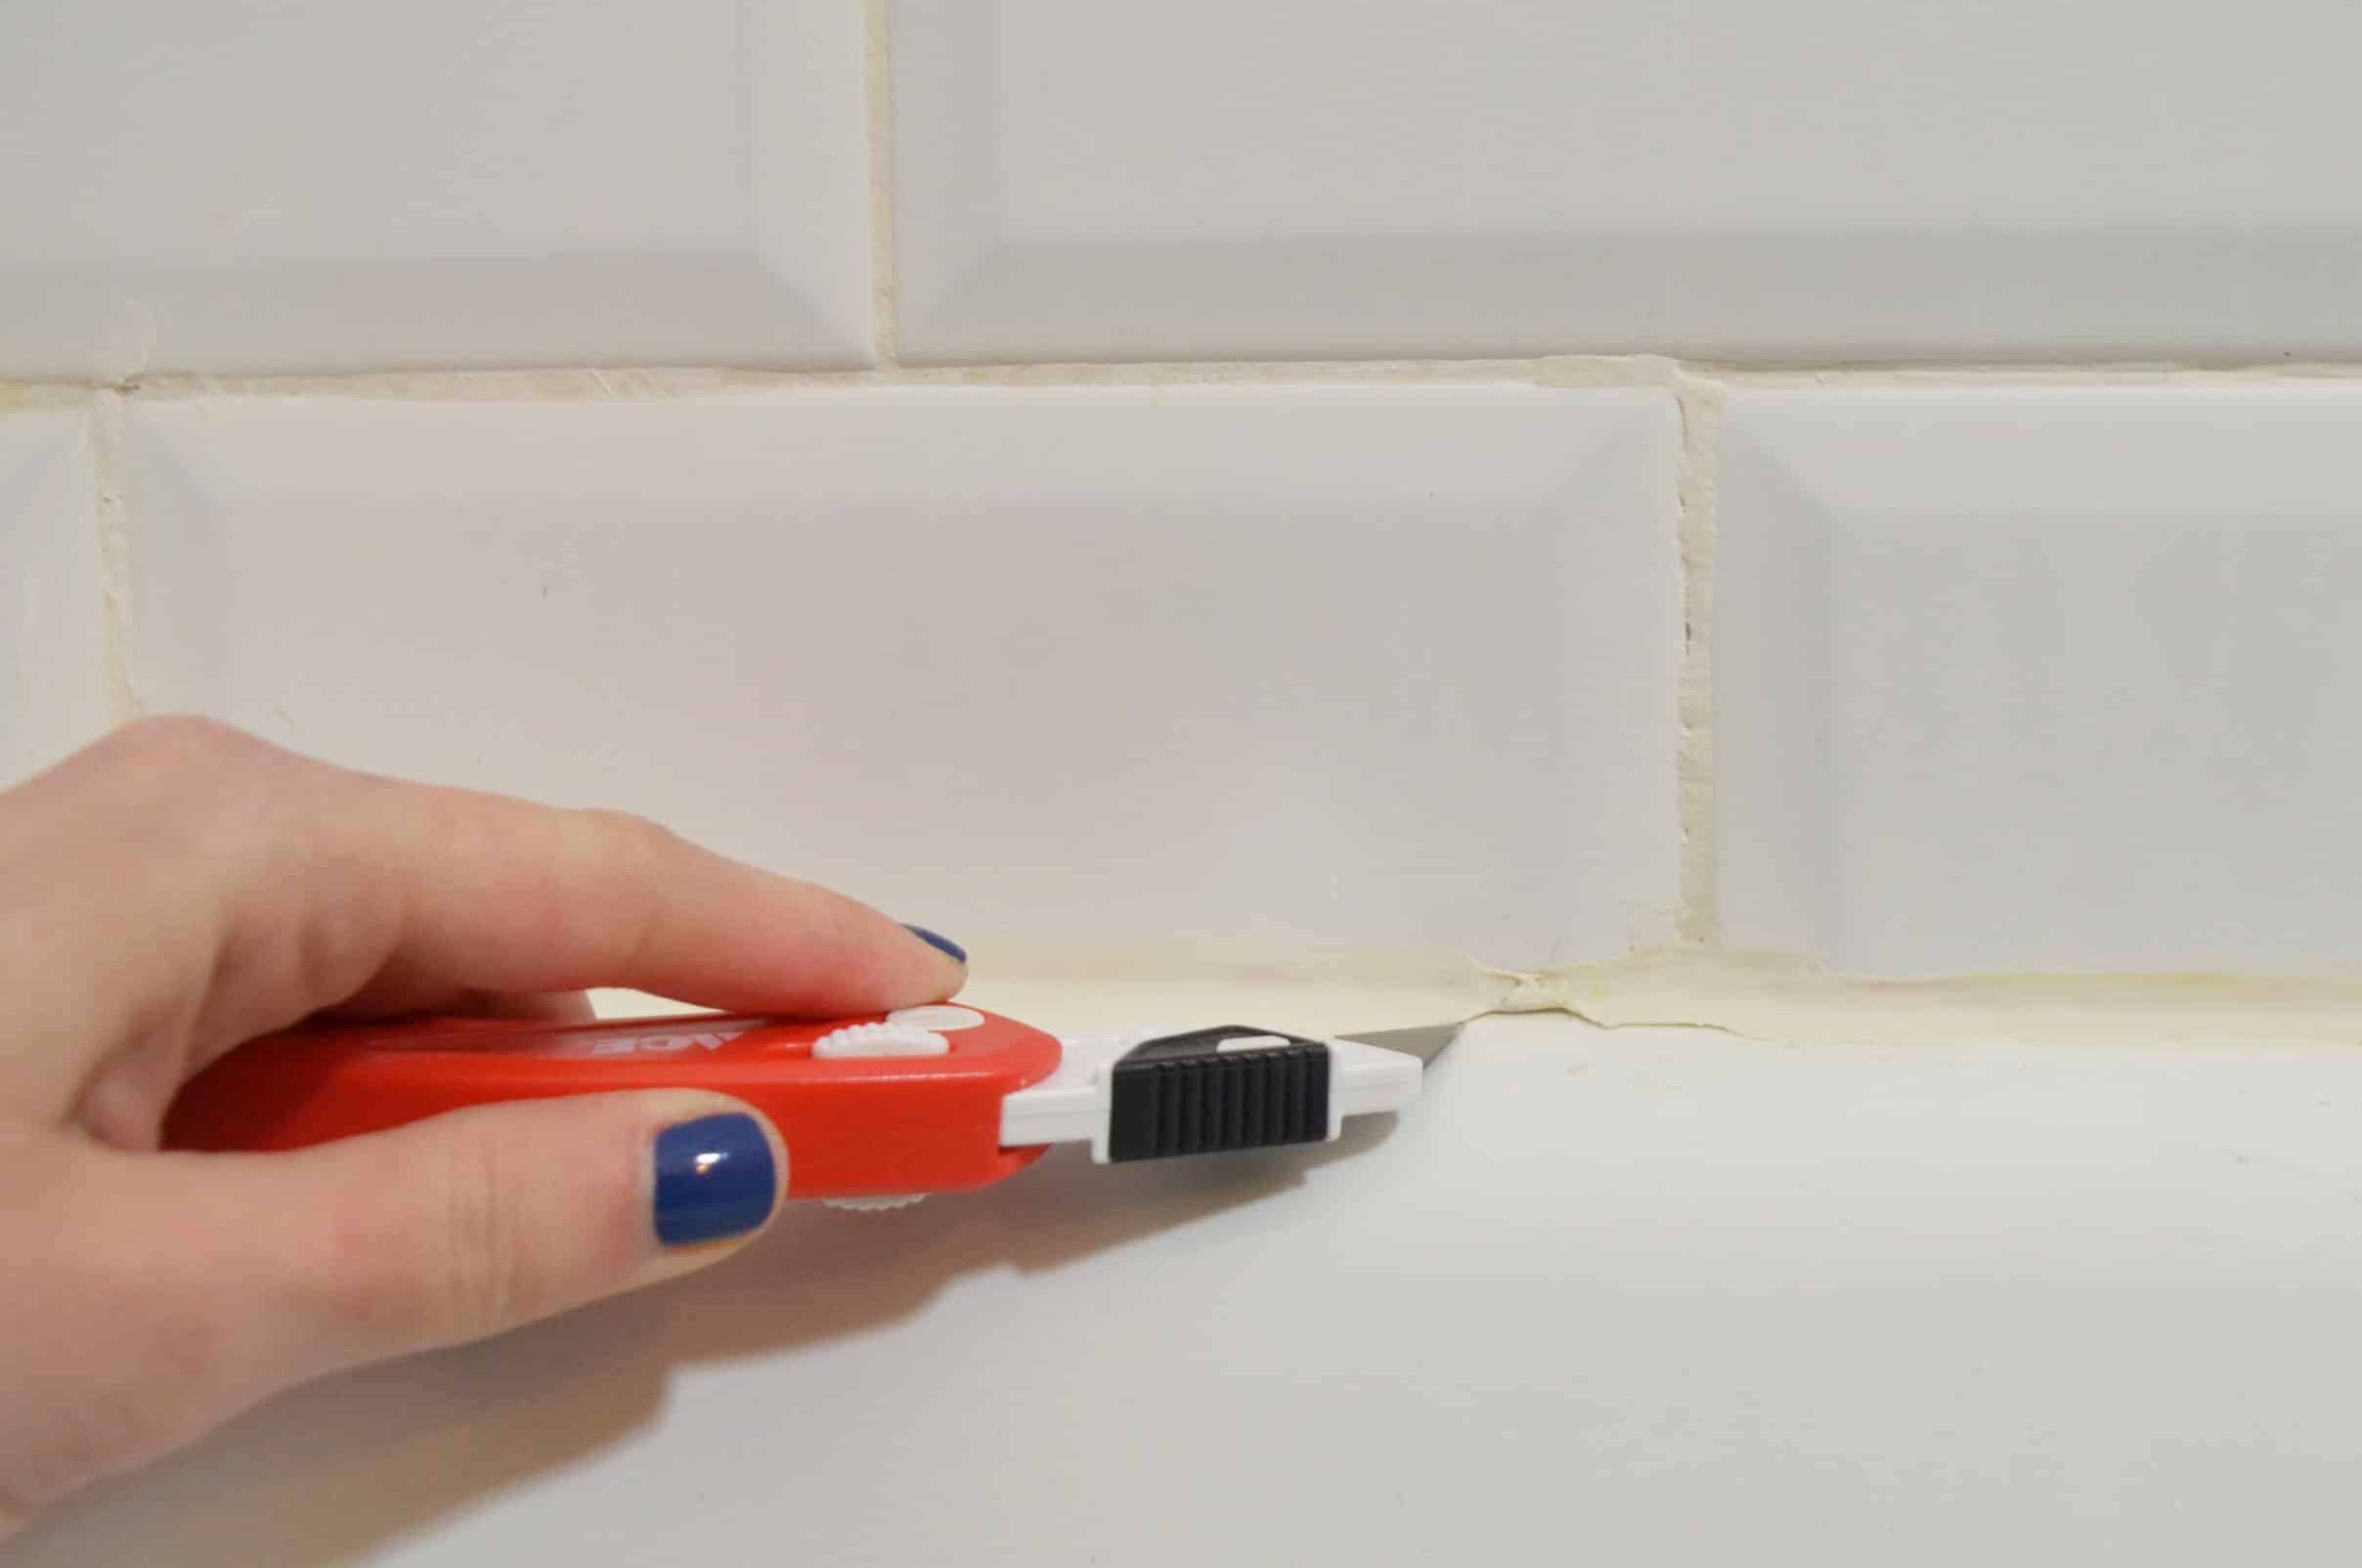
Utility knife: A sharp utility knife with a retractable blade is indispensable for cutting through stubborn or hardened caulk. It allows for controlled and precise cutting, facilitating the initial separation of the caulk from the bathtub edges.
-
Putty knife: A putty knife with a flexible yet sturdy blade is useful for gently prying and lifting sections of softened caulk. It aids in the removal process by providing leverage and control.
-
Caulk softening agent: Depending on the type of caulk present, a caulk softening agent or solvent may be required to effectively loosen and soften the caulk. Common options include commercial caulk removers or household items like vinegar or isopropyl alcohol.
-
Safety goggles and gloves: Ensuring personal safety is paramount when working with caulk removal tools and chemicals. Protective goggles shield the eyes from debris, while gloves protect the hands from sharp edges and chemical exposure.
-
Scrub brush: A sturdy scrub brush will come in handy during the cleaning phase, allowing you to effectively remove any residual caulk and cleaning agents from the bathtub surface.
Materials:
-
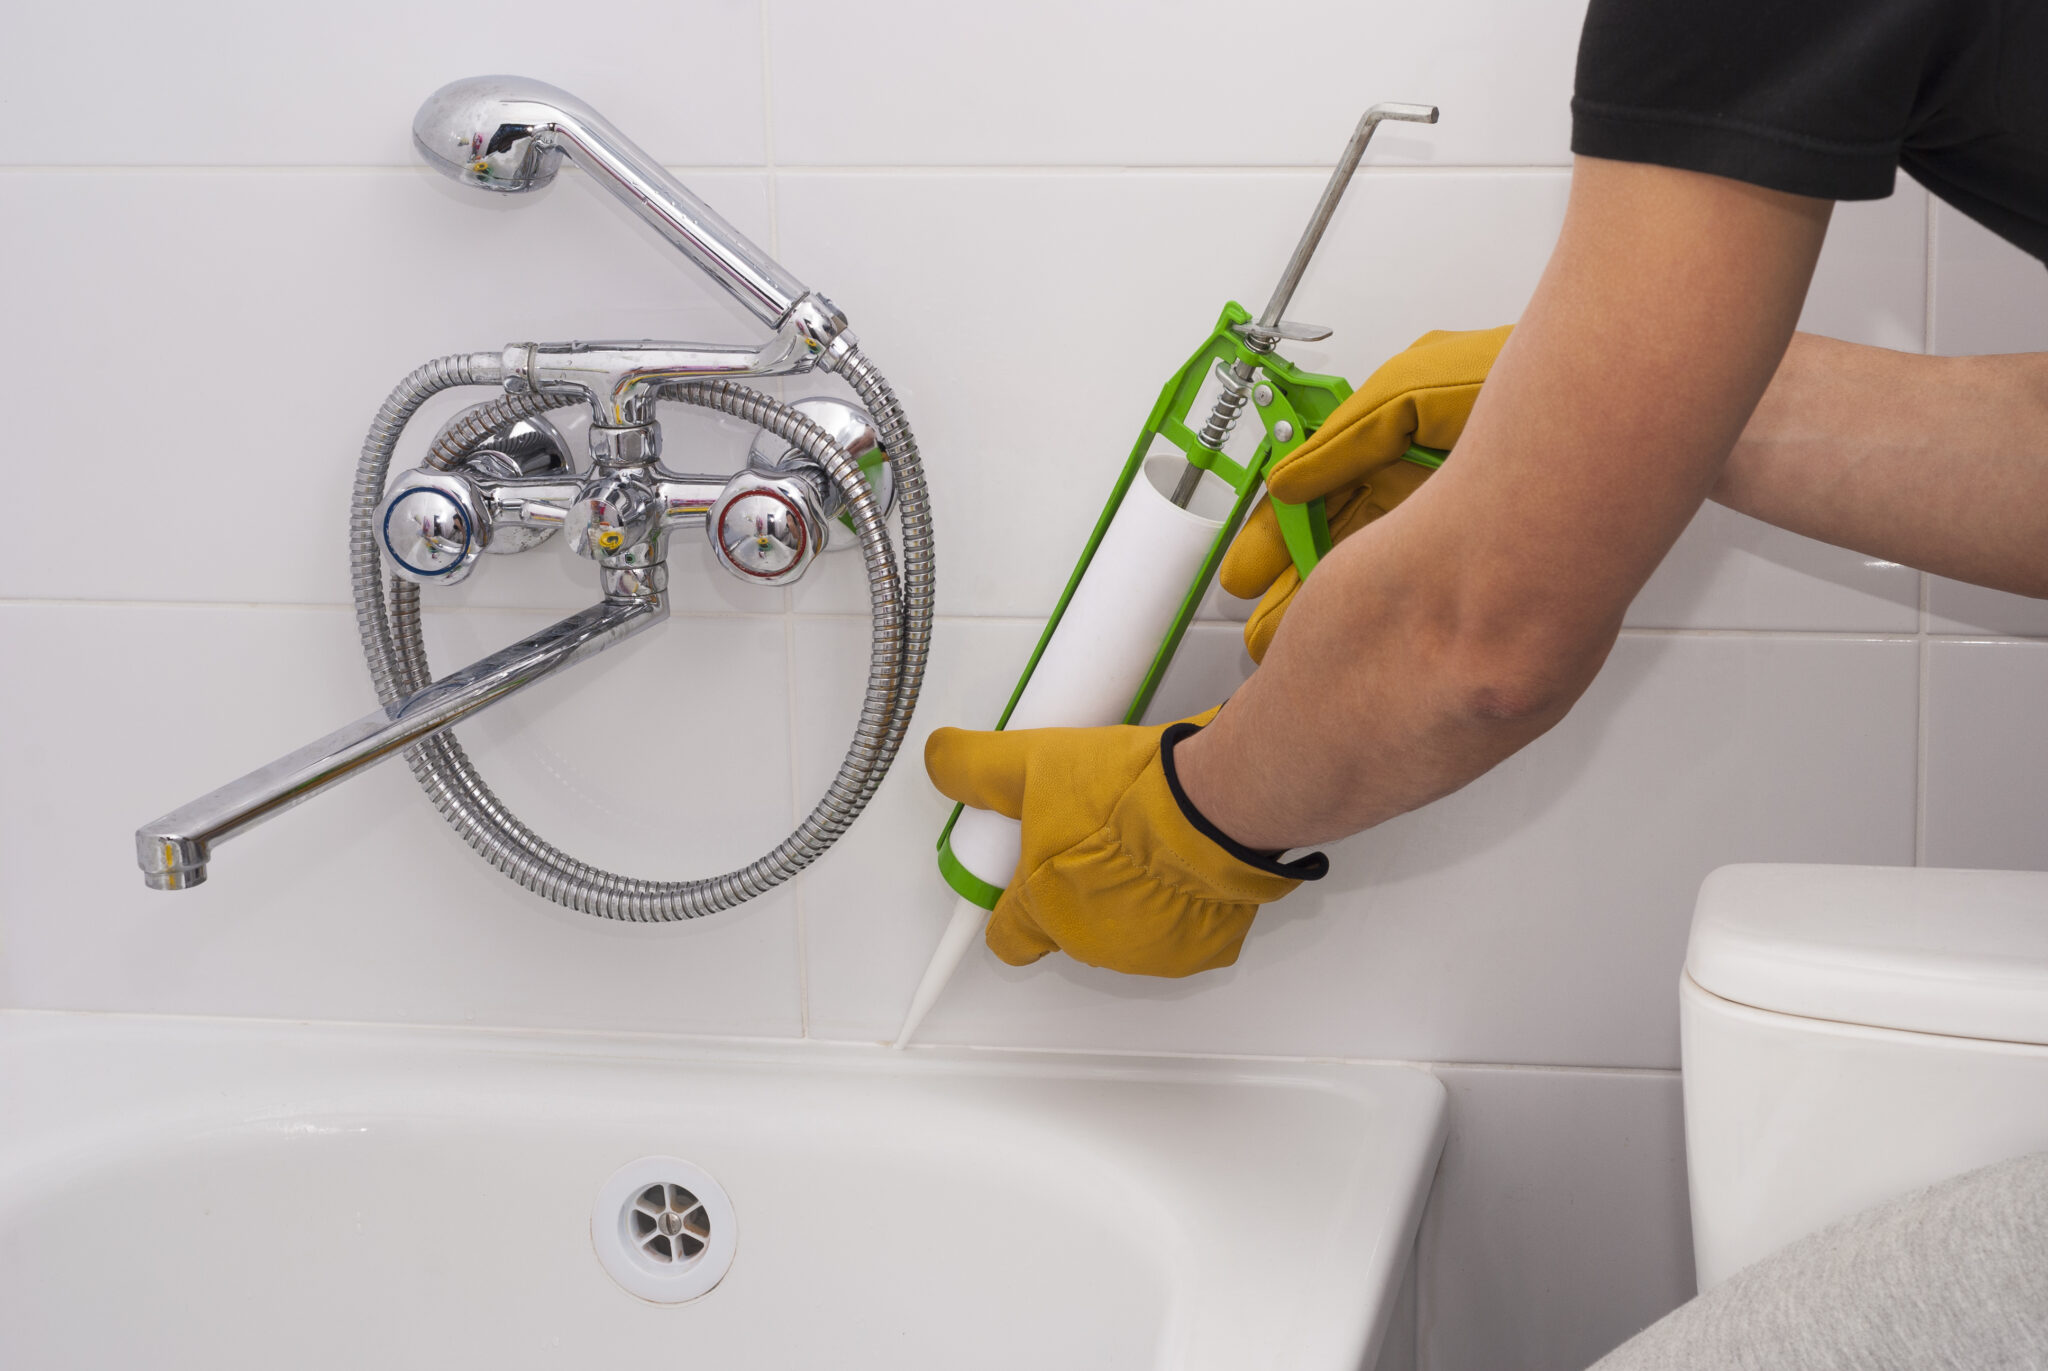
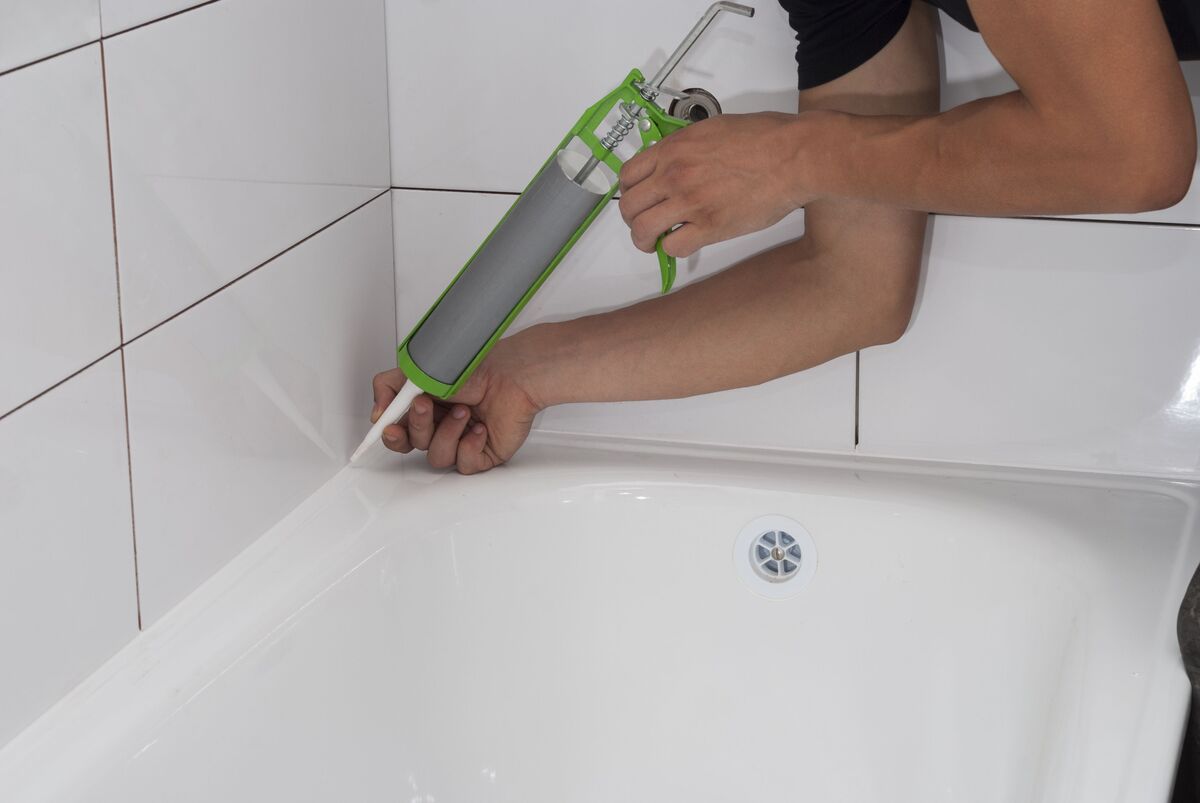
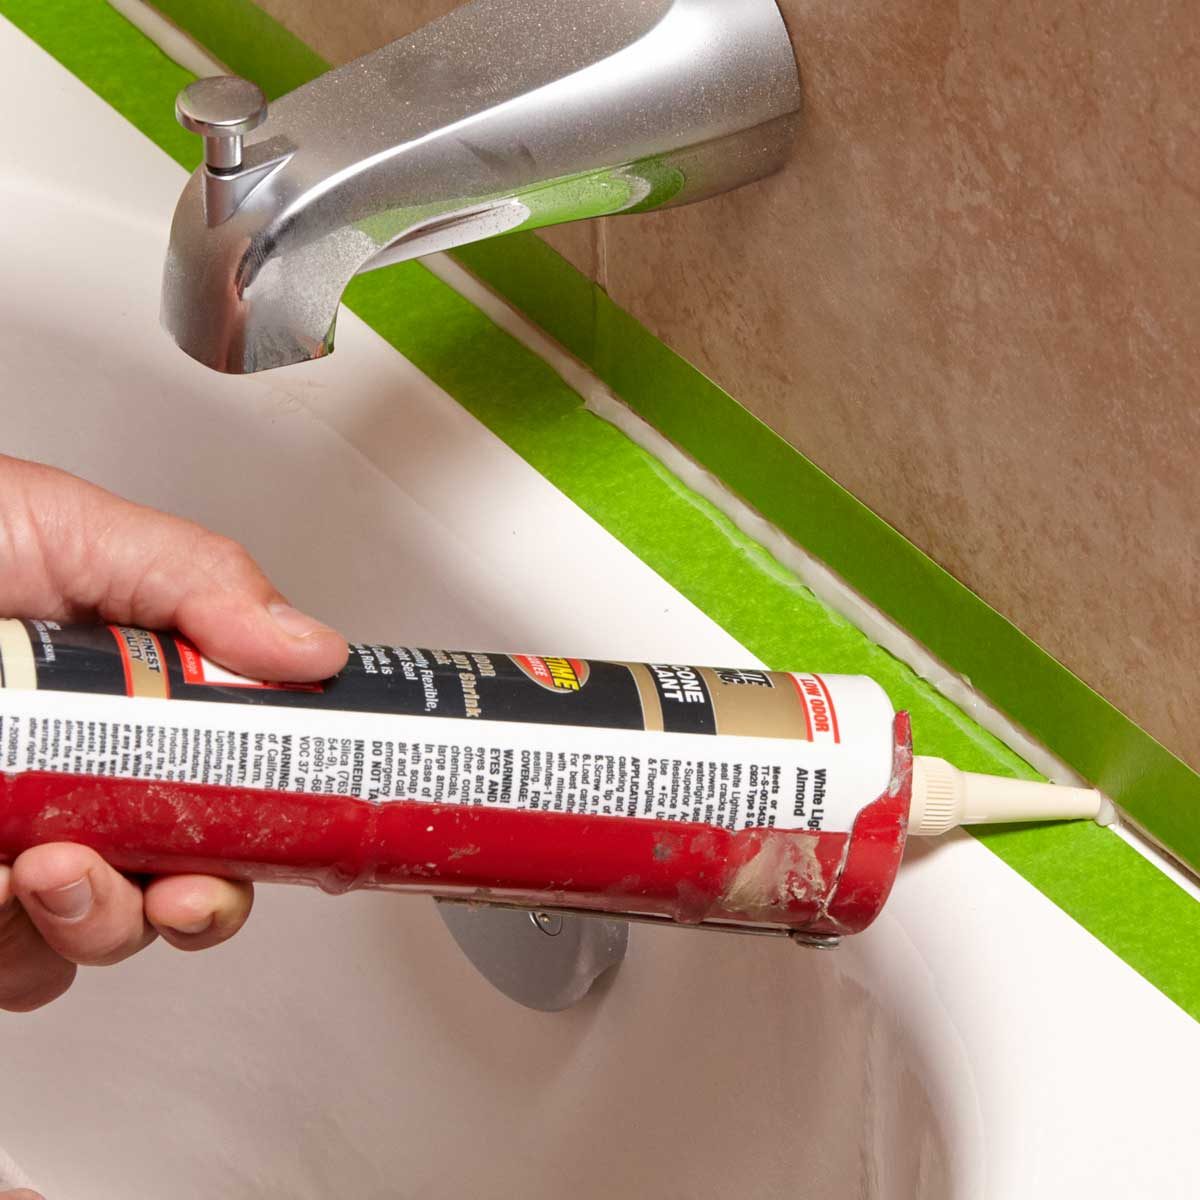
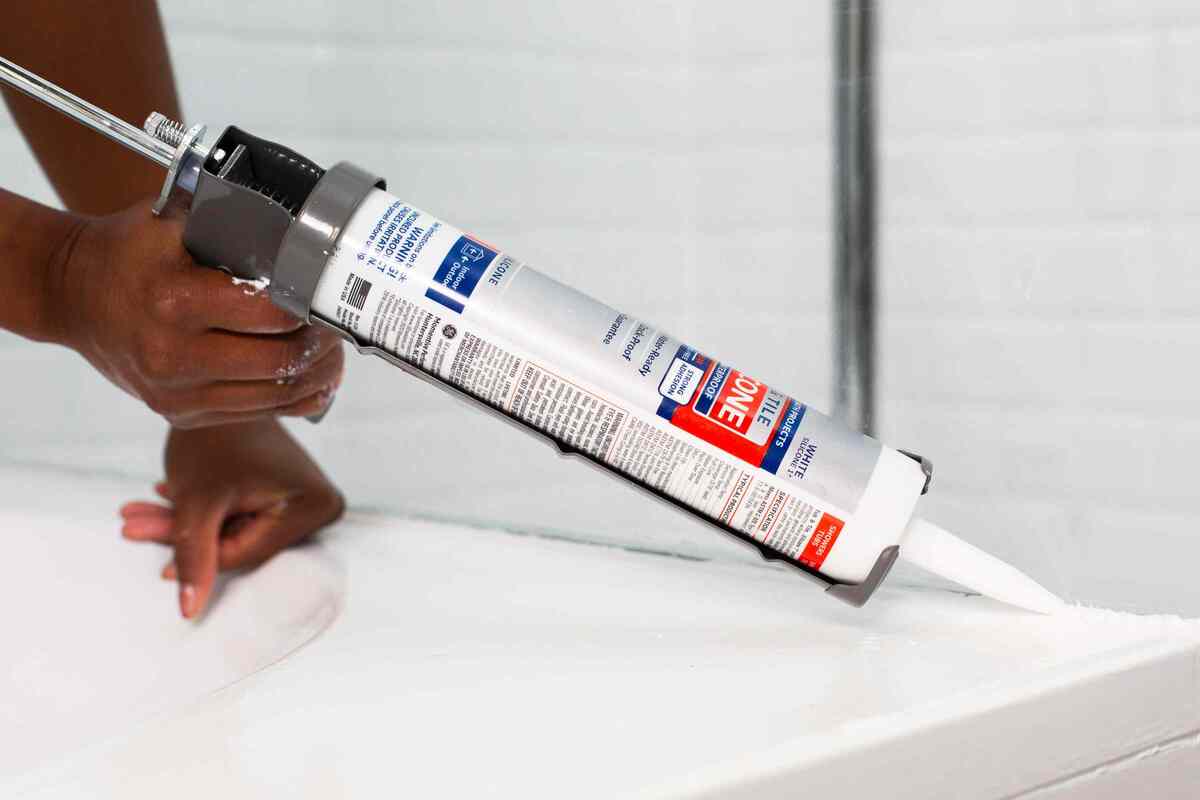
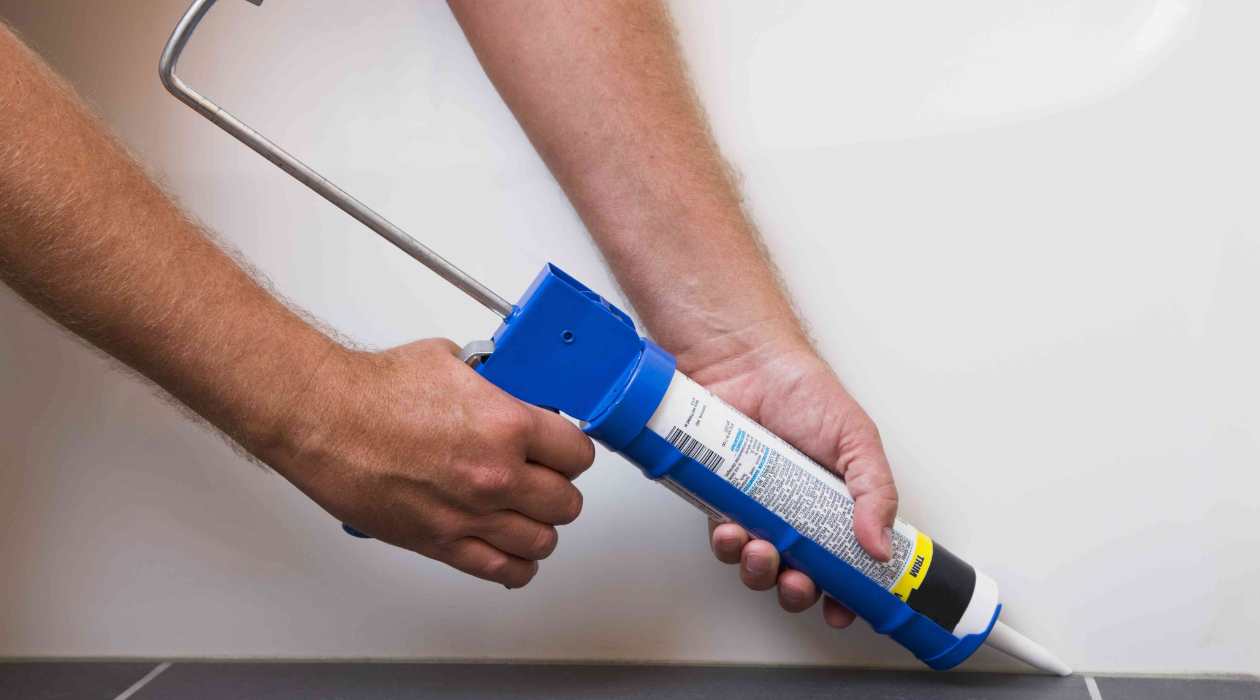
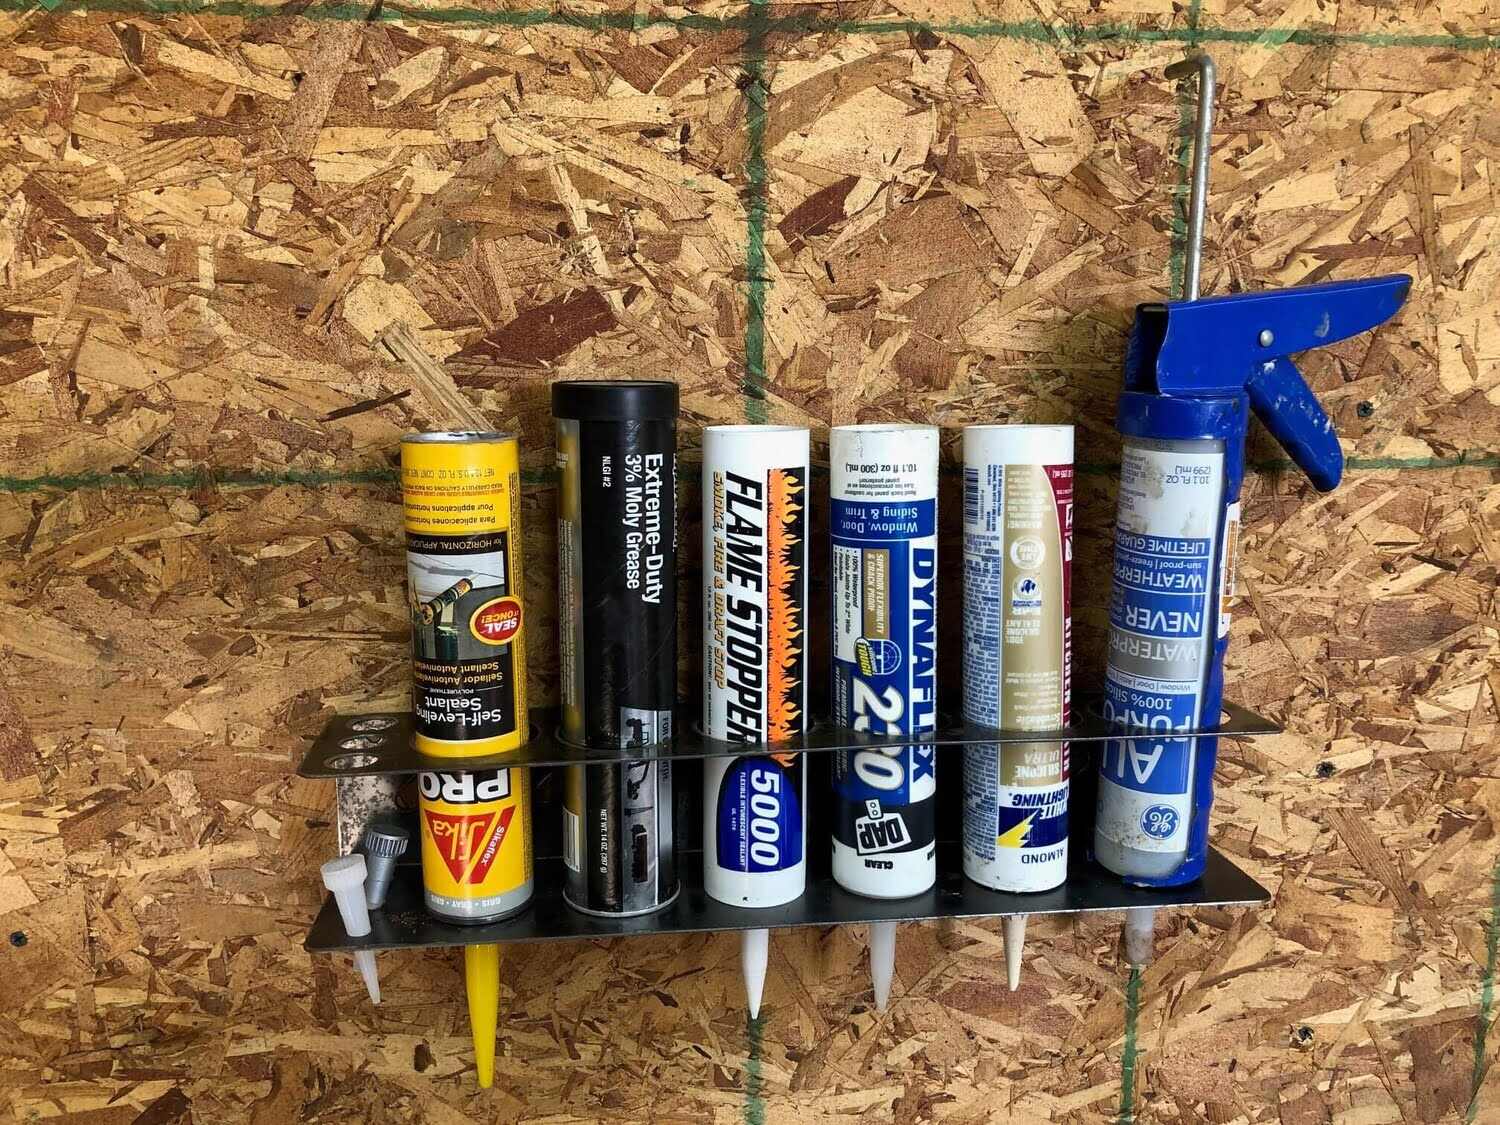
New caulk: If your intention is to recaulk the bathtub after removing the old caulk, ensure that you have a high-quality caulk product on hand. Consider the specific requirements of your bathtub material and the surrounding environment when selecting the new caulk.
-
Clean rags or paper towels: These are essential for wiping away excess caulk, cleaning agents, and debris during the removal and cleaning process.
-
Mildew-resistant cleaner: To thoroughly clean the bathtub surface after caulk removal, a mildew-resistant cleaner will help eliminate any lingering mold or mildew and prepare the surface for the new caulk application.
By assembling these tools and materials, you'll be well-equipped to tackle the task of scraping caulk from your bathtub with confidence and efficiency. Each item plays a crucial role in the overall process, contributing to a successful caulk removal and preparation for recaulking, if desired.
Step 1: Prepare the bathtub
Before diving into the process of scraping caulk from the bathtub, it's essential to thoroughly prepare the area to ensure a smooth and effective caulk removal process. Proper preparation sets the stage for a successful outcome and minimizes potential complications during the subsequent steps. Here's a detailed breakdown of how to prepare the bathtub for caulk removal:
Read more: How To Remove Old Caulking From Bathtub
Clear the Surrounding Area
Begin by clearing the surrounding area of any personal items, bath accessories, or decorative elements. This includes removing soap dishes, shower caddies, and any other items that may obstruct access to the caulked areas. Clearing the space not only provides unrestricted access to the bathtub edges but also prevents these items from coming into contact with caulk removal tools and cleaning agents.
Ventilation and Safety Measures
Ensure that the bathroom is well-ventilated to facilitate air circulation and minimize the concentration of fumes from caulk softening agents or cleaning solutions. Open windows and turn on exhaust fans to promote airflow. Additionally, donning safety goggles and gloves is crucial to protect your eyes and hands from potential debris, sharp edges, and chemical exposure during the caulk removal process.
Clean the Bathtub Surface
Thoroughly clean the bathtub surface to remove any dirt, soap scum, or mildew that may have accumulated around the caulked areas. Use a mildew-resistant cleaner and a scrub brush to effectively eliminate any lingering mold or mildew. This step not only ensures a clean working environment but also prepares the surface for the application of caulk softening agents and subsequent scraping.
Assess the Caulk Condition
Carefully inspect the condition of the existing caulk to determine its adherence to the bathtub edges and any signs of deterioration, discoloration, or mold growth. Understanding the state of the caulk will guide the selection of appropriate caulk softening agents and tools for the removal process. Additionally, identifying any areas of loose or degraded caulk will help prioritize the focus of the scraping efforts.
By diligently preparing the bathtub and its surroundings, you lay a solid foundation for the subsequent steps of caulk removal. This meticulous approach sets the stage for a methodical and efficient process, ultimately leading to a clean and rejuvenated bathtub ready for recaulking or simply showcasing a refreshed appearance.
Read more: How To Remove Mold From Bathtub Caulk
Step 2: Soften the caulk
Softening the caulk is a critical step in the process of removing old caulk from a bathtub. Over time, caulk can harden, making it challenging to scrape off without causing damage to the underlying surface. By effectively softening the caulk, you can significantly ease its removal, minimize the risk of scratches or dents on the bathtub edges, and expedite the overall process. Here's a detailed guide on how to soften the caulk with precision and efficiency:
Selecting a Caulk Softening Agent
The choice of caulk softening agent depends on the type of caulk present and the severity of its adherence to the bathtub edges. Commercial caulk removers are readily available and are specifically formulated to break down and soften stubborn caulk. Alternatively, household items such as white vinegar or isopropyl alcohol can also be effective in loosening the caulk. Consider the composition of the caulk and opt for a softening agent that complements its properties.
Application of the Softening Agent
Carefully apply the chosen caulk softening agent to the targeted areas of the old caulk. Use a brush or a small, disposable applicator to ensure precise application and minimize contact with unaffected surfaces. Allow the softening agent to penetrate the caulk for the recommended duration as per the product instructions. This dwell time is crucial for the agent to effectively break down the caulk and render it pliable for removal.
Monitoring the Softening Process
During the application of the caulk softening agent, periodically check the treated areas to assess the progress of caulk softening. Depending on the severity of the caulk adherence, you may notice visible signs of softening, such as a change in texture or slight separation from the bathtub edges. Exercise patience and avoid rushing this phase, as thorough softening is key to facilitating the subsequent scraping process.
Read more: How To Caulk Around Bathtub
Reapplication, if Necessary
In cases where the caulk proves resistant to initial softening efforts, consider reapplying the softening agent and extending the dwell time as needed. Stubborn or aged caulk may require multiple applications to achieve the desired level of softness for efficient removal. Exercise caution to avoid overexposure to the softening agent, especially if it contains potent chemicals, and follow safety guidelines provided by the product manufacturer.
By following these steps, you can effectively soften the old caulk, preparing it for the subsequent scraping process. This meticulous approach ensures that the caulk removal process progresses smoothly, with minimal risk of damage to the bathtub edges and surrounding surfaces. Softening the caulk sets the stage for the next phase of scraping, bringing you closer to achieving a clean and rejuvenated bathtub surface.
Step 3: Scrape the caulk
With the old caulk effectively softened, the next crucial step is to methodically scrape it from the bathtub edges. This process demands precision, patience, and the right tools to ensure thorough removal without causing damage to the underlying surfaces. Here's a detailed guide on how to scrape the caulk with finesse and efficiency:
-
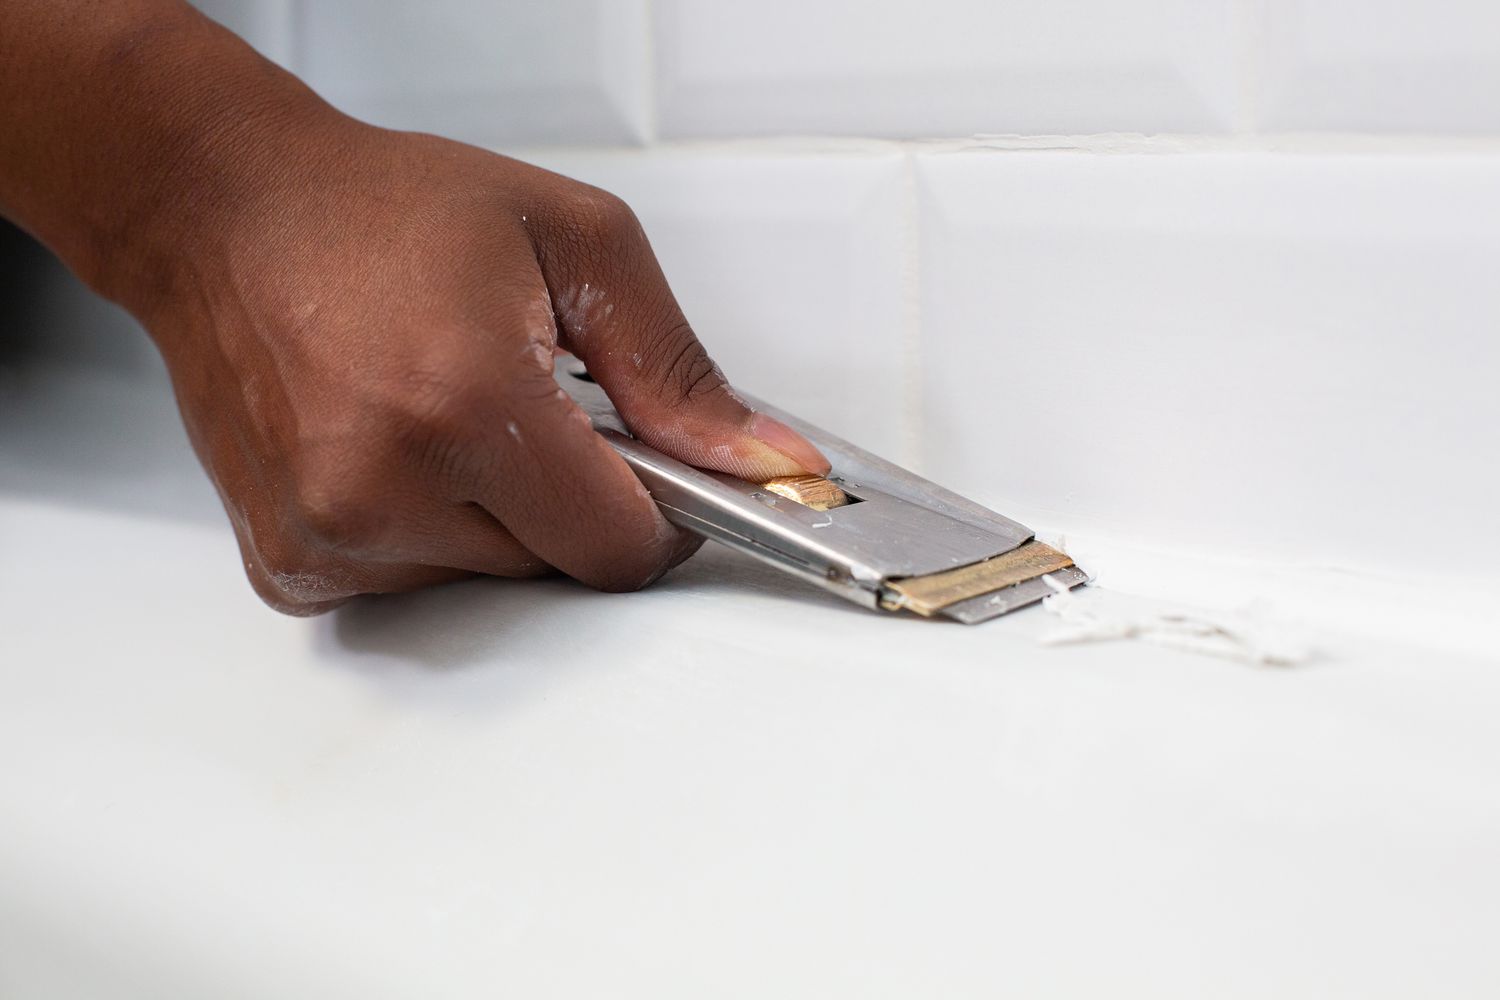
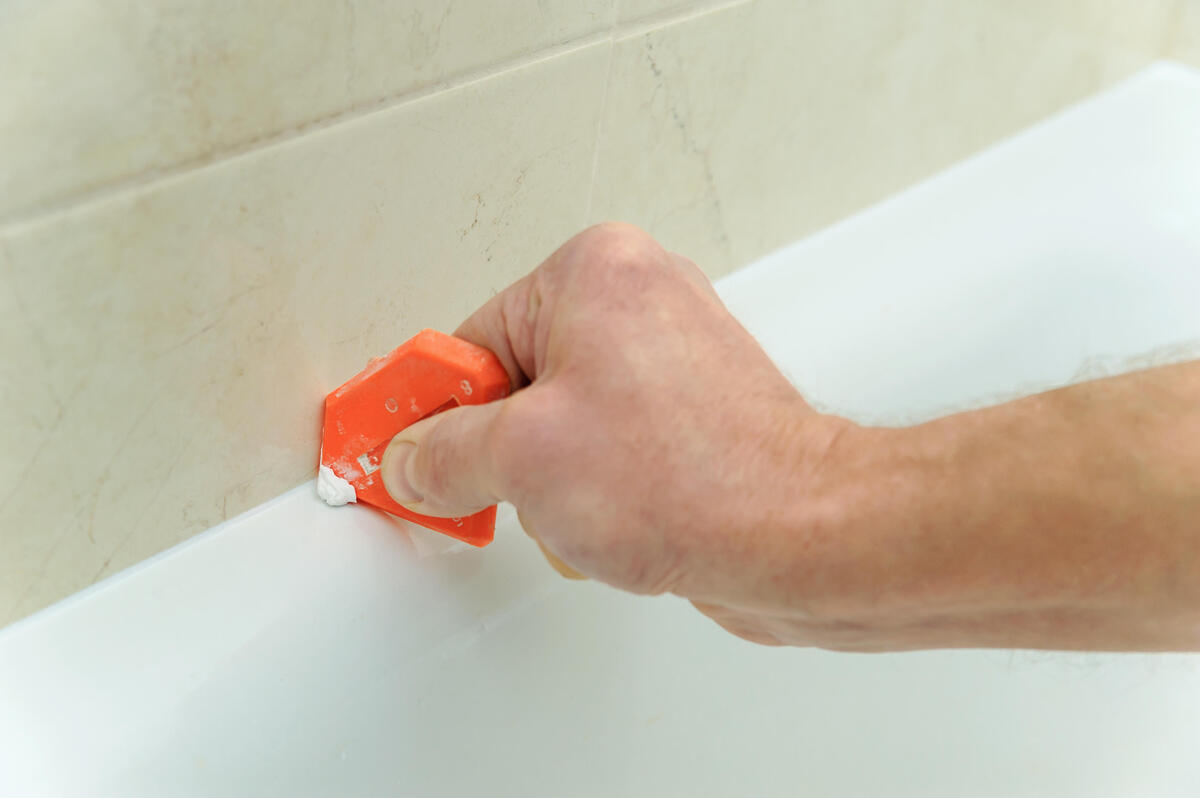
Utilize the Caulk Removal Tool: Begin by carefully positioning the caulk removal tool at a suitable angle along the softened caulk line. The sharp, angled edge of the tool enables controlled scraping, allowing you to gradually lift and separate the softened caulk from the bathtub edges. Exercise caution to avoid applying excessive force, as this may result in scratches or dents on the surface.
-
Employ the Utility Knife: In areas where the caulk remains stubborn or adhered, use a sharp utility knife to delicately cut through the remaining sections. The retractable blade provides precision, enabling you to create clean separations and facilitate the removal process. Exercise patience and attentiveness to avoid accidental slips that may damage the bathtub edges.
-
Leverage the Putty Knife: As you progress with caulk removal, a putty knife can be employed to gently pry and lift sections of the softened caulk. The flexible yet sturdy blade of the putty knife provides leverage, aiding in the controlled removal of the caulk without causing undue strain on the bathtub edges. Work methodically, focusing on small sections at a time to ensure thorough removal.
-
Thorough Inspection and Refinement: Periodically inspect the scraped areas to ensure that all remnants of the old caulk have been effectively removed. Use the caulk removal tool or utility knife to refine any remaining traces, striving for a smooth and clean surface along the bathtub edges. Exercise diligence in this phase to achieve a pristine foundation for the subsequent cleaning and recaulking, if applicable.
By following these steps and exercising precision and patience, you can effectively scrape the old caulk from the bathtub, preparing the surface for the next phase of cleaning and potential recaulking. This meticulous approach ensures that the bathtub edges are free from residual caulk, setting the stage for a refreshed and rejuvenated appearance.
Step 4: Clean the bathtub
After successfully removing the old caulk from the bathtub, the next crucial step is to thoroughly clean the surface to eliminate any residual debris, caulk remnants, and cleaning agents. This cleaning phase is essential to prepare the bathtub for the application of new caulk, ensuring optimal adhesion and a pristine finish. Here's a detailed guide on how to effectively clean the bathtub after caulk removal:
Clearing Debris and Residues
Begin by using a clean rag or paper towels to wipe away any loose debris, softened caulk remnants, and residual caulk softening agents from the bathtub edges. This initial clearing helps create a clean canvas for the subsequent cleaning process and minimizes the risk of contaminants interfering with the new caulk application.
Read more: How To Replace Bathtub Caulking
Application of Mildew-Resistant Cleaner
Prepare a mildew-resistant cleaner according to the manufacturer's instructions and apply it generously to the bathtub edges. Use a scrub brush to work the cleaner into the surface, focusing on areas where the old caulk was removed. The mildew-resistant cleaner effectively eliminates any remaining mold, mildew, or stubborn residues, ensuring a sanitized and pristine surface for the new caulk.
Rinsing and Drying
Thoroughly rinse the bathtub edges with clean water to remove the residual cleaner and any loosened debris. Ensure that all traces of the cleaning agent are completely removed to prevent any potential interference with the new caulk. Once rinsed, use a clean, dry cloth to carefully dry the bathtub edges, ensuring that no moisture remains before proceeding with the recaulking process.
Final Inspection
Conduct a meticulous inspection of the cleaned bathtub edges to ensure that they are free from any lingering debris, residues, or cleaning agents. Run your fingers along the surface to detect any imperfections or foreign particles. This final inspection is crucial to guarantee a pristine and well-prepared surface for the application of new caulk, setting the stage for a successful recaulking process.
By diligently cleaning the bathtub after caulk removal, you establish an optimal foundation for the subsequent recaulking, if desired, or simply showcase a rejuvenated and hygienic bathtub surface. This thorough cleaning process ensures that the bathtub edges are free from any remnants of the old caulk and are ready to receive a fresh application of caulk, contributing to a visually appealing and well-maintained bathroom space.
Conclusion
In conclusion, the process of scraping caulk from a bathtub is a meticulous yet rewarding endeavor that contributes to the overall cleanliness, aesthetics, and functionality of the bathroom space. By following the step-by-step guide outlined in this article, you have gained valuable insights into the essential techniques and considerations for effectively removing old caulk and preparing the bathtub for recaulking or a refreshed appearance.
Throughout this journey, you have learned the significance of thorough preparation, including clearing the surrounding area, selecting the right tools and materials, and diligently softening the caulk to facilitate its removal. The careful execution of each step, from scraping the caulk with precision to thorough cleaning, has been emphasized to ensure a successful outcome.
By meticulously preparing the bathtub, softening the caulk, methodically scraping it, and thoroughly cleaning the surface, you have set the stage for a rejuvenated and hygienic bathtub. Whether your goal is to recaulk the bathtub for a seamless finish or simply refresh its appearance, the knowledge and skills acquired through this guide empower you to maintain a pristine and inviting bathroom environment.
It's important to acknowledge the patience and attention to detail required throughout the caulk removal process. By prioritizing safety, precision, and thoroughness, you have not only revitalized the bathtub but also cultivated a sense of accomplishment and pride in maintaining your home.
As you reflect on this journey, remember that the successful removal of old caulk and the preparation for recaulking contribute to the overall well-being of your home. With a clean and rejuvenated bathtub, you have enhanced the comfort and visual appeal of your bathroom space, creating an environment that promotes relaxation and cleanliness.
Moving forward, the knowledge and skills acquired from this guide will serve as valuable assets in your ongoing home maintenance endeavors. Whether it's tackling other bathroom maintenance tasks or exploring new DIY projects, the attention to detail and methodical approach demonstrated in the caulk removal process will continue to guide you toward achieving exceptional results.
In embracing the art of caulk removal and recaulking, you have not only revitalized your bathtub but also cultivated a deeper appreciation for the care and attention that elevate the spaces we inhabit. With a rejuvenated bathtub as a testament to your dedication, you can take pride in knowing that your home reflects the warmth, cleanliness, and comfort that you strive to maintain.
Frequently Asked Questions about How To Scrape Caulk From A Bathtub
Was this page helpful?
At Storables.com, we guarantee accurate and reliable information. Our content, validated by Expert Board Contributors, is crafted following stringent Editorial Policies. We're committed to providing you with well-researched, expert-backed insights for all your informational needs.

0 thoughts on “How To Scrape Caulk From A Bathtub”