Home>Furniture & Design>Bathroom Accessories>How To Re-Caulk A Bathtub
Bathroom Accessories
How To Re-Caulk A Bathtub
Modified: March 2, 2024
Learn how to re-caulk a bathtub with our step-by-step guide. Keep your bathroom accessories in top condition with this easy DIY project.
(Many of the links in this article redirect to a specific reviewed product. Your purchase of these products through affiliate links helps to generate commission for Storables.com, at no extra cost. Learn more)
Introduction
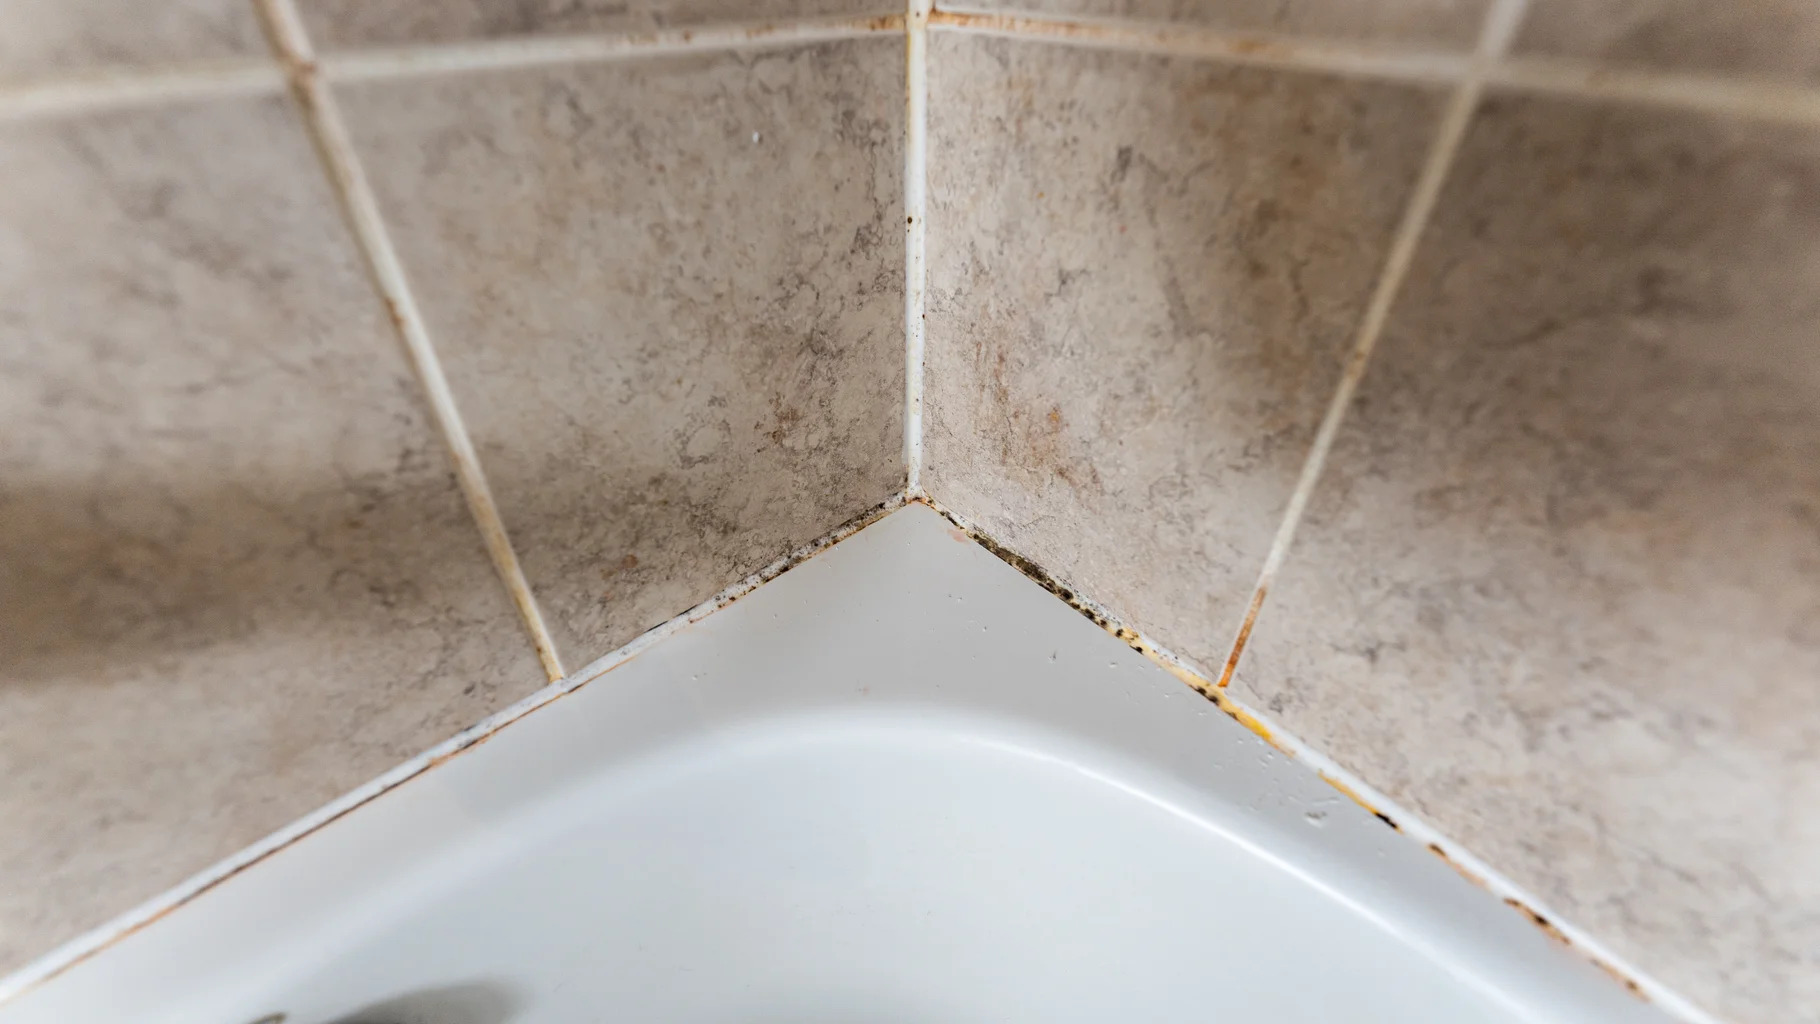
Caulking is a crucial aspect of maintaining a clean and functional bathroom. Over time, the caulk around a bathtub can deteriorate, leading to unsightly cracks and gaps that not only detract from the aesthetic appeal of the bathroom but also create potential water damage issues. Fortunately, re-caulking a bathtub is a manageable task that can be accomplished with the right tools, materials, and a bit of know-how.
In this comprehensive guide, we will walk you through the step-by-step process of re-caulking your bathtub, ensuring that you achieve a professional-looking result. From gathering the necessary tools and materials to applying the new caulk and letting it dry, each step is essential in revitalizing the appearance and functionality of your bathtub.
By following these instructions, you will not only enhance the visual appeal of your bathroom but also prevent water seepage and mold growth, ultimately prolonging the lifespan of your bathtub. So, roll up your sleeves, gather your supplies, and let's dive into the rejuvenating journey of re-caulking your bathtub.
Key Takeaways:
- Re-caulking your bathtub not only makes it look better but also protects it from water damage and mold, ensuring a longer lifespan for your bathroom.
- By following the steps in this guide, you can transform your bathtub, showcasing your dedication to maintaining a clean and functional home.
Read more: How To Replace Bathtub Caulking
Step 1: Gather the necessary tools and materials
Before embarking on the re-caulking journey, it's essential to ensure that you have all the required tools and materials at your disposal. Here's a comprehensive list to set you up for success:
Tools:
- Caulk removal tool: This handy tool will assist in effectively removing the old caulk without damaging the surrounding surfaces.
- Razor blade or putty knife: Use this to carefully scrape off any stubborn remnants of the old caulk.
- Caulk gun: An essential tool for applying the new caulk evenly and with precision.
- Rubbing alcohol: This will be used to thoroughly clean the area before applying the new caulk.
- Clean rags or paper towels: These will come in handy for wiping down the bathtub and ensuring a clean surface for the new caulk.
Materials:
- High-quality caulk: Opt for a waterproof caulk specifically designed for bathroom use to ensure durability and resistance to mold and mildew.
- Painter's tape: Use this to mask off the areas surrounding the bathtub, such as the walls and the floor, to achieve clean and straight caulk lines.
- Caulk softener: If the old caulk proves to be particularly stubborn, a caulk softener can help loosen it for easier removal.
- Latex gloves: Protect your hands from the caulk and cleaning agents during the process.
- Respirator mask: While applying the caulk and cleaning agents, it's important to prioritize safety by using a respirator mask to prevent inhalation of fumes.
By ensuring that you have all these tools and materials on hand, you'll be well-prepared to tackle the re-caulking process with confidence and efficiency. With everything in place, you're ready to move on to the next step of removing the old caulk and preparing the bathtub for a fresh application.
Step 2: Remove the old caulk
Removing the old caulk is a crucial first step in the re-caulking process, as it sets the foundation for a clean and effective application of the new caulk. Here's a detailed guide on how to effectively remove the old caulk from your bathtub:
-
Prepare the Surface: Before diving into the caulk removal process, it's essential to ensure that the bathtub surface is clean and dry. This will facilitate better access to the old caulk and prevent any interference during the removal process.
-
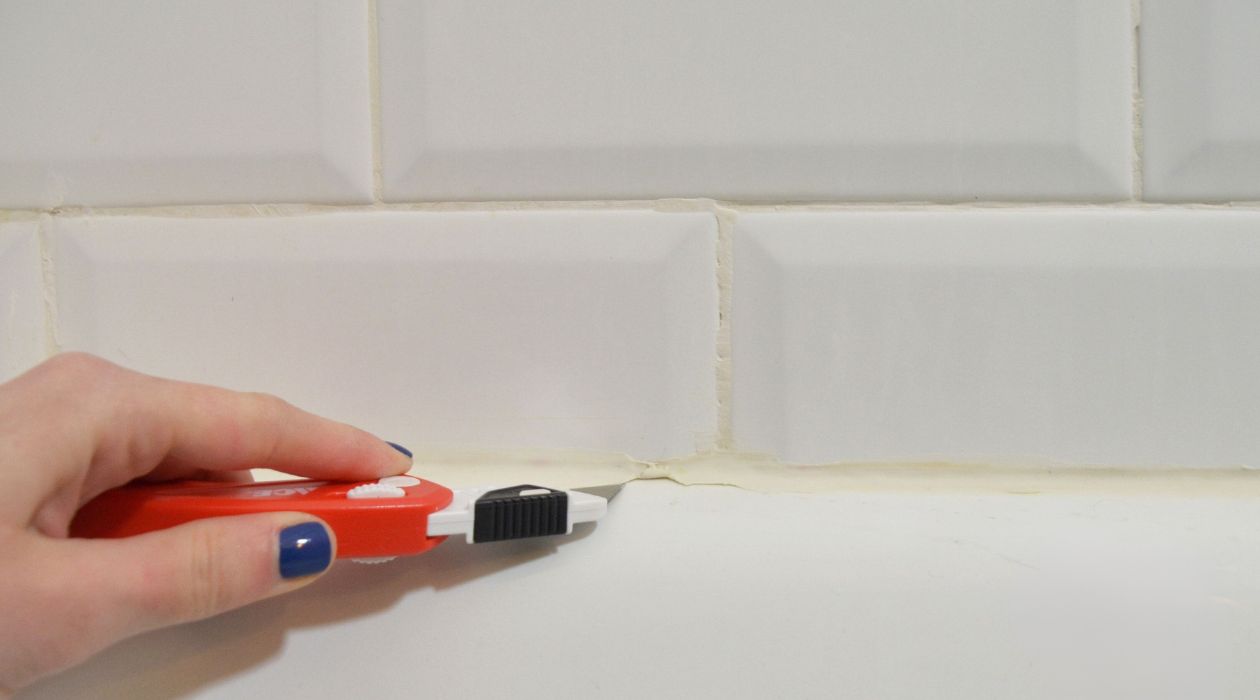
Utilize a Caulk Removal Tool: A caulk removal tool, also known as a caulk remover or caulk softener, is a valuable asset in loosening and softening the old caulk. Apply the caulk softener according to the manufacturer's instructions, allowing it to penetrate and weaken the old caulk for easier removal.
-
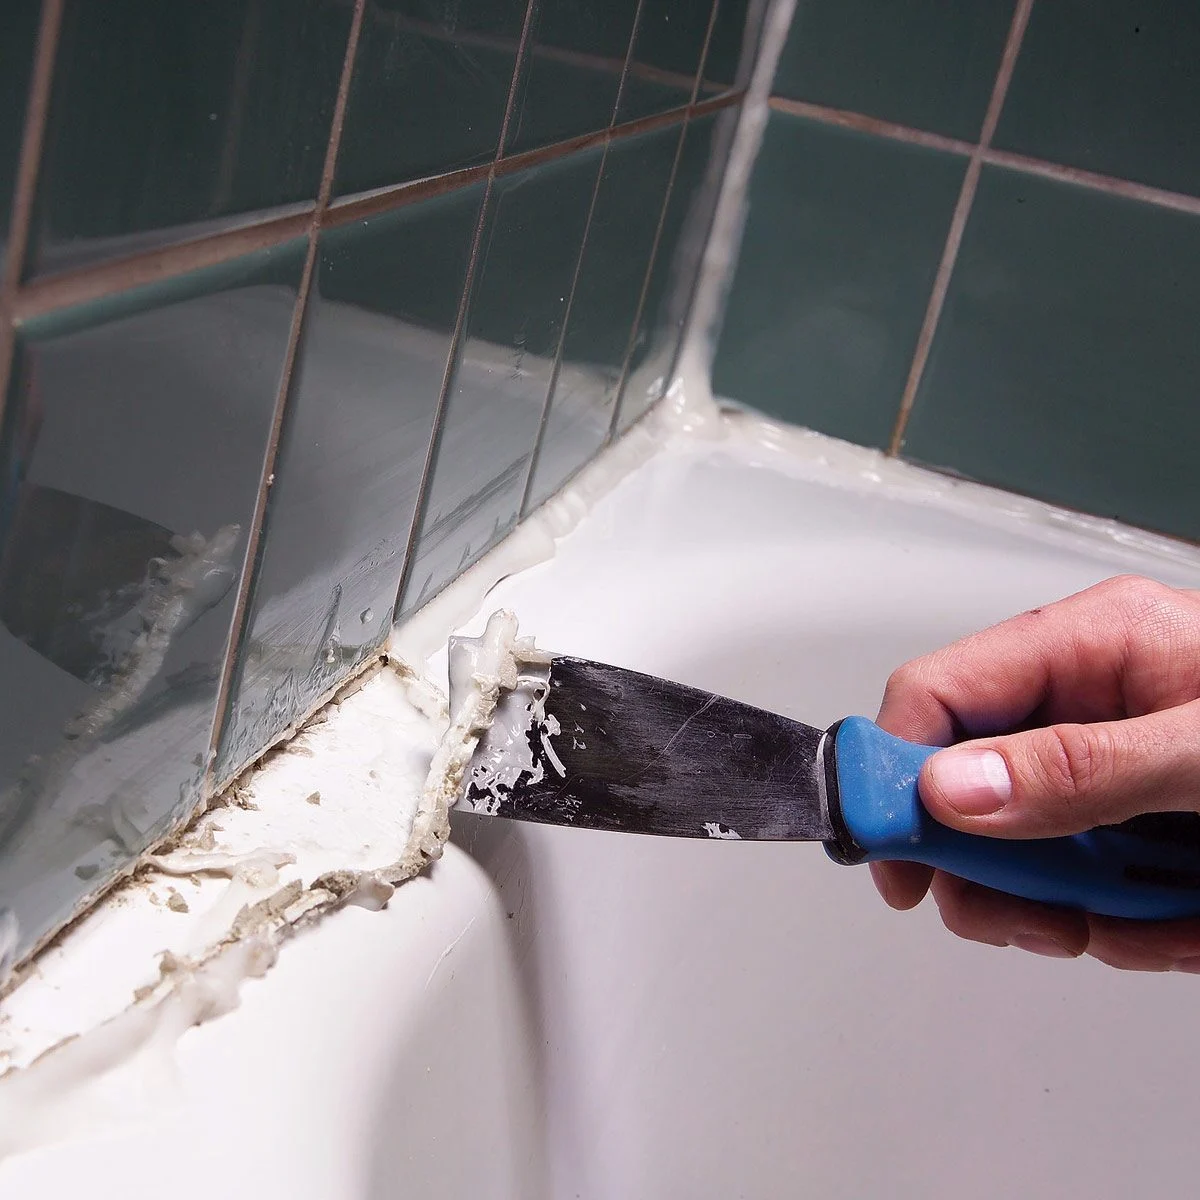
Carefully Remove the Old Caulk: Once the old caulk has been adequately softened, use the caulk removal tool to gently pry and lift the caulk from the edges. Exercise caution to avoid damaging the surrounding surfaces, and work methodically to ensure thorough removal.
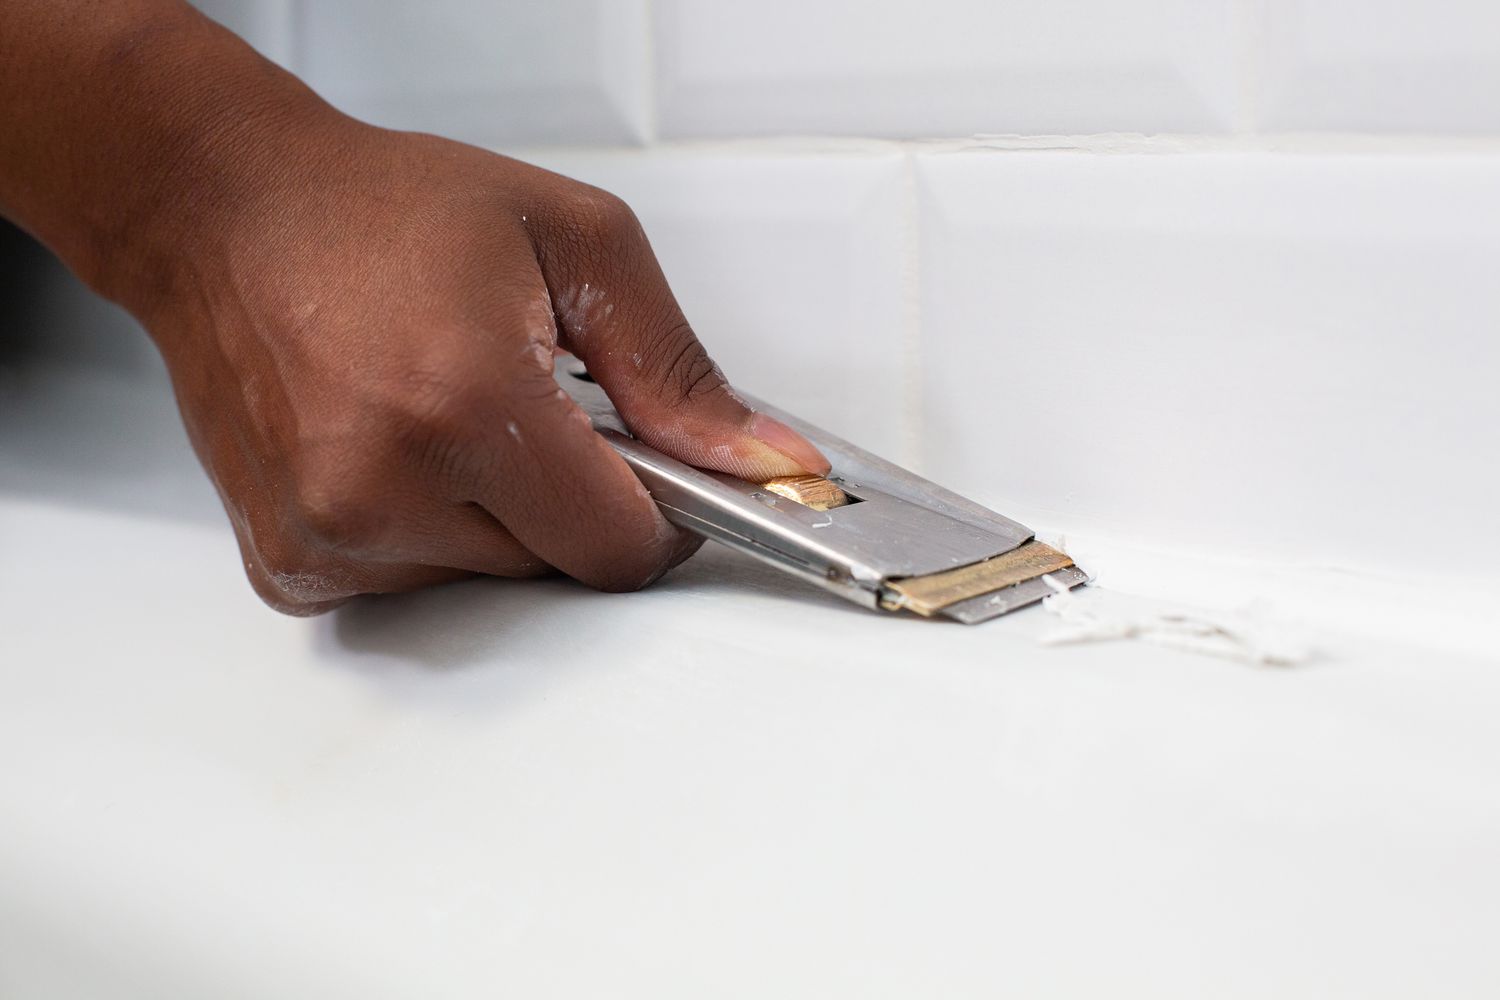
-
Scrape Off Residual Caulk: After the bulk of the old caulk has been removed, utilize a razor blade or putty knife to carefully scrape off any residual caulk that may be clinging to the bathtub or the adjacent surfaces. Take care not to scratch or damage the bathtub finish during this process.
-
Clean the Area: Once all the old caulk has been removed, use rubbing alcohol and clean rags or paper towels to thoroughly clean the exposed edges and surrounding areas. This step is crucial in preparing the surface for the application of the new caulk, ensuring optimal adhesion and a clean, professional finish.
By meticulously following these steps, you can effectively remove the old caulk from your bathtub, setting the stage for a successful re-caulking endeavor. With the old caulk out of the way, you're now ready to move on to the next phase of the process: cleaning the area in preparation for the application of the new caulk.
Read more: How To Caulk Around Bathtub
Step 3: Clean the area
After successfully removing the old caulk, the next critical step in re-caulking your bathtub is to thoroughly clean the area. This pivotal phase ensures that the surface is free from any residue, dirt, or moisture, setting the stage for optimal adhesion and a professional finish for the new caulk.
To begin the cleaning process, start by inspecting the exposed edges and surrounding areas for any remnants of the old caulk or debris. Utilize a clean rag or paper towel to wipe down the entire surface, ensuring that it is dry and free from any loose particles. This meticulous approach will create a clean canvas for the new caulk, promoting better adhesion and a seamless appearance.
Next, take a small amount of rubbing alcohol and apply it to a clean rag or paper towel. Gently wipe down the edges of the bathtub, focusing on the areas where the old caulk was removed. The rubbing alcohol serves as an effective solvent, removing any lingering traces of grease, grime, or caulk residue. This step is crucial in preparing the surface for the new caulk, as it ensures that the area is clean and ready for the application.
Once the edges have been thoroughly cleaned with rubbing alcohol, allow the surface to air dry for a few minutes. This brief waiting period allows any residual moisture from the cleaning process to evaporate, ensuring that the surface is completely dry before proceeding with the application of the new caulk.
In addition to cleaning the bathtub surface, it's essential to inspect the surrounding areas, such as the walls and the floor, for any stray caulk or debris. Use a vacuum cleaner or a damp cloth to remove any dust or particles that may have accumulated during the caulk removal process. This comprehensive cleaning approach ensures that the entire area is primed for the new caulk, promoting a professional and polished result.
By meticulously cleaning the area, you are not only preparing the surface for the new caulk but also setting the stage for a visually appealing and long-lasting finish. With the area now clean and dry, you are ready to proceed to the next step: applying the new caulk to rejuvenate your bathtub and elevate the overall aesthetic of your bathroom.
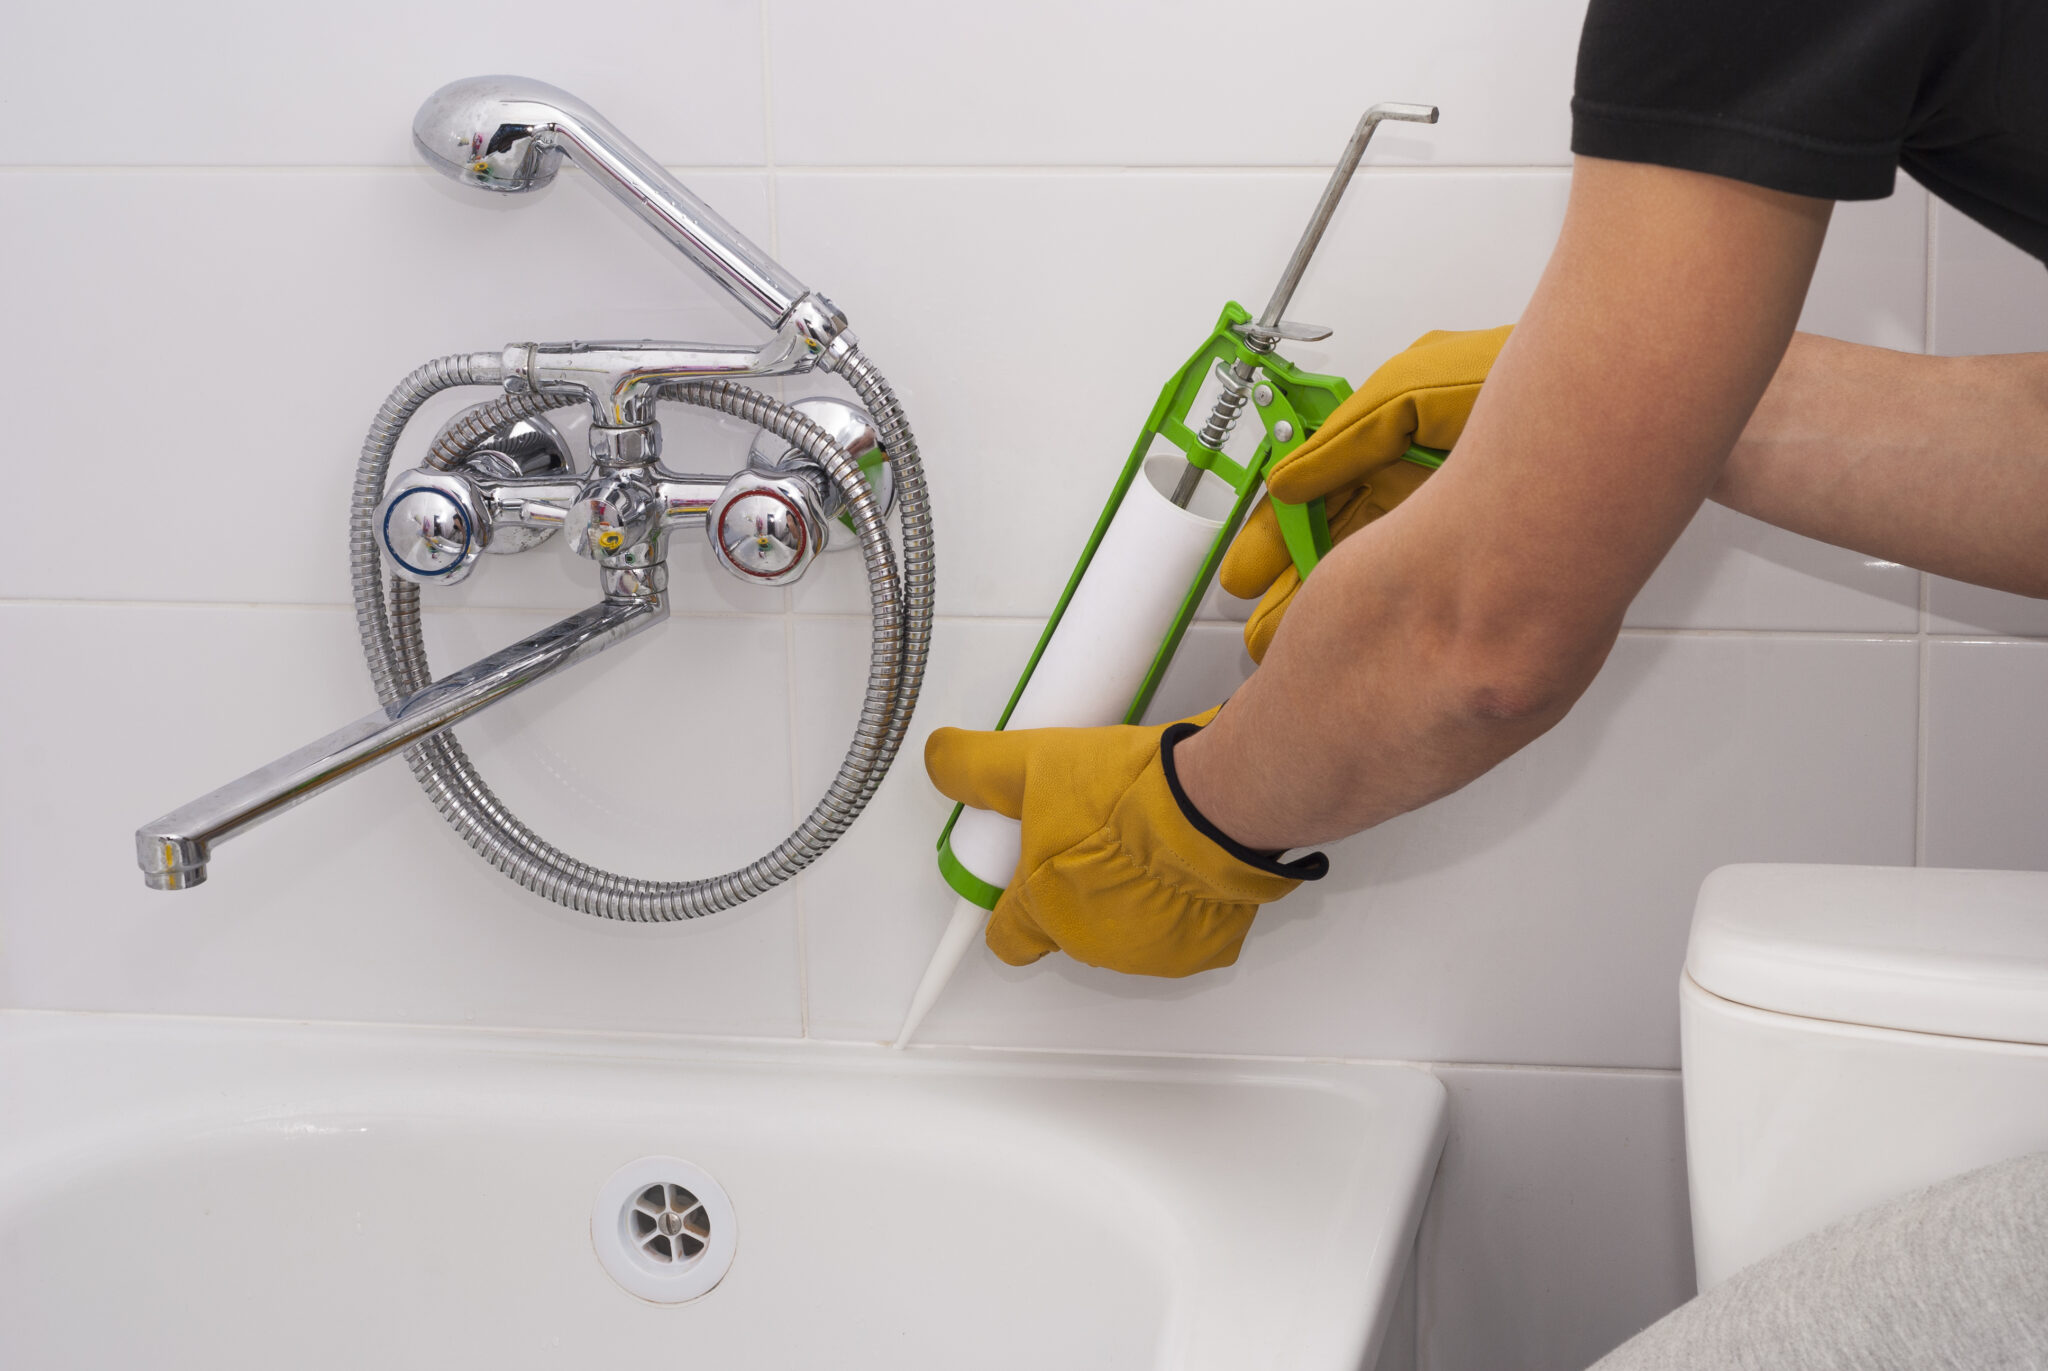
Step 4: Apply the new caulk
With the old caulk removed and the area meticulously cleaned, it's time to embark on the transformative process of applying the new caulk to your bathtub. This step is pivotal in not only restoring the visual appeal of the bathtub but also ensuring its functionality by sealing potential water entry points. Here's a detailed guide on how to effectively apply the new caulk:
-
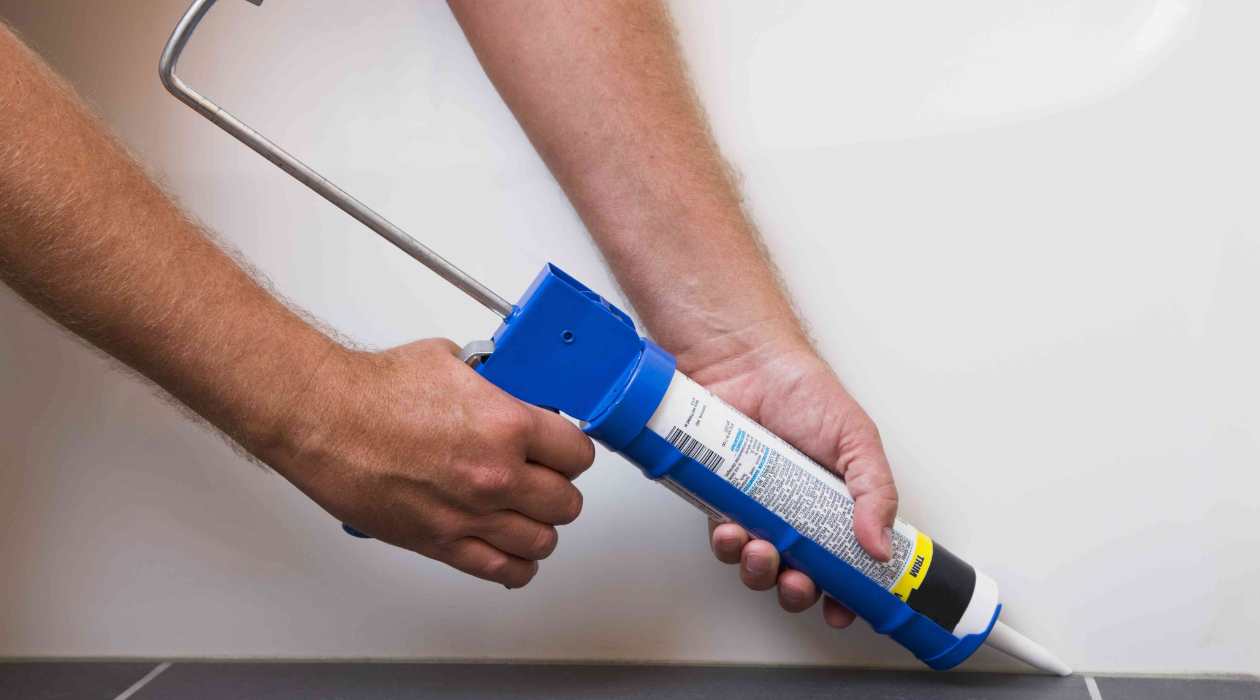
Prepare the Caulk Gun: Load the caulk gun with the high-quality caulk, ensuring that the nozzle is cut at a 45-degree angle to facilitate smooth and precise application. It's essential to start with a small opening at the tip of the caulk tube, as you can always increase the size if necessary.
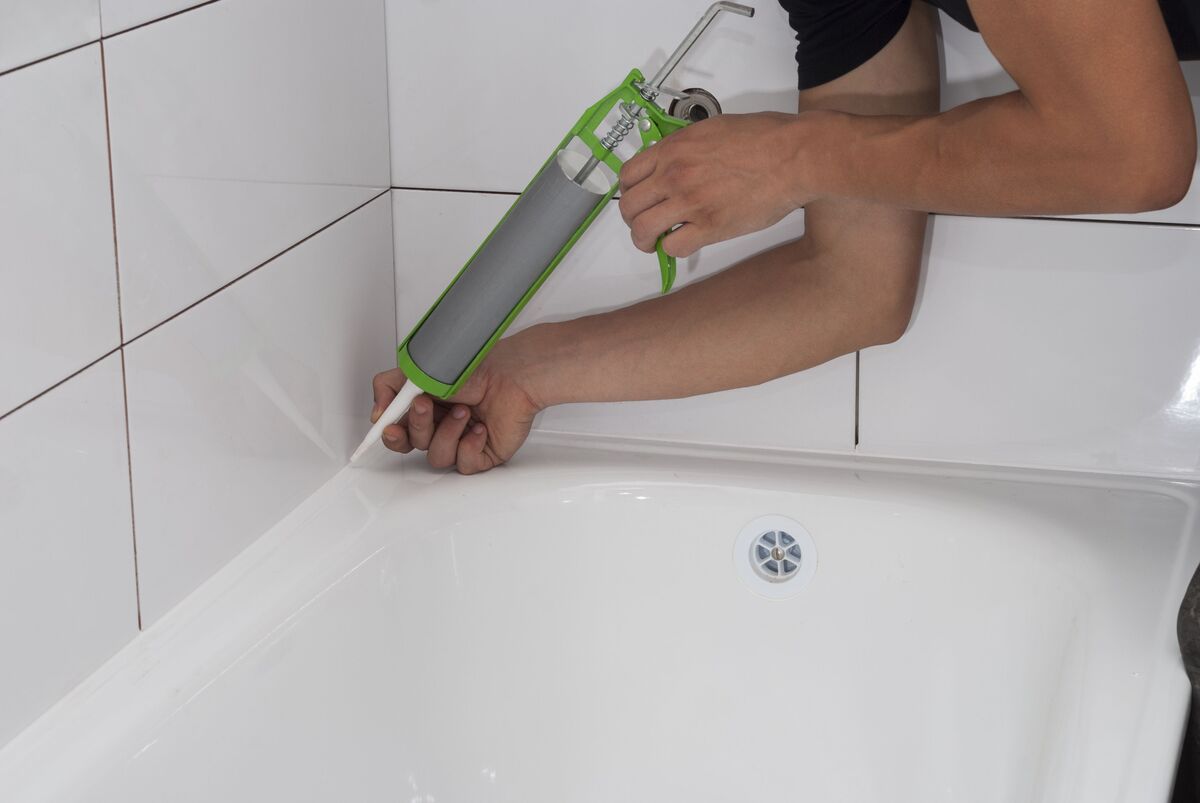
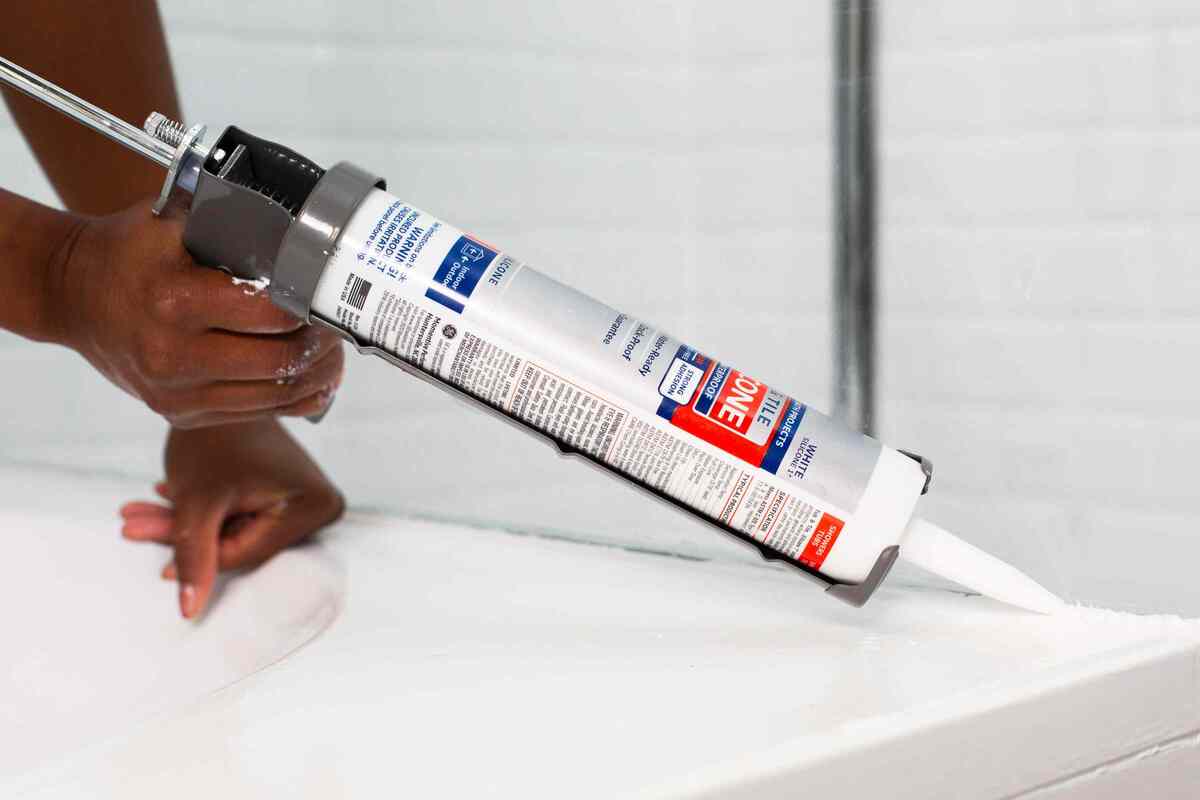
-
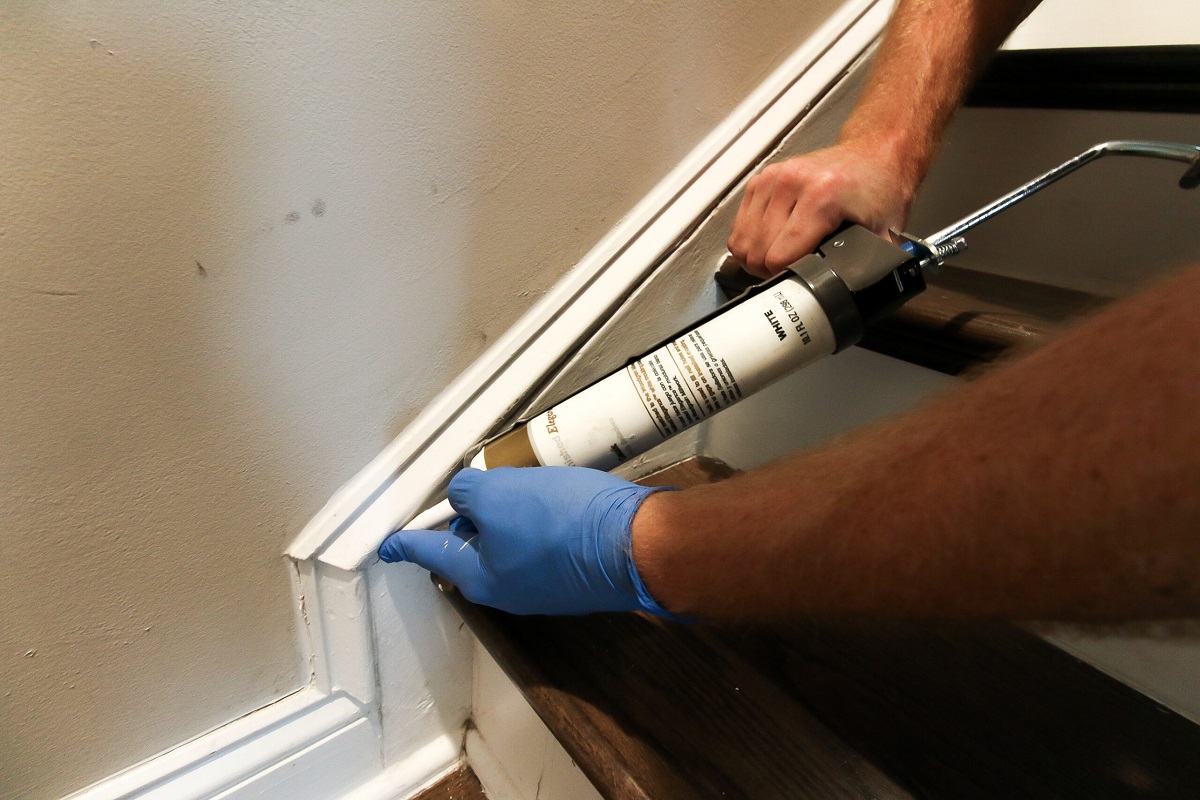
Apply the Caulk: Starting at one end of the bathtub, gently squeeze the caulk gun trigger to dispense a steady bead of caulk along the seam. Maintain a consistent pressure and pace to ensure an even application. As you move along the seam, aim for a continuous and uniform line of caulk, avoiding any breaks or inconsistencies.
-
Smooth the Caulk: Once the caulk has been applied along the entire seam, dampen your finger with water and carefully run it along the freshly applied caulk. This technique helps to smooth out the caulk and create a clean, professional finish. Alternatively, you can use a caulk finishing tool to achieve a similar result.
-
Remove Excess Caulk: As you smooth out the caulk, keep a clean rag or paper towel handy to wipe off any excess caulk that may accumulate on your finger or the surrounding surfaces. This meticulous approach ensures that the caulk is neatly confined to the seam, without any unsightly smudges or spills.
-
Reapply Painter's Tape: If you used painter's tape to mask off the surrounding areas, carefully remove it immediately after smoothing the caulk. This prevents the tape from adhering to the caulk and ensures clean, straight lines.
By following these steps, you can effectively apply the new caulk to your bathtub, revitalizing its appearance and reinforcing its functionality. With the fresh caulk seamlessly integrated along the seam, your bathtub will exude a renewed sense of cleanliness and aesthetic appeal. Now, as the new caulk sets and dries, you're one step closer to enjoying a rejuvenated bathtub that enhances the overall ambiance of your bathroom.
Step 5: Smooth out the caulk
After applying the new caulk along the seam of the bathtub, the next crucial step is to ensure that the caulk is smoothed out to achieve a clean and professional finish. This process not only enhances the visual appeal of the bathtub but also contributes to the overall effectiveness of the caulk in sealing potential water entry points. Here's a detailed guide on how to effectively smooth out the caulk:
1. Prepare for Smoothing:
Before beginning the smoothing process, ensure that you have a small container of water and a clean rag or paper towels at hand. Dampening your finger with water will facilitate the smoothing process and prevent the caulk from sticking to your skin.
Read more: How To Re Enamel A Bathtub
2. Use Your Finger or a Caulk Finishing Tool:
Dip your finger into the container of water to lightly moisten it. Then, gently run your damp finger along the freshly applied caulk, exerting even pressure to create a smooth and uniform finish. Alternatively, if you prefer to use a caulk finishing tool, select a tool with a curved edge that matches the shape of the seam. Glide the tool along the caulk, ensuring that it effectively smooths out any ridges or uneven areas.
3. Maintain a Consistent Motion:
Whether using your finger or a caulk finishing tool, it's essential to maintain a consistent motion along the entire length of the caulk seam. This approach ensures that the caulk is uniformly smoothed out, creating a seamless and visually appealing result. Take your time and pay attention to detail to achieve the desired finish.
4. Wipe Off Excess Caulk:
As you smooth out the caulk, periodically wipe off any excess caulk that accumulates on your finger or the surrounding surfaces. This meticulous approach prevents any unsightly smudges or spills, resulting in a clean and polished appearance along the seam.
5. Inspect the Finish:
Once the caulk has been smoothed out, take a step back and inspect the finish along the seam. Look for any areas that may require additional smoothing or touch-ups. Address any imperfections promptly to ensure a consistently professional result.
By following these steps, you can effectively smooth out the caulk along the seam of your bathtub, elevating its visual appeal and reinforcing its functionality. With the caulk seamlessly integrated and smoothed to perfection, your bathtub will exude a renewed sense of cleanliness and aesthetic charm. Now, as the new caulk sets and dries, you're one step closer to enjoying a rejuvenated bathtub that enhances the overall ambiance of your bathroom.
Read more: How To Do Caulking In The Bathtub
Step 6: Let the caulk dry
After meticulously applying and smoothing out the new caulk along the seam of your bathtub, it's crucial to allow sufficient time for the caulk to dry and set. This phase is essential in ensuring that the caulk forms a durable and watertight seal, effectively preventing moisture from seeping into the surrounding areas and maintaining the integrity of the bathtub. Here's a detailed guide on the importance of letting the caulk dry and the best practices to follow during this critical stage.
Importance of Drying Time:
The drying time for caulk can vary depending on factors such as humidity, temperature, and the type of caulk used. It's essential to refer to the manufacturer's instructions for specific guidance on drying times. Allowing the caulk to dry thoroughly is crucial in ensuring that it achieves maximum adhesion and forms a resilient barrier against water and moisture. Rushing this phase can compromise the effectiveness of the caulk, leading to potential issues in the future.
Optimal Conditions for Drying:
To facilitate the drying process, it's advisable to maintain optimal conditions in the bathroom. Ensure that the area is well-ventilated to promote air circulation, which aids in the evaporation of moisture from the caulk. If possible, refrain from using the bathtub during the drying period to prevent any disturbances to the freshly applied caulk. Additionally, maintaining a consistent room temperature can contribute to the efficient drying of the caulk.
Monitoring the Drying Progress:
As the caulk begins to dry, it's essential to monitor its progress to ensure that it is setting as expected. Look for changes in the caulk's appearance, such as a shift from a wet to a matte finish, which indicates that the drying process is underway. Avoid touching or disturbing the caulk during this phase to prevent any disruptions that may compromise its integrity.
Read more: What Type Of Caulk For Bathtub
Patience is Key:
Patience is paramount during the drying phase, as allowing the caulk ample time to dry will yield long-lasting and effective results. While it may be tempting to use the bathtub soon after applying the caulk, exercising patience and allowing the recommended drying time will ultimately contribute to the durability and effectiveness of the seal.
By adhering to these best practices and allowing the caulk to dry thoroughly, you are ensuring that your bathtub receives the full benefits of the re-caulking process. Once the caulk has completely dried and set, you can confidently enjoy a revitalized bathtub that not only enhances the aesthetic appeal of your bathroom but also provides long-term protection against water damage and moisture intrusion.
Conclusion
In conclusion, the process of re-caulking a bathtub is a transformative endeavor that goes beyond mere aesthetics. By following the comprehensive steps outlined in this guide, you have embarked on a journey to rejuvenate your bathtub and elevate the overall ambiance of your bathroom. From gathering the necessary tools and materials to meticulously applying and smoothing out the new caulk, each step has been instrumental in revitalizing the appearance and functionality of your bathtub.
As you reflect on the re-caulking process, it's important to recognize the multifaceted benefits it brings to your bathroom. Beyond the immediate visual impact of a clean and seamlessly caulked bathtub, the re-caulking endeavor contributes to the long-term maintenance and preservation of your bathroom space. By sealing potential water entry points and preventing moisture intrusion, the new caulk serves as a protective barrier, safeguarding the integrity of the bathtub and the surrounding areas.
Furthermore, the re-caulking process embodies a sense of care and attention to detail, reflecting your commitment to maintaining a clean and functional bathroom environment. The thorough cleaning, precise application, and patient waiting for the caulk to dry exemplify the dedication to achieving a professional result that enhances the overall appeal of your home.
As you admire the rejuvenated appearance of your bathtub, take pride in the fact that you have not only revitalized a key fixture in your bathroom but also contributed to the longevity of your home's infrastructure. The re-caulking process is a testament to the proactive approach to home maintenance, ensuring that your bathroom remains a welcoming and hygienic space for years to come.
In essence, the re-caulking journey is a testament to the transformative power of small yet impactful home improvement projects. By investing time and effort into maintaining and enhancing your living space, you are creating a comfortable and aesthetically pleasing environment that reflects your care and attention to detail.
So, as you revel in the revitalized beauty of your bathtub, take pride in the accomplishment of successfully re-caulking it. Your dedication to this process not only elevates the visual appeal of your bathroom but also contributes to the overall well-being of your home. With a freshly caulked bathtub, you can now enjoy a renewed sense of comfort and satisfaction, knowing that you have taken proactive steps to maintain and enhance your living space.
Frequently Asked Questions about How To Re-Caulk A Bathtub
Was this page helpful?
At Storables.com, we guarantee accurate and reliable information. Our content, validated by Expert Board Contributors, is crafted following stringent Editorial Policies. We're committed to providing you with well-researched, expert-backed insights for all your informational needs.


0 thoughts on “How To Re-Caulk A Bathtub”