Home>Furniture & Design>Bathroom Accessories>How To Securely Attach A Shower Caddy To The Wall

Bathroom Accessories
How To Securely Attach A Shower Caddy To The Wall
Modified: October 18, 2024
Learn how to securely attach a shower caddy to the wall with our expert tips. Find the best bathroom accessories for your needs.
(Many of the links in this article redirect to a specific reviewed product. Your purchase of these products through affiliate links helps to generate commission for Storables.com, at no extra cost. Learn more)
Introduction
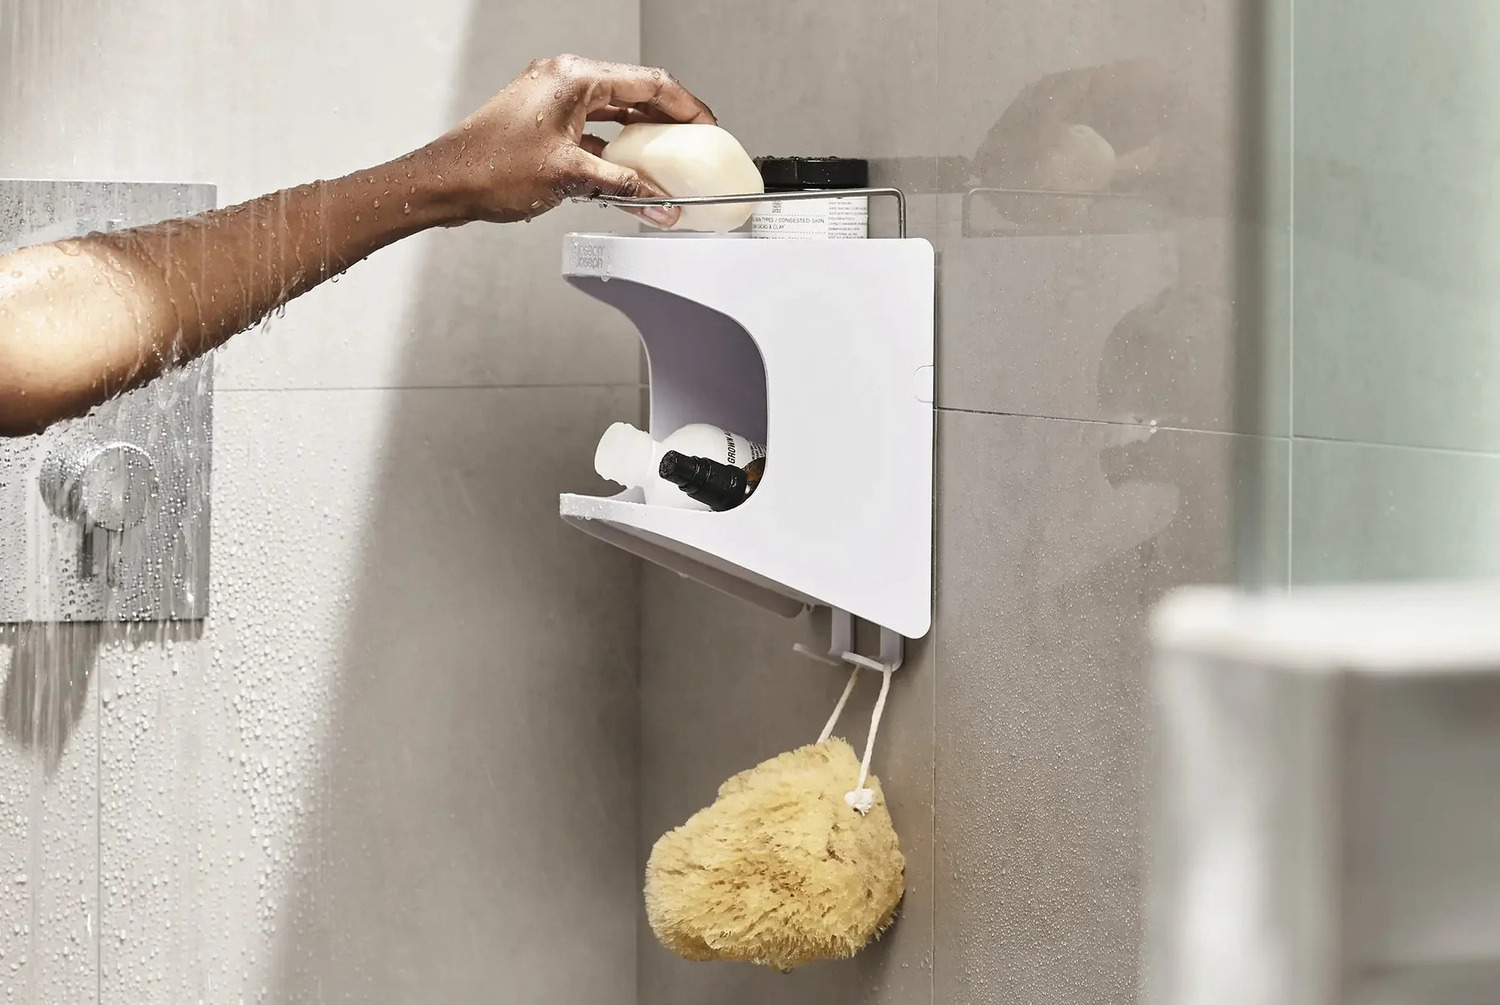
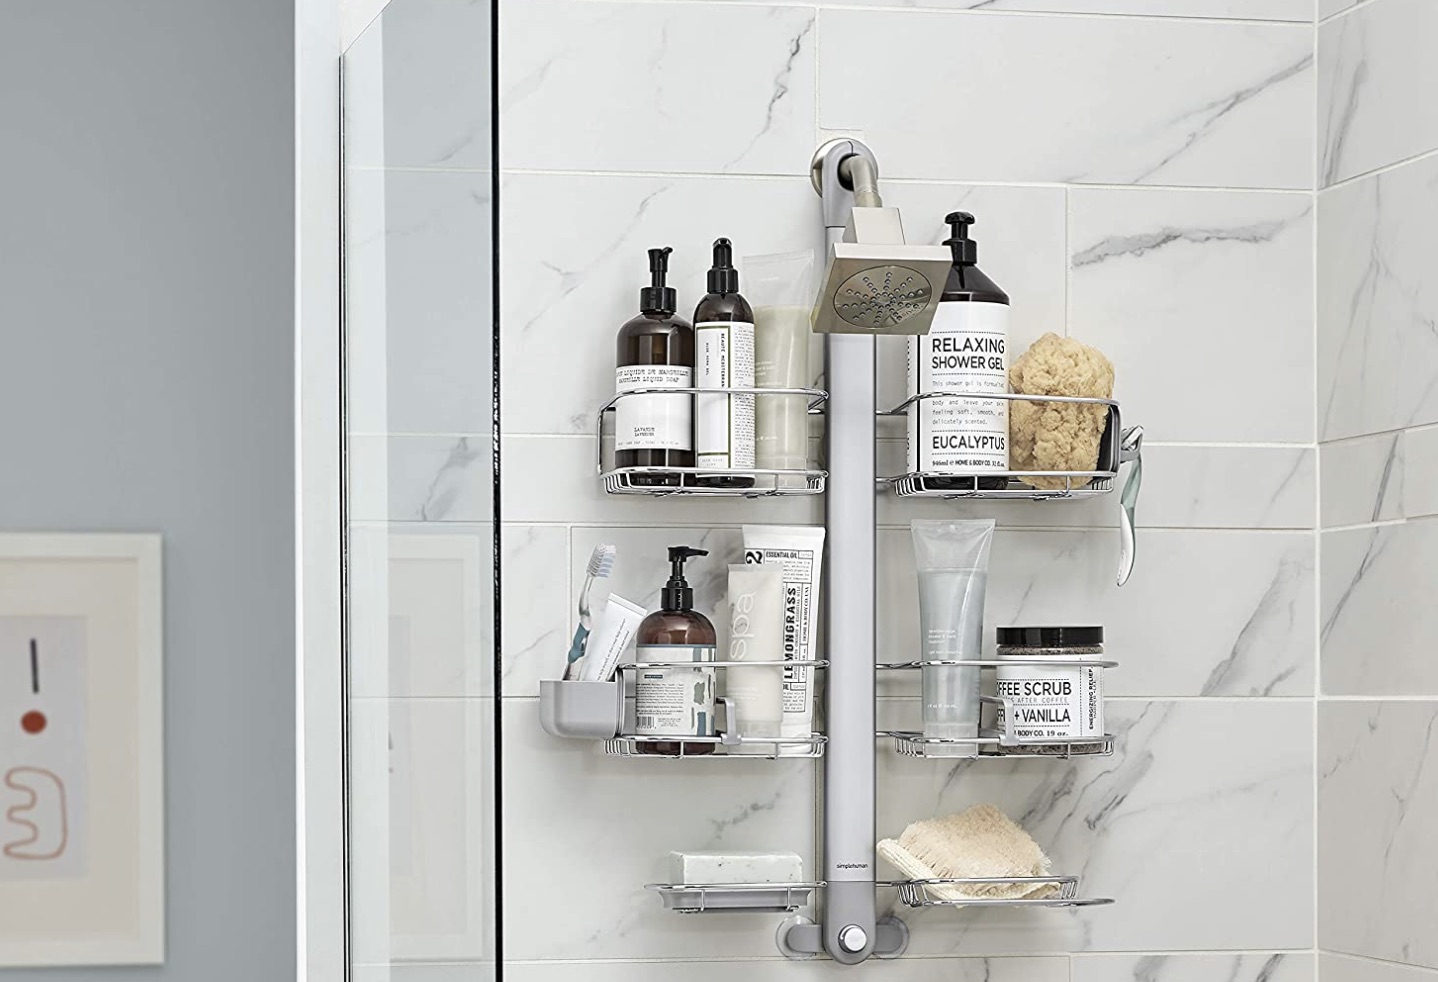
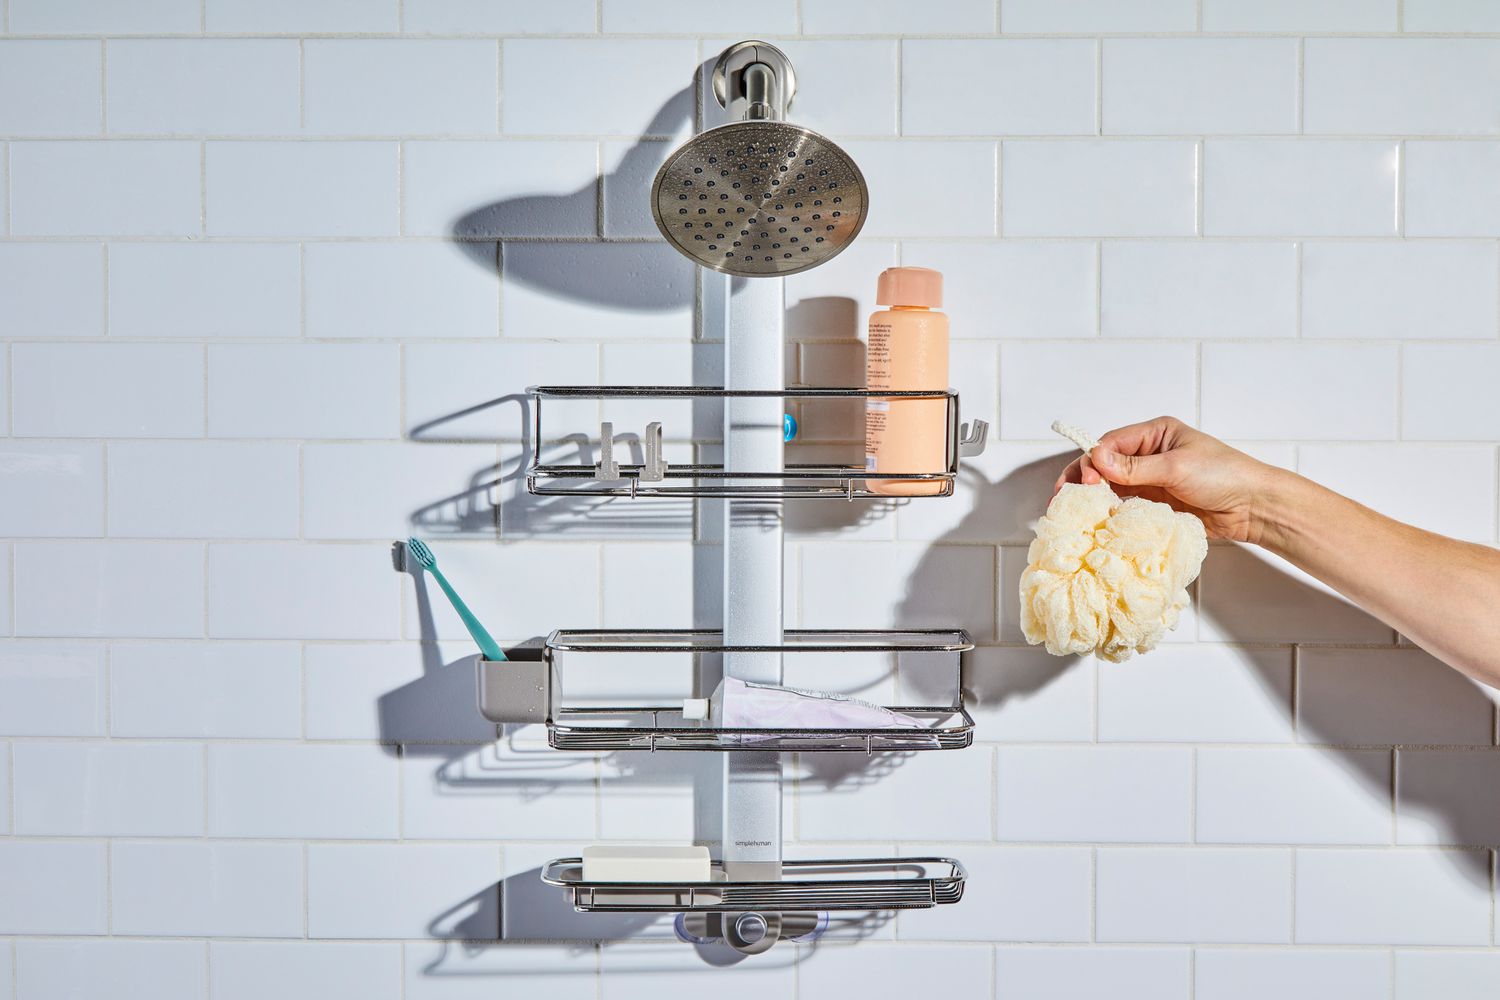
When it comes to optimizing your bathroom space, a shower caddy can be a game-changer. This simple yet functional accessory provides a convenient storage solution for all your shower essentials, keeping them within easy reach while maintaining a clutter-free environment. However, to fully benefit from a shower caddy, it's crucial to ensure that it is securely attached to the wall. This not only prevents accidents but also prolongs the lifespan of the caddy and protects your bathroom tiles from potential damage.
In this comprehensive guide, we will walk you through the step-by-step process of securely attaching a shower caddy to the wall. Whether you're a seasoned DIY enthusiast or a novice in home improvement projects, this tutorial will equip you with the knowledge and confidence to complete the task with ease. By following these instructions and utilizing the right tools and materials, you can achieve a sturdy and reliable installation that will stand the test of time.
From selecting the ideal location for your shower caddy to preparing the wall surface and installing the mounting hardware, each step is crucial in ensuring a successful outcome. We will also cover the process of attaching the shower caddy to the wall and conducting stability tests to guarantee a secure fit. By the end of this guide, you will have the expertise to execute this project flawlessly, enhancing both the functionality and aesthetics of your bathroom space.
So, roll up your sleeves, gather your tools, and let's embark on this journey to transform your shower experience. With the right approach and attention to detail, you'll soon be enjoying the convenience and organization that a securely attached shower caddy brings to your daily routine. Let's dive into the first step: gathering the necessary tools and materials.
Key Takeaways:
- Securely attaching a shower caddy to the wall requires gathering tools, choosing the right location, preparing the wall, installing mounting hardware, and testing stability for a convenient and organized shower space.
- By following step-by-step instructions, you can confidently install a shower caddy, enhancing your bathroom’s functionality and aesthetics while gaining valuable DIY skills for future projects.
Read more: How To Hang A Shower Caddy On The Wall
Step 1: Gather the necessary tools and materials
Before embarking on the installation process, it's essential to gather all the required tools and materials to ensure a smooth and efficient workflow. Here's a comprehensive list of items you'll need:
Tools:
- Measuring Tape: Accurately measure the dimensions of the shower caddy and the designated wall space to determine the ideal placement.
- Pencil: Use a pencil to mark the precise locations for drilling and mounting the hardware.
- Level: Ensures that the shower caddy is installed evenly and straight, preventing any slanted or uneven positioning.
- Power Drill: A reliable power drill equipped with the appropriate drill bits for the wall surface is essential for creating holes for the mounting hardware.
- Screwdriver: Depending on the type of screws included with the shower caddy, a screwdriver or screwdriver bit for the power drill will be necessary for securing the mounting hardware.
- Stud Finder (Optional): If you plan to attach the shower caddy to a stud in the wall for added stability, a stud finder can help locate the studs behind the wall surface.
Materials:
- Shower Caddy: Select a high-quality shower caddy that suits your storage needs and complements the aesthetics of your bathroom.
- Mounting Hardware: This typically includes screws, wall anchors, or brackets provided with the shower caddy for attaching it to the wall.
- Wall Anchors (If Needed): If the wall surface is not suitable for directly screwing in the mounting hardware, wall anchors may be necessary to provide a secure attachment point.
- Screws: Ensure that the screws are of the appropriate size and type for the wall material and the mounting hardware.
- Safety Goggles: Protect your eyes during the drilling and installation process by wearing safety goggles.
By assembling these tools and materials, you'll be well-prepared to proceed with the subsequent steps of choosing the right location for the shower caddy and preparing the wall surface. This proactive approach sets the stage for a successful installation, ensuring that you have everything you need at your fingertips to complete the project effectively. Now that you have gathered the necessary tools and materials, let's move on to the next step: choosing the right location for the shower caddy.
Step 2: Choose the right location for the shower caddy
Selecting the optimal location for your shower caddy is a critical decision that directly impacts its functionality and visual appeal. Before marking any spots on the wall, it's essential to consider several factors to ensure a well-informed choice.
First and foremost, assess the layout of your shower area to identify the most convenient and accessible position for the caddy. Ideally, it should be within arm's reach from the showering space, allowing easy access to toiletries and shower essentials without causing any inconvenience during use. Additionally, consider the height at which the caddy will be installed, ensuring that it accommodates the items you intend to store while maintaining a comfortable reach for all household members.
Furthermore, take into account the type of wall surface where the caddy will be mounted. If the shower area features tiles, it's crucial to verify the condition of the tiles and ensure they are firmly secured. Choosing a location where the tiles are in good condition and free from cracks or damage will provide a stable foundation for the caddy's attachment. In the absence of suitable tile surfaces, consider alternative mounting options such as attaching the caddy to the adjacent wall or investing in wall anchors for added support.
Aesthetics also play a significant role in the location selection process. The chosen spot should harmonize with the overall design and layout of the bathroom, complementing the existing fixtures and enhancing the visual appeal of the space. By integrating the caddy seamlessly into the bathroom's aesthetic, you can achieve a cohesive and polished look that elevates the ambiance of the shower area.
Moreover, take note of any potential obstructions or interferences that may affect the installation or usage of the shower caddy. Avoid placing it in areas prone to water splashes or direct exposure to the shower stream, as this can lead to premature wear and corrosion. Additionally, steer clear of locations that obstruct the movement within the shower or create clutter in the surrounding space.
By carefully considering these aspects, you can confidently pinpoint the perfect location for your shower caddy, ensuring that it enhances both the practicality and visual appeal of your bathroom. With the ideal spot identified, you're ready to proceed to the next step: preparing the wall surface for the secure attachment of the shower caddy.
Read more: What Is A Shower Caddy
Step 3: Prepare the wall surface
Preparing the wall surface is a crucial step in ensuring the secure attachment of your shower caddy. By taking the time to properly prepare the wall, you can create a stable and reliable foundation for mounting the caddy, ultimately enhancing its longevity and stability.
The first task in preparing the wall surface is to clean and dry the area where the shower caddy will be installed. Use a mild cleaning solution and a clean cloth to remove any dirt, soap scum, or residue that may have accumulated on the wall. Ensuring that the surface is clean and free from debris is essential for promoting strong adhesion and preventing any potential issues with the mounting process.
Once the wall surface is clean, it's important to assess the condition of the wall and address any imperfections or irregularities that could affect the installation. If there are any protruding nails, rough patches, or uneven areas, consider smoothing them out using sandpaper or a suitable wall repair compound. This step is particularly important when dealing with drywall or plaster walls, as it helps create a flat and even surface for mounting the caddy.
After addressing any surface imperfections, it's time to mark the precise locations for drilling the holes to accommodate the mounting hardware. Use a pencil and a measuring tape to mark the positions where the screws or brackets will be installed. Ensure that the markings are level and accurately aligned to prevent any misalignment during the installation process.
If you plan to attach the shower caddy to a stud in the wall for added stability, use a stud finder to locate the position of the studs behind the wall surface. Marking the stud locations will guide you in positioning the mounting hardware and ensure a secure attachment that can support the weight of the caddy and its contents.
In cases where the wall surface is not suitable for direct screwing, such as tiled walls or areas with limited structural support, consider using wall anchors to reinforce the attachment points. Wall anchors provide a sturdy base for securing the mounting hardware and are essential for ensuring the stability of the shower caddy, especially in areas where the wall material may not adequately support the weight of the caddy and its contents.
By meticulously preparing the wall surface, you set the stage for a successful and durable installation of your shower caddy. This proactive approach not only promotes a secure attachment but also minimizes the risk of potential issues arising during and after the installation process. With the wall surface properly prepared, you're now ready to move on to the next step: installing the mounting hardware.
Step 4: Install the mounting hardware
With the wall surface meticulously prepared, it's time to proceed with the installation of the mounting hardware for your shower caddy. This step is pivotal in ensuring a secure and stable attachment that can withstand the weight of the caddy and its contents. By following these detailed instructions, you can execute the installation process with precision and confidence.
-
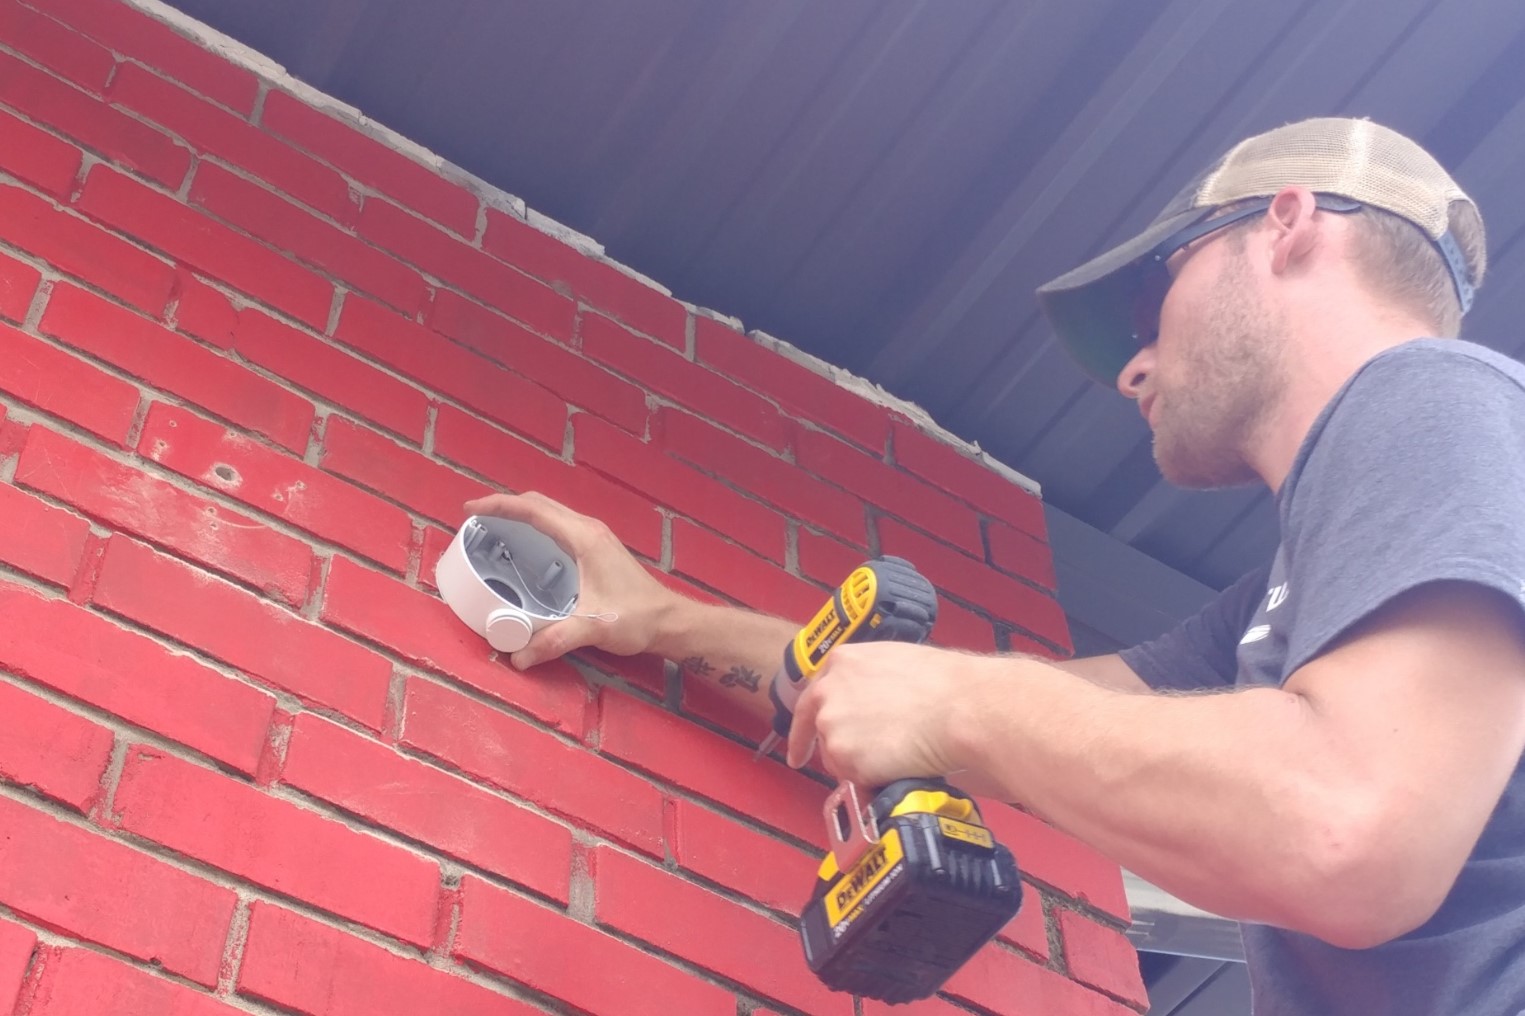
Drilling Pilot Holes: Using a power drill equipped with the appropriate drill bit, carefully create pilot holes at the marked positions on the wall. Pilot holes serve as guides for the screws and help prevent any potential damage to the wall surface during the installation. Ensure that the pilot holes are of the correct depth and diameter to accommodate the screws or wall anchors.
-
Attaching Wall Anchors (If Needed): If wall anchors are required for the installation, carefully insert them into the pilot holes until they are flush with the wall surface. Gently tap the anchors with a hammer if necessary to ensure a secure fit. Wall anchors provide a stable foundation for the screws and are essential for reinforcing the attachment points, especially in areas where the wall material may not adequately support the mounting hardware.
-
Securing the Mounting Brackets or Screws: Depending on the design of your shower caddy, use the provided mounting brackets or screws to affix the hardware to the wall. Ensure that the brackets or screws are firmly secured in place, applying steady pressure to achieve a snug fit. If using screws, utilize a screwdriver or a screwdriver bit for the power drill to drive them into the pilot holes, taking care not to overtighten them.
-
Verifying Stability and Alignment: Once the mounting hardware is installed, verify the stability and alignment of the attachment points. Use a level to ensure that the brackets or screws are positioned evenly and straight, correcting any misalignments as needed. This step is crucial in guaranteeing a secure and visually appealing installation that enhances the overall functionality of the shower caddy.
By meticulously following these steps, you can successfully install the mounting hardware for your shower caddy, laying the groundwork for the final phase of attaching the caddy to the wall. With the hardware securely in place, you're now ready to proceed to the next step: attaching the shower caddy to the wall.
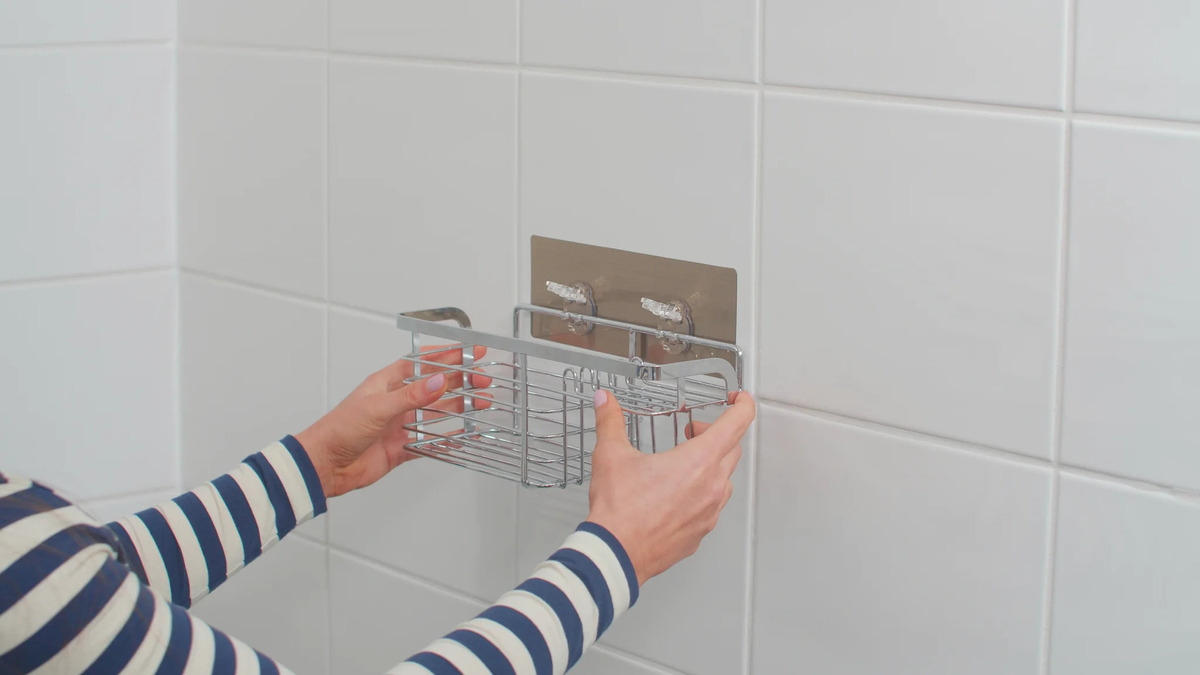
Use waterproof adhesive strips or suction cups to securely attach the shower caddy to the wall. Make sure to clean and dry the wall surface before applying the adhesive for better grip.
Step 5: Attach the shower caddy to the wall
With the mounting hardware securely in place, it's time to proceed with attaching the shower caddy to the wall. This pivotal step brings the installation process to fruition, culminating in a functional and visually appealing addition to your shower space. By following these detailed instructions, you can seamlessly integrate the shower caddy into your bathroom while ensuring a secure and reliable attachment.
-
Positioning the Caddy: Carefully lift the shower caddy and align it with the installed mounting hardware on the wall. Take note of the designated attachment points on the caddy, ensuring that they correspond to the locations of the mounting brackets or screws. By aligning the caddy accurately, you set the stage for a seamless attachment that maximizes stability and support.
-
Securing the Caddy: Once the caddy is aligned with the mounting hardware, gently place it against the wall, ensuring that it rests evenly on the brackets or screws. If the caddy features hooks or slots for attachment, carefully maneuver it into position, allowing the attachment points to engage with the hardware. Apply gentle pressure to ensure a snug fit, verifying that the caddy is securely fastened to the wall.
-
Testing Stability: After attaching the caddy, conduct a stability test to ensure that it is firmly secured to the wall. Gently tug on the caddy and assess its resistance to movement. A securely attached caddy should remain stable and immobile, indicating a successful installation. If any wobbling or instability is detected, reevaluate the attachment points and make necessary adjustments to enhance the caddy's stability.
-
Load Capacity Assessment: Before loading the caddy with shower essentials, consider its load capacity and distribute the items evenly to prevent strain on specific attachment points. By evenly distributing the weight of toiletries and accessories, you can maintain the stability of the caddy and minimize the risk of imbalance or detachment from the wall.
-
Visual Inspection: Take a step back and visually inspect the installed shower caddy, ensuring that it is aligned evenly and complements the aesthetic of the shower area. Verify that the caddy enhances the functionality of the space while seamlessly integrating into the overall design of the bathroom.
By meticulously following these steps, you can successfully attach the shower caddy to the wall, completing the installation process with precision and attention to detail. With the caddy securely in place, you can now proceed to the final step of testing the stability and making adjustments if necessary, ensuring that the installation meets your expectations and enhances the organization of your shower space.
Step 6: Test the stability and make adjustments if necessary
After attaching the shower caddy to the wall, it's crucial to conduct a thorough stability test to ensure that the installation is secure and reliable. By testing the stability of the caddy and making necessary adjustments, you can address any potential issues and guarantee a long-lasting and functional addition to your shower space.
To begin, gently apply pressure to the caddy, testing its resistance to movement. A stable and securely attached caddy should remain firmly in place, with minimal to no wobbling or shifting. Pay close attention to any signs of instability, such as loose attachment points or uneven weight distribution, as these can compromise the overall integrity of the installation.
If the caddy exhibits any instability during the initial test, it's essential to identify the root cause and make targeted adjustments. Start by inspecting the attachment points and hardware to ensure that they are securely fastened to the wall. Tighten any loose screws or brackets, taking care not to overtighten them, as this can lead to damage to the wall surface or the caddy itself.
Additionally, assess the load distribution within the caddy, ensuring that the weight of toiletries and shower essentials is evenly distributed. Uneven weight distribution can exert unnecessary strain on specific attachment points, potentially leading to instability over time. By redistributing the items and balancing the load, you can alleviate stress on the attachment points and promote a more stable installation.
If the wall surface or the chosen location presents challenges to achieving optimal stability, consider reinforcing the attachment points with additional hardware or alternative mounting solutions. This may involve utilizing wall anchors for enhanced support or relocating the caddy to a more structurally sound area of the wall.
After making the necessary adjustments, retest the stability of the caddy to evaluate the effectiveness of the modifications. Repeat this process as needed until the caddy demonstrates a secure and stable attachment that meets your expectations.
By meticulously testing the stability of the caddy and making targeted adjustments, you can ensure that the installation is reliable and durable, providing a functional and organized storage solution for your shower essentials. With the caddy securely attached and any potential issues addressed, you can confidently enjoy the convenience and efficiency it brings to your daily shower routine.
Read more: What To Put In A Shower Caddy
Conclusion
In conclusion, the process of securely attaching a shower caddy to the wall is a rewarding endeavor that enhances both the functionality and aesthetics of your bathroom space. By following the step-by-step guide outlined in this tutorial, you have gained the knowledge and confidence to execute this project with precision and efficiency. From gathering the necessary tools and materials to conducting stability tests and making adjustments, each phase of the installation process plays a crucial role in ensuring a successful outcome.
By meticulously preparing the wall surface and installing the mounting hardware, you have established a sturdy foundation for attaching the shower caddy. The careful consideration given to choosing the right location for the caddy has resulted in a seamless integration that complements the layout and design of your shower area. Furthermore, the attention to detail in testing the stability and making necessary adjustments has guaranteed a secure attachment that withstands the demands of daily use.
The successful installation of a shower caddy not only provides a convenient storage solution for your shower essentials but also contributes to a clutter-free and organized shower space. With the caddy securely attached to the wall, you can enjoy easy access to toiletries and accessories, elevating your shower experience to new levels of convenience and efficiency.
It's important to note that the skills and techniques acquired through this installation process extend beyond the specific task at hand. The ability to gather the right tools, prepare the wall surface, and execute a secure attachment translates to a broader proficiency in DIY home improvement projects. These skills empower you to take on future endeavors with confidence, knowing that you have the expertise to tackle similar tasks effectively.
As you admire the seamlessly installed shower caddy in your bathroom, take pride in the accomplishment of transforming a simple accessory into a functional and visually appealing addition to your shower space. The attention to detail and commitment to a secure installation have not only enhanced the practicality of your bathroom but have also contributed to the overall ambiance and organization of the space.
In essence, the successful attachment of a shower caddy to the wall is a testament to your dedication to creating a harmonious and efficient living environment. With the knowledge and skills gained from this process, you are well-equipped to embark on future home improvement projects, further enhancing the functionality and aesthetics of your living spaces.
Frequently Asked Questions about How To Securely Attach A Shower Caddy To The Wall
Was this page helpful?
At Storables.com, we guarantee accurate and reliable information. Our content, validated by Expert Board Contributors, is crafted following stringent Editorial Policies. We're committed to providing you with well-researched, expert-backed insights for all your informational needs.


0 thoughts on “How To Securely Attach A Shower Caddy To The Wall”